
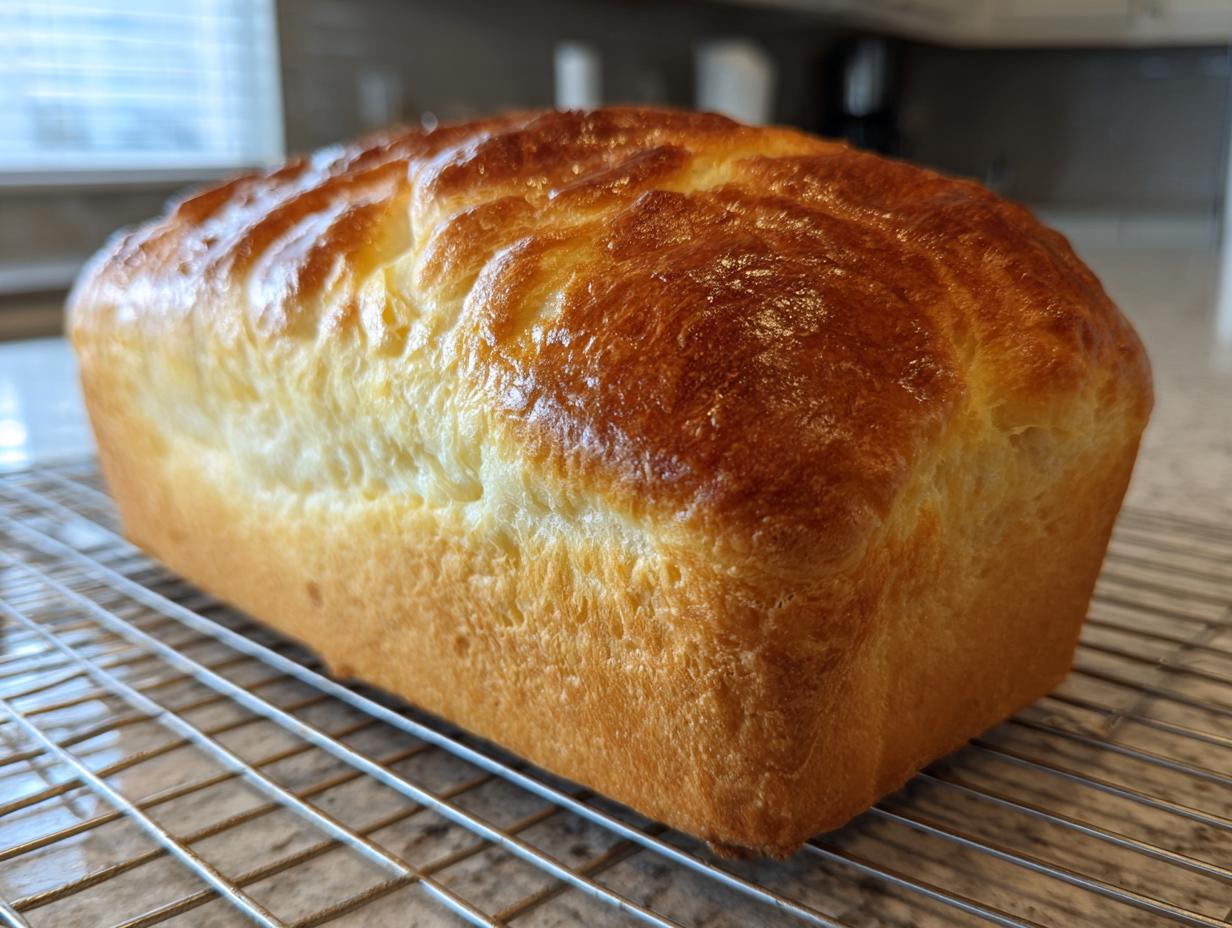
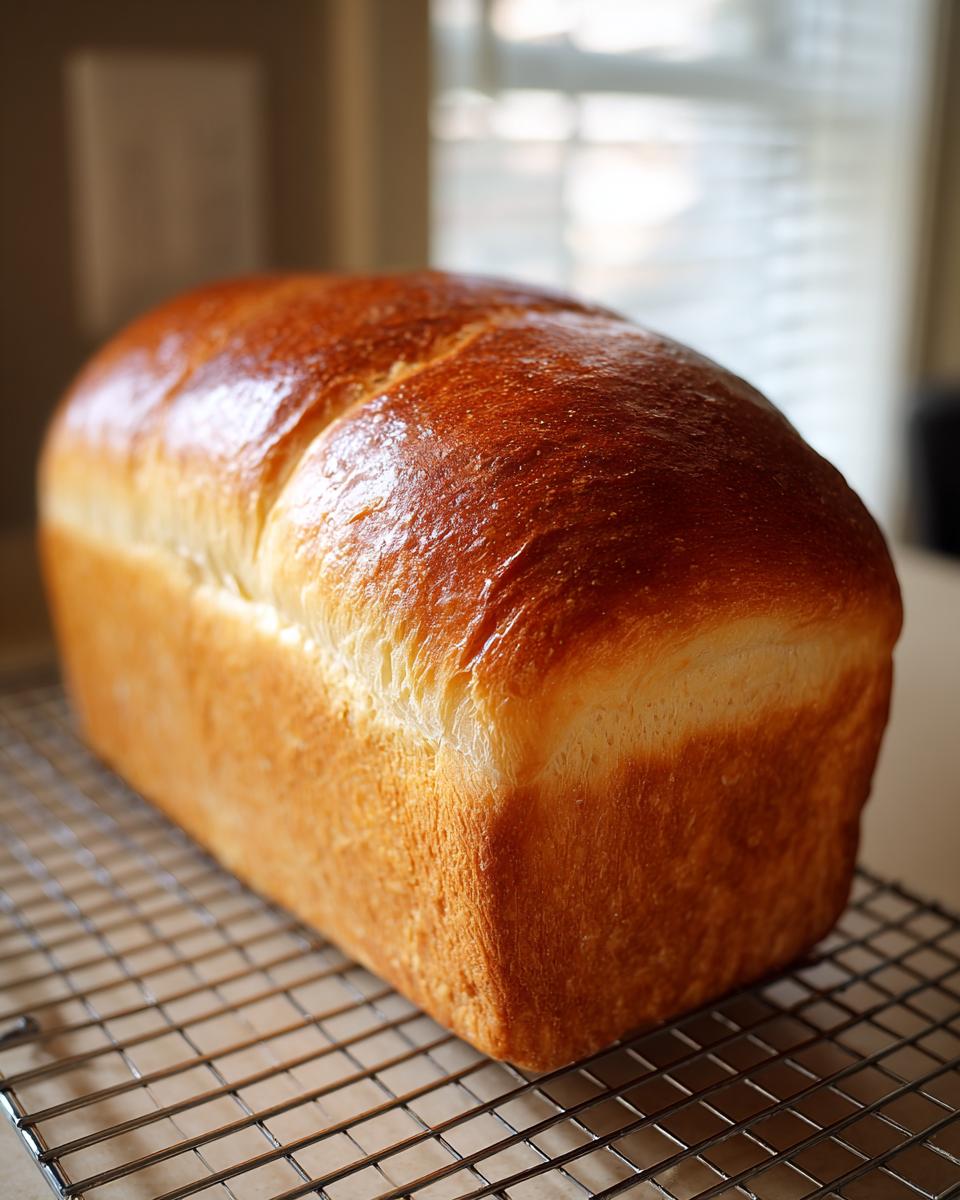
Oh, there is just nothing, and I mean *nothing*, that beats the smell of a gorgeous, **yeast bread loaf** baking right in your own kitchen. That warm, slightly sweet scent just signals comfort, doesn’t it? When I first started teaching friends how to move beyond those sad little store-bought loaves, I knew I needed one simple, foolproof standard. This classic **homemade yeast bread recipe** is that standard.
This isn’t some complicated artisan bake that requires a stone hearth; this is the foundation! If you master this easy yeast bread tutorial, you can bake anything. For me, my dad taught me this foundational recipe when I was just ten, and it taught me everything I know about patience in the kitchen. It really is the very best sandwich bread recipe for daily use. You’ve got this!
- Why This Classic Homemade Yeast Bread Loaf Recipe Works for Everyone
- Ingredient Notes and Tips for a Better Yeast Bread Loaf
- Step-by-Step: How to Prepare Your Yeast Bread Loaf
- Oven Baked Loaf Instructions and Achieving the Perfect Crust
- Troubleshooting Common Issues with Your Yeast Bread Loaf
- Making Bread With Active Dry Yeast: Storage and Make-Ahead Tips
- Serving Suggestions for Your Freshly Baked Bread at Home
- Frequently Asked Questions About Your Yeast Bread Loaf
- Nutritional Estimates for This Classic White Bread Baking
Why This Classic Homemade Yeast Bread Loaf Recipe Works for Everyone
Trust me when I say this recipe is practically foolproof, which is why I love teaching it so much! We focus on reliability, which means you get that soft crust and tender crumb every time. It’s built on simple ingredients you probably already have, which takes the guesswork out of specialty shopping.
- It yields an unbelievably soft texture, perfect for kids’ lunches.
- It’s the absolute best sandwich bread recipe for making daily tear-and-share toast.
- We rely on standard active dry yeast, making it easy for beginners to get a great rise.
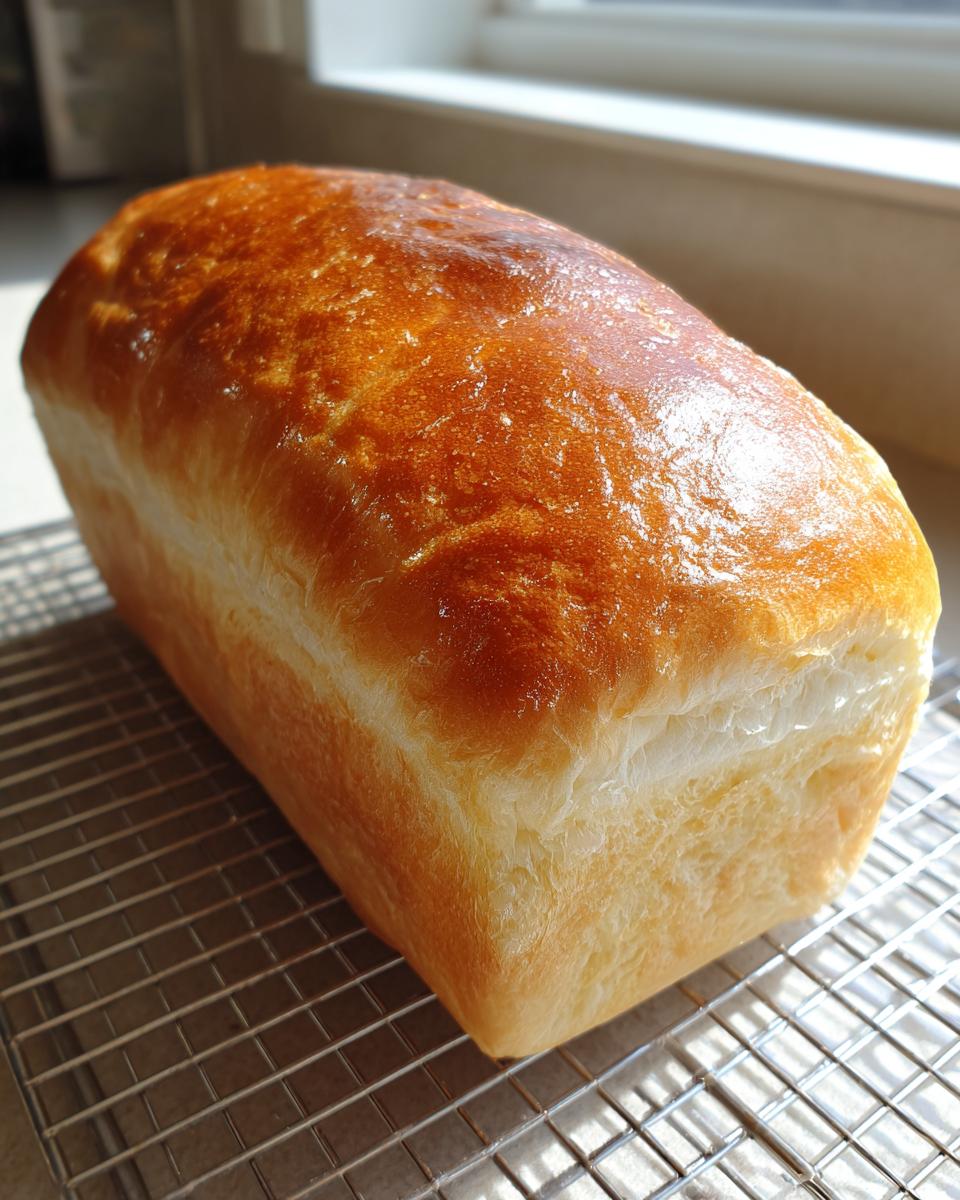
If you’re looking for that fluffy interior you just can’t find at the store, this is the one. If you want to see how amazing a soft, fluffy loaf can be, keep reading!
Ingredients for Your Perfect Yeast Bread Loaf
When we talk about a classic loaf, we mean sticking to the basics beautifully. The real star here, besides the yeast, is getting the temperature of your water just right. Too cold, and your yeast sleeps; too hot, and it dies! You want that sweet spot for a happy rise.
You’ll need about 3 cups of all-purpose flour, though we use just enough to make it workable. Crucially, grab 1 cup of water that feels like a warm bath—that’s between 105 and 115 degrees Fahrenheit. We use 2 1/4 teaspoons of active dry yeast, 2 tablespoons of sugar to feed that yeast, just 1 teaspoon of salt for flavor stability, and 2 tablespoons of softened butter for richness.
Ingredient Notes and Tips for a Better Yeast Bread Loaf
Okay, let’s talk specifics, because every single ingredient plays a role in whether you get a stunning rise or something closer to a dense brick. For this kind of reliable, soft loaf, I stick exclusively to all-purpose flour. It has enough protein to build structure without the heaviness you sometimes get with high-protein bread flour, keeping it perfect for that ultimate sandwich bread texture. Don’t worry about getting fancy here!
The sugar isn’t just for taste, though it adds a lovely subtle sweetness to your **classic white bread baking**. It’s crucial early on because it’s what wakes up your yeast! Similarly, the teaspoon of salt does way more than flavor the dough; it actually controls the yeast’s activity so it doesn’t run away with itself during the rise. That’s why you never add salt directly onto the yeast before mixing.
And about that yeast: always check the expiration date! If it’s old, you’re wasting your time. When you proof it in the warm water and sugar, watch for that lovely foam on top—that’s your signal that you’re ready to go. If nothing happens after ten minutes, toss it and use fresh yeast. It’s worth the tiny investment to guarantee a good rise. For more fun baking ideas, check out my guide on making homemade bread bowls!
Step-by-Step: How to Prepare Your Yeast Bread Loaf
Alright, let’s grab our bowls and get messy! Making your own **yeast bread loaf from scratch** is all about trusting the process, especially when it comes to timing. I’ve broken down the journey into clear stages so you never have to second-guess what comes next. Before you know it, you’ll be pulling out a beautiful, golden homemade yeast bread recipe!
Activating the Yeast and Mixing the Dough
First, we wake up the little guys! Take your warm water—remember, 105 to 115°F—and stir in your sugar and the active dry yeast. Walk away for about five to ten minutes. You are waiting for magic: the surface should look bubbly and actively foamy. If it looks like flat water, your yeast is done for, so start over! Once foamy, stir in your softened butter and the salt, then start adding the flour gradually, mixing until you can barely stir it anymore and it looks shaggy.
Kneading Techniques for the Ideal Yeast Bread Loaf
Now, we build gluten structure, which gives you that lovely chew. Turn that sticky mess out onto a lightly floured surface. Don’t be afraid to dust a little more flour if you have to, but try to resist adding too much! You need to knead this dough for a solid 8 to 10 minutes. Keep pushing, folding, and turning until it’s totally smooth and springs back slowly when you gently poke it. If it feels soft and elastic, you’ve nailed the texture for a perfect rise.
The Two Rises: Proofing Your Yeast Bread Loaf
Bread needs time to rest and develop! After kneading, put the dough into a lightly oiled bowl, cover it up, and let it sit in a warm spot for the first rise—that’s about 1 to 1.5 hours until it’s doubled. After those first air bubbles form, you gently punch it down, reshape it, and let it have its second rise right there in the loaf pan for about 30 to 45 minutes. You want it to beautifully crest about an inch over the rim before it hits the oven.
Yeast Bread Shaping Tutorial for a Uniform Loaf
Shaping is key to avoiding weird holes or oddly shaped tops! Once you’ve punched the air out, flatten the dough into a rectangle, maybe nine inches long. You’re going to roll it up TIGHTLY along that long edge, like you’re rolling up a yoga mat. Push out any big air bubbles as you go. Pinch that bottom seam closed really well and lay it seam-side down in your greased loaf pan. See? Easy way to get that professional look without needing to bake crusty loaves with my rustic Italian bread guide.
Oven Baked Loaf Instructions and Achieving the Perfect Crust
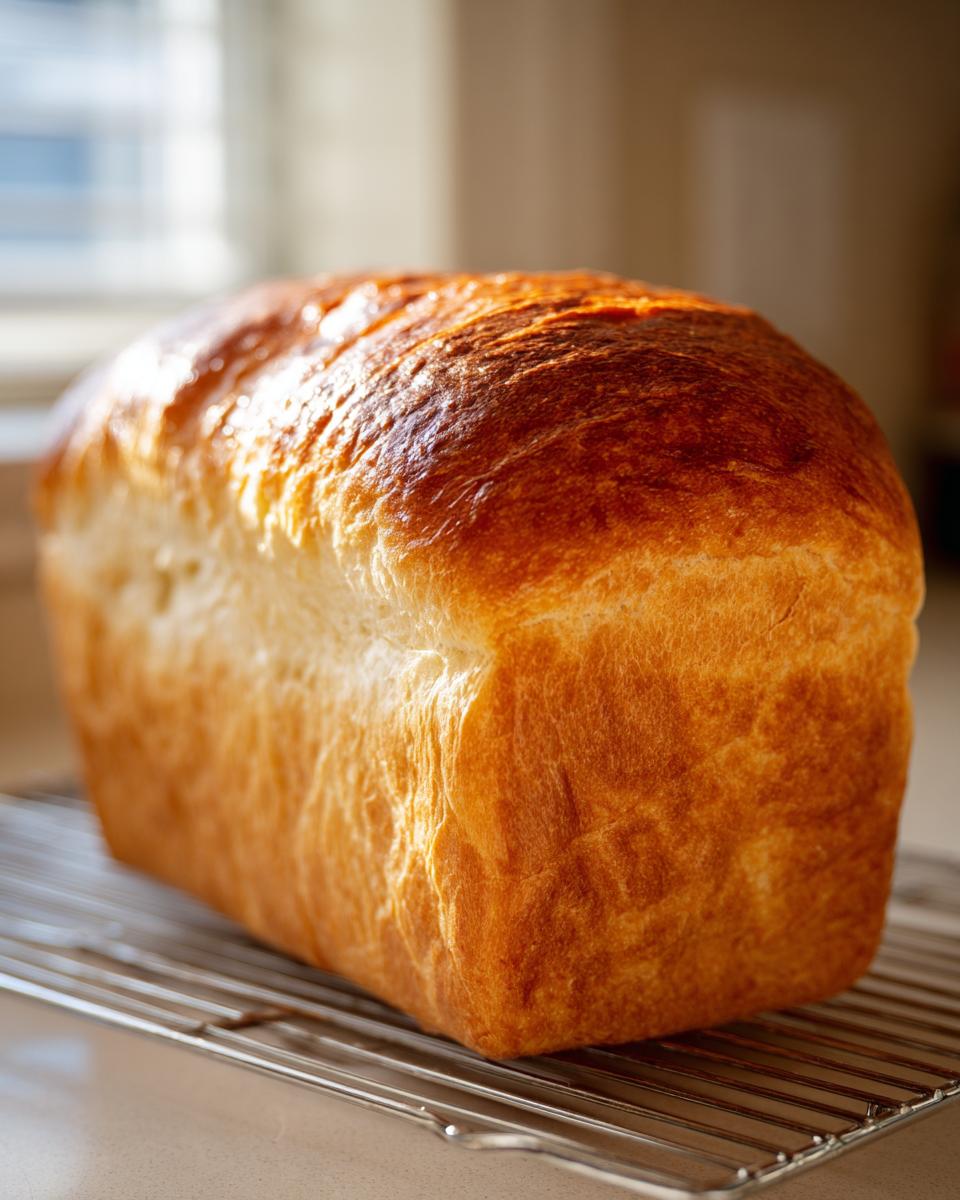
We are at the final frontier! Your dough looks beautiful, proofed perfectly, and now it’s time to turn it into that magnificent, golden **oven baked loaf**. It’s crucial not to rush the preheating phase. You want your oven fully ready—at 375°F (190°C)—during the last fifteen minutes of that second rise. Dumping dough into a cold or underheated oven is what guarantees a sad squat instead of a beautiful oven spring!
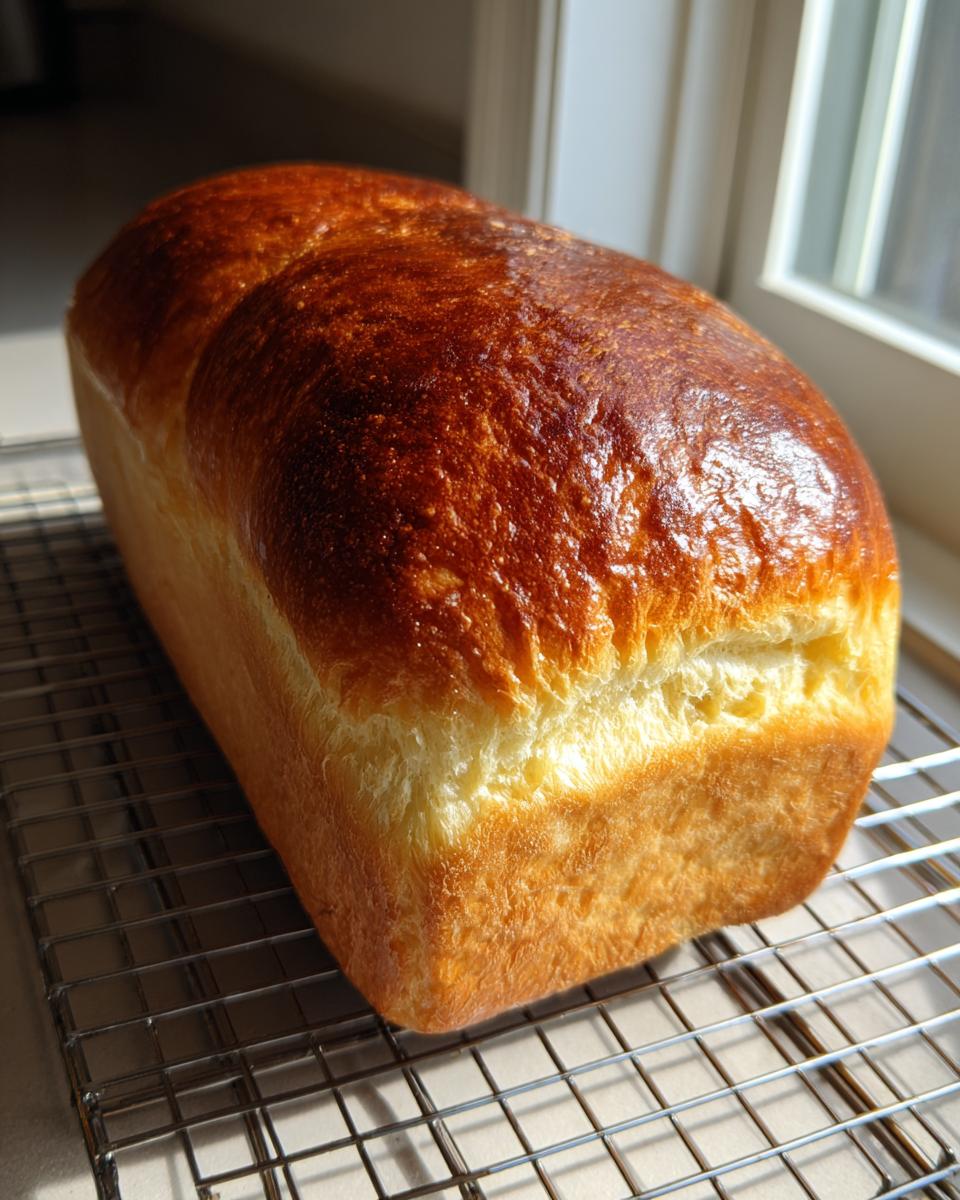
Bake time for this standard loaf is usually around 30 to 35 minutes. Always watch the color first; you’re aiming for deep, rich golden brown on top. But my real secret to knowing it’s perfectly done, even if the top looks ready earlier, is checking the temperature. Stick a good instant-read thermometer right into the center of the loaf. You are looking for 200°F (93°C). Any lower, and it might feel gummy in the middle after cooling. This is the key to learning **how to bake a perfect loaf**!
Here’s a slightly lesser-known trick for achieving that wonderfully soft crust that makes this the **best sandwich bread recipe**: As soon as you pull the loaf out of the oven, get it out of the hot pan immediately! If you leave it sitting in that hot metal, the residual heat keeps cooking the bottom and traps steam, leading to a gummy texture. Transfer it right onto a wire cooling rack. This allows air to circulate all the way around, which is the only way to ensure that crust stays crisp and the interior sets properly. Seriously, don’t skip the rack!
If you want to peek at another flavor profile while keeping that fantastic texture, you should look at how I achieve a soft honey whole wheat bread recipe—it uses very similar techniques but swaps some of the white flour out. Trust me, letting this loaf cool completely before slicing is torture, but it’s absolutely essential for the structure to fully set!
Troubleshooting Common Issues with Your Yeast Bread Loaf
Baking is science, but it’s also cooking with intuition, and sometimes the dough just doesn’t cooperate! Don’t sweat it; every baker, even me, has had a loaf that flattened out. Think of this as part of your **beginner yeast bread guide**—learning what went wrong is just as important as learning what went right.
If your bread came out dense and heavy, that’s usually one of two things: either your yeast wasn’t active enough when you started, or you under-kneaded it and didn’t develop enough structure. Conversely, if the dough was way too sticky to handle, you probably added too much liquid or didn’t knead it long enough to absorb it all. My note is always: add that flour slowly during kneading!
If you had a great rise in the bowl but the loaf didn’t grow much in the pan (the second proof), check your kitchen temperature. Yeast hates cold! Try placing the covered pan inside an oven that is turned OFF but has the light on. Also, if you knocked the air out too aggressively when deflating the dough after the first rise, you might have killed too many precious air bubbles. Sometimes, it’s just a matter of letting it rest a bit longer. If you are really struggling, learning the Tangzhong method can elevate your soft bread game significantly!
Making Bread With Active Dry Yeast: Storage and Make-Ahead Tips
So you’ve got this perfect, glorious **yeast bread loaf**, and now you have to figure out how to keep it amazing for more than one afternoon! Honestly, the best way to store it is not to store it at all—just eat it all right now! But since that’s rarely practical, I have a few favorite tricks for keeping that soft crust from turning into cardboard.
For room temperature storage, the key is air flow. Once the loaf is completely, totally cool—and I mean completely cool, or you’ll steam it soft again—wrap it snugly in a clean tea towel or put it in a paper bag. Plastic bags are the enemy here because they trap moisture and invite sogginess. If you need it to last longer than two days, you absolutely must freeze it. I slice the entire loaf first, then wrap the whole thing tightly in plastic wrap, and slide it into a heavy-duty freezer bag. It stays fantastic for up to three months this way!
When you’re ready for a slice, just pull one out and let it thaw on the counter for about an hour. Or, if you want that *just baked* smell back right now, toast it directly from frozen! You’ll be shocked how good it is.
If you like the idea of **long rise bread techniques**, you can totally adapt this recipe for a slower ferment, which deepens the flavor, too. After you knead the dough and before the first rise, simply place the covered bowl in the refrigerator instead of a warm spot. Let it chill overnight—say, for 10 to 16 hours. The cold temperature slows the yeast way down. When you wake up, it should have doubled! Just punch it down, shape it, and let it proof at room temperature for that final rise before baking as usual. It’s a trick for busy weeknights! If you’re feeling experimental after mastering this loaf, you might want to check out my recipes for fluffy homemade naan bread next!
Serving Suggestions for Your Freshly Baked Bread at Home
Now that you have achieved the ultimate goal—a loaf that smells incredible and tastes even better—the only thing left is eating it! Honestly, you don’t need much to dress up this incredible carb masterpiece. When you have this kind of **freshly baked bread at home**, keeping it simple is always the move.
First things first: wait until it’s cool enough to handle, but slice it open while it’s still radiating a little heat. Slather on some incredibly good, good-quality salted butter. The way the butter melts into those tiny pockets right after you slice it? Perfection. If you want to elevate that butter game just a bit, you have to try whipping up some homemade cinnamon butter; you can find my favorite recipe here: my favorite recipe here!
But this classic loaf is truly versatile. Use it for thick-cut toast in the morning, or better yet, pair slices of it with a big, hearty bowl of tomato soup in the evening. It’s the perfect sturdy companion for dipping, and it soaks up every drop without dissolving into mush. This is what baking from scratch is all about—making the everyday meal memorable!
Frequently Asked Questions About Your Yeast Bread Loaf
Can I substitute instant yeast for active dry yeast?
You totally can! This happens all the time when people realize they are out of one type. If you are using instant yeast, you don’t need that initial proofing step where you mix it with warm water and sugar to see if it foams up. Just skip Step 1 entirely, mix the instant yeast directly in with the flour, salt, and sugar, and then add the warm water. It speeds things up a little! But remember, if you skip that proofing step, you lose your confirmation that the yeast is alive, so I always tell beginners to stick to active dry for their first few loaves.
Why didn’t my dough rise? It’s totally flat!
Oh, that’s the pits, I know! Flat dough almost always points back to one of two culprits. The most common reason is that your water was either way too hot and killed the yeast, or way too cold and put it to sleep indefinitely. If you used expired yeast, that’s another reason the yeast just gives up. Make sure you store your yeast in the fridge after opening! If you’re interested in exploring a completely different way to get lift in your bread that bypasses store-bought yeast altogether, you might enjoy reading about starting a sourdough starter from scratch—it’s a whole different adventure!
How long will this yeast bread loaf last stored properly?
If you cool it completely and store it wrapped in a clean tea towel at room temperature, it’s usually at its absolute best for about two days. After that, the texture starts to turn a bit dry. Honestly, for making a whole **yeast bread loaf** last longer than 48 hours, your best bet is the freezer. Slice it before you wrap it tightly in plastic wrap and foil; it keeps beautifully that way for months, and you can just pull out exactly what you need when you need it!
Why is the final loaf heavier than the store-bought kind?
That heavy feeling usually means one of two things, and it usually relates back to the rise process. Either you didn’t knead it long enough, so the gluten structure didn’t stretch to trap enough air, or you had a great first rise but neglected the second proofing time! The second rise, when the dough is shaped in the pan, is critical for volume, so make sure it looks puffy and has crested over the pan rim before baking. A good rise gives you that light, fluffy crumb we are aiming for!
Nutritional Estimates for This Classic White Bread Baking
We’ve made something delicious here, but I always like to give you an idea of what’s in the final product, just so you know what you’re getting with each slice of this gorgeous loaf. Remember, baking is all about ingredients, so these numbers are just estimates based on what I used in my kitchen!
This table gives you a rough idea based on one slice of the finished loaf. When I’m slicing it for sandwiches, I usually aim for about 12 to 14 slices total from the recipe. If you slice it thinner, of course, your values change!
- Serving Size: Approximately 1 slice
- Calories: 110
- Fat: 2g (Saturated Fat: 1g)
- Carbohydrates: 20g
- Fiber: 1g
- Sugar: 2g
- Protein: 4g
- Cholesterol: 5mg
Now, this is super important: these are just ballpark figures! If you swap out the all-purpose flour for whole wheat, or if you use oil instead of butter, the numbers shift around a bit. This is just here as a snapshot because we are focusing on flavor and technique, not becoming nutritionists! The most important thing is that you made it **from scratch bread loaf**—and that’s a win in my book!
PrintClassic Homemade Sandwich Bread Loaf
Make a soft, perfect loaf of yeast bread from scratch for your daily sandwiches. This guide shows you the steps for a reliable, classic white bread.
- Prep Time: 20 min
- Cook Time: 35 min
- Total Time: 1 hour 50 min
- Yield: 1 loaf 1x
- Category: Baking
- Method: Oven Baking
- Cuisine: American
- Diet: Vegetarian
Ingredients
- 3 cups all-purpose flour, plus more for dusting
- 1 cup warm water (105-115°F)
- 2 1/4 teaspoons active dry yeast
- 2 tablespoons granulated sugar
- 1 teaspoon salt
- 2 tablespoons unsalted butter, softened
Instructions
- In a large bowl, combine the warm water, yeast, and sugar. Let this mixture sit for 5 to 10 minutes until it becomes foamy. This proves your yeast is active.
- Add the salt, softened butter, and half of the flour to the yeast mixture. Mix until just combined.
- Gradually add the remaining flour, mixing until a shaggy dough forms.
- Turn the dough out onto a lightly floured surface. Knead the dough for 8 to 10 minutes until it is smooth and elastic. The dough should spring back slowly when poked.
- Lightly grease a large bowl with oil. Place the dough in the bowl, turning it once to coat. Cover the bowl with plastic wrap or a clean kitchen towel.
- Let the dough rise in a warm place for 1 to 1.5 hours, or until it has doubled in size. This is the first proof.
- Gently punch down the risen dough to release the air. Turn it out onto a lightly floured surface.
- Shape the dough into a loaf. Flatten the dough into a rectangle about 9 inches long. Roll the dough tightly along the long edge, pressing out any large air pockets as you roll. Pinch the seam closed.
- Place the shaped loaf, seam-side down, into a greased 9×5 inch loaf pan.
- Cover the pan loosely and let the dough rise again in a warm spot for 30 to 45 minutes, or until the dough has crested about 1 inch over the rim of the pan. This is the second proof.
- Preheat your oven to 375°F (190°C) during the last 15 minutes of the second rise.
- Bake for 30 to 35 minutes, or until the top is golden brown and the internal temperature reaches 200°F (93°C).
- Remove the bread from the pan immediately and place it on a wire rack to cool completely before slicing.
Notes
- If your kitchen is cold, place the covered dough in a slightly warm oven that is turned off.
- For a softer crust, brush the top of the loaf with melted butter immediately after it comes out of the oven.
- If the dough seems too sticky during kneading, add flour one tablespoon at a time; avoid adding too much, which results in a dense loaf.
Nutrition
- Serving Size: 1 slice
- Calories: 110
- Sugar: 2
- Sodium: 180
- Fat: 2
- Saturated Fat: 1
- Unsaturated Fat: 1
- Trans Fat: 0
- Carbohydrates: 20
- Fiber: 1
- Protein: 4
- Cholesterol: 5