
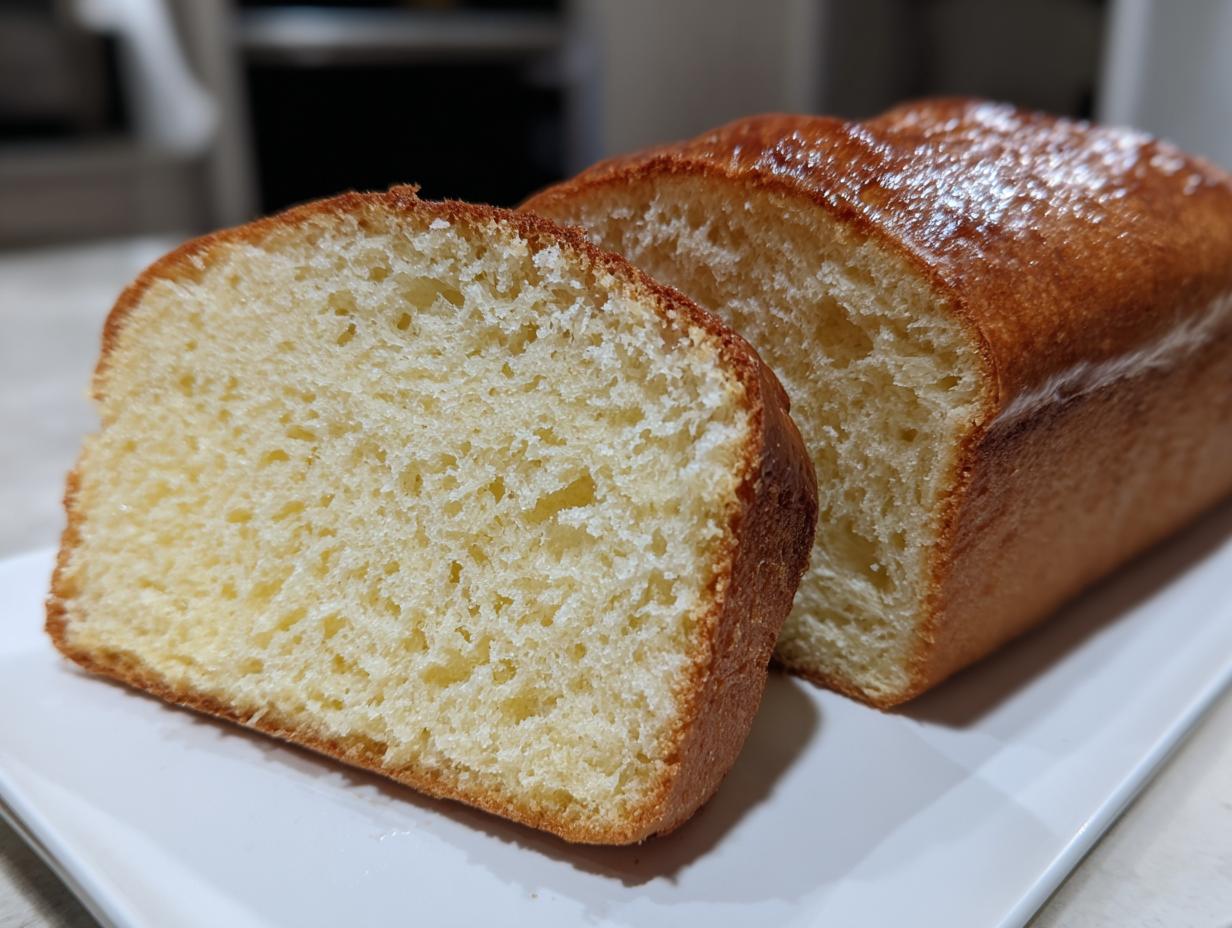
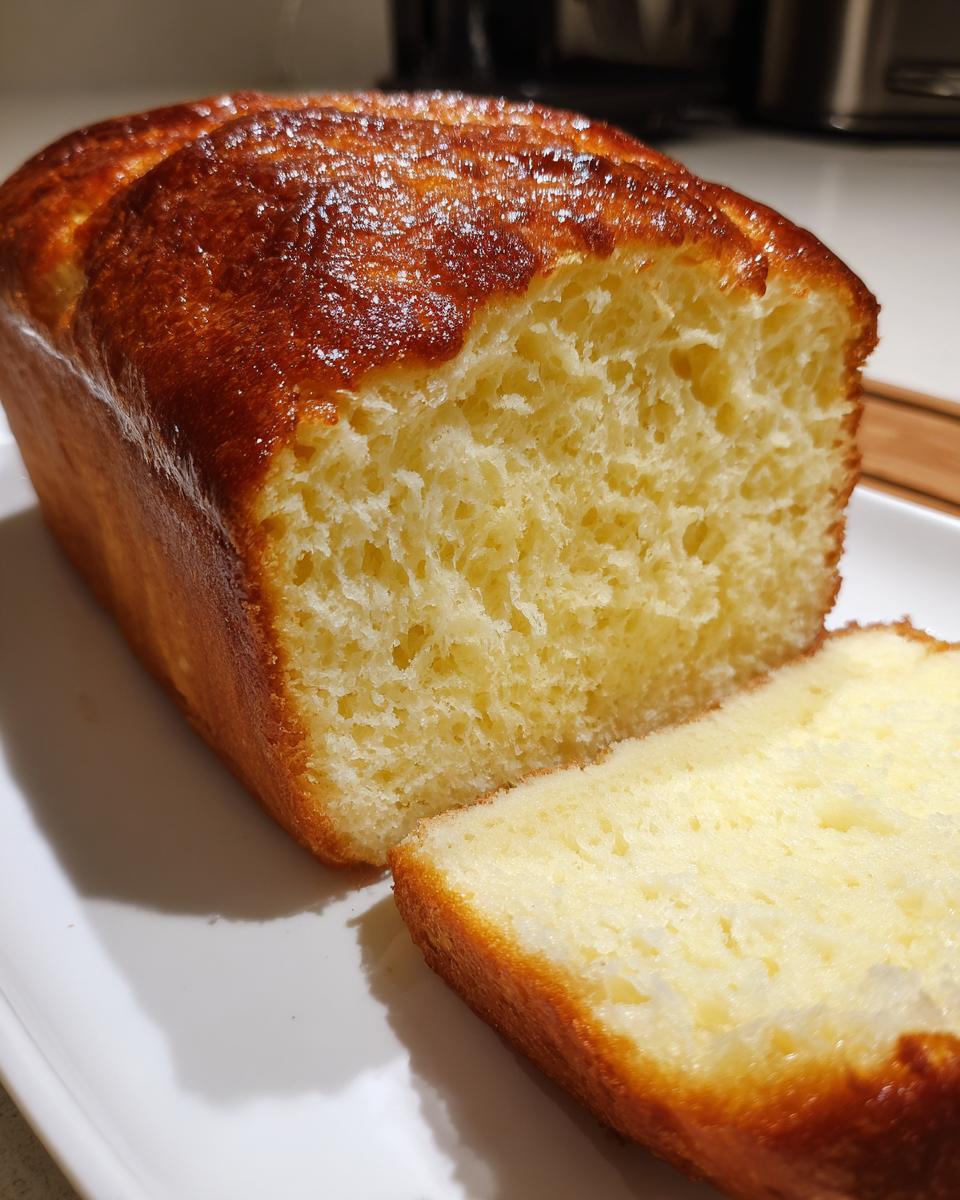
There is nothing quite like slicing into a loaf of bread that feels like biting into a fluffy cloud, am I right? If you’ve been searching for that perfect, slightly sweet loaf that makes your kitchen smell like heaven, you’ve landed in the right spot. I’m thrilled to share my recipe for the Easy Fluffy Sweetened Condensed Milk Loaf Bread. This specific condensed milk bread is one of my absolute favorites because it delivers bakery-level softness without needing hours of complicated folding techniques. You can find some neat tips on achieving that pillowy texture in my guide on Milk Bread using Tangzhong, though this method is way simpler!
When I was developing this recipe, I wanted something truly foolproof. I know sometimes yeast baking can feel intimidating, but trust me when I say this loaf is designed for my readers who are just starting out. It’s rich, it’s tender, and the flavor we get from just that simple tin of milk is unbelievable. This simple method has become a staple in my home because it’s reliable, forgiving, and produces the softest loaf every single time. You’re going to love it!
- Why This Sweetened Condensed Milk Bread Recipe Works for Everyone
- Gathering Ingredients for Your Condensed Milk Bread
- Step-by-Step Instructions for Easy Homemade Bread
- Tips for Perfect Sweet Milk Bread Every Time
- Using Your Condensed Milk Bread for Breakfast Bread Ideas
- Storage and Reheating Instructions for Tender Loaf Bread
- Frequently Asked Questions About Sweetened Condensed Milk Bread Recipe
- Nutritional Estimates for This Sweet Bread Recipe
- Share Your Experience Making Condensed Milk Bread
Why This Sweetened Condensed Milk Bread Recipe Works for Everyone
If you’ve tried making homemade bread before and ended up with something closer to a brick than a cloud, this recipe is your answer! This is where we nail that coveted soft fluffy bread texture you see everywhere. I designed this specifically for beginner bread baking because the ingredients do a lot of the hard work for you. It’s honestly so comforting to pull out a perfect loaf without any struggle.
When I compare this to bread made just with regular milk, the difference is night and day. The sweetened condensed milk is carrying extra sugar and fat, and that’s exactly what we want! It produces a truly superior moisture level that keeps the crumb fresh for days. It’s a little life hack I rely on constantly. You can check out some other simple methods in my guide on Easy Homemade Bread, but this one truly shines when you want that sweet note.
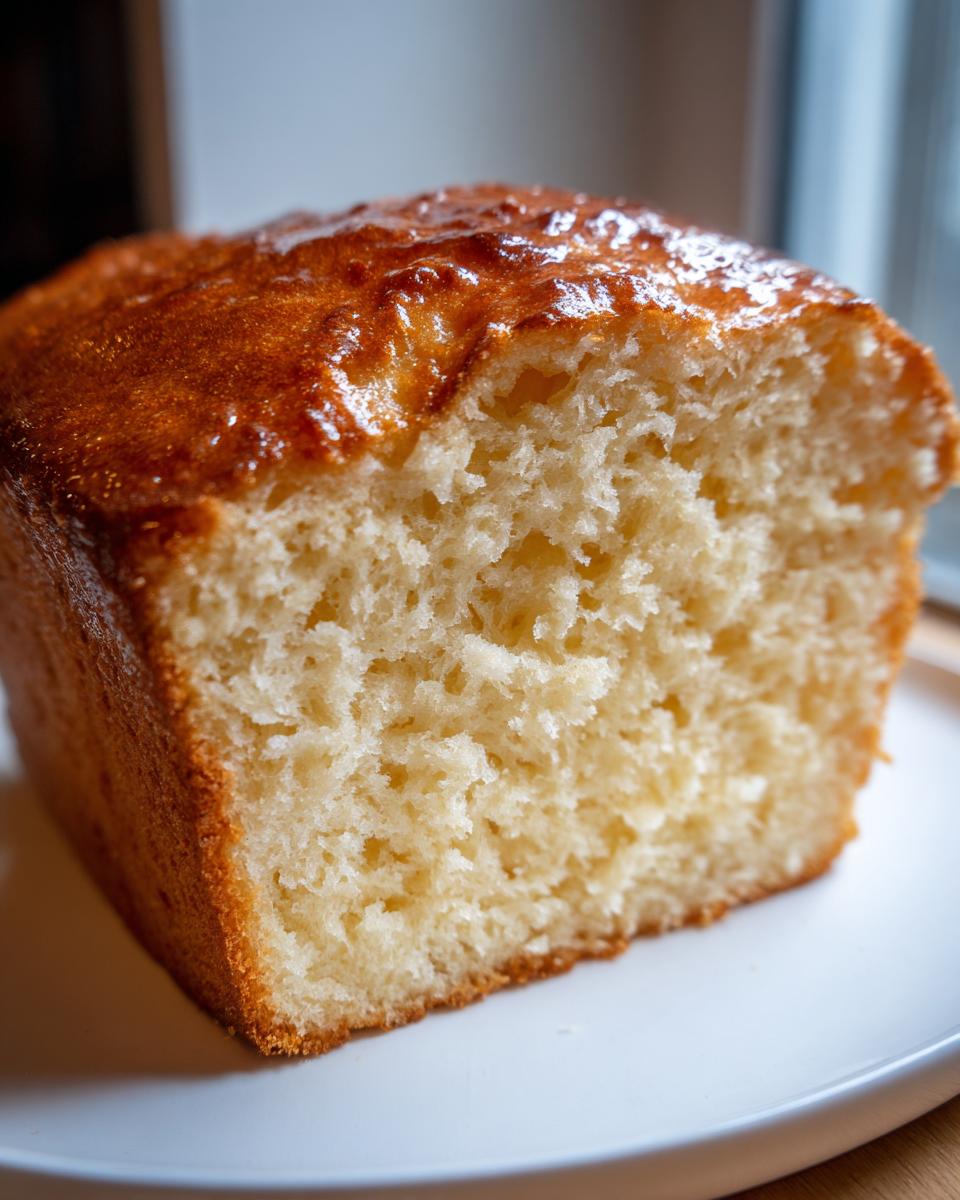
The Secret to a Tender Loaf Bread
That wonderful richness comes down to the fat and sugar already packed into that can of condensed milk! This richness helps tenderize the dough by interfering just slightly with gluten formation. It’s the magic formula for a tender loaf bread that melts in your mouth, rather than being tough.
Gathering Ingredients for Your Condensed Milk Bread
Okay, let’s get organized! Having everything ready before you start is half the battle when you’re working with yeast. This Sweet Dough Recipe is surprisingly lean when it comes to specialty items—most of this stuff is already hanging out in your pantry, which is another reason why I love it so much. We rely heavily on the canned milk for moisture and flavor, so don’t skip that!
Make sure you grab your ingredients now and prep them a little bit. A few minutes of setup saves so much mess later. If you’re planning on making my favorite topping later, you might want to grab the ingredients for Honey Butter while you’re at it!
Here’s exactly what you need sitting on your counter before we start mixing:
- 1 cup warm milk (This is crucial! It needs to be between 105°F and 115°F—think slightly warmer than bath water, not scorching hot.)
- 1/4 cup sweetened condensed milk (The star of the show!)
- 2 1/4 teaspoons active dry yeast
- 3 cups all-purpose flour, plus more for dusting
- 1/4 cup granulated sugar
- 1/2 teaspoon salt
- 1 large egg, *must* be room temperature
- 3 tablespoons unsalted butter, softened (The butter should yield slightly when you press it, but not be greasy or melted.)
Step-by-Step Instructions for Easy Homemade Bread
Alright, let’s get our hands dirty! Baking this easy homemade bread is a process, but every single step is worth it for that final, gorgeous loaf. Don’t rush the rising times—that’s the key to happiness here. If you’re looking for other recipes where you can practice your shaping skills, check out my guide on Small Batch Cinnamon Rolls!
Activating the Yeast and Mixing the Sweet Dough Recipe
First things first: wake up that yeast! Mix your warm milk—really focus on that 105°F to 115°F range, because water that’s too hot will kill it dead—and pour in your sweetened condensed milk. Sprinkle the yeast on top and let it sit. You need foam! If you don’t see foam after about ten minutes, your yeast is a goner, and you need to start over with fresh yeast. While that’s happening, quickly whisk your flour, sugar, and salt together in your big bowl.
Kneading for Rich and Tender Bread Texture
Now we combine! Pour that bubbly yeast mixture and your room-temperature egg right into the dry ingredients. Use a wooden spoon—or your mixer on low—until a shaggy mess forms. Don’t freak out! That’s normal. Then toss in the softened butter. This is where the magic happens with this condensed milk bread. You need to knead this dough for a good eight to ten minutes until it feels smooth and elastic.
My Pro Tip for Beginners: This dough is supposed to be a little sticky! Seriously! Don’t panic and dump in extra flour like crazy, or you’ll lose that softness we are aiming for. It should feel tacky on your hands, but it should pull away cleanly from the sides of the bowl as you knead. If you pinch off a tiny piece, it should stretch without tearing immediately. That smooth, elastic texture means you developed the gluten perfectly for a rich and tender bread.
The Two Rises: Proofing Your Condensed Milk Bread
Time for patience! Transfer your dough ball to a lightly oiled bowl, flipping it once to coat. Cover it up, and let it hang out somewhere warm for an hour to an hour and a half, or until it has seriously doubled in size. When it’s ready, give it a gentle punch down to release the air.
Next, shape it into a nice tight log—think of tucking in the sides like you’re wrapping a present—and tuck it seam-side down into your greased 9×5 bread pan. Cover it loosely again. This second rise is shorter, usually 30 to 45 minutes. You are looking for the dough to crown nicely, peeking about one inch over the top edge of the pan. This is exactly how you ensure that beautiful height in your fluffy loaf bread.
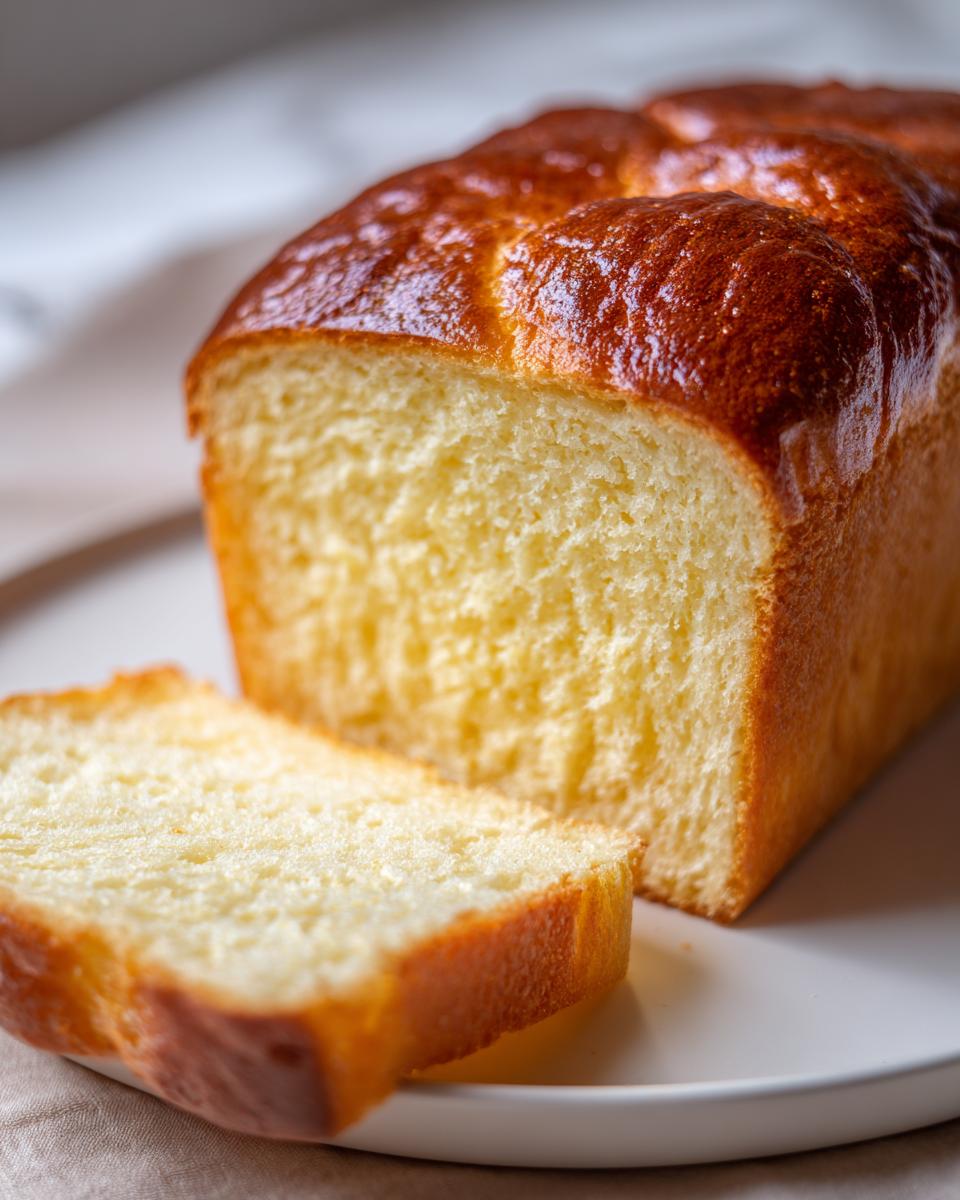
Baking and Cooling the Fluffy Loaf Bread
Preheat your oven to 350°F (175°C) while the dough finishes its second rise—don’t forget this step! Bake the loaf for about 30 to 35 minutes. I always double-check doneness by taking the temperature right in the center; you’re looking for 200°F (93°C). That’s my personal quality guarantee for a fully baked but still super moist center.
The second it comes out of the oven, get it out of that hot pan immediately and set it on a wire rack to cool completely. I know it smells amazing and you want to slice it right away, but resist! Slicing bread when it’s piping hot lets all that trapped steam escape, and we worked so hard for this fluffy crumb—don’t let it disappear! Let it cool fully before you even think about that first beautiful slice.
Tips for Perfect Sweet Milk Bread Every Time
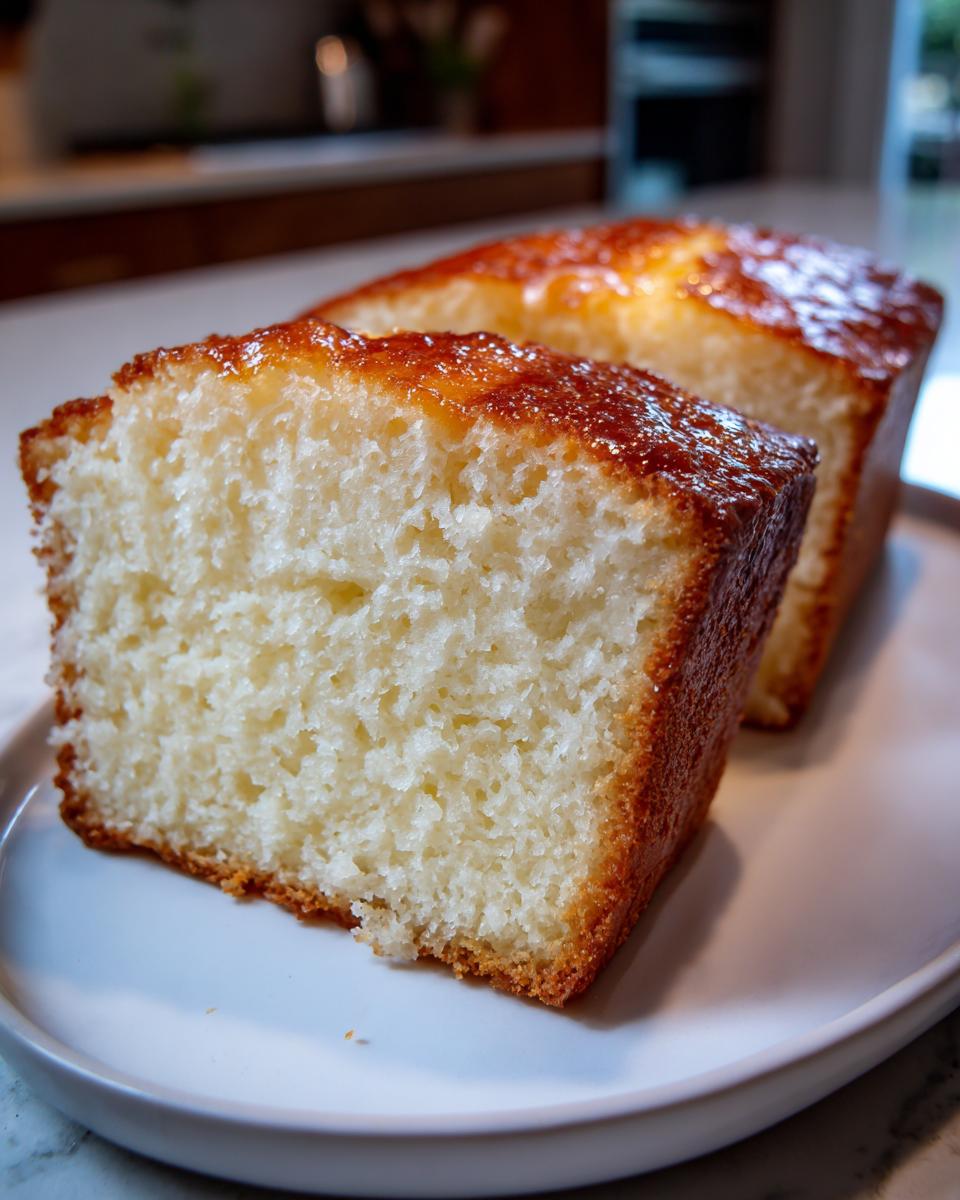
Even with an easy recipe, a few details can take your baking from great to absolutely show-stopping. Since this is a Sweet Milk Bread recipe, we want to maximize that soft texture. Honestly, if you love the incredibly airy structure of Japanese Milk Bread, you’ll appreciate how this formula gets you 90% of the way there with half the effort. That sweet, rich and tender bread quality is thanks to the condensed milk doing all the heavy lifting!
One thing I always do, even though the recipe doesn’t strictly require it, is brush the top immediately with melted butter right when it comes out of the oven. It keeps the crust from ever setting too firm and gives it this lovely, satiny sheen. If you want other ideas on how to work with high-moisture doughs, I break down some other techniques over in my Shokupan guide, which you can see here.
Also, if you’re looking for great recipes that use this technique in a different format, check out this popular link for inspiration on rolls!
Variations: From Loaf to Fluffy Rolls Recipe
If you’re not feeling a huge loaf—maybe you need something faster or just want cute individual portions—this dough adapts perfectly to become Fluffy Rolls Recipe! After the first rise, gently punch the dough down and divide it into 12 equal pieces. Roll each piece into a nice ball and tuck them snugly into a greased 9×13 inch baking dish. You’ll let them rise the second time in the pan (about 30–45 minutes again).
Bake them at the same temperature, 350°F, but since they are smaller and have more surface area exposed to the heat, they bake much faster—check them around 20 to 25 minutes. They come out pull-apart soft and are absolutely divine!
Using Your Condensed Milk Bread for Breakfast Bread Ideas
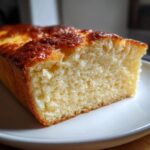
The best part about mastering this condensed milk bread is figuring out what to eat it with! Since it’s already got that hint of sweetness and an incredible texture, it opens up so many possibilities beyond just a plain slice. This recipe is perfect for turning into quick Breakfast Bread Ideas. Seriously, toast up a thick slice, slather it with good butter, and call it done!
Since it’s so sturdy yet tender, it makes the most amazing Homemade Sandwich Bread too, especially for things like grilled cheese where you want that slightly sweet counterpoint to salty fillings. And hey, if you have any leftover—which you probably won’t—it makes the absolute best French Toast imaginable. I even have a fantastic guide for Easy French Toast that works perfectly with slightly stale bread, but trust me, this loaf is too good to go stale!
We often eat it simply as a snack with jam, or even serve it thinly sliced right alongside a savory dinner—it plays the part of a dinner roll just beautifully. If you want to see another fantastic version of a soft, sweet loaf from another creator, check out what they’re doing over at this link for more fun ideas!
Storage and Reheating Instructions for Tender Loaf Bread
Since this is such tender loaf bread, keeping it fresh can sometimes feel tricky, but I have a couple of tricks up my sleeve! For the absolute best texture, try to keep your condensed milk bread stored right on the counter at room temperature, sealed up tight in a zip-top bag or wrapped in foil. Resist the urge to stick it in the fridge, because cold temperatures are the enemy of soft bread and will dry it out fast.
If you do have leftovers after a few days, reheating is totally easy and completely brings back that fresh-baked softness. Just take a thick slice, wrap it loosely in a piece of foil, and pop it into a 300°F oven for about five minutes. It warms right through, and that crust gets that beautiful, slight crisp again without losing the fluffy inside!
Frequently Asked Questions About Sweetened Condensed Milk Bread Recipe
I get so many great questions about this loaf, and I love hearing from all of you experimenting with your baking! Yeast baking has a few little quirks, but once you understand them, this recipe becomes super simple. Here are a few of the things I hear most often from folks trying out their first batch of this wonderful bread.
Can I substitute evaporated milk for sweetened condensed milk?
Oh, I see this one a lot! Please don’t swap them out—they are totally different beasts. Evaporated milk is just regular milk that has had about 60% of its water removed; it’s not sweet at all. Our recipe relies on the heavy sugar content in the sweetened condensed milk to tenderize the dough and provide that signature flavor. If you use evaporated milk, you’ll end up with a very dry, regular-tasting white bread recipe that’s missing all the richness!
Do I absolutely need a stand mixer for this quick bread recipe?
Absolutely not! I developed this recipe because I wanted everyone to be able to make it, and let’s be real, not everyone has a fancy mixer sitting on the counter. You can definitely knead this dough by hand. It takes a bit more elbow grease, usually pushing it to the full ten-minute mark, but it’s a fantastic way to really “feel” when the dough is done. If you want to see some other easy no-mixer ideas, check out my guide on easy no-cook homemade pizza sauce for inspiration!
How long does this soft, fluffy bread stay fresh?
Because of the high amount of sugar and fat from the milk, this bread actually holds its moisture quite well! Stored properly at room temperature, sealed up tight, it stays wonderfully soft for about three to four days. Honestly, it rarely lasts that long in my house, especially when it’s fresh from the oven. If you do want to keep it longer, definitely freezing works best!
Is this recipe hard to adapt for sweet rolls instead of a loaf?
Not at all! As I mentioned in the tips section above, this is one of the easiest sweet dough recipes to turn into rolls. After the first rise, you just divide the dough into 12 equal pieces, roll them into balls, and let them rise together in a 9×13 pan. They bake up faster, so keep an eye on them around the 20-minute mark. For more inspiration on sweet baking, check out the wonderful tips over at this external link!
Nutritional Estimates for This Sweet Bread Recipe
Now, I know some of you like to keep track of all the details that go into what you bake, and that’s perfectly sensible! I’ve run the numbers on this Sweet Bread Recipe based on the exact measurements I use here. However, I always want to be transparent with you because I’m a home cook, not a certified nutritionist.
Keep in mind that these figures are just estimates. Why? Because the brand of flour you use, the exact measurements you scoop out, or even the specific type of butter can shift those numbers slightly. What matters most to me is the beautiful flavor and texture we achieve safely in the oven! So please treat this information as a general guideline for portion awareness, not a hard scientific breakdown.
Share Your Experience Making Condensed Milk Bread
I truly hope you loved baking this incredibly soft condensed milk bread as much as I love sharing it with you! Now that you’ve pulled your gorgeous, golden loaf out of the oven and waited (impatiently, I’m sure!) for it to cool, I need to hear everything about it.
Whether you’re a seasoned baker or this was your very first attempt at yeast bread—seriously, tell me! Did you find the kneading process easy? Did you manage to resist slicing it while it was still warm? Don’t be shy; your feedback helps me every single day in writing recipes that work for home kitchens just like yours. I often perfect my techniques by reading your notes!
If you followed the steps for the Sweet Milk Bread and it turned out fantastic, please take a minute to leave a rating below. Five stars means the world to me, but even a three-star review that tells me exactly where you had trouble helps me improve things for the next person.
If you shared a picture of your beautiful loaf on Instagram or Facebook, tag me! I adore seeing your results. You can check out some other fun baking projects I’m working on, like my Ultimate Meringue Pie, while you’re waiting for comments to roll in. And if you want to see a different take on this recipe, check out this one!
PrintEasy Fluffy Sweetened Condensed Milk Loaf Bread
Make this soft, tender loaf bread using sweetened condensed milk for a rich flavor and fluffy crumb. This recipe is simple enough for beginner bread bakers and makes a great breakfast toast or snack.
- Prep Time: 20 min
- Cook Time: 35 min
- Total Time: 2 hours 5 minutes
- Yield: 1 loaf (10-12 slices) 1x
- Category: Baking
- Method: Yeast Baking
- Cuisine: American
- Diet: Vegetarian
Ingredients
- 1 cup warm milk (about 105-115°F)
- 1/4 cup sweetened condensed milk
- 2 1/4 teaspoons active dry yeast
- 3 cups all-purpose flour, plus more for dusting
- 1/4 cup granulated sugar
- 1/2 teaspoon salt
- 1 large egg, room temperature
- 3 tablespoons unsalted butter, softened
Instructions
- Combine the warm milk and sweetened condensed milk in a small bowl. Sprinkle the yeast over the top and let it sit for 5 to 10 minutes until foamy.
- In a large mixing bowl, whisk together the flour, sugar, and salt.
- Pour the yeast mixture and the egg into the dry ingredients. Mix with a wooden spoon or stand mixer until a shaggy dough forms.
- Add the softened butter. Knead the dough by hand on a lightly floured surface or with a dough hook for 8 to 10 minutes until it becomes smooth and elastic. The dough will be slightly sticky.
- Place the dough in a lightly oiled bowl, turning to coat. Cover the bowl with plastic wrap or a clean kitchen towel. Let the dough rise in a warm place for 1 to 1.5 hours, or until doubled in size.
- Gently punch down the risen dough. Shape it into a log and place it into a greased 9×5 inch loaf pan.
- Cover the pan loosely and let the dough rise again in a warm spot for 30 to 45 minutes, or until it has crowned about 1 inch above the rim of the pan.
- Preheat your oven to 350°F (175°C) during the last 15 minutes of the second rise.
- Bake for 30 to 35 minutes, or until the top is golden brown and the internal temperature reaches 200°F (93°C).
- Remove the bread from the pan immediately after baking and cool completely on a wire rack before slicing.
Notes
- For an extra soft crust, brush the top of the loaf with melted butter immediately after it comes out of the oven.
- If you prefer rolls, divide the dough into 12 equal pieces after the first rise, shape into balls, and place them in a greased 9×13 inch baking dish for the second rise before baking at 350°F (175°C) for 20-25 minutes.
- This sweet bread recipe works well for making French toast the next day.
Nutrition
- Serving Size: 1 slice
- Calories: 185
- Sugar: 8
- Sodium: 150
- Fat: 4
- Saturated Fat: 2
- Unsaturated Fat: 2
- Trans Fat: 0
- Carbohydrates: 31
- Fiber: 1
- Protein: 5
- Cholesterol: 25