
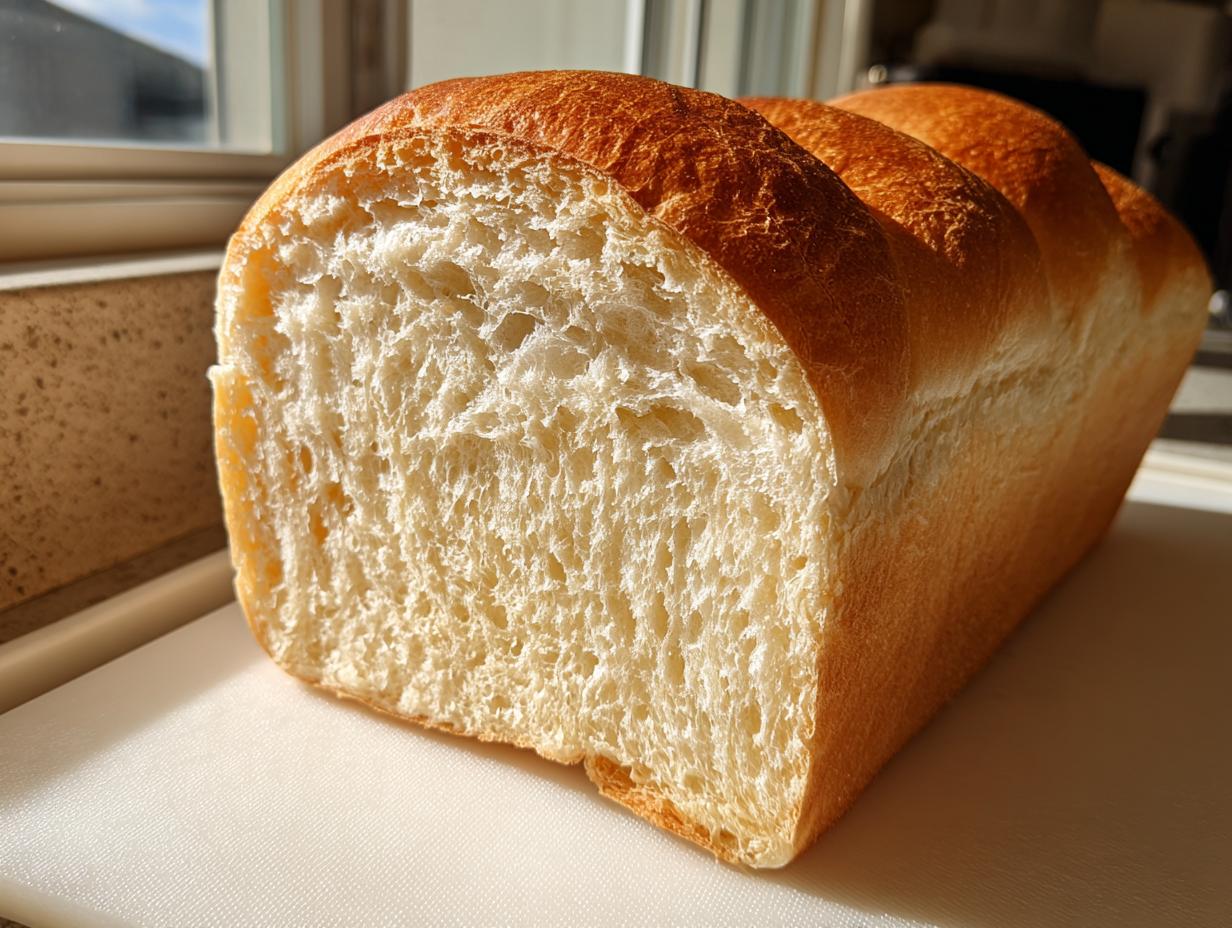
Okay, listen up, because if you’ve ever walked into a real Asian bakery and just *inhaled* the air, you know that level of pillowy, cloud-like softness in bread seems almost impossible to recreate at home. Well, I’m here to tell you that you absolutely can! This Japanese milk bread recipe is my blueprint for achieving that bakery-level tenderness every single time. The secret weapon is something called the Tangzhong method. When I first tried it, I thought it was too fussy, but mastering that initial step changed everything for my bread-making game. It locks in moisture like nothing else, giving you a loaf so fluffy and fresh it practically bounces back when you press it—and it stays that way for days!
- Why This Japanese Milk Bread Recipe Delivers a Pillow Soft Loaf
- Gathering Ingredients for Your Best Milk Bread Recipe
- Step-by-Step Instructions for Easy Tangzhong Bread
- Baking Tips for Bakery Style Bread At Home
- Serving Suggestions for Your Milk Bread
- Storage and Freshness for Tender Crumb Bread
- Frequently Asked Questions About Making Milk Bread
- Estimated Nutritional Information for This Milk Bread Loaf
- Share Your Buttery Soft Bread Creations
- Estimated Nutritional Information for This Milk Bread Loaf
- Share Your Buttery Soft Bread Creations
Why This Japanese Milk Bread Recipe Delivers a Pillow Soft Loaf
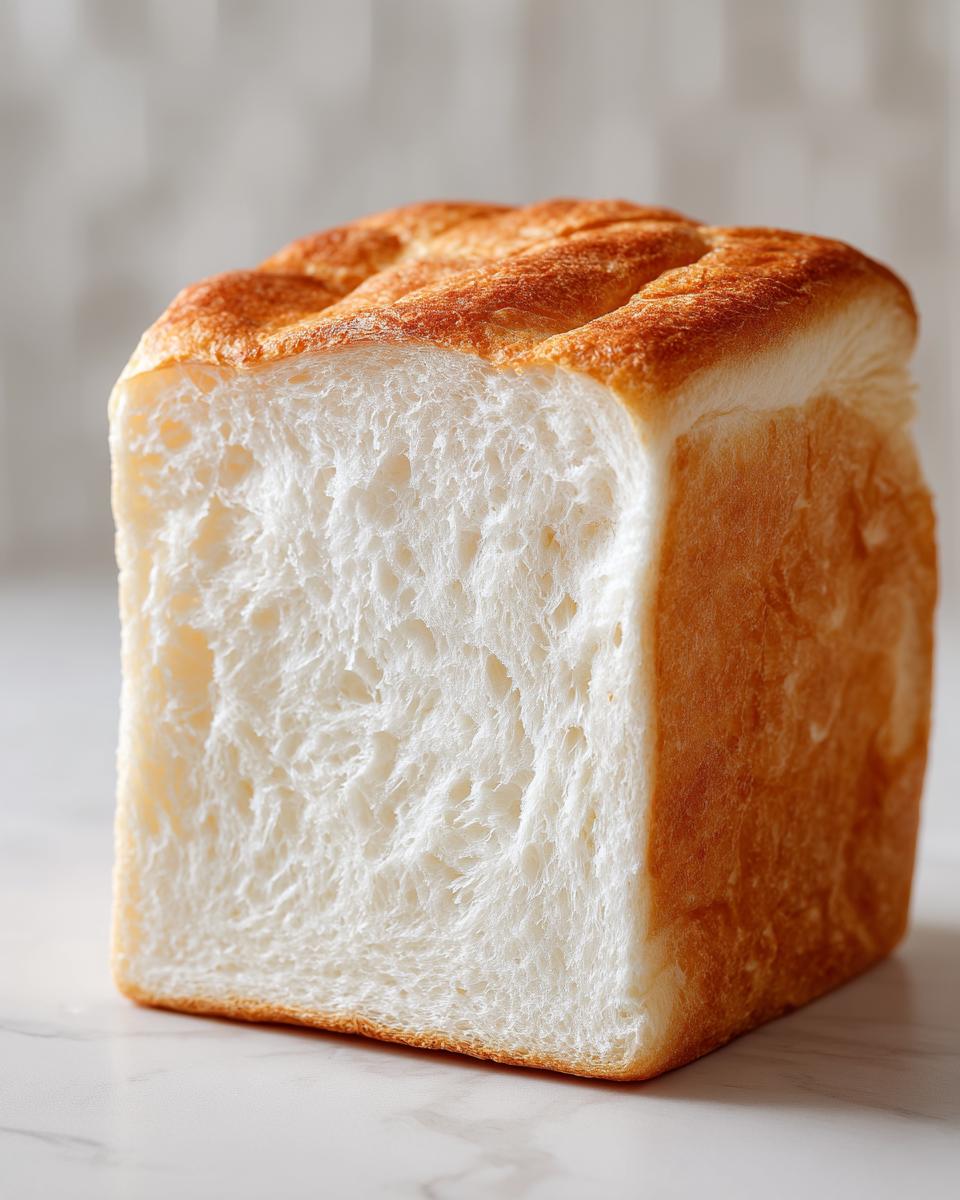
Trust me when I say this specific recipe isn’t just another bread endeavor; it’s an upgrade to your entire breakfast routine. The result is unparalleled softness that other enriched doughs just can’t touch. If you’re looking for that authentic bakery experience, keep reading. This is how we get that amazing tender crumb bread.
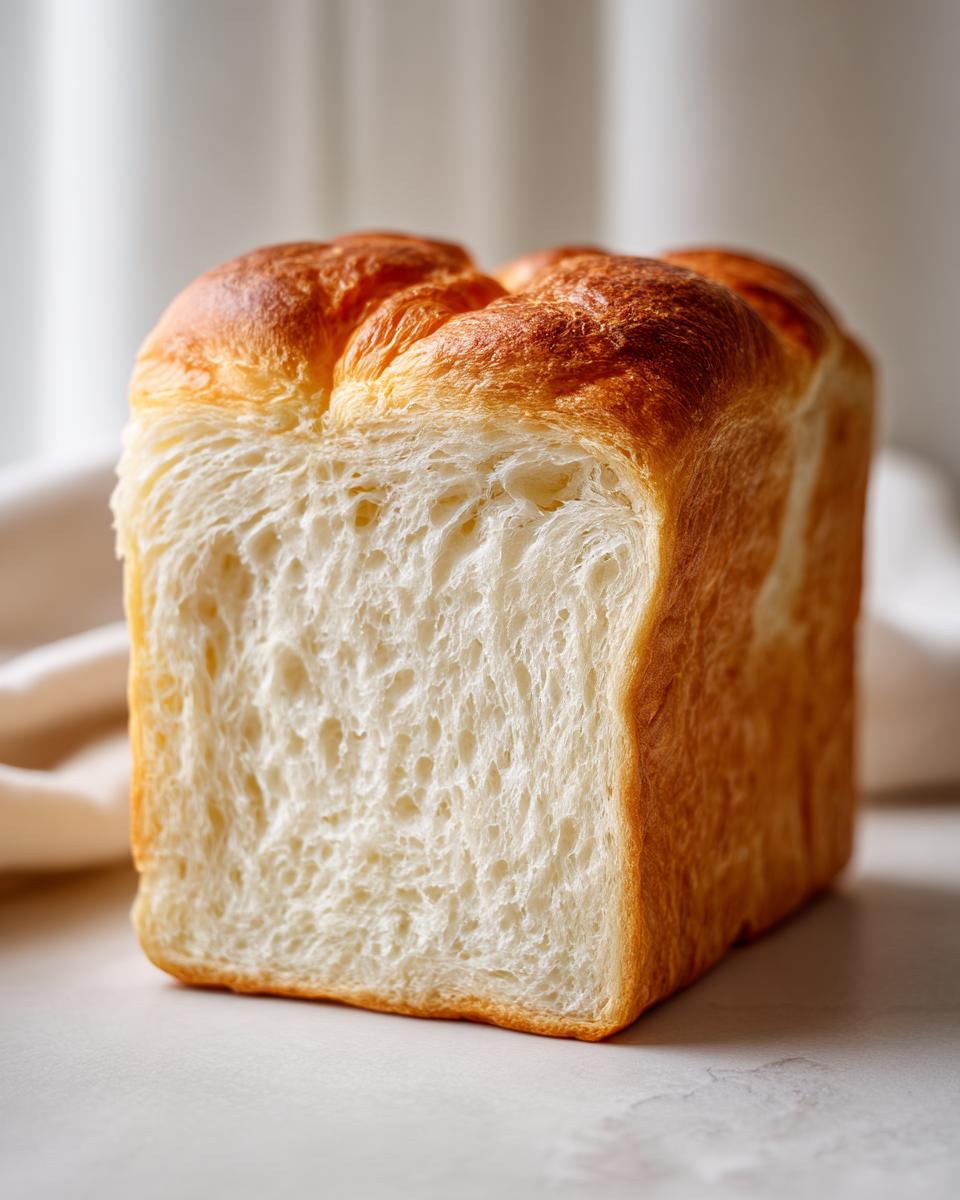
- Unbelievable inherent moisture that lasts for days.
- A naturally light texture that rivals store-bought Japanese loaves.
- That perfect, slightly sweet flavor profile that makes it great for toast. Feel free to try this incredible technique out on other things, too, like my fluffy old-fashioned pancakes!
The Magic of Tangzhong for Fluffy Bread Recipe Results
So, what’s the big secret behind making truly soft homemade bread? It’s the Tangzhong, often called the water-roux method. It sounds fancy, but it’s just pre-cooking a small portion of your flour and liquid until it gets thick. When you cook the starch this way, it can absorb way more liquid than regular flour can during kneading. What does that mean for my beginner bread baking friends? It means your dough holds onto moisture much longer, keeping your loaf ultra soft and pillowy long after you baked it. It’s truly a game-changer!
Gathering Ingredients for Your Best Milk Bread Recipe
Now that you know *why* this bread is going to be your new favorite, we need to talk about setting up your ingredients for success. Baking, especially enriched bread like this, demands precision. You can’t just eyeball things here; you need accurate measurements if you want that perfect, sweet, layered look to your milk bread. I highly recommend using a kitchen scale for the flours, but if you must use cups, be sure you are spooning the flour into the cup, not scooping directly from the bag. We are aiming for the best milk bread recipe here, remember?
Here’s what you’ll need all lined up and ready to go before you even touch the flour for the Tangzhong. Make sure that butter is truly soft—like, just barely holding its shape soft!
- 100g Bread Flour (for Tangzhong)
- 300g Milk (for Tangzhong)
- 350g Bread Flour (for Dough)
- 50g Granulated Sugar
- 1 teaspoon Salt
- 7g Instant Dry Yeast
- 60ml Whole Milk (for Dough)
- 60ml Heavy Cream
- 40g Unsalted Butter, softened
- 1 Large Egg
Ingredient Notes and Substitutions for Sweet Enriched Bread
Every component here works hard, but a few deserve extra attention. First up: Flour. You absolutely need bread flour for the main dough! It has higher protein, which builds the strong gluten network needed to trap all that moisture and give you that classic airy, springy texture of a Shokupan recipe. All-purpose flour just won’t hold up under the heaviness of all that milk and cream.
Also, pay attention to the liquids. We’re using both whole milk and heavy cream. The heavy cream is key to making this a truly decadent, sweet enriched bread. If you run out of heavy cream halfway through, don’t stress too much! You can substitute the heavy cream with more whole milk, but you might lose a tiny bit of that rich, melt-in-your-mouth tenderness. It will still be amazing, just perhaps a touch less rich than this version.
Step-by-Step Instructions for Easy Tangzhong Bread
Alright, this is where the magic really happens! I know baking can sometimes seem like following complicated lab instructions, but I promise if you follow these steps for our milk bread, you’ll have a showstopper loaf. We move from cooking that little paste to the final bake, ensuring everything is timed just right for that ultimate fluffy result. Don’t forget, mastering the Tangzhong is the pathway to achieving that fantastic, stretchable crumb you see in artisan bakeries. If you want to see what this dough can do, check out my easy homemade naan bread recipe, which uses a similar starchy technique!
- Prepare the Tangzhong: Whisk the 100g bread flour and 300g milk together in a small saucepan until smooth. Cook this over medium-low heat, stirring constantly, until it thickens up into a serious paste—it should look like pudding and hold a path when you drag your spoon through it. Remove it from the heat right away, cover the surface directly with plastic wrap so it doesn’t form a skin, and let it chill completely. Seriously, make sure it’s cool before the next step!
- Combine Dry Ingredients: Grab your stand mixer bowl fitted with the dough hook, and gently whisk together the 350g bread flour, sugar, and salt. Give it a little mix so they’re acquainted.
- Activate Yeast: In a separate small bowl, mix that yeast into the 60ml whole milk. Just let it sit for a minute until it looks a little sleepy or foamy on top.
- Mix Dough: Now, add the yeasty milk mixture, your cooled Tangzhong, the heavy cream, and the egg into the dry ingredients. Mix on low speed until everything just comes together into a shaggy mess.
- Knead: Bump the speed up to medium-low and let the machine work for about 5 minutes. Then, start adding your softened butter, one piece at a time, letting the dough absorb it before adding the next squish. Once the butter is fully incorporated, keep kneading for another 8 to 10 minutes. The dough should look totally smooth and elastic—it needs to pass the windowpane test!
- First Rise: Oil your clean bowl lightly, drop the dough in, give it a gentle roll so it’s coated, and cover it up. Let it sit in a warm spot until it balloons up and doubles in size, usually about 1 to 1.5 hours. Patience is key here!
- Shape Loaf: Gently punch the air out of that gorgeous dough. Divide it into three equal portions—I weigh mine out just to be sure. Roll each piece into a tight log shape, making sure the seam is pinched closed at the bottom. Place those three logs side-by-side into your greased 9×5 inch loaf pan.
- Second Rise: Cover the pan loosely. We need the dough to rise again until it’s puffy and crests about 1 inch over the rim. This takes about 45 to 60 minutes depending on how warm your kitchen is.
- Bake: Preheat your oven to 350°F (175°C). Bake for 30-35 minutes. You’re looking for a beautiful golden-brown top and an internal temp of 200°F (93°C).
- Cool: Get it out of the pan immediately! Let it rest on a wire rack until it’s totally cool before slicing. If you cut it hot, you risk smashing that beautiful crumb structure.
Mastering the Tangzhong: The Key to Milk Bread Texture
I want to spend just one more second on Step 1 because this is the make-or-break moment for that tender crumb bread. When you’re stirring that flour and milk mixture in the saucepan, you’re looking for it to get thick enough that when you scrape the back of your wooden spoon across the bottom, the paste holds a distinct line for a second or two before the cooked flour rushes back in to fill the gap. That’s how you know the starch has gelatinized perfectly. But hear me: if you add this hot goo to your room-temperature yeast dough, you’ll melt the butter and kill your yeast friends! So, chill that Tangzhong completely, okay? Cool enough to touch!
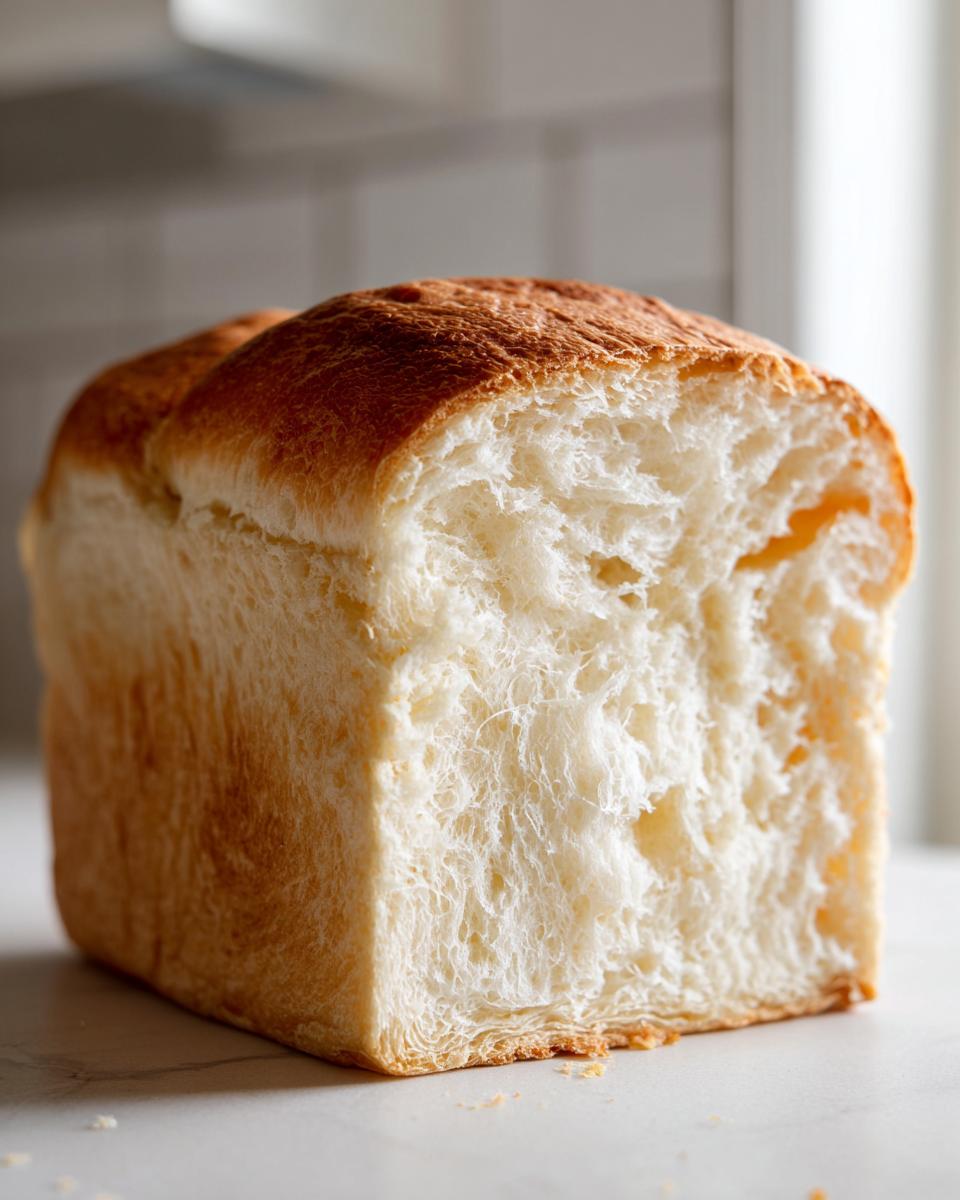
Kneading and Developing the Dough for a Pillow Soft Loaf
When you start kneading, the dough will feel sticky and messy until that butter goes in. Once the butter is incorporated, that’s when the real transformation begins. You’ll feel the dough shift from feeling sticky and uncooperative to becoming smooth and almost satiny as the gluten develops. Keep kneading until you can stretch a small piece out thin enough to see light through it without it tearing immediately. That’s the windowpane test speaking to you! This extensive kneading is exactly what creates that airy, pillow soft loaf structure.
Shaping and Proofing Your Shokupan Recipe Loaf
Shaping these loaves can feel a little awkward the first time, but it’s vital for that classic square top. After you divide your dough into three equal pieces, gently pat each piece into a small rectangle, then roll it up tightly like a jelly roll. You want to keep the air inside tight and push it forward as you roll. Once you place the three logs side-by-side in your greased pan, make sure the seams are facing down. For the second rise, keep an eye on it! You want it nearly touching the top of the pan, about 1 inch over the rim, but if it goes much higher before baking, it might collapse slightly in the oven because it got too over-proofed.
Baking Tips for Bakery Style Bread At Home
Okay, listen, you’ve done all the hard work—the Tangzhong is mixed, the kneading went perfectly, and now your dough looks like a beautiful, puffy cloud ready for the oven. Don’t panic now! The bake is just as crucial as the mixing when you’re trying to achieve that authentic bakery style bread at home. My biggest tip after years of trial and error is to stop relying only on the toothpick test. This milk bread is so moist that you can pull out a toothpick that looks *mostly* clean but still has wet batter clinging to it deep inside. That’s how you end up with a beautiful crust and a gummy center!
If you have an instant-read thermometer, please use it! That’s your ticket to guaranteed perfection. We’re aiming for an internal temperature of 200°F (93°C) when the loaf is done. Check the very center of the loaf—just plunge that probe in gently. If it hits 200°F, pull it out. If it’s still sitting around 190°F, give it another five minutes. Checking the temp takes all the guesswork out of pulling it too soon!
Another thing I learned is how to manage the top crust. Because this is such an enriched, sweet dough, it tends to brown quickly. If you notice the top getting too dark—really dark golden brown, not just light brown—before the inside is cooked, don’t be afraid to tent it! Just take a piece of aluminum foil, loosely drape it over the top of the loaf pan, and let it finish baking under that shield. This way, you protect the color while letting the heat penetrate all the way through. Honestly, once you master internal temperature checks, you can bake any bread perfectly; it works wonders for my oven roasted potatoes too, even though those are savory!
And finally, that cooling step! Don’t skip it. As soon as that loaf hits 200°F, get it out of that metal pan immediately and onto a wire rack. The residual heat will keep cooking the bottom of the bread if you leave it in the metal, leading to a slightly damp bottom crust. We want that clean, dry edge so your buttery soft bread stays perfect!
Serving Suggestions for Your Milk Bread
Honestly, the hardest part about baking this amazing milk bread is waiting for it to cool down so you can slice it! But once you do, you’ll realize this loaf is perfect for everything because it’s so tender you barely need to chew it. It’s fantastic on its own, lightly toasted with just whatever butter you have on hand. But don’t stop there! Because it’s so sturdy yet soft, it makes the ultimate base for almost any sweet breakfast.
Transforming Leftovers into Breakfast Loaf Ideas
Even on day three—which is ancient history for other bread recipes!—this loaf is still unbelievably soft. That means it is absolutely stellar when used for thick cuts of French toast. I love using these sturdy, soft slices for my stuffed French toast recipe; the custard soaks right in without turning the slice to mush. You can also take any slices that are a day or two old, cube them up, and you have the absolute best base for a rich bread pudding or that sweet, custardy texture.
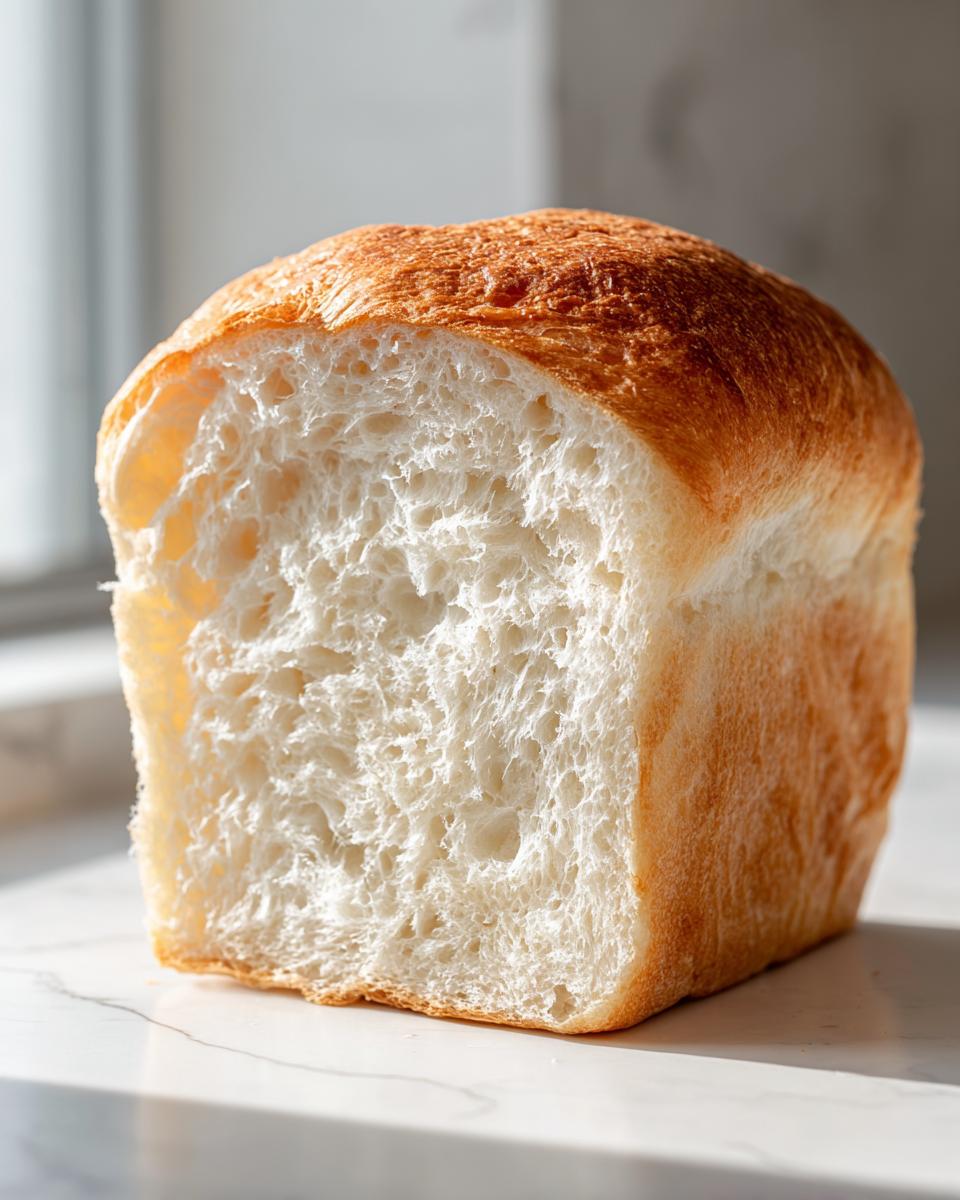
Storage and Freshness for Tender Crumb Bread
This is precisely why we go through the whole Tangzhong dance, my friends! The amazing thing about this tender crumb bread is that it refuses to go stale quickly, unlike yeasted breads made with just water. That extra moisture we trapped means you get days, maybe even four or five, of truly soft, edible bread right on your counter. It’s honestly a miracle of Japanese baking!
So, how do you keep that perfection locked in? The moment the bread is completely cool—and I mean *completely* cool, give it a good hour on the rack—you need to wrap it up snugly. I use plastic wrap first, wrapping the whole loaf really tightly, and then I toss that wrapped loaf into a zip-top bag. That double barrier keeps the air out better than anything else and maintains that unbelievable softness.
The Best Way to Store Your Milk Bread
For bread you plan to eat within three days, room temperature storage (like I just described) is perfect. Just keep it tucked away in a cooler, darker spot in your pantry. It’s important not to put it in the fridge—I know, I know, people say that keeps bread fresh—but the type of starch in this milk bread turns stale much faster in the cold. If you try to make a loaf of this size and know you won’t finish it within three days, you should freeze it!
Slice the loaf *before* you freeze it. This is clutch! You can then pull out just one or two slices at a time. Wrap the remaining frozen loaf tightly, and it will taste almost freshly baked even a month later. Pop the slices straight from the freezer into your toaster for an instant warm treat, or let them thaw on the counter for an hour if you want thick slices for something like condensed milk bread French toast.
That Extra Soft Crust Trick
I mentioned this in the notes, but I need to shout it again because it really enhances the overall experience of having buttery soft bread. Right after you pull the loaf out of the oven—literally the second it hits the cooling rack—take about a tablespoon of melted butter. Brush it quickly all over the hot top crust. It absorbs right in, making the crust incredibly tender and adding just a final hint of richness. Don’t overdo it—just a light, shiny coat is all you need to seal in that just-baked goodness!
Frequently Asked Questions About Making Milk Bread
I totally get it; making something this specialized can bring up tons of questions! Even experienced bakers sometimes get stuck when attempting the Tangzhong method for the first time. I’ve pulled together the things I hear most often from readers trying to master this milk bread loaf. We want your results to be the fluffiest possible, just like in the bakeries!
Can I make this Condensed Milk Bread variation instead?
That’s a great question, and I love the condensed milk bread approach, too! Condensed milk adds incredible sweetness and moisture, yielding a beautiful, soft loaf. However, the recipe I gave you here relies on the Tangzhong method to create maximal tenderness and structure. If you really want that cloud-like, slightly stretchy texture that defines classic Japanese Shokupan, I strongly recommend sticking to the Tangzhong steps exactly as written for the best overall result. If you absolutely must use condensed milk, you would need to significantly reduce the granulated sugar and potentially reduce some of the liquid milk, but honestly, you’re changing the chemistry too much, and I can’t guarantee that signature springy crumb!
My dough came out too dense, what went wrong?
Ugh, density is the enemy of pillow soft loaf dreams! Nine times out of ten, a dense result happens because of one of two things: under-kneading or temperature issues. First, did you let the yeast proof properly? If the yeast isn’t active, it won’t create enough gas to lift the dough. Second, and this is more common, did you add the cooled Tangzhong to the main dough while it was still warm? If that paste is too warm, it can shock and kill off your yeast right at the start, leading to a dense bake. You want that Tangzhong to feel cool to the touch before mixing it in with the rest of the ingredients.
What is the best flour for Japanese Baking bread?
You can’t skimp on the flour here if you want that authentic Japanese baking feel! For developing that incredible gluten structure required to hold all that moisture and cream, you really need high-protein bread flour. This isn’t the time for all-purpose flour, even an organic one! Bread flour is usually around 12-14% protein, which allows for that necessary stretch and chew that prevents your milk bread from crumbling apart. If you’re using King Arthur bread flour or a similar high-protein brand, you’ll see the best results when you test for that windowpane!
Is making the Tangzhong complicated?
I used to think this step made the whole recipe impossible for a weeknight bake, but you’ll see once you try it that it’s actually quite simple and fast! It’s much easier than waiting for a super long, four-hour first rise that some other recipes call for. I can hustle up the easy homemade rice pilaf faster than I can make the Tangzhong sometimes, but getting this paste cooked is essential for that light texture. Just remember—medium-low heat and stir constantly until it thickens. You’ll be done in under 10 minutes. It’s the most valuable component for achieving that fluffy bread recipe!
Estimated Nutritional Information for This Milk Bread Loaf
Now, I always tell people that when you’re baking like this, you aren’t tracking macros for diet points, you’re tracking joy points! However, because this recipe is so rich with cream, butter, and sugar, it definitely falls into the treat category. This information is an estimate based on dividing the entire loaf into 16 standard slices. Don’t sue me if your heavy cream brand was extra fatty! Ha!
- Serving Size: 1 slice
- Calories: 220
- Fat: 7g
- Saturated Fat: 4g
- Carbohydrates: 35g
- Sugar: 7g
- Protein: 6g
Share Your Buttery Soft Bread Creations
I absolutely live for seeing your beautiful, shiny loaves of milk bread pop up! Seriously, tag me or drop a comment below once you’ve made this. Did it pass the squish test? Did you brush it with that extra bit of melted butter when it came out of the oven? I want to hear all about your experience getting that true buttery soft bread finish. If you love this simple, enriched dough, check out how I use similar concepts for my chewy cookie cake!
If you found this guide helpful, please leave a quick rating for the recipe above. It helps other home cooks like you find great recipes! Happy baking, friends!
PrintUltra Soft Japanese Milk Bread (Shokupan) Recipe
Make bakery-quality, pillow-soft Japanese Milk Bread at home. This recipe uses the tangzhong method to create an incredibly tender crumb that stays fresh longer, perfect for toast or sandwiches.
- Prep Time: 45 min
- Cook Time: 35 min
- Total Time: 3 hours 0 minutes
- Yield: 1 loaf 1x
- Category: Baking
- Method: Baking
- Cuisine: Japanese
- Diet: Vegetarian
Ingredients
- 100g Bread Flour (for Tangzhong)
- 300g Milk (for Tangzhong)
- 350g Bread Flour (for Dough)
- 50g Granulated Sugar
- 1 teaspoon Salt
- 7g Instant Dry Yeast
- 60ml Whole Milk (for Dough)
- 60ml Heavy Cream
- 40g Unsalted Butter, softened
- 1 Large Egg
Instructions
- Prepare the Tangzhong: Whisk the 100g bread flour and 300g milk together in a small saucepan until smooth. Cook over medium-low heat, stirring constantly, until the mixture thickens significantly, resembling a thick paste (about 170°F or 77°C). Remove from heat, cover the surface directly with plastic wrap, and let it cool completely.
- Combine Dry Ingredients: In the bowl of a stand mixer fitted with the dough hook, combine the 350g bread flour, sugar, and salt. Whisk briefly to mix.
- Activate Yeast: In a small bowl, mix the yeast with the 60ml whole milk until slightly foamy.
- Mix Dough: Add the yeast mixture, cooled Tangzhong, heavy cream, and egg to the dry ingredients. Mix on low speed until a shaggy dough forms.
- Knead: Increase the speed to medium-low and knead for 5 minutes. Add the softened butter piece by piece, mixing until fully incorporated. Continue kneading for another 8-10 minutes until the dough is smooth, elastic, and passes the windowpane test.
- First Rise: Place the dough in a lightly oiled bowl, turning to coat. Cover and let it rise in a warm place until doubled in size, about 1 to 1.5 hours.
- Shape Loaf: Gently deflate the dough. Divide it into three equal pieces. Roll each piece into a tight log. Place the three logs side-by-side in a greased 9×5 inch loaf pan.
- Second Rise: Cover the pan loosely and let the dough rise again until it has nearly doubled and crests about 1 inch over the rim of the pan, about 45-60 minutes.
- Bake: Preheat your oven to 350°F (175°C). Bake for 30-35 minutes, or until the top is golden brown and the internal temperature reaches 200°F (93°C).
- Cool: Immediately remove the bread from the pan and cool completely on a wire rack before slicing for the best texture.
Notes
- For an extra soft crust, brush the top of the loaf with melted butter immediately after removing it from the oven.
- If you do not have a stand mixer, you can knead this dough by hand for about 15-20 minutes after the butter is added.
- This bread stays soft for several days when stored tightly wrapped at room temperature.
Nutrition
- Serving Size: 1 slice
- Calories: 220
- Sugar: 7g
- Sodium: 250mg
- Fat: 7g
- Saturated Fat: 4g
- Unsaturated Fat: 3g
- Trans Fat: 0g
- Carbohydrates: 35g
- Fiber: 1g
- Protein: 6g
- Cholesterol: 30mg