
There is something truly magical about turning basic flour and water into something that breathes, bubbles, and helps your bread rise. If you’ve ever watched those artisan bakers online and thought, “I could never manage that,” I am here to tell you, you absolutely can! Forget all the complicated mystery surrounding natural leavening. We are going back to basics because I’m going to walk you through making your very own active sourdough starter from scratch. Trust me when I say this simple 7-day process is completely achievable, even if you’ve never baked bread before. By the end of this, you’ll have your own living culture, ready to create incredible loaves!
- Why You Need an Active Sourdough Starter From Scratch
- Gathering Your Beginner Sourdough Baking Essentials
- The Day by Day Sourdough Starter Process: How to Make Sourdough Starter for Beginners
- Activating Sourdough Starter Step by Step for Baking Readiness
- Tips for Bubbly Sourdough Starter Success
- Maintaining an Active Sourdough Starter Routine
- Sourdough 101 for Beginners: Flour and Water Sourdough Science
- Storage and Reviving Your Sourdough Starter
- Next Steps After Creating Your Sourdough Starter
Why You Need an Active Sourdough Starter From Scratch
Look, I love a quick bread mix as much as the next person, but if you want that iconic, slightly tangy, deeply complex flavor in your bread, you have to ditch the packet of commercial yeast. That’s where this whole adventure starts! Creating your own sourdough starter from scratch is about cultivating hundreds of years of tradition right on your counter. This is pure natural leaven creation, harnessing the wild yeast that’s floating around us all the time.
This is the foundation of real artisan bread, and once you master this simple wild yeast starter tutorial, you open the door to loaves you simply cannot replicate any other way. If you’re ready for bread that tastes real—think about the rich flavor we get in artisan pumpkin sourdough—stick with me, and let’s get that culture going!
Understanding Your Homemade Sourdough Culture
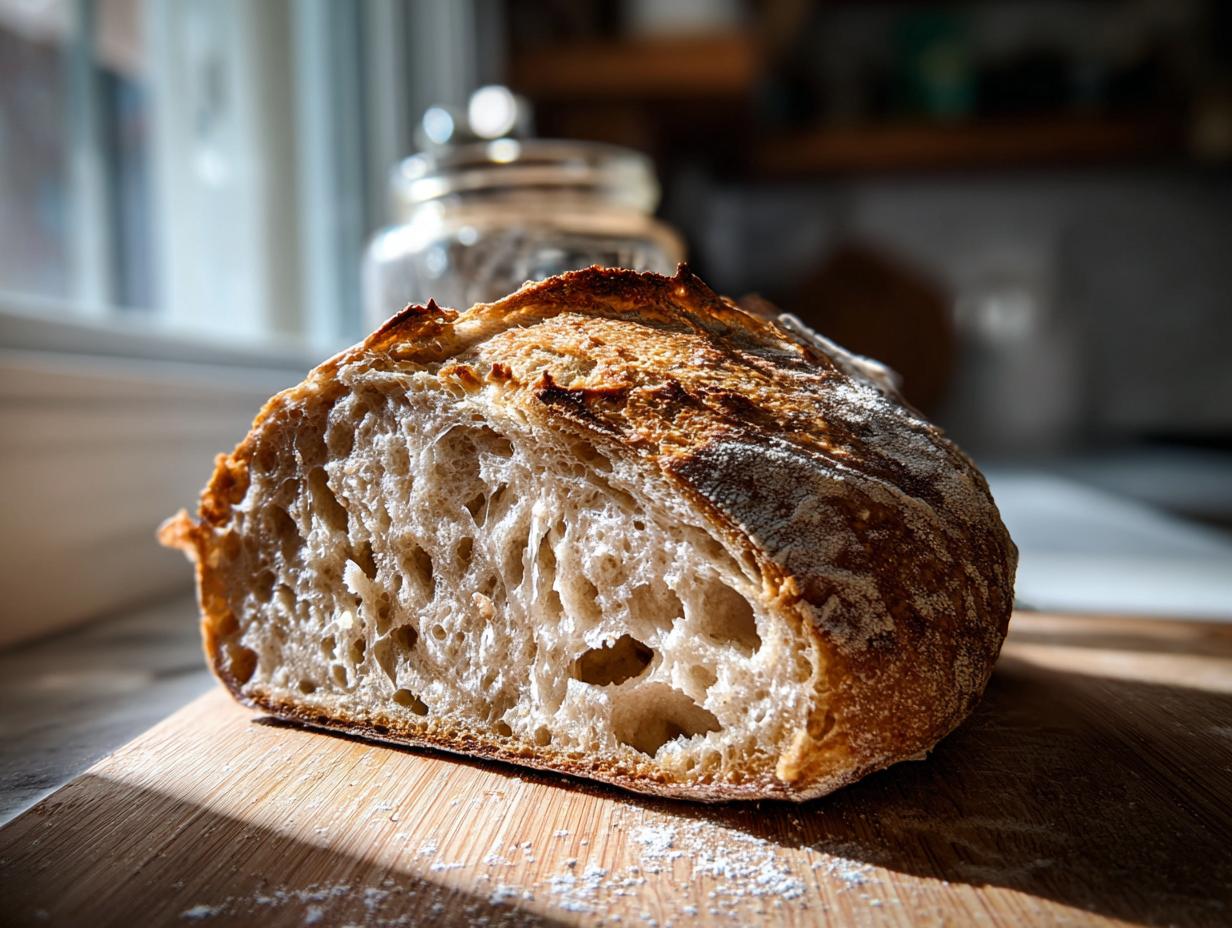
So, what exactly is this blob you’re about to create? It’s just flour and water, right? Well, yes, but it becomes so much more! A sourdough starter is essentially a living colony—a thick, happy mix of wild yeasts and beneficial bacteria. These natural workers eat the starch in the flour and, as a byproduct, they create the gas that makes your bread puff up beautifully. When you use a starter, you are skipping the packet of instant yeast because you’ve grown your own tiny, hardworking team of leaveners. It’s super cool, and way less intimidating than it sounds!
Gathering Your Beginner Sourdough Baking Essentials
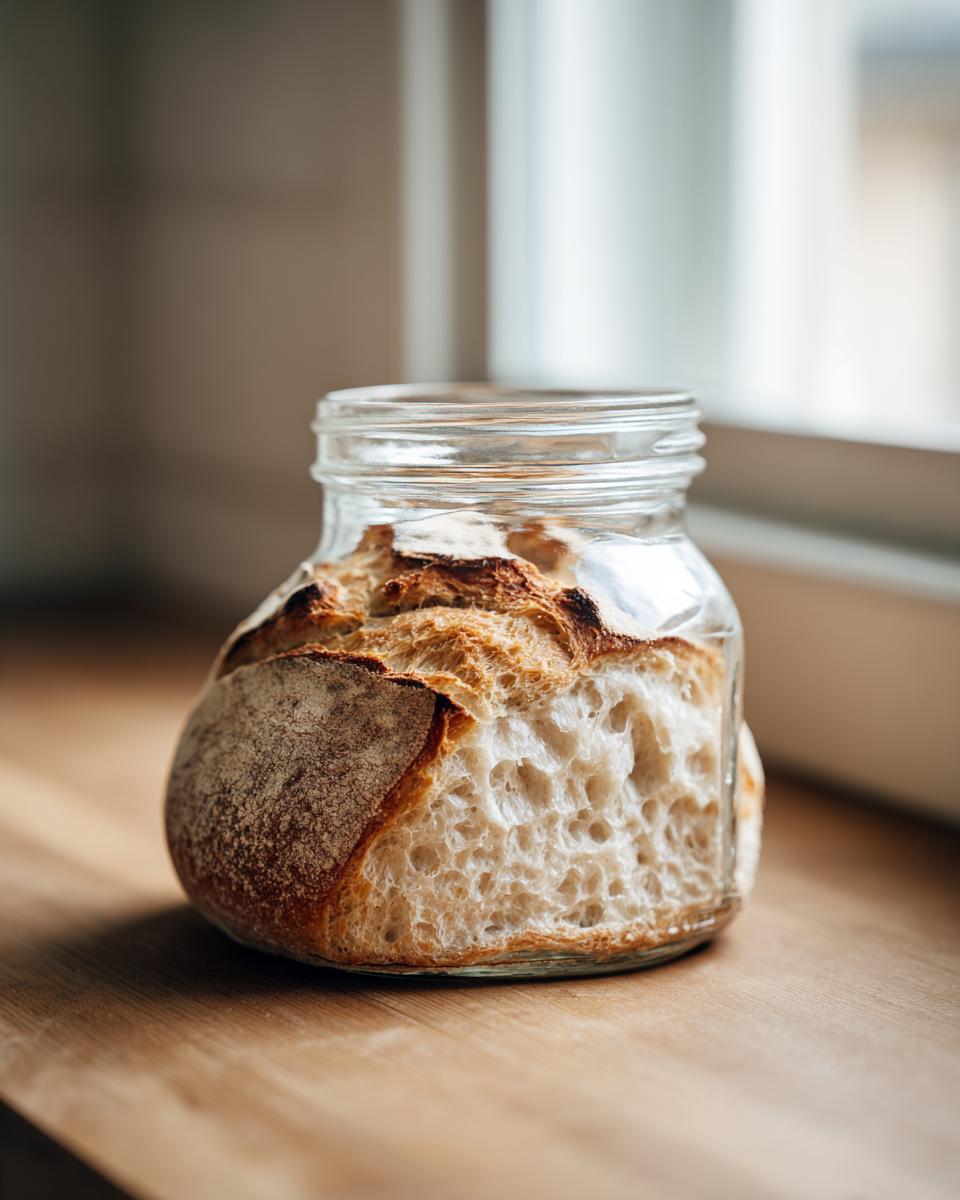
Okay, let’s talk setup! Creating your first homemade sourdough culture doesn’t require fancy gadgets or a full pantry overhaul. Seriously, this is where simplicity shines. We want to keep our beginner sourdough baking essentials list super short so you can jump right in. The key is cleanliness and using a jar large enough to let your culture breathe and grow without immediately spilling over. You can see a great example of how simple this can be over at Earth, Food, and Fire.
Ingredients for Your First Sourdough Starter
You only need three things to start capturing the wild yeast, and everything is measured by weight because baking likes precision!
- 100g Whole Wheat Flour or Rye Flour (This is critical for the initial jumpstart!)
- 100g Unbleached All-Purpose Flour (For daily feedings later)
- 100g Unchlorinated Water (Room temperature is best—chlorine hates happy yeast!)
Tip: I really push the whole grain flour (wheat or rye) for the first couple of days. It’s packed with the right microbes to get things moving fast. Don’t skip that step!
The Day by Day Sourdough Starter Process: How to Make Sourdough Starter for Beginners
This is where the magic, and a little bit of waiting, happens! Creating your sourdough starter isn’t a five-minute job; it’s a commitment to watching something awaken over about seven days. I know, I know—I was tapping my foot by Day 3, convinced I’d accidentally created expensive flour soup! But patience really is the secret ingredient here. Follow this day by day sourdough starter process exactly, and you’ll have a vigorous culture ready for baking. We are using 1:1:1 ratios for most of the week, meaning equal weight parts starter, flour, and water (50g each is perfect).
Days 1–3: Initial Activation of Your Sourdough Starter
For Day 1, grab that whole wheat or rye flour! Mix 50g of the grainy flour with 50g of water in your clean jar. Stir it until it looks like thick paste, making sure every bit of flour is wet. Cover it loosely—we want air to get in, but we don’t want bugs. Now, just leave it alone at room temperature for 24 hours.
When Day 2 rolls around, you might see nothing, or maybe a few tiny specks of life. Don’t panic! That’s normal. We discard exactly half (about 50g). Then, feed the remainder with 50g of all-purpose flour and 50g of water. Mix it well and cover loosely again. Repeat this exact discard-and-feed process for Day 3. By Day 3, you should start smelling something slightly acidic, maybe like yogurt or cheese. That’s a good sign!
Days 4–6: Building Strength in Your Sourdough Starter
By Day 4, you should be seeing definite bubbly action, perhaps even a little rise! If your starter is truly bubbling strongly, it’s time to speed things up. When you see that activity, switch to feeding every 12 hours—morning and evening. You’re still discarding half and feeding 50g flour and 50g water each time. You are teaching those wild yeasts to wake up, eat fast, and produce a ton of gas!
During Days 5 and 6, keep up that twice-daily feeding routine. Watch carefully! You want to see the starter rise significantly—ideally doubling in height—before the next feeding time comes around. If it’s reliably doubling its size within 6-8 hours of feeding, you are nearly done with the creation phase!
If you have leftovers you don’t want to bake with right away, check out my recipe for easy sourdough discard rolls during this phase. It keeps you from feeling wasteful!
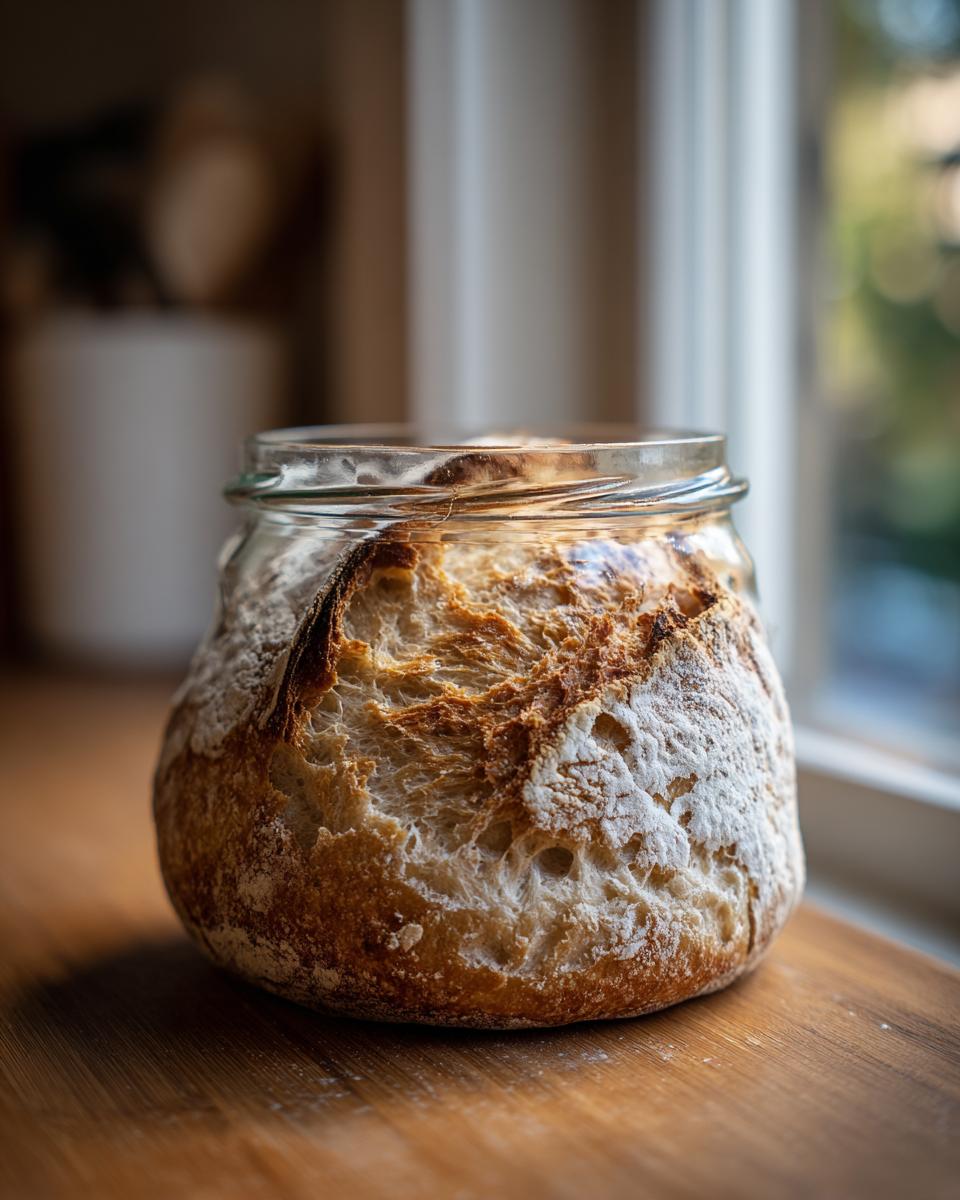
Day 7: Confirming Your Active Sourdough Starter
This is the victory lap! If your starter is doubling consistently after the Day 6 feedings, congratulations—you have an active sourdough starter! You confirmed it by creating a healthy, thriving homemade sourdough culture. For day-to-day care moving forward, you’ll generally feed it at a 1:2:2 ratio. That means you leave just a small amount (like 50g) and feed it with twice its weight in flour and water (100g of each). This keeps the culture healthy and active without wasting too much flour. It takes about a week, but the payoff is worth the wait, as you can see documented beautifully by Farmhouse on Boone.
Activating Sourdough Starter Step by Step for Baking Readiness
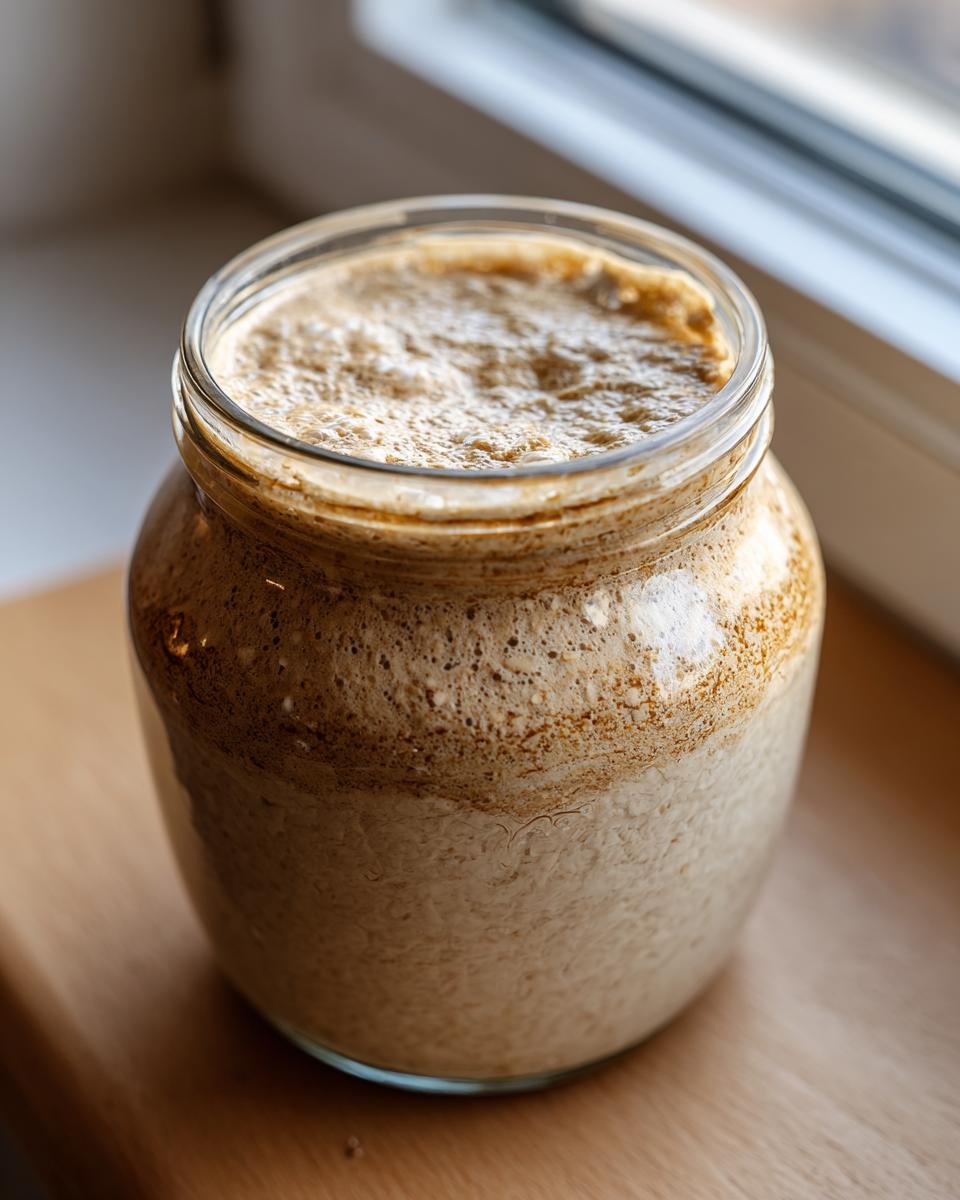
So, your starter is happily doubling every 12 hours now—that’s fantastic! But here’s a key point: you can’t just use it anytime after you feed it. To truly activate sourdough starter step by step for a perfect loaf, you need to catch it at its absolute peak. That tangy, proud moment when it’s full of life and gas!
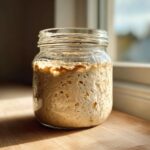
Think of it like waiting for a balloon to be as fully inflated as possible before you tie it off. We want it to double—sometimes even triple—in volume, and you should see tons of tiny, bursting bubbles clinging to the sides of the jar. Generally speaking, this happens about 4 to 8 hours after you give it its regular maintenance feeding (the 1:2:2 ratio). If you wait too long past that peak and it starts to deflate, it’s already hungry and won’t give your bread the lift it needs. Catch it right at the top of its rise for the best results. You can find more great tips on getting that perfect fluffiness over at Magnet Meal.
Tips for Bubbly Sourdough Starter Success
It’s one thing to get your starter bubbling; it’s another to keep it happy and consistently doubling! I learned early on that temperature and the type of flour you use are the two biggest influences on how vigorous your culture becomes. If you aren’t getting those beautiful, champagne-like bubbles you’re dreaming of, don’t worry. We just need to adjust our microscopic environment slightly. Remember what I said about using whole grains to start? That principle is key to keeping that yeast thriving!
If you’ve got a starter that seems sluggish, even after Day 7, moving it to a slightly warmer spot can work wonders. Try keeping it between 75°F and 78°F if your kitchen is on the cooler side. That gentle warmth makes the wild yeast work faster! Also, if you happen to discard some extra lately, you can turn those leftovers into yummy sourdough discard pancakes immediately!
The Best Flour for Sourdough Starter
This is a major game-changer, folks. Why do we insist on starting with rye or whole wheat flour? Whole grains contain more nutrients—more of the good sugars and proteins—that the wild yeasts absolutely love to feast on. Think of it as a super-charged meal that gets them out of their sleepy phase quickly. That’s why they are the best choice for the initial activation on Days 1 through 3!
Once your starter is humming along and reliably rising twice its size, you can absolutely switch it over to a standard unbleached All-Purpose flour for maintenance feedings (1:2:2 schedule). It’s easier to maintain a large batch with AP flour, and since the yeast colony is established, it doesn’t need the extra rustic boost anymore. If you’re looking for more detailed guidance on this switch, check out the tips listed here: James Tastology has a really clear breakdown on flour choices.
Maintaining an Active Sourdough Starter Routine
The fun doesn’t stop once your sourdough starter is active, right? Now we transition into maintaining an active sourdough starter so it’s always ready when you want to bake. Consistency is everything here. If you bake every single day, you’ll keep it on the counter and feed it once daily using that 1:2:2 ratio we talked about. But if you’re like me and tend to bake mostly on weekends, refrigeration is your best friend! Feed it well (1:2:2) one last time, let it chill on the counter for an hour, then pop it in the fridge. This slows down its appetite. I only have to remember to feed it once a week when it’s cold storage. It’s a super simple feeding sourdough starter routine that keeps it happy without demanding all my attention!
Sourdough Starter Troubleshooting Guide
I’m going to let you in on a little secret: nobody’s starter is perfect all the time. You will encounter weird things, and when you do, remember what I told you: it’s probably *hungry* or maybe a little *too cold*. The most common sight beginners panic over is ‘hooch.’ That’s just a thin layer of dark liquid sitting on top. Ugh, right? That means your starter ate all its food and is basically crying out for more. Don’t freak out! You can either carefully pour it off or stir it right back in, then feed it immediately. If you see a strong acetone or nail polish remover smell, that’s an even hungrier cry for help—just step up your feeding frequency a bit!
If you see zero bubbles after a feeding, check your temperature. Warmth equals activity, so moving that jar to a slightly warmer spot for a day might wake things up. Always make sure you are using unchlorinated water, too! For more great tips on keeping things bubbly, you can check out the guide at K-Pop Kitchen.
Sourdough 101 for Beginners: Flour and Water Sourdough Science
Okay, now that you have your little bubbly buddy, let’s spend just a second demystifying what’s actually happening in that jar. I always feel more confident when I know the science behind the cooking, and this is where sourdough 101 for beginners really shines. It’s not magic; it’s biology working in harmony!
The whole concept of flour and water sourdough relies on capturing what’s already floating in the air and present on the grains: wild yeast and certain types of lactic acid bacteria. When you mix flour and water, you create the perfect environment for these microorganisms to thrive. The yeast are the ones creating the gas, making bubbles and lifting your loaf. Meanwhile, the bacteria are producing those wonderful lactic and acetic acids—that’s where that beautiful, distinct sour tang comes from!

Understanding this helps you realize why we feed it; we are supplying the necessary food source (the starches in the flour) to keep the ecosystem balanced. When you’re ready to bake that loaf, you’ll see how powerful this natural process is, especially compared to the quick rise you get from commercial yeast. If you want to learn more about juggling different starter types, check out this article on My Daily Sourdough Bread. It really puts things in perspective when you are making something like moist pumpkin bread!
Storage and Reviving Your Sourdough Starter
So, you’ve got this incredible, bubbling pet, but let’s face it, feeding something twice a day isn’t always practical, especially if baking isn’t your daily hobby. That’s why refrigeration is the ultimate solution for long-term storage. When my starter is super active and on a 1:2:2 feeding schedule, but I know I won’t bake for two weeks, in the fridge it goes. It really slows down their munching!
To store it, just give it a regular feed when it’s at its peak, let it sit on the counter to get started for an hour or so (just to kickstart the process), then cover it tightly and stick it in the cold. This simple move means you only have to remember to feed it once a week. Don’t let it go more than 10 days without checking, though; we don’t want it getting too sad!
Now, bringing that chilly buddy back to life for baking takes a tiny bit of forethought, but it’s easy. You’ll need to let it warm up on the counter for a few hours, then take it out of the fridge and feed it. Let it sit until it shows a little activity. Then, the next day, give it a second feeding, and wait until it doubles nicely. Usually, after those one or two wakes-up feedings, it’s ready to go into your recipe! If you need a visual guide on those initial steps for getting it going, Eat For Glowing Skin has some fantastic step-by-step imagery that really clarifies the reactivation process.
Next Steps After Creating Your Sourdough Starter
Congratulations! You’ve done the heavy lifting and successfully cultivated a wild yeast starter. It’s active, it’s bubbly, and frankly, it deserves to make some amazing bread right away! Don’t let this incredible natural leaven just sit around waiting for a rainy day. Now is the perfect time to jump into your first real bake. Since you’ve mastered the creation process, taking on your first loaf using that vibrant starter is the natural progression.
I know the term “sourdough bread” can sound overly rustic or dense, but that’s not your only option! If you want to ease into it while still enjoying the depth of flavor that only a strong culture can provide, I have the perfect starting point. Once you feel totally comfortable with your feeding and peaking routine, try making my soft and fluffy milk bread recipe that uses the Tangzhong method alongside your starter. It’s incredibly forgiving, yields a beautifully light texture, and it’ll show you just what your new sourdough buddy is capable of! Go on, you’ve earned a fantastic loaf of bread!
PrintThe Absolute Beginner’s Guide: How to Make and Maintain a Sourdough Starter From Scratch
Follow this simple, day-by-day guide to create your own active sourdough starter using only flour and water. Learn the feeding routine and troubleshooting for your homemade wild yeast culture.
- Prep Time: 5 min per day
- Cook Time: 0 min
- Total Time: 7 days active creation
- Yield: Approx. 100g active starter
- Category: Baking Essentials
- Method: Natural Fermentation
- Cuisine: Global
- Diet: Vegetarian
Ingredients
- 100g Whole Wheat Flour or Rye Flour (for initial activation)
- 100g Unbleached All-Purpose Flour (for maintenance)
- 100g Unchlorinated Water (room temperature)
Instructions
- Day 1: Mix 50g of whole wheat or rye flour with 50g of room temperature water in a clean glass jar. Stir until no dry flour remains. Cover loosely and let it sit at room temperature (68-75°F) for 24 hours.
- Day 2: You may see small bubbles or nothing at all. Discard half of the mixture. Add 50g of all-purpose flour and 50g of water to the remaining starter. Mix well, cover loosely, and wait 24 hours.
- Day 3: You should see some activity, perhaps small bubbles or a slight sour smell. Discard half. Feed with 50g of all-purpose flour and 50g of water. Wait 24 hours.
- Day 4: Discard half. Feed with 50g of all-purpose flour and 50g of water. If you see significant bubbles, you can switch to feeding every 12 hours.
- Day 5 & 6: Continue the discard and feed cycle every 12 hours (morning and evening). Use 50g flour and 50g water for each feeding. Your starter should become noticeably more active, doubling in size between feedings.
- Day 7 (or when consistently doubling): Your sourdough starter is now active. To maintain it, keep discarding all but 50g of starter, then feed it with 100g of all-purpose flour and 100g of water (a 1:2:2 ratio). This is your regular feeding schedule.
- To bake: Use the starter when it has doubled in size and is full of bubbles, usually 4-8 hours after feeding.
Notes
- Use unchlorinated water, as chlorine can inhibit wild yeast growth.
- If your starter is sluggish, try moving it to a slightly warmer spot (around 78°F) for a few days.
- A thin layer of liquid (hooch) on top means your starter is hungry; pour it off or stir it in before feeding.
- For long-term storage, place your active starter in the refrigerator after feeding. Feed it once a week.
Nutrition
- Serving Size: 100g culture
- Calories: 180
- Sugar: 0.5
- Sodium: 1
- Fat: 0.5
- Saturated Fat: 0.1
- Unsaturated Fat: 0.4
- Trans Fat: 0
- Carbohydrates: 37
- Fiber: 2
- Protein: 6
- Cholesterol: 0