
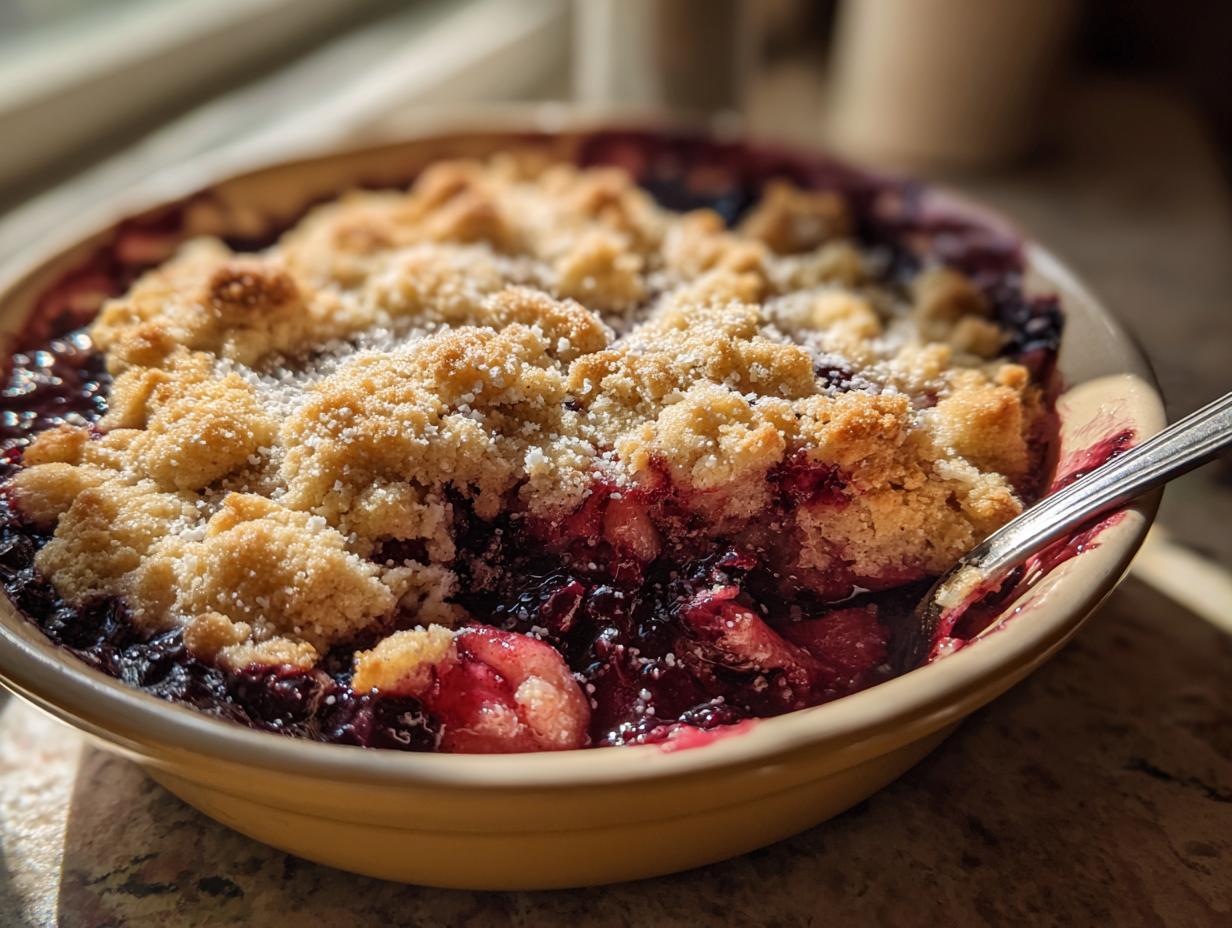
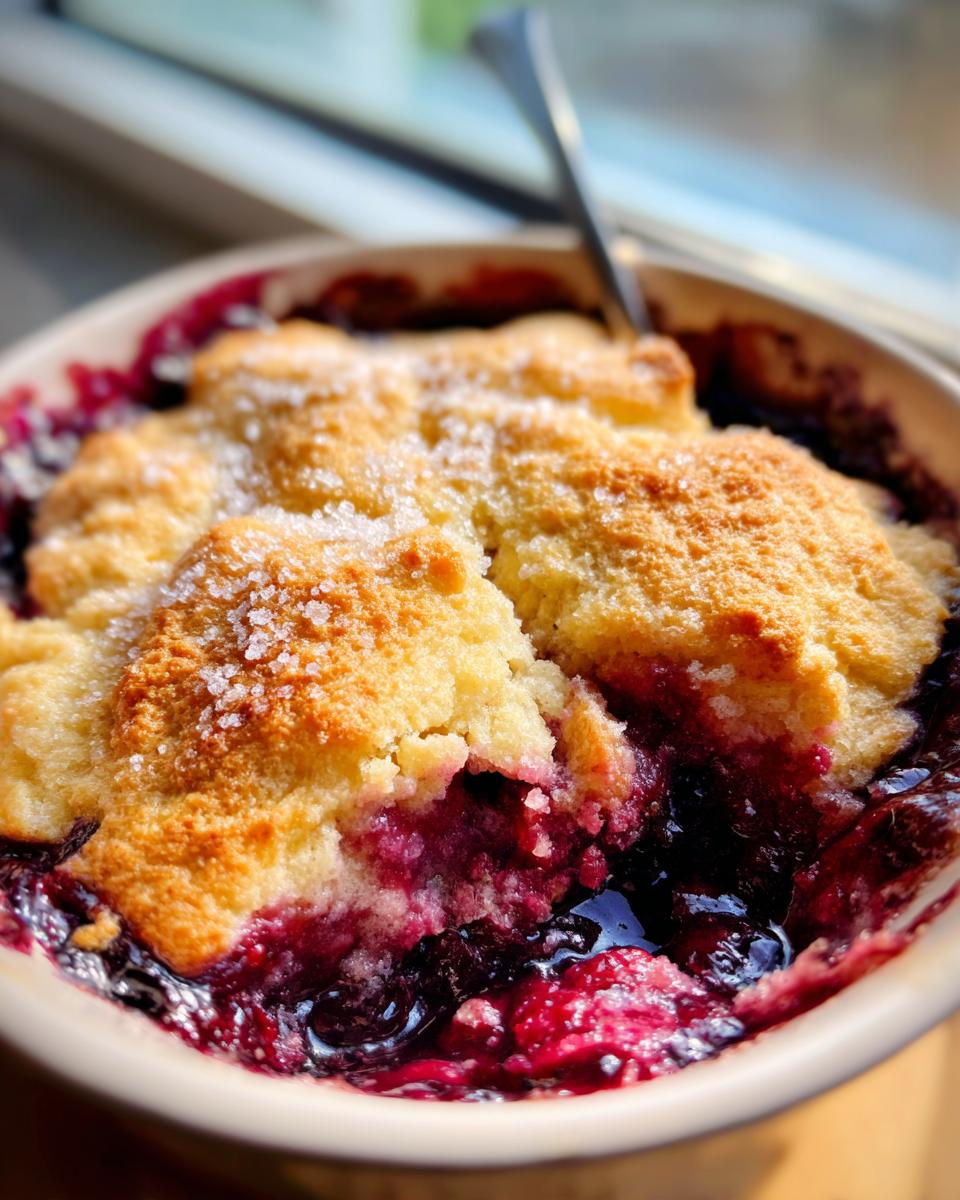
Oh, friends, when summer hits, the craving for something warm, golden, and bursting with fruit just takes over, right? Forget those fussy tarts and layered cakes for a minute; what we really need is pure, comforting bliss. That’s why I’m sharing my absolute favorite **mixed berry cobbler** recipe with you today. This isn’t some complicated pastry project; we’re aiming for a dessert that sings with juicy, sweet-tart berries tucked right under the fluffiest, buttery biscuit topping you’ve ever made.
Here at Cooking Zenith, Aria Thompson’s whole philosophy is about making sure you feel confident, not intimidated. This cobbler proves that you don’t need fancy training to achieve something incredible. It’s rustic, it’s easy, and when you pull that bubbly pan out of the oven, trust me, the whole house smells like heaven. Pair it with some homemade lemonade—maybe check out our classic lemonade recipe if you need a refresher—and your summer evening is made!
- Why This Easiest Mixed Berry Cobbler Recipe Stands Out
- Ingredients for Your Mixed Berry Cobbler
- How to Make the Mixed Berry Cobbler: Step-by-Step
- Tips for the Best Mixed Berry Dessert
- Variations on the Mixed Berry Cobbler
- Serving Suggestions for Your Summer Berry Cobbler
- Storage and Reheating for Your Homemade Berry Dessert
- Frequently Asked Questions About Mixed Berry Cobbler
- Share Your Mixed Berry Cobbler Creations
Why This Easiest Mixed Berry Cobbler Recipe Stands Out
I’ve tested this recipe countless times because, for me, the mark of a truly great **summer berry cobbler** is its reliability. You need something that shines whether you grab berries from the farmer’s market or dig into the freezer stash on a random Tuesday. This one delivers!
What makes this recipe the go-to comfort food at my house? Well, that’s easy. It’s all about the payoff versus the effort. We get that incredible homemade flavor without spending hours fussing over rolling dough.
- It’s lightning-fast. Seriously, the prep time is almost nothing. It fits perfectly into a weeknight schedule, or you can whip it up quickly when unexpected company arrives. If you need more easy dinner ideas, check out my guide to simple weeknight dinners!
- It handles every berry beautifully. I love that I don’t have to worry about thawing if I’m using frozen ones.
- That topping isn’t just thrown on; it bakes up to be unbelievably light.
Perfect for Fresh or Frozen Berries
This is major, because berry availability changes! If you have beautiful fresh raspberries, go for it. But if you’re grabbing that bag of mixed frozen berries—the one you bought on sale last winter—you can use them straight from the freezer. Just toss them into the dish with the sugar and cornstarch as they are. That’s right, no thawing required!
The Tender Biscuit Topping Dessert
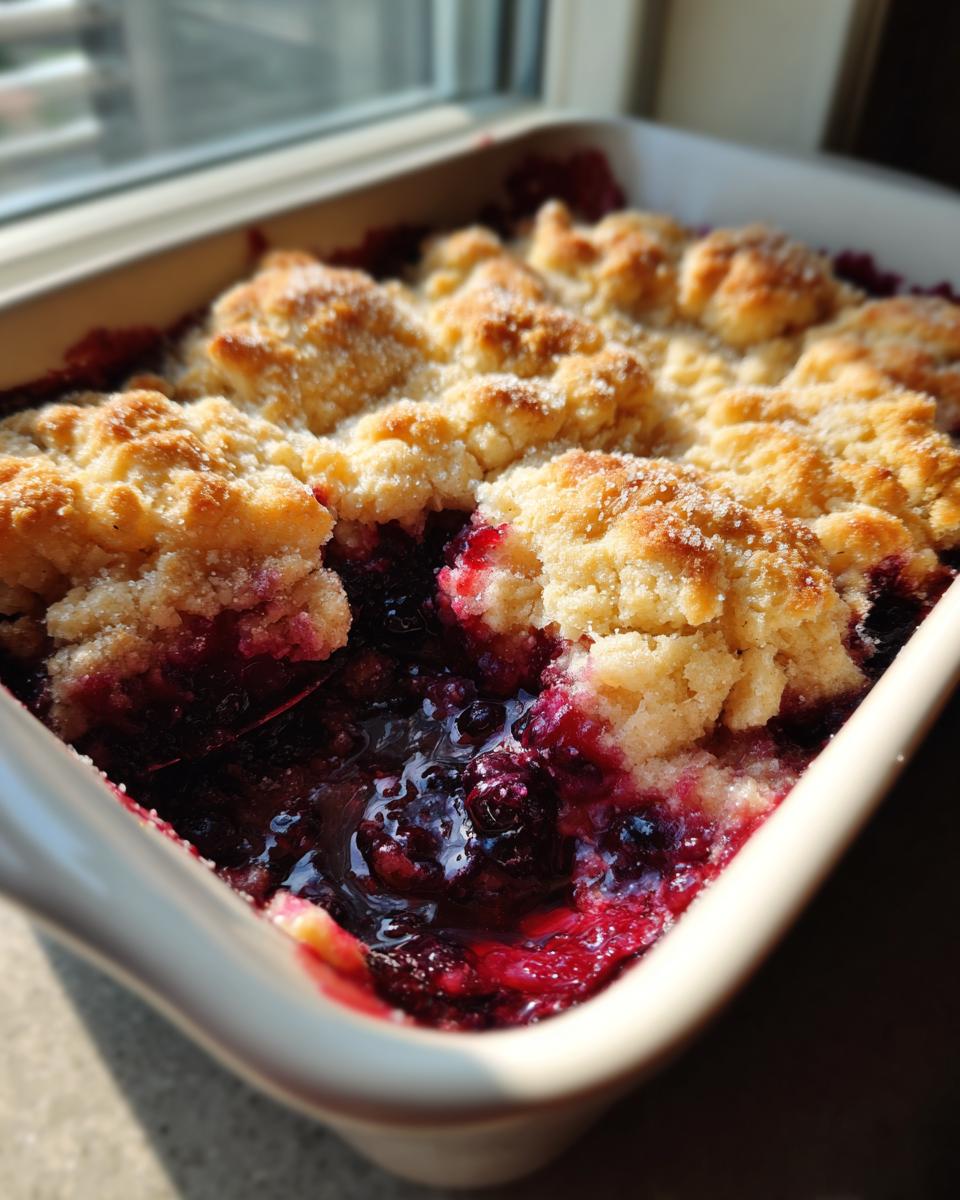
If you’ve ever made a standard crisp, you know it gets a little crunchy on top. Not here! We are making a genuine **biscuit topping dessert**. When this dough hits the heat, it puffs up just enough to get golden brown and slightly flaky, surrounding those bubbling berries underneath. It’s richer than a simple crisp topping and way easier than fiddling with pie dough.
Ingredients for Your Mixed Berry Cobbler
When I say this is a simple dessert recipe, I absolutely mean it. We aren’t making a grocery list that requires a trip to three specialty stores. Most of this is pantry stock! Gathering your supplies is half the battle won. Remember, the trick to that golden biscuit topping is using cold butter, so make sure yours has been chilling out in the fridge!
Here is exactly what you’ll need for this ultimate **homemade berry dessert**:
- 4 cups mixed berries (fresh or frozen—remember, no thawing needed!)
- 1/2 cup granulated sugar
- 2 tablespoons cornstarch
- 1 tablespoon lemon juice
- 1 1/2 cups all-purpose flour
- 2 teaspoons baking powder
- 1/2 teaspoon salt
- 1/2 cup cold unsalted butter, cut into small pieces
- 1/2 cup milk (whole or 2% works best!)
- 1 tablespoon coarse sugar, for sprinkling
If you need an amazing sauce recipe for drizzling on top later—maybe you want to get a little fancy—I always recommend checking out my very simple homemade teriyaki sauce recipe… Wait, no, that’s definitely not for dessert! Just kidding! Stick to the vanilla ice cream for this one, it’s perfect!
Ingredient Notes and Substitutions
Understanding why we use these ingredients helps you troubleshoot later, which is part of becoming a confident cook! For instance, the cornstarch isn’t negotiable; it’s what turns those juicy berries into that thick, spoonable filling we want. If you use frozen berries, you might need to add 5 more minutes to the bake time, but they work wonderfully.
I often sneak in extra flavor by using blackberries and raspberries when I can, just like I saw trending online, to get that sweet-tart punch. As for the butter, it MUST be cold for the biscuit topping. If you use soft butter, you won’t get those lovely pockets of steam that make the biscuit fluffy. If you’re in a pinch, you could use vegetable shortening instead of butter, but honestly, you lose that rich, buttery flavor that makes this topping so good.
How to Make the Mixed Berry Cobbler: Step-by-Step
Okay, now for the fun part! Don’t let the two-part process scare you; making this **mixed berry cobbler** is genuinely straightforward. We’re dividing our time between getting the fruit ready and mixing up that glorious biscuit topping that sinks perfectly into the juices. You want to have everything ready to go before you start combining, so pull out that 8×8 inch baking dish and get it lightly greased! Remember, preparation is key to preventing things from sticking, and if you love easy dips for fruit snacks later on, I have a fantastic cream cheese fruit dip recipe you might get a kick out of!
Preparing the Juicy Berry Filling
First things first: we preheat that oven to 375°F (190°C). While it warms up, we tackle the berries. In a big bowl, toss your 4 cups of mixed berries—fresh or frozen, remember!—with the granulated sugar, the cornstarch, and the lemon juice. The lemon is important; it brightens up all that sweetness. The cornstarch is our little secret weapon here because it’s what guarantees that thick, jammy texture instead of a watery mess later on. Once everything is coated, pour that entire mixture right into your prepared dish. Done with the filling!
Creating the Buttery Fruit Cobbler Topping
Time for the biscuit magic. In a separate bowl, whisk your flour, baking powder, and salt together. Now, take that cold butter we talked about and cut it right into those dry ingredients, using your fingers or a pastry blender until it looks like coarse meal, maybe some pea-sized bits are still hanging around. That’s perfect for creating that tender texture! Then, pour in the milk and stir *just* until a shaggy dough forms. I mean it—stop mixing sooner than you think you should! You want lumps. Drop spoonfuls of this dough over the berries; don’t worry about covering every single inch. Gaps are good! Finally, sprinkle that coarse sugar over the top for a lovely crunch to contrast your **buttery fruit cobbler topping**.
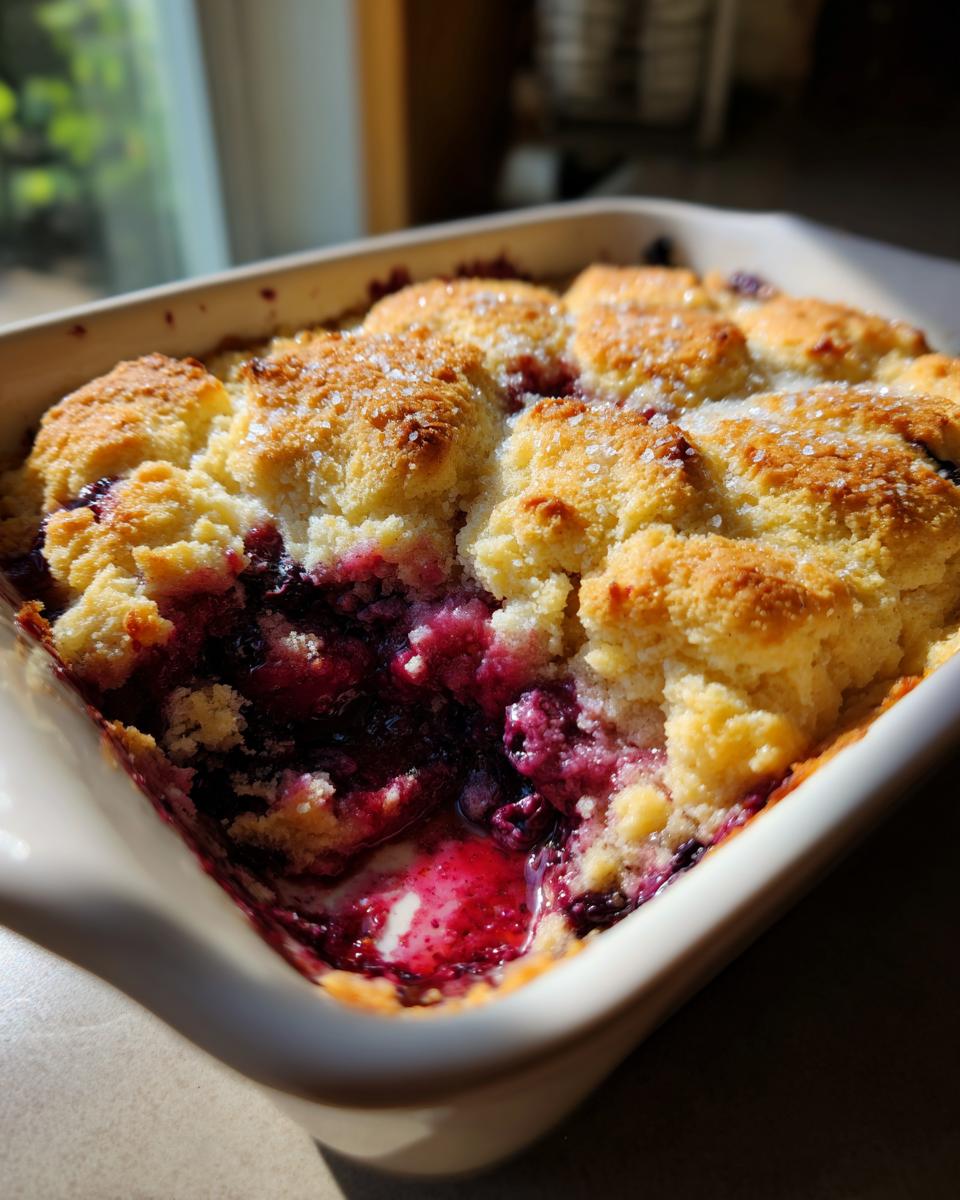
Baking and Resting the Mixed Berry Cobbler
Pop that beauty into the preheated 375°F oven for about 35 to 45 minutes. How do you know it’s done? You’re looking for two main things: the topping should be deeply golden brown, and you should see the berry filling vigorously bubbling up from those little gaps in the crust. Resist the urge to dig in immediately! Let the **mixed berry cobbler** rest on the counter for at least 15 minutes after it comes out. This resting time lets the cornstarch do its final thickening job. Serve it warm—maybe with that scoop of vanilla ice cream you’ve been dreaming about—and enjoy the fruits of your *very* simple labor!
Tips for the Best Mixed Berry Dessert
Achieving the peak of this **best mixed berry dessert** really comes down to temperature control, even though it’s a rustic bake. The number one mistake I see people make is using room-temperature butter for the biscuit topping. Don’t do it! When the butter melts before it hits the oven, you get a greasy, flat topping instead of that heavenly, fluffy lift we want.
I remember the first time I tried to rush this cobbler for a potluck—I forgot to chill my butter. The topping spread out like a cookie instead of puffing up. So now, if I’m running behind, I actually cube my butter and freeze it for 10 minutes while I mix the berries. That super cold butter hitting that hot oven creates the steam that lifts the dough just right, giving you that gorgeous golden color. If you are looking for other classic comfort favorites that rely on perfect temperature, you absolutely have to try my soft and chewy peanut butter cookies recipe—the chilling step there is just as crucial!
Variations on the Mixed Berry Cobbler
Look, I love our flaky, buttery biscuit topping—it’s really the best way to make this **mixed berry cobbler**—but sometimes you need super fast magic, right? I get it! The beauty of a fruit dessert like this is how adaptable it is. If you’re in a massive rush or just looking for a different texture, we can totally swap out that biscuit dough for something else simple. This opens the door to satisfying that craving for a **quick dessert with cake mix** or trying something closer to a crumble.
If you enjoyed how easy our cherry dump cake was, you’ll love these little adjustments. Check out my cherry dump cake recipe if you need a great idea for when you have almost zero energy left!
Using Cake Mix for a Shortcut Mixed Berry Cobbler
This is where the dessert goes from “easy” to “are you kidding me?” simple. Instead of making the flour/butter/milk topping from scratch, you can use a box of dry cake mix—vanilla or even yellow cake mix works wonders. You just spread the dry mix evenly over your prepared berry filling. Then, you take about half a cup of melted butter and drizzle it right over the dry mix. That’s it! You bake it just like normal. It turns into a buttery, slightly chewy, cookie-like crust. It’s amazing what cake mix can do when you just sprinkle it over fruit!
Oat Topping for a Rustic Berry Dessert
If you prefer that slightly heartier, European bakery feel, we can shift this toward a **rustic berry dessert** vibe, leaning into what some people might call a **Triple Berry Crumble recipe**. To do this, skip making the biscuit dough entirely. Instead, you make a simple oat topping!
Just mix together about 1 cup of flour, 3/4 cup of rolled oats, 1/2 cup of brown sugar (that adds that lovely molasses depth!), a teaspoon of cinnamon for warmth, and about 1/3 cup of very cold butter cut into small cubes. Use your fingers to rub that mixture together until it looks sandy and crumbly. Sprinkle that over the berries, and bake it. The oats give it the perfect textural bite.
Serving Suggestions for Your Summer Berry Cobbler
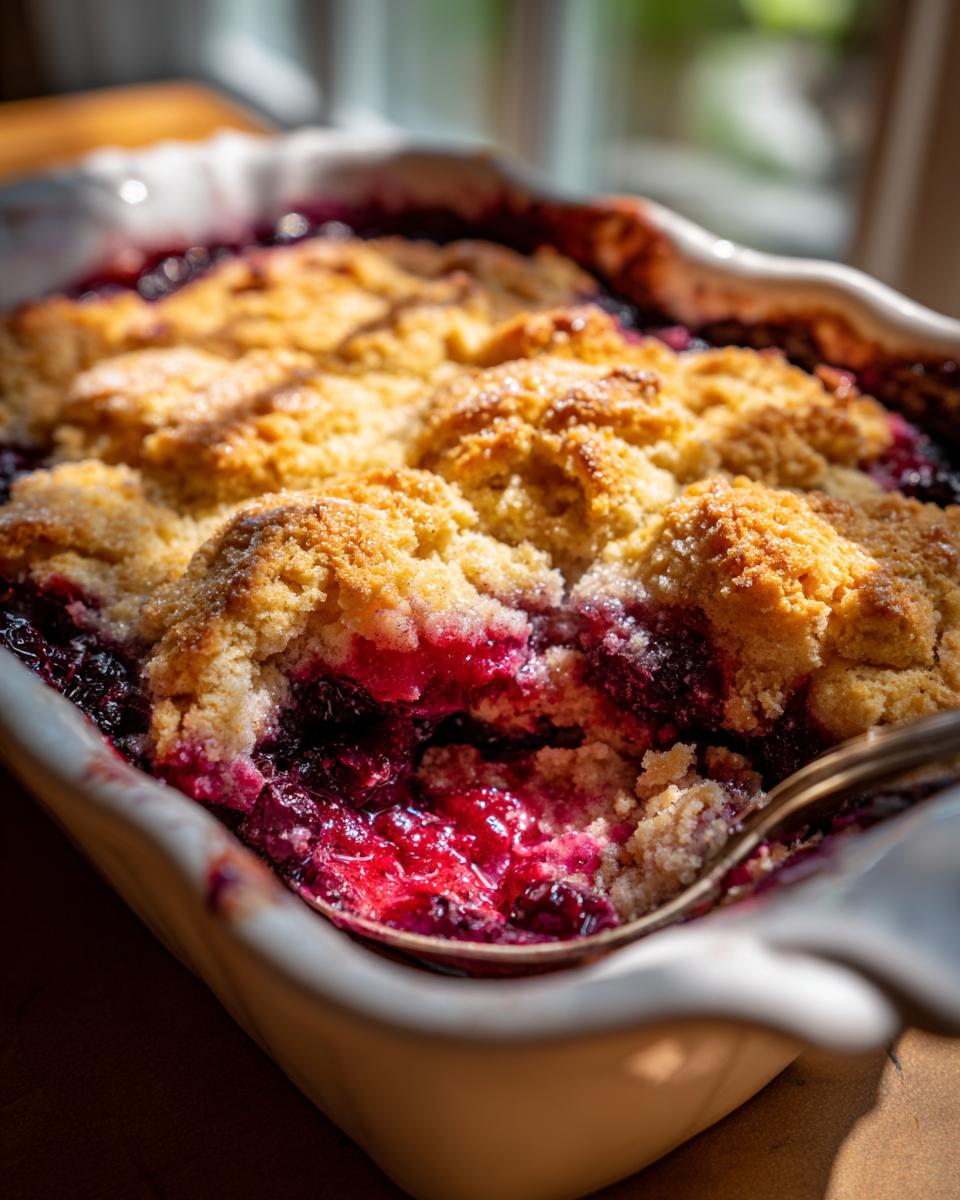
What’s the absolute best way to eat this **summer berry cobbler**? I’ll tell you right now: warm. Piping hot is okay, but warm allows the juice to settle just a touch so it doesn’t slosh everywhere when you try to scoop it. That golden biscuit topping goes from tender to slightly crisp around the edges when it’s warm, and it’s just heaven.
But, let’s be real, a warm cobbler demands a cold partner. You simply must have ice cream. A big scoop of good quality vanilla ice cream is the classic pairing for a reason. That rich, cold cream melting down into the hot, sweet-tart berry filling? That’s what cookbooks are made of, truly!
If ice cream feels like too much, a dollop of freshly whipped cream works beautifully because it’s lighter and cuts through the sweetness perfectly. If you want to try making your own topping from scratch instead of buying it, you could even try whipping up a simple vanilla buttercream, though I still think store-bought whipped cream is the easiest choice for serving! You can find my guide for a super smooth vanilla buttercream if you feel ambitious enough to swap out the ice cream!
This **homemade berry dessert** is robust enough that you don’t need to dress it up too much, but serving it warm elevates it from a casual snack to a true centerpiece dessert.
Storage and Reheating for Your Homemade Berry Dessert
So, what happens if you actually have leftovers of this incredible **homemade berry dessert**? Don’t sweat it! Cobbler travels well, which is why it’s such a fantastic treat for potlucks or family dinners. You can keep any remaining **mixed berry cobbler** covered tightly right on the counter for one day, but any longer and you should definitely move it to the fridge. I know we want to microwave it the next day, but trust me on this: if you use the oven, even at a low temp like 300°F, you’ll revitalize that gorgeous biscuit topping and get it crispy again. That quick zap in the microwave just makes the topping heavy, and we can’t have that! For other quick wins you can store easily, check out my tip on easy homemade teriyaki sauce recipe—though keep that one somewhere cooler than the counter, of course!
Frequently Asked Questions About Mixed Berry Cobbler
I always get so many great questions when I share a recipe as beloved as this one! It’s wonderful to hear from everyone who tries baking this comforting dessert. Since this **mixed berry cobbler** is so reliable, the issues people run into are usually small things they can fix easily. I pulled the most common ones right here based on what you all ask!
Can I make this mixed berry cobbler ahead of time?
Yes, you absolutely can get a head start, but I highly recommend assembling it right before you bake it if you can. That biscuit topping is at its peak fluffiness when it goes straight into the oven. If you need to prep a day ahead, assemble the berry layer and the topping separately. Keep the topping chilled in the fridge (covered tightly!) and store the berries sealed up, too. Then, just assemble and bake when you’re ready to serve! If you bake the whole thing ahead, just remember to reheat it in the oven to crisp up that topping again, like I mentioned before.
What is the difference between a cobbler and a crisp?
That’s a fantastic technical question! The main difference is all about the topping. Our main recipe delivers a **biscuit topping dessert**, which means we cut in the cold butter and milk to create a dough that puffs up into tender, cakey or flaky biscuits in the oven. A crisp, on the other hand, has a crumbly topping usually made with oats, flour, brown sugar, and butter—it’s meant to bake up crunchy and golden all over the top. Both are delicious, but the cobbler is fluffier!
How do I prevent the berry filling from being too runny in my easy berry cobbler recipe?
This is probably the most frequent concern in any **easy berry cobbler recipe**! The solution lies in two places: the cornstarch and the resting time. First, make sure you measure that cornstarch correctly when tossing with the berries; it’s what thickens the juices as they heat up. Second, and this is huge—you have to let the cobbler rest after you take it out of the oven! That 15 minutes I mentioned is crucial. The liquid needs time to cool slightly and set. If you cut into it too soon, all that lovely, thick juice will run right out, making it look runny even though the cornstarch did its job.
If you want to check out another fantastic fruit-based recipe where texture is everything, take a look at my guide on making an apple crisp recipe, which will give you a great comparison on topping textures!
Share Your Mixed Berry Cobbler Creations
Now that you have the roadmap to the **best mixed berry dessert**, I seriously can’t wait to hear what you think! Honestly, seeing your cobblers is the best part of this whole process for me. Did you use fresh strawberries? Did you add that extra pat of butter to the topping? Tell me everything!
Don’t be shy! Head down to the comments section below and give this recipe a rating—five stars if it brought a little slice of summer sunshine to your table! If you made it and snapped a picture, please share it on social media and tag me. I love seeing how you bring these comforting recipes into your own family kitchens.
Remember, every time you bake something like this **mixed berry cobbler**, you’re not just making dessert; you’re building those small, lovely traditions Aria always talks about. Whether it’s served warm with a scoop of vanilla or just eaten cold by the handful the next morning, it’s food made with love. If you loved this recipe and want to know more about the philosophy behind Cooking Zenith and why we focus on elevating everyday cooking, you can always read more on my About Page!
PrintEasiest Mixed Berry Cobbler with Buttery Biscuit Topping
Make this ultimate summer dessert, the Mixed Berry Cobbler, using fresh or frozen berries. It features juicy, sweet-tart fruit under a tender, golden biscuit topping. This recipe is simple and comforting.
- Prep Time: 15 min
- Cook Time: 40 min
- Total Time: 55 min
- Yield: 6 servings 1x
- Category: Dessert
- Method: Baking
- Cuisine: American
- Diet: Vegetarian
Ingredients
- 4 cups mixed berries (fresh or frozen)
- 1/2 cup granulated sugar
- 2 tablespoons cornstarch
- 1 tablespoon lemon juice
- 1 1/2 cups all-purpose flour
- 2 teaspoons baking powder
- 1/2 teaspoon salt
- 1/2 cup cold unsalted butter, cut into pieces
- 1/2 cup milk
- 1 tablespoon coarse sugar, for sprinkling
Instructions
- Preheat your oven to 375°F (190°C). Lightly grease an 8×8 inch baking dish.
- In a bowl, gently toss the mixed berries with the granulated sugar, cornstarch, and lemon juice until the berries are coated. Pour this berry mixture into the prepared baking dish.
- To make the biscuit topping, whisk together the flour, baking powder, and salt in a separate medium bowl.
- Cut in the cold butter using a pastry blender or your fingers until the mixture resembles coarse crumbs.
- Pour in the milk and stir just until a shaggy dough forms. Do not overmix.
- Drop spoonfuls of the dough evenly over the berry filling. You do not need to cover the entire surface; gaps allow steam to escape and berries to bubble up.
- Sprinkle the coarse sugar over the topping.
- Bake for 35 to 45 minutes, or until the topping is golden brown and the berry filling is thick and bubbly.
- Let the cobbler cool for at least 15 minutes before serving warm with vanilla ice cream.
Notes
- You can substitute frozen berries directly without thawing; you may need to add 5-10 minutes to the baking time.
- For a richer topping, substitute 1/4 cup of the milk with heavy cream.
- This rustic berry dessert is excellent for potlucks and family dinners.
Nutrition
- Serving Size: 1 serving
- Calories: 380
- Sugar: 32
- Sodium: 210
- Fat: 18
- Saturated Fat: 11
- Unsaturated Fat: 7
- Trans Fat: 0
- Carbohydrates: 54
- Fiber: 4
- Protein: 5
- Cholesterol: 45