
I don’t know about you, but I’ve wasted far too much money on those sad, thin bottles of bottled sauce that promise richness but deliver only watered-down disappointment. Why settle for mediocre when you can unlock true depth of flavor in less than fifteen minutes? That’s exactly why I developed this foolproof recipe for homemade teriyaki sauce.
Forget slaving over a hot stove for hours; this sauce is developed entirely from simple pantry staples we all have. It simmers up quickly into that perfect, glossy texture you dream about—ideal for glazing or marinating. Trust me when I say this version is absolutely better than store bought sauces. We’re elevating your everyday cooking experience right here, right now! If you’re looking for fantastic weeknight meals, this can easily pair with our Easy Chicken Pot Pie Casserole.
- Why This Homemade teriyaki sauce Recipe Beats the Bottled Stuff
- Gathering Your Pantry Staples for teriyaki sauce
- Step-by-Step Instructions for Quick teriyaki sauce
- Ingredient Notes and teriyaki sauce Substitutions
- Maximizing Flavor: Tips for the Best teriyaki sauce
- Versatile Uses for Your Homemade teriyaki sauce
- Storage and Reheating Instructions for teriyaki sauce
- Frequently Asked Questions about teriyaki sauce
- Bringing Homemade teriyaki sauce to Your Weeknight Asian Meals
Why This Homemade teriyaki sauce Recipe Beats the Bottled Stuff
Honestly, once you try this, you’ll never grab that sticky bottle again. We’re not just aiming for flavor; we’re aiming for *fresh* flavor. Bottled sauces rely on preservatives that mute the brightness of the aromatics. Here, you get potent hits of fresh ginger and real garlic. That control lets us make the perfect sweet and savory glaze, every single time.
- You control the sodium, which is a huge plus.
- The depth from real brown sugar is unmatched.
- It transforms from thin liquid to a fantastic coating instantly—truly better than store bought sauces.
If you’re looking for other ways to infuse deep flavor, check out my guide on Easy Garlic Parmesan Meatloaf!
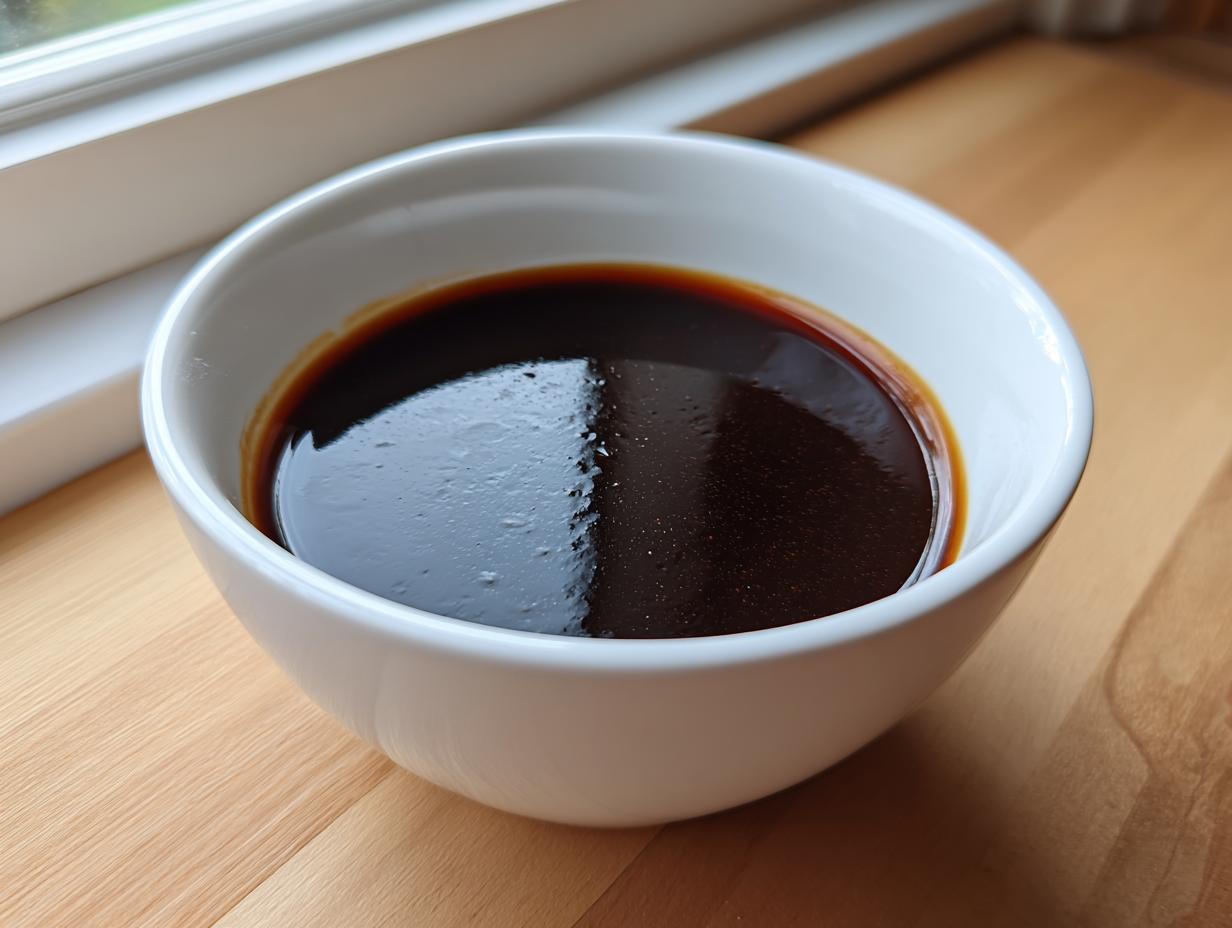
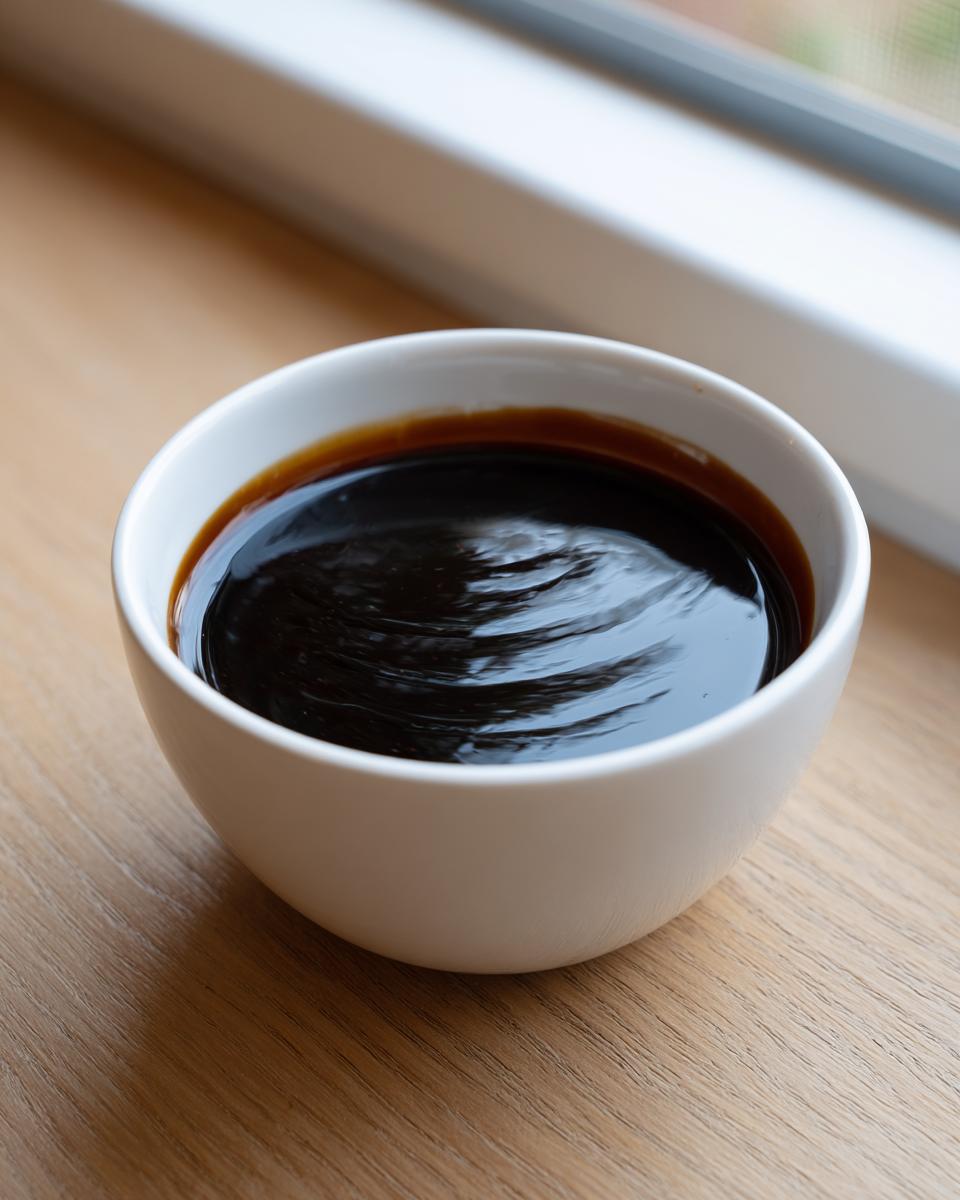
The Secret to a Thick teriyaki sauce Finish
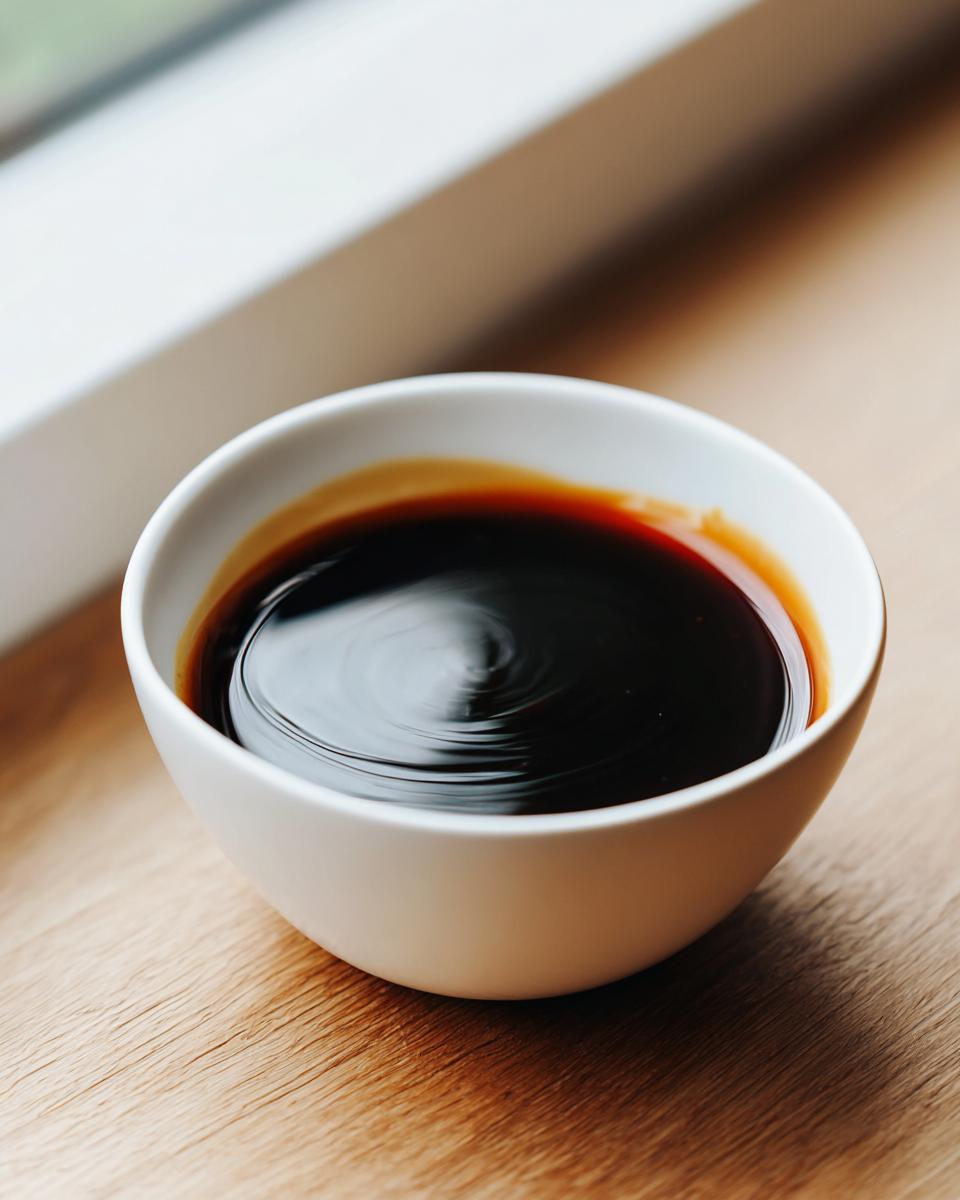
The reason this sauce is so glossy and clings perfectly to chicken or broccoli is all down to one small step: the cornstarch slurry. This is just cornstarch mixed with cold water. You add it right at the end.
The trick here is to whisk it in slowly while the sauce is bubbling gently. If you dump it all in at once, you get lumps, and nobody wants lumpy sauce! A steady, gentle whisk ensures that beautiful, uniform thickness develops in under two minutes.
Gathering Your Pantry Staples for teriyaki sauce
Okay, let’s talk ingredients! This entire recipe is built around things I always keep stocked because they make weeknight Asian meals feel instantly better. The beauty of this homemade sauce recipe is its incredible versatility—it’s hands down the best base for a quick marinade or a sweet and savory glaze you can whip up.
You don’t need anything fancy, which is why I love it for busy days. We rely on simple soy sauce for that umami kick, but the magic happens with the fresh elements! If you need some easy sides, maybe look at my Easy Make-Ahead Cheesy Egg Bake while the sauce simmers.
Ingredient Measurements for teriyaki sauce
Make sure you measure these precisely, especially the thickener! I’ve learned that baking and sauce-making demand accuracy when you’re trying to nail that perfect consistency.
- 1/2 cup low sodium soy sauce (Don’t skip low-sodium unless you want it way too salty!)
- 1/2 cup packed brown sugar (Packed tight into the cup!)
- 1/4 cup water
- 2 tablespoons rice vinegar
- 1 tablespoon fresh grated ginger (Please grate this fresh; it makes a massive difference!)
- 2 cloves garlic, minced
- 1 teaspoon sesame oil
- The thickener: 1 tablespoon cornstarch mixed with 2 tablespoons cold water (This is your slurry!)
Step-by-Step Instructions for Quick teriyaki sauce
Okay, let’s make some magic happen! This is the part where we turn those beautiful ingredients into a rich, clingy sauce that will transform your Thursday dinner into something special. Since we are aiming for total readiness in fifteen minutes, speed and attention are key here. You can check out how these quick dinner sauces fit into my overall guide to simple weeknight dinners!
The process is really just two main phases: heating everything up to dissolve the sugar, and then thickening it until it shines.
Combining and Simmering the teriyaki sauce Base
First things first, get a small saucepan—nothing too wide, as we want to concentrate that flavor quickly. Pour in the soy sauce, packed brown sugar, water, vinegar, ginger, garlic, and sesame oil. Set it over medium heat. Now, this is where you need to pay attention! Keep stirring almost constantly until you see that brown sugar completely melt away and the mixture starts to gently steam. We aren’t boiling it yet, just making sure everything is happy and dissolved before we change the texture.
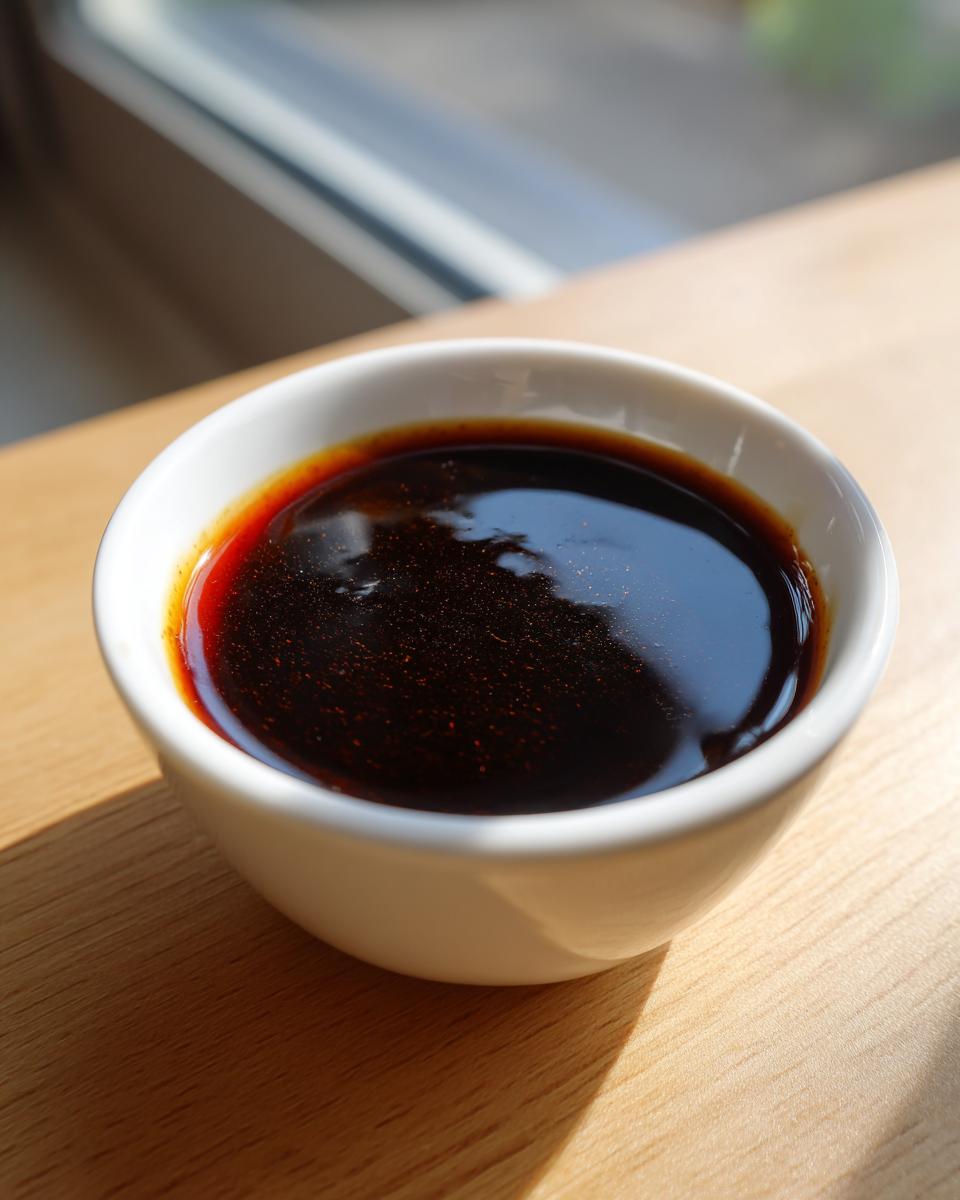
Thickening for a Glossy teriyaki sauce Finish
Once your base is simmering smoothly, it’s slurry time! Slowly whisk in that cornstarch and water mixture we made earlier. Now, turn up the heat slightly if you need to, but start whisking quickly. You only need 1 to 2 minutes here! You’ll watch the sauce transform, starting to bubble lazily and getting that beautiful, deep, glossy sheen.
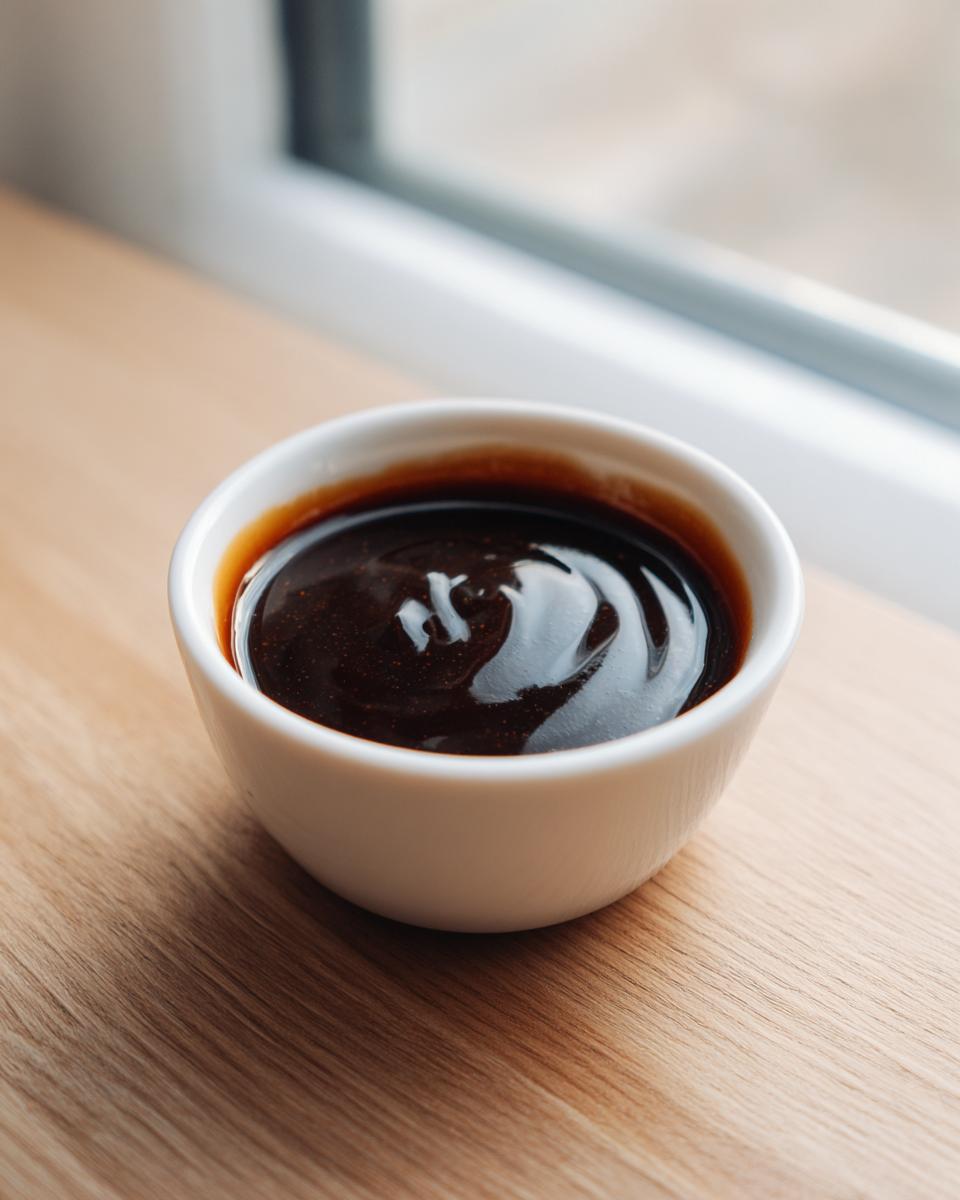
Pro-tip from my kitchen: As soon as it coats the back of a spoon nicely, pull it OFF the heat! If you try to wait until it’s *perfectly* thick on the stove, it will turn into paste once it cools down. It should look slightly looser than you want it when it comes off the burner—that’s the key to a perfect consistency later!
Ingredient Notes and teriyaki sauce Substitutions
I know kitchen inventory happens, so let’s chat about swaps for this teriyaki sauce! If you’re watching sodium, you can absolutely use regular soy sauce, but you need to cut way back on the brown sugar, or it gets way too aggressive. I usually stick to low-sodium to keep that overall salty/sweet balance perfect.
For sweetness, I tested maple syrup instead of brown sugar—it gives a slightly different, more floral note, and it still works great. Don’t be afraid to experiment a little once you nail the base flavor, but always use that slurry! If you need some quick, healthy ideas to eat this sauce with, check out my favorite healthy snack ideas.
Maximizing Flavor: Tips for the Best teriyaki sauce
Now that you’ve mastered the basic teriyaki sauce, let’s push that flavor over the top! This is where moving beyond the recipe card—the true home-cook mentality—comes in handy. I swear by just a couple of small tweaks that make a huge difference when I’m making this for a simple weeknight marinade.
First, try toasting the sesame oil. If you warm that teaspoon of sesame oil in the dry pan for just 30 seconds *before* you add any liquid, the nutty flavor blooms like crazy. Also, if you happen to have dark soy sauce on hand, swapping out just one tablespoon of the regular soy sauce for the dark kind gives you an incredible, rich color. It really makes the sauce look professionally glazed. If these tips inspire you to try a new protein application, don’t forget to check out my guide on the marinade for tuna steak!
Versatile Uses for Your Homemade teriyaki sauce
The absolute best part of making your own teriyaki sauce is knowing you have this power player ready for anything! Seriously, this isn’t just for chicken. Because it’s thick and flavorful, it’s perfect right out of the pan for pouring over roasted vegetables—think of it as a stellar savory vegetable topping.
It’s your go-to for stir fry sauce ideas, too. Just add it right at the end when everything is almost cooked! And don’t forget to try it as an elevated DIY dipping sauce for spring rolls or dumplings. If you want a great pairing recipe, my Honey Garlic Chicken Stir Fry uses a similar sweet/savory principle!
Using teriyaki sauce as a Marinade Recipe from Scratch
When using this as a marinade recipe from scratch, remember that the sugars help caramelize beautifully, giving you color and crust. For boneless chicken pieces or tofu, I recommend marinating for at least 30 minutes, but ideally 2 to 4 hours in the fridge. This works perfectly as a base for your classic Chicken teriyaki sauce base!
Storage and Reheating Instructions for teriyaki sauce
Great news! This teriyaki sauce is fantastic for meal prep because it stores beautifully. Once it cools down completely after cooking, transfer it into a clean, airtight jar or container. It keeps wonderfully in the fridge for up to two weeks—sometimes even longer, but I usually use it up way before that!
Now, here’s the important bit: Remember how we thickened it with cornstarch? As it chills, it turns into a thick, almost jelly-like block. Don’t panic! That’s totally normal. To bring it back to that perfect pourable consistency, just pop it on the stovetop over very low heat for a minute or two, stirring gently until it loosens right up again. No need to add more water! If you’re looking for ways to use up your smaller batches, check out my guide on quick healthy lunch ideas.
Frequently Asked Questions about teriyaki sauce
I always get a pile of questions when people first try making a homemade sauce recipe. It’s natural! Moving away from pre-made jars means checking your instincts, so here are the common things people ask me about this perfect teriyaki sauce.
Can I make this vegan or gluten-free?
Absolutely! This is one of the strongest features of these easy Asian sauces. For a vegan version, simply make sure you’re using standard soy sauce, as tamari won’t dissolve exactly the same way with the sugar. For gluten-free, swap the regular soy sauce for tamari—which is a naturally gluten-free soy sauce—and proceed exactly as written. It works perfectly as a marinade recipe from scratch for tofu or veggies!
Why is my sauce runny and not thick?
If you followed the instructions and it’s still thin, nine times out of ten, it’s because you didn’t boil it long enough after adding the slurry, or you didn’t whisk well enough. Remember that 1 to 2 minutes of cooking time after adding the cornstarch is crucial! If you are out of time in the moment, you can always add a tiny bit more slurry—just mix half a teaspoon of cornstarch with a teaspoon of cold water and whisk it in over low heat until it sets up. You can find more tips over on my Easy Asian Sauces guide.
How can I make this teriyaki sauce recipe spicier?
If you like a little fire with your sweet and savory, you have a few great options! The easiest way is to whisk in about half a teaspoon of red pepper flakes when you add the ginger and garlic. If you want heat that builds slowly, try adding a few drops of sriracha right at the end, after the sauce has thickened. It keeps the color deep but adds that lovely kick we sometimes crave. For even more flavor inspiration, check out this sauce recipe review from Build Your Bite!
Bringing Homemade teriyaki sauce to Your Weeknight Asian Meals
That’s it! You are officially done with mediocre bottled sauce forever. I really hope you give this teriyaki sauce a shot the next time you need a flavor boost for your weeknight Asian meals. It takes almost no time and the payoff in taste is huge.
Come back and let me know in the comments how you used it—did you glaze salmon or throw it into a tofu stir fry? I love seeing your culinary confidence shine! If you need more inspiration fast, check out my easy weeknight dinners for pairing ideas, or see what others are saying over at Kitchen Rage!
PrintEasy Homemade Teriyaki Sauce: Better Than Store-Bought

Make this quick homemade teriyaki sauce in under 15 minutes using simple pantry staples. This recipe yields a thick, glossy sauce perfect for marinating, glazing, or using in stir-fries.
- Prep Time: 5 min
- Cook Time: 10 min
- Total Time: 15 min
- Yield: About 1 cup 1x
- Category: Condiment
- Method: Stovetop Simmering
- Cuisine: Japanese Inspired
- Diet: Vegetarian
Ingredients
- 1/2 cup low sodium soy sauce
- 1/2 cup packed brown sugar
- 1/4 cup water
- 2 tablespoons rice vinegar
- 1 tablespoon fresh grated ginger
- 2 cloves garlic, minced
- 1 teaspoon sesame oil
- 1 tablespoon cornstarch mixed with 2 tablespoons cold water (slurry)
Instructions
- Combine the soy sauce, brown sugar, water, rice vinegar, grated ginger, minced garlic, and sesame oil in a small saucepan.
- Place the saucepan over medium heat. Stir the mixture constantly until the brown sugar fully dissolves and the sauce begins to simmer.
- Once simmering, slowly whisk in the cornstarch slurry.
- Continue to cook, stirring constantly, for 1 to 2 minutes until the sauce thickens significantly and becomes glossy.
- Remove the sauce from the heat. It will continue to thicken as it cools.
- Use immediately as a glaze or marinade, or store in an airtight container in the refrigerator.
Notes
- For a thicker sauce, increase the cornstarch slurry slightly in the next batch.
- Substitute honey or maple syrup for brown sugar for a different sweetness profile.
- This sauce works well as a dipping sauce for appetizers or as a savory vegetable topping.
Nutrition
- Serving Size: 2 tablespoons
- Calories: 75
- Sugar: 14
- Sodium: 450
- Fat: 0.2
- Saturated Fat: 0
- Unsaturated Fat: 0.2
- Trans Fat: 0
- Carbohydrates: 18
- Fiber: 0.1
- Protein: 1
- Cholesterol: 0