
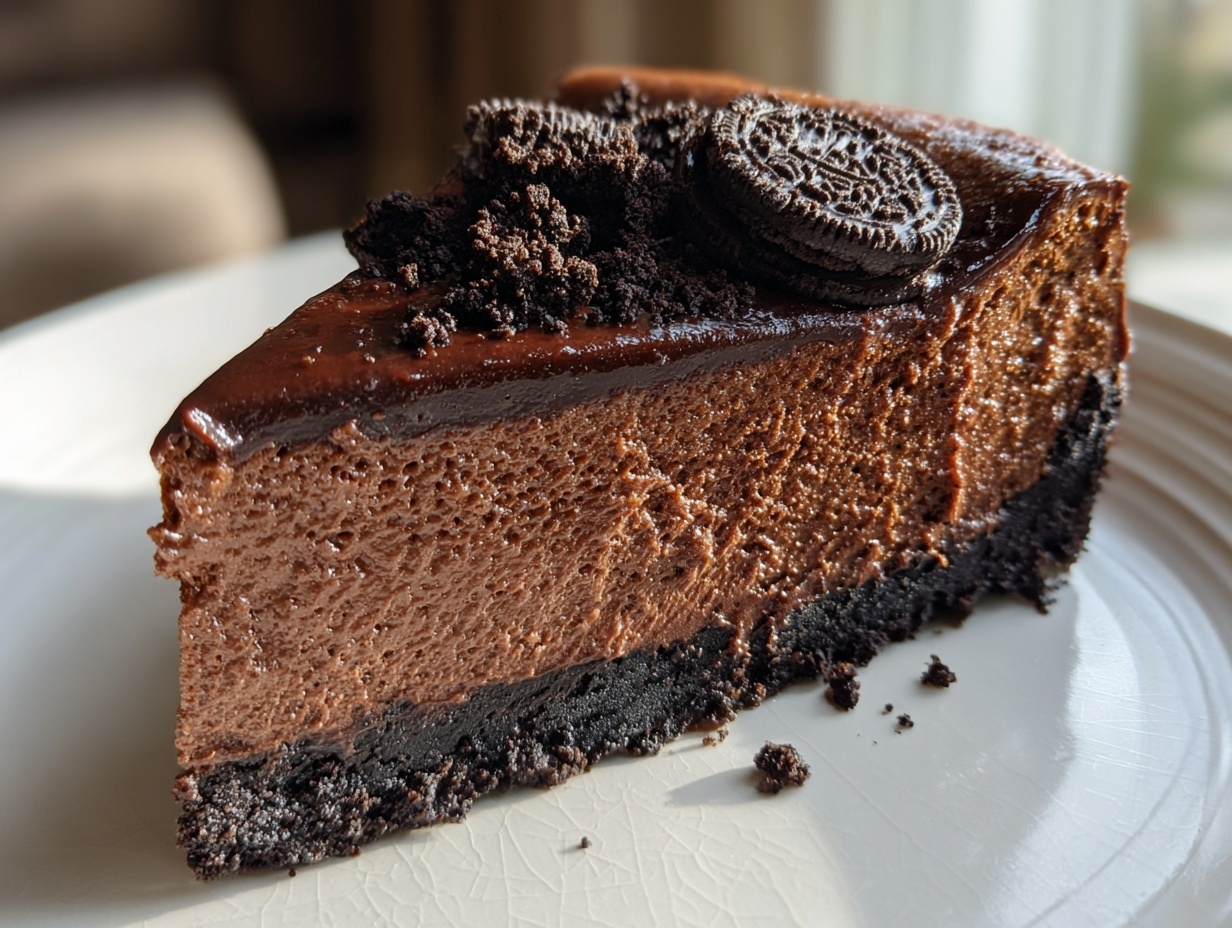
Oh, believe me, I know that late-night craving—the one where only something deeply rich, velvety smooth, and dramatically chocolatey will do the trick. That’s why I spent so much time figuring out the absolute best way to achieve that decadent texture without all the fuss beginners fear. You’re looking at my solution today: the Ultimate Decadent Baked Chocolate Cheesecake with Oreo Crust. It’s truly the showstopper dessert that changed how I approach special occasions. When I first started baking, I found cheesecakes intimidating, but mastering this recipe proved to me that extraordinary flavor doesn’t have to mean extravagant effort. If you love the deep flavor of fudgy sweets, you should also check out my formula for the easiest creamy chocolate fudge! Trust me when I say this creamy chocolate filling will become your go-to indulgence!
- Why This Decadent Chocolate Cheesecake Recipe Works (The Secret to Ultra Creamy Chocolate Filling)
- Gathering Ingredients for Your Chocolate Cheesecake with Oreo Crust
- Step-by-Step Instructions for the Ultimate Chocolate Cheesecake
- Tips for the Best Homemade Chocolate Cheesecake Texture
- Variations for Your Chocolate Cheesecake
- Serving Suggestions for This Rich Chocolate Cheesecake
- Storing and Reheating Your Homemade Chocolate Cheesecake
- Frequently Asked Questions About Chocolate Cheesecake
- Nutritional Estimate for This Indulgent Chocolate Treat
Why This Decadent Chocolate Cheesecake Recipe Works (The Secret to Ultra Creamy Chocolate Filling)
I know what you’re thinking: baking a cheesecake sounds tricky, and maybe you should just go for an easy chocolate cheesecake, like a no-bake version? Hear me out—while no-bake is fun, nothing beats the dense, luxurious mouthfeel of a truly rich chocolate cheesecake. That’s why we bake this beauty! The secret weapon for achieving that ultra creamy cheesecake texture that melts in your mouth every single time is the water bath.
Why We Choose a Baked Chocolate Cheesecake
The water bath, or *bain-marie*, is non-negotiable here. It surrounds the pan with gentle, moist heat, meaning the edges don’t set up before the center does. This controls the temperature so perfectly, preventing the dreaded cracking and resulting in the silkiest creamy chocolate filling you’ve ever had. It stabilizes everything beautifully. If you want to see how I handle achieving perfection in classic baked varieties, you should check out my guide for classic creamy New York cheesecake!
Gathering Ingredients for Your Chocolate Cheesecake with Oreo Crust
Okay, let’s talk about the payoff! When you’re making something this decadent, like our chocolate cheesecake, you need to make sure you have everything ready to go before you even turn on the oven. Getting your ingredients prepped—especially making sure that cream cheese is *actually* soft—is half the battle won. If you happen to love the crust but want to skip the baking, I have a super fun no-bake Oreo pie recipe you might enjoy too, but for this baked beauty, follow my list exactly!
For the Chocolate Sandwich Cookie Crust
- 1 1/2 cups chocolate sandwich cookie crumbs (that’s about 30 cookies, crushed super fine!)
- 1/4 cup granulated sugar
- 6 tablespoons unsalted butter, melted
For the Rich Chocolate Cheesecake Filling
- 3 (8 ounce) packages cream cheese, softened (this is crucial, doll!)
- 1 1/2 cups granulated sugar
- 1/2 cup sour cream
- 1 teaspoon vanilla extract
- 1/4 cup unsweetened cocoa powder
- 8 ounces bittersweet chocolate, melted and cooled slightly
- 3 large eggs
- 1/4 cup heavy cream
Step-by-Step Instructions for the Ultimate Chocolate Cheesecake
Okay, let’s get baking! This process looks long on paper, but once you get organized, it flows really smoothly. Remember, we are aiming for that unbelievably smooth and rich chocolate cheesecake, so patience during the mixing and cooling stages is your best friend. You’ll want to have your ingredients out and ready before you start step one. If you’ve mastered this, you’ll be ready to tackle something a bit more intense, like my ultimate chocolate meringue pie!
Preparing the Oreo Crust and Preheating
First things first, get that oven warmed up to 325 degrees F. Now, take your 9-inch springform pan—this is important for the water bath later—and wrap the *outside* completely and tightly with heavy-duty aluminum foil. We don’t want any sneaky water getting in! For the crust, just mix those chocolate cookie crumbs, the 1/4 cup of sugar, and the melted butter until it looks like damp sand. Press that mixture down firmly into the bottom and about an inch up the sides of your prepared pan. Pop it into the oven to bake for just 10 minutes. Let it cool while you tackle the filling.
Mixing the Creamy Chocolate Filling
Grab your largest bowl! Start by whipping that softened cream cheese and the 1 1/2 cups of sugar until everything looks perfectly smooth. Then beat in the sour cream and vanilla. Next, sift that cocoa powder right over the top—sifting keeps things from getting lumpy! Mix until it’s just combined, then scrape down the sides, seriously, don’t skip that part. Now, gently pour in that slightly cooled, melted bittersweet chocolate and mix slowly until it disappears into the batter. This is where you need to be careful: add the three eggs one at a time, mixing only until you see the yolk vanish. Over-beating the eggs brings in too much air, and we want denseness here! Finish by gently stirring in the heavy cream by hand.
Baking the Chocolate Cheesecake in a Water Bath
Time for magic! Pour that gorgeous, creamy chocolate filling over your cooled Oreo crust. Find a larger roasting pan and carefully set your foil-wrapped springform pan inside it. Now, pour hot water into the outer roasting pan until it comes about halfway up the sides of the cheesecake pan. Bake this setup for 60 to 75 minutes. You know it’s ready when the outer edges look set, but the very center still wiggles just a tiny bit when you gently nudge the oven rack. Turn the oven OFF, crack the door open just a bit with a wooden spoon, and let the cheesecake cool down slowly inside the oven for a full hour. This slow cool-down is your best defense against cracks! Once it’s room temperature, remove the foil, cover it, and chill it for at least 6 hours, but honestly, overnight is best for this homemade chocolate cheesecake.
Tips for the Best Homemade Chocolate Cheesecake Texture
Achieving the absolute best chocolate cheesecake is really about respecting a few key scientific truths in baking—things I learned through trial and sometimes very dramatic error! We want that decadent, crack-free, melt-in-your-mouth slice every time, right? It all comes down to temperature management and how gently you handle that batter once the chocolate goes in. If you master these two things, you won’t ever worry about making this dessert again. For more thoughts on getting perfect textures, you might want to check out my recipe for thick, chewy chocolate chip cookies!
Achieving Ultra Creamy Cheesecake: Ingredient Temperature
I can’t stress this enough for that ultra creamy cheesecake finish: your dairy ingredients absolutely must be at room temperature. I mean, totally soft cream cheese, the sour cream, and yes, even the eggs! If your cream cheese is cold, you’re guaranteed to have lumps, no matter how long you blend it. Cold ingredients don’t emulsify (mix together smoothly) with the fat and sugar like warm ones do. So, pull everything out about an hour before you tackle the filling. It’s worth the wait, I promise. This simple step ensures a fully homogenous, silky mixture.
Avoiding Cracks in Your Chocolate Cheesecake
This is the nightmare scenario, but it’s totally preventable if you remember two non-negotiables. First, after you mix in those three large eggs, mix them only until they disappear. Seriously, stop the second you don’t see streaks of yolk or white. Overmixing eggs in cheesecake batter whips in air, and that air expands in the oven and then collapses when it cools, causing cracks. Second, the slow cooling. Don’t rush it! Turning the oven off and cracking the door open lets the cheesecake gradually acclimatize to the kitchen temperature. That slow transition prevents the entire structure from seizing up and cracking on top.

Variations for Your Chocolate Cheesecake
Once you’ve mastered the foundational chocolate cheesecake—that perfect Oreo crust and rich, even bake—the fun really starts! A recipe this good is just begging for you to play with it a bit. I love how a few small additions can totally change the profile of the dessert, turning it into something new for the next time you need an extra special treat. If you’re looking for other fun chocolate combinations that bake up easily, you absolutely have to try my cookie recipes using red velvet cake mix!
Making a Triple Chocolate Cheesecake
If deep chocolate isn’t quite enough for you, well, welcome to the club! To turn this into a true triple chocolate cheesecake, I suggest adding something bright and creamy. The easiest way is to carefully fold in about one cup of white chocolate chips right before you add the eggs. Be gentle so they don’t break up too much! Alternatively, if you swap out the bittersweet chocolate for a good quality milk chocolate, you will end up with a much sweeter, softer overall flavor profile. It’s just as decadent, just slightly less intense in the cocoa punch.
Adding a Chocolate Ganache Topping
Listen, if you want this to look like it came straight out of a fancy bakery window, you have to go for the glossy finish. A homemade chocolate ganache topping is ridiculously easy to make and takes your presentation from great to show-stopping immediately. All you need to do is gently heat equal parts heavy cream and chopped chocolate (I use semi-sweet for this part) until smooth. Let it cool just enough so it thickens slightly, and then pour it evenly over the top of your fully chilled cheesecake. It sets up beautifully and offers an incredible textural contrast.
Brownie Cheesecake Swirl Ideas
For those who can’t decide between fudgy brownies and creamy cheesecake, why choose? Creating a brownie cheesecake swirl is simpler than it looks! You’ll need a batch of your favorite brownie batter ready to go. Once you pour the creamy chocolate cheesecake filling into the crust, dollop spoonfuls of the brownie batter randomly over the top. Then, take a butter knife or thin skewer and gently drag it through the dollops and the cheesecake layer a few times to create those pretty, messy swirls. Don’t over-swirl, or you’ll just end up with a uniform brown color! If you want to explore other easy, rich desserts that skip the oven entirely, check out my recipe for an easy no-bake chocolate mousse pie!
Serving Suggestions for This Rich Chocolate Cheesecake
Once your homemade chocolate cheesecake has finished its long, necessary chill time, the presentation is what really makes it a triumph! Because this is such a deeply flavored, decadent chocolate cheesecake, you don’t need much else to make it shine. It’s truly a showstopper dessert all on its own, which is why it’s become my absolute favorite choice when I’m hosting cheesecake for parties.
When I take it out of the springform pan for the first time, I like to give it about 20 minutes at room temperature before slicing. This helps the texture soften just a touch, making those clean slices so much easier to achieve. A sharp, thin knife that you wipe clean between each cut is your best tool here.
If you’re looking for something extra special to serve alongside it—maybe you’ve gone all out with a ganache topping already—don’t forget the sides! A few fresh raspberries provide the perfect tart counterpoint to all that richness. Sometimes, I’ll even pipe a little bit of plain vanilla flair onto the plate just to add some visual height. If you need a recipe for the frosting I use when I need a little vanilla boost, I always turn to my recipe for fluffy vanilla buttercream!
Another simple touch is a light dusting of high-quality cocoa powder just before serving. It looks absolutely professional and adds another layer of deep chocolate aroma to the whole experience. Honestly, a perfect slice needs nothing more than a fork and a little bit of quiet appreciation!
Storing and Reheating Your Homemade Chocolate Cheesecake
Since this homemade chocolate cheesecake is so unbelievably rich, it actually gets even better the next day! That chilling time we talked about isn’t just to set the filling; it lets all those wonderful chocolate, cocoa, and cream cheese flavors truly marry together. It’s almost like the cheesecake has to sleep on its greatness so it wakes up tasting even deeper the next morning.
The most important thing you need to know about storage is how to keep it safe and fresh without drying it out or letting it absorb any funky fridge smells. You’ll want to keep it tightly covered in the refrigerator. I usually use a cake carrier if I have one, but heavy-duty plastic wrap works just as well—just make sure it’s sealed well against that crust and sides.
It keeps beautifully for about five to seven days in the fridge. Seriously, as long as it’s sealed, it’s good. Don’t even think about trying to freeze it whole; the texture just doesn’t survive the thawing process very well, especially achieving that ultra creamy cheesecake feel we worked so hard for!
Now, about reheating—this is key for baked cheesecake. You don’t really reheat it to make it warm, like a casserole. You’re really just bringing it back from the chilling temperature so it slices perfectly. If you have leftovers and they’ve been in the fridge for a few days, take a slice out about 20 to 30 minutes before you plan to eat it. That small window of time sitting on the counter takes the deep chill off, letting that luxurious texture bloom again. If you serve it straight from the fridge, it can feel a bit too firm, and you won’t get the full chocolate flavor experience!
Frequently Asked Questions About Chocolate Cheesecake
I know you might have a few lingering questions, especially when tackling a dessert as ambitious as this one. Don’t worry about it! That’s why I put this FAQ together. Getting something this decadent right the first time is all about being prepared. I want you to feel the same confidence I felt when I first took this gorgeous chocolate cheesecake out of the oven!
Can I make this chocolate cheesecake recipe without a water bath?
I really, truly wish I could say yes, but for this specific recipe aiming for that ultra creamy cheesecake texture, the water bath is essential. Without it, the hot, dry heat of the oven will bake the edges of the cheesecake mixture much faster than the center. This causes a huge temperature shock when it comes out, leading to those deep, sad radial cracks we talked about. If you absolutely cannot do a water bath—maybe you’re using a tricky pan—the only slight workaround is to bake it very low and slow (like 300°F) and check it constantly, but honestly, the results are just not as consistently phenomenal as when you use that gentle steam bath. Save the no-water-bath attempts for a simpler, maybe even an ice cream cake!
How does this baked version compare to a no bake chocolate cheesecake?
Oh, that’s a great comparison! The difference is mainly in density and structure. Our delicious baked version uses eggs and that controlled baking environment to create a structure that is incredibly rich, dense, and velvety—that’s the classic, luxurious mouthfeel everyone looks for in a best chocolate cheesecake. A no bake chocolate cheesecake, on the other hand, relies on stabilized whipped cream or gelatin in the filling. They are lighter, fluffier, and, of course, much faster to assemble since you skip the oven time. If you’re really pressed for time and need something quick, you can certainly find excellent no bake chocolate cheesecake options out there, but for true indulgence, the baked version wins!
Can I use milk chocolate instead of bittersweet chocolate?
You certainly can, but you have to understand what you’re changing about the final product! Bittersweet chocolate (usually 60-70% cacao) keeps that deep, intense chocolate flavor that balances out the sweetness from all that sugar and cream cheese, preventing the cheesecake from tasting like pure sugar. If you switch to milk chocolate, which has significantly less cacao and much more sugar, your homemade chocolate cheesecake will be much sweeter and the overall chocolate flavor won’t be as profound.
If you prefer milk chocolate sweetness, go for it! Just be aware that the result will lean toward a much sweeter, milder chocolate taste, and the final set might be slightly softer. For me, the bittersweet note is what makes this an indulgent chocolate treat!
Nutritional Estimate for This Indulgent Chocolate Treat
Now, I know as home cooks who are making something this wonderfully rich, we don’t usually obsess too much over the numbers when we’re indulging, right? Life is too short to count every calorie in a slice of decadent chocolate cheesecake! But, for those of you who like to keep track, or maybe you’re planning for a larger gathering and need some estimates, I’ve pulled together the ballpark figures based on the specific ingredients we used in this recipe.
Just remember, this is an estimate for one generously sized slice, and since everyone cuts their cake a little differently (some people are very fair with the knife, others… less so!), your personalized totals will vary slightly. If you’re looking for lower-calorie baking inspiration, you might want to try my recipe for moist date nut bread as an alternative treat!
- Serving Size: 1 slice
- Calories: 450
- Fat: 30g
- Saturated Fat: 18g
- Trans Fat: 0.5g
- Cholesterol: 95mg
- Sodium: 300mg
- Carbohydrates: 40g
- Fiber: 2g
- Sugar: 35g
- Protein: 8g
There you have it! It’s definitely an indulgent chocolate treat, but when you consider the creamy satisfaction you get from this homemade chocolate cheesecake, it feels absolutely worth it. Enjoy every bite!
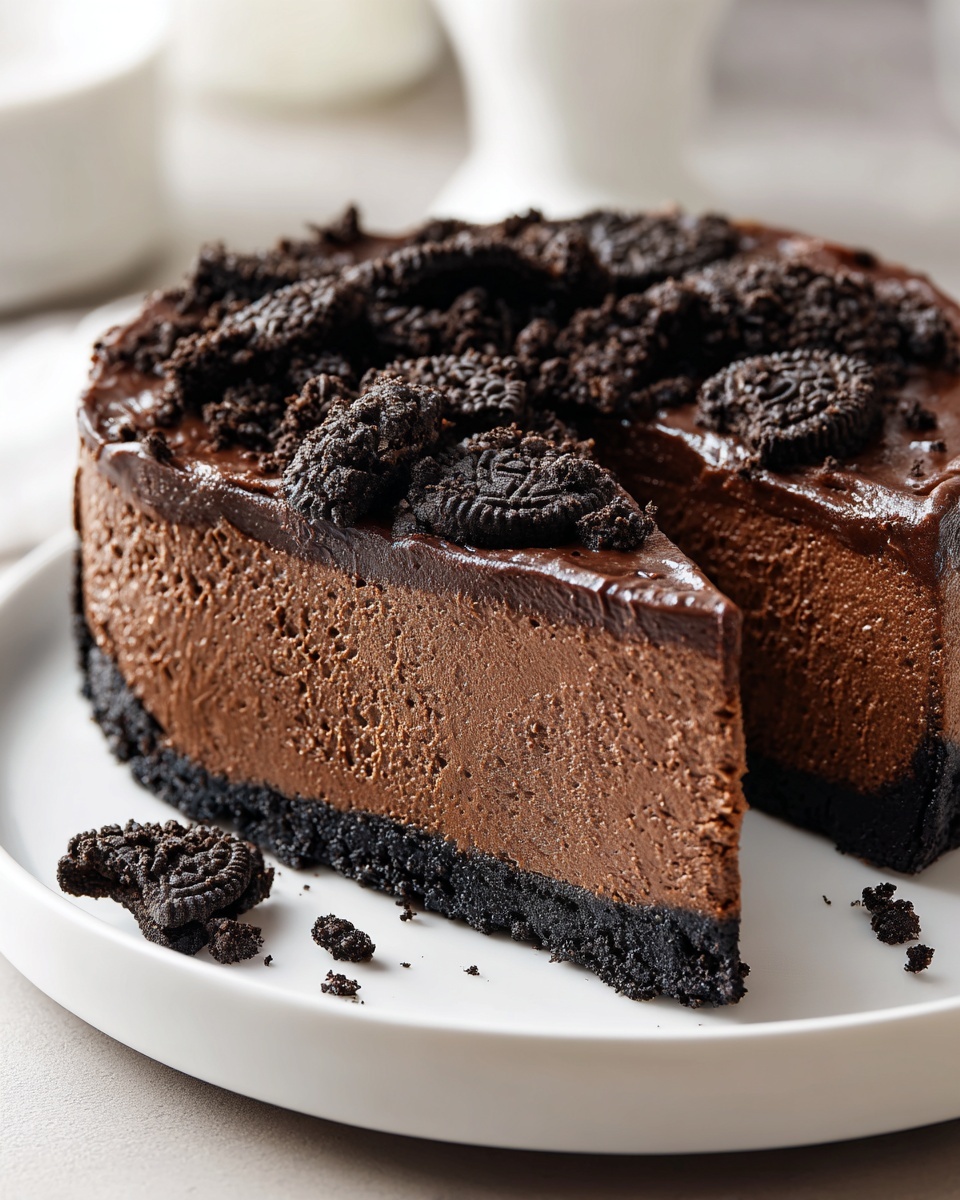
PrintDecadent Chocolate Cheesecake with Oreo Crust
Make this rich, ultra-creamy baked chocolate cheesecake featuring a crunchy Oreo crust. This recipe delivers the ultimate indulgent chocolate treat for your next gathering.
- Prep Time: 30 min
- Cook Time: 75 min
- Total Time: 120 min
- Yield: 12 servings 1x
- Category: Dessert
- Method: Baking
- Cuisine: American
- Diet: Vegetarian
Ingredients
- 1 1/2 cups chocolate sandwich cookie crumbs (about 30 cookies)
- 1/4 cup granulated sugar
- 6 tablespoons unsalted butter, melted
- 3 (8 ounce) packages cream cheese, softened
- 1 1/2 cups granulated sugar
- 1/2 cup sour cream
- 1 teaspoon vanilla extract
- 1/4 cup unsweetened cocoa powder
- 8 ounces bittersweet chocolate, melted and cooled slightly
- 3 large eggs
- 1/4 cup heavy cream
Instructions
- Preheat your oven to 325 degrees F. Wrap the outside of a 9-inch springform pan tightly with heavy-duty aluminum foil.
- Prepare the crust: Mix the cookie crumbs and 1/4 cup sugar in a medium bowl. Pour in the melted butter and mix until the crumbs are evenly moistened. Press the mixture firmly into the bottom and about 1 inch up the sides of the prepared springform pan. Bake for 10 minutes. Remove from the oven and let it cool while you prepare the filling.
- Prepare the filling: In a large bowl, beat the softened cream cheese and 1 1/2 cups sugar with an electric mixer until smooth. Beat in the sour cream and vanilla extract.
- Sift the cocoa powder over the cream cheese mixture and beat until just combined. Scrape down the sides of the bowl.
- Pour the slightly cooled melted bittersweet chocolate into the mixture and beat on low speed until incorporated.
- Beat in the eggs one at a time, mixing only until each egg is just blended into the batter. Do not overmix. Stir in the heavy cream by hand.
- Pour the creamy chocolate filling over the cooled crust. Smooth the top with a spatula.
- Place the foil-wrapped springform pan into a larger roasting pan. Carefully pour hot water into the roasting pan until the water reaches about halfway up the sides of the springform pan. This creates a water bath for even baking.
- Bake for 60 to 75 minutes, or until the edges are set but the center still has a slight jiggle.
- Turn off the oven, crack the oven door open slightly, and let the cheesecake cool inside the oven for 1 hour. This prevents cracking.
- Remove the cheesecake from the water bath and foil. Let it cool completely on a wire rack. Once cool, cover and refrigerate for at least 6 hours, or preferably overnight, before serving.
Notes
- For an ultra-creamy texture, bring all dairy ingredients (cream cheese, sour cream, eggs) to room temperature before starting.
- If you want a showstopper dessert, top the chilled cheesecake with a simple chocolate ganache topping before serving.
- To prevent the cheesecake from cracking, do not overbeat the batter once the eggs are added.
Nutrition
- Serving Size: 1 slice
- Calories: 450
- Sugar: 35
- Sodium: 300
- Fat: 30
- Saturated Fat: 18
- Unsaturated Fat: 12
- Trans Fat: 0.5
- Carbohydrates: 40
- Fiber: 2
- Protein: 8
- Cholesterol: 95