
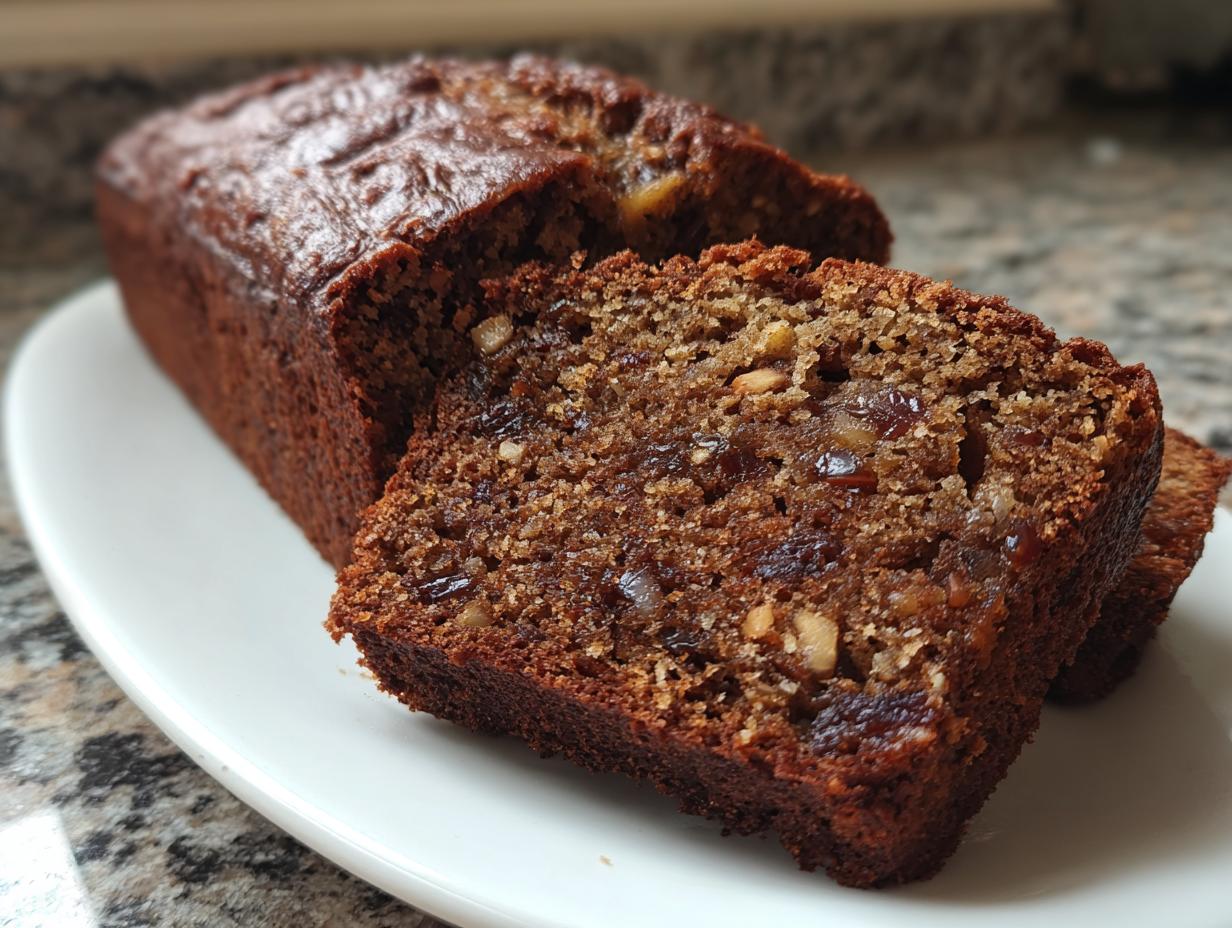
Oh, my friends, haven’t we all been down that path? Searching desperately for that one quick bread recipe that doesn’t end up tasting like a slightly sweet, crumbly brick? I swear, finding a truly moist date nut bread can feel impossible! That’s why, after years of tinkering here in my kitchen—honoring the simplicity my own family taught me—I’m sharing what I truly believe is the best date nut bread out there. This is an incredibly easy quick bread recipe, delivering that rich, old fashioned date loaf flavor you’re craving, but with a texture so tender you won’t believe it’s so simple. As the founder of Cooking Zenith, my goal is always foolproof baking, and this recipe guarantees that perfect, comforting loaf every single time.
- Why This Moist Date Nut Bread Recipe Works Every Time
- Gathering Ingredients for Your Classic Date Bread Baking
- Step-by-Step Instructions: How to Make Date and Nut Bread
- Baking the Old Fashioned Date Loaf to Perfection
- Serving Suggestions for Your Homemade Date Bread
- Storage and Make-Ahead Tips for Date Nut Bread
- Variations on the Classic Date Bread Baking
- Frequently Asked Questions About Date Nut Bread
- Bake the Best Date Nut Bread Today
Why This Moist Date Nut Bread Recipe Works Every Time
Honestly, I’ve tried every trick out there for keeping quick bread from drying out, and I promise you, the magic for this moist date nut bread is crystal clear. It’s not just about the ingredients, it’s about how we treat them! This recipe hits that sweet spot between being wonderfully nostalgic and being genuinely simple for your Tuesday night baking routine. It’s designed to give you that perfect tender crumb bread without needing a pastry degree.
- Guarantees a beautiful, soft texture that lasts for days!
- Uses basic pantry staples—a true simple loaf recipe.
- Delivers that satisfyingly rich, sweet date loaf flavor without being overly complicated.
The Secret to Tender Crumb Bread: Hydration
This step is non-negotiable, trust me. When you soak those chopped dates in boiling water with baking soda, you’re doing two things at once. The heat softens them up beautifully, meaning they don’t try to steal precious moisture from the batter while baking! And the baking soda? It reacts with the dates, helping to break down some of that structure right away. That’s what ensures you get that signature soft, melt-in-your-mouth quality every time you make this old fashioned date loaf.
Simple Loaf Recipe: Quick Bread Preparation
What I love most is that this is the definition of an easy quick bread recipe. You don’t need a stand mixer, and you certainly don’t need to cream things for twenty minutes! We are talking about mixing wet, mixing dry, folding together, and pouring it in the pan. It’s straightforward! You can easily slip this into your baking rotation even after a long workday. If you’re looking for other speedy, comforting bakes, you should check out my one-bowl banana zucchini bread; I use similar quick methods there too!
Gathering Ingredients for Your Classic Date Bread Baking
Okay, let’s get everything lined up because having your ingredients prepped and ready is half the battle won when baking! For our perfect loaf of classic date bread baking, nothing should be rushed here. We need precision because that’s what separates a good bread from a truly legendary one. You’ll notice we aren’t messing around with fancy techniques—it’s straightforward stuff, but the measurements matter!
Here’s what you need sitting on the counter before you start: You’ll need one cup of boiling water to start, one cup packed of pitted dates that you’ve already chopped up, and one teaspoon of baking soda ready for them. For the creamy base, grab 1/2 cup (which is exactly one stick, ladies!) of unsalted butter, making sure it’s softened nicely, and one cup of granulated sugar. We are using two large eggs and one teaspoon of vanilla extract. For the structure, measure out 1 and 3/4 cups of all-purpose flour, one teaspoon of baking powder, and 1/2 teaspoon of salt. Finally, the crunch! Get one cup of chopped walnuts or pecans ready to go.
Seeing everything laid out just makes you feel organized, doesn’t it? It helps prevent that panicked moment when you realize you ran out of flour mid-mix! If you love this kind of organized approach to simple, comforting bakes, you might want to check out my recipe for apple bread pudding; it follows a lovely, relaxed flow, too.
Ingredient Notes and Substitutions for Date Nut Bread
Let’s talk about making smart swaps that won’t sabotage our moisture goals for this date nut bread. First, the nuts. Walnuts have that slightly sharper, earthy bite that traditionalists love. But honestly? Pecans make this bread taste richer and almost buttery—they are my new go-to whenever I bake a nut bread recipe for gifting. Don’t feel locked in; use whatever you prefer!
Now, the dates. You absolutely must use pitted dates here! If you happen to buy whole dates, just take the time to chop them up and remove those pits—it’s worth the five minutes of effort. Make sure your butter is truly softened, not melted, because that makes a huge difference in the creaming process we talked about earlier. Remember, this entire recipe hinges on those good quality, hydrated dates, so choose ones that feel plump and not too dry off the shelf!
Step-by-Step Instructions: How to Make Date and Nut Bread
Alright, let’s get this comforting loaf in the oven! Since this is a quick bread, the mixing steps are crucial, but they move fast. We want to build structure without developing too much gluten, which keeps that gorgeous crumb soft. Get your oven preheated to 350°F (175°C) and make sure that 9×5 inch loaf pan is greased and floured before you even touch the dates. We move quickly from here!
Preparing the Dates for Perfect Date Nut Bread
This very first part is the real secret driver for making this the ultimate moist date nut bread. Take your chopped dates and toss them into a medium bowl. Now, pour that full cup of boiling water right over them, and immediately stir in that teaspoon of baking soda. Don’t skip this resting time! You need to let that mixture sit undisturbed for exactly 10 minutes. This hydrates the dates completely, which is absolutely non-negotiable if you want that fantastic texture in your old fashioned date loaf.
Mixing Wet and Dry Ingredients for Tender Crumb Bread
While the dates are soaking, tackle your wet ingredients. Cream that softened butter and sugar until it looks light and fluffy—this is when you introduce air, so don’t rush! Add your eggs one at a time, mixing well in between each one, followed by the vanilla. In a separate bowl, just whisk your dry flour, baking powder, and salt together. When you combine them, remember the golden rule for quick breads: add the dry mixture to the wet ingredients gradually, mixing *just* until you can barely see streaks of flour left. Then, gently fold in that glorious, ready date mixture and your nuts. Don’t stir aggressively; we are aiming for a soft, even blend for that guaranteed tender crumb bread!
Once everything is folded together, pour that beautiful batter into your pan. If you’re looking for other easy bakes where you mix wet and dry in simple stages, you have to check out my recipe for banana bread brownies—it uses just as much common sense mixing!
Baking the Old Fashioned Date Loaf to Perfection
Now that we’ve done all the hard work mixing, it’s time to let the oven work its magic! Baking time is critical when you’re aiming for that perfect, moist date nut bread. We have our oven set at 350°F (175°C), and the batter is nestled cozying up in that prepped loaf pan. You’re generally looking at about 55 to 65 minutes for this to be done.
But you know how ovens are—they all have their own personalities! Towards the end, maybe around the 45-minute mark, start checking it. The first sign of readiness is always visual: the loaf should start to pull away just slightly from the sides of the pan. That’s a great indicator that the structure is setting up nicely in this old fashioned date loaf.
The real test, of course, is the skewer test. Insert a wooden skewer right into the very center of the loaf. If it comes out clean, you’re golden! If you see wet batter clinging to it, give it another five minutes and check again. Sometimes, because the top gets so beautifully dark and rich, it can start to brown *too* much before the middle is cooked through. If you notice that happening, don’t panic! Just take a small sheet of aluminum foil and loosely tent it over the top of the pan. That foil acts like a little umbrella, protecting the crust while letting the heat finish warming up the center for that completely done, yet still moist, result.
Serving Suggestions for Your Homemade Date Bread
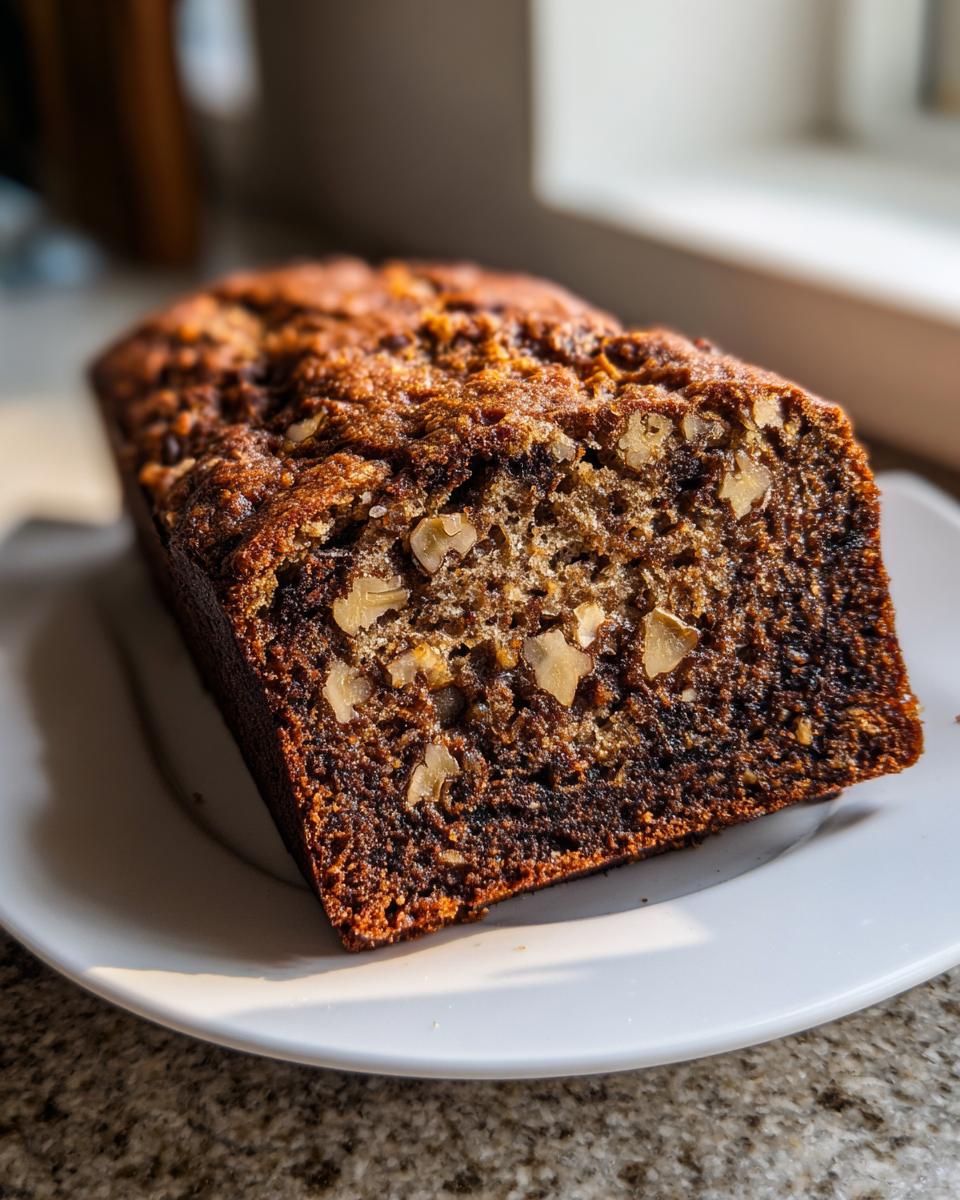
The hard part—baking that perfect, fragrant loaf—is done! Now comes the fun part: deciding how to devour your glorious homemade date bread. Because this loaf is so moist and naturally sweet, it’s honestly fantastic all on its own. But why stop there when you can elevate a simple snack into a real treat?
For breakfast, which is where I usually attack the first slice, you absolutely must try it warm. A thick smear of high-quality, slightly salted butter just melts right into the pores of the bread—it’s heavenly, simple, and classic. If you want a little something extra, a schmear of cream cheese is wonderful, especially if you add a tiny pinch of cinnamon to the cream cheese first. It really complements the spice profile in this sweet date loaf.
But wait, this bread is too good to only eat for breakfast! It makes an amazing afternoon snack with a steaming cup of coffee or tea. For a fancy touch, try crumbling a slice over Greek yogurt or cottage cheese for a comforting breakfast upgrade. Thinking about entertaining? This loaf shines on a cheese board! It pairs beautifully with sharp cheddar or creamy brie. The sweetness of the dates cuts right through the richness of the cheese. It’s a true showstopper for any gathering, and such a rewarding holiday baking recipe to bring out.
If you’re looking for an easy homemade topping to pair with this, I have a fantastic recipe for easy honey butter that takes just five minutes and adds a gorgeous sheen to a freshly sliced loaf. Enjoy every single bite of that perfect texture!
Storage and Make-Ahead Tips for Date Nut Bread
One of the best things about a great nut bread recipe like this? It’s even *better* the next day! This isn’t sad, drying-out bread; the moisture settles in overnight, making it even more tender. If you’re baking ahead for holiday parties or just want to make your mornings easier, this loaf is your best friend in comfort food baking.
When it comes to keeping it fresh on the counter, simple is the best approach. Once your homemade date bread is completely, totally cool—and I mean stone cold, don’t rush this step!—wrap it up tightly. I use a layer of plastic wrap first, and then I wrap that package in aluminum foil. Stored this way, it stays wonderfully moist at cool room temperature for a solid three or four days. It’s perfect for breakfast grabs all week long.
If you need to keep it longer, we are absolutely freezing this! Yes, this date nut bread freezes beautifully, which is why it’s one of my favorite holiday baking recipes to prep well in advance. I wrap the cooled loaf super securely first in plastic wrap, then again in foil, and maybe pop it in a freezer bag just for extra protection against freezer burn. You can easily keep it frozen for up to three months. When you want a slice, just let it thaw on the counter for a few hours, unwrapped so the crust stays nice!
If you love prepping things ahead of time so the morning rush is stress-free, you should take a look at my recipe for easy make-ahead cheesy egg bake. It saves my sanity on busy weekends!
Making Date Bread for Gifting
This sweet loaf just screams cozy nostalgia, making it absolutely perfect for **date bread for gifting**! Imagine bringing this to a neighbor or teacher during the holidays—it feels so much more personal than anything bought in a store. To present it beautifully, I follow the same wrapping technique: plastic wrap first, then foil, but then I dress it up a bit.
Instead of plastic wrap on the outside, try tying a nice piece of butcher paper or thick parchment around your foil-wrapped loaf and securing it with some natural twine. Stick a sprig of fresh rosemary or a cinnamon stick into the bow. It immediately gives it that rustic, old-fashioned feel that people just adore. It looks like something pulled straight out of a classic cookbook!
Variations on the Classic Date Bread Baking
While I’m completely devoted to this old fashioned date loaf exactly as written, I totally get the urge to make a recipe your own! I often see home cooks online asking how to adapt their favorite sweet date loaf, and I love seeing those creative turns. You can definitely approach this recipe with a little bit of that Ina Garten sensibility—taking a classic and perfecting it with high-quality basics—or even leaning into that rustic, hearty feel you see in Pioneer Woman recipes.
For starters, if you want to boost the spice factor and move beyond just the sweetness of the dates, try adding 1/4 teaspoon of ground cloves. It gives this bread an incredible warmth that makes it smell like the holidays started early in your kitchen. Cloves pair shockingly well with walnuts!
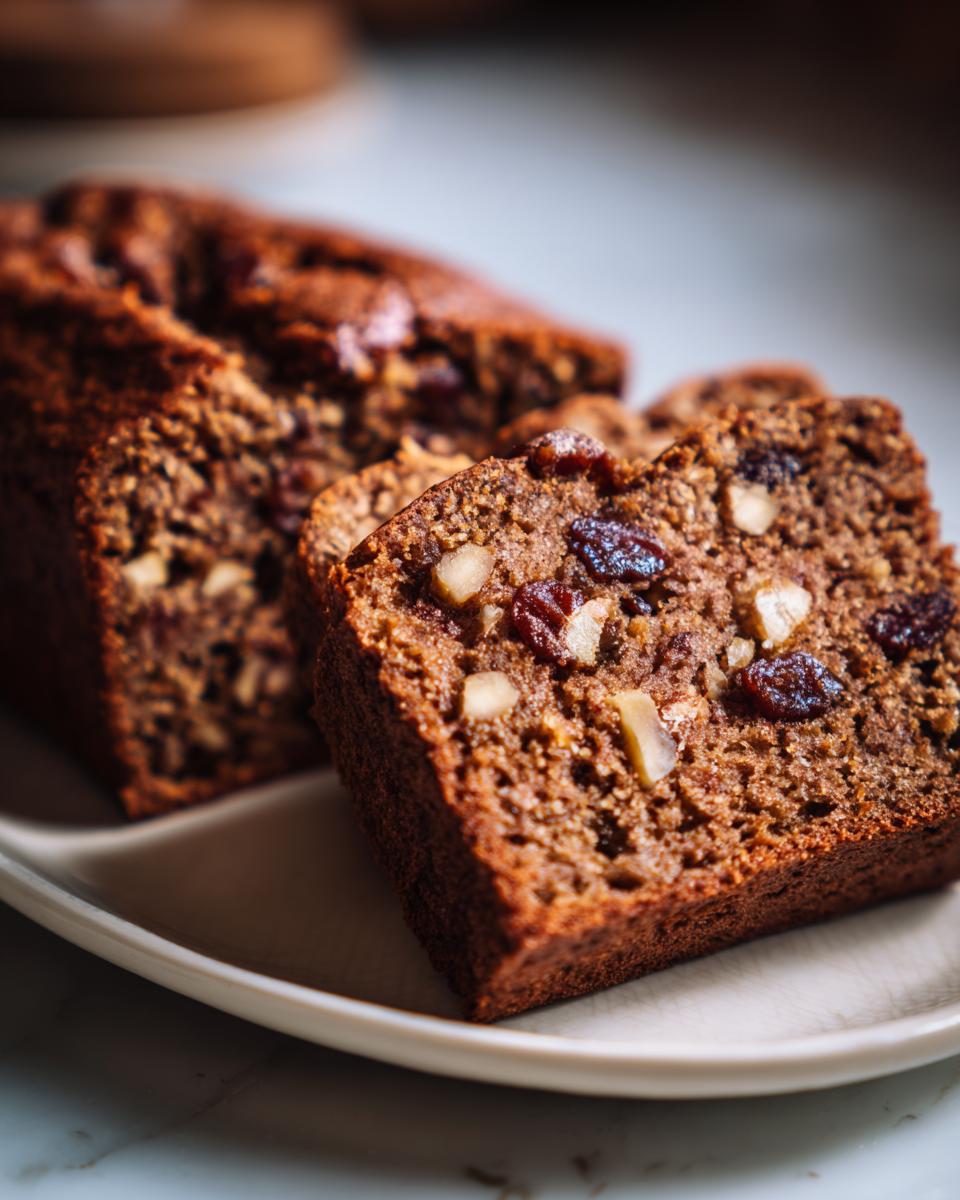
Another simple swap is introducing dried tart fruit alongside the dates. Try replacing half a cup of your nuts with dried sour cherries or cranberries. It adds a lovely burst of chewiness and a little tang to cut through the richness. If you do this, remember the extra moisture trick—you might need to add just a tiny extra tablespoon of flour to keep that perfect tender crumb bread texture, but taste it first!
If you’re interested in seeing how this flavor profile pairs with other retro favorites, my cranberry orange cookies use seasonal fruit in a similar, comforting way. And hey, if historical takes on this loaf interest you, folks still rave about Pat Nixon’s famous version; it goes to show how enduring this simple, satisfying nut bread recipe really is!
Frequently Asked Questions About Date Nut Bread
I know when you’re trying out a new favorite recipe, you always have a few little questions bubbling up! That’s totally normal. I’ve answered the top things people ask me about this date nut bread so you can bake with 100% confidence. When it comes to getting that perfect texture and making sure it lasts, I’ve got you covered.
Can I make this date nut bread without nuts?
Absolutely! You certainly can. If tree nuts are an issue for someone you’re baking for, you don’t have to worry about sacrificing the texture of your loaf. Since we are aiming for that moist date nut bread, if you leave out the cup of nuts, I suggest replacing that volume with extra chopped dates—bring it up to 1 and 1/2 cups of chopped dates total. That way, you keep that great natural sweetness! If you still want some crunch, you could substitute something like sunflower seeds or pumpkin seeds, though that changes the flavor profile a bit. It’s a successful swap either way!
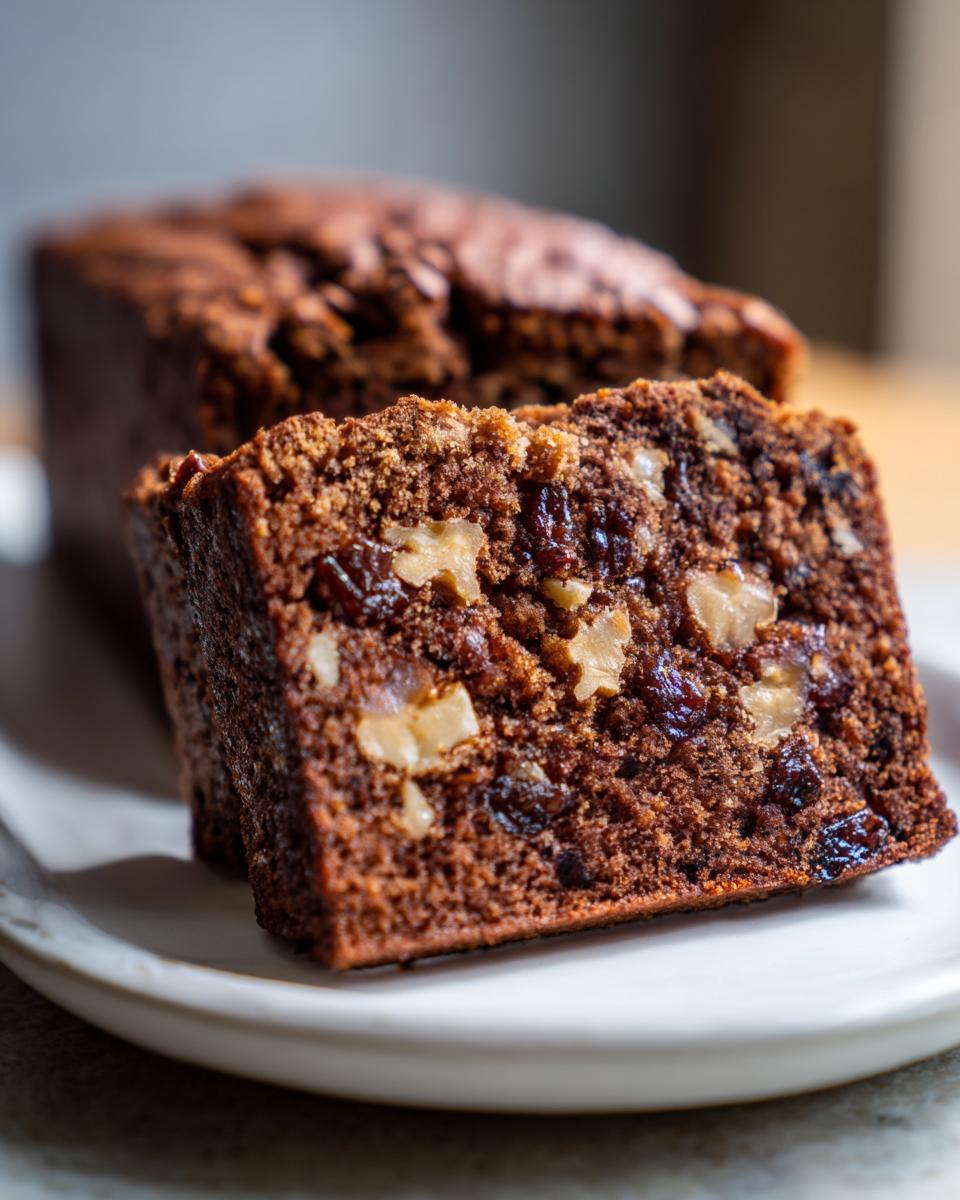
What makes this the best date nut bread recipe?
Hands down, what puts this recipe at the top of my list (and hopefully yours too!) is the foolproof way we treat the dates. It all comes back to that soak! By pouring boiling water and baking soda over the dates and letting them sit for ten minutes, we guarantee they are fully hydrated before they even hit the mixer. Most dry nut bread recipe failures happen because the dates are too dry to begin with. Our method ensures a rich, unbelievably plush crumb that stays soft for days. It’s the secret sauce for a truly superior homemade date bread!
If you find yourself wondering about other ways to preserve flavor in your baked goods, you might enjoy looking at my recipe for easy no-cook homemade pizza sauce; sometimes simple preparation leads to the best flavor outcomes in the kitchen!
Bake the Best Date Nut Bread Today
Well, there you have it! We’ve turned simple ingredients into what I truly hope becomes your new go-to, absolutely foolproof date nut bread. I’ve given you all my little secrets—from hydrating those dates properly to making sure you don’t overmix that precious batter for that lovely tender crumb bread.
Now it’s your turn to take these notes from my kitchen to yours! I would absolutely love it if you could give this easy quick bread recipe a try this week. When you bake this classic loaf, please come back and let me know how it turned out for you. Did you slice it warm with butter right out of the oven? Did you save it for breakfast the next day?
Leave your thoughts, questions, or any little twists you tried in the comments below! Your feedback helps other home cooks like you gain the confidence to conquer their own baking challenges. If you enjoyed this journey into nostalgic quick bread perfection, I hope you’ll take a look around the site and see what other everyday meals we can elevate together. You can always learn more about my baking philosophy over on the About Aria Thompson Page!
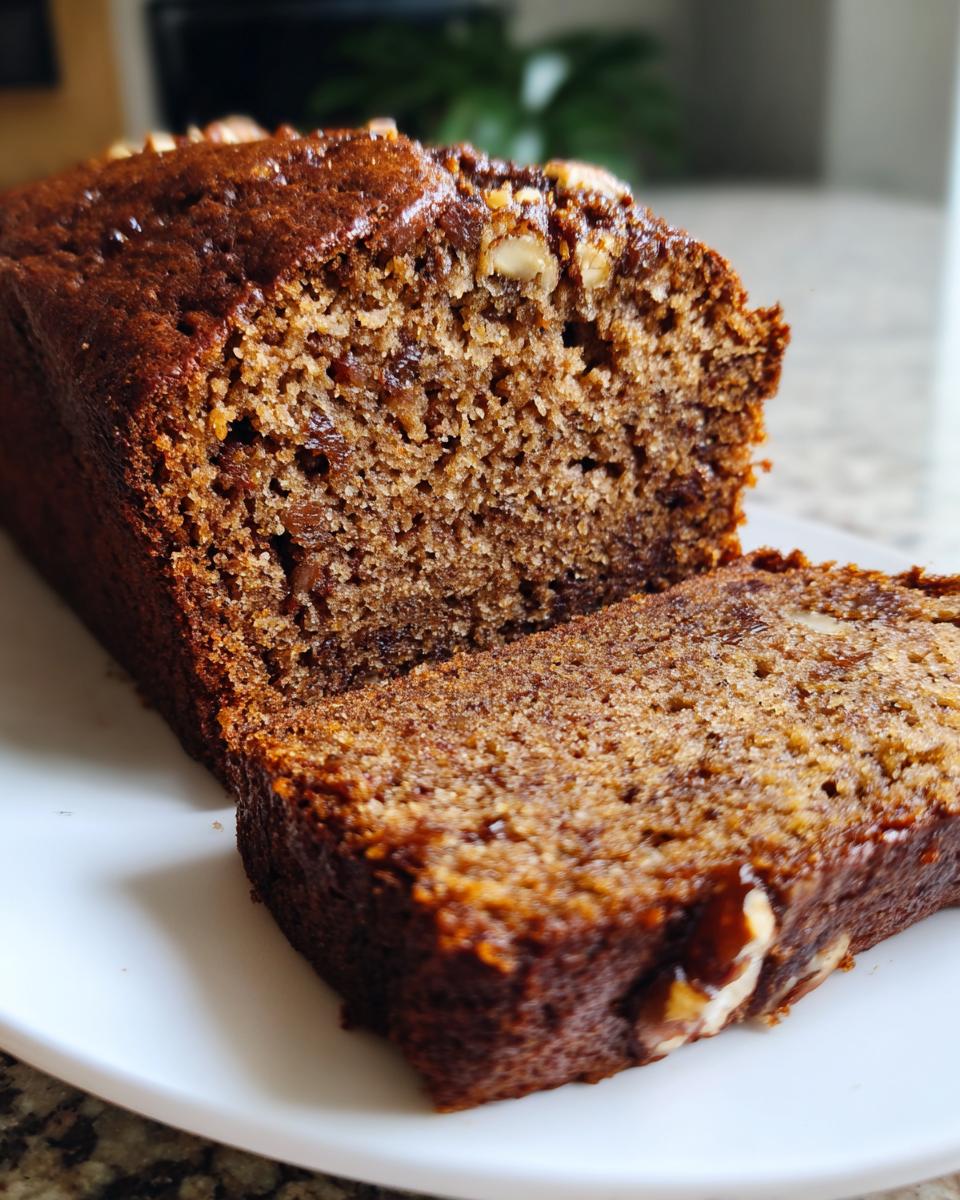
PrintThe Best Moist, Old-Fashioned Date Nut Bread: An Easy Quick Bread Recipe
Follow this simple recipe to bake an irresistibly moist date nut bread with a tender crumb and rich, nostalgic flavor. This easy quick bread is perfect for breakfast, snacks, or holiday gifting.
- Prep Time: 15 min
- Cook Time: 60 min
- Total Time: 75 min
- Yield: 1 loaf (about 10 servings) 1x
- Category: Quick Bread
- Method: Baking
- Cuisine: American
- Diet: Vegetarian
Ingredients
- 1 cup boiling water
- 1 cup packed pitted dates, chopped
- 1 teaspoon baking soda
- 1/2 cup (1 stick) unsalted butter, softened
- 1 cup granulated sugar
- 2 large eggs
- 1 teaspoon vanilla extract
- 1 3/4 cups all-purpose flour
- 1 teaspoon baking powder
- 1/2 teaspoon salt
- 1 cup chopped walnuts or pecans
Instructions
- Preheat your oven to 350°F (175°C). Grease and flour a standard 9×5 inch loaf pan.
- Place the chopped dates in a medium bowl. Pour 1 cup of boiling water over the dates and stir in the baking soda. Let this mixture sit for 10 minutes to soften the dates.
- In a large bowl, cream together the softened butter and granulated sugar until light and fluffy. Beat in the eggs one at a time, mixing well after each addition. Stir in the vanilla extract.
- In a separate bowl, whisk together the flour, baking powder, and salt.
- Gradually add the dry ingredients to the wet ingredients, mixing just until combined. Do not overmix.
- Gently fold in the softened date mixture (including the liquid) and the chopped nuts until they are evenly distributed throughout the batter.
- Pour the batter into the prepared loaf pan.
- Bake for 55 to 65 minutes, or until a wooden skewer inserted into the center comes out clean. If the top browns too quickly, loosely tent it with aluminum foil for the last 15 minutes of baking.
- Let the loaf cool in the pan for 10 minutes before turning it out onto a wire rack to cool completely.
Notes
- For the most moist date nut bread, do not skip soaking the dates in the hot water and baking soda mixture; this hydrates them perfectly.
- This bread is excellent served warm with butter or cream cheese.
- Wrap the cooled loaf tightly in plastic wrap and then foil; it keeps well at room temperature for several days or freezes well for later enjoyment.
- You can substitute pecans for walnuts if you prefer a different nut flavor.
Nutrition
- Serving Size: 1 slice
- Calories: 310
- Sugar: 28g
- Sodium: 210mg
- Fat: 15g
- Saturated Fat: 6g
- Unsaturated Fat: 9g
- Trans Fat: 0g
- Carbohydrates: 43g
- Fiber: 2g
- Protein: 5g
- Cholesterol: 55mg