
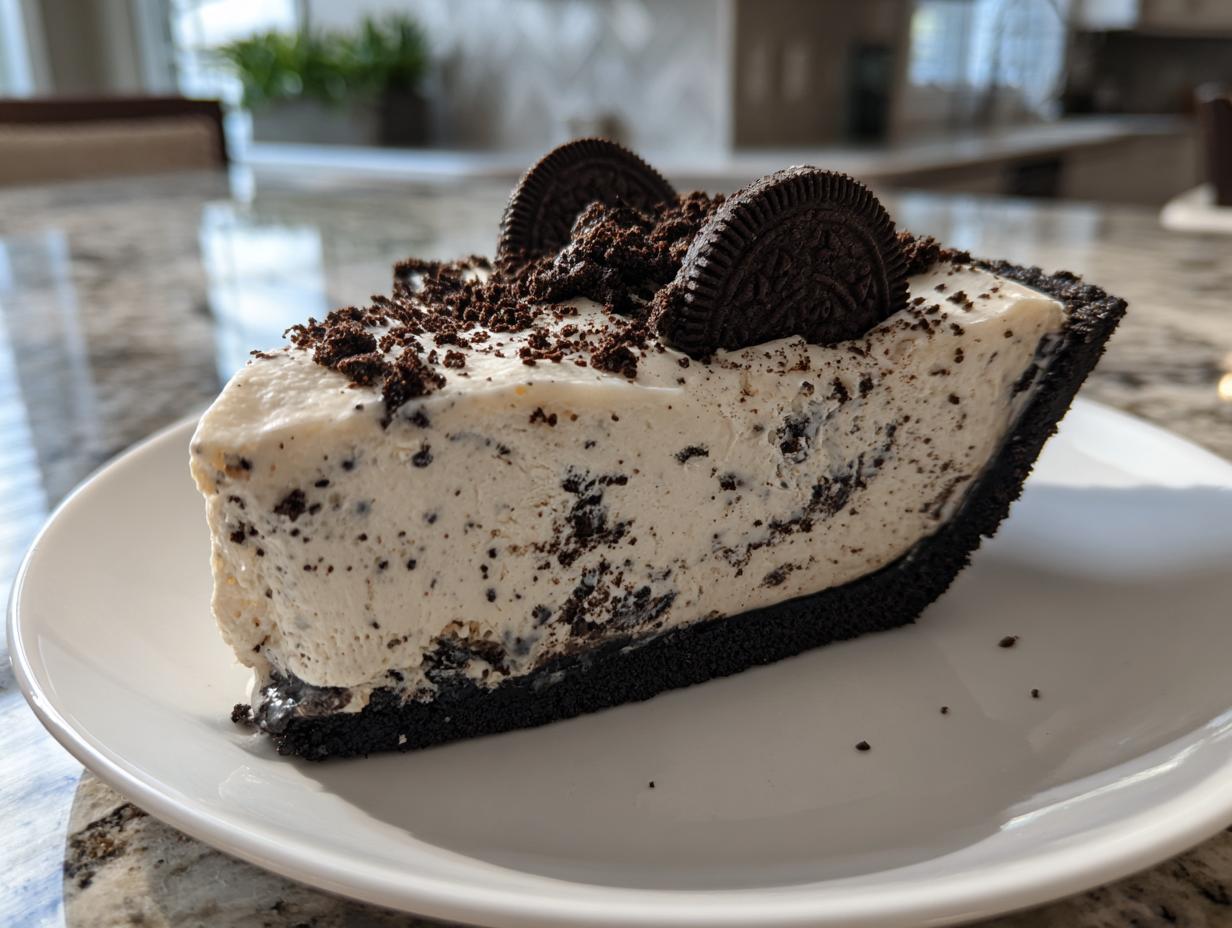
Are you ever hit with that sudden, non-negotiable craving for something chocolatey, crunchy, and just unbelievably soothing? Trust me, I know the feeling! When that happens, I skip everything that involves flour or an oven and head straight for my go-to recipe. I’m talking about the absolute easiest, creamiest No Bake Oreo Pie you will ever lay eyes on. This isn’t fancy, but it stops the show every single time I bring it out. As someone who believes every home cook deserves simple wins, this quick-prep oreo pie is my secret weapon for impressing last-minute guests or just making a Tuesday night feel like a tiny vacation!
- Why This No Bake Oreo Pie is The Best Oreo Pie
- Gathering Ingredients for Your Easy Oreo Pie Recipe
- Step-by-Step Instructions for No Bake Oreo Pie
- Tips for The Best Oreo Pie Success
- Variations on Your Oreo Pie
- Storing Your Chilled Oreo Dessert
- Frequently Asked Questions About No Bake Dessert Recipes
- Nutritional Estimate for This Decadent Oreo Dessert
- Share Your Homemade Oreo Pie Creations
Why This No Bake Oreo Pie is The Best Oreo Pie
Listen, there are a million dessert recipes out there, but this No Bake Oreo Pie cuts right through the noise because it’s just so brilliantly simple. It’s the definition of maximum flavor for minimum effort. I developed this specifically to be my emergency dessert—the one I know will deliver a show-stopping result when I have zero time.
If you want something decadent but don’t want to turn the oven on, you just found your new favorite. This truly is The Best Oreo Pie because it hits every sweet spot a busy cook needs. You can find the full preparation timeline, which is amazingly fast, over at the main recipe overview.
- It delivers that intense, satisfying Creamy Oreo Dessert vibe without any complicated baking stages.
- It qualifies as a fantastic Easy Oreo Pie Recipe; there are no weird steps or fancy techniques required—just beating and folding!
- It’s chilled! That cool, refreshing texture makes it perfect after a heavy meal or on a warm evening.
Quick Prep Time for Your Oreo Pie
When I say quick, I mean it! We are looking at only about 20 minutes of active prep time here. That’s less time than it takes to decide what movie to watch! Because there’s zero baking involved, you just combine, press, and chill. This makes this oreo pie the ultimate last-minute plan savior. If you get a sudden urge for dessert right after dinner, you can have this chilling before you even finish cleaning up the kitchen.
Minimal Ingredient Oreo Dessert Ideas
One of the things I adore most about this recipe is how few things you actually need. It turns standard pantry staples into something truly spectacular. You won’t need six different flours or obscure extracts—just the essentials to get that amazing Oreo crunch and creaminess. It’s a prime example of truly versatile oreo dessert ideas that prove you don’t need a massive shopping list to create something special. It keeps the cost down, too!
Gathering Ingredients for Your Easy Oreo Pie Recipe
Okay, getting ready for this Easy Oreo Pie Recipe means grabbing your ingredients, and trust me, it’s a short list! Don’t stress about sourcing anything complicated; we are keeping this beautifully simple. Clarity in ingredients is key for any Homemade Oreo Pie, especially since we aren’t baking anything to correct mistakes in the crust. We need everything to be perfectly prepped before we start combining layers. You can see a more general overview of pie essentials over at this resource if you need a quick reference guide.
If you’re trying to shave off a couple of minutes from that 20-minute prep time, don’t feel guilty about buying pre-crushed Oreo crumbs! I totally do it when I’m rushing. Just make sure you grab enough—we need that satisfyingly deep chocolate flavor!
For the Crunchy Oreo Crust Pie
This crust is the backbone of our Oreo Crust Pie. It needs to be strong enough to hold the velvety filling, so precise measurements matter here!
- Oreo Cookies: You’ll need a full package (about 14.3 ounces) that you crush very finely, which usually gives you about 3 cups of crumbs.
- Melted Butter: Exactly 6 tablespoons of good quality, unsalted butter, melted down until smooth and ready to coat those crumbs.
Creating the Fluffy Oreo Filling
For the filling, pay attention to the temperature of these dairy items! We need them ready to mix perfectly into that Fluffy Oreo Filling.
- Cream Cheese: 8 ounces, softened completely. If it’s cold, your filling will be bumpy, and we can’t have that!
- Powdered Sugar: 1 cup to sweeten and stabilize the base.
- Vanilla Extract: Just 1 teaspoon for that background warmth.
- Whipped Topping: One 8-ounce container that has been completely thawed. Don’t rush this warming up process!
- Heavy Cream: 1 cup, chilled, ready to be whipped up into stiff peaks!
- Granulated Sugar: 1/2 cup to sweeten that heavy cream.
- Crushed Oreos: An extra cup of crushed cookies to fold in for texture and topping variation.
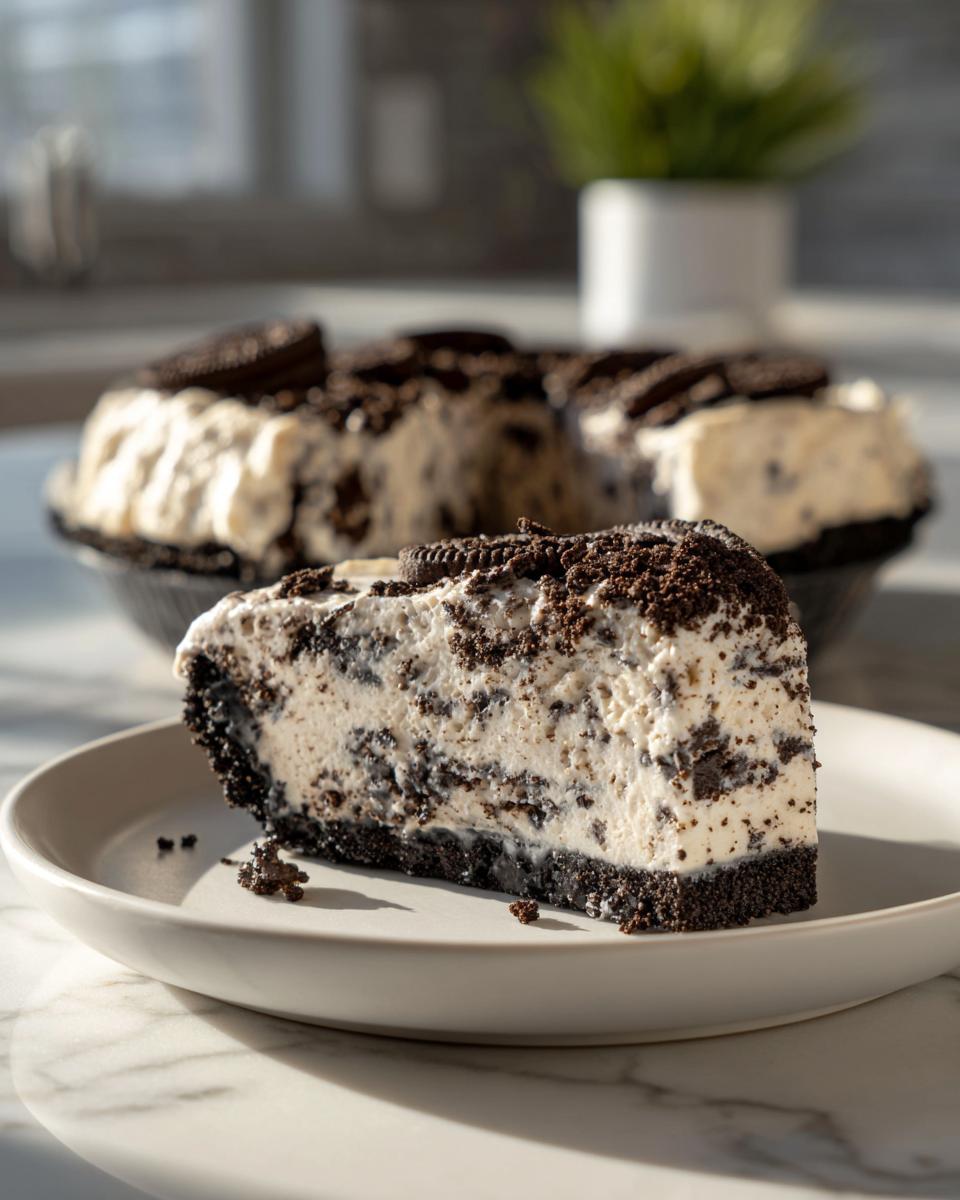
Step-by-Step Instructions for No Bake Oreo Pie
Now for the fun part—putting this beautiful, cold dessert together! Since this is a Quick Oreo Pie, the steps move fast, but we need to be precise when mixing the soft ingredients. Remember, there’s no oven to rescue us if the cream cheese is lumpy, so make sure your soft ingredients are actually soft! For the absolute best flavor and texture, I really want you to aim for that 6-hour chill time, although the recipe technically sets up after 4 hours. Think of the extra time as letting the flavors mingle properly! You can get a head start by checking out the full directions over at this helpful guide.
Preparing and Freezing the Oreo Crust Pie
First things first: we create the foundation. Grab that bowl with your finely crushed Oreos and toss in the 6 tablespoons of melted butter. You want to mix this until every crumb looks like it’s been coated in wet sand. That melted butter is what glues everything together, creating a truly stable oreo crust pie.
Take this buttery mix and dump it into your 9-inch pie plate. Now, press! Use the bottom of a flat measuring cup or just your clean hands to push that mixture down firmly across the bottom and up the sides. Don’t be shy—a firm press means no loose pieces when you try to serve it later. Once it looks packed tight, slide that plate into the freezer while you tackle the filling!
Assembling the Creamy Oreo Dessert Filling
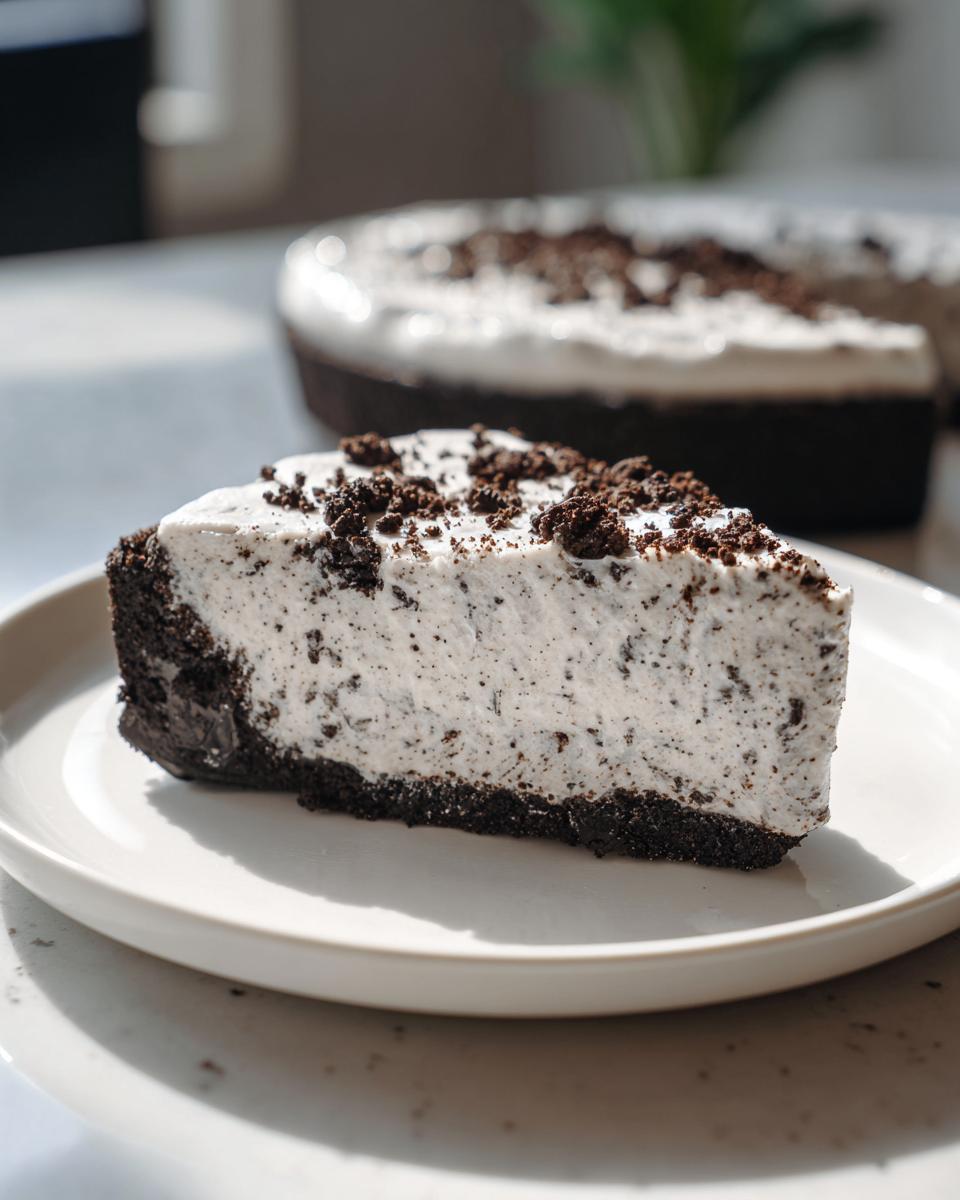
This is where we build that incredible, fluffy texture. In a large bowl, beat your softened cream cheese until it’s completely smooth—no lumps allowed! Slowly mix in the powdered sugar, then the vanilla. You should have a smooth, thick base ready to accept the air we need to whip in.
In a separate, chilled bowl—I mean *really* cold—whip your heavy cream with the granulated sugar until you get stiff, beautiful peaks. This is the secret boost to making this a true creamy oreo dessert! Now, gently fold that whipped cream into your cream cheese base. Do this slowly! Then, fold in half of your reserved crushed Oreos. Gentle is the keyword here; we are trapping air, not flattening it out!
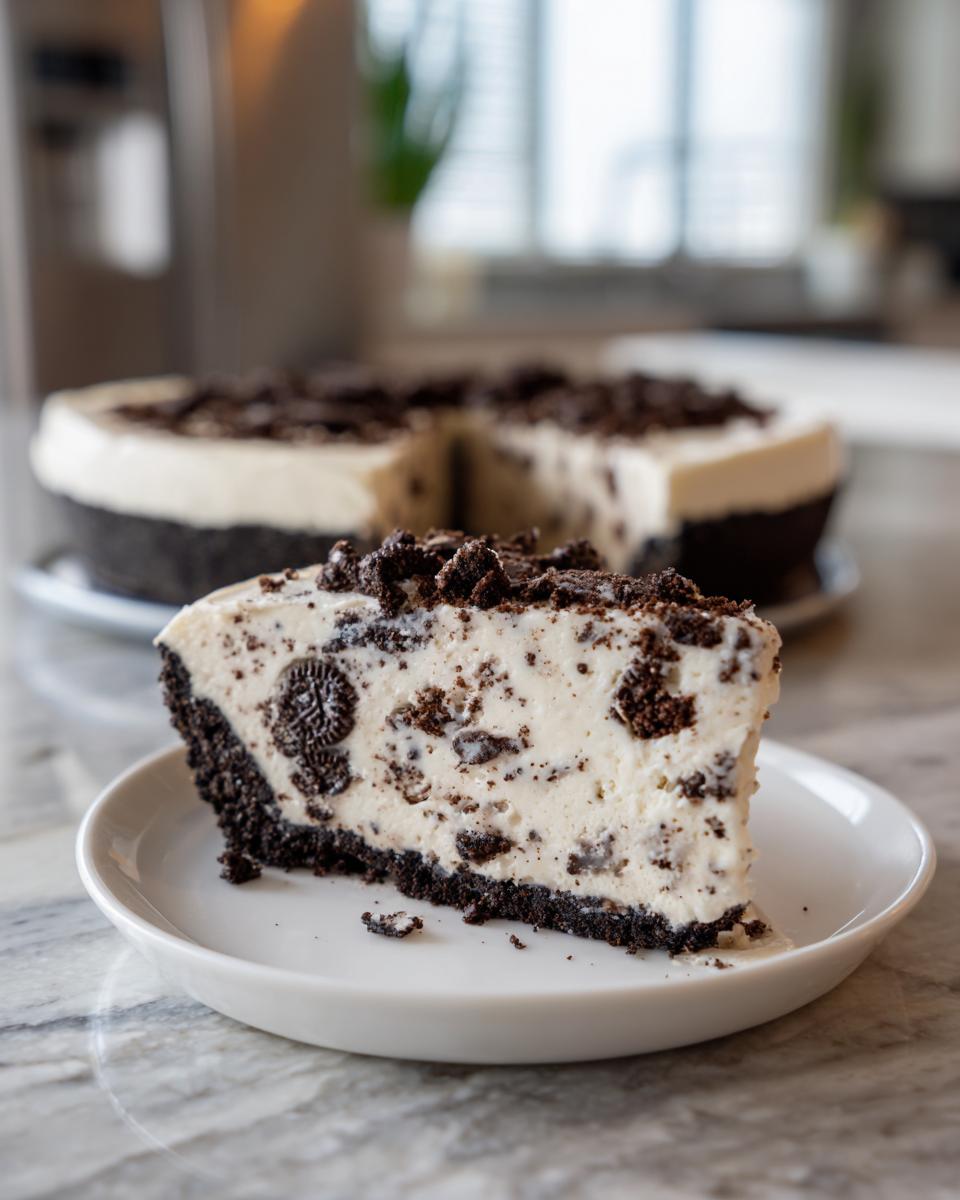
Chilling and Serving the Homemade Oreo Pie
Time to bring the frozen crust back out! Spoon that gorgeous, fluffy filling evenly into the chilled crust. Smooth the top gently with an offset spatula or the back of a spoon. Cover it loosely with plastic wrap so nothing dries out.
Into the fridge it goes! We need a minimum of 4 hours for this Homemade Oreo Pie to firm up enough to slice cleanly. Honestly, if you can wait 6 hours, it will be even more delightfully firm. Once it’s fully set, just before you serve it (that’s important!), sprinkle the remaining crushed Oreos right over the top for that final visual wow. Slice and enjoy that cold, decadent perfection!
Tips for The Best Oreo Pie Success
I want your oreo pie to be stunning, so here are a few things I always check just before mixing. First, temperature is everything! Make absolutely certain that cream cheese is soft, but keep that heavy cream icy cold until the moment you start whipping it. If your cream cheese is even a little cold, you’ll end up with tiny, unmixed lumps, and that ruins the smooth texture we worked so hard for.
Also, remember that cocoa powder suggestion I mentioned? If you want a richer, deeper chocolate note in your filling, don’t be afraid to dust in about 1/4 cup of unsweetened cocoa powder along with the powdered sugar. It really takes this over the top!
Finally, patience pays off during the chilling phase. While 4 hours works, that extra two hours lets the filling solidify beautifully around those cookie chunks—it gives you the best slice possible. You can find some more amazing structural advice for these kinds of layered desserts at this post.
Variations on Your Oreo Pie
The beauty of this base recipe is how easily it pivots into something totally different! Once you master the structure of this oreo pie, you can start playing mad scientist with the flavors. I love having options, especially when planning desserts for a crowd—different tastes call for different treats, right?
If you’re dealing with serious chocolate lovers, you absolutely must try making a richer Chocolate Oreo Pie. It’s simple: just take maybe 1/4 cup of unsweetened cocoa powder and mix it right in with your cream cheese and powdered sugar in Step 2. It deepens the whole flavor profile! You can see an example of a fudgier version over at this chocolate pie recipe.
For those who prefer a little tang and extra density, think about turning this into an Oreo Cheesecake Pie. After you’ve set your crust in the freezer, press down about half of your cream cheese mixture (before adding the whipped cream). Chill that layer for about 30 minutes, then layer the remaining mixture with the whipped topping folded in. It gives a lovely, slightly firmer texture that feels extra decadent!
Storing Your Chilled Oreo Dessert
Because this is a no-bake treat filled with whipped cream and cream cheese, storage is super important to keep that fluffy texture intact! Once your oreo pie is fully set and sprinkled with those last few cookie crumbles, you need to treat it gently. Always cover the pie loosely with plastic wrap or foil—you don’t want it sticking to the filling, so leave a little tent over the top.
Keep it tucked away in the refrigerator. It tastes best when served ice-cold, so no reheating necessary, ever! This chilled oreo dessert actually holds up really well for about 3 to 4 days in the fridge. And yes, you can freeze leftovers! Wrap that slice super tight in plastic wrap and then foil. It thaws beautifully overnight in the fridge when you need another quick fix.
Frequently Asked Questions About No Bake Dessert Recipes
I know we covered a ton of ground making sure this oreo pie is perfect, but I always get a few lingering questions when people try it for the first time. That’s totally normal! Making a no-bake recipe seems easy, but sometimes the little details make all the difference between a great dessert and a spectacular one. This is one of the best No Bake Dessert Recipes because it’s so reliable, but let’s tackle the tricky bits!
Can I use a pre-made graham cracker crust instead of an Oreo Crust Pie?
Oh, you totally can! If you’re having one of those days where every single minute counts, grabbing a pre-made crust saves you those critical 10 minutes of crushing and pressing. However, I have to be honest: part of what makes this recipe so amazing is that deep, dark crunch of the chocolate Oreo Crust Pie. If you use a graham cracker crust, you’re switching the flavor profile to something lighter, maybe pairing better with a very rich filling. If you use a plain graham crust, stick to the original filling recipe—don’t change anything else. That contrast between the buttery crust and the rich filling is key!
What is the secret to making the Oreo Pie filling extra fluffy?
This is my favorite question because fluffiness demands technique! The secret lies entirely in that heavy cream. Don’t just dump the heavy cream into the cream cheese mixture and beat it all together. You need to treat the heavy cream separately: whip it with the granulated sugar until it holds stiff peaks—like little snowy mountains that don’t droop when you lift the beater. That whipped cream is what introduces the maximum amount of air. Once you have that stabilized base (the cream cheese mix), you gently fold the whipped cream in last. That gentle folding keeps all that lovely air trapped, resulting in the perfect fluffy oreo filling. Please don’t over-mix at this stage!
Can I make this Oreo Pie ahead of time for a party?
Absolutely, and I highly recommend it! Because this is a chilled oreo dessert, it actually tastes better the next day because the flavors have time to meld, and the crust softens just a tiny bit from the filling’s moisture. You can easily make this pie completely the day before your event—I often prep mine the afternoon before a big gathering. Just make sure it’s covered tightly in the fridge. It makes you look like you spent hours prepping, but you haven’t touched the oven all day! It’s one of my favorite easy party desserts for that reason. For more tips on making desserts ahead, check out what the folks at Sweet or Deal suggest for chill times!
Nutritional Estimate for This Decadent Oreo Dessert
Now, let’s talk numbers, because while this decadent Oreo dessert is pure joy, it’s good to have a general idea of what’s in that glorious slice! As I always tell my friends, these numbers are just estimates, totally dependent on which brands of Oreos or whipped topping you end up grabbing. I calculated this based on my specific ingredient list, but every package varies, so take this as a guideline, not gospel!
It’s a rich treat, so you can see the sugar and fat content reflects that deep, satisfying flavor we’re going for in this oreo pie. If you can manage to wait the full 6 hours for chilling, the texture is unbeatable, even if the calorie count stays the same!
- Serving Size: 1 slice
- Calories: About 450
- Fat: Roughly 30g
- Saturated Fat: Around 15g
- Carbohydrates: Floating near 45g
- Sugar: About 35g
- Protein: A modest 4g
Just a friendly reminder: these estimates are based on 8 generous slices from the whole pie. If you cut it into 10 pieces, the numbers go down a bit! If you want to see how a slightly different style of oreo pie compares nutritionally, you might want to glance at something like this comparison point.
Share Your Homemade Oreo Pie Creations
Wow, you made it all the way through! You’ve successfully tackled The Best Oreo Pie, and I am just thrilled for you!
Now, I really want to see your results! Did you stick to the classic look, or did you go wild with one of those variations we talked about? Food is meant to be shared, and hearing about your experience makes all the recipe testing worth it. If this was your first time making an oreo pie and you loved that smooth, cold texture, please, please let me know!
Head down to the comments section and give this recipe a rating—if it lived up to the hype and made your day a little sweeter, shoot it five stars! I’m also incredibly curious to hear about any tweaks you tried. Did you add a hint of espresso or maybe use chocolate Oreos for the crust? Tell me all about it!
And if you snapped a picture of your magnificent, chilled creation—maybe sitting next to a cup of coffee or ready for a party—I’d be so honored if you shared it on social media. Tag me so I can swoon over your beautiful work! You can check out some other folks’ awesome dessert successes over at Kim’s Cravings for inspiration while you’re at it. Happy baking (or should I say, happy chilling)!
PrintEasy No-Bake Oreo Pie

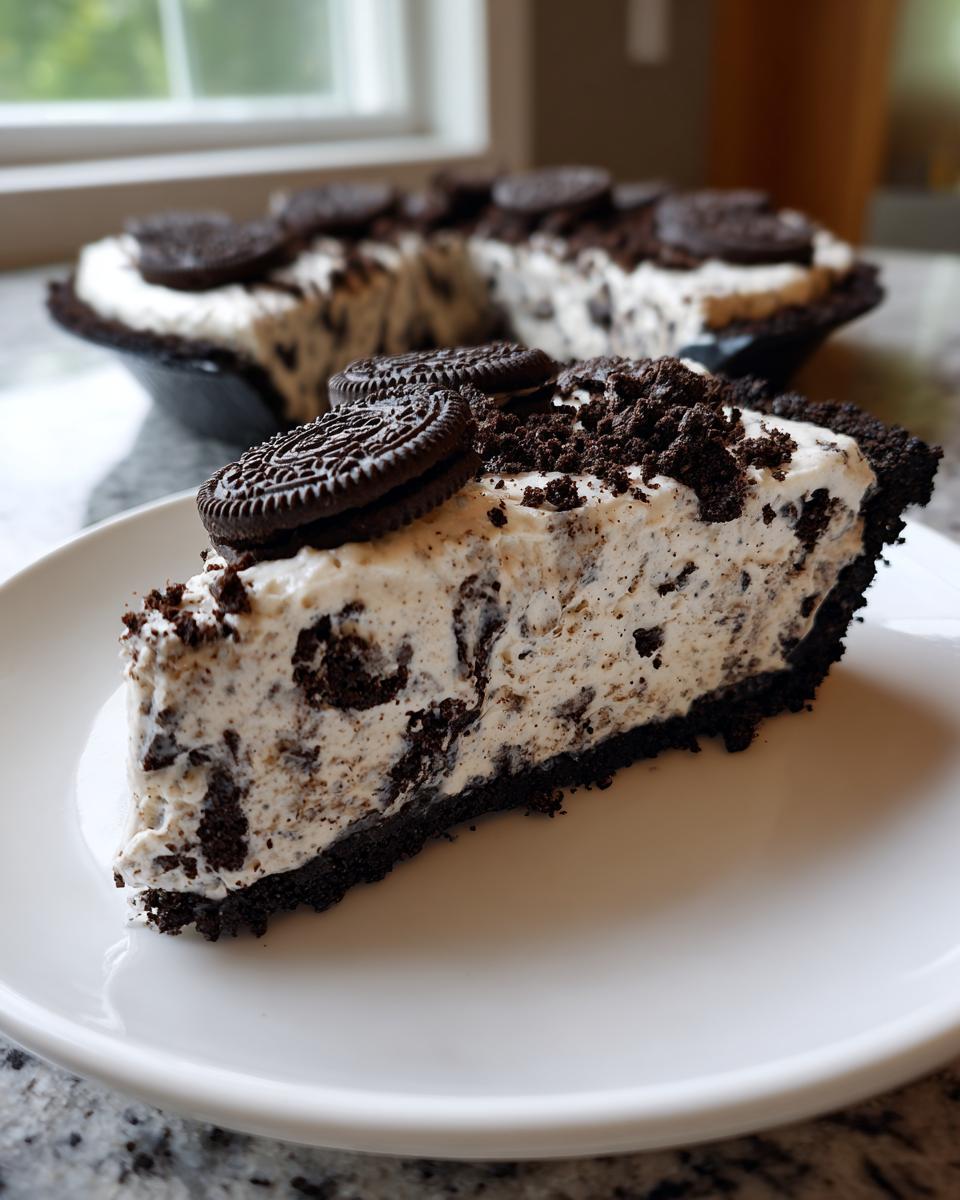
Make this simple, chilled Oreo Pie with a crunchy cookie crust and a rich, creamy cookies and cream filling. This no-bake dessert is quick to prepare and perfect for parties.
- Prep Time: 20 min
- Cook Time: 0 min
- Total Time: 4 hr 20 min
- Yield: 8 servings 1x
- Category: Dessert
- Method: No Bake
- Cuisine: American
- Diet: Vegetarian
Ingredients
- 1 package (14.3 ounces) Oreo cookies, finely crushed (about 3 cups crumbs)
- 6 tablespoons unsalted butter, melted
- 1 package (8 ounces) cream cheese, softened
- 1 cup powdered sugar
- 1 teaspoon vanilla extract
- 1 container (8 ounces) frozen whipped topping (like Cool Whip), thawed
- 1 cup heavy cream
- 1/2 cup granulated sugar
- 1 cup crushed Oreo cookies for topping
Instructions
- Prepare the crust: Combine the finely crushed Oreo cookies and melted butter in a bowl. Press the mixture firmly into the bottom and up the sides of a 9-inch pie plate. Place the crust in the freezer while you prepare the filling.
- Make the cream cheese layer: In a large bowl, beat the softened cream cheese until smooth. Gradually beat in the powdered sugar until fully combined. Mix in the vanilla extract.
- Whip the heavy cream: In a separate, chilled bowl, beat the heavy cream and granulated sugar until stiff peaks form.
- Fold the filling: Gently fold the thawed whipped topping into the cream cheese mixture until just combined. Then, gently fold in half of the remaining crushed Oreos.
- Assemble the pie: Spoon the creamy filling evenly into the chilled Oreo crust.
- Chill: Cover the pie loosely with plastic wrap and refrigerate for at least 4 hours, or until the filling is firm.
- Serve: Before serving, sprinkle the remaining crushed Oreo cookies over the top of the pie. Slice and serve cold.
Notes
- For an even easier crust, you can use 1 1/2 cups of pre-made Oreo cookie crumbs and skip crushing the cookies yourself.
- If you prefer a richer chocolate flavor, add 1/4 cup of unsweetened cocoa powder to the cream cheese mixture.
- This pie sets best when chilled for a full 6 hours, but 4 hours is the minimum time needed.
Nutrition
- Serving Size: 1 slice
- Calories: 450
- Sugar: 35g
- Sodium: 310mg
- Fat: 30g
- Saturated Fat: 15g
- Unsaturated Fat: 15g
- Trans Fat: 0.5g
- Carbohydrates: 45g
- Fiber: 1g
- Protein: 4g
- Cholesterol: 45mg