
If you’ve ever stared down a tray of dessert bars, wishing you could find that absolute sweet spot where rich, dark chocolate meets the luxurious, slightly tart creaminess of cheesecake, then stop searching right now! I finally nailed it, and I’m so excited to share my ultimate, foolproof recipe for **chocolate cheesecake bars**. This isn’t some fussy pastry chef creation; this is how I, Aria, make them for my family gatherings. I’ve tested this recipe over and over in my own kitchen to ensure you get that incredibly fudgy, yet perfectly set, texture every single time. Forget dry, crumbly squares; we are aiming for dessert perfection that comes together easily and tastes absolutely gourmet. Get your pans ready—we’re making the best chocolate cheesecake bars you’ve ever tasted!
- Why You Will Love These Foolproof Chocolate Cheesecake Bars
- Gathering Ingredients for Perfect Chocolate Cheesecake Bars
- Step-by-Step Instructions: How to Make Chocolate Cheesecake Bars
- Tips for Achieving Perfect Texture Cheesecake Bars
- Simple Variations for Your Chocolate Cheesecake Bars
- Storage and Reheating Instructions for Rich Chocolate Dessert Squares
- Frequently Asked Questions About Chocolate Cheesecake Bars
- Serving Suggestions for Decadent Chocolate Dessert Bars
- Understanding the Nutrition in Your Chocolate Cheesecake Bars
Why You Will Love These Foolproof Chocolate Cheesecake Bars
Honestly, these aren’t just good; they’re the perfect solution when you can’t decide between a brownie and a cheesecake. I promise these **easy cheesecake bar recipes** deliver pure bliss. You’ll love them because:
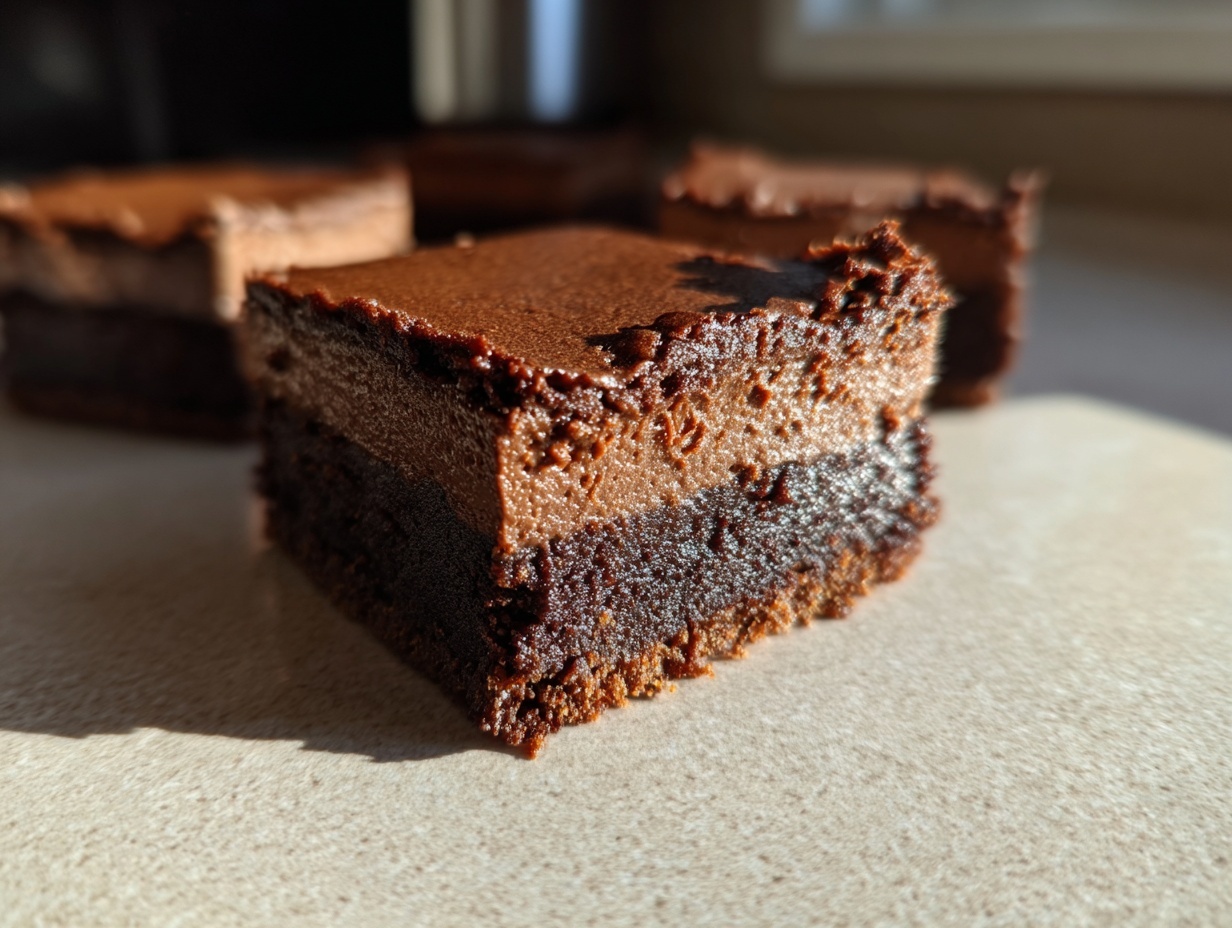
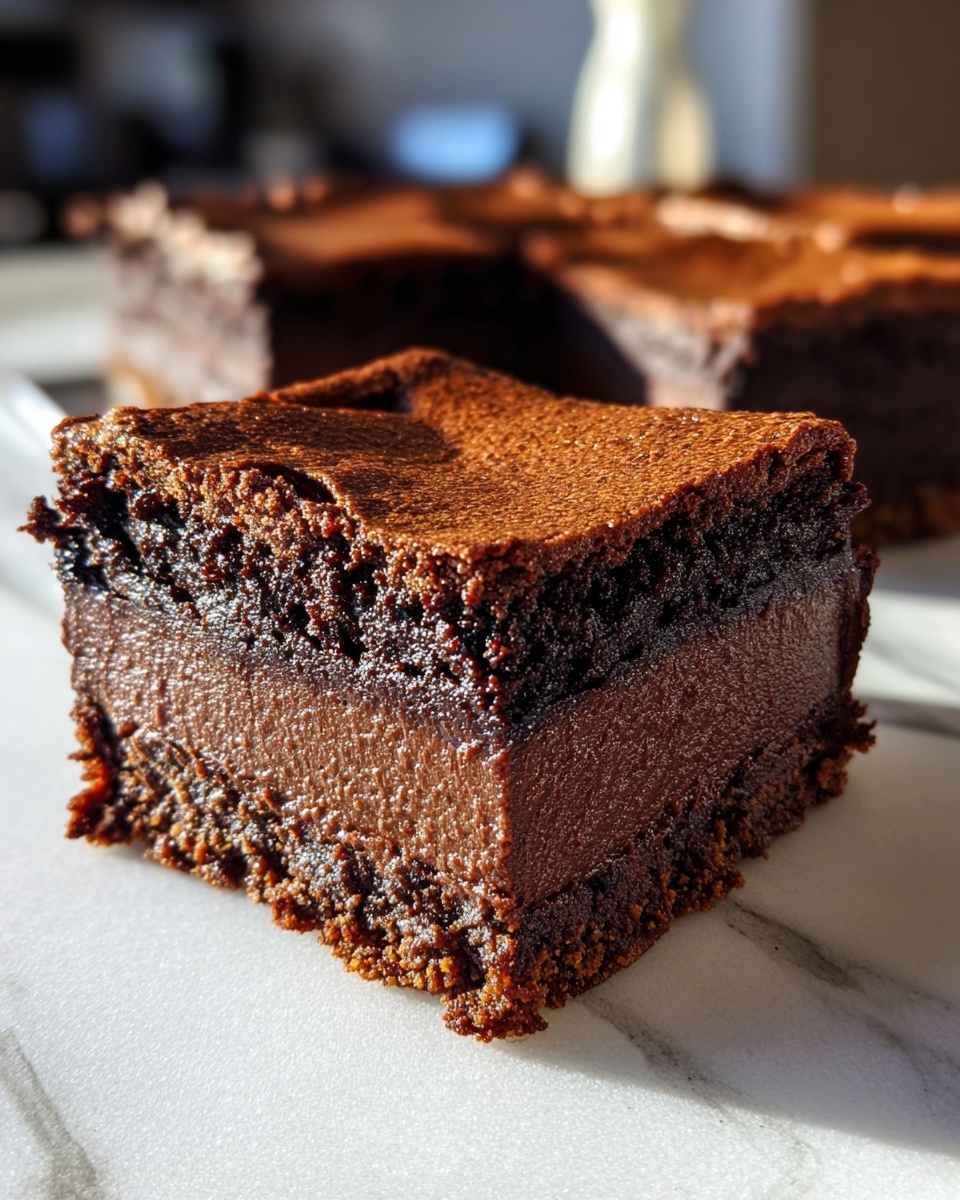
- The texture is unreal: a sturdy, buttery crust followed by a thick, velvety layer—truly **rich chocolate dessert squares**.
- They are remarkably simple to assemble since everything bakes in one pan.
- They offer that spectacular payoff: incredible flavor with minimal stress, making them ideal for your next party.
If you love that creamy texture, make sure you check out my trick for creamy chocolate fudge, too!
Gathering Ingredients for Perfect Chocolate Cheesecake Bars
Okay, before we dive into the mixing bowl magic, let’s talk about what you need. Getting the ingredients right is half the battle, especially when you’re aiming for those **fudgy cheesecake layered squares**. Because we’re building layers—a solid base and that decadent topping—preparation matters! I’ve learned that lukewarm ingredients lead to lumpy filling, so please, make sure that cream cheese is truly softened. Pay close attention to the chocolate too; we need it melted but cooled down before it hits that delicate batter. If you’re interested in other chocolate magic, you can check out my classic chocolate brownie cookies recipe!
For the Crust
- 1 1/2 cups graham cracker crumbs
- 1/4 cup granulated sugar
- 6 tablespoons unsalted butter, melted
For the Cheesecake Filling
- 16 ounces cream cheese, softened (non-negotiable!)
- 1 cup granulated sugar
- 1/2 cup sour cream
- 1 teaspoon vanilla extract
- 3 large eggs
- 1/2 cup unsweetened cocoa powder
- 4 ounces bittersweet chocolate, melted and cooled slightly
- 1/4 cup all-purpose flour
Step-by-Step Instructions: How to Make Chocolate Cheesecake Bars
This is where the magic happens! For the absolute **best baked chocolate cheesecake** results, you need to follow the order of operations for these chocolate cheesecake bars. Don’t worry about rushing; these are meant to be enjoyed slowly both in the making and the eating! We’re going to tackle the crust first, then build our gorgeous chocolate layer. If you love this kind of layered bake, you should absolutely peek at how I do my red velvet cheesecake brownies sometime!
Preparing and Baking the Crust
First things first, let’s get that oven warming up to 350 degrees Fahrenheit. I always line my 9×13 inch pan with parchment paper, making sure there’s a nice overhang on the sides—that’s my secret trick for lifting the whole slab out later stress-free! For the crust, just toss your graham cracker crumbs, the 1/4 cup of sugar, and the melted butter together in a bowl. It should look like damp sand. Press that mix firmly and evenly into the bottom of your prepared pan. Get it nice and tight, then pop it into the hot oven for 10 minutes. Once it’s done that quick bake, pull it out and let it cool down a bit while you whip up the filling.
Creating the Rich Chocolate Cheesecake Filling
Grab your big mixing bowl for this! Start by beating that softened cream cheese with the rest of the sugar until it’s completely smooth—no lumps allowed! Next, beat in the sour cream and vanilla extract until they just disappear. The eggs go in next, but listen to me: add them one at a time! Mix just enough after each addition to incorporate it, but you want to keep that air in there. In a separate spot, whisk your cocoa powder and flour together really well. Now, slowly add those dry guys to the cream cheese mixture, mixing on low speed until you *just* see everything combined. My biggest tip for these **decadent chocolate dessert bars**? Gently fold in your cooled, melted bittersweet chocolate last. Seriously, fold it in—don’t beat it! As soon as the chocolate is mostly dispersed, stop mixing. Overdoing it makes your cheesecake layer tough!
Baking and Cooling for Perfect Texture Cheesecake Bars
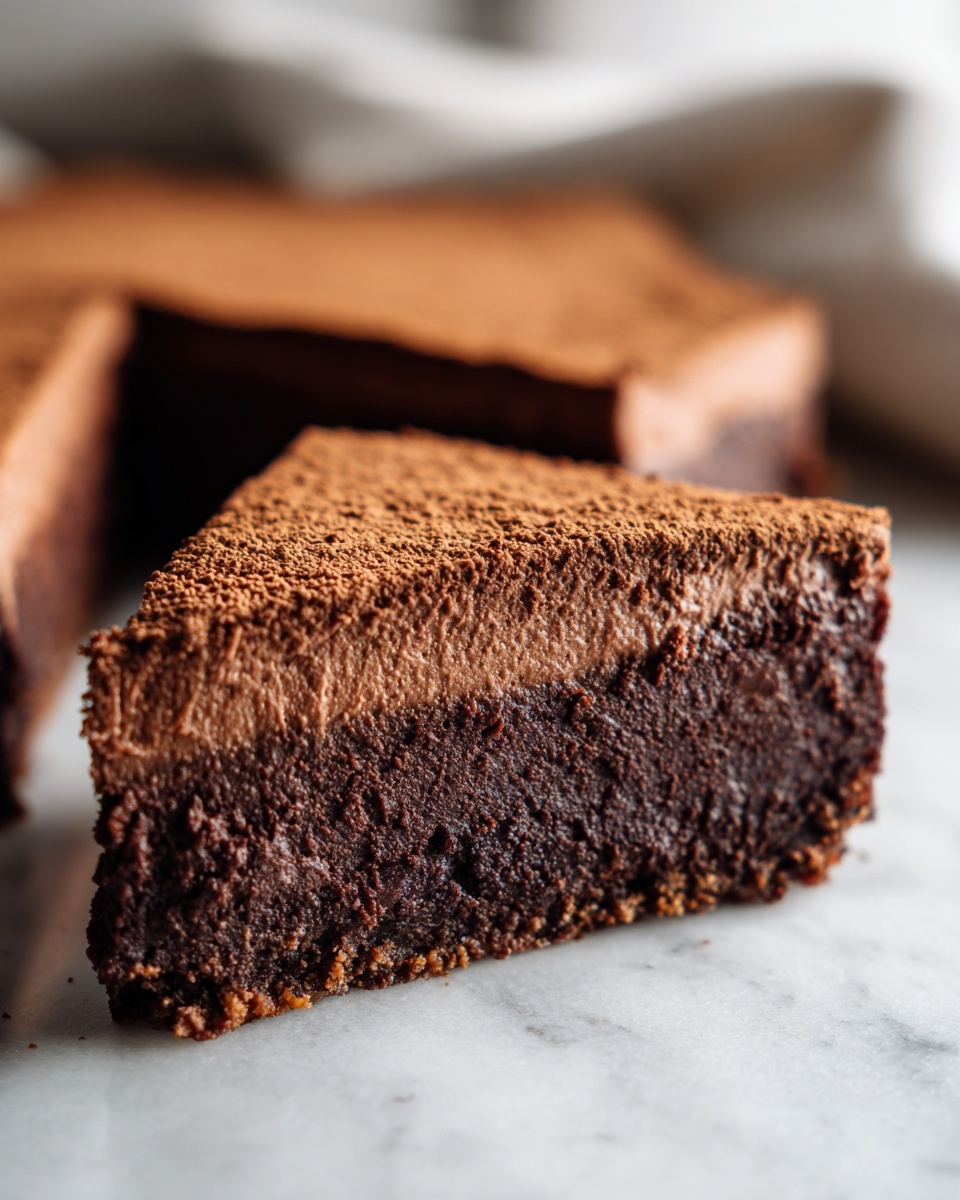
Pour that glorious, dark batter evenly over your slightly cooled crust. Bake it for about 30 to 35 minutes. You’ll know they’re ready when the edges look set firm, but the very center still has that tiny, cute little jiggle. That jiggle is key for **perfect texture cheesecake bars**! Here’s the pro move against cracking: turn the oven off completely, prop the door open just a tiny bit with a wooden spoon, and let them sit in that residual warmth for half an hour. This gradual cool-down is so important! Once they are out of the oven completely, let them cool on the counter, and then—and this is the hardest part—chill them in the fridge for at least four hours. You can even try my simple cake mix cookie bars technique for easy cleanup, but you can’t rush the chill!
Tips for Achieving Perfect Texture Cheesecake Bars
You’ve made the batter, you’ve baked them, but now everyone worries about that dreaded crack, right? Don’t you worry, that’s why I’m here to share the lore of the **perfect texture cheesecake bars**. The biggest secret is temperature management. That slow cool-down inside the turned-off oven? That saves your life and keeps those cracks away! If your bars are wobbling too much when you pull them out, they’re underbaked, and when you cut them, they’ll be mushy—we want those clean, **fudgy cheesecake layered squares**.
Also, please, please, please ensure your cream cheese is room temperature, or you’ll end up fighting lumps the entire time. If you’re looking for a full masterclass on cheesecakes that never crack, you have to read my guide on Basque cheesecake; the low-and-slow philosophy applies here too!
Simple Variations for Your Chocolate Cheesecake Bars
You found the bedrock recipe for the **best baked chocolate cheesecake**, but that doesn’t mean we stop there! Because these are such wonderful **decadent chocolate dessert bars**, they beg for little personal touches. My favorite way to instantly change things up is right at the base. If you’re feeling extra festive, swap out the graham crackers for two cups of finely crushed Oreos—don’t even bother removing the filling, I promise it just adds to the fudgy factor!
If the base is solid, let’s talk topping. After these bars are completely chilled, you can pour a thin layer of simple chocolate ganache over the top. It’s just heavy cream heated and poured over chopped chocolate. It sets up beautifully and turns these into real showstoppers. For a pop of color, fresh raspberries draped over the ganache are divine. You can find my absolute favorite glaze recipe when you check out my guide on fudgy strawberry brownies; that simple technique works wonders here, too!
Storage and Reheating Instructions for Rich Chocolate Dessert Squares
The best part about making these **rich chocolate dessert squares** is that, unlike a regular cheesecake, they hold up beautifully in the fridge! This is key because if you try to slice them warm or even room temperature, you’ll end up with a gooey, unappetizing mess. That long chilling time we discussed? It solidifies the cream cheese layer so you get those gorgeous, clean cuts you’re expecting.
Keep your cooled and cut bars stored in an airtight container. I usually layer them with a small piece of wax paper between the layers so they don’t stick together, though honestly, they usually disappear too fast for me to worry about that! They will keep perfectly fine in the refrigerator for up to five days. That means you can totally make them ahead of time for a party!
If you’ve got some leftovers and want to save them for later, these freeze like a dream. Wrap individual bars tightly in plastic wrap, then tuck them all into a freezer-safe bag or container. They are good in the freezer for about a month. When you want to enjoy one, just pull it out and let it thaw slowly in the fridge overnight. It tastes just as good as the day you made it. If you’re looking for other make-ahead treats, my recipe for easy no-bake ice cream cake is another winner for easy dessert prep!
Frequently Asked Questions About Chocolate Cheesecake Bars
I get asked so many great questions about these bars! Baking is science, but it’s also about intuition, and I want to make sure your results are always a showstopper. Here are the things I hear most often when people try to make these **rich chocolate dessert squares** for the first time.
Can I make these chocolate cheesecake bars without baking?
That’s a fair question! While you certainly can make no-bake versions of cheesecake bars, this specific recipe relies on the oven to set up the creamy, fudgy structure we’re aiming for. Baking the eggs and flour mixture gives these bars the necessary stability so they don’t fall apart when you try to cut them. If you are dead set on no-bake, you’ll need an entirely different foundation because this one needs that heat. For a no-bake option, you should look into my recipe for no-bake tiramisu cheesecake!
What is the secret to easy cheesecake bar recipes that cut cleanly?
This is the most crucial tip for presentation, hands down! The absolute secret to clean cuts with these **easy cheesecake bar recipes** is chilling time. Do not try to cut them while they are even slightly warm or just straight out of the fridge after only an hour. If you chill them for the full four hours, or even better, overnight, that cream cheese firms up beautifully, and you can slice right through them with a hot, sharp knife. It’s non-negotiable if you want those perfect squares!
How do I ensure my bars are fudgy cheesecake layered squares and not dry?
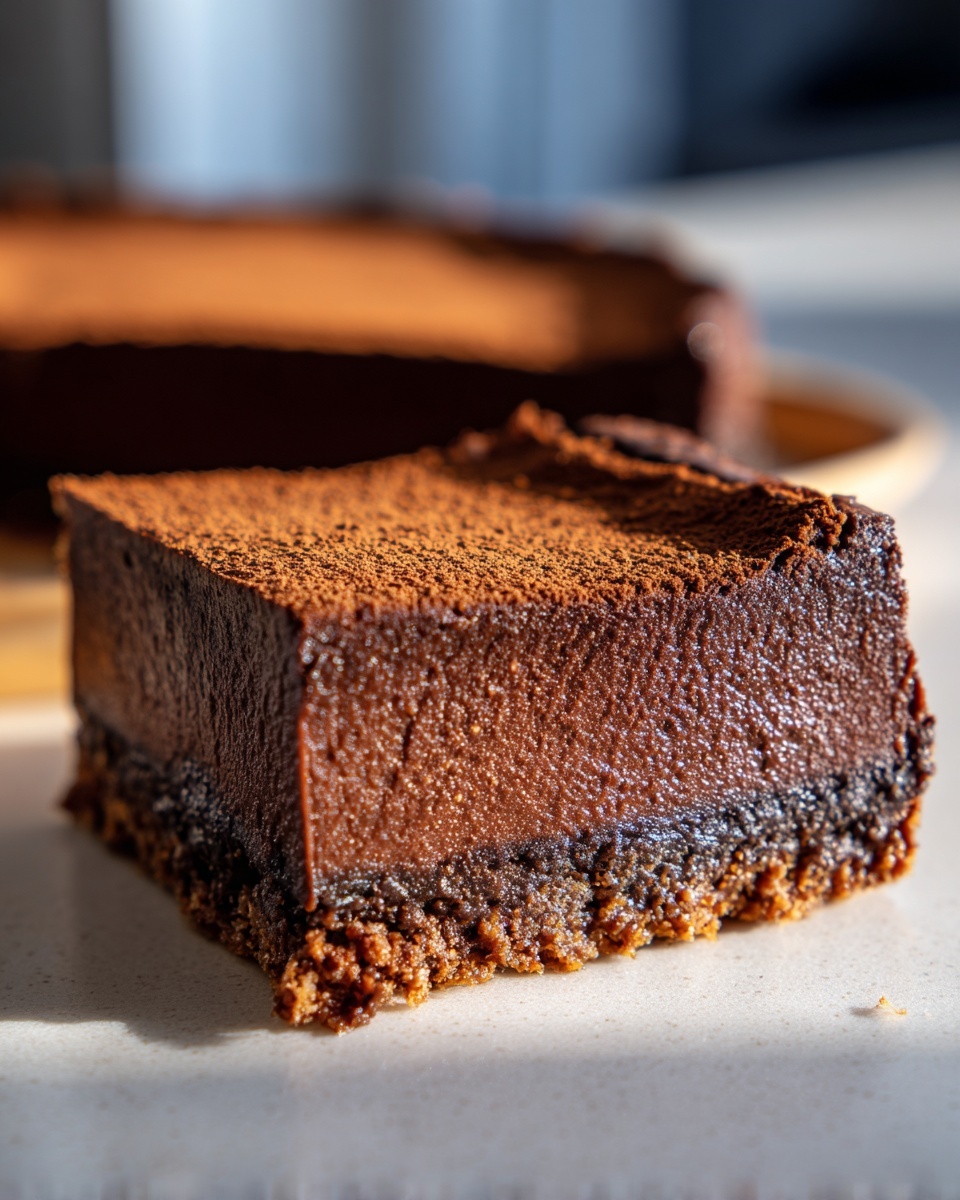
Nobody wants a dry dessert bar, especially not when it involves chocolate! To keep these **fudgy cheesecake layered squares** perfectly moist, you need to watch your oven like a hawk. Pull them out the second the center has that slight jiggle—that means the residual heat will finish the cooking without drying them out. Also, ensure you are using good quality bittersweet chocolate and unsweetened cocoa powder; lower quality ingredients can sometimes bake up drier than their richer counterparts.

Serving Suggestions for Decadent Chocolate Dessert Bars
Now that you have these perfectly chilled, phenomenal **decadent chocolate dessert bars**, how exactly should you serve them? If you truly want to go over the top—and why wouldn’t you?—I love pairing them with something light to balance that intense chocolate richness. A small dollop of homemade whipped cream is always a winner. If you want to elevate that cream, check out my recipe for perfect vanilla buttercream frosting and just whip up a small batch of cream instead of frosting!
Fresh raspberries or tart cherries cut through the fudgy flavor beautifully, so try scattering some fruit around the plate. And, of course, these squares demand a hot, strong cup of coffee. Nothing tastes better with a rich chocolate dessert than a perfectly brewed cup!
Understanding the Nutrition in Your Chocolate Cheesecake Bars
I always find it interesting to look at the numbers after all that hard work—because let’s be real, these **rich chocolate dessert squares** are definitely a treat! While I focus on flavor and technique here at Cooking Zenith, I know some of you like to keep track. The nutrition details below are based on dividing the recipe into the 24 pieces we planned for. Since every ingredient brand and exactly how much butter you manage to scrape out of the bowl can shift things slightly, please take these figures as a very good estimate.
- Serving Size: 1 bar
- Calories: 280
- Sugar: 22g
- Sodium: 150mg
- Fat: 18g
- Saturated Fat: 11g
- Carbohydrates: 28g
- Fiber: 1g
- Protein: 5g
See? Absolutely worth every bite! Remember, these measurements are based on using standard, full-fat ingredients, so if you’re swapping out cream cheese for a lighter version or using a different type of chocolate, the final count will vary. But the joy of eating these amazing **chocolate cheesecake bars** remains exactly the same!
PrintFoolproof Chocolate Cheesecake Bars
Make rich chocolate cheesecake bars with a simple crust. This recipe delivers a creamy, fudgy texture perfect for parties.
- Prep Time: 20 min
- Cook Time: 35 min
- Total Time: 4 hours 55 min
- Yield: 24 servings 1x
- Category: Dessert
- Method: Baking
- Cuisine: American
- Diet: Vegetarian
Ingredients
- 1 1/2 cups graham cracker crumbs
- 1/4 cup granulated sugar
- 6 tablespoons unsalted butter, melted
- 16 ounces cream cheese, softened
- 1 cup granulated sugar
- 1/2 cup sour cream
- 1 teaspoon vanilla extract
- 3 large eggs
- 1/2 cup unsweetened cocoa powder
- 4 ounces bittersweet chocolate, melted and cooled
- 1/4 cup all-purpose flour
Instructions
- Preheat your oven to 350 degrees Fahrenheit. Line a 9×13 inch baking pan with parchment paper, leaving an overhang for easy removal.
- Prepare the crust: Mix graham cracker crumbs, 1/4 cup sugar, and melted butter in a bowl. Press the mixture firmly into the bottom of the prepared pan. Bake the crust for 10 minutes. Set aside to cool slightly.
- Prepare the cheesecake filling: In a large bowl, beat the softened cream cheese and 1 cup sugar until smooth. Mix in the sour cream and vanilla extract. Beat in the eggs one at a time, mixing just until combined after each addition.
- In a separate bowl, whisk together the cocoa powder and flour. Gradually add the dry ingredients to the cream cheese mixture, mixing on low speed until just incorporated.
- Gently fold in the cooled, melted bittersweet chocolate until streaks disappear. Do not overmix.
- Pour the cheesecake batter evenly over the cooled crust.
- Bake for 30 to 35 minutes, or until the edges are set and the center has only a slight jiggle.
- Turn off the oven, prop the door open slightly, and let the bars cool in the oven for 30 minutes. This helps prevent cracking.
- Remove the bars from the oven and cool completely on a wire rack.
- Chill the bars in the refrigerator for at least 4 hours, or preferably overnight, before cutting into squares or bars.
Notes
- For an Oreo crust, substitute the graham crackers with 2 cups of finely crushed Oreo cookies (filling removed).
- If you want a more decadent dessert, top the bars with a simple chocolate ganache after they have fully chilled.
- To achieve perfect texture cheesecake bars, ensure your cream cheese is fully softened before mixing.
- These bars store well in an airtight container in the refrigerator for up to five days.
Nutrition
- Serving Size: 1 bar
- Calories: 280
- Sugar: 22
- Sodium: 150
- Fat: 18
- Saturated Fat: 11
- Unsaturated Fat: 7
- Trans Fat: 0.5
- Carbohydrates: 28
- Fiber: 1
- Protein: 5
- Cholesterol: 65