
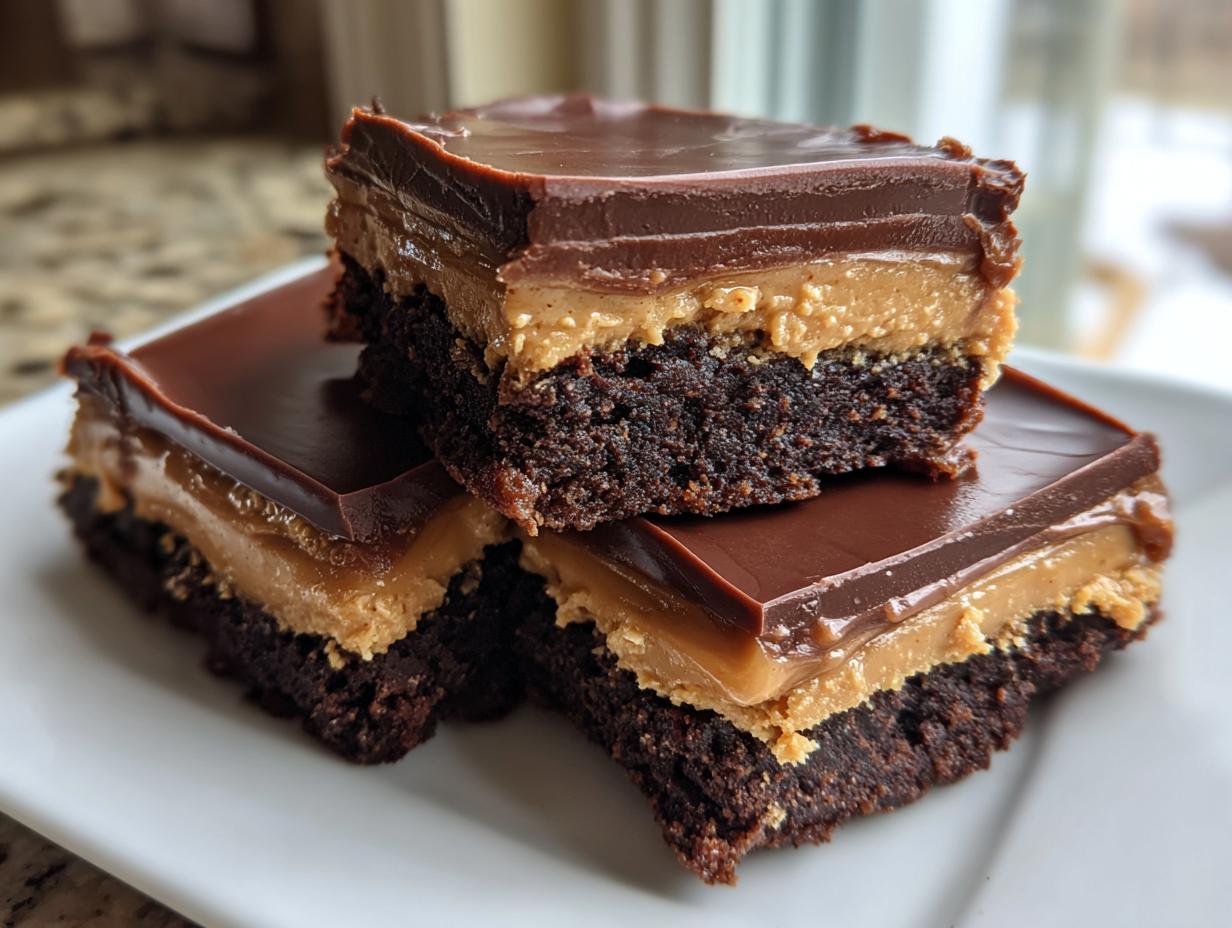
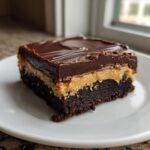
Oh, my friends, let’s talk about the pairing that rules the dessert world: chocolate and peanut butter! It’s iconic for a reason, right? If you’ve ever wanted to bite into that famous salty-sweet candy but wished it was richer, thicker, and frankly, built on a better foundation, then you have found your recipe. We’re making the ultimate dessert bar: the buckeye brownies! I promise, this three-layer sensation—fudgy base, thick peanut butter center, and glossy chocolate top—is the decadent chocolate peanut butter dessert you’ve been dreaming about. I spent ages testing this, making sure that every step is foolproof so you, the home cook, can nail that bakery-style confidence right in your own kitchen. If you love this duo, you simply must check out my recipe for rich peanut butter fudge too!
- Why You Will Make These Buckeye Brownies Again and Again
- Essential Ingredients for Perfect Buckeye Brownies
- Step-by-Step Instructions for Layered Buckeye Brownies
- Tips for Success with Your Buckeye Brownies
- Variations for Buckeye Brownies
- Storage and Reheating Instructions for Layered Dessert Bars
- Frequently Asked Questions About Buckeye Brownies
- Nutritional Estimates for Buckeye Brownies
- Share Your Homemade Buckeye Brownies Creations
Why You Will Make These Buckeye Brownies Again and Again
Honestly, I can’t think of a reason why you wouldn’t make these! Seriously. They are built for maximum impact with minimum fuss, which is my favorite kind of baking. If you need to bring a dish to a party, these are your new secret weapon.
- They deliver that perfect sweet and salty punch every single time.
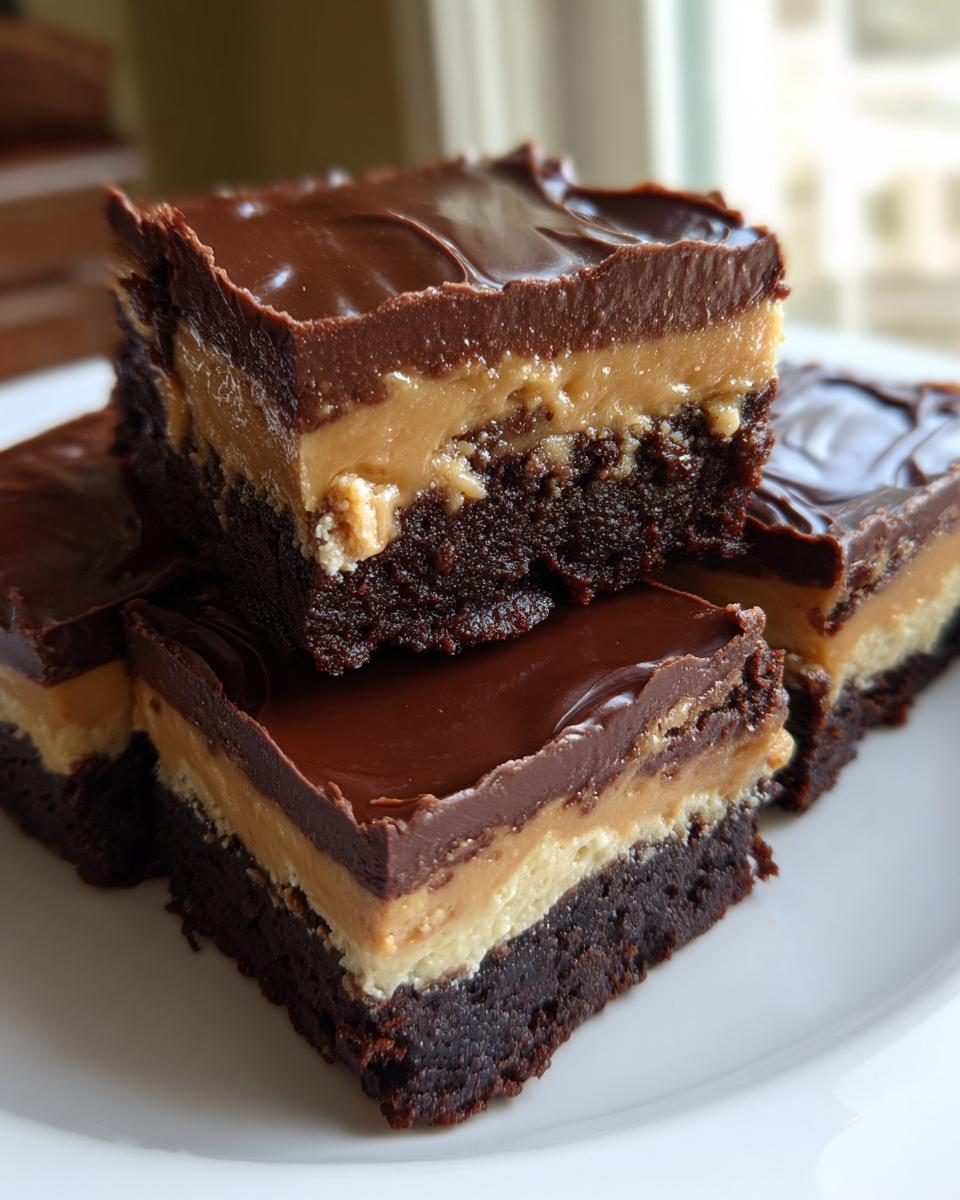
- The texture contrast—gooey brownie, smooth filling, firm chocolate—is just incredible.
- Talk about a crowd-pleasing winner! Everyone loves the chocolate peanut butter combination.
- Plus, they hold up beautifully, making them simple to transport. For more chocolate bar fun, check out my chocolate brownie cookies!
Essential Ingredients for Perfect Buckeye Brownies
When you’re making something this decadent, you can’t skimp on quality! Every layer of these chocolate peanut butter dessert bars relies on specific components to get that perfect texture we talked about earlier. Don’t worry about running to the store for a million things, though; most of this is pantry staples. It’s all about balancing that rich, fudgy base against that sweet, creamy interior. Before you grab your bowls, take a peek at what you’ll need for each success point. If you’re looking for more dessert inspiration, check out my guide to easy chocolate covered strawberries!
For the Fudgy Brownie Base
- 1 cup (2 sticks) unsalted butter, melted
- 2 cups granulated sugar
- 4 large eggs
- 1 teaspoon vanilla extract
- 1 cup all-purpose flour
- 3/4 cup unsweetened cocoa powder
- 1/2 teaspoon salt
- 1/2 teaspoon baking powder
- 1 cup semi-sweet chocolate chips
For the Creamy Peanut Butter Fudge Layer
This is where that satisfying, no-bake center comes together for our peanut butter fudge brownies!
- 1 cup (2 sticks) unsalted butter, softened
- 3 cups powdered sugar
- 1 cup creamy peanut butter
- 1 teaspoon vanilla extract
- 1/4 cup milk
For the Glossy Chocolate Ganache Topping
This final step seals everything up beautifully and makes them look like they came straight from the bakery case.
- 1 1/2 cups semi-sweet chocolate chips (for topping)
- 2 tablespoons unsalted butter (for topping)
Step-by-Step Instructions for Layered Buckeye Brownies
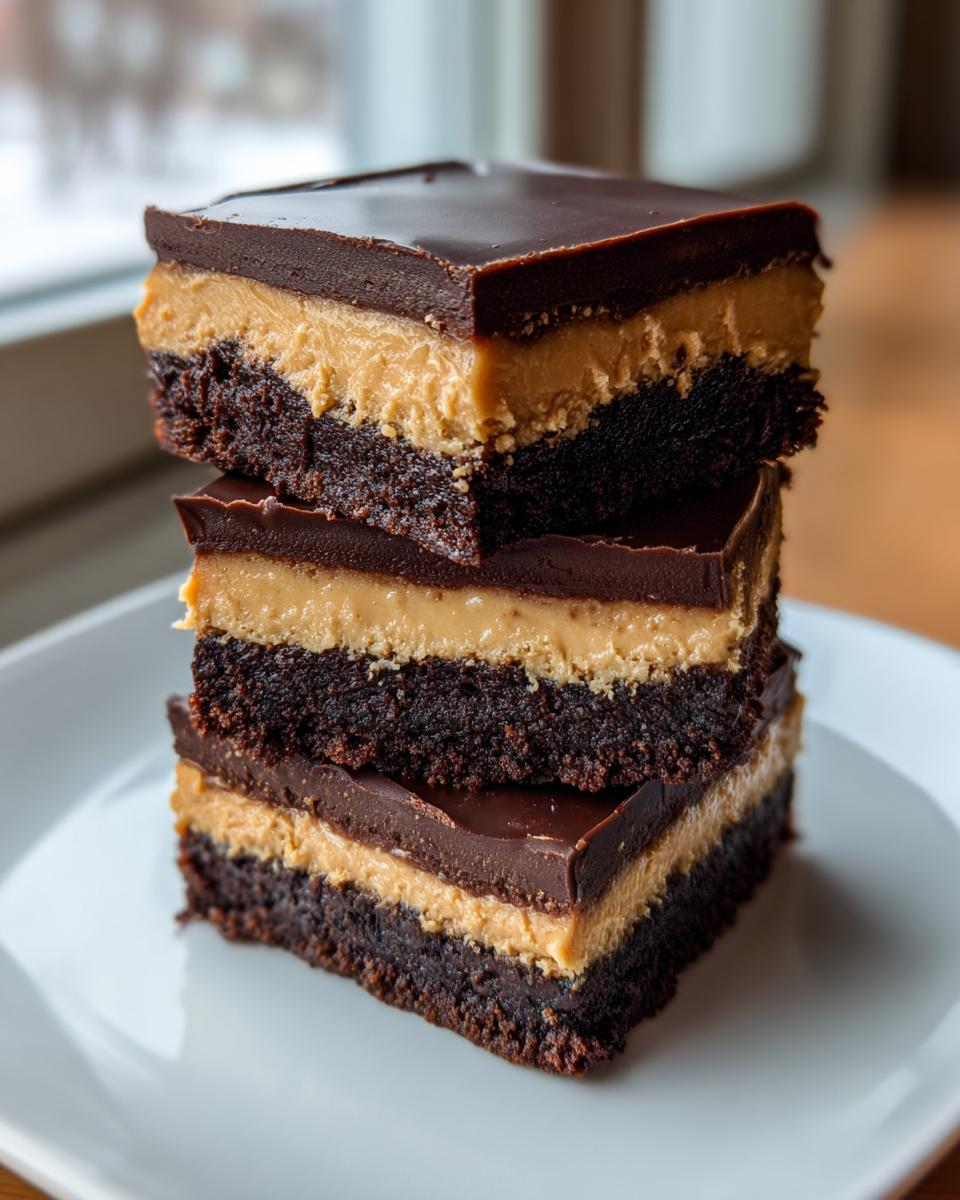
I know you’re itching to put this incredible brownie dessert with peanut butter layer together, so let’s get down to the actual making! Because we’re dealing with three distinct layers that all need to be set perfectly, timing and temperature are your main BFFs here. Don’t rush the cooling—it’s crucial for getting those clean, gorgeous slices! If you’re already thinking about making no-bake desserts, you might enjoy my post on the brownie refrigerator cake—but for now, let’s focus on these layers!
Preparing and Baking the Brownie Layer
First things first, go ahead and crank that oven up to 350°F (175°C). I always line my 9×13 pan with parchment paper, leaving a big overhang on the sides—think of it as little handles to lift your whole masterpiece out later. For the batter, whisk your melted butter and sugar first, then add the eggs one by one. In a separate spot, whisk your dry ingredients together. Add the dry stuff to the wet stuff gradually; don’t dump it all in at once! Finally, stir in those chocolate chips. Spread that gorgeous batter evenly and bake it for about 20 to 25 minutes. You want the edges looking baked, but trust me, the middle should still look a little soft. Once baked, you have to—hands down, absolutely have to—let these cool completely before touching that peanut butter layer. Seriously, go take a long coffee break!
Assembling the Peanut Butter Fudge Layer
While that brownie base is chilling out (and you should be patient!), we make the best peanut butter fudge brownies filling. Start by beating that softened butter until it’s nice and creamy—you know, the texture you can swirl your finger through easily. Now, you gradually beat in your powdered sugar until it stops looking dusty. Then, it’s time for the flavor heroes: peanut butter, vanilla, and milk. Beat it all until it gets light and fluffy. Once the brownies are totally cool, use an offset spatula—or just a sturdy spoon—to spread this peanut butter mixture evenly across the top. Pop the whole pan back into the fridge while you whip up the finale!

Creating and Setting the Chocolate Ganache on your Buckeye Brownies
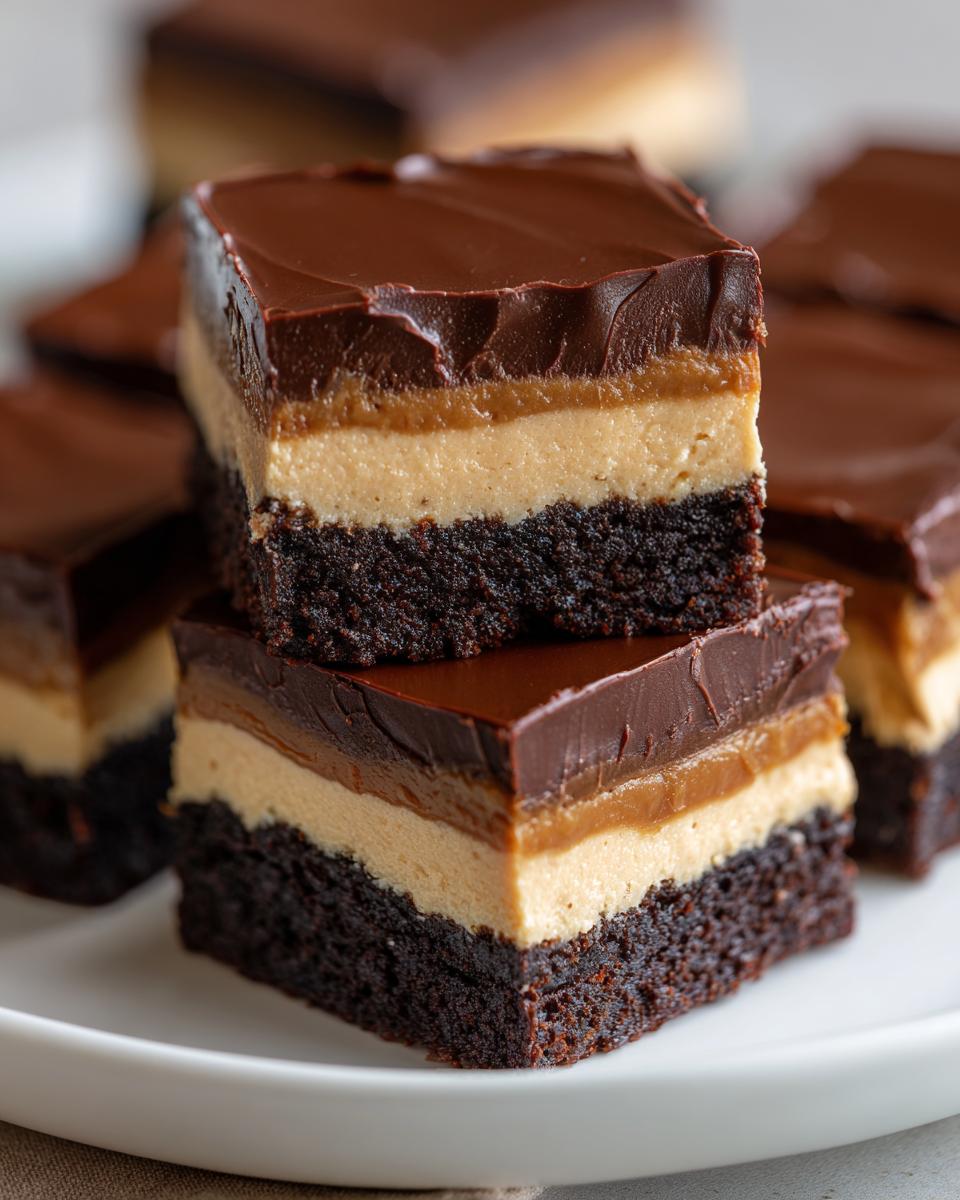
For the top layer, we’re making a quick, shiny ganache. Toss your final 1 1/2 cups of chocolate chips and 2 tablespoons of butter into a microwave-safe bowl. Microwave it in 30-second bursts, stirring really well between each one, until it’s totally smooth and melts down perfectly. Don’t walk away! Once it’s silky, pour it immediately over the chilled peanut butter layer. Work quickly to spread it edge-to-edge because it sets fast. Then, this is key for that clean cut you want: pop the entire thing back into the fridge for at least *two hours*. That chilling time guarantees a firm top layer so your knife glides through when you make those individual easy layered dessert bars.
Tips for Success with Your Buckeye Brownies
Okay, now that we’ve mastered the layers, let’s polish this thing off so it looks like a star! Getting these fudgy buckeye brownies perfect is all about little tweaks. Remember how I stressed cooling the brownie base? That’s Tip Number One! If the base is even slightly warm when the peanut butter layer goes on, you’ll end up with a melty, swirly mess instead of distinct layers. For a truly *fudgier* brownie base, try cutting that initial bake time down by about two or three minutes—keep an eye on it, though, because we don’t want raw batter!
When it comes time to slice these beautiful sweet and salty brownie bars, I have a trick that professionals use. Get your sharpest knife and run it under some really hot tap water. Wipe it completely dry, and then make your first cut. If you do this for every single slice, that warm blade glides right through the chocolate ganache and the cold peanut butter center without dragging or cracking. It’s the secret to those bakery-style edges! Don’t forget to check out my other secrets for fudgy brownies if you want even more gooey goodness.
Variations for Buckeye Brownies
Look, sometimes life is busy, and while my from-scratch recipe is truly the best buckeye brownie recipe, I understand needing a shortcut! You absolutely can use the brownie mix buckeye brownies hack here. Just follow the box directions for a 9×13 pan, bake it until slightly underdone compared to the box suggestion (we want fudgy!), and then proceed with the peanut butter layer once cooled. It saves tons of time!
If you’re feeling adventurous but want to keep it simple, try swapping out the creamy peanut butter for almond butter or sunflower seed butter if you have nut allergies in the house. You lose a little of that classic ‘Buckeye’ flavor, sure, but you still get those amazing banana bread brownies-style layers of flavor! These layers are easy to adapt, which is why I love this whole concept so much.
Storage and Reheating Instructions for Layered Dessert Bars
So, you’ve made these gorgeous layered brownie recipe bars, and now you have leftovers—lucky you! Because that peanut butter layer is rich and soft, these bars absolutely need to hang out in the fridge. Store them tightly covered in an airtight container, and they should stay wonderful for about a week. Honestly, they are fantastic eaten straight from the fridge because that cold temperature firms up the chocolate top perfectly, giving you a beautiful snap!
If you need to bring the temperature up slightly before serving, just let them sit on the counter for about 15 minutes. Do not microwave them unless you want instant soup; that heat really wreaks havoc on the peanut butter layer. For more storage tips on bar recipes, take a look at my thoughts on keeping oatmeal bars fresh!
Frequently Asked Questions About Buckeye Brownies
Can these Buckeye Brownies be frozen?
Oh yes, these freeze wonderfully! Since these are such a sturdy, decadent treat, they freeze better than almost any other dessert I make. Once they are completely set and cut, layer them between sheets of wax paper in a freezer-safe container. They hold up really well for about two months in the freezer. When you want one, just pull a square out and let it thaw on the counter for about 30 minutes. They taste just as amazing as when they were first made!
Can I use crunchy peanut butter instead of creamy in my peanut butter layer?
You definitely can, but you change the texture completely! If you’re aiming for the smooth, fudge-like center that balances out the fudgy brownie base, you absolutely must use creamy. Crunchy peanut butter will give you a delightful textural contrast, turning these into something closer to sweet and salty brownie bars with bits throughout, rather than the classic smooth layer. It’s a matter of preference, but I always stick to creamy for the traditional look.
What’s the secret to getting that perfectly smooth chocolate ganache layer?
The absolute secret here is two-fold. First, ensure you melt the chocolate and butter gently; microwaving in short bursts and stirring thoroughly prevents seizing, which makes the chocolate grainy. Second, you have to pour it when it’s still warm and liquid, and then spread it immediately while rubbing it gently across the peanut butter layer. That’s why chilling is essential before you pour! Once it’s poured, don’t stir it again! Let the cold peanut butter layer do the work as it chills in the fridge. For more tips on great texture, check out my guide to easy honey butter! These aren’t just any easy peanut butter brownies; they need that setting time.
If I only want the brownie and peanut butter layer, can I skip the ganache?
You absolutely can skip the chocolate top if you just want a lovely two-layer dessert, but I think you miss out on that classic ‘Buckeye’ flavor! If you skip the melted chocolate topping, you can dust the peanut butter layer generously with powdered sugar instead for a simpler finish. That’s a great shortcut if you’re in a hurry!
Nutritional Estimates for Buckeye Brownies
Now, let’s talk turkey about what’s in these incredible chocolate peanut butter dessert bars. I always include this because being mindful of what we eat is important, even when we are indulging in something this wonderfully rich! Remember, this is my best estimate based on the ingredients I listed, and if you use different brands or slightly different measurements, your mileage might vary a little bit.
It’s important to remember these are dense, rich bars, so they clock in as a treat, not exactly a light snack! But oh, are they worth every single calorie. These estimates are based on splitting the whole pan into 24 squares.
- Serving Size: 1 bar
- Calories: 350
- Sugar: 35g
- Sodium: 150mg
- Fat: 22g
- Saturated Fat: 10g
- Unsaturated Fat: 12g
- Trans Fat: 0g
- Carbohydrates: 38g
- Fiber: 2g
- Protein: 5g
- Cholesterol: 60mg
I generally don’t track nutrition super closely when I’m baking for comfort, but I like knowing the general breakdown. If you’re worried about the sugar, feel free to use dark chocolate chips with lower sugar content in the top layer! Happy baking, my friend!
Share Your Homemade Buckeye Brownies Creations
Alright, you’ve done the heavy lifting! You’ve got fudgy brownies, that gorgeous peanut butter middle, and the shiny chocolate top—this chocolate peanut butter dessert deserves an audience! I truly hope you enjoyed making these layers as much as I do. When you share your amazing results, please take a second to leave a rating for the recipe right here on the page. It really helps other home cooks gain the confidence to tackle these three layer brownies!
I’m dying to know which layer stole your heart. Did you find the brownie base perfectly gooey? Is that peanut butter fudge layer what you dreamed of? Or is the snap of the chocolate ganache your favorite part? Let me know in the comments below!
If you post a picture on social media—and you absolutely should, these look stunning—tag me! I love seeing your creations! And if you’re looking for one last delightful treat that is just as easy but fits perfectly in a lunchbox, you have got to try my recipe for easy pear crisp!
PrintUltimate 3-Layer Buckeye Brownies
Make rich, fudgy Buckeye Brownies featuring a dense brownie base, a creamy peanut butter fudge center, and a glossy dark chocolate ganache topping. This layered dessert bar combines classic chocolate and peanut butter flavors.
- Prep Time: 25 min
- Cook Time: 25 min
- Total Time: 2 hours 50 min
- Yield: 24 servings 1x
- Category: Dessert
- Method: Baking
- Cuisine: American
- Diet: Vegetarian
Ingredients
- 1 cup (2 sticks) unsalted butter, melted
- 2 cups granulated sugar
- 4 large eggs
- 1 teaspoon vanilla extract
- 1 cup all-purpose flour
- 3/4 cup unsweetened cocoa powder
- 1/2 teaspoon salt
- 1/2 teaspoon baking powder
- 1 cup semi-sweet chocolate chips
- 1 cup (2 sticks) unsalted butter, softened
- 3 cups powdered sugar
- 1 cup creamy peanut butter
- 1 teaspoon vanilla extract
- 1/4 cup milk
- 1 1/2 cups semi-sweet chocolate chips (for topping)
- 2 tablespoons unsalted butter (for topping)
Instructions
- Preheat your oven to 350°F (175°C). Line a 9×13 inch baking pan with parchment paper, leaving an overhang on the sides for easy removal.
- Prepare the Brownie Layer: In a large bowl, whisk together the melted butter and granulated sugar. Beat in the eggs one at a time, then stir in the vanilla extract.
- In a separate bowl, whisk together the flour, cocoa powder, salt, and baking powder. Gradually add the dry ingredients to the wet ingredients, mixing until just combined. Stir in the 1 cup of chocolate chips.
- Spread the brownie batter evenly into the prepared pan. Bake for 20 to 25 minutes. The edges should look set, but the center will still be slightly soft. Let the brownies cool completely in the pan.
- Prepare the Peanut Butter Layer: In a medium bowl, beat the softened butter until creamy. Gradually beat in the powdered sugar until smooth. Add the peanut butter, vanilla extract, and milk. Beat until the mixture is light and fluffy.
- Spread the peanut butter mixture evenly over the cooled brownie layer. Place the pan in the refrigerator while you prepare the topping.
- Prepare the Chocolate Ganache Topping: Place the 1 1/2 cups of chocolate chips and 2 tablespoons of butter in a microwave-safe bowl. Microwave in 30-second intervals, stirring well after each, until the chocolate is completely melted and smooth.
- Pour the melted chocolate mixture over the peanut butter layer, spreading it quickly to cover the entire surface evenly.
- Return the pan to the refrigerator and chill for at least 2 hours, or until the chocolate topping is firm.
- Once set, use the parchment paper overhang to lift the entire slab from the pan. Cut into squares to make your decadent chocolate peanut butter dessert bars.
Notes
- For a fudgier brownie, reduce the baking time by 2-3 minutes.
- If you prefer a thicker peanut butter layer, use 1 1/2 cups of peanut butter instead of 1 cup.
- To achieve a clean cut, run your knife under hot water and wipe it dry between slices.
Nutrition
- Serving Size: 1 bar
- Calories: 350
- Sugar: 35
- Sodium: 150
- Fat: 22
- Saturated Fat: 10
- Unsaturated Fat: 12
- Trans Fat: 0
- Carbohydrates: 38
- Fiber: 2
- Protein: 5
- Cholesterol: 60