
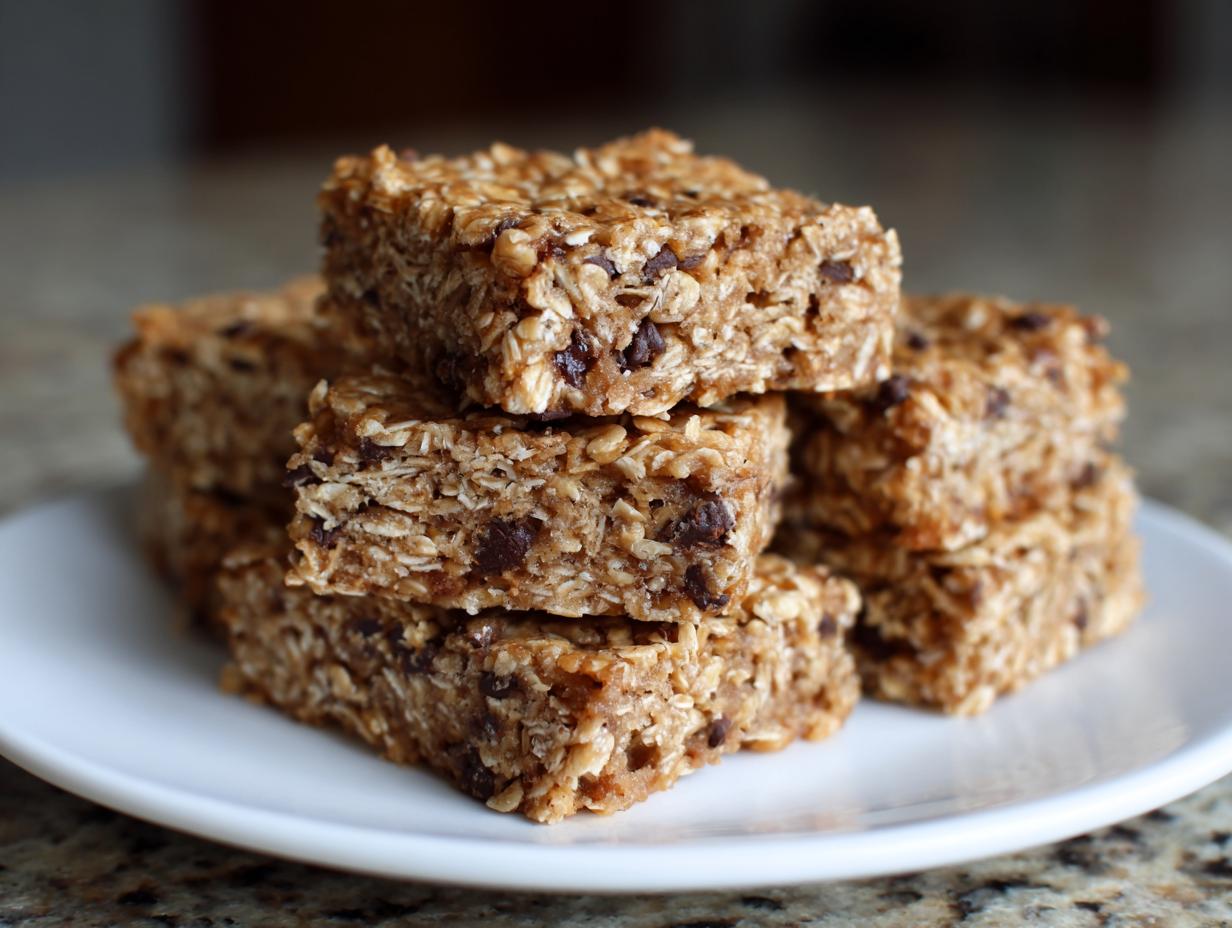
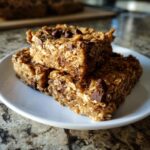
Life gets busy, doesn’t it? Between rushing out the door for work or getting the kids organized, we all need snacks that are dependable—something sturdy that won’t turn into a crumbly mess in your bag or lunchbox. That’s exactly why I developed this recipe for the absolute best chewy oatmeal bars. These aren’t those dry, sad oat squares you find in bulk bins; these are rich, dense, and hold their shape perfectly, making them the ultimate survival food for meal prep week.
As Aria from Cooking Zenith, I’m bringing you this recipe from my own home kitchen. I’m not a classically trained chef, just a home cook who insists that everyday food should still taste incredible and work for real life. Forget fussy desserts; these oatmeal bars are proof that simple pantry staples can transform into something wholesome, satisfying, and designed to keep you going strong.
- Why These Are the Best Chewy Oatmeal Bars for Meal Prep
- Gathering Ingredients for Perfect Oatmeal Bars
- Step-by-Step Guide to Making Easy Oatmeal Bars
- Tips for Achieving the Ultimate Chewy Oat Bars Texture
- Creative Variations for Your Oatmeal Bars
- How to Store and Keep Your Oatmeal Bars Fresh
- Serving Suggestions for Breakfast Oat Bars
- Frequently Asked Questions About Oatmeal Bars
- Share Your Homemade Oatmeal Bars
Why These Are the Best Chewy Oatmeal Bars for Meal Prep
When you look at recipes online, you see so many that promise texture but deliver dust. Not mine! These baked oatmeal bars are specifically engineered so you won’t end up cleaning crumbs off your dashboard later. They’re packed with cozy, familiar flavors but built tough for life on the go. I want you to feel confident grabbing one anytime, anywhere.
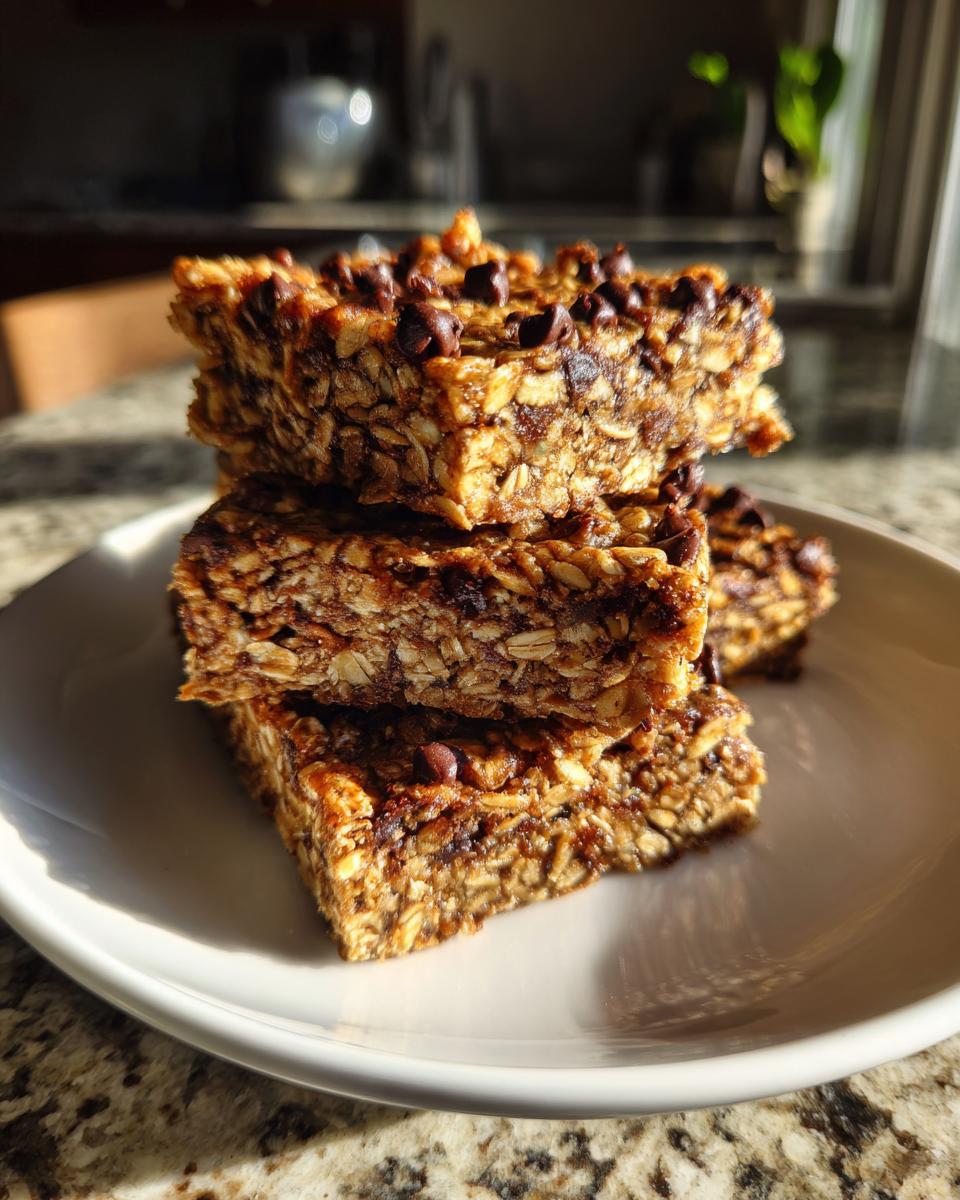
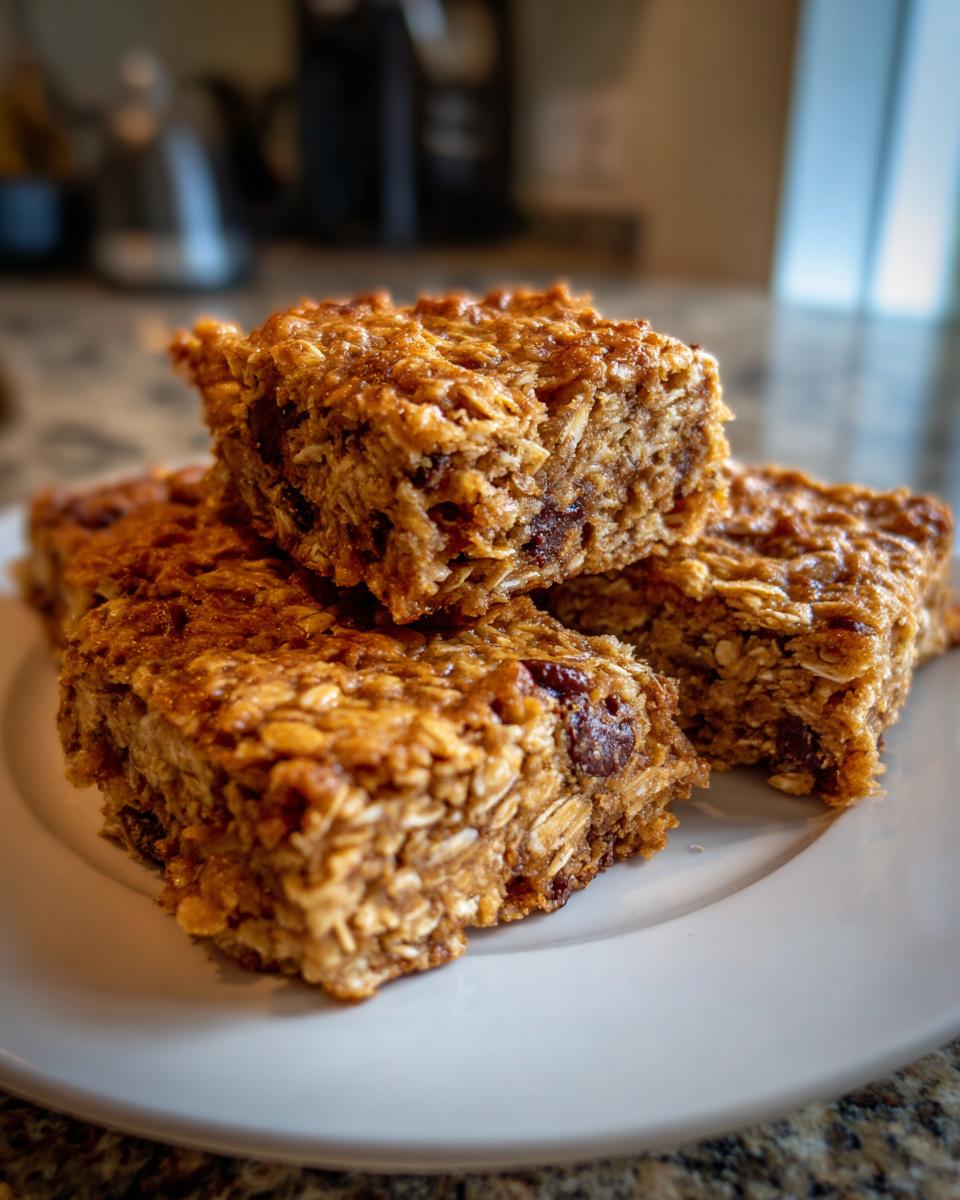
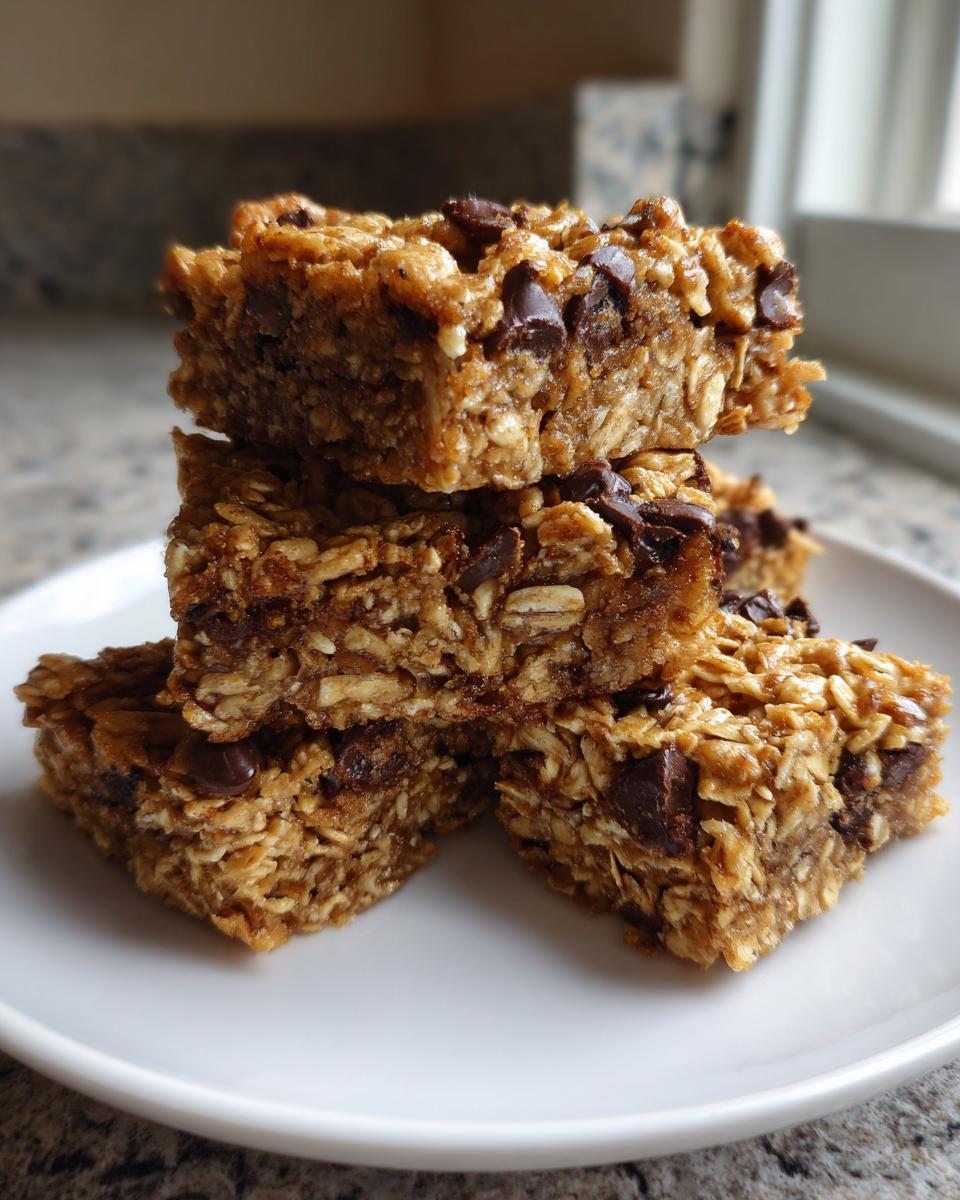
- Seriously Chewy Oat Bars: We nail the buttery, dense texture that resists crumbling. They stay moist for days!
- Ultimate Portability: They slice clean and travel beautifully—perfect for packing into lunchboxes or taking on hikes.
- Quick Assembly: Because we use melted butter, you skip the softening step, making this recipe faster than most.
- Snack Versatility: They are robust enough for a post-workout snack but sweet enough when you need a simple dessert. If you’re looking for great healthy snack ideas, these are your new go-to.
Gathering Ingredients for Perfect Oatmeal Bars
Okay, let’s talk ingredients, because this is where we lock in that amazing texture. You won’t need a huge grocery trip; most of this stuff is probably sitting in your pantry right now. The quality of your sugar and oats really changes everything here. Trust me, using real, packed brown sugar is essential—it’s what brings that deep molasses flavor and guarantees a chewy result rather than a dry brick!
Here’s what you need to pull together for this batch:
- Two full cups of good old rolled oats—don’t even think about the quick-cooking kind.
- One cup of all-purpose flour.
- A teaspoon of baking soda to give us just a little lift.
- Half a teaspoon of salt to balance the sweetness.
- One cup of packed brown sugar (dark is best for that rich flavor!).
- Half a cup of regular granulated sugar.
- One cup of unsalted butter, melted. This is key for binding everything!
- Two large eggs.
- One teaspoon of vanilla extract.
- And the fun part: one cup of whatever mix-ins you like—chocolate chips, chopped nuts, or dried cranberries work great.
Ingredient Notes and Substitutions for Your Oatmeal Bars
I always get questions about making these fit different needs, and honestly, it’s easy to tweak! If you need Gluten Free Oatmeal Bars, I recommend swapping the regular flour for a good quality 1-to-1 gluten-free baking blend. It behaves almost identically in this recipe.
Now, if you absolutely must cut back on fat, you can replace half the butter with applesauce. But be warned: this will make your bars noticeably softer, more like a muffin top texture, so it’s a trade-off! If you happen to have some brown bananas lying around and want to try a fruit variation, something like these banana bars might be a great place to start!
Step-by-Step Guide to Making Easy Oatmeal Bars
Alright, let’s get this assembly line going! Since these are such Easy Oatmeal Bars, the process is really satisfying because you see results so quickly. We’re moving from mixing bowls to baking pan in minutes. I promise, if you follow these straightforward steps, you’ll have amazing,easy breakfast recipes ready to go for the whole week!
- First things first, get that oven warming up to 350°F (175°C). I can’t stress this enough: line your 9×13 inch pan completely with parchment paper, leaving some overhang on the sides. This is your built-in handle for later—don’t skip it!
- In a medium bowl, whisk together those dry bits: your rolled oats, flour, and baking soda. Just make sure they get friendly with each other, then set that aside for a minute.
- Now for the wet stuff! In your big mixing bowl, start by whisking the melted butter until it’s smooth. Then slowly pour in both sugars and whisks until everything looks glossy.
- Beat in those two eggs, making sure each one is fully incorporated before adding the next one. A splash of vanilla wakes everything up.
- It’s time to bring them together! Gradually add your dry oat mixture into the wet ingredients. Mix until you *just* see everything come together. Stop stirring the second you stop seeing streaks of white flour—overmixing is the enemy of chewiness!
- Fold in your favorite extras, if you are using any.
- This next part is a little trick, but it creates that perfect layered texture. Press about two-thirds of that dough firmly and evenly into the bottom of your prepared pan. Don’t press too hard; we want it set, not hammered down.
Baking and Cooling Your Homemade Energy Bars
We’re so close! If you are doing the optional crumble top, take that remaining one-third of the dough, mix it with an extra 1/4 cup of oats, and just sprinkle it lightly over the base. Don’t press this top layer down at all!
Slide them into the hot oven for about 25 to 30 minutes. You are looking for the edges to turn that beautiful golden brown color, and the middle should look set. A quick, shallow poke with a knife should come out mostly clean. If you want those gorgeous Homemade Energy Bars to be extra chewy, pull them out just when they look set—they’ll firm up more as they cool.
And here’s the hardest part: patience! You absolutely have to let these cool completely in the pan before you try to lift them out using the parchment overhang. If you cut them warm, they will definitely crumble. Resist the urge for at least an hour! Once cooled, lift them out and slice them into squares. Perfect!
Tips for Achieving the Ultimate Chewy Oat Bars Texture
You know I promised you the best chewy texture, right? Well, achieving truly Chewy Oat Bars isn’t just about the melted butter; it’s about treating the batter right. If you want that dense, satisfying bite instead of something dry and brittle, you need to pay attention to two critical moments during mixing.
First, please, please, do not overmix the batter once you add the flour and oats. Mix only until you see the dry bits disappear. Seriously, stop stirring! Overmixing develops the gluten in the flour, which gives you a tough, cake-like texture, and we want chewy, not tough!
Second, trust the timing for baking. I know it’s tempting to pull them out when they look slightly pale, but give them those full 25-30 minutes until the edges are deeply golden. If you find yourself struggling with soft centers, try pulling them out two minutes early. They firm up so much once they chill, just like my favorite soft and chewy peanut butter cookies do!
Creative Variations for Your Oatmeal Bars
This base recipe for my oatmeal bars is so solid, but honestly, the best part of baking is making it your own! Once you master the chewy bottom layer, you can take these in so many delicious directions. Whether you’re craving something decadent or something lighter for an afternoon boost, we can pivot easily.
Since I know many of you are fans of peanut butter, you can definitely fold in a cup of peanut butter chips or even a swirl of melted peanut butter on top before the final bake. If you love that classic combination, check out how I layer peanut butter into my peanut butter cookie recipe for flavor inspiration!

If you’re leaning toward the chocolate route, using semi-sweet chocolate chips creates marvelous Chocolate Chip Oatmeal Bars. If this appeals to you, you might also love the deep flavor profile of my chocolate covered cherry recipe, which has similar richness.
Of course, you can always go for a fruity vibe. Swirl in some jam or fresh blueberries right before baking to create something like those lovely blueberry versions I see floating around. You can find a baked version, I saw a great inspiration for chocolate oatmeal bars that shows how versatile the oat base can be!
Making Healthy Oatmeal Snacks with Fruit Additions
If you’re using these to fuel your busy week, converting them into genuine Healthy Oatmeal Snacks is simple. The easiest way is maximizing the fruit content. Dried apricots or chopped dates absorb moisture beautifully during baking and add natural sweetness, meaning you can cut back on a little processed sugar if you want.
When using fresh or frozen berries—like raspberries or blueberries—be aware that they release a lot more water than dried fruit. You might notice the center of those bars is slightly softer because the berries are essentially steaming inside. That’s totally fine, but remember they might need that extra little bit of cool-down time before they set up perfectly square!
How to Store and Keep Your Oatmeal Bars Fresh
One of the best parts about making a big batch of oatmeal bars is knowing you have ready-made snacks for days! Since these are so robust, they store like champs, which is exactly what we want for our meal prep sessions. I’ve tested this over and over while trying to save some for the following week.
The absolute best way to keep them fresh is by storing them in a sealed, airtight container at room temperature. Seriously, forget the fridge unless you live somewhere incredibly hot and humid. The cold air tends to dry out the oats, and we worked hard to make these chewy!
When you cut them up, make sure they are completely cool first—we covered that above, but it bears repeating! If you stack them in the container, throw a small square of parchment paper or wax paper between the layers. This simple step stops them from sticking together into one giant oat brick, making it easy to pop one out whenever you need a grab-and-go snack. Stored this way, they hold up perfectly for about four or five days.
If you are a real planner or an aggressive meal prepper, you can totally freeze these! This is where that parchment paper middle layer really pays off. You can stack them in a freezer-safe bag or container, and they stay great for up to three months. When you need one, just pull it out the night before or let it thaw on the counter for an hour. It’s amazing how well these oatmeal bars survive the freezer!
For more make-ahead inspiration that saves you time later in the week, check out my guide on easy make-ahead meals—it focuses on getting good food ready when you have the time!
Serving Suggestions for Breakfast Oat Bars
So, you’ve mastered the making, and you’ve stored them perfectly. Now, how are you going to enjoy your fantastic oatmeal bars? While they are absolutely king when you need a quick, portable snack, sometimes you deserve to sit down and enjoy them properly! I love treating these like a blank canvas for a slightly more elaborate morning routine.
If you need them to be a substantial start to your day, try warming them up just slightly—maybe 15 seconds in the microwave! A warm bar feels instantly more comforting, especially on a chilly morning. They pair perfectly with a strong cup of coffee or a latte.
These are wonderful on their own, but sometimes I like to use them as a base. Think of them like a slightly denser version of a crisp topping! If you grab one of these Breakfast Oat Bars, crumble half of it into a small bowl, top it with plain Greek yogurt, and maybe a drizzle of honey. It gives you that warm, homemade, dessert-for-breakfast feeling without all the fuss!
They also make a surprisingly good foil for tangy flavors. Try dipping the corner into a little side of plain cream cheese mixed with a tiny bit of maple syrup. It sounds weird, I know, but it works! Check out how I sneak other good stuff into my morning routine over at my guide for easy breakfast recipes—sometimes breakfast needs to feel a little bit special, even if it came straight out of a storage container!
Frequently Asked Questions About Oatmeal Bars
It’s only natural to have questions when you’re trying a new recipe, especially one you plan to rely on for weekly snacks! I love hearing what you all are wondering about because it means you’re ready to get baking. Let’s tackle some of the common hurdles people face when getting their oatmeal bars just right.
Can I make these oatmeal bars without baking them?
That’s a great question, especially when it’s hot outside! For this specific recipe, the answer is unfortunately no, you really need the oven time. We rely on the baking process to properly bind the sugars, butter, and flour around those oats to create that signature structure we worked so hard for. If you skip the baking, you end up with a crumbly oat scoop, not a firm bar.
However, I totally get the appeal of quick, simple snacks! If baking feels like too much hassle, maybe check out some great No Bake Oat Bars Recipe ideas online. They use sticky binders like melted peanut butter or honey, which sets up nicely in the fridge. For this baked recipe, though, stick to the oven!
What makes these the Best Oatmeal Bar Recipe?
For me, what cements the magic in this recipe when I call it the Best Oatmeal Bar Recipe is that beautiful tension between flavor and texture. So many recipes out there are just too dry or they fall apart the second you touch them. We avoid that pitfall entirely!
It’s all about that chew. We ensure they are deeply chewy, thanks to the melted butter and proper sugar ratio, rather than crumbly like a granola cluster. Plus, the flavor is perfectly balanced—not so sweet that it qualifies only as dessert, but rich enough to feel satisfying. They’re the perfect texture for packing alongside your quick, quick, healthy lunch ideas!
Share Your Homemade Oatmeal Bars
Well, friend, that’s it! You’ve made a truly stellar batch of oatmeal bars that are going to make your week so much easier. But this journey doesn’t end when they come out of the oven. This community we’re building here thrives on sharing what works and what flavors you decide to experiment with!
I genuinely want to know what you thought—did you add pecans? Did you swirl in some jam? The success of a great recipe is in seeing how it adapts to your kitchen. So please, jump down to the comments section below and leave a rating. I read every single comment, and I promise your feedback helps me trust my recipes even more, which is how we build our reputation for reliable home cooking here at Cooking Zenith.
If you snap a photo of your beautifully set, wonderfully chewy bars—maybe packed neatly for lunch or cooling on the rack—tag us on social media! Sharing those successes proves that anyone can achieve peak baking confidence. Don’t hesitate to reach out through my contact page if you hit any snags, but for now, go enjoy those perfectly portable snacks!
PrintThe Best Chewy Oatmeal Bars for Meal Prep
Make these chewy oatmeal bars for a wholesome snack or easy breakfast. This recipe uses simple pantry staples to create portable bars that hold their shape well.
- Prep Time: 15 min
- Cook Time: 30 min
- Total Time: 45 min
- Yield: 18 bars 1x
- Category: Snack
- Method: Baking
- Cuisine: American
- Diet: Vegetarian
Ingredients
- 2 cups rolled oats
- 1 cup all-purpose flour
- 1 teaspoon baking soda
- 1/2 teaspoon salt
- 1 cup packed brown sugar
- 1/2 cup granulated sugar
- 1 cup (2 sticks) unsalted butter, melted
- 2 large eggs
- 1 teaspoon vanilla extract
- 1 cup mix-ins (chocolate chips, nuts, or dried fruit)
Instructions
- Preheat your oven to 350°F (175°C). Line a 9×13 inch baking pan with parchment paper, leaving an overhang on the sides for easy removal.
- In a medium bowl, whisk together the rolled oats, flour, and baking soda. Set this dry mixture aside.
- In a large bowl, combine the melted butter, brown sugar, and granulated sugar. Whisk until smooth.
- Beat in the eggs one at a time, mixing well after each addition. Stir in the vanilla extract.
- Gradually add the dry oat mixture to the wet ingredients. Mix until just combined; do not overmix.
- Fold in your chosen mix-ins, like chocolate chips or nuts.
- Press about two-thirds of the dough evenly into the bottom of the prepared pan.
- If you want a crumble top, mix the remaining one-third of the dough with 1/4 cup extra rolled oats. Sprinkle this mixture evenly over the base layer.
- Bake for 25 to 30 minutes, or until the edges are golden brown and the center is set.
- Remove the pan from the oven and let the bars cool completely in the pan before lifting them out using the parchment overhang.
- Cut into squares. Store your homemade energy bars in an airtight container.
Notes
- For gluten free oatmeal bars, substitute the all-purpose flour with a 1-to-1 gluten-free baking blend.
- To make these bars extra chewy, slightly underbake them by about 2 minutes.
- You can substitute half the butter with applesauce for a lower fat option, but the texture will be softer.
Nutrition
- Serving Size: 1 bar
- Calories: 210
- Sugar: 14g
- Sodium: 110mg
- Fat: 10g
- Saturated Fat: 6g
- Unsaturated Fat: 4g
- Trans Fat: 0g
- Carbohydrates: 30g
- Fiber: 2g
- Protein: 4g
- Cholesterol: 25mg