
You know how much I just adore those incredible, crispy shells filled with sweet, creamy ricotta? That’s authentic Italian dessert magic! But honestly, who has the time (or the deep fryer) to make real cannoli shells on a Tuesday afternoon? Not me! That’s exactly why I spent hours perfecting these absolutely amazing **cannoli cookies**.
Forget deep-frying, friends. These are soft, chewy, cake-like **cannoli cookies** that capture every single bright, creamy, chocolate-dotted flavor of that classic filling in one easy, handheld cookie. When I first started Cooking Zenith, I wanted to bridge that gap—take those special flavors we love from traditional Sicilian recipes and make them simple enough for any home cook. I promise you, these are the easiest Italian cookies you will ever bake, and they taste like a special occasion, even on a regular day.
- Why These Are The Best Cannoli Cookies You Will Make
- Ingredients for Amazing Cannoli Cookies
- How to Prepare Soft & Chewy Cannoli Cookies
- Tips for Success with Your Cannoli Cookies
- Variations on Classic Cannoli Cookies
- Storage and Make Ahead Tips for Cannoli Cookies
- Serving Suggestions for These Italian Cookies
- Frequently Asked Questions About Cannoli Cookies
- Estimated Nutritional Data for Cannoli Cookies
Why These Are The Best Cannoli Cookies You Will Make
I’ve made plenty of **ricotta cookies**, but these truly stand out because they nail the exact flavor profile you want without the fuss. People tell me they taste like they should be harder to make, which is my favorite compliment! They are perfect for holiday cookie exchanges because they are just so different from the usual suspects.
- They deliver that authentic, bright flavor you expect from a classic Sicilian dessert.
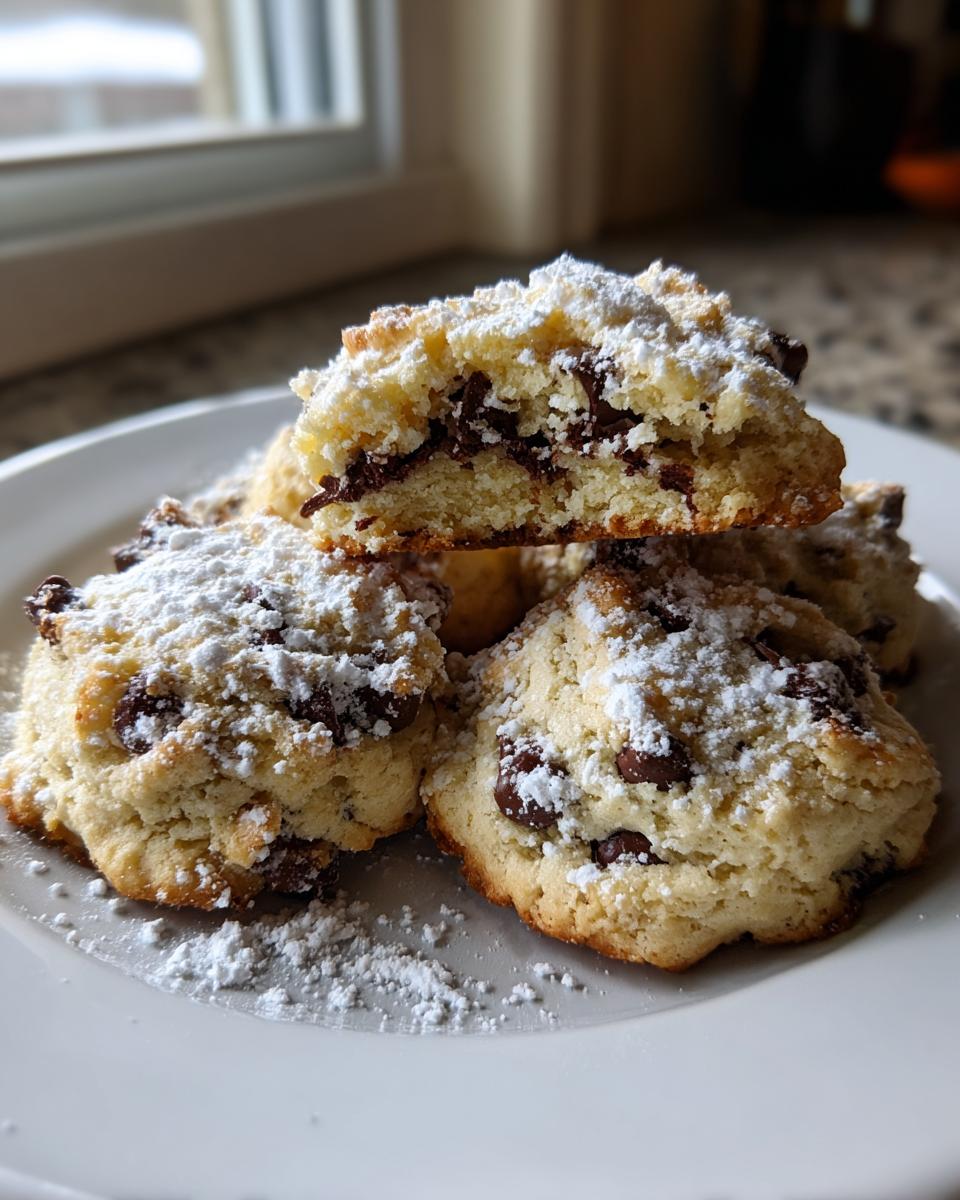
- The texture is wonderfully soft and chewy—a total contrast to fighting with brittle pastry shells!
- This recipe is genuinely simple; it comes together fast, making it ideal for busy home cooks. Check out my guide on other soft Italian ricotta cookies if you love this style!
Capturing the Creamy Cannoli Flavor
The secret sauce here is the combination of rich, whole milk ricotta and a bright hint of lemon zest. That little bit of citrus cuts through the sweetness perfectly, making them taste just like the creamy filling you crave. It’s what transforms a basic cookie into an amazing **cannoli cookie** experience.
Soft Texture Over Frying Shells
Why bake a whole production when you can get the same satisfaction in 12 minutes? The main goal of this recipe was ditching the deep fryer entirely. You get the pillowy, tender crumb that melts in your mouth instead of dealing with tricky, crisp shells that crack everywhere. These **cannoli cookies** are totally foolproof!
Ingredients for Amazing Cannoli Cookies
Okay, gathering your supplies is half the fun! These **cannoli cookies** bake up beautifully because we are measuring carefully. You’ll need that softened butter, a cup of sugar, your egg, vanilla, and almond extract for that classic aroma. Then, of course, the star is the ricotta! Don’t forget the flour, baking powder, salt, and those essential mini semi-sweet chocolate chips.
For a little extra brightness, I always add lemon zest. If you happen to love citrus, check out my recipe for homemade lemonade—it uses similar bright notes!
Ricotta Cheese Preparation for Cannoli Cookies
Listen to me closely on this part, because this is where home cooks often run into trouble with **ricotta cookies**. Your ricotta MUST be well-drained. If it’s too wet, your cookie dough is going to spread out into pancake-thin puddles in the oven, and we absolutely don’t want that!
I always put my whole milk ricotta into a fine-mesh sieve lined with a square of cheesecloth (or a paper towel in a pinch) and let it sit over a bowl in the fridge for at least 30 minutes. Sometimes I even leave it for an hour if I’m prepping other things. That extra few minutes ensures you get that signature thick, soft texture and not a soggy mess. Trust me, draining the ricotta is the key to successful **cannoli cookies**!
How to Prepare Soft & Chewy Cannoli Cookies
Getting these **cannoli cookies** just right is all about how you treat the ingredients in the bowl. Step one is simple: get that oven warm! Preheat to 350°F (175°C) and make sure you’ve got parchment paper ready on your baking sheets. This stuff is a lifesaver; check out my super simple way to make homemade cookie release if you bake often!
Mixing the Dough for Perfect Cannoli Cookies
We start by creaming the softened butter and the sugar until they look pale and fluffy. This step whips air in, which is super important for soft cookies! Then, you beat in the egg, vanilla, almond extract, all that delicious, drained ricotta, and the lemon zest. Once that’s unified, slow down. Gradually add your dry ingredients—flour, baking powder, and salt—on low speed. You want to mix them in until they *just* disappear. Seriously, stop mixing right when you can’t see white streaks anymore. Overmixing is the enemy of soft **cannoli cookies**!
Baking and Finishing Your Cannoli Cookies
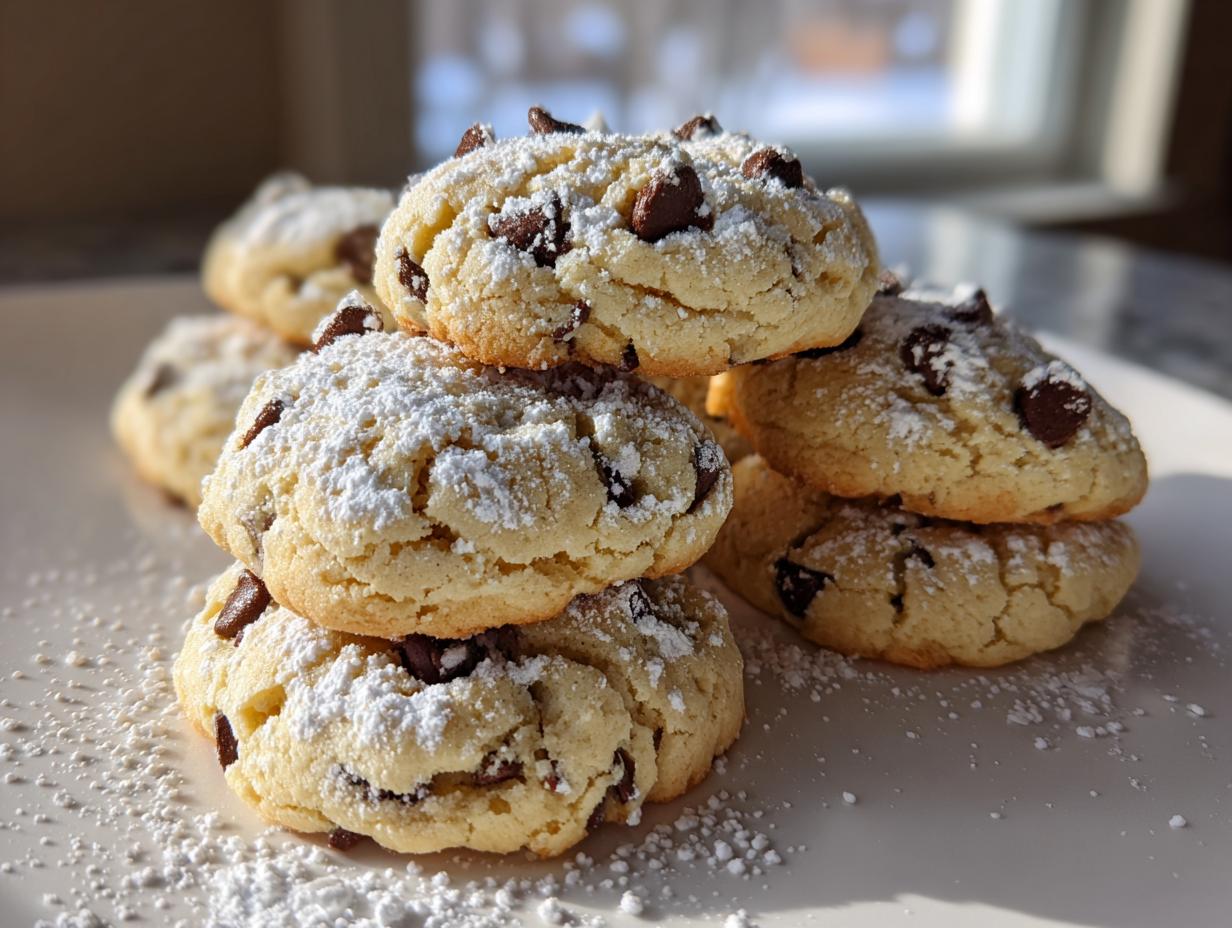
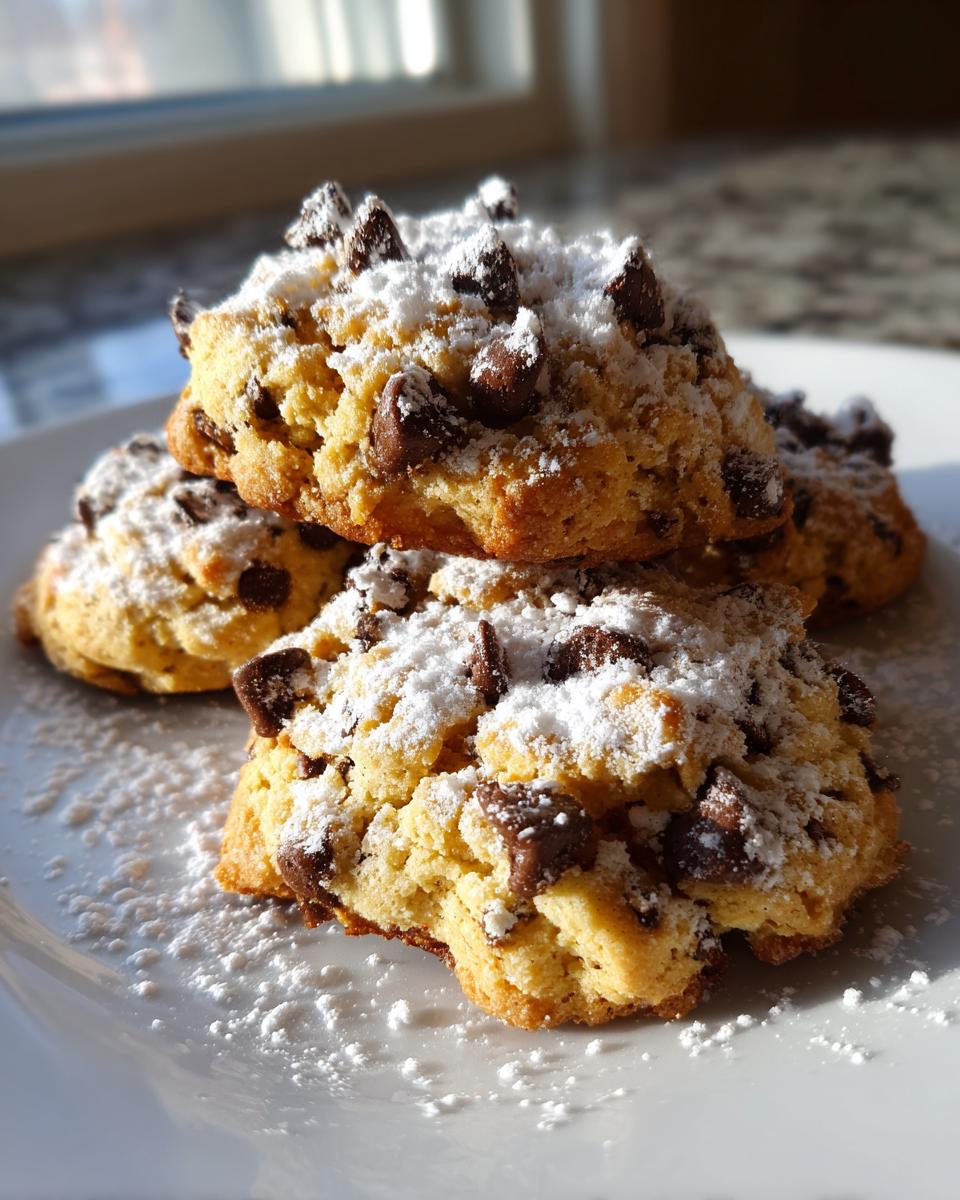
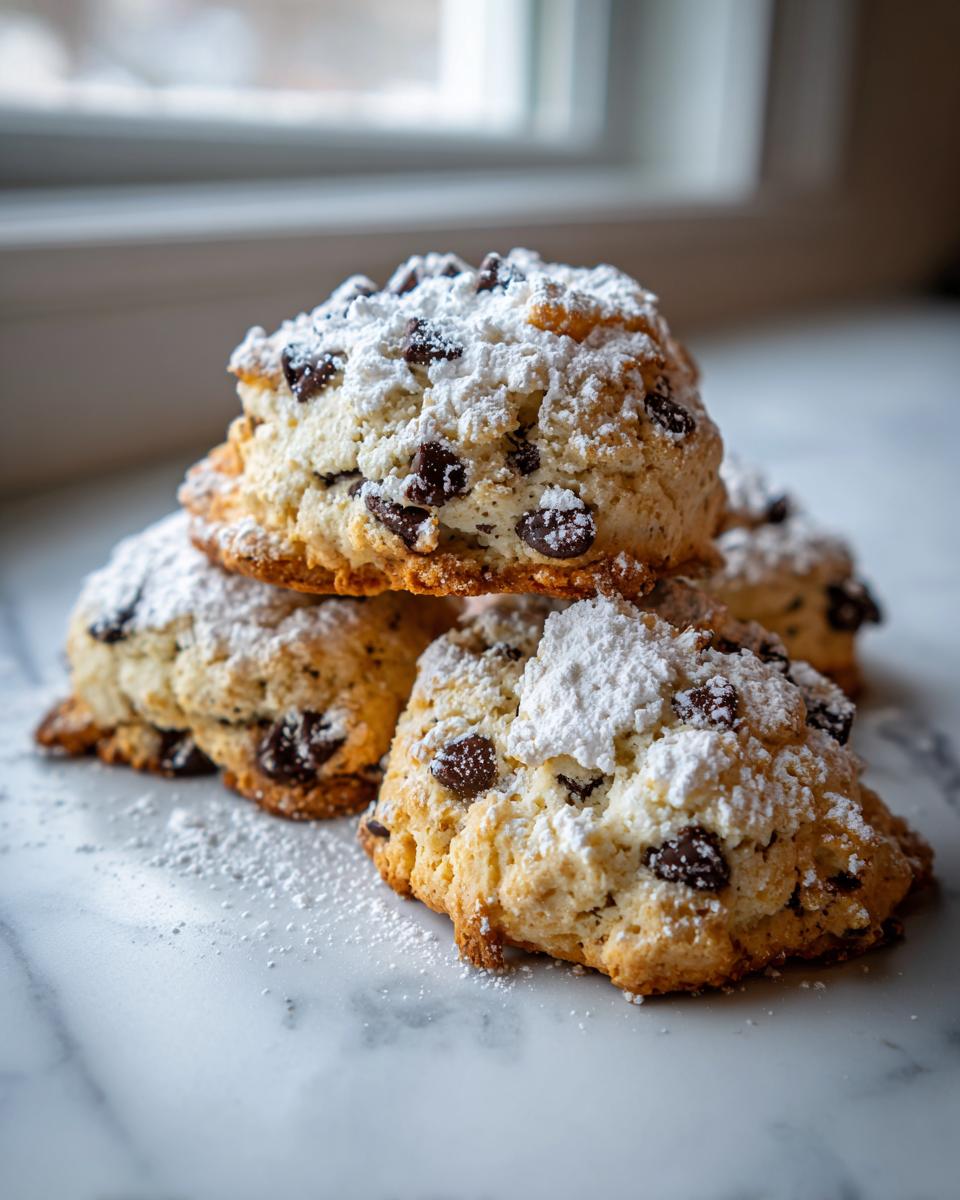
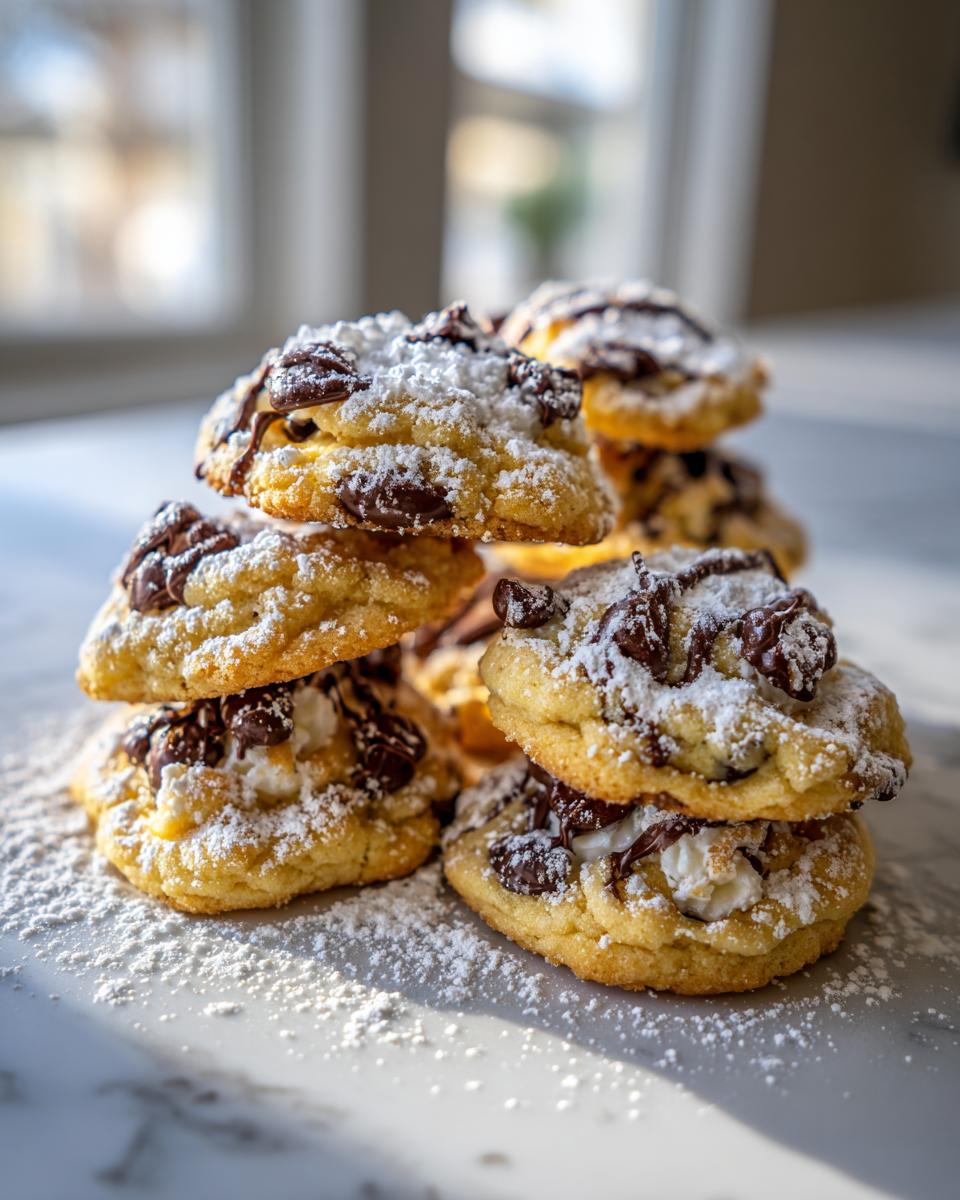
Gently fold in those mini chocolate chips—don’t you dare crush them with aggressive stirring! Drop rounded tablespoons of dough onto your pans, spaced out well because they do spread just a bit. They only need 10 to 12 minutes. You’re looking for the edges to just barely turn golden, but the center should still look soft. Let them hang out on the hot pan for about five minutes before you move them to the cooling rack. Once they are totally cool—and you have to wait!—dust them heavily with powdered sugar. That final cloud of sugar is the bakery touch these **cannoli cookies** deserve!
Tips for Success with Your Cannoli Cookies
When you’re making any recipe that relies on dairy, especially **ricotta cookies**, ingredient quality really matters. My number one tip, besides draining that ricotta, is using great quality vanilla and almond extracts. They really punch up that authentic Italian dessert flavor profile we’re aiming for in these **cannoli cookies**.
If you want to ensure the chewiest texture, don’t chill the dough at all. Since the batter already has a good amount of fat from the butter and the ricotta, chilling can make them too firm when baked. Drop them straight onto the sheet and watch them puff up! For amazing results every time, you can always check out my list of my go-to best cookie recipes for general troubleshooting!
Variations on Classic Cannoli Cookies
Once you nail the basic flavor profile for these **cannoli cookies**, you have to start playing around! That’s what my dad always told me. They are honestly so stable, they take additions like a champ. If you want to make these truly decadent, try swapping out half of those mini chocolate chips for finely chopped pistachios. The green and red flecks look gorgeous against the pale cookie dough, and the nutty flavor is a fantastic Sicilian touch.
Also, don’t feel boxed in by lemon zest! If you’re feeling very adventurous, swap the lemon for orange zest—it pairs beautifully with the almond extract we used. It gives the cookies a completely different, sunny flavor profile. For an extra crunch idea, you can even toss some of those amazing, sugary nuts on the top. If you want to practice making some crunchy toppings, my recipe for cinnamon sugar pecans is perfect practice!
Storage and Make Ahead Tips for Cannoli Cookies
One of the best things about these **cannoli cookies** is that they are fantastic make-ahead cookies! You do not have to worry about serving them the second they come out of the oven. Once they are totally cool—and I mean completely cooled down—you can stack them in a good airtight container at room temperature for up to three days. They stay wonderfully soft!
If you need to make a huge batch for a party or holiday tray, these freeze like a dream. Lay them flat on a parchment-lined tray, pop them in the freezer until hard, and then transfer them to a heavy-duty freezer bag. They last up to three months! Just remember my biggest rule: never dust them with powdered sugar until you are ready to serve them. That sugar melts right into the cookie when stored. For more great make-ahead ideas, you should peek at my make-ahead breakfast bake!
Serving Suggestions for These Italian Cookies
These gorgeous **cannoli cookies** are so versatile, but they really shine when paired with the right beverage. Since they have that creamy, ricotta-based flavor with just a hint of citrus, they go absolutely perfectly with a strong, hot espresso. That bitter coffee cuts right through the sweetness, making every bite satisfying.
If you’re looking for a daytime treat, I swear by pairing them with a tall, cold glass of fresh lemonade—you can grab my recipe for the best classic lemonade right here! They also look amazing arranged on a platter next to a simple fruit bowl. They are definitely a party dessert favorite!
Frequently Asked Questions About Cannoli Cookies
I get so many questions about these **cannoli cookies** because everyone wants that perfect, creamy result! I tried to make this recipe foolproof, but sometimes little things trip folks up. Let’s clear up some of the most common things people ask me about making the best batch of Italian cookies!
Can I use whole milk ricotta instead of drained ricotta in my cannoli cookies?
Okay, I really have to stress this one again: Please, please, drain your ricotta! If you skip that step, you will end up with runny dough. These cookies are supposed to be substantial and chewy, not puddle-shaped. Wet ricotta means the fat spreads too quickly in the oven, and you lose that dense, soft texture that makes these **cannoli cookies** so amazing. You want them to be satisfyingly chewy, not flat!
Are these Cannoli Cookies suitable for holiday cookie exchanges?
Absolutely! They are one of my favorite things to bring to gatherings, especially around the holidays. They look beautiful dusted with powdered sugar, and they offer such a great contrast to the crunchier items on a cookie tray. While they share some DNA with classic **chocolate chip cookies** due to the chips, the ricotta base makes them unique and memorable. They truly stand out as special **Italian cookies**.
How long do these chewy cannoli cookies stay soft?
That creamy ricotta keeps these **chewy cannoli cookies** nice and tender for days! Because of the inherent moisture from the cheese, they hold up really well. If you store them in an airtight container at room temperature, you can expect them to be delicious for about three full days. If you’re looking for more incredible Italian secrets, you should check out my post on other fluffy ricotta cookie recipes!
Estimated Nutritional Data for Cannoli Cookies
Now, let’s talk numbers, though I always say that baking is about love first and spreadsheets second! Since these **cannoli cookies** are made with real butter and ricotta, they are certainly a treat. I ran the numbers based on the ingredients listed above, assuming 24 cookies in the batch, but keep in mind this is just an estimate.
Baking is an art, and the exact type of flour or brand of chocolate chips you use can shift these figures slightly. But for a general idea of what you’re working with when you pull these amazing **Italian cookies** out of the oven:
- Serving Size: 1 cookie
- Calories: Roughly 180 calories
- Total Fat: Around 9g
- Carbohydrates: About 23g
- Protein: 3g
These are rich, satisfying **cream dessert cookies**, so one is usually plenty! Enjoy them responsibly knowing you made something truly special.
PrintSoft & Chewy Cannoli Cookies with Ricotta and Chocolate Chips

Make these easy Cannoli Cookies that capture the creamy flavor of Italian cannoli filling in a soft, chewy cookie format. This recipe uses ricotta cheese and mini chocolate chips for an authentic taste without the hassle of frying shells.
- Prep Time: 20 min
- Cook Time: 12 min
- Total Time: 32 min
- Yield: 24 cookies 1x
- Category: Dessert
- Method: Baking
- Cuisine: Italian
- Diet: Vegetarian
Ingredients
- 1 cup unsalted butter, softened
- 1 cup granulated sugar
- 1 large egg
- 1 teaspoon vanilla extract
- 1 cup whole milk ricotta cheese, drained well
- 1 teaspoon lemon zest
- 1/2 teaspoon almond extract
- 3 cups all-purpose flour
- 1 teaspoon baking powder
- 1/2 teaspoon salt
- 1 cup mini semi-sweet chocolate chips
- 1/2 cup powdered sugar (for dusting)
Instructions
- Preheat your oven to 350°F (175°C). Line baking sheets with parchment paper.
- In a large bowl, cream together the softened butter and granulated sugar until light and fluffy.
- Beat in the egg, vanilla extract, drained ricotta cheese, lemon zest, and almond extract until just combined. Scrape down the sides of the bowl.
- In a separate medium bowl, whisk together the flour, baking powder, and salt.
- Gradually add the dry ingredients to the wet ingredients, mixing on low speed until just incorporated. Do not overmix.
- Gently fold in the mini chocolate chips.
- Drop rounded tablespoons of dough onto the prepared baking sheets, leaving about 2 inches between each cookie.
- Bake for 10 to 12 minutes, or until the edges are lightly golden and the centers are set. They should remain soft.
- Let the cookies cool on the baking sheets for 5 minutes before transferring them to a wire rack to cool completely.
- Once completely cool, dust generously with powdered sugar before serving.
Notes
- Drain your ricotta cheese thoroughly by placing it in a fine-mesh sieve lined with cheesecloth over a bowl for at least 30 minutes, or longer, to remove excess liquid. This prevents the cookies from spreading too much.
- You can make these cookies ahead of time. Store cooled, undusted cookies in an airtight container at room temperature for up to 3 days, or freeze them for up to 3 months. Dust with powdered sugar just before serving.
- For an extra layer of flavor, substitute half of the mini chocolate chips with finely chopped pistachios.
Nutrition
- Serving Size: 1 cookie
- Calories: 180
- Sugar: 15g
- Sodium: 95mg
- Fat: 9g
- Saturated Fat: 5g
- Unsaturated Fat: 4g
- Trans Fat: 0g
- Carbohydrates: 23g
- Fiber: 1g
- Protein: 3g
- Cholesterol: 30mg