
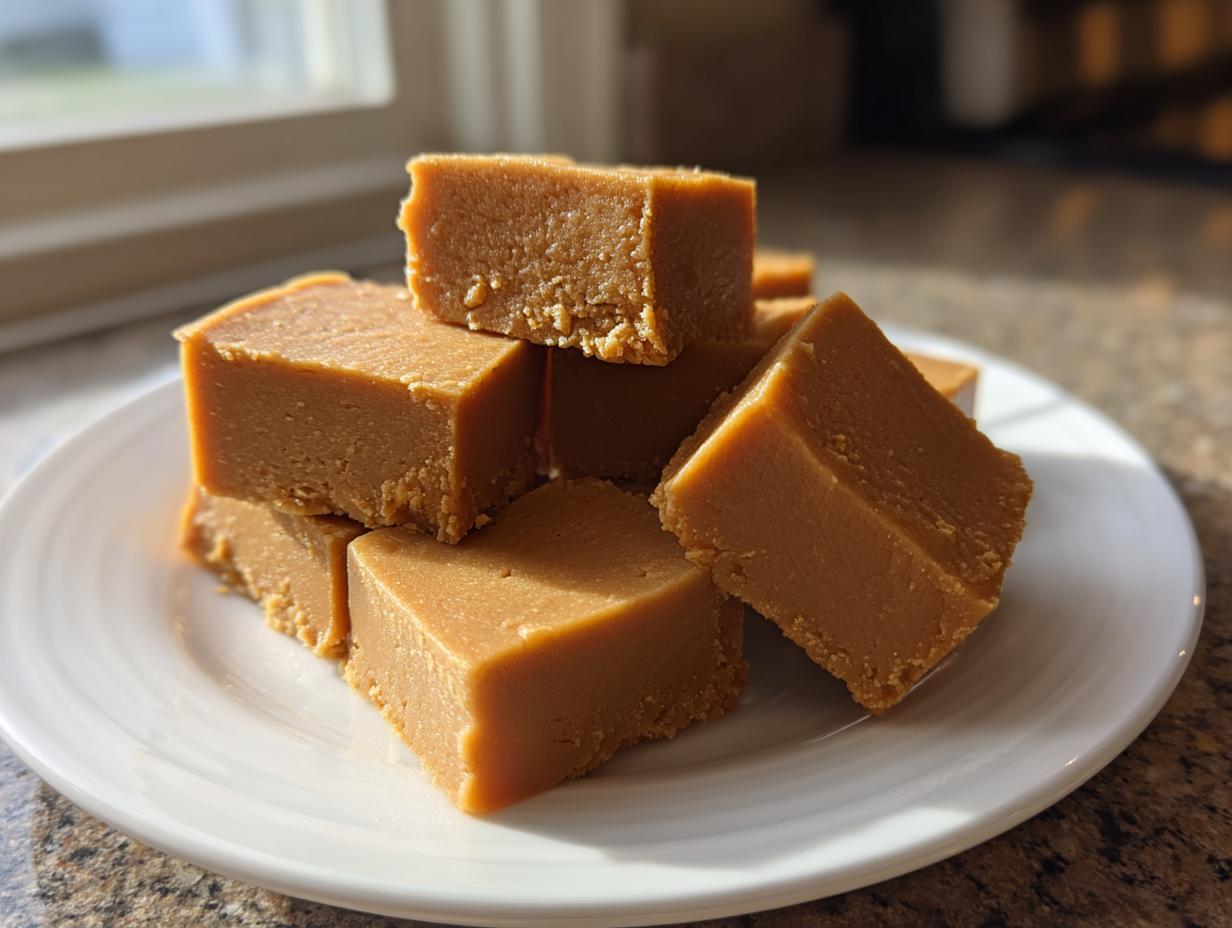
Oh my gosh, if you are craving that comforting, old-fashioned candy flavor but don’t have time for actual candy-making, stop everything! I have found the absolute cheat code for you. Seriously, this peanut butter fudge recipe is honestly criminal in how easy it is.
Forget the double boilers and the constant stirring! We are talking about the ultimate 3-ingredient microwave peanut butter fudge that sets up perfectly every single time. I can’t tell you how many times I whipped this up for unexpected guests or when a sweet craving hit hard at 9 PM. It’s the kind of foolproof magic Aria Thompson champions here at Cooking Zenith—simple steps that guarantee spectacular results for everyone, even if you’re new to the kitchen. Learn more about our philosophy right here!
This is the no bake magic you need. Prepare to be amazed by how wonderfully smooth and creamy this gets after just a quick chill in the fridge. You won’t even need a stove!
- Why This peanut butter fudge recipe is Your New Go-To
- Gathering Ingredients for Your peanut butter fudge recipe
- Step-by-Step Instructions for Perfect Microwave peanut butter fudge
- Tips for Success with Your No Bake Fudge
- Making This peanut butter fudge recipe a Holiday Candy Favorite
- Frequently Asked Questions About This Microwave Peanut Butter Fudge
- Estimated Nutritional Data for One Serving of peanut butter fudge recipe
- Share Your Experience Making This Easy Peanut Butter Fudge
Why This peanut butter fudge recipe is Your New Go-To
Listen, I get it. Sometimes you want that nostalgic, buttery, sweet candy fix, but you don’t want to spend an hour on the stove turning your kitchen into a sticky mess. That’s why this specific peanut butter fudge recipe has earned a permanent spot on my countertop, especially near any holiday.
It solves every problem I used to have with fudge:
- It uses just three core ingredients—that’s it!
- The microwave method means almost zero cleanup. Yes, really!
- It’s completely no bake, so you don’t have to worry about candy thermometer drama.
- It sets with that dreamy, melt-in-your-mouth texture every single time.
- It looks impressive, making it perfect for handing out as homemade holiday candy gifts.
Speed and Simplicity: The 3 Ingredient Fudge Advantage
Honestly, this is the quickest way to get that rich, old fashioned peanut butter fudge flavor. Total active time is maybe ten minutes, tops. You melt, stir, and pour! Because you are working straight in a microwave-safe bowl, you skip washing out a saucepan later. Trust me, less dishes means I’m happier, and you will be too!
Gathering Ingredients for Your peanut butter fudge recipe
Ready for the best part of this whole adventure? Gathering supplies! If you love simplicity, you are going to adore this because it truly hinges on just three things. No complicated pantry sweeps needed here!
For the best results in this peanut butter fudge recipe, you must stick close to these measurements because we aren’t messing with structure here; we are aiming for that perfect set.
- You need one standard 10 ounce package of semi-sweet chocolate chips.
- Grab one 14 ounce can of sweetened condensed milk—that sticky goodness is the magic binder!
- And finally, one full cup of creamy peanut butter. Don’t substitute with natural or crunchy unless you follow my tips below, okay?
See? That is the glorious extent of what you need for this 3 ingredient fudge. Total win!
Ingredient Notes and Substitutions for Your Microwave Peanut Butter Fudge
While this is called a 3 ingredient fudge, let’s talk about making sure those three ingredients are the *right* ones, since they do all the heavy lifting! The sweetened condensed milk is absolutely crucial; please don’t try to substitute it with evaporated milk or regular milk—you won’t get the right texture, trust me.
For the chocolate chips, I call for semi-sweet because it balances the sweetness of the condensed milk perfectly. However, if your family leans sweeter, you can totally swap that out for a package of milk chocolate chips for a richer treat. If you’re trying to make this when you only have natural peanut butter on hand, you should drain off any excess oil first, or the fudge might stay a bit too soft in the center for cutting. It’s doable, but use the creamy stuff if you can!
Step-by-Step Instructions for Perfect Microwave peanut butter fudge
Okay, deep breaths! This is the part where we transform pantry staples into magic. Because this is such an easy peanut butter fudge, it’s actually a fantastic recipe to have your little kitchen helpers take the lead on. Just watch them closely when the microwave is involved, okay? I always tell my niece, “Patience in the melting stage means a perfect final texture!”
We are working fast, but we need to respect the timing the microwave demands. We hit it in short bursts so that chocolate doesn’t suddenly seize up on us. That two-hour chill time is non-negotiable, but trust me, the anticipation is worth it when you take that first bite of no bake fudge.
Preparing the Pan and Melting the Base for this easy peanut butter fudge
First things first: we need a safe, easy exit strategy for the fudge! Line an 8×8 inch pan with parchment paper, making sure the paper hangs over two sides. Those overhangs are your built-in handles later—don’t skip them! This is key for easy removal later when everything is nice and cold.
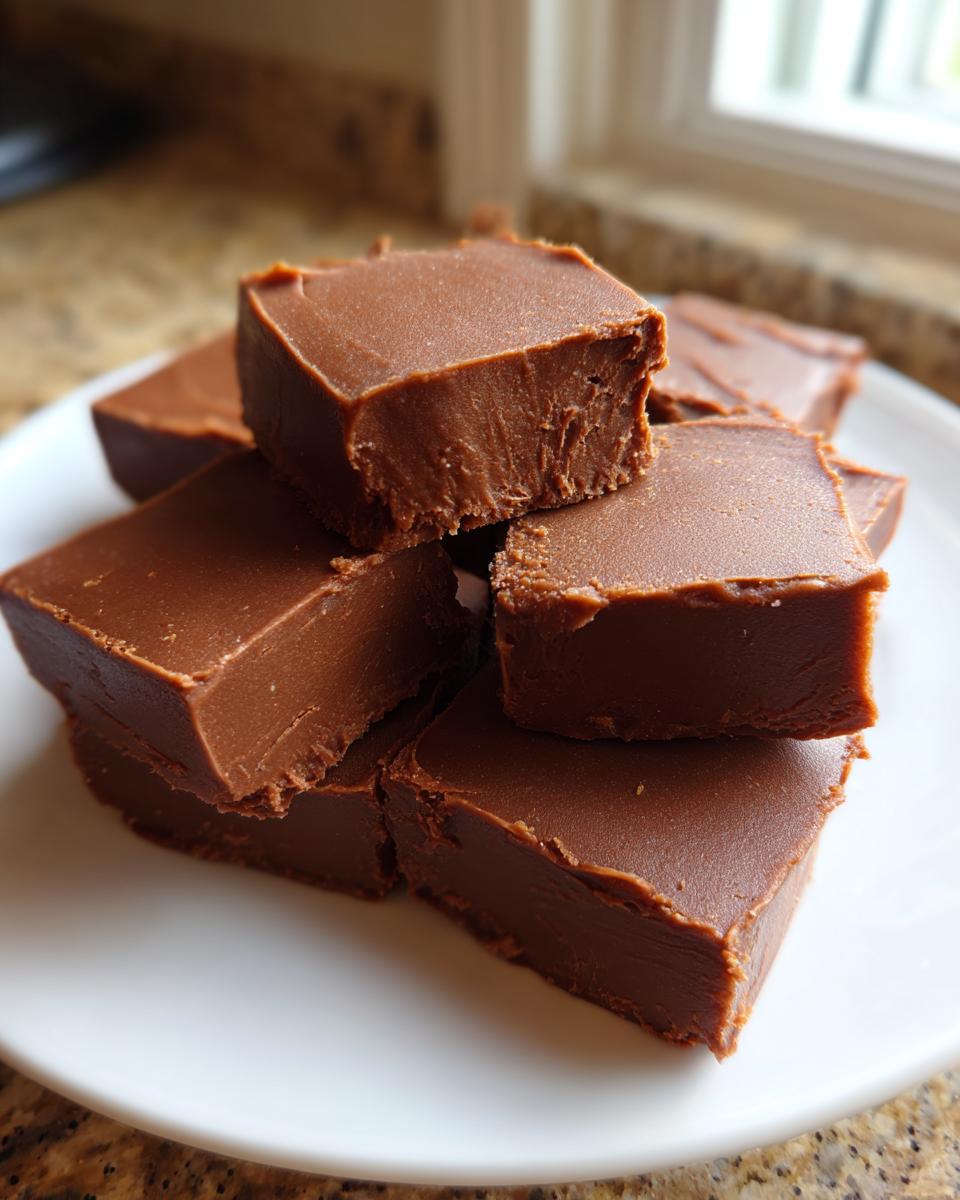
Next, toss your semi-sweet chocolate chips and the entire can of sweetened condensed milk into a big microwave-safe bowl. Now, microwave it on high for exactly 60 seconds. Take it out and stir it until you see it start to combine. It won’t be perfect yet! Back into the microwave it goes for another 30 seconds. This two-stage heating prevents scorching. You have to stir it aggressively after that second blast until that mixture is absolutely, totally, completely smooth. If you see any flakes of unmelted chocolate, you risk a grainy texture later on. We want that satiny sheen!
Combining and Setting the Old Fashioned Peanut Butter Fudge
Once the base is liquid silk, it’s time for the peanut butter! Dump that cup right in and stir until everything is uniform in color. Once you mix the peanut butter in, stop stirring as soon as it looks like one consistent brown color. Overmixing here can cause the fat to separate slightly when it chills, and we want that creamy, dense appearance.
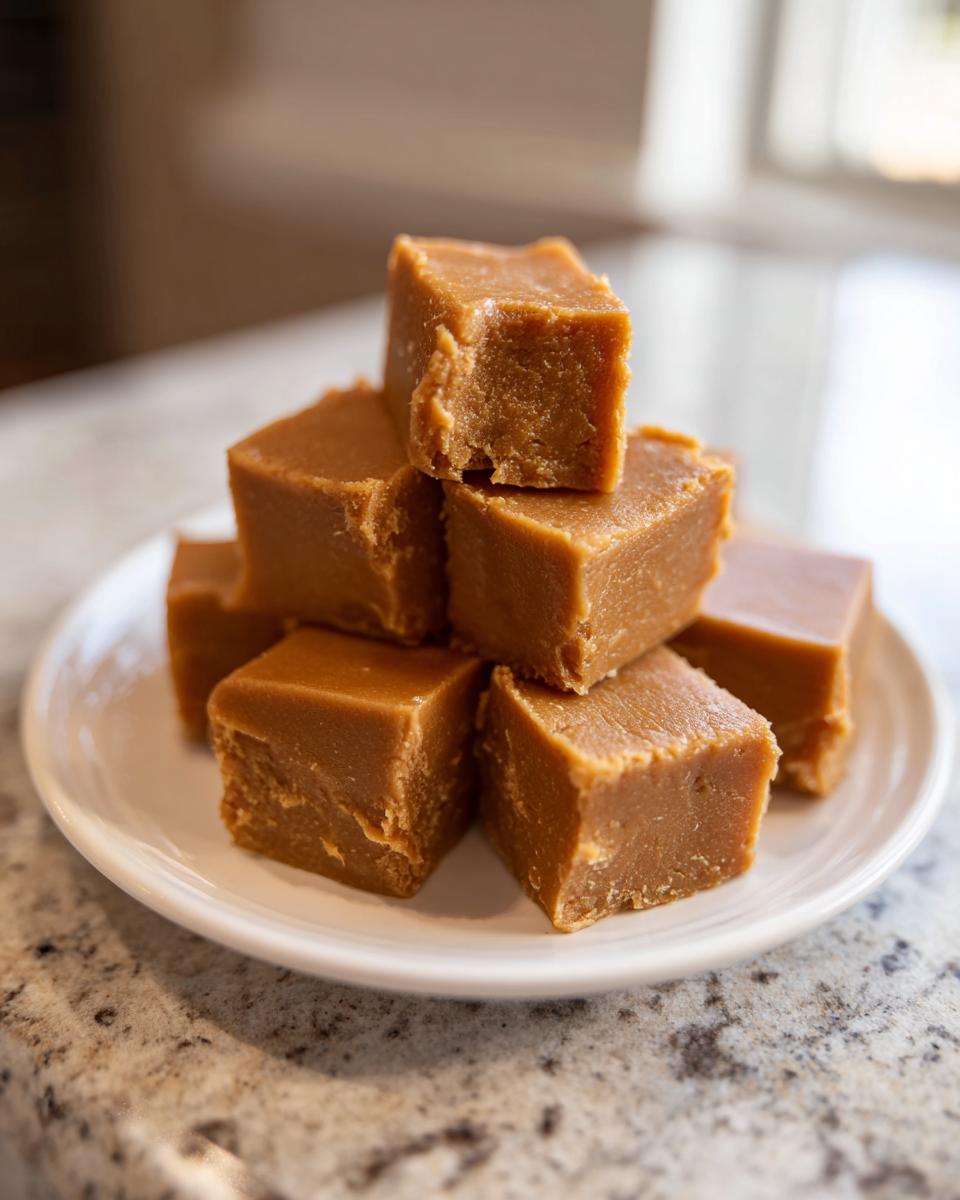
Scrape that lovely mixture into your prepared pan immediately. Use a spatula to spread it out evenly; this is important because if one side is thicker than the other, it will set unevenly. Then, pop the whole thing into the fridge for at least two hours. Seriously, walk away! Once it is rock solid and firm, use those parchment handles you taped down earlier to lift the whole block out onto a cutting board. Slice it into small squares—this batch yields a ton of treats, perfect for holiday candy sharing!

Tips for Success with Your No Bake Fudge
Even though this is the easiest peanut butter fudge recipe ever invented, there are just a couple of little things you can watch for to make sure your results are always top-notch. If you’re aiming for that incredible, smooth, yet sturdy texture that defines great no bake fudge, a little attention in these spots makes all the difference.
My biggest piece of advice—and this comes from watching a few batches look a little strange when they set—is knowing when to stop mixing. Once that creamy peanut butter hits the melted chocolate mixture, you should only stir until you see a uniform color. If you keep beating it around, it can sometimes break the emulsion we worked hard to create in the microwave. Stop as soon as it looks like the right color, promise!
Now, what if your microwave isn’t cooperating? Sometimes they run too hot or too weak. If you follow the 60 seconds, stir, then 30 seconds, stir, and you still have stubborn chocolate lumps, don’t panic and don’t zap it for another full minute! Instead, take the bowl out and just stir continuously for about another minute. The residual heat is usually enough to melt those last bits into the smooth mixture, keeping us safe from burning the edges.
Finally, let’s talk about patience during the chill phase. I know it’s tempting to stick the pan in the freezer to speed things up, but resist that urge! Freezing fudge too quickly can sometimes cause tiny ice crystals to form, which messes up the texture when it thaws a little. Two hours in the fridge is the sweet spot for perfect setting, making sure your easy peanut butter fudge is dense enough to slice but soft enough to love.
Making This peanut butter fudge recipe a Holiday Candy Favorite
This peanut butter fudge recipe is practically destined for holiday tins! Because it requires zero baking and such few ingredients, it’s my go-to when I need quick filler gifts for neighbors or teachers. The presentation is what elevates this from simple snack to thoughtful holiday candy.
Once you cut it into squares, try dusting the tops lightly with a little flaky sea salt—that touch of savory balances the intense sweetness beautifully. Or, if you’re making it for the kids’ Christmas party, just use those festive sprinkles right after you spread it in the pan before chilling! It looks so festive but took you almost no time at all.
Storage and Make-Ahead for Your 3 Ingredient Fudge
Here’s a huge relief: this no bake fudge stores really well! Because of the high fat and sugar content, you don’t need to stress about it too much. I typically keep it in an airtight container right on the counter at room temperature, and it stays perfectly good for about a week. It actually maintains a nicer, softer texture that way.
If you make it ahead for a big party or holiday binge, you can definitely chill it longer—up to two weeks—in the fridge, but make sure it’s in a truly airtight container so it doesn’t pick up any stray smells. And yes, it freezes beautifully too! Wrap each square individually in plastic wrap, put those squares into a freezer bag, and it lasts great for about two months. Thaw it on the counter for an hour, and it’s ready to go!
Frequently Asked Questions About This Microwave Peanut Butter Fudge
Why is my peanut butter fudge recipe too soft and won’t set properly?
That’s usually a temperature or ingredient issue, which bummed me out the first time it happened! If your microwave peanut butter fudge is too soft after chilling, it often means the chocolate didn’t melt quite right, or perhaps you used a natural peanut butter that had too much oil separation. Remember, we need that structure! Don’t try to rush the chill time; two hours minimum in the fridge is key to getting that nice, sliceable texture for your easy peanut butter fudge.
Can I use crunchy peanut butter instead of creamy for this 3 ingredient fudge?
You absolutely can, if you love an extra surprise texture! That said, the classic old fashioned peanut butter fudge is traditionally creamy, providing that luscious mouthfeel. If you decide to go crunchy, you’ll get little bits of peanut scattered throughout the smooth chocolate base. It’s delicious, but be aware that the crunchier bits might make the fudge feel slightly less uniform when you bite into it.
Is this no bake fudge safe to leave out on the counter or does it need to be refrigerated?
This is great news for parties or holiday candy exchanges! Because this is a 3 ingredient fudge relying primarily on chocolate and condensed milk, it’s very stable due to the sugar content. I keep leftovers in an airtight container right on the counter for up to a week, and the texture stays great. If your kitchen runs particularly warm, though, like during the summer, storing it in the fridge will keep it firmer, though it might become a touch harder when first pulled out.
How do I make sure I don’t scorch the chocolate chips when microwaving?
I learned this trick the hard way, believe me—burnt chocolate is the worst smell! The secret to perfect melting for your peanut butter fudge recipe is always the pulse method. Start with 60 seconds, stir vigorously, and then only give it 30 more seconds maximum. If it’s still not smooth, take it out, and let the residual heat do the work while you stir. Short bursts are always better than one long blast when dealing with melting chocolate!
Estimated Nutritional Data for One Serving of peanut butter fudge recipe
I know some folks check these numbers, and while this peanut butter fudge recipe is definitely a treat and not an everyday health food, it’s good to know what you’re working with! Because this is such a simple recipe, the nutrition is pretty straightforward, but I always feel the need to give a little heads-up.
Keep in mind that this data is based on dividing the whole batch into 36 small squares, using standard, full-fat ingredients. This is just an estimate to guide you by, not a gospel truth straight from a lab!
- Serving Size: 1 square
- Calories: 145
- Sugar: 15g (That’s where the deliciousness comes from!)
- Fat: 8g
- Saturated Fat: 3g
- Carbohydrates: 16g
- Protein: 3g
Here’s the quick disclaimer, just to keep things honest: Since we are whipping up this no bake fudge in a home kitchen and not a test facility, these numbers are an educated estimation based on the standard ingredients we used. Things like the exact brand of chocolate chips or peanut butter can change things just slightly. But honestly, if you are making this easy peanut butter fudge for the holidays, I doubt you’re too worried about the macros, right? Just enjoy that sweet, sweet payoff!
Share Your Experience Making This Easy Peanut Butter Fudge
Now that you have made the world’s easiest, most satisfying peanut butter fudge recipe, the fun doesn’t stop here! I genuinely want to hear all about it. Seriously, seeing your successes is the best part of my day as your home-cook guide here at Cooking Zenith.
Did you add a sprinkle of sea salt on top? Did you use milk chocolate instead? Did the kids help you stir during that crucial peanut butter phase? Tell me everything in the comments below. I love when you send me your own little twists on the classics.
If your microwave peanut butter fudge came out perfectly—and I bet it did!—or if you have a burning question about shelf life or texture, don’t hesitate to reach out. You can connect with me directly if you need any extra help or just want to share a baking win. Just pop over to the contact page. Happy Fudging!
Print3-Ingredient Microwave Peanut Butter Fudge
Make classic, old fashioned peanut butter fudge quickly using only three ingredients in the microwave. This no bake fudge sets perfectly and is great for holiday candy gifts.
- Prep Time: 10 min
- Cook Time: 2 min
- Total Time: 130 min
- Yield: 36 small squares 1x
- Category: Dessert
- Method: Microwave
- Cuisine: American
- Diet: Vegetarian
Ingredients
- 1 (10 ounce) package semi-sweet chocolate chips
- 1 (14 ounce) can sweetened condensed milk
- 1 cup creamy peanut butter
Instructions
- Line an 8×8 inch baking pan with parchment paper, leaving an overhang on two sides for easy removal.
- Place the chocolate chips and sweetened condensed milk in a microwave-safe bowl.
- Microwave on high for 60 seconds. Stir well.
- Microwave for another 30 seconds. Stir until the mixture is completely smooth.
- Stir in the peanut butter until fully combined and the mixture is uniform in color.
- Pour the fudge mixture into the prepared pan. Spread evenly.
- Refrigerate for at least 2 hours, or until firm.
- Lift the fudge out of the pan using the parchment paper overhang. Cut into small squares.
Notes
- For a richer flavor, you can use milk chocolate chips instead of semi-sweet.
- If you want a slightly firmer fudge, chill it for 3 hours before cutting.
- This recipe is simple, making it a great activity for kids to help prepare.
Nutrition
- Serving Size: 1 square
- Calories: 145
- Sugar: 15
- Sodium: 55
- Fat: 8
- Saturated Fat: 3
- Unsaturated Fat: 5
- Trans Fat: 0
- Carbohydrates: 16
- Fiber: 1
- Protein: 3
- Cholesterol: 5