
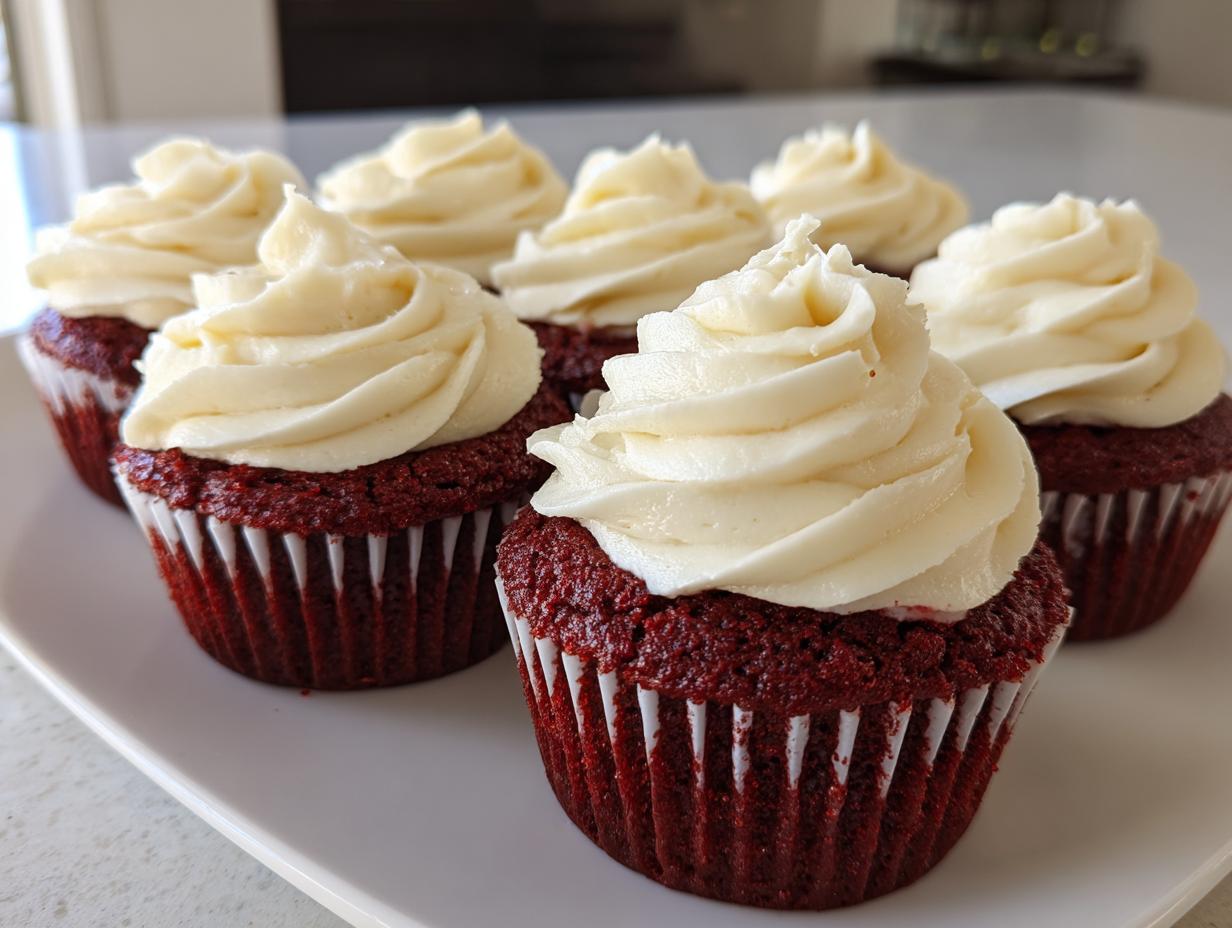
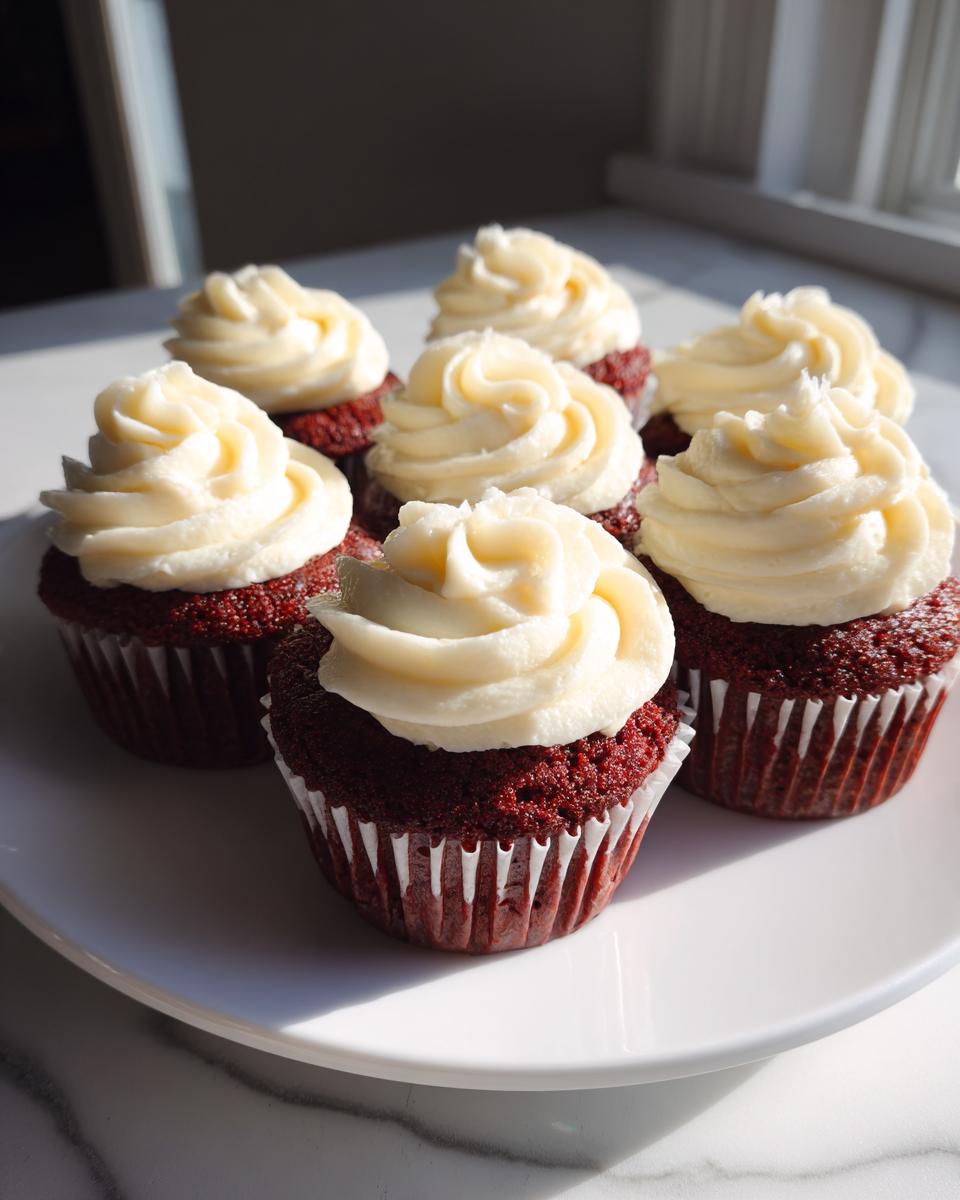
There’s just something magical when a dessert is both visually stunning and unbelievably delicious, isn’t there? Forget those dry, hard little cakes you sometimes find. I’m handing over my absolute favorite recipe today: The Ultimate Moist Red Velvet Cupcakes with Tangy Cream Cheese Frosting. This version is my secret weapon for holidays and special occasions because it creates that dreamy, soft, velvety texture every single time. It’s all about getting that signature vibrant color right, and trust me, after testing dozens of batches, I cracked the code for **red velvet cupcakes** that taste like they came straight from a high-end bakery. If you want flavor that really pops, make sure you check out my instructions for my chocolate brownie cookies recipe too! Once you try these, they’re going straight into your regular rotation!
- Why You Will Bake These Moist Red Velvet Cupcakes
- Essential Ingredients for Classic Red Velvet Cupcakes
- Step-by-Step Instructions for the Best Ever Red Velvet Cupcake Recipe
- Expert Tips for Bakery Style Red Velvet Cupcakes
- Ingredient Notes and Substitutions for Red Velvet Cupcakes
- Making Red Velvet Cupcakes for Special Occasions
- Storage and Reheating Instructions for Red Velvet Cupcakes
- Frequently Asked Questions About Red Velvet Cupcakes
- Nutritional Estimates for These Red Velvet Cupcakes
- Nutritional Estimates for These Red Velvet Cupcakes
Why You Will Bake These Moist Red Velvet Cupcakes
I know you’ve probably tried a red velvet recipe that ended up tasting just like plain, slightly red vanilla cake. Yawn! Not these babies. When I say these are the Moist Red Velvet Cupcakes you’ll ever make, I mean it. They are designed for maximum flavor and texture enjoyment!
- The Texture is Next Level: They are unbelievably soft and velvety. We use buttermilk and a careful mixing technique to ensure they stay fluffy, never dense or crumbly.
- Perfectly Tangy Frosting: The cream cheese frosting isn’t just sweet; it has that wonderful, sharp tang that cuts through the richness of the cake beautifully. It’s the marriage you didn’t know you needed!
- Easy From Scratch Baking: Seriously, they come together quicker than you think. I designed this to be fuss-free, so you don’t need to be a professional baker to nail that perfect vibrant red color.
- Makes Exactly 12: I structured the recipe so you get a perfect dozen every time! No awkward half-batches or leftover batter anxiety.
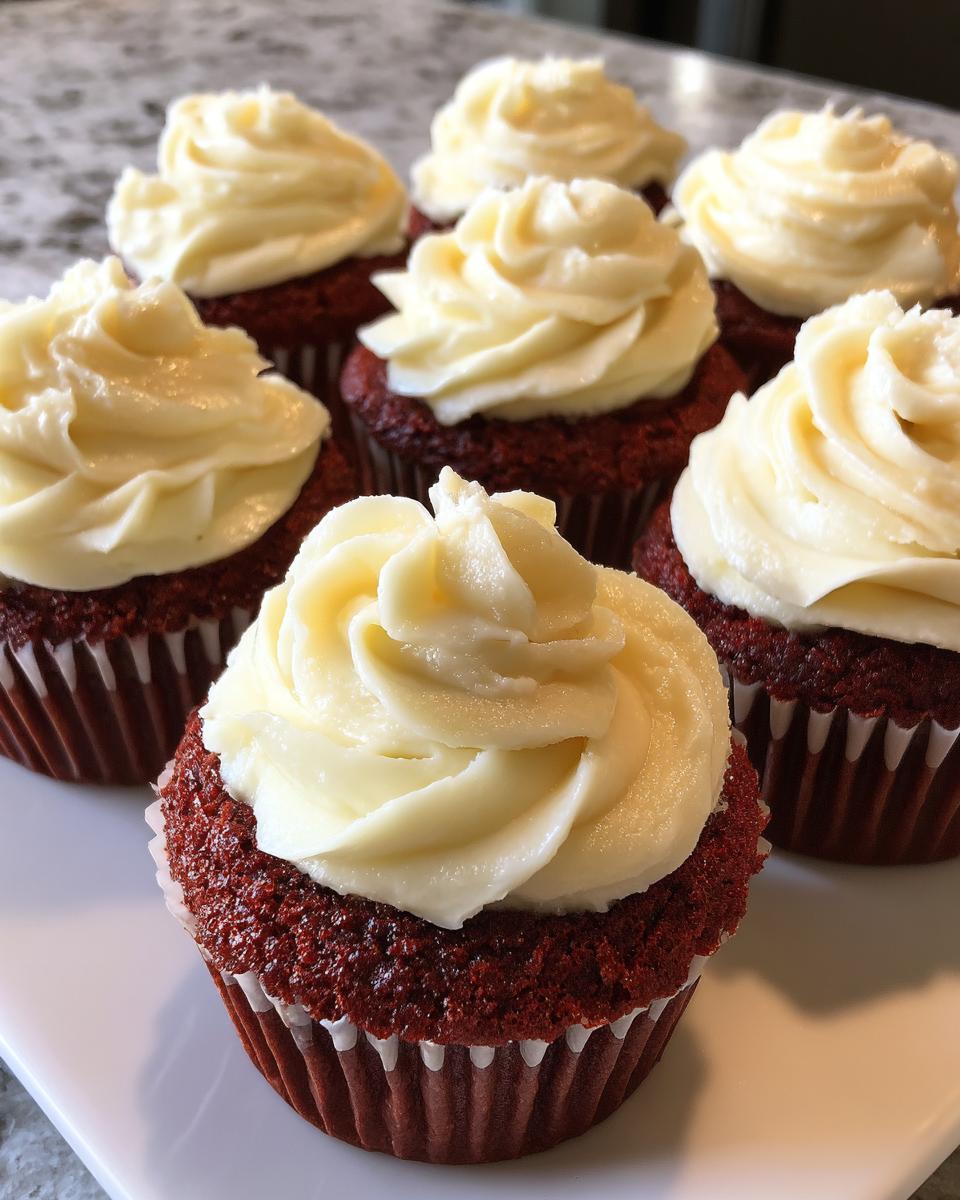
- They Wow The Crowd: Whether it’s for your famous holiday spread or just a Tuesday treat, these red cupcakes with white frosting look like they took all day but only took about an hour of work.
Essential Ingredients for Classic Red Velvet Cupcakes
Getting the right ingredients is half the battle won when aiming for that signature velvety crumb. We’re using tried-and-true components here—nothing fancy, just the right ratios. Every single item matters, especially when it comes to getting that rich cocoa flavor balanced against the tanginess of the buttermilk. You can find the full ingredient list below. If you want to check out my go-to recipe for creamy mashed potatoes, it pairs perfectly with anything!
For the Fluffy Red Velvet Cupcake Batter
These are the building blocks for tenderness. Pay close attention to letting your butter soften up first—it makes creaming so much easier!
- 1 1/2 cups all-purpose flour: Our base structure. Make sure it’s spooned and leveled into your measuring cup!
- 1 teaspoon baking soda: This reacts with the acidic ingredients to give us lift.
- 1 teaspoon unsweetened cocoa powder: Just a touch! We want a hint of chocolate, not a chocolate cupcake.
- 1/2 teaspoon salt: Essential for balancing all that sweetness. Don’t skip it!
- 1 cup granulated sugar: For sweetness and helping that butter get fluffy.
- 1/2 cup unsalted butter, softened: Softened means you can press a finger into it easily, but it isn’t melty or greasy.
- 2 large eggs: These help bind everything together beautifully. Make sure they are at room temperature.
- 1 teaspoon vanilla extract: Just a splash of good quality vanilla wakes up the flavor.
- 1 cup buttermilk: This is non-negotiable for true tenderness! It adds the necessary acid.
- 1 tablespoon red gel food coloring: I stress GEL coloring! Liquid colors just don’t give you that deep, rich red we are aiming for.
- 1 teaspoon white vinegar: This helps activate the baking soda fast for a quicker rise while baking.
For the Tangy Cream Cheese Frosting
This frosting is what puts these treats over the top. Remember, for the silkiest, smoothest result, your butter and cream cheese need to be at the perfect room temperature.
- 1 cup powdered sugar: Sifted is always better to keep things lump-free!
- 4 ounces cream cheese, softened: Make sure you drain off any excess liquid if it looks wet.
- 1/4 cup unsalted butter, softened: Same rule as above—softened, but not melted.
- 1 teaspoon vanilla extract: Vanilla heightens the richness of the dairy.
Step-by-Step Instructions for the Best Ever Red Velvet Cupcake Recipe
Now we get to the fun part! Making these **fluffy red velvet cupcakes** is straightforward, but the sequence of mixing is what locks in that soft, velvety texture. Remember what I always say: baking is chemistry, but it should still be fun! We aren’t looking for speed here, we are looking for perfection. And trust me, if you follow the steps for this Best Ever Red Velvet Cupcake Recipe, you’ll be amazed at the results.
Preparing the Cake Batter for Red Velvet Cupcakes
First things first, get that oven preheated to 350°F (175°C) and make sure your muffin tin is lined with paper cups—we want a clean exit for these beauties. Grab your dry ingredients (flour, baking soda, cocoa, salt) and whisk them together in a medium bowl. Set that aside!
Now, use your big bowl for the wet stuff and cream that softened butter and sugar together until it looks pale and gloriously fluffy. This step is critical for incorporating air, so don’t rush it! Beat in your room-temperature eggs one by one. Once the vanilla is in, it’s time to alternate. Add a third of your dry mix, mix just until *barely* incorporated, then add half of your colored buttermilk mixture. Repeat, ending with the dry ingredients again. Here’s your E-E-A-T tip: Do not overmix once the flour is in! A few tiny streaks are better than tough cupcakes. It’s better to finish by hand with a spatula than to kill the fluffiness in the mixer.
Baking and Cooling Your Homemade Cupcake Treats
Divide that gorgeous red batter evenly among your 12 liners, filling them about two-thirds full—this gives them room to dome beautifully. Pop them into that hot oven for about 18 to 20 minutes. You know they are done when a toothpick inserted right into the center comes out clean, maybe with a few moist crumbs clinging to it. Don’t you dare overbake them!
Let them hang out in that hot pan for just 5 minutes—any longer and they’ll stick! Then, transfer them gently onto a wire rack. They need to be completely cool before you even think about adding frosting. Trust me, warm cupcakes lead to melted, soupy frosting disasters, and we definitely don’t want runny frosting.
Creating the Luscious Tangy Cream Cheese Frosting
While they cool, whip up that rich frosting. Make sure your cream cheese and that other portion of butter are perfectly softened—this prevents lumps that drive me absolutely crazy! Beat those two together until they are completely smooth and look like pale, creamy clouds. Only then should you slowly introduce the powdered sugar and the vanilla extract. Beat it on medium-high until it’s light, fluffy, and ready to pipe. This tangy cream cheese frosting recipe is the perfect counterpoint to the rich cake. If you’re looking for a great side dish, try my recipe for creamy beef pasta!
Expert Tips for Bakery Style Red Velvet Cupcakes
You want that wow factor, right? Everyone wants the moistness, but achieving true Bakery Style Red Velvet Cupcakes requires a few little secrets I’ve picked up over the years. These aren’t just small additions; they are technique tweaks that really elevate the final product from “homemade” to “killer dessert.” You can see some great inspiration for presentation over at Whisk Away when you finish baking!
Here are the game-changers that ensure your cupcakes are famously tender and colorful, every single time:
- Embrace Gel Food Coloring: Seriously, toss out those little grocery store bottles of liquid dye. They barely change the color and they add too much water to your delicate batter. You need a good quality concentrated red *gel* food coloring. It disperses better, uses less product, and lets you achieve that deep, vibrant red velvet color without messing up the structure. A little goes a long way here!
- The Buttermilk-Vinegar Reaction: Don’t worry that we used both buttermilk *and* vinegar; they are working as a team. The vinegar ensures the baking soda gets a super-fast, powerful reaction, which gives us that signature lift. If you want to make sure your crumb is super light, use whole milk mixed with vinegar/lemon juice instead of store-bought buttermilk—just make sure it curdles for five minutes before you add it!
- Sift Your Cocoa Powder: Even though we only use a tiny bit of cocoa powder, it can clump up easily. Sifting it with your flour ensures it disappears completely into the batter. If you don’t sift it, you risk getting little dark specks that just look messy, not rich. Plus, while you’re in the mood for great sides, my cilantro lime rice is a surprisingly good pairing for sweet flavors if you’re having a bigger spread!
Ingredient Notes and Substitutions for Red Velvet Cupcakes
Okay, let’s talk swaps and secrets! I totally get it—sometimes you’re mid-recipe and realize you are missing that one specific thing. While I built this recipe around classic techniques for red velvet cupcakes, a few substitutions are totally fine if you know the science behind them. If you’re dipping into my recipe for my whipped ricotta dip later, remember that the same rule applies: quality matters!
The two ingredients you really shouldn’t mess with too much are the buttermilk and the cocoa powder. They define what makes this a *red velvet* and not just a red vanilla cake. But let’s address the big questions.
Why Buttermilk is Your Best Friend
If you don’t have buttermilk, don’t panic, but you need an acid to react with that baking soda! You can easily make your own substitute. Just take one cup of regular milk—whole milk is best here—and stir in one tablespoon of white vinegar or lemon juice. Let that mixture sit on the counter for about five to ten minutes. It will look slightly curdled, and that’s exactly what we want! That acidity is what tenderizes the gluten in the flour, giving us the super soft texture we are aiming for.
The Role of Cocoa Powder
You’ll notice we only use one teaspoon of cocoa powder. This is intentional! Traditional Southern Style Red Velvet cakes rely on a *hint*, not a heavy hand, of cocoa. The acid from the buttermilk and vinegar actually reacts with the natural compounds in the cocoa, which historically intensified the red hue. If you use too much, you just end up with a muddy brown cake that tastes overtly chocolatey, which defeats the whole purpose of red velvet.
Can I make these Gluten-Free?
Yes, you absolutely can adapt this! For the best results when going gluten-free, swap the all-purpose flour for a good quality 1-to-1 gluten-free baking blend that already includes xanthan gum. Because gluten-free flour can sometimes absorb a bit more moisture, I’d suggest increasing your buttermilk slightly—maybe add an extra tablespoon or two—just to keep that incredibly moist texture we worked so hard to achieve. Test your batter consistency before baking, and you should have a delightful batch of gluten-free red velvet delights!
Making Red Velvet Cupcakes for Special Occasions
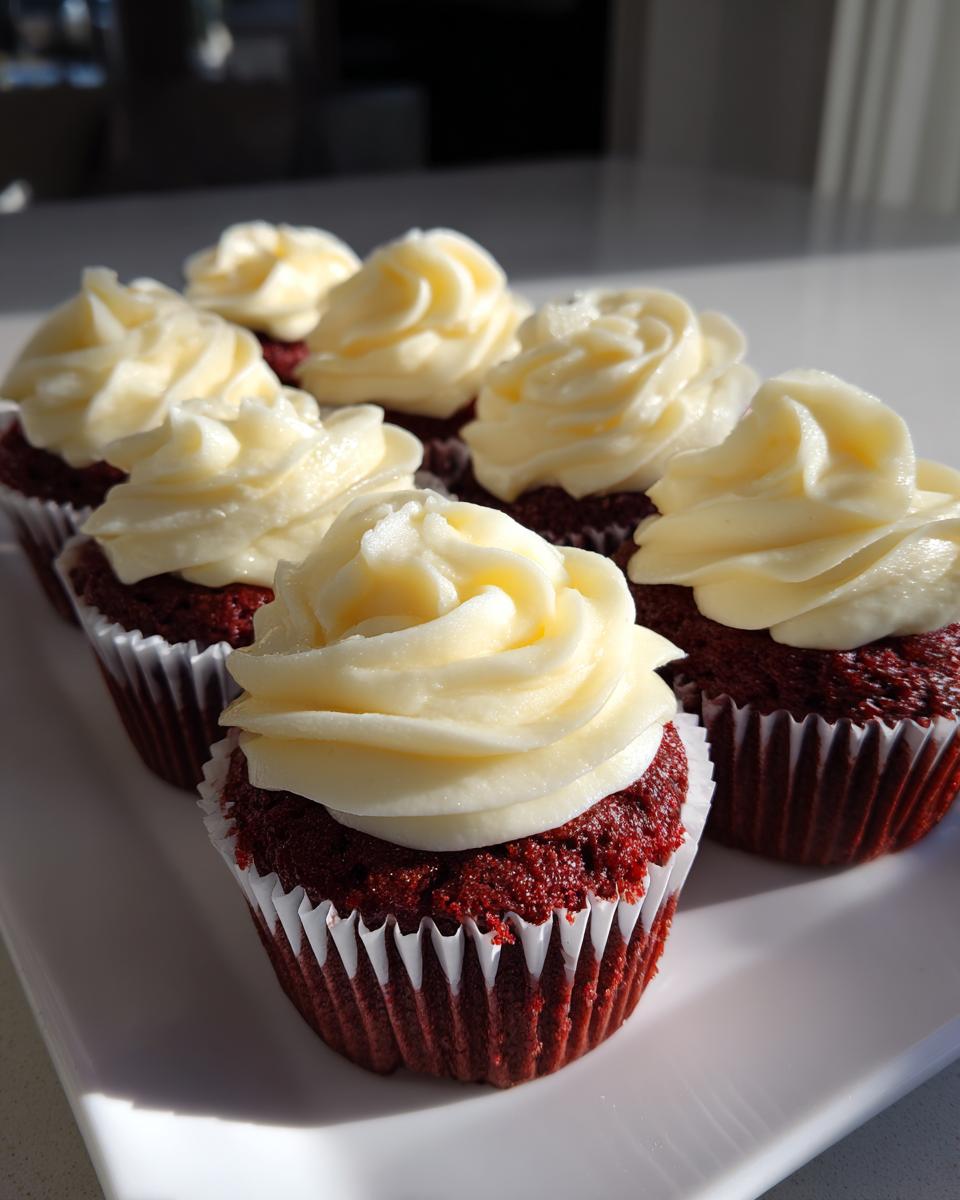
These bright, beautiful red velvet cupcakes aren’t just for random snacking—though they are definitely good enough for that! They truly shine when you present them as a premium dessert for special occasions. Imagine these little jewels at your next gathering; they instantly elevate the table. They are my absolute go-to choice when I’m looking for stunning Valentine Day dessert ideas because that classic red and white combination is just pure romance, isn’t it?
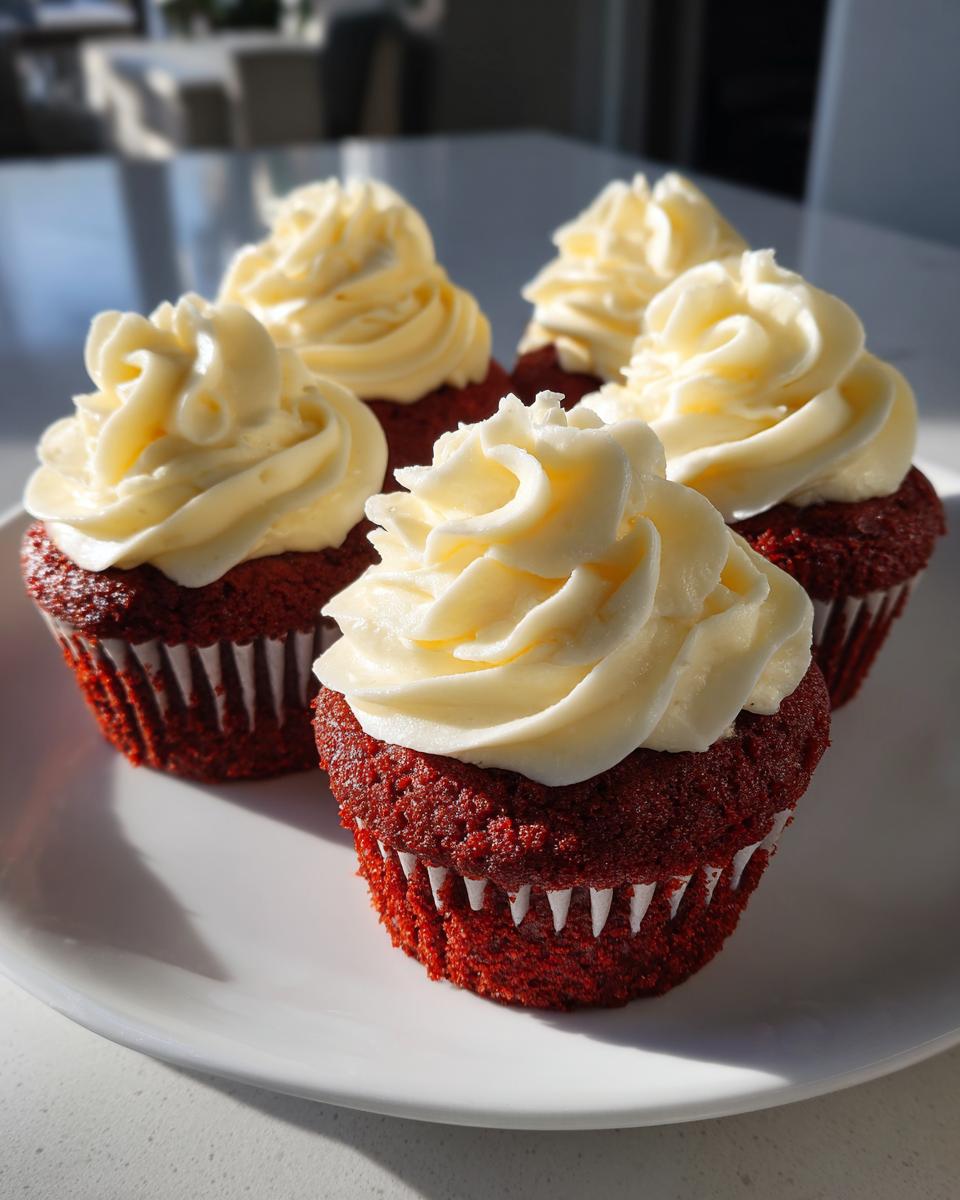
The structure of this cake is sturdy enough to handle beautiful piling of that luxurious frosting, but you don’t need to be a pastry chef to make them look amazing. Here are my favorite quick tricks to dress them up!
Simple Decorations That Make a Huge Impact
The beauty of these cupcakes is that the color already does most of the talking, so we don’t need to overcomplicate things. A few simple additions make all the difference:
- Cake Crumb Topping: Take two or three of your bare, completely cooled cupcakes and crumble them up finely. Then, just before serving, gently press the top of your frosted cupcakes lightly into the crumbs. This gives an incredible texture contrast and reinforces the “velvet” look.
- Sprinkle Magic: For the holidays, get fun! Use silver or gold sprinkles for New Year’s or Christmas. For Valentine’s Day, a scattering of matching red sugars or tiny heart sprinkles finishes the job perfectly. You can find great ideas for presentation on Yumm Kitchen for inspiration!
- The Single Cherry or Garnish: If you’re feeling fancy, stick a single maraschino cherry right in the middle of the frosting swirl, or use a tiny, delicate chocolate curl. It adds height and a professional touch without stressing you out.
These little touches ensure these aren’t just good homemade cupcake treats—they look like they were bought!
Planning Ahead for Large Batches
If you are tackling a massive family event or a big party, the one thing I always tell people is to break it down into stages. You can bake the actual cupcake bases a full day ahead, which really takes the pressure off! Store them completely cooled and unfrosted in an airtight container at room temperature.
Then, the next morning, you only have to concentrate on making that tangy cream cheese frosting. Since this frosting uses real butter and cream cheese, I really only recommend frosting them the night before or the morning of the event. Never frost them hours ahead if it’s going to sit out for a long time, unless your event is in a cooler environment. If you need a dessert that travels easily, check out my recipe for mini pecan pies—those hold up like champions!
Storage and Reheating Instructions for Red Velvet Cupcakes
Keeping these beauties fresh is almost as important as baking them perfectly! Because we use that spectacular, rich cream cheese frosting—which is basically pure dairy heaven—we have to treat these red velvet cupcakes a little differently than, say, a plain sugar cookie. You don’t want anything smelling off or, worse, melting all over the plate when company arrives!
Storing Frosted Cupcakes Safely
If you’ve already piped that gorgeous swirl of frosting on top, you simply must keep them cool. Pop them into an airtight container and place them right in the refrigerator. Don’t worry; the plastic container protects them from those rogue onion smells lingering in your fridge! I find that they last beautifully for three to four days this way. Because they are refrigerated, the cake itself might feel a *tiny* bit firmer than when it was first baked, but don’t panic!
If you happen to have leftover cupcakes that haven’t been frosted yet, those are way easier! Keep the unfrosted bases in a Ziploc bag or an airtight container on the counter. They are just fine at room temperature for up to two days. Honestly, I think those unfrosted ones taste the most like the “bakery” flavor they have fresh out of the oven.
Bringing Them Back to Velvety Perfection
This is the crucial step that separates the bakers who serve good cupcakes from the bakers who serve *great* cupcakes. You absolutely cannot serve refrigerated red velvet cupcakes straight from the fridge. That cold temperature stiffens the butter in the cake and the frosting, making everything feel dense and slightly dull flavor-wise. It’s a texture tragedy!
About one to two hours before you plan to serve them, take the container out of the fridge. Just let them sit on the counter, still covered by the airtight lid. This allows the cake part to warm up and soften back to that gorgeous, crumbly, moist texture we worked so hard for. The frosting will soften just enough to be silky smooth again. It’s like magic, but it’s just good science!
And hey, if you need a quick win for breakfast the next day, try my recipe for easy cinnamon butter to spread on toast while you enjoy your leftover cupcake! That spicy warmth is a great morning kickstart!
Frequently Asked Questions About Red Velvet Cupcakes
I know you might have a few lingering thoughts—maybe about that color or perhaps you’re wondering if you can skip an ingredient! It happens! I’ve collected the questions I get asked most often when friends try this recipe for the first time. We want those perfect Moist Red Velvet Cupcakes, and sometimes that means troubleshooting a little bit first!
Why did my red velvet cupcakes turn out brown or dull pink?
Oh, this is the saddest sight, isn’t it? Dull pink means your acidity wasn’t high enough, or you didn’t use enough coloring. Remember, true red velvet gets its vibrancy from a chemical interaction with the acidity (buttermilk/vinegar) acting on the cocoa powder. If your cocoa powder is old or heavily processed (Dutch-processed like the kind used for dark chocolate), it won’t react as vigorously. Also, I *strongly* suggest using a concentrated red *gel* food coloring rather than the liquid kind. The liquid stuff dilutes the batter too much, leading to a weak color. If you want that gorgeous color like the ones over on Julie Marie Eats, you need the gel!
Can I really skip the buttermilk in this Easy Red Velvet Cupcakes From Scratch recipe?
You can substitute it, but I really wouldn’t recommend *skipping* the acid component entirely. Buttermilk is crucial because it tenderizes the gluten strands in the flour, giving us that signature Fluffy Red Velvet Cupcakes Recipe texture. If you don’t have buttermilk, please make the substitute by adding a teaspoon of white vinegar or lemon juice to a cup of regular milk and letting it sit for five minutes until it curdles slightly. That acidity is essential for achieving the perfect Classic Red Velvet Cupcakes With Cream Cheese Frosting.
How do I make sure my cream cheese frosting stays tangy and doesn’t get too sweet?
That’s the difference between a good frosting and a great one! The key to keeping that frosting perfectly balanced is using full-fat cream cheese and ensuring you use just the right amount of vanilla. If you find your frosting is still tasting too sweet, try adding a tiny, tiny squeeze of fresh lemon juice—just a few drops! It brings back that beautiful, sharp tang that cuts through the sugar. It really makes the difference when you’re making an Indulgent Dessert Recipe!
Is there a way to make these dairy-free or vegan?
If you’re looking to make these vegan, it takes a few swapping steps, but the result can still be delicious! For the cake, substitute the buttermilk with soy or almond milk mixed with vinegar, and use a dairy-free butter stick for the fat. For the frosting, you’ll need a good vegan cream cheese substitute—these have come a long way! If you’re interested in other great dairy-free options, you should definitely check out my pumpkin curry recipe; it’s surprisingly rich!
Nutritional Estimates for These Red Velvet Cupcakes
Every great baker likes to know what’s in their beautiful creations, although I’m not exactly weighing every sprinkle that goes on top! Please remember that this information is just an estimate based on the standard ingredients list. If you use extra-big dollops of frosting or different sugar substitutes, these numbers will change, of course. But here’s a general idea for one of these perfectly portioned red velvet cupcakes.
- Serving Size: 1 cupcake
- Calories: 350
- Sugar: 35g
- Sodium: 250mg
- Fat: 18g
- Saturated Fat: 10g
- Unsaturated Fat: 8g
- Trans Fat: 0.5g
- Carbohydrates: 45g
- Fiber: 1g
- Protein: 4g
- Cholesterol: 60mg
When you’re prepping for a big bake, planning ahead for sides is smart! You can look at my recipe for my creamy roasted butternut squash soup if you need a nice appetizer!
PrintThe Ultimate Moist Red Velvet Cupcakes with Tangy Cream Cheese Frosting
Bake rich, soft, and moist red velvet cupcakes from scratch. This easy recipe delivers the classic vibrant color and tender texture, topped with a luscious, tangy cream cheese frosting perfect for any special occasion.
- Prep Time: 20 min
- Cook Time: 20 min
- Total Time: 40 min
- Yield: 12 servings 1x
- Category: Dessert
- Method: Baking
- Cuisine: American
- Diet: Vegetarian
Ingredients
- 1 1/2 cups all-purpose flour
- 1 teaspoon baking soda
- 1 teaspoon unsweetened cocoa powder
- 1/2 teaspoon salt
- 1 cup granulated sugar
- 1/2 cup unsalted butter, softened
- 2 large eggs
- 1 teaspoon vanilla extract
- 1 cup buttermilk
- 1 tablespoon red gel food coloring
- 1 teaspoon white vinegar
- 1 cup powdered sugar (for frosting)
- 4 ounces cream cheese, softened (for frosting)
- 1/4 cup unsalted butter, softened (for frosting)
- 1 teaspoon vanilla extract (for frosting)
Instructions
- Preheat your oven to 350°F (175°C). Line a 12-cup muffin tin with paper liners.
- In a medium bowl, whisk together the flour, baking soda, cocoa powder, and salt. Set this dry mixture aside.
- In a large bowl, cream together the softened butter and granulated sugar until light and fluffy.
- Beat in the eggs one at a time, mixing well after each addition. Stir in the vanilla extract.
- In a small bowl, mix the buttermilk, red gel food coloring, and white vinegar until combined.
- Alternate adding the dry ingredient mixture and the buttermilk mixture to the butter mixture, beginning and ending with the dry ingredients. Mix only until just combined; do not overmix.
- Divide the batter evenly among the 12 cupcake liners, filling each about two-thirds full.
- Bake for 18 to 20 minutes, or until a toothpick inserted into the center comes out clean. Let the cupcakes cool in the pan for 5 minutes before transferring them to a wire rack to cool completely.
- To make the frosting, beat the softened cream cheese and butter together until smooth. Gradually add the powdered sugar and vanilla extract. Beat until the frosting is creamy and holds soft peaks.
- Once the cupcakes are completely cool, pipe or spread the tangy cream cheese frosting onto each cupcake.
Notes
- Use high-quality red gel food coloring for the most vibrant color without affecting the texture.
- Buttermilk is key for the tender crumb; if you do not have buttermilk, add 1 tablespoon of white vinegar or lemon juice to 1 cup of regular milk and let it sit for 5 minutes.
- For bakery-style cupcakes, use room temperature ingredients for the cake batter.
Nutrition
- Serving Size: 1 cupcake
- Calories: 350
- Sugar: 35g
- Sodium: 250mg
- Fat: 18g
- Saturated Fat: 10g
- Unsaturated Fat: 8g
- Trans Fat: 0.5g
- Carbohydrates: 45g
- Fiber: 1g
- Protein: 4g
- Cholesterol: 60mg