
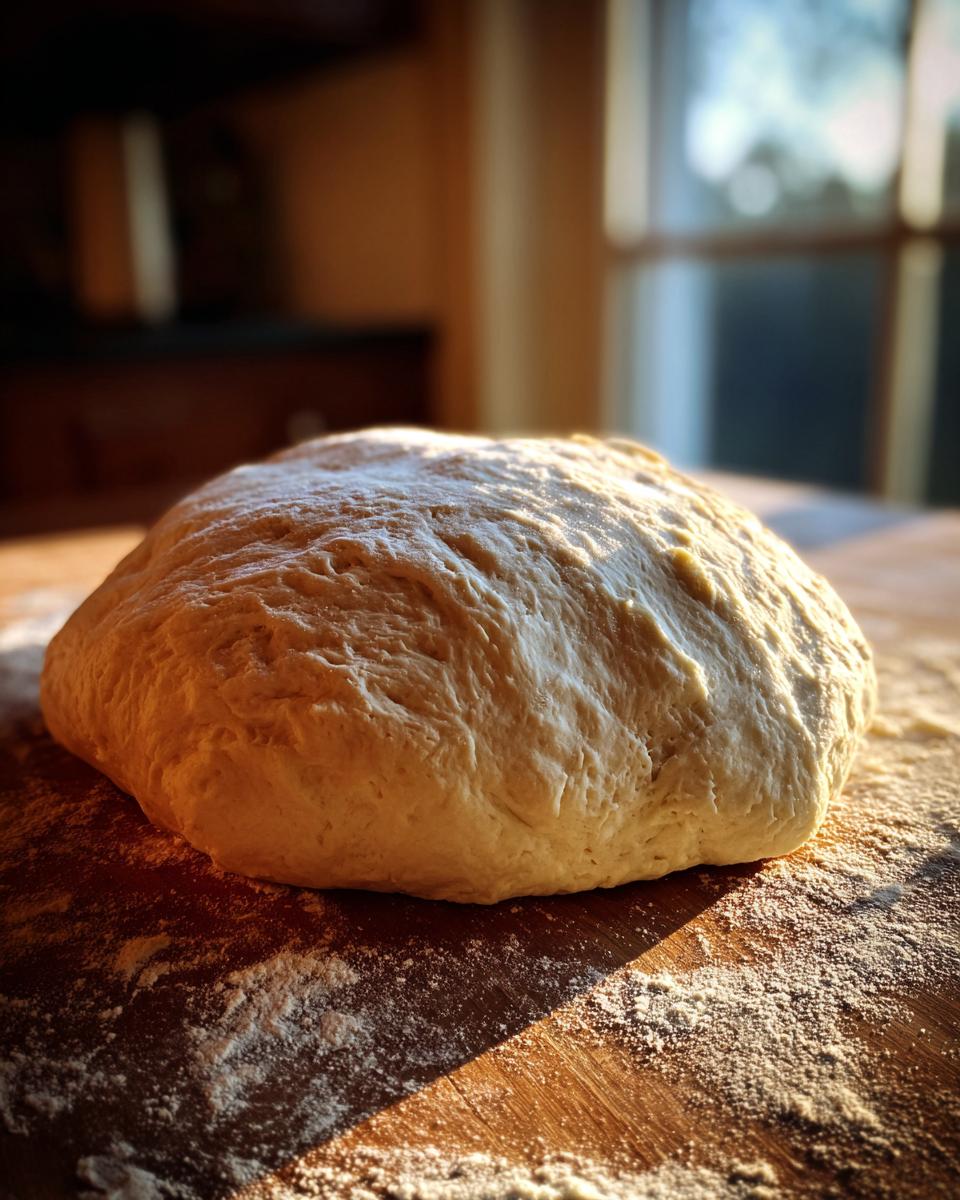
There is just something magical that happens when you slide a homemade pizza into a ripping-hot oven, isn’t there? Forget the sad, floppy takeout boxes—tonight, we’re channeling our inner Italian nonna right here in our own kitchens! If you’ve been looking for a recipe that removes all the guesswork, you’ve found it. This is, hands down, the best pizza dough recipe you’ll ever need from scratch. Trust me, I’m Aria, and after years of tweaking, I perfected this blend to give you that authentic, gloriously chewy crust with minimal fuss. We aren’t messing around with complicated techniques here; this is a no-fail foundation that builds confidence immediately. Get ready to create your own **Best Homemade Pizza Crust**!
- Why This is the Best Pizza Dough Recipe for Home Cooks
- Gathering Ingredients for Your Homemade Pizza Dough Recipe
- Step-by-Step Instructions for Your Pizza Dough Recipe
- Expert Tips for the Perfect Pizza Dough Recipe Every Time
- Troubleshooting Common Issues with Yeast Pizza Dough Recipe
- Serving Suggestions for Your Pizza Night Ideas
- Storage and Reheating Instructions for Leftover Pizza Dough Recipe
- Frequently Asked Questions About Making Pizza Dough at Home
- Nutritional Estimates for This Pizza Dough Recipe
Why This is the Best Pizza Dough Recipe for Home Cooks
It’s one thing to follow instructions, but it’s another to understand *why* those instructions work! That’s what makes this particular **pizza dough recipe** special. I developed this blend specifically for weeknight warriors and anyone who thinks artisan crusts are reserved for professionals. We hit all the major points: it’s quick to mix, requires basic ingredients you probably already have, and most importantly, it delivers that incredible chew we all chase.
Forget dense, bready pizza! We are aiming for something that sings when you bite into it. If you’re looking for a truly fantastic, reliable base for all your cheesy creations, this is the one. Don’t forget, if you ever need an appetizer while the dough rises, I highly recommend whipping up my easy pizza dip!
Achieving That Perfect Chewy Pizza Crust
The chewiness doesn’t come from magic—it comes from gluten development! That’s why we knead the dough for a solid five to seven minutes. We’re building structure. Secondly, that resting period where the yeast does its slow work? That fermentation time is crucial. It makes the dough supple, easy to stretch thin, and gives it that fantastic, satisfying resistance when you finally take a bite.
The Secret to Easy Pizza Dough Success
My biggest tip for making this an **Easy Pizza Dough** winner is paying attention to the water temperature. Seriously, don’t skip this! If the water is too cold, your yeast sleeps; if it’s too hot, you kill it. We need that sweet spot between 105°F and 115°F so you know your yeast is happy and ready to bubble up nicely. This small step is the reason this recipe is truly no-fail for beginners.
Gathering Ingredients for Your Homemade Pizza Dough Recipe
Okay, now that you’re excited about the potential of this fantastic **pizza dough recipe**, it’s time to gather our forces! The beauty of this dough, much like my famous naan bread recipe, is that it relies on pantry staples. You don’t need any fancy, obscure products to achieve that authentic Italian flavor we’re after. When you grab these simple items, you’re setting yourself up for success before the mixer even turns on.
I always lay everything out first—it’s called *mise en place*—and it saves me from that frantic mid-mix search for the salt! Remember that moisture is your friend right now, but too much liquid leads to sticky disaster, so measure that water carefully.
Essential Components for Authentic Italian Pizza Dough
- 1 1/2 cups warm water (105°F to 115°F – this temperature is non-negotiable for happy yeast!)
- 2 1/4 teaspoons active dry yeast
- 1 teaspoon granulated sugar (just a little snack for the yeast)
- 3 3/4 cups all-purpose flour, plus more for dusting when you turn it out
- 2 tablespoons olive oil (use a good quality one, it adds flavor!)
- 2 teaspoons salt
Step-by-Step Instructions for Your Pizza Dough Recipe
This is the moment of truth, where everything comes together! I know instructions can look long, but honestly, the physical mixing part is quick. We just need to be attentive to the yeast because it sets the tone for the entire batch. If you are making my Air Fryer Pizza Bagels later, this dough makes a fantastic base for those too, but for tonight, let’s focus on the classic pie. Follow these steps closely, and you absolutely cannot fail!
Activating the Yeast and Mixing the Dough
First, combine your warm water, yeast, and sugar in a large bowl. Don’t rush this! Let it sit for five to ten minutes. You want to see actual foam—bubbles—on top. If it doesn’t foam, your yeast is dead, and we need to start over (sorry, but that’s the key to life!). Once it’s bubbly, stir in the olive oil and salt. Now, start adding that flour gradually, about a cup at a time, mixing until you have a messy, shaggy dough mass.
Kneading and the First Rise for Your Pizza Dough Recipe
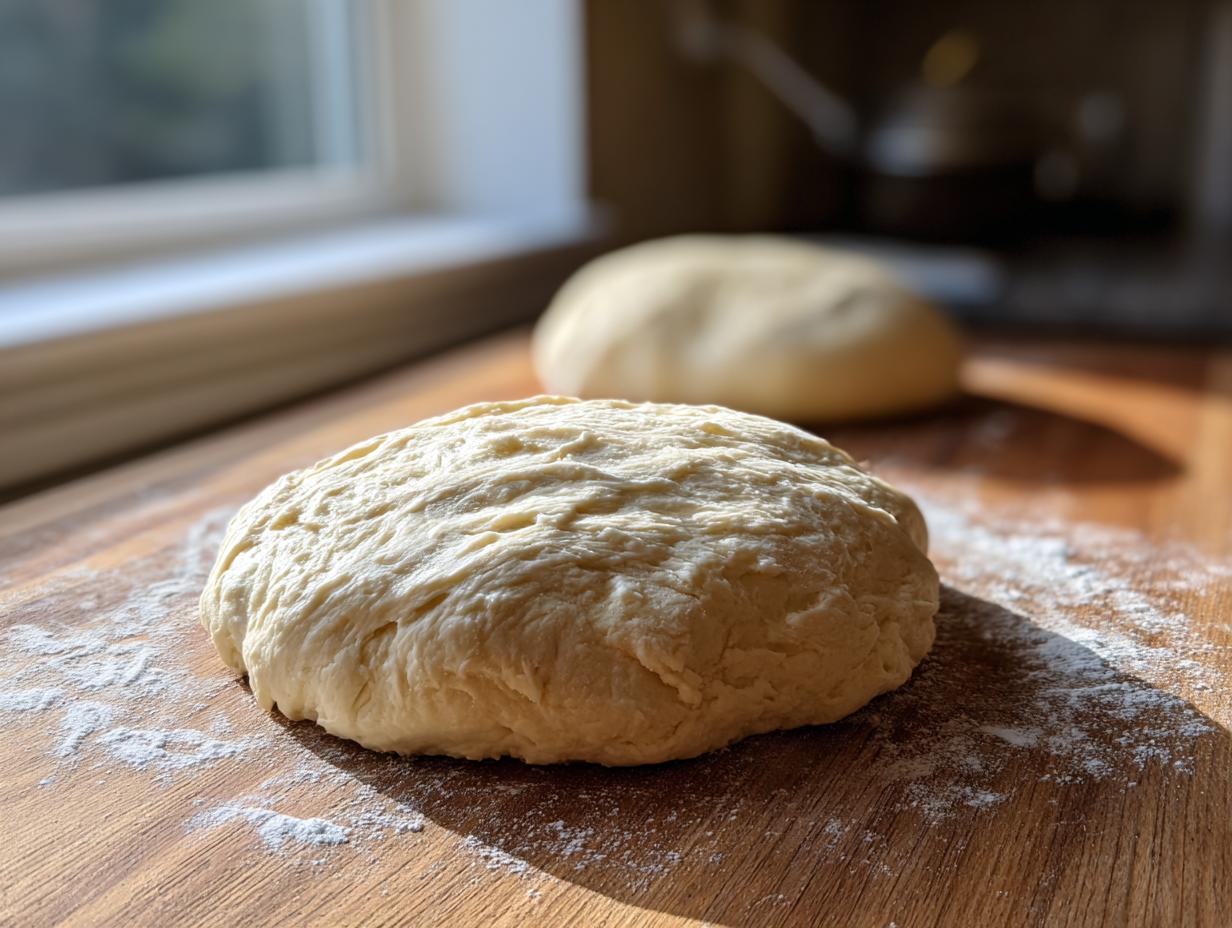
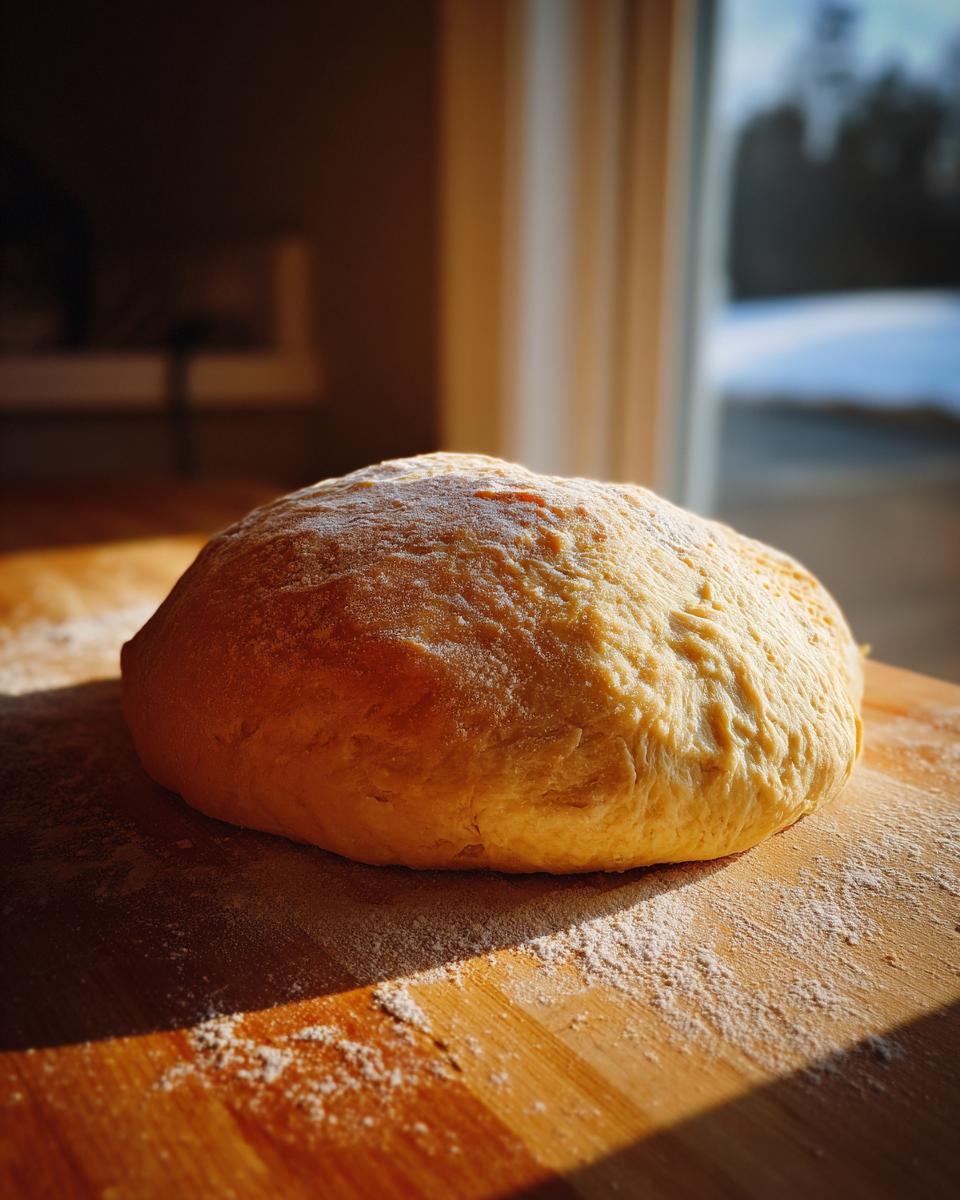
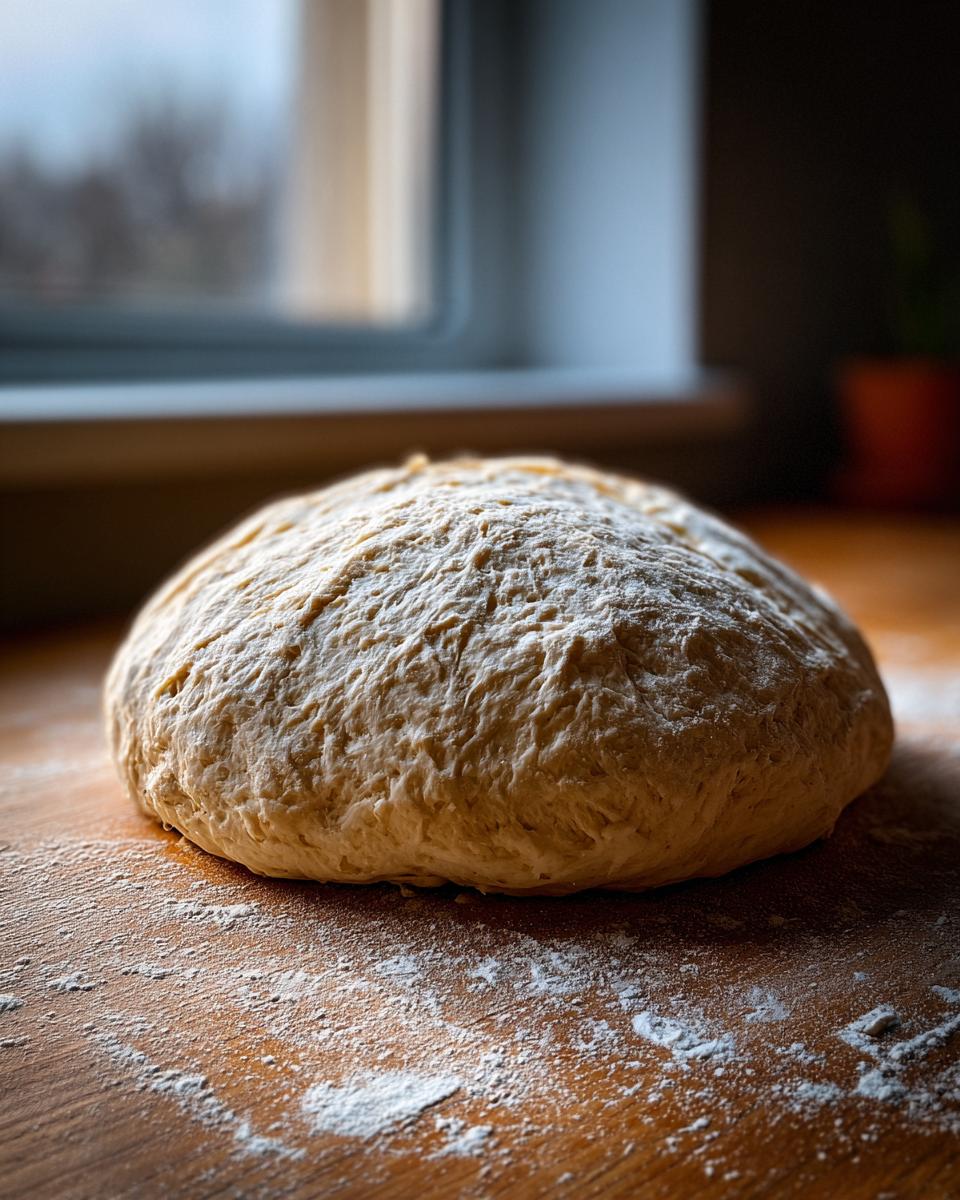
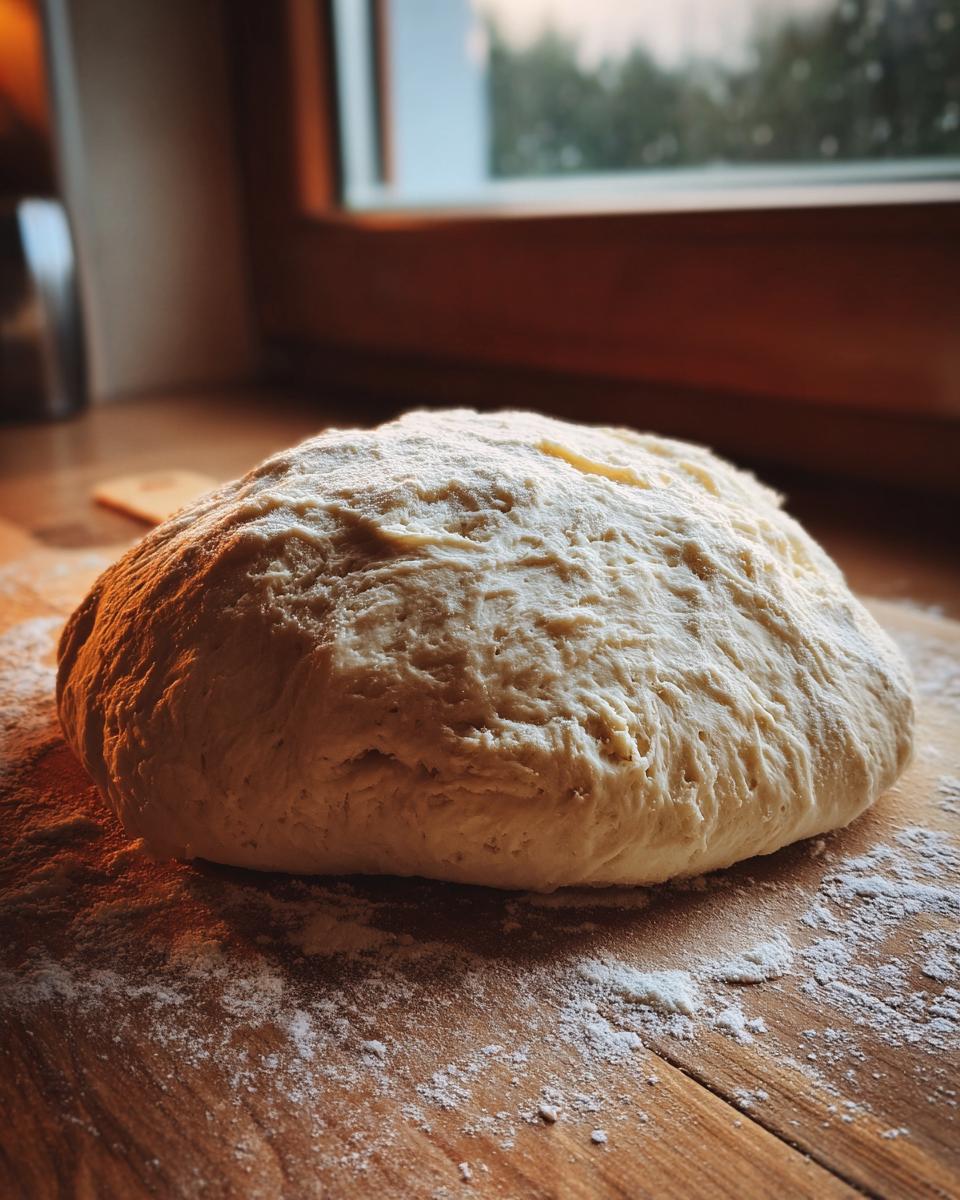
Time to get your hands in there! Turn that shaggy mess onto a lightly floured surface. You need to knead this vigorously for about five to seven minutes. Keep working it until it transforms into something smooth and elastic. It shouldn’t stick aggressively to your hands anymore! After that hard work, oil up a clean bowl, tuck your dough ball inside, turn it over so it gets a light coat, and cover it up. Find a cozy, warm spot—like near a sunny window or on top of the fridge—and let it double in size. That usually takes 1 to 1.5 hours. Patience here is flavor!
Dividing and Preparing the Simple Pizza Base Recipe
Once it’s massive, gently punch it down to deflate all that beautiful trapped gas. Now, take that dough, divide it right in half (that makes two great medium pizzas, perfect for sharing!), and get ready to shape your bases. Dust your surface or your pizza peel lightly, and gently stretch or roll the dough to your desired thickness. Once it’s shaped, you’re ready for toppings! Seriously, homemade pizza is just easier than you think.
Expert Tips for the Perfect Pizza Dough Recipe Every Time
I’m so glad you’re here, because this is where we elevate this from ‘good’ dough to your absolute favorite **Best Homemade Pizza Crust**. While the main recipe works like a charm, a few little tweaks I’ve discovered through trial and (mostly delicious) error can really make it sing. Remember, as home cooks, our goal is to make simple things taste extraordinary without adding extra stress to our kitchen! If you are really looking to go off-script once you master this technique, you can even try my chicken crust pizza recipe for something completely different!
When I tried to adapt this recipe for those super thin, crackly pizzas I love, I found one ingredient change made a huge difference. It’s all about understanding what each component does!
Flour Choices for Your Chewy Pizza Crust
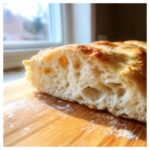
If you want that next-level, serious chew—the kind that makes you feel like you’re eating artisan pizza—swap out the all-purpose flour for bread flour. Bread flour has a higher protein content, which means more gluten forms when you knead it. More gluten equals a stronger structure, resulting in that beautiful, slightly tougher, satisfyingly chewy pizza crust. For me, it’s absolutely worth keeping a bag handy just for pizza night!
Make Ahead and Freezer Tips for Your Pizza Dough Recipe
The absolute BEST flavor comes when this dough gets to hang out in the fridge for a bit. If you’re planning ahead, after kneading, coat the dough ball in oil, seal it up tight, and tuck it into the refrigerator for up to three whole days. It develops such a deeper, almost nutty flavor profile—it’s incredible! Just remember, if it’s been chilling, you have to let it sit on the counter for at least 30 minutes (or even an hour if it’s been cold!) to warm up before trying to shape it. Cold dough is just grumpy dough; don’t fight it!
Troubleshooting Common Issues with Yeast Pizza Dough Recipe
Look, even in my kitchen, things don’t always go perfectly the first time. If you follow this **Yeast Pizza Dough Recipe** closely, you should be fine, but if you run into a hiccup, don’t panic! It’s usually a simple fix hiding in plain sight. The most common snafu I hear about is when the dough just refuses to rise. Nine times out of ten, that means your water was too hot or too cold, and your yeast just took a nap. Try warming your water up just a smidge more—aim for that perfect bathwater temperature—and give it a few more minutes to wake up.
The other big issue is stickiness. If you find the dough seems far too wet and gloopy even after a few minutes of kneading, don’t just dump in half a cup of flour! That throws off the balance. Instead, add extra flour just one tablespoon at a time while you knead until it starts feeling pliable and smooth. Remember, this dough should be manageable, not a sticky mess clinging to your countertop!
Serving Suggestions for Your Pizza Night Ideas
Okay, the crust is baked, the cheese is bubbling… what now? Pizza night deserves an entourage! While this dough recipe carries the whole show, having a couple of simple sides elevates the whole experience from a meal to a full-blown event. I find that something bright and fresh is the perfect counterpoint to rich, savory pizza.
For a light start, a simple mixed greens salad with my favorite tangy vinaigrette is non-negotiable in my house. If you want something fun for dipping the crust edges, you absolutely must try my 5-minute creamy garlic aioli. Even if you have leftovers, dipping the cold crust into creamy garlic sauce the next day is peak comfort food!
Storage and Reheating Instructions for Leftover Pizza Dough Recipe
So, you made a batch for two pizzas and only used one? Fantastic! That means you planned ahead, my friend. Storing any leftover pizza dough is simple, but we need to treat that yeast right so it stays happy for next time you want to whip up this **pizza dough recipe**.
If you aren’t planning on using the second half within the next few hours—maybe you’re saving it for tomorrow’s lunch—you need to put it to sleep properly. Take your remaining dough ball and toss it back into that lightly oiled bowl you used for the first rise. Make sure it’s coated thinly with oil again so it doesn’t develop a dry skin, and then wrap that bowl up tight with plastic wrap. Don’t let any air touch it!
The fridge is its perfect little sanctuary for up to three days. Now, here’s the crucial part: when you finally decide to bake your second pizza, you can’t just stretch it straight out of the fridge. Cold dough is stiff and will fight you every step of the way. Take it out, unwrap it, and let it sit on the counter, still covered, for a good 30 to 60 minutes before you even think about touching it. That little rest lets the yeast wake up gently and relaxes the gluten so you can shape your **Homemade Pizza Dough Recipe** beautifully.
Frequently Asked Questions About Making Pizza Dough at Home
I get so many messages about this topic, which just proves how much we all love making pizza at home! It makes sense to cover the little doubts that pop up when you’re trying out a new dough recipe. I’ve pulled together the most frequent questions I get about achieving that perfect chew and rise. If you’re still hungry for more ideas after pizza night, you can always check out my easy breakfast recipes!
Can I use active dry yeast in this Quick Pizza Dough Recipe?
Yes, you absolutely can! That’s what we use in this recipe, so you’re already set for a **Quick Pizza Dough Recipe**. The main thing you need to watch out for is that water temperature. Make sure it lands right between 105°F and 115°F. If it is too cold or too hot, that yeast won’t activate properly, and we won’t get that lovely foam we need to start the process!
How long does the dough need to rise to get a Soft Pizza Dough texture?
For the best flavor and that perfectly **Soft Pizza Dough** texture, you need to let it rise until it doubles in size. In a reasonably warm spot, this usually takes about 1 to 1.5 hours. You will know it’s ready when the entire dough mass looks puffy, rounded, and you can barely see the bowl underneath it. It should feel light and full of air!
Can I skip kneading the dough?
Oh, I really wish you could, but no, you shouldn’t skip kneading for this recipe. Kneading is what aligns those gluten strands together, giving your **Homemade Pizza Dough Recipe** the structure it needs to hold air and create that perfectly chewy crust we want. If you skip it, you’ll end up with a dense, flat, cracker-like situation, and nobody wants that on Pizza Night!
Nutritional Estimates for This Pizza Dough Recipe
When we’re making something this delicious, sometimes we skip thinking about the numbers, but since you asked, I’ve put together the estimates for this recipe. It’s important to remember that this is just one batch of dough, and the final nutritional profile will change once you add cheese, sauce, and toppings!
For a good baseline reference, I broke down the nutrition assuming you divide the total dough batch into 6 equal portions. This gives you a good idea of the base ingredients before we pile on the pepperoni!
- Serving Size: 1/6 of dough
- Calories: 285
- Sugar: 1.5 grams
- Sodium: 450 milligrams
- Fat: 3.5 grams
- Saturated Fat: 0.5 grams
- Carbohydrates: 57 grams
- Protein: 9 grams
***A little disclaimer from my kitchen to yours:*** These values are based on the standard ingredients listed above and are only estimates. If you substitute bread flour for all-purpose, or if you use a different measure of salt, those numbers might shift a tiny bit. But honestly, who’s worrying about perfection when pizza is involved? Just enjoy the fantastic job you did making your own **simple pizza base recipe**!
PrintThe Best Easy Homemade Pizza Dough Recipe for a Chewy Crust
Make authentic Italian-style pizza dough from scratch tonight. This no-fail recipe uses simple ingredients to create a soft, chewy crust that tastes better than delivery, perfect for busy weeknights.
- Prep Time: 15 min
- Cook Time: 15 min
- Total Time: 2 hours 30 min
- Yield: 2 medium pizzas 1x
- Category: Main Dish
- Method: No-Bake Dough
- Cuisine: Italian
- Diet: Vegetarian
Ingredients
- 1 1/2 cups warm water (105°F to 115°F)
- 2 1/4 teaspoons active dry yeast
- 1 teaspoon granulated sugar
- 3 3/4 cups all-purpose flour, plus more for dusting
- 2 tablespoons olive oil
- 2 teaspoons salt
Instructions
- In a large bowl, combine the warm water, yeast, and sugar. Let this mixture sit for 5 to 10 minutes until it becomes foamy. This proves your yeast is active.
- Add the olive oil and salt to the yeast mixture. Gradually mix in the flour, one cup at a time, until a shaggy dough forms.
- Turn the dough out onto a lightly floured surface. Knead the dough for 5 to 7 minutes until it becomes smooth and elastic. If the dough is too sticky, add a small amount of extra flour, one tablespoon at a time.
- Lightly oil a clean large bowl. Place the dough ball in the bowl and turn it over to coat lightly with oil.
- Cover the bowl tightly with plastic wrap or a clean kitchen towel. Let the dough rise in a warm place for 1 to 1.5 hours, or until it has doubled in size. This rise time is key for flavor.
- Gently punch down the risen dough to release the air. Divide the dough into two equal pieces for two medium pizzas, or use as one batch for a large pizza.
- Shape the dough into your desired pizza base on a lightly floured surface or pizza peel. Top with your favorite ingredients and bake according to your pizza recipe instructions.
Notes
- For a chewier crust, use bread flour instead of all-purpose flour.
- If you are making this ahead of time, you can place the oiled, covered dough in the refrigerator for up to 3 days. Allow it to come to room temperature for at least 30 minutes before shaping.
- To achieve an artisan look with blistered bubbles, let the dough rest for a second, shorter rise (about 20 minutes) after shaping before adding toppings.
Nutrition
- Serving Size: 1/6 of dough
- Calories: 285
- Sugar: 1.5
- Sodium: 450
- Fat: 3.5
- Saturated Fat: 0.5
- Unsaturated Fat: 3.0
- Trans Fat: 0.0
- Carbohydrates: 57
- Fiber: 2.5
- Protein: 9
- Cholesterol: 0