
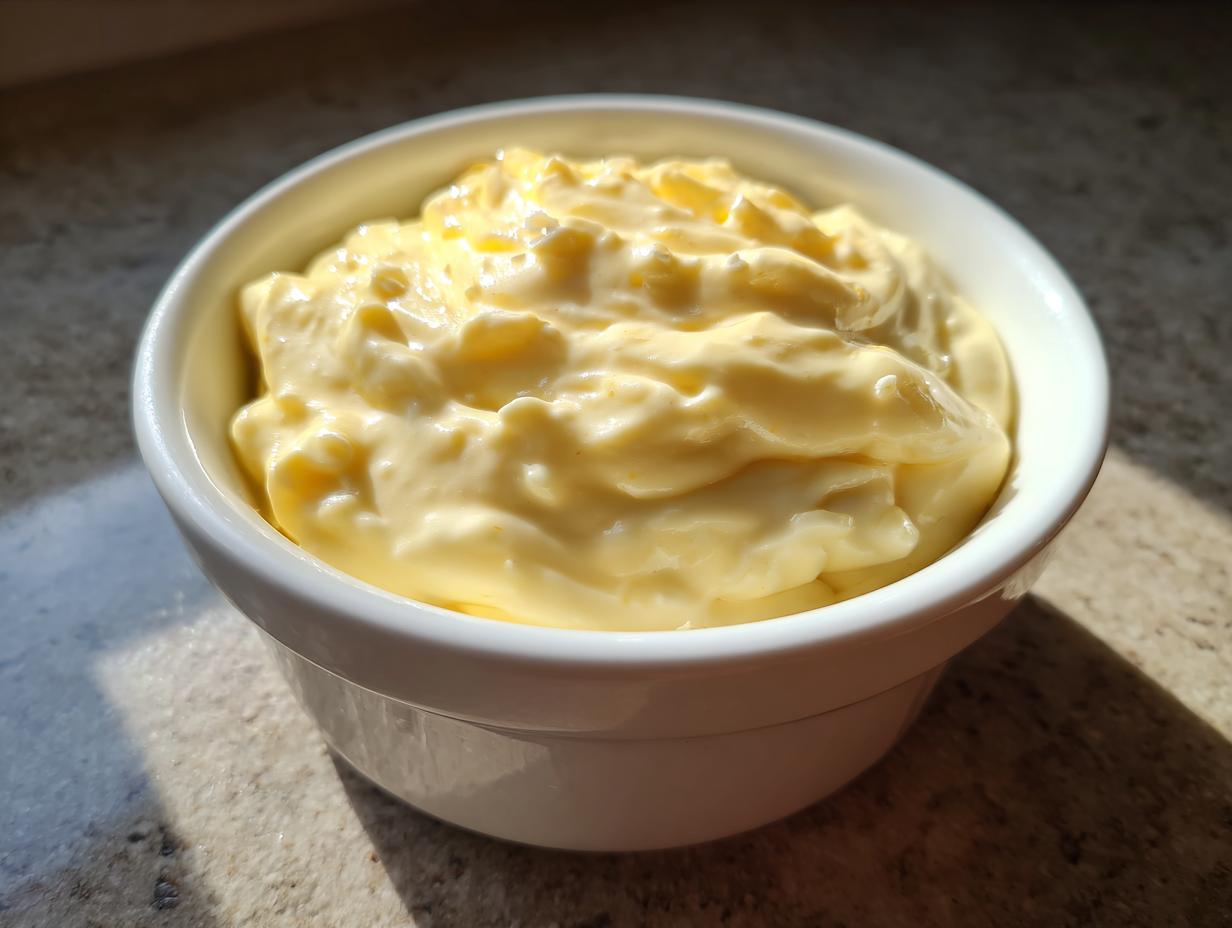
You know, the difference between a good weeknight dinner and a meal you rave about for days often comes down to one secret weapon: the sauce. I spent years feeling like truly great condiments were only available behind the counter at fancy restaurants. But my goal here at Cooking Zenith is to prove that belief totally wrong! That’s why I simply had to nail down the ultimate 5-minute **garlic aioli**. If you enjoyed making our whipped feta dip, you are going to flip for this one. Trust me, this creamy, intensely flavorful creation tastes like you spent an hour laboring over it, but it comes together before you can even set the table. It achieves that incredible restaurant style aioli flavor instantly, and it’s just that easy to transform things like boring fries or simple chicken into something spectacular.

- Why This 5-Minute Garlic Aioli is Your New Favorite Condiment
- Ingredients for the Ultimate Creamy Aioli Recipe
- How to Make Garlic Aioli From Scratch (The Classic Method)
- The Quick Route: Making Garlic Mayo Spread (Cheater Version)
- Tips for Perfect Homemade Garlic Aioli Consistency
- Serving Suggestions for Your Garlic Aioli
- Storage and Keeping Your Garlic Aioli Fresh
- Frequently Asked Questions About Garlic Aioli
- Estimated Nutritional Data for This Easy Garlic Sauce
- Estimated Nutritional Data for This Easy Garlic Sauce
Why This 5-Minute Garlic Aioli is Your New Favorite Condiment
I know what you’re thinking: “Five minutes? Impossible!” But with this **garlic aioli** recipe, I promise you’re getting gourmet results without the gourmet time commitment. This isn’t just another sauce; it’s a flavor game-changer for your entire rotation. I developed this approach because I truly believe you deserve amazing food, even on a chaotic Wednesday night.
- It’s genuinely a Quick Dipping Sauce; we’re talking about a 5-minute sauce that beats anything jarred at the store, hands down.
- It replaces at least three other condiments on your fridge door because it fits everywhere! These are truly Versatile Condiment Recipes for the modern kitchen.
- You get that deep, pungent garlic flavor without any harshness, which is the mark of a truly great sauce.
Speed and Simplicity: The Five Minute Sauce Advantage
If you’ve got maybe 7 minutes total before you need to serve dinner, this is your hero. Seriously, no cooking required! We are taking the philosophy of Cooking Zenith—that extraordinary flavor doesn’t need extravagant effort—and boiling it down into one jar. You don’t need to wait for slow roasting or long marinating times. We get the vibrant punch now, and you get to enjoy it now!
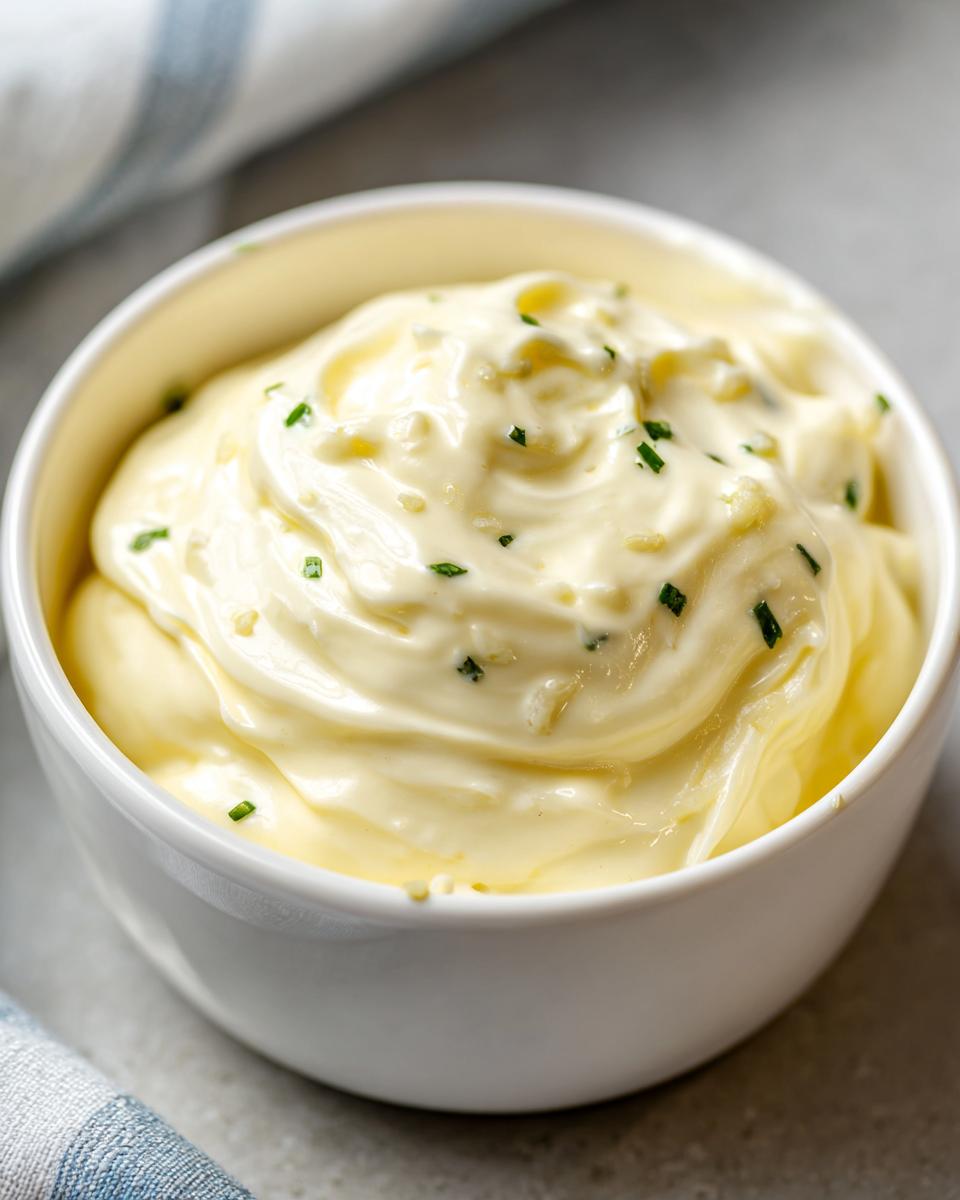
Achieving Restaurant Style Aioli Texture
The magic here is called emulsification. Don’t let that fancy word scare you! It just means we are making oil and water (lemon juice, egg yolk) become best friends and sit nicely together. When you watch that thick, glossy texture form, that’s the science working for you. Slowly adding the oil creates those tiny, stable little bonds that give you that signature, luxurious mouthfeel you expect from a perfect restaurant style aioli.
If you need some other brilliant, fast additions to your sauce game, you should definitely check out how I make my whipped ricotta dip—it’s another one that transforms a simple snack in minutes!
Ingredients for the Ultimate Creamy Aioli Recipe
Okay, let’s talk about what you need on hand to make this incredible creamy aioli recipe. Because this comes together so fast, prepping everything first is non-negotiable! Seriously, you need everything measured and ready to go before the oil starts drizzling. If you’re looking for another excellent, quick sauce recipe to add to your arsenal, my homemade tartar sauce is another big winner.
What really dictates the flavor here is the garlic. Don’t skimp or substitute—we are aiming for that bold punch needed in a true Garlic Lovers Sauce. You must have your garlic minced *super* finely, practically pulverized. Here is the lineup:
- Two large egg yolks—make sure they are at room temperature so they cooperate nicely!
- Two small teaspoons of fresh lemon juice. That tang is key!
- One teaspoon of Dijon mustard, which is my secret helper for a stable emulsion.
- Half a teaspoon of salt, but taste it before you add it!
- One full cup of neutral oil, like canola or grapeseed. Nothing with a strong flavor, please!
- Four whole cloves of incredibly fresh garlic, minced until they practically disappear.
- One tablespoon of warm water, totally optional, but it helps loosen things up if needed.
Get those yolks creamy before you even look at the oil bottle—that’s how you ensure success!
How to Make Garlic Aioli From Scratch (The Classic Method)
This is where the magic truly happens—and where you need patience, my friend! We are building this beautiful, homemade garlic aioli from the ground up, starting with the egg yolks. Grab your bowl and whisk, or pull out that immersion blender cup. You need to combine those room-temperature yolks with the lemon juice, Dijon, and salt first. Whisk these together until they look pale and just start to thicken up. This creates the perfect base to capture all that oil.
Now, listen up, because this next part is absolutely essential if you want a silky creamy aioli recipe and not a runny mess. You have to add the oil drop by drop initially. I mean it—drip, drip, drip at the beginning while you are whisking non-stop. If you pour too fast, the whole thing separates faster than I can finish a crossword puzzle! Once it starts looking thick and actually looks like mayonnaise, then—and only then—can you move to the thin, steady drizzle.
Once you’ve incorporated all that oil and you have a gorgeous, thick sauce, that’s when you stir in your finely minced fresh garlic. Don’t forget, if you ever have a disaster and the sauce breaks, don’t panic! Just put a teaspoon of clean water or an extra egg yolk in a new bowl and slowly whisk your broken mixture into that clean base, drop by slow drop. It usually comes right back together!
If you’re looking for another great sauce to build from scratch that uses similar base techniques, my recipe for homemade cranberry sauce is surprisingly satisfying to make yourself, too.
Mastering the Emulsion for a Thick Garlic Aioli
I watch people rush this part all the time, and that’s when they end up needing my rescue tip! The emulsion stage—where you add the oil—is the make-or-break moment for your garlic aioli. Think of the oil as water droplets trying to enter a crowded party (the yolk and acid mixture). If you send in a giant wave of oil all at once, everything pushes out and separates. That’s a broken emulsion!
You need to introduce the oil so slowly that the mixture has time to absorb every single drop before the next bit comes in. That constant, rapid motion of whisking or blending forces the fat molecules to suspend evenly within the liquid base. Keep that motion steady and focused during that first quarter cup. When you achieve that thick, luscious texture, you know you’ve mastered it. That thickness is what keeps the sauce stable and ready to handle all that bold garlic flavor you’re about to mix in!
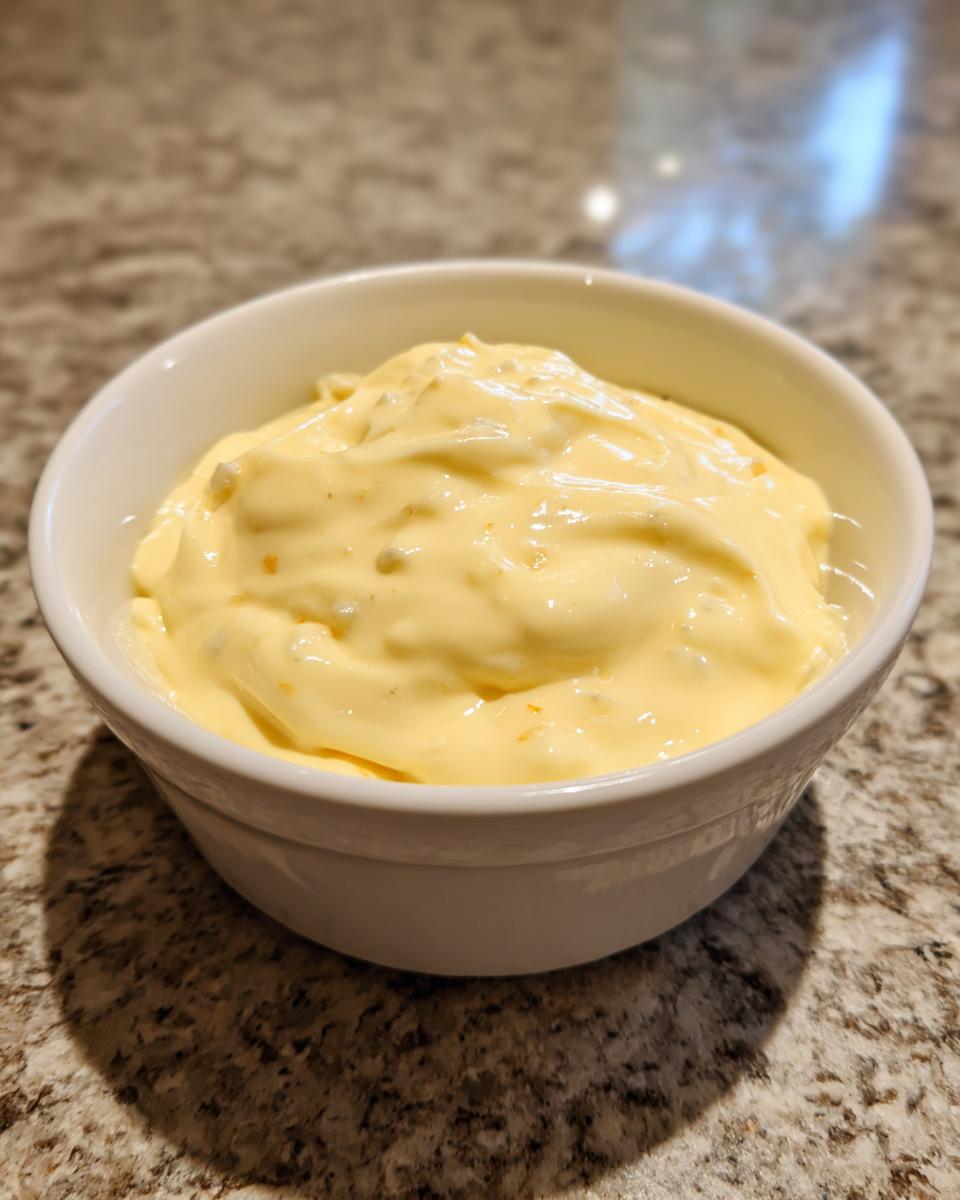
The Quick Route: Making Garlic Mayo Spread (Cheater Version)
Okay, look, sometimes an emergency strikes, or maybe you just really, truly don’t have 7 minutes to stand over a bowl whipping oil drop-by-drop. I get it! That’s why I promised to show you all the ways to get to that amazing flavor, and this is my absolute go-to when time is my enemy. This is how you make a dynamite garlic mayo spread that tastes unbelievably close to the real deal.
For this version, we skip the egg yolks and the slow oil drizzle entirely! You simply grab one cup of good quality, plain mayonnaise. That’s it—your base is already emulsified and waiting for flavor! You’ll mix that mayonnaise with the fresh lemon juice, Dijon mustard, and salt right in a small bowl. Then, just like the classic method, you stir in your finely minced fresh garlic. That’s honestly all there is to it. You’ve gone from zero to a fantastic dipping sauce to serve with your crispy potatoes (the dumpling sauce I shared covers another great dipping need!).
Because this version uses a pre-made base, it’s safer for everyone, and honestly, it’s lightning fast. I even saw a great variation on this method shared by my friends over at The Food Charlatan because sometimes convenience truly wins the day. This is your new favorite party hack, guaranteed.
Tips for Perfect Homemade Garlic Aioli Consistency
So, you’ve made your beautiful **homemade garlic aioli**, but maybe it’s a touch too stiff? Or perhaps, oh no, disaster struck and it split into oily sadness? Don’t you dare throw it out! This sauce is too precious for that. This is why I always keep a tiny bowl of warm water nearby when I’m making any emulsified sauce.
If your **garlic aioli** is too thick—maybe you got a little too enthusiastic with that oil pour—just whisk in the warm water, one teaspoon at a time. It thins it out beautifully and doesn’t affect the flavor one bit. It gives you that perfect texture for drizzling over grilled fish or using as a tangy salad dressing base.
Now, if your sauce broke? Remember that rescue trick I mentioned? Take one clean teaspoon of fresh water (or even a second egg yolk if you’re feeling brave!) and slowly, agonizingly slowly, whisk your broken mixture into that clean base. It takes patience, but you can absolutely resuscitate it into a perfect, thick sauce. For more tips on saving sauces, check out my notes on my homemade tartar sauce, which uses a similar principle!
Serving Suggestions for Your Garlic Aioli
Now that you have whipped up a batch of the world’s best **garlic aioli**—whether you went classic or took the quick route—the real fun begins: eating it! Honestly, I am terrible at sharing this stuff. Once I make a batch of this easy garlic sauce, it lives right on the shelf closest to me in the fridge. I used to think aioli was just for potato wedges, but this creamy creation is way more flexible than that!
If you are looking for that perfect partner for fried snacks, look no further. This truly is the Best Aioli for Fries you will ever taste, far surpassing any ketchup-based concoction you might usually reach for. But don’t stop there! This **garlic aioli** becomes the MVP of your sandwich game. Slathering this on a burger transforms it instantly into something worthy of a gourmet diner—it’s the ultimate Burger Aioli Spread.
For me, though, my absolute favorite way to use it is with seafood. I often pair this sauce with a quick, pan-seared fish dinner. I recently made blackened salmon tacos and used a dollop of this **tangy lemon garlic sauce** right on top. The sharp lemon and robust garlic cut through the richness of the salmon perfectly. It’s almost as good as serving it alongside my simple air fryer salmon just for dipping!
If you need more ways to dress up your weeknights, this sauce is a fantastic starting point for so many other versatile condiment recipes. If you have leftover aioli, just mix a little smoked paprika in for a smoky version, or a pinch of cayenne for some fire!
Storage and Keeping Your Garlic Aioli Fresh
I always tell people that making a sensational **garlic aioli** from scratch is about 90% flavor achievement and 10% immediate enjoyment! However, since this classic version relies on those beautiful, fresh, raw egg yolks, we have to be smart about how we store the leftovers. Food safety is important, and keeping this amazing sauce vibrant means handling it right after you finish whipping it up.
The rule here is simple: airtight and cold. Always transfer your finished **homemade garlic aioli** immediately into a clean, airtight container. If you’ve used the cheater version using mayonnaise, you have a bit more flexibility, but for this truly scratch version, the fridge is your best friend. It needs to stay chilled down there.
How long does it last? Because of the egg yolk, I strongly advise you to use this up within four to five days maximum. If you notice any funky smell or the texture changing dramatically—which rarely happens if you kept the oil incorporation tight—toss it out immediately. This **easy garlic sauce** is meant to be enjoyed quickly after making it, not tucked away for weeks. It’s so good, though, I promise you won’t have any trouble finishing it before the five-day mark!
Frequently Asked Questions About Garlic Aioli
I get so many questions about this sauce because once people taste a truly fresh batch of **garlic aioli**, they want to know all the little secrets! Don’t worry if you have questions about substitutions or methods; that’s part of the learning process. We want you to feel totally confident whipping this up anytime, whether you need a quick party dip or just want to elevate your Tuesday night!
Can I use roasted garlic instead of fresh garlic in this garlic aioli?
Oh, that’s a great question! You absolutely can, but you have to know what flavor profile you are going for. Fresh garlic—the kind we minced super finely in the recipe—gives you that sharp, bright, almost spicy punch that defines a bold, restaurant style aioli. If you use roasted garlic, the flavor becomes much milder, sweeter, and nuttier. It’s still delicious, and it works wonderfully if you’re looking for a less intense **garlic mayo spread**, but it won’t have that signature bite!
What is the difference between mayonnaise and garlic aioli?
This is that historical point that always comes up! Traditionally, authentic aioli is strictly an emulsion of crushed garlic, salt, and olive oil—no eggs, no mustard. It’s much more like a paste. However, most modern recipes, including many we make at home, are essentially a fancier, homemade mayonnaise that has been flavored heavily with garlic and lemon. That’s why my “cheater” option works so well! When people ask for a **creamy aioli recipe** today, they usually want that rich, creamy texture that usually comes from an egg yolk base, which is how we approached the classic instructions. So the difference now is mostly in the purity of the ingredients and the method used to create the emulsion!
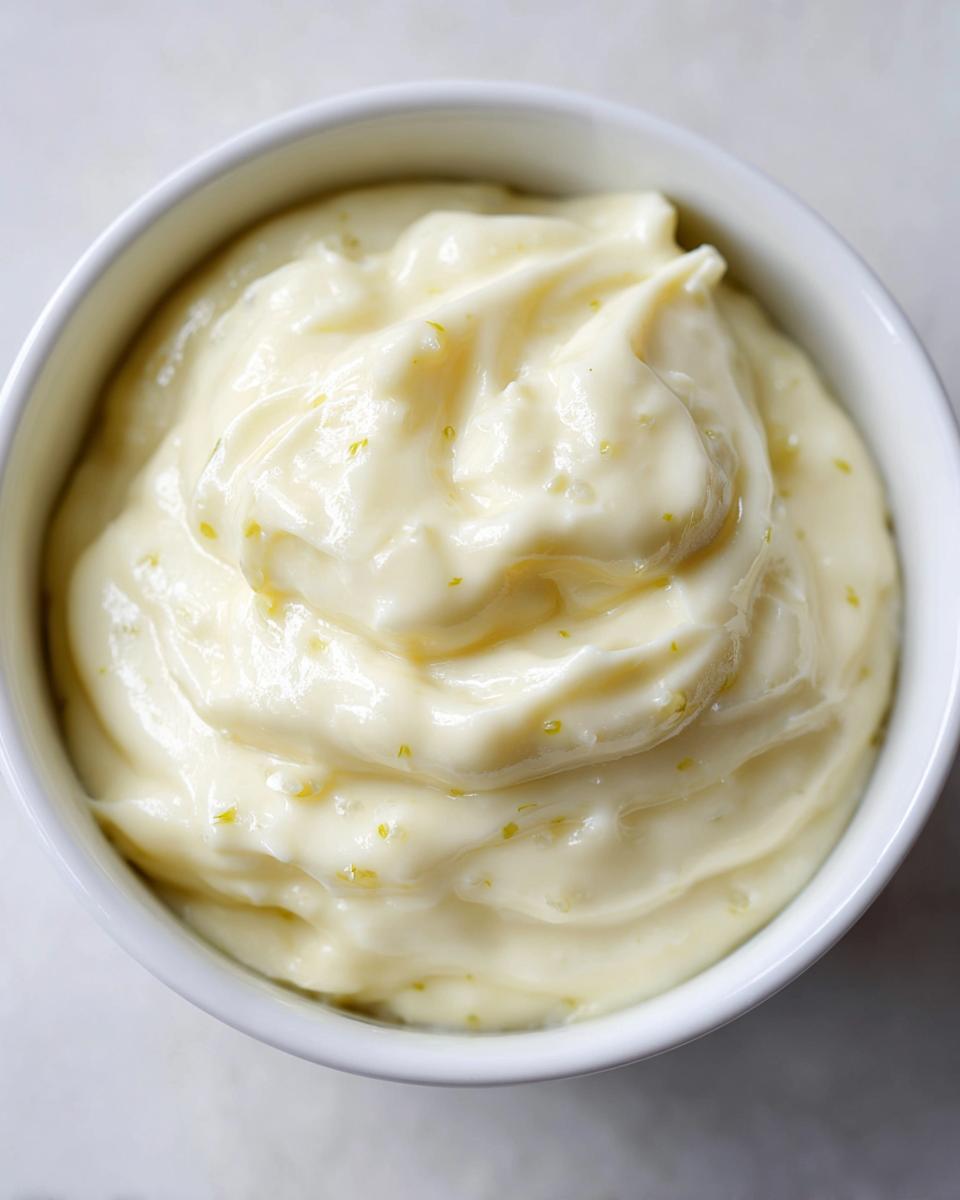
How do I make a Tangy Lemon Garlic Sauce variation?
If you love that bright, acidic kick—and I know I sure do—making a tangy lemon garlic sauce out of this base is super simple! You can increase the fresh lemon juice by almost a full teaspoon, maybe even two, but you have to balance it with your oil slightly. The best trick, though, is to add the zest of one small lemon right along with your minced garlic at the very end. That zest holds all the concentrated lemon oils, giving you huge flavor without making the sauce aggressively watery. A little fresh black pepper goes great with that extra tang, too!
If you want more ideas for quick, bright flavors, you should definitely check out my guide on easy breakfast recipes—sometimes a simple sauce can wake up eggs better than anything else!
Estimated Nutritional Data for This Easy Garlic Sauce
Now, I always want to be super clear that when you’re whisking oils and eggs together in your own kitchen, the numbers are always going to be estimates, okay? These values are based on the classic method using canola oil, and they don’t factor in any extra salt you might add while tasting. But here is what we generally calculate for this incredibly flavorful and easy garlic sauce when measured out:
- Serving Size: 2 tablespoons
- Calories: 180
- Fat: 20g (mostly unsaturated, which is great!)
- Saturated Fat: 2g
- Protein: 1g
- Carbohydrates: 0g
- Sugar: 0g
- Sodium: 150mg (this depends heavily on how much salt you season with!)
- Cholesterol: 45mg
Remember, since this sauce tastes so amazing on everything, you might use more than two tablespoons at a time—so keep that in mind if you’re tracking things closely! If you are looking for ways to incorporate more of these amazing flavors into your midday routine, I have some killer quick healthy lunch ideas that use sauces like this to cut down on prep time.
PrintThe Ultimate 5-Minute Creamy Garlic Aioli (Restaurant Style)
Make this quick and delicious homemade garlic aioli in just 5 minutes. It is creamy, tangy, and packed with bold garlic flavor, perfect for dipping fries or spreading on burgers.
- Prep Time: 5 min
- Cook Time: 0 min
- Total Time: 5 min
- Yield: About 1.25 cups 1x
- Category: Condiment
- Method: Emulsifying
- Cuisine: Mediterranean Inspired
- Diet: Gluten Free
Ingredients
- 2 large egg yolks (room temperature)
- 2 teaspoons fresh lemon juice
- 1 teaspoon Dijon mustard
- 1/2 teaspoon salt
- 1 cup neutral oil (like canola or grapeseed)
- 4 cloves fresh garlic, minced very finely
- 1 tablespoon warm water (optional, for thinning)
Instructions
- Place the egg yolks, lemon juice, Dijon mustard, and salt into a medium bowl or the cup of an immersion blender.
- If using a whisk or bowl, whisk these ingredients together until they are pale and slightly thickened. If using an immersion blender, blend until combined.
- Slowly, drop by drop initially, begin adding the neutral oil while constantly whisking or blending. This slow addition is crucial for emulsification.
- Once the mixture starts to thicken (after about 1/4 cup of oil is added), you can increase the oil stream to a very thin, steady drizzle, continuing to whisk or blend constantly.
- When all the oil is incorporated and you have a thick, creamy aioli, stir in the finely minced fresh garlic.
- Taste the garlic aioli. If the sauce is too thick, whisk in the warm water one teaspoon at a time until you reach your desired consistency for a perfect dipping sauce.
- Use immediately as a burger aioli spread or store it covered in the refrigerator.
Notes
- For a quicker, cheater version, substitute the egg yolks with 1 cup of good quality mayonnaise and proceed directly to adding the garlic and lemon juice.
- Use fresh garlic; dried or powdered garlic will not give you the restaurant style aioli flavor you want.
- If your aioli breaks (separates), place one teaspoon of water or another egg yolk in a clean bowl and slowly whisk the broken mixture into it, drop by drop, to re-emulsify.
Nutrition
- Serving Size: 2 tablespoons
- Calories: 180
- Sugar: 0
- Sodium: 150
- Fat: 20
- Saturated Fat: 2
- Unsaturated Fat: 18
- Trans Fat: 0
- Carbohydrates: 0
- Fiber: 0
- Protein: 1
- Cholesterol: 45