
Oh, the holidays! It’s such a magical time, but let’s be honest, trying to build a gingerbread house that actually stands up feels like a competitive sport, right? You bake those gorgeous gingerbread walls, you finally get the roof pieces laid out, and then—disaster strikes. That sugary frosting collapses before you can even stick on the gumdrops. That’s why we need to talk about the absolute MVP of Christmas baking: gingerbread house icing. This isn’t just any frosting; it’s the edible cement that turns your sweet dreams into standing architecture. Trust me; after years of testing recipes in my own Midwest kitchen, I’ve perfected a royal icing formula that is virtually foolproof. When you use my approach, you’re guaranteed a sturdy, beautiful result every single time.
- Why This Gingerbread House Icing is Your Essential Holiday 'Glue'
- Ingredients for the Best Ever Strong Gingerbread House Icing
- Step-by-Step Instructions for Pipeable Edible Cement Gingerbread House Icing
- Tips for Success with Your Holiday Decorating Frosting
- How to Decorate Gingerbread Houses Using This Icing
- Storage and Make-Ahead Tips for Your Gingerbread House Icing
- Festive Edible Art: Serving Suggestions and Variations
- Quick Setting Icing FAQ for Holiday Baking Tips and Tricks
- Discover More Winter Holiday Treats
Why This Gingerbread House Icing is Your Essential Holiday ‘Glue’
If you’ve ever wrestled with a sagging roof or walls that just won’t lean together correctly, you know standard buttercream just isn’t going to cut it. That soft, fluffy stuff is for EATING, not for load-bearing construction! We need something that sets rock hard, and that’s exactly what this royal icing delivers. It functions as true gingerbread house glue. I learned the hard way that you have to treat this icing like actual construction material, not just a topping. This reliable recipe, similar to ones trusted by pros like those at Sugar and Charm, is my go-to.
Before you even think about trying to stick those corners together, take a tiny dollop of the thickest icing and smear it on a scrap piece of cookie. Let it sit for 15 minutes. If you can easily push your finger through it without it cracking or squishing, you need to mix in more sugar—it needs to be ready for the big job ahead!
Achieving Sturdy Cookie Structures with Perfect Gingerbread Consistency
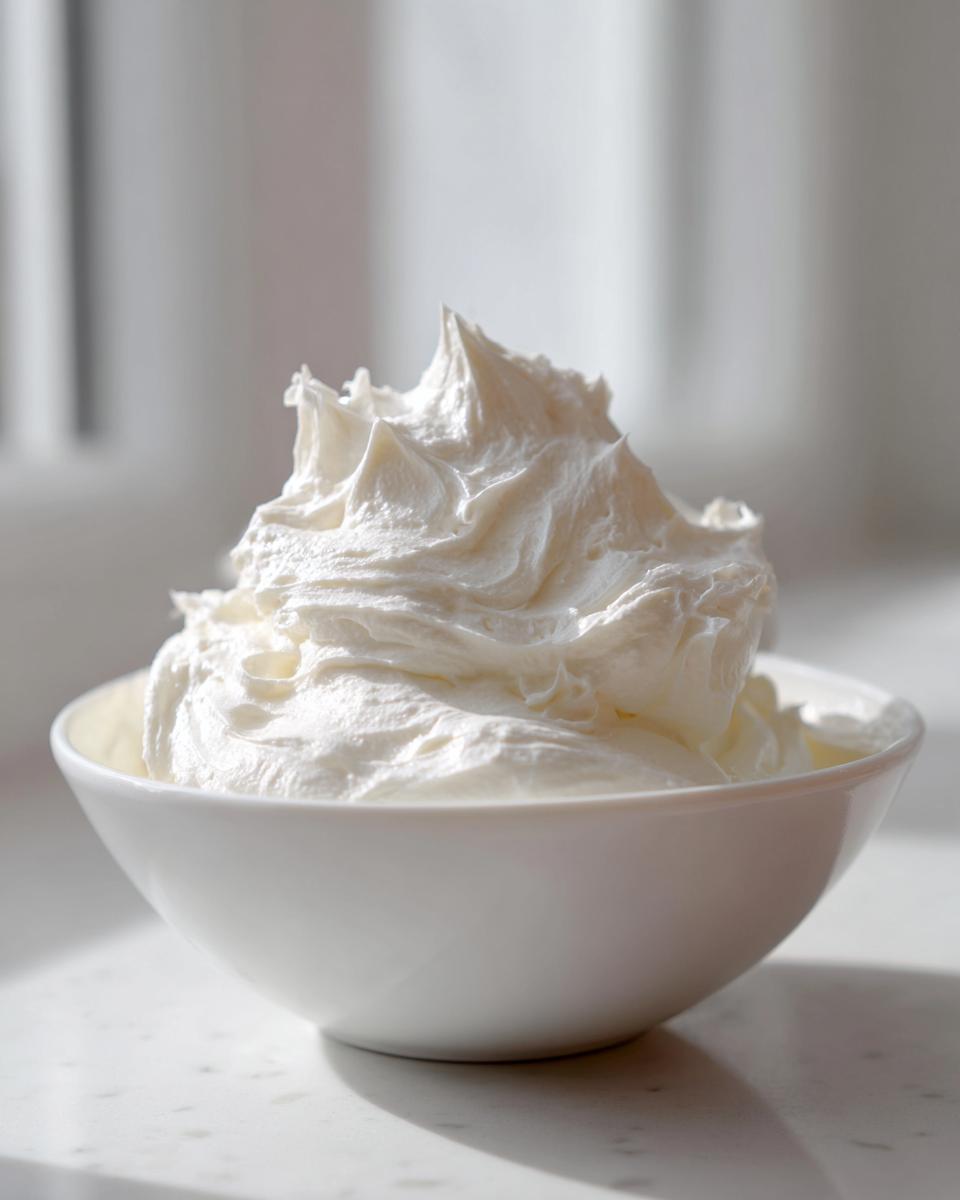
The science behind this whole process is actually pretty neat! We rely on a massive ratio of powdered sugar to liquid. Sugar, when mixed with just the right amount of egg white or meringue powder, crystallizes as it dries. This process creates incredibly sturdy cookie structures that can support the weight of a heavy roof all season long. It’s all about that high-sugar density stabilizing itself as the moisture slowly evaporates. This means your walls stay put, no matter how many candy canes you weigh them down with!

Ingredients for the Best Ever Strong Gingerbread House Icing
Okay, now we get down to the nitty-gritty. The ingredients here are simple, but their quality and how you treat them makes a HUGE difference in how strong your final gingerbread house icing ends up being. Remember, we are building something that needs to last until New Year’s! You’ll need four key components, and I’ve detailed the preparation right here so you don’t miss a step.
First, you need your base: four large egg whites, or, if you want maximum reliability, four tablespoons of meringue powder. Then, we add a little something for stability and flavor—one teaspoon of vanilla extract and half a teaspoon of lemon juice or cream of tartar. The acid helps stabilize the mix, which is important when you’re whipping it into cement! Finally, the heavy lifter: eight cups of confectioners’ sugar, and I mean it—it has to be sifted! We don’t want any gritty lumps slowing down our mixer or weakening our structure.
Meringue Powder Icing vs. Egg White Royal Icing Recipe
This is the big decision you need to make upfront! If you use fresh egg whites for your Egg White Royal Icing Recipe, you’ll get a slightly softer set and a less pure white color. They taste amazing, though. For an ultra-bright, gleaming white—which always pops against brown gingerbread—I strongly recommend the Meringue Powder Icing option. You just mix the powder with warm water first! It’s marginally easier, stays consistent, and gives you that super glossy finish we want for our pipeable edible cement.
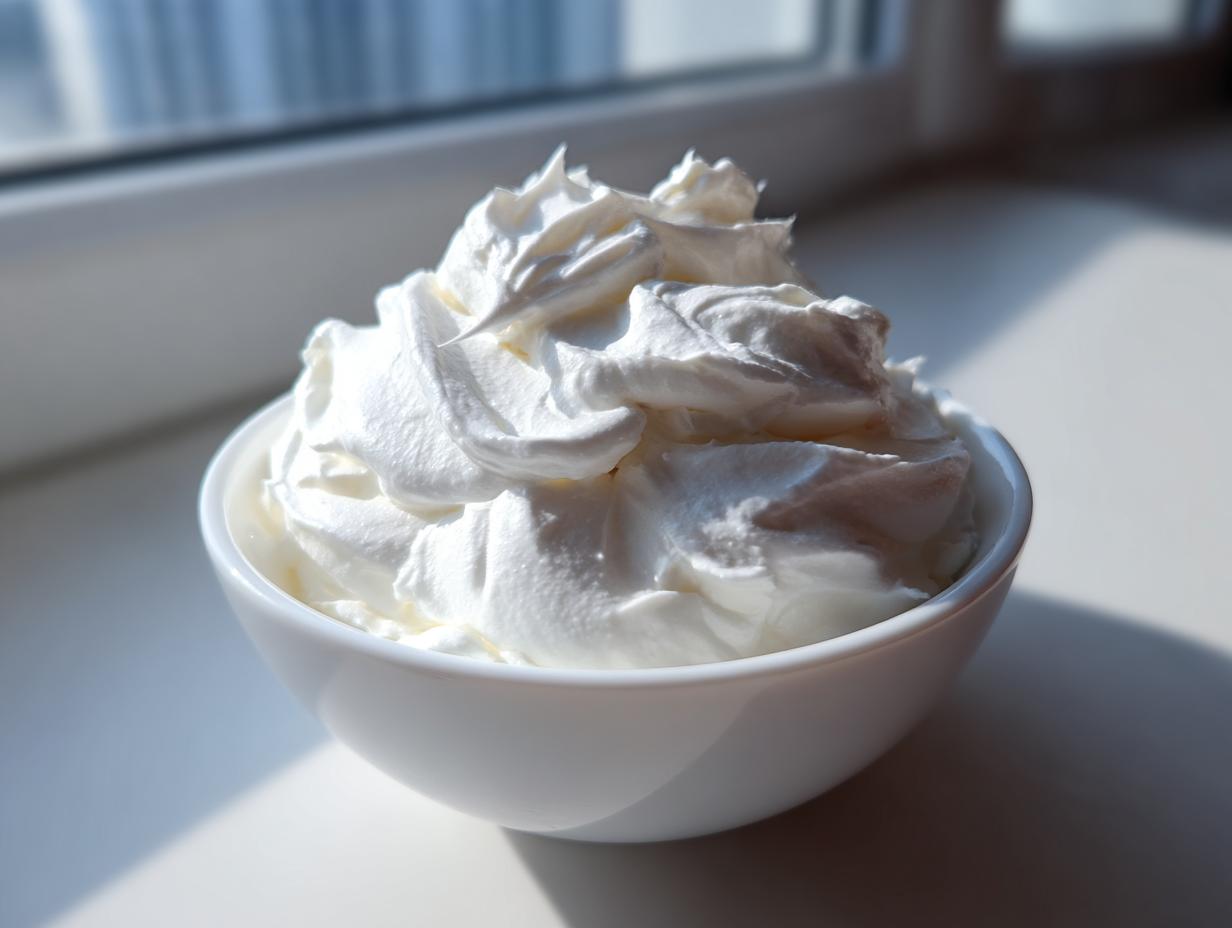
Step-by-Step Instructions for Pipeable Edible Cement Gingerbread House Icing
Alright, time to get mixing! This is where the magic happens, turning simple sugar into that strong pipeable edible cement we need. First things first, you need to prep your liquid base. If you’re using meringue powder, get it hydrated with that lukewarm water and let it sit for about five minutes—don’t skip that resting time! If you went the fresh egg white route, make sure your bowl is spotless, seriously, not a drop of grease allowed in there.
Next, get your mixer going on medium speed. Add your vanilla and lemon juice—or cream of tartar if you’re using that—and whip until you see soft peaks forming. It should look cloud-like! Now, the patient part: the sugar addition. You have to add that sifted confectioners’ sugar very slowly, one cup at a time. Start on the lowest speed so you don’t just create a lovely sugar cloud across your new holiday sweater! Once it’s all in there, crank that speed up high and let it beat for a full five to seven minutes. That extended whipping is non-negotiable; that’s what makes it so ridiculously stiff and strong! If you want more insights on the whipping process for royal icing, I always check out what folks over at I Wash You Dry.
Adjusting Consistency for Building vs. Decorating
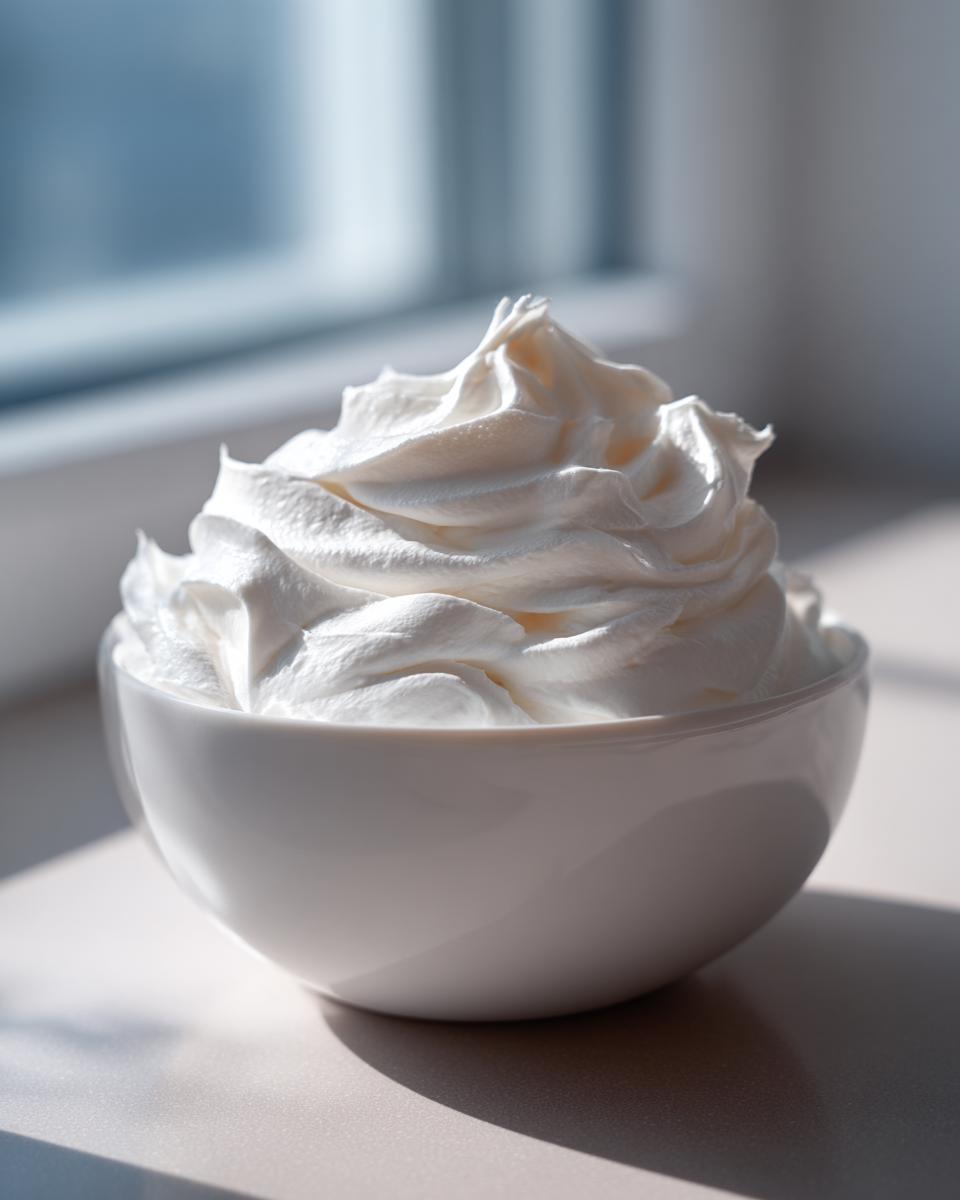
Once you’ve hit those stiff, glossy peaks, you need to taste-test the texture. For the main gingerbread house glue—the stuff you’ll use to hold the walls and roof up—it needs to be super, super thick. If you lift the beater out and the icing droops, add another half cup of sugar and beat again. If it’s perfect for building, but you want to pipe some snowdrifts or wreaths, take a small amount out into a separate bowl. You can thin this portion down with just a few drops of water until it flows nicely but still maintains a defined edge when you pipe it. And listen to me: the second you stop working, cover any icing you aren’t using immediately with plastic wrap pressed right onto the surface. This stuff dries faster than gingerbread cookies in a hot oven!
Tips for Success with Your Holiday Decorating Frosting
You’ve mixed it perfectly, but now you need to master the environment! Holiday baking is fun, but humidity is the natural enemy of rock-hard icing. If it’s a dreary, rainy December day where you live, your beautiful Holiday Decorating Frosting might take ages to set. You need to work in the coolest, driest spot in your house if you can. I always try to assemble the heavy structure—the walls and roof—first thing in the morning when the air is coolest. I reference tips from Simple Joy often because they nail the assembly timing. For those ultra-crisp white details, make sure you used meringue powder; it keeps that bright white color so much better than egg whites.
Troubleshooting Common Issues with Gingerbread House Icing
Don’t panic if something goes a little sideways! If your icing seems to be “weeping” or separating slightly, it usually means you added too much liquid earlier, or the humidity is just too high. A quick fix is to whip in one more tablespoon of sifted confectioners’ sugar until it looks stiff again. If your structural seams are cracking after a day, that means it wasn’t whipped long enough initially—it needs that full 7 minutes of high-speed mixing to earn its “cement” status. Never leave unused icing uncovered; even 15 minutes can turn that lovely frosting into a hard rock we can’t use.
How to Decorate Gingerbread Houses Using This Icing
Now that your house is actually standing tall—yay!—it’s time for the seriously fun part: making it look incredible. This super-strong gingerbread house icing is fantastic because it holds whatever shape you give it. You’ll want to load that icing into a piping bag fitted with a star or round tip. For snowdrifts along the roofline or piping neat window outlines, a small star tip works like a charm. I always check out ideas on ways to pipe beautiful details over at iheartnaptime for inspiration!
The secret to how to decorate gingerbread houses really comes down to layering. Stick your main structural icing on first, attach your roof, let that set for an hour, and *then* start decorating. When it comes to sticking down those little gumdrops or candy canes, don’t be shy! Use a nice, thick dab of the same stiff icing right on the candy before pressing it onto the gingerbread wall. This ensures it anchors tight. Honestly, my favorite trick is piping tiny, delicate green vines around the door using a very fine tip—it makes the whole thing look so professional, almost like fancy little edible art!
Storage and Make-Ahead Tips for Your Gingerbread House Icing
Because we load this gingerbread house icing up with sugar, we have a little more flexibility than with regular frosting, which is great for busy holiday schedules! The best plan? Make a double batch a day ahead. Keep the ultra-stiff building consistency uncovered, pressing plastic wrap directly onto the surface, and leave it right on the counter—room temperature is best for easy mixing later. For any batch you need to keep longer, you can toss it in the fridge. Just make sure it’s wrapped super airtight! If it hardens up a bit when you bring it back out (and trust me, it will), just stand the bowl in a little warm water for about ten minutes, then beat it for a minute or two to bring back that creamy, workable texture. Check out the tips from A Mom’s Take; they have great advice on saving your leftovers.
Festive Edible Art: Serving Suggestions and Variations
Don’t you just hate when you have that last little bit of frosting stuck in the bowl? It always feels like a waste throwing out that precious gingerbread house icing! But we don’t waste good construction material around here. If you have a small bit left after sealing the roof, use it for some quick edible decorations for your Christmas cookies. It dries hard, so it’s perfect for outlining sugar cookies or making those neat little dots you see on professional gingerbread houses.
You can also use this stiffer batch to try making simple transfers. Pipe small shapes—stars, tiny wreaths, or even little snowmen—onto parchment paper. Let them dry completely overnight. These become instant, ready-to-go toppers for hot chocolate mugs or extra cookies. It’s such a fun way to make festive edible art without having to frost every single surface individually. For more decorating inspiration and ideas, I always look at things like the wonderful suggestions on Simple Joy finds!
Quick Setting Icing FAQ for Holiday Baking Tips and Tricks
I know when you’re rushing to fit in all the decorating between parties and baking other treats, you need fast answers! Getting those structural joints set is the number one hurdle in effective holiday baking tips and tricks. That’s why I put together a few of the questions I get most often about getting this quick setting icing to behave perfectly!
Can I color this gingerbread house icing for decoration?
Oh, absolutely! If you want pink icicles or blue roofs, you can totally color this batch. But here is my biggest piece of advice: If you plan on using the icing for both building the house *and* decorating later, just make one big, stiff batch first. Keep that primary batch pure white for the structural work. Then, scoop out only what you need for colors into a separate bowl. When coloring, use concentrated gel food coloring, not liquid drops. Those drops add unnecessary moisture, and too much liquid seriously weakens the glue aspect—we don’t want a melting snowman situation!
How long does this strong icing take to dry completely?
This is where patience pays off! For the main walls and roof assembly, you want it firm enough that you can gently nudge it without everything shifting, which usually takes about four to six hours, depending on how humid it is in your house. I always try to let the main structure cure overnight, if possible. For full, rock-hard stability—the kind that won’t crack if bumped—you should let your finished house sit untouched for a full 24 hours. It sets hard as a rock, but that final setting takes time.
If you’re looking for more professional tips on setting times and general royal icing handling, Emma’s Cake Studio has some fantastic insights you might want to check out over at Emma’s Cake Studio.
Discover More Winter Holiday Treats
Phew! Now that your gingerbread house is structurally sound and looking absolutely gorgeous—thanks to that unbelievably strong gingerbread house icing—you might be looking for another delicious project. Believe me, I get it! The holiday baking bug bites hard, and you can’t stop at just one recipe.
If you’re feeling inspired to keep that festive energy going, I have a few favorites I lean on every single December that truly complete our lineup of winter holiday treats. They use simple ingredients but always deliver that ‘wow’ factor when you share them.
If you loved the chocolate punch of the gingerbread flavor, you simply must try my fudgy, crinkle-top chocolate cookies. They are intensely decadent because I use that same philosophy of maximizing flavor with minimal fuss. You can find the recipe for my Chocolate Crinkle Cookies (Fudgy, Brownie-Like!) which are perfect for setting out alongside your gingerbread creation.
And if you need something a little cozier for a chilly morning, nothing beats the smell of fresh bread coming out of the oven. My recipe for Pumpkin Cream Cheese Bread is a spectacular way to use up any leftover pumpkin puree you might have hanging around from earlier baking projects. It’s slightly sweet, wonderfully spiced, and pairs perfectly with a hot cup of coffee while you admire your newly constructed gingerbread village!
PrintThe Best Ever Strong Royal Icing for Gingerbread Houses

This recipe provides a reliable, strong royal icing perfect for acting as ‘glue’ to build your gingerbread house structure and for detailed piping decoration. It dries hard and holds its shape well.
- Prep Time: 15 min
- Cook Time: 0 min
- Total Time: 15 min
- Yield: Enough to build and decorate one large house
- Category: Dessert
- Method: Mixing
- Cuisine: American
- Diet: Vegetarian
Ingredients
- 4 large egg whites (or 4 tablespoons meringue powder)
- 1 teaspoon vanilla extract
- 1/2 teaspoon lemon juice or cream of tartar
- 8 cups confectioners’ sugar (powdered sugar), sifted
Instructions
- If using egg whites, place them in a clean, grease-free bowl. If using meringue powder, combine it with 1/2 cup of lukewarm water and let it sit for 5 minutes to hydrate.
- Add the vanilla extract and lemon juice (or cream of tartar) to the egg whites or hydrated meringue powder.
- Using an electric mixer, beat the mixture on medium speed until soft peaks form. This takes about 3 to 5 minutes.
- Gradually add the sifted confectioners’ sugar, one cup at a time, beating well after each addition. Start on low speed to prevent the sugar from flying out, then increase to medium-high.
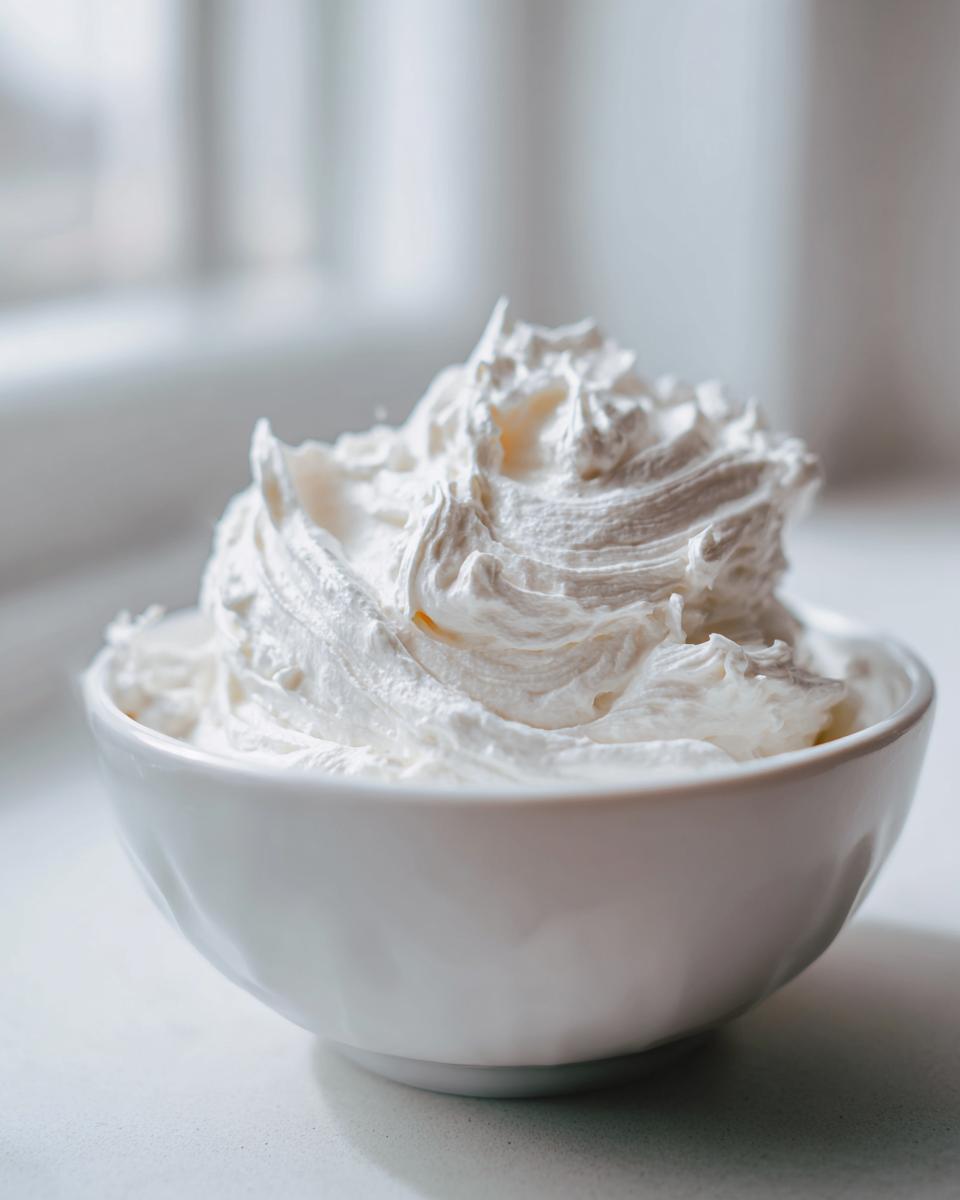
- Once all the sugar is incorporated, increase the mixer speed to high and beat for 5 to 7 minutes until the icing is very stiff, glossy, and holds stiff peaks. This ensures the icing is strong enough to be ‘edible cement’.
- To use as ‘gingerbread house glue,’ the icing should be very thick. If it seems too soft, mix in a few more tablespoons of sifted confectioners’ sugar.
- To use for piping decorations, you may need to thin a small portion slightly by mixing in a few drops of water until it reaches a pipeable consistency that still holds its shape.
- Use immediately or cover tightly with plastic wrap pressed directly onto the surface of the icing to prevent it from drying out.
Notes
- For the strongest ‘gingerbread house glue,’ aim for a very stiff consistency. The icing should not droop when you lift the mixer beaters.
- If you need bright white icing for contrast, use meringue powder instead of fresh egg whites.
- This icing sets best at room temperature. Avoid trying to assemble your house in a very humid environment, as this slows the drying time.
- Store leftover icing airtight in the refrigerator for up to one week; remix well before using again.
Nutrition
- Serving Size: 1/4 cup
- Calories: 450
- Sugar: 110
- Sodium: 5
- Fat: 0
- Saturated Fat: 0
- Unsaturated Fat: 0
- Trans Fat: 0
- Carbohydrates: 112
- Fiber: 0
- Protein: 3
- Cholesterol: 0