
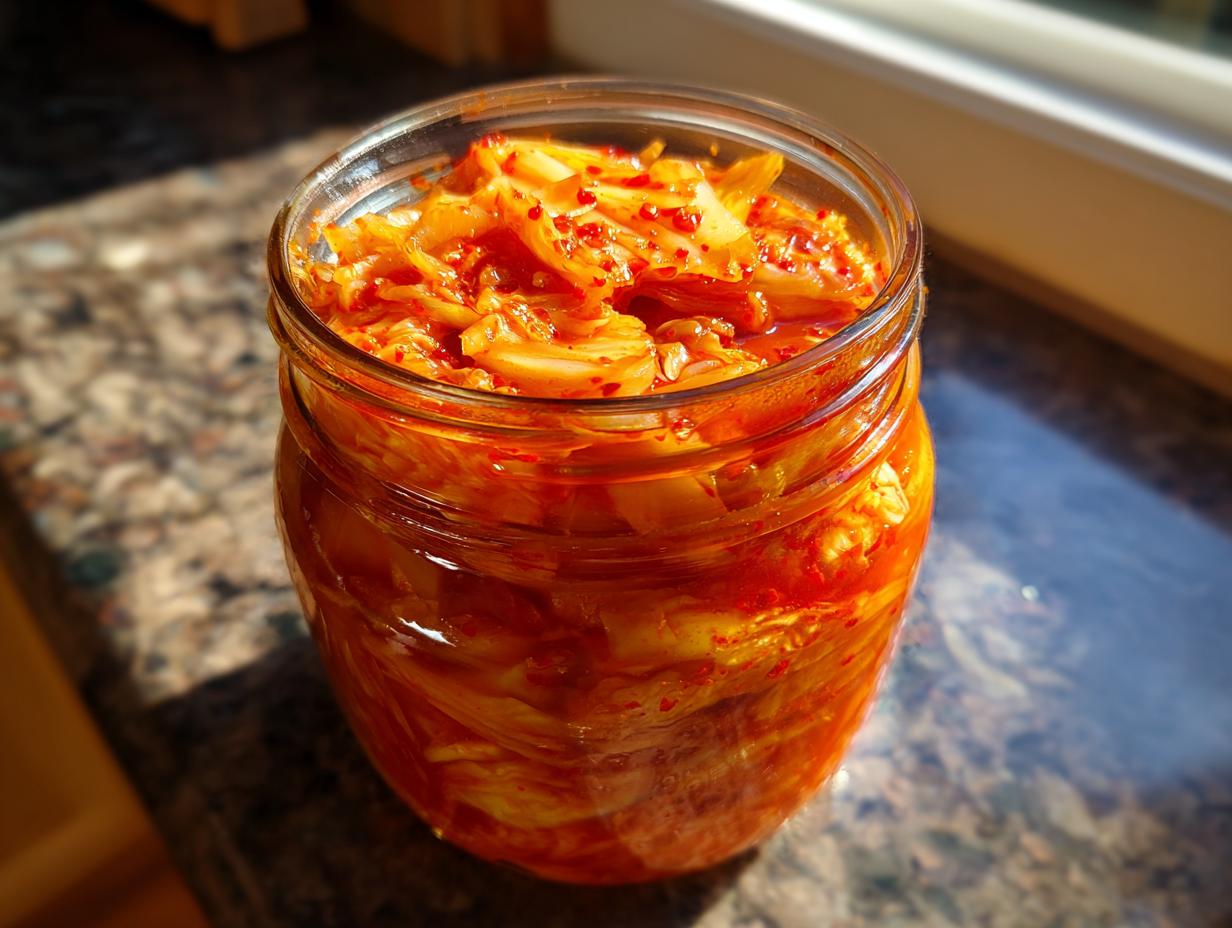
Oh, friends, let’s talk about kimchi. I know, I know. It seems like this mystical, complicated dish that only your favorite Korean restaurant can master. But trust me, getting that incredible, deeply flavorful, spicy, umami bomb of authentic napa cabbage kimchi right in your own kitchen is way easier than you think! I remember the first time I tried making it—it was a disaster of soggy leaves and bland spice. But after years of tinkering, I’ve nailed a method that gives you that signature, satisfyingly crispy texture in just about a day of active work. Mastering this staple isn’t just about making a side dish; it’s about unlocking a whole world of Korean flavor that makes every meal feel special. You need this recipe in your arsenal!
- Why This Is the Best Napa Cabbage Kimchi Recipe for Home Cooks
- Essential Gochugaru Kimchi Ingredients and Sourcing
- The Crispy Kimchi Brining Technique for Napa Cabbage Kimchi
- How to Prepare Homemade Kimchi Seasoning Paste (Yangnyeom)
- The Kimchi Making Process Explained: Fermentation and Packing
- Napa Cabbage Fermentation Tips and Flavor Development
- Storage and Long Lasting Napa Kimchi Storage
- Homemade Kimchi Troubleshooting
- Frequently Asked Questions About Napa Cabbage Kimchi
Why This Is the Best Napa Cabbage Kimchi Recipe for Home Cooks
I get why people are intimidated by making things that ferment, but this is the recipe that changed everything for me! If you’ve been searching for an Authentic Napa Cabbage Kimchi Recipe that doesn’t require you to wait six months for the flavor to develop, you’ve found it. I developed this method specifically for busy home cooks who crave incredible results.
Here’s what makes this recipe my absolute go-to:
- That Signature Crunch: Our brining technique is non-negotiable; it keeps the cabbage perfectly crisp, never soggy.
- Speedy Flavor: While good kimchi improves with age, this recipe tastes fantastic on day two, perfect for making immediate kimchi fried rice!
- Manageable Process: We break down the salty cabbage soak and the spice paste mix into easy, non-scary steps.
You get that deep, vibrant flavor without needing professional equipment or complex sourcing woes. It’s just good, reliable Korean cooking!
Essential Gochugaru Kimchi Ingredients and Sourcing
Okay, let’s talk inventory. This recipe relies on a few key Korean pantry staples. Don’t worry if you’ve never seen half these items; most Asian markets carry them, and they are 100% worth the small investment because they make this napa cabbage kimchi shine. For the cabbage prep, you’ll need 3 lbs of Napa cabbage and 1 cup of coarse sea salt for that initial brine. For the amazing paste, we require 1/2 cup of Gochugaru (Korean chili flakes), 1/2 cup of Korean fish sauce, and 1/4 cup of minced salted fermented shrimp, or saeujeot. I also love adding a grated Asian pear for a subtle background sweetness.
If you absolutely cannot find saeujeot, you can bump up the fish sauce a bit, but the authentic depth comes from that salty, tiny shrimp magic. Everything else—garlic, ginger, scallions, and Korean radish—is easy to grab at any supermarket!
Ingredient Spotlight: The Role of Gochugaru
This is non-negotiable for authentic flavor and color. Gochugaru (Korean chili flakes) ranges from mild to super spicy, but most importantly, it has a smoky, slightly fruity flavor and a vibrant red color that standard cayenne or crushed red pepper flakes just cannot replicate in your napa cabbage kimchi. Trust me, regular chili powder will leave you with sad, pale kimchi!
The Crispy Kimchi Brining Technique for Napa Cabbage Kimchi
If you ask me, Step Two—the brining—is where 90% of home-cooked kimchi goes wrong. People either leave the cabbage in too long, turning it soft and sad, or they don’t rinse it enough, leaving you with kimchi that’s too salty to eat! We are aiming for perfection here, so listen closely to the water soak. First, you create a saltwater bath, making sure those cabbage quarters are totally submerged. You’re letting them sit for about an hour and a half to two hours, but the key is that you have to turn them every 30 minutes.
Why the frequent turning? It ensures every piece of cabbage wilts evenly under the salt’s magic. We want that Crispy Kimchi Brining Technique to work its charm: the leaves need to become beautifully pliable—you should be able to bend them without them snapping in half. Once they fold easily, it’s time to rinse. And rinse you must! Rinse them three times under cold water to wash off every speck of surface salt. Then, let them drain for half an hour; it seems long, but this step is crucial for avoiding watery final kimchi. Don’t skip that drain time; that’s how you get the crunch!
For more ways to use up hearty greens, check out my simple garlic parmesan cabbage recipe.
How to Prepare Homemade Kimchi Seasoning Paste (Yangnyeom)
Now we get to the fun, colorful part—making the paste! This is where all the magic happens that gives our napa cabbage kimchi its signature kick. First up, we need a little porridge base. Whisk your sweet rice flour (or AP flour, if that’s all you have) with water in a tiny saucepan. Heat it up, stirring constantly until it bubbles and thickens into a sticky paste. This helps the spices cling perfectly later on. Pull it off the heat immediately and stir in your sugar until it dissolves. My biggest tip here, and please listen to Aria on this, is that you MUST let this porridge cool completely before you move on. If you mix your Gochugaru into hot porridge, you’ll just cook the beautiful chili powder, and it loses that fresh, bright spice.
Once it’s cool, grab a big bowl! Time to mix in the powerhouse ingredients: your fish sauce, the minced saeujeot, mountains of garlic, that fresh ginger, and your grated pear for sweetness. Then, dump in that magnificent red Gochugaru! Stir it all together until you have a thick, glorious, deep-red mixture. This is your real Homemade Kimchi Seasoning Paste. I always aim for a consistency that’s thick enough to coat the back of a spoon heavily but easy enough to spread with my hands—it should look almost like a thick chili jam.
Assembling the Napa Cabbage Kimchi
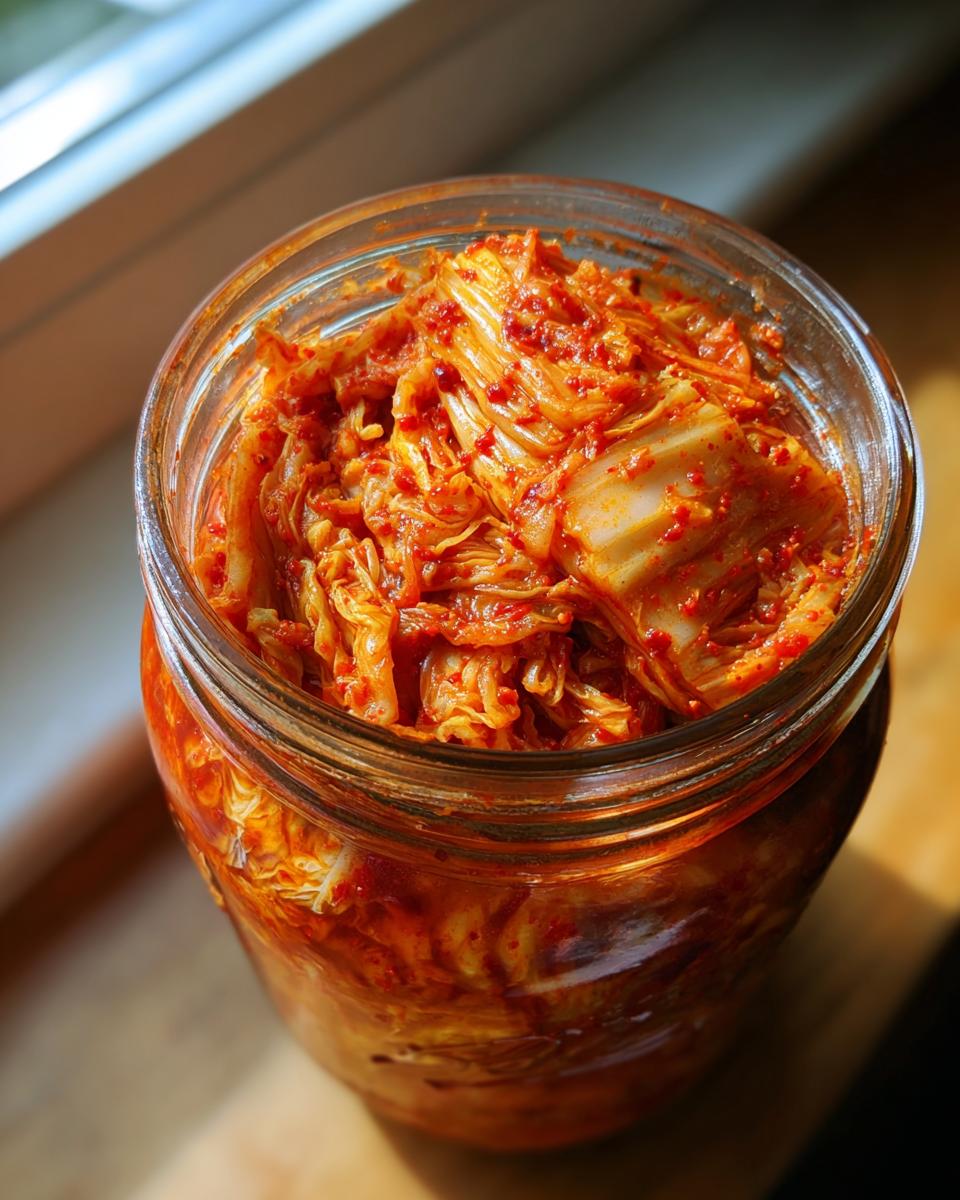
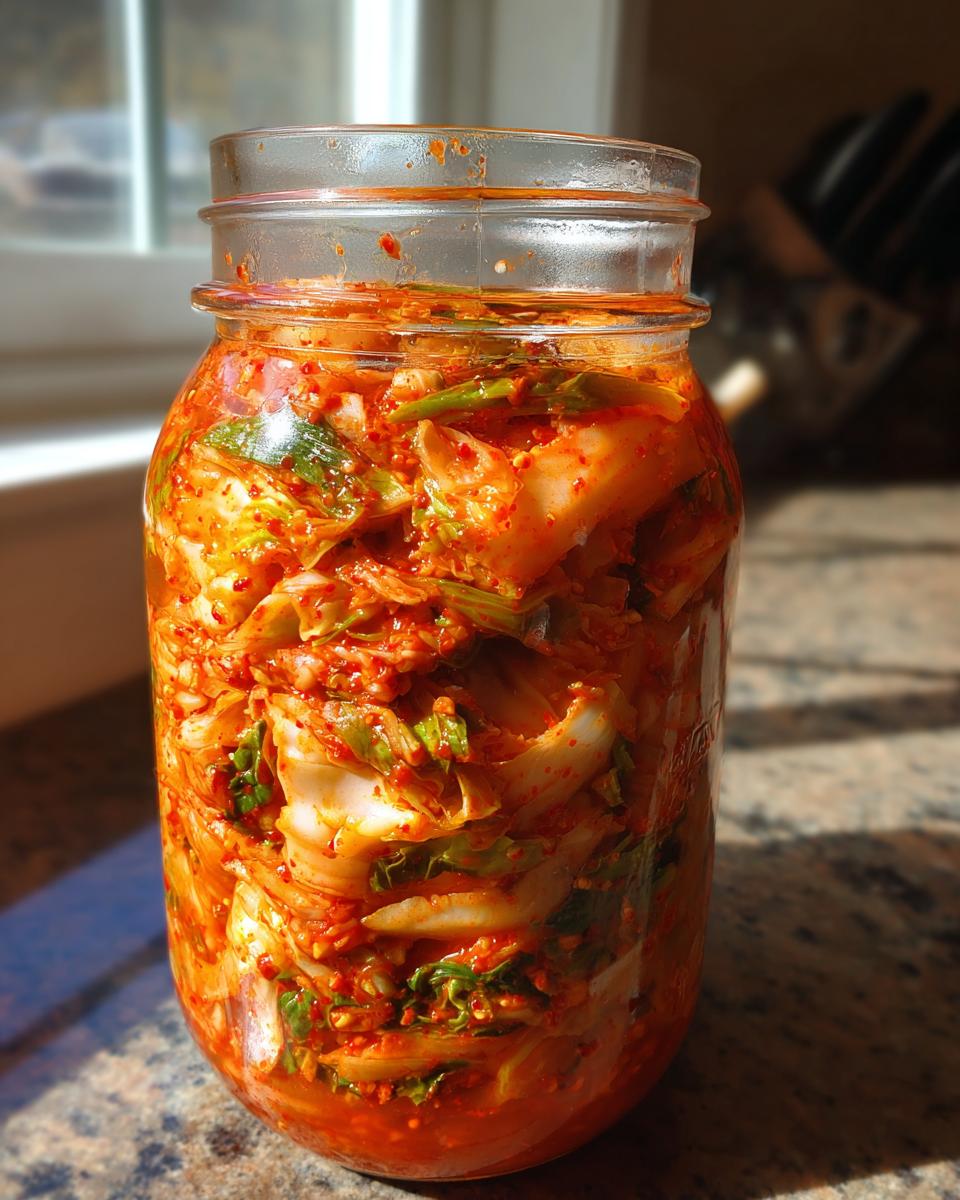
Gloves on, everyone! Seriously, don’t skip the gloves unless you want bright red hands for a week. Take those thoroughly drained cabbage quarters, and starting with the loose outer leaves, you slowly begin spreading that paste between every single layer of leaf. You don’t want a mountain of paste on each leaf, just a thin, even coating—we’re going for flavor distribution, not overload. Once you hit the core, fold those outer leaves around to keep everything neat and tidy. This tight bundling ensures your final napa cabbage kimchi packs down beautifully and ferments evenly.
The Kimchi Making Process Explained: Fermentation and Packing
We’re in the home stretch now, and this is where the magic of the Kimchi Making Process Explained truly begins. Grab your airtight glass jars or your dedicated fermentation container—and I mean airtight! Cram those seasoned cabbage bundles in there, one snuggly fit after another. You have to press down on them firmly as you go. This packing is really important; we’re trying to squeeze out any big pockets of air because air is the enemy of happy lactic acid bacteria.
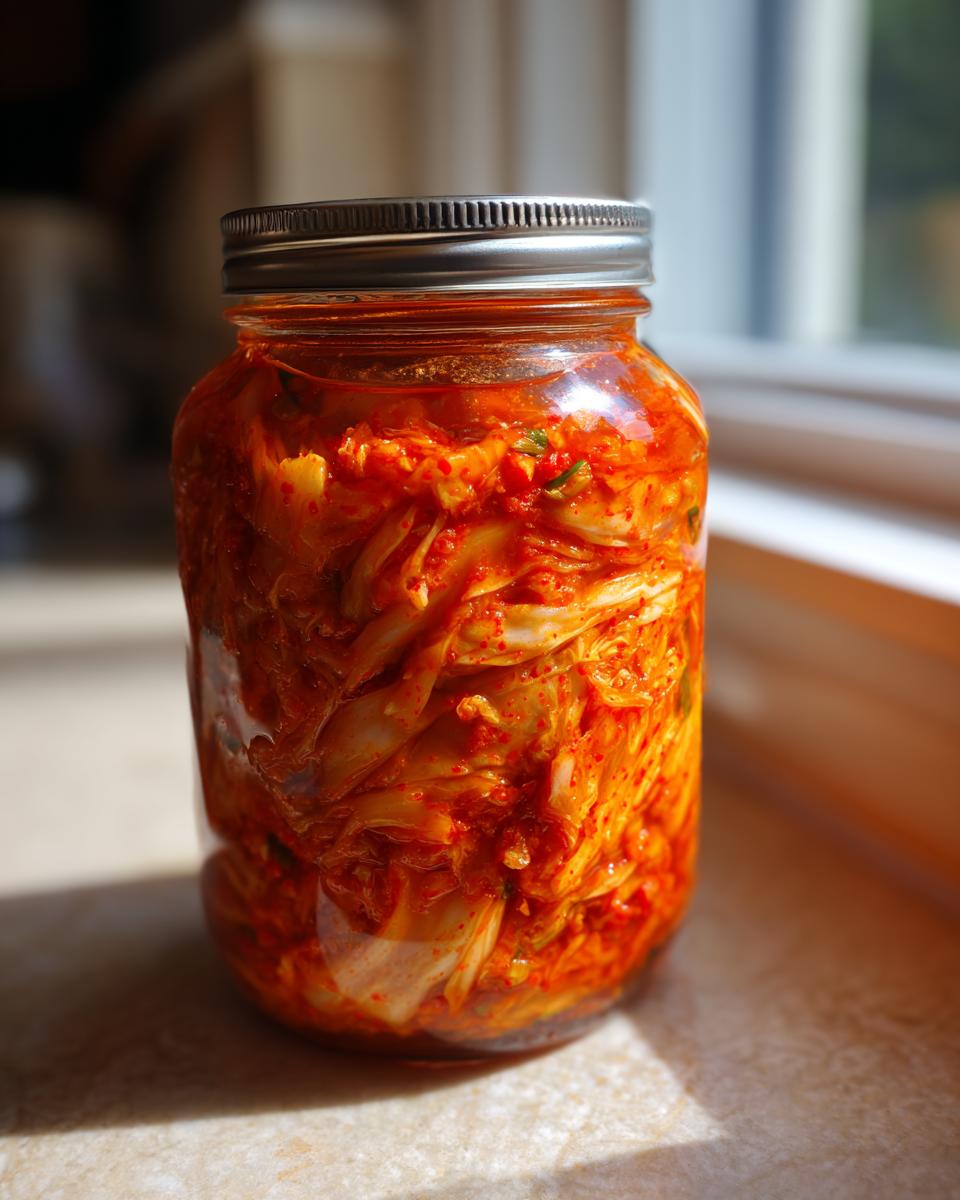
Make sure you leave at least an inch or two of headspace at the very top of your container. The kimchi will fizz and expand a little bit as it starts to work its wonders, and we don’t want an explosion all over your counter! Now for the waiting game. You leave these beauties out at room temperature—think counter space, not the fridge—for just one or two days. That’s it! You’re just waiting for that first hint of bubbling activity. As soon as you see a little bit of fizz or smell that very faint sour tang—that’s your signal! Pull it off the counter immediately and tuck it into the refrigerator. You can learn more about how awesome these little workhorses are for your gut health over in my post about probiotic-rich fermented foods.
Napa Cabbage Fermentation Tips and Flavor Development
Once that kimchi is tucked away in the cold after its initial room-temp wake-up call, the real development starts! This waiting period is just as important as the spicing. That’s why knowing a few Napa Cabbage Fermentation Tips helps you know exactly what you’re tasting. Kimchi is technically considered ‘young’ or fresh right after it comes out of the fermentation vessel and hits the fridge, usually sticking close to the flavor of the fresh spice paste. But give it a week, and bam! You start getting those lovely, bright lactic acid tangs.
The flavor profile deepens exponentially the longer it sits. If you leave it for two weeks, it’ll taste sharper and more complex. If you leave it for a month or two, it gets wonderfully sour—perfect for cooking with, like making incredible kimchi jjigae! The science behind it is just beneficial bacteria munching on the sugars, creating those fantastic sour notes. Don’t throw out the jar just because it gets super pungent; that means it’s working perfectly!
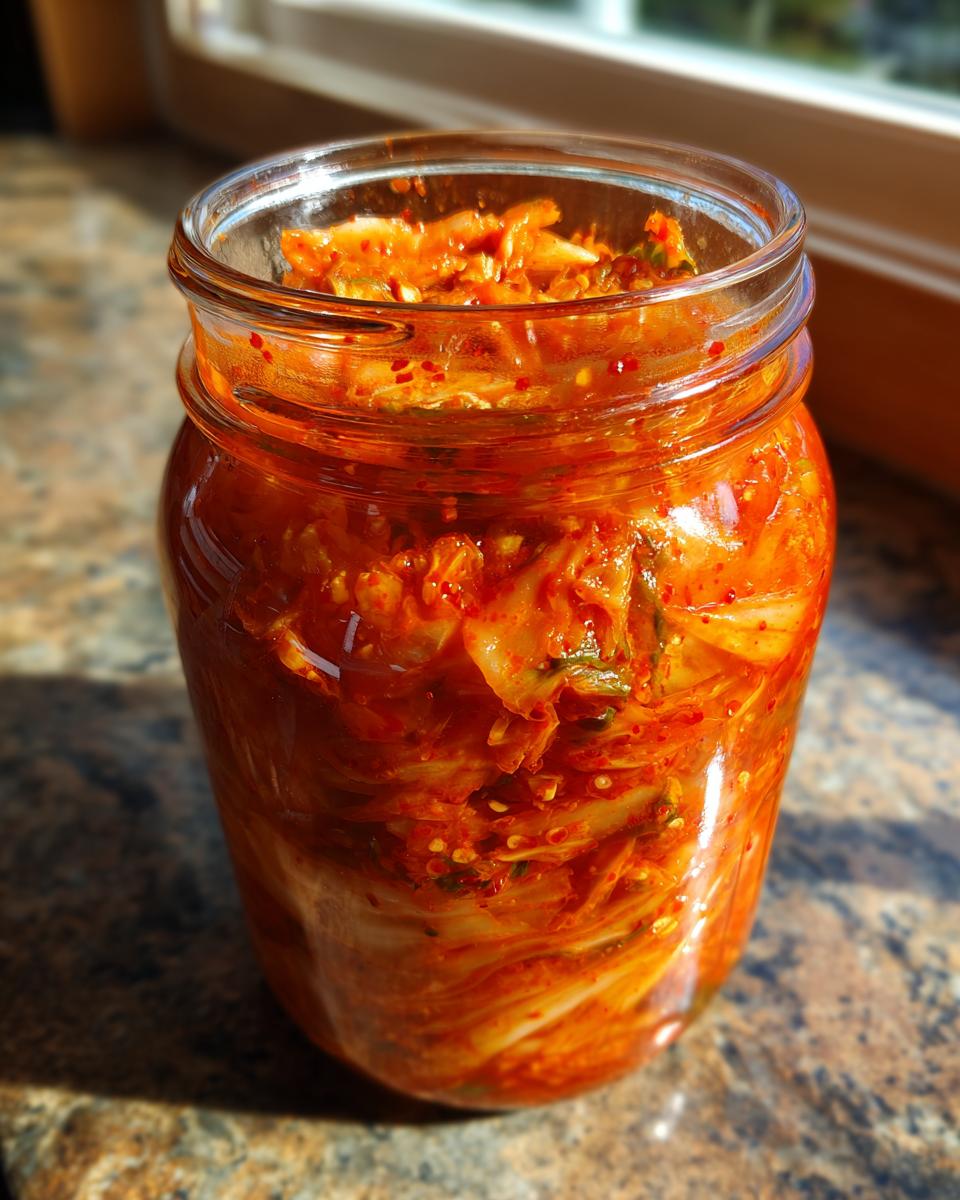
Storage and Long Lasting Napa Kimchi Storage
Once your beautiful napa cabbage kimchi hits the fridge after that initial room-temperature bubbling, you want to make sure you’re storing it right so it lasts and tastes amazing for later. The most important thing is making sure the container is truly airtight. I prefer heavy, wide-mouth glass jars; they don’t react to the acidity like some plastics can, which helps maintain that clean flavor we worked so hard for.
For what I call the ‘fresh’ eating window—that tangy, bright flavor—you’ve got weeks! It starts getting really potent and sour after about two months, but that’s not a bad thing! That’s when it becomes absolute gold for cooking. If you’re planning to keep it for a long time, just make sure the brine stays covering the cabbage. This slow fermentation is what keeps your Long Lasting Napa Kimchi Storage successful for months!
Homemade Kimchi Troubleshooting
Even with my foolproof guide, sometimes things go slightly sideways, right? That’s totally normal when cooking, especially with fermentation! When you run into snags, remember that this is part of the process of mastering your Homemade Kimchi Troubleshooting. If your final product tastes way too salty, nine times out of ten, you got lazy during the rinsing step after brining. Go back and rinse those leaves again, even if they look clean!
If your napa cabbage kimchi ends up strangely slimy or soft, it usually means the cabbage wasn’t brined long enough to wilt properly, or maybe your ambient room temperature was too high, making the wrong bacteria take over. And if it’s just not bubbling? Check your temperature! It needs a cozy, steady warmth—around 70°F—to kickstart those happy little probiotics. Don’t stress; just tweak the conditions next time!
Frequently Asked Questions About Napa Cabbage Kimchi
I know you might have a few lingering questions before you dive into making your first batch of this beautiful, spicy cabbage. That’s totally fine! Fermentation can feel mysterious, but I’ve gathered the most common things folks ask me right after they finish reading the recipe.
Can I make this Napa Cabbage Kimchi recipe vegetarian?
You absolutely can! Traditional napa cabbage kimchi relies on fish sauce and those little fermented shrimp (saeujeot) for that necessary savory depth, but we cover the workaround in the notes. If you want to skip the seafood entirely, just swap the fish sauce for a really good quality soy sauce—maybe add a tiny pinch of kelp powder if you happen to have some! That keeps it vegetarian and still incredibly delicious, though it leans a bit more toward the salty side than the deep funk of the traditional version.
What if my kimchi tastes metallic?
Ugh, that taste is the worst! It usually means the acidity is reacting with the container you stored it in. Remember in Step 8 when I stressed airtight containers? If you used cheap plastic or metal bowls to hold the finished product, you might get that metallic note leaching into your brine. For the best results and to avoid that awful taste, always stick to glass jars or ceramic crocks when you transition it to the cold for aging!
It’s important to use the right tools even for simple things, which is why I always share my favorite baking essentials too. Transparency about ingredients and equipment makes all the difference in achieving that authentic Korean flavor profile!
PrintAuthentic Napa Cabbage Kimchi Recipe (Baechu Kimchi)
Learn how to make traditional, crispy Napa Cabbage Kimchi at home using this easy guide. Master the brining process and the flavorful gochugaru seasoning paste for authentic Korean flavor.
- Prep Time: 2 hours 30 min
- Cook Time: 10 min
- Total Time: 2 hours 40 min (plus 1-7 days fermentation)
- Yield: About 6 servings 1x
- Category: Side Dish
- Method: Fermenting
- Cuisine: Korean
- Diet: Halal
Ingredients
- 3 lbs Napa cabbage
- 1 cup coarse sea salt or kosher salt (for brining)
- 1/2 cup sweet rice flour (or regular all-purpose flour)
- 1 cup water
- 1/4 cup sugar
- 1/2 cup Korean fish sauce (Myeolchi Aekjeot)
- 1/4 cup salted fermented shrimp (Saeujeot), minced
- 1/2 cup Gochugaru (Korean chili flakes)
- 1/4 cup garlic, minced
- 1 tablespoon fresh ginger, grated
- 1 small Asian pear or apple, grated (optional, for sweetness)
- 1/2 cup Korean radish (mu), julienned
- 1 cup scallions, cut into 1-inch pieces
Instructions
- Cut the Napa cabbage lengthwise into quarters, keeping the core intact to hold the leaves together. If the heads are very large, you can cut them in half again.
- Prepare the brine: In a large bowl, dissolve 1/2 cup of the salt in 8 cups of water. Submerge the cabbage quarters completely. Let them soak for 1.5 to 2 hours, turning them every 30 minutes. The leaves should become pliable and bend without snapping.
- Rinse the brined cabbage thoroughly under cold running water three times to remove excess salt. Drain the cabbage well in a colander for at least 30 minutes, allowing excess water to drip off. Squeeze each quarter gently to remove more water.
- Make the porridge base: In a small saucepan, whisk the sweet rice flour and water together until smooth. Heat over medium heat, stirring constantly until the mixture thickens into a paste (about 5-7 minutes). Remove from heat and stir in the sugar until dissolved. Let this cool completely.
- Prepare the seasoning paste (Yangnyeom): In a large bowl, combine the cooled porridge, fish sauce, minced saeujeot, Gochugaru, minced garlic, grated ginger, and grated pear (if using). Mix well until you have a thick, deep red paste.
- Fold in the vegetables: Add the julienned Korean radish and scallions to the seasoning paste. Mix gently to coat.
- Spread the paste: Wearing gloves, take one cabbage quarter at a time. Spread a thin, even layer of the seasoning paste between every leaf, starting from the outer leaves and working toward the core. Do not over-pack the paste.
- Pack the kimchi: Fold the outer leaves around the quarter to form a neat bundle. Place the kimchi tightly into an airtight fermentation container or large glass jar, pressing down firmly to eliminate air pockets. Leave at least 1-2 inches of headspace at the top.
- Ferment: Leave the container at room temperature (around 68-72°F) for 1 to 2 days, depending on the ambient temperature. Check daily for bubbling. Once it starts bubbling slightly, transfer it to the refrigerator.
- Store and age: Refrigerate for at least one week before eating for the best flavor development. Your homemade kimchi will continue to ferment slowly in the fridge for several months.
Notes
- For crispy kimchi, do not over-brine the cabbage. The goal is to wilt the leaves, not fully pickle them during the initial soak.
- If you cannot find saeujeot (salted shrimp), you can increase the fish sauce slightly, though the authentic flavor will be slightly altered.
- For a vegan kimchi alternative, omit the fish sauce and saeujeot, and substitute with 1/4 cup of soy sauce and 1 tablespoon of kelp broth powder mixed into the paste.
- Always use gloves when handling the Gochugaru paste to prevent skin irritation.
Nutrition
- Serving Size: 1 cup
- Calories: 55
- Sugar: 4
- Sodium: 650
- Fat: 0.5
- Saturated Fat: 0.1
- Unsaturated Fat: 0.4
- Trans Fat: 0
- Carbohydrates: 11
- Fiber: 2
- Protein: 2
- Cholesterol: 5