
If you’ve ever walked into an Italian pastry shop and sighed over those perfectly piped, buttery swirls, I have fantastic news for you! We’re cutting out the intimidation factor today. As a dedicated home cook, my goal with Cooking Zenith is always to bring professional quality right to your countertop, and nothing screams ‘perfectly baked’ quite like these Italian Butter Cookies. These aren’t just cookies; they are melt in your mouth heaven—tender, rich, and surprisingly straightforward to make. Forget those dry, crumbly disappointments; I’m sharing my foolproof blueprint for authentic, bakery style butter cookies that consistently wow everyone. If you love learning how to nail classic textures, check out my tricks for making soft and chewy peanut butter cookies too!
- Why This is the Best Easy Italian Butter Cookie Recipe
- Essential Ingredients for Authentic Italian Butter Cookies
- Step-by-Step Instructions for Bakery Style Butter Cookies
- Tips for Perfect Homemade Italian Cookies Every Time
- Variations: Chocolate Dipped Butter Cookies and Jam Filled Italian Cookies
- Serving Suggestions for Italian Butter Cookies
- Storage & Reheating Instructions for Tender Butter Cookies
- Frequently Asked Questions About Italian Butter Cookies
- Nutrition Estimates for This Italian Butter Cookies Recipe
Why This is the Best Easy Italian Butter Cookie Recipe
Look, I get it. You want that beautiful, **Bakery Style Butter Cookies** look without spending all day wrestling with dough. That’s why this recipe, which yields such wonderfully **Tender Butter Cookies**, is my absolute go-to. It’s truly designed for the home kitchen, proving you don’t need six extra steps to get authentic flavor.
- It’s so easy! The **Simple Butter Cookie Dough** comes together fast.
- You get that coveted **Melt In Your Mouth Cookies** experience every single time.
- It’s versatile enough for holiday baking but simple enough for a Tuesday afternoon treat. Plus, you can learn how to make my favorite easy pink sauce next!
Achieving True Melt In Your Mouth Cookies Texture
The secret sauce for that tenderness? It’s twofold, really. We use powdered sugar instead of granulated sugar in the creaming stage, which dissolves beautifully and keeps the final cookie incredibly fine. And you absolutely must follow the chilling time! That hour in the fridge firms up the high butter content so the cookies hold their shape perfectly when pressed, resulting in that light, melt-away texture when you bite into them.
Essential Ingredients for Authentic Italian Butter Cookies
Alright, let’s talk shopping list! Because these are **Italian Butter Cookies**, the quality of the fat matters more than almost anything else. I really mean it when I say you need good, unsalted butter—don’t even try swapping in margarine here; you’ll just end up with sad, flat cookies. This recipe is simple, which means every ingredient really shines through. You’ll notice we rely heavily on powdered sugar for that fine, sandy texture. You can find the full breakdown below. I even have a great recipe for easy homemade teriyaki sauce if you need something savory later!
- 1 cup unsalted butter, properly softened
- 1 cup powdered sugar (don’t substitute this for granulated!)
- 1 large egg yolk
- 1 teaspoon vanilla extract
- 1/2 teaspoon almond extract
- 2 cups all-purpose flour
- 1/4 teaspoon salt
Ingredient Notes and Substitutions for Italian Butter Cookies
You see that almond extract? It’s non-negotiable for that authentic Italian bakery flavor, trust me. Vanilla gives you the base warmth, but almond gives it that little *zing*. If you are really stuck and have absolutely no almond, you can bump the vanilla up to 1.5 teaspoons, but it won’t be quite the same. We use powdered sugar here, rather than granulated, because it incorporates more smoothly with high amounts of fat, which is crucial for keeping these **Tender Butter Cookies** light.
If, somehow, you run out of butter—which, panic moment!—you can try using half butter and half shortening for the fat components, but the flavor won’t be as rich. Since this recipe relies on the **Simple Butter Cookie Dough** structure, stick to all-purpose flour; cake flour tends to make them too delicate to press.
Step-by-Step Instructions for Bakery Style Butter Cookies
This is where we turn our beautifully blended ingredients into actual **Italian Butter Cookies**! Follow these steps closely, and you’ll be pressing out perfect shapes like a pro. I remember my first time: I skipped the chilling step, and oh boy, was it a melted mess on the baking sheet. Don’t let that happen to you!
- First things first: Beat that softened butter until it’s genuinely creamy—think pale and almost fluffy. Then, slowly introduce the powdered sugar and beat it well until everything looks light and airy.
- Next, drop in the egg yolk, vanilla, and my secret weapon, the almond extract. Mix just until they disappear into the mixture.
- Grab that other bowl with your flour and salt. Now, add the dry stuff to the wet stuff in small additions, keeping the mixer on low. Stop mixing the second you don’t see any more streaks of flour. Seriously, stop!
- Wrap that perfect **Simple Butter Cookie Dough** up tight in plastic wrap and make it take a long nap in the fridge—at least one full hour. This chilling time is non-negotiable for great texture!
- When you’re ready to bake, get your oven warmed up to 350°F (175°C), and line your baking sheets with parchment paper.
- Fill your cookie press—this is the fun part!—with the chilled dough. Press the dough directly onto the prepared sheets in the shapes you love, like those gorgeous swirls or little logs.
- Bake them for just 10 to 12 minutes. You are looking for the edges to turn the faintest shade of gold. The centers should stay pale, like pale sunshine. If they get dark brown, you’ve baked them too long!
- Pull them out and let them hang out on the hot pan for about 5 minutes before carefully moving them onto a wire rack to cool completely. You can check out my recipe for creamy Filipino cassava cake while they cool down!
Mastering the Simple Butter Cookie Dough
Remember that warning? Do *not* overmix once you add the flour! When you combine the dry flour and salt with the creamed butter and sugar, you are building structure. If you beat it too hard or too long, you develop gluten, and suddenly, those supposed **Melt In Your Mouth Cookies** turn into tough, chewy discs. We want a tender crumb, so mix low and slow, only until *just* combined. My first few tries were way too tough until I learned to respect the dough and step away from the mixer!
Pressing and Baking Your Italian Butter Cookies
That chilling time we talked about? It pays off here! Cold dough won’t spread out into puddles when it hits the heat. After chilling for at least 60 minutes, your dough should be firm enough to hold its shape nicely in the press. Pop the trays into your preheated 350°F oven. Watch them like a hawk! They bake fast—10 to 12 minutes is usually perfect. Look for the very light gold tint on the edges; that’s your signal that you’ve achieved classic **Bakery Style Butter Cookies**.
Tips for Perfect Homemade Italian Cookies Every Time
Okay, now that you know the basics, let me share a few things I learned the hard way while perfecting these Italian Butter Cookies. We want them to be tender, hold their shape, and taste like they came straight from a high-end bakery—that’s the goal here! Since this dough is so rich in butter, temperature management is everything. If your dough gets too warm, they’ll spread into sad, flat discs on the baking sheet, and we definitely don’t want that.
Here are my must-know secrets for perfect results:
- Keep it Cool: If you notice the dough softening while you’re working with the cookie press, stop immediately! Put the whole press, dough and all, back into the fridge for 10 minutes. Cold dough equals defined swirls!
- Press Loading: Don’t pack the dough into the cookie press drum too tightly. If you jam it in, you stress the dough, which can cause it to crumble or stick to the sides. Keep it relatively loose so it flows easily under pressure.
- Preventing Spreading: While chilling is number one, baking on parchment paper instead of a bare metal sheet helps insulate the bottom slightly and prevents that initial spread. You can also chill the pressed cookies on the tray for 5 minutes before they go into the oven!
I’ll never forget the first tray I tried to make without chilling the dough properly—it looked like melted abstract art! It was edible, sure, but not pretty. Once I respected the chill time, my **Homemade Italian Cookies** went from cute to stunning. Mastering that temperature control is what takes you from a good baker to a great baker. Feel free to check out my guide to making the best homemade classic lemonade recipe—it pairs perfectly with these buttery bites!
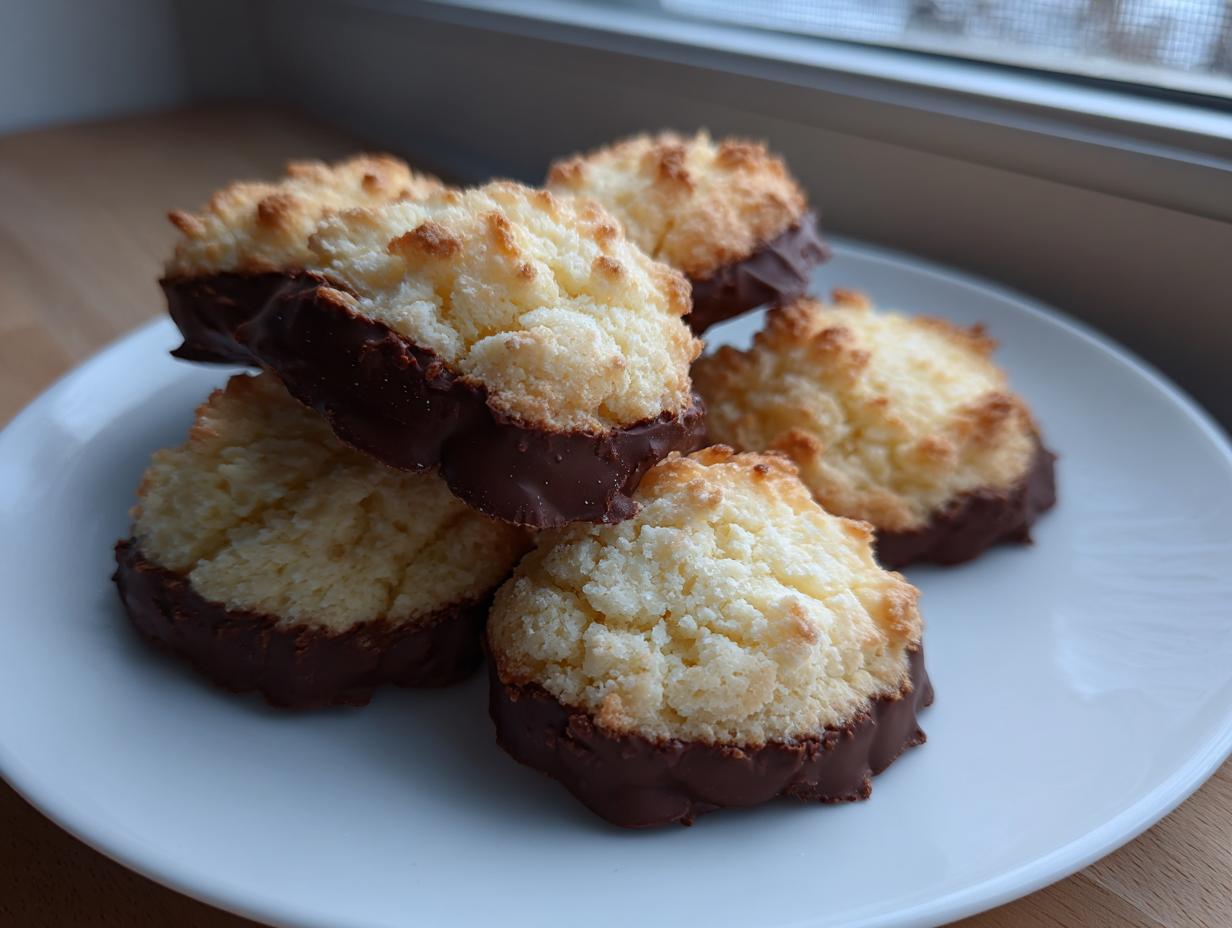
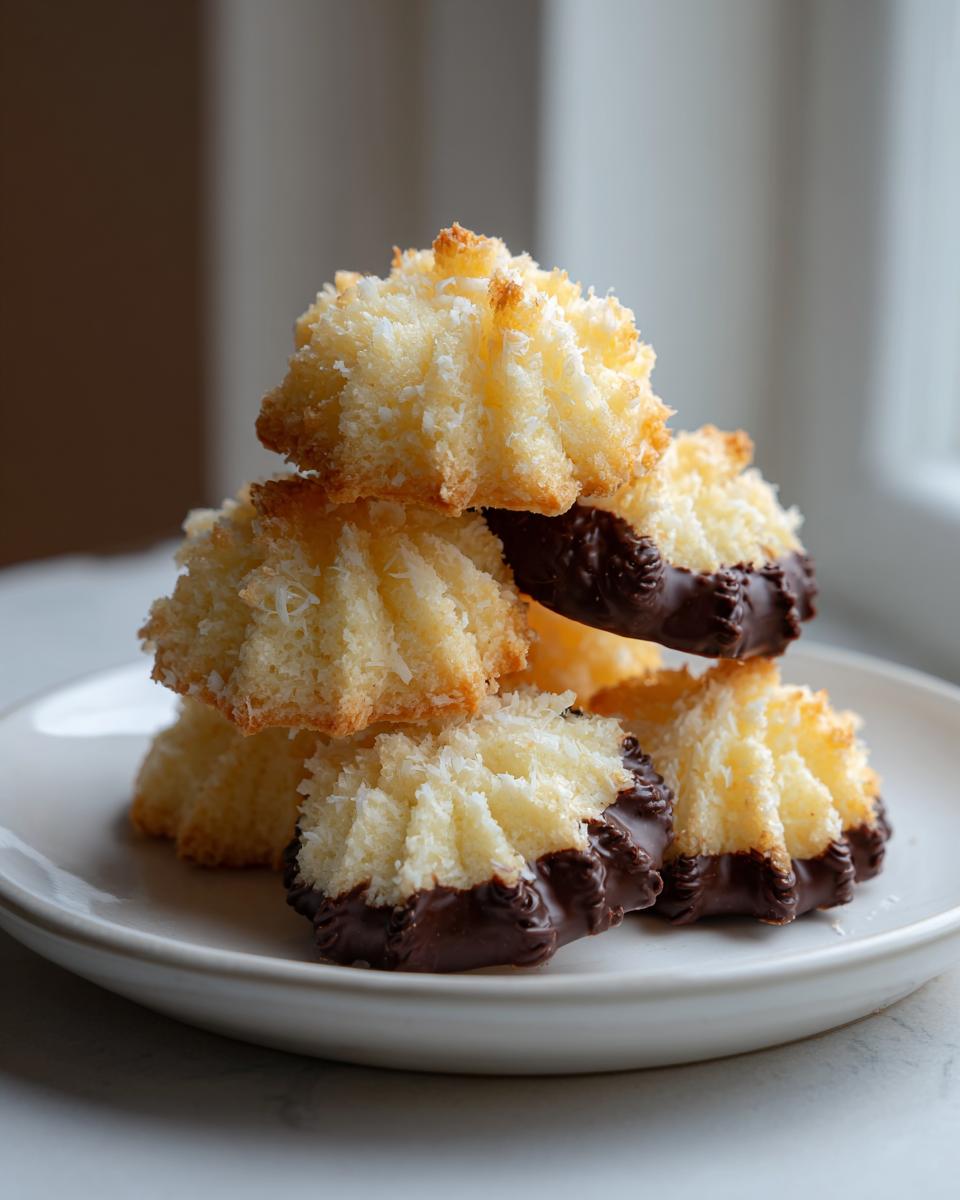
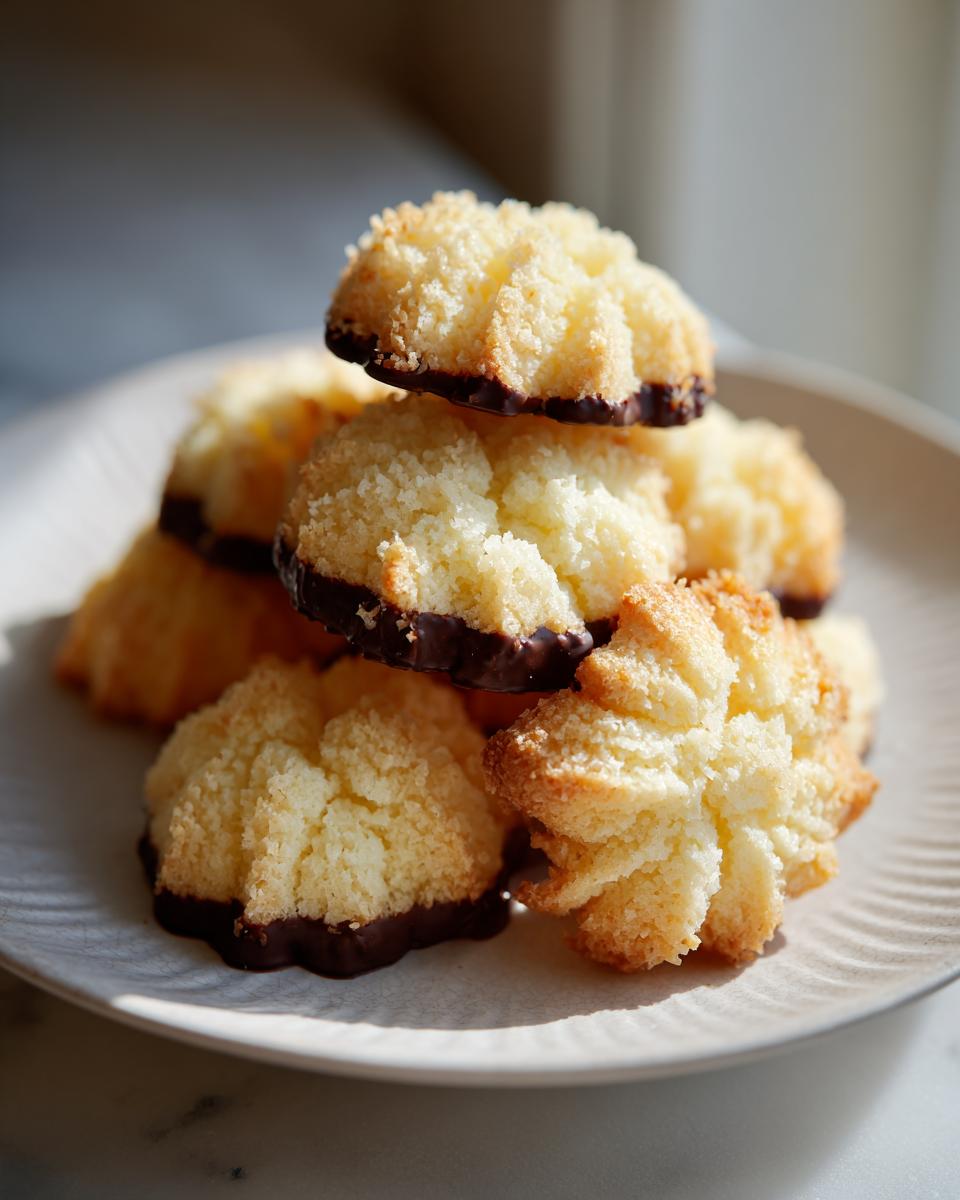
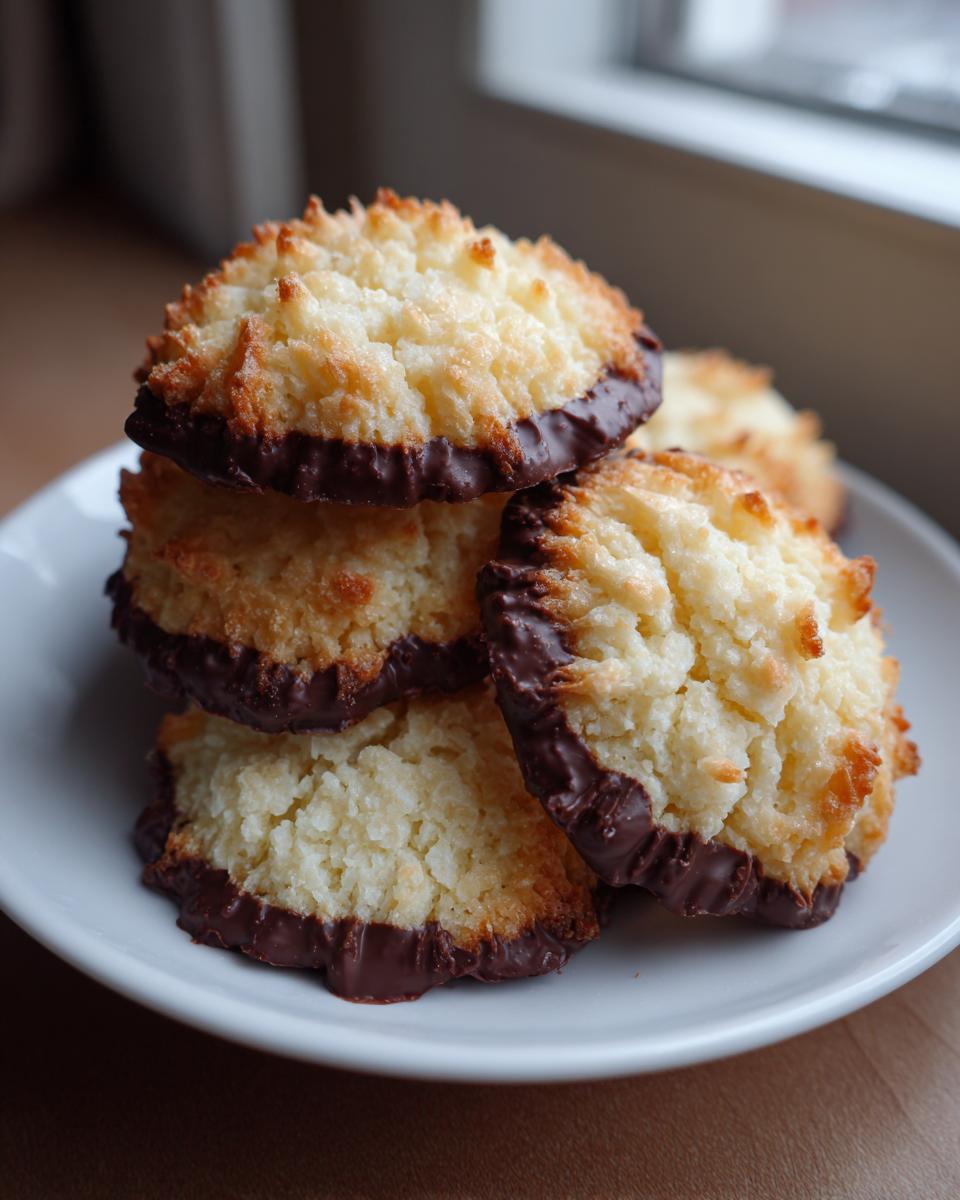
Variations: Chocolate Dipped Butter Cookies and Jam Filled Italian Cookies
Once your Tender Butter Cookies are completely cool—and I mean totally cool, otherwise the chocolate melts everywhere—it’s time to take them up a notch! Most people associate these gorgeous golden treats with being dipped, and honestly, why wouldn’t you? They become fantastic **Christmas Butter Cookies** this way.
For the dipping, I always melt semi-sweet chocolate using a double boiler setup, or carefully in the microwave in 30-second bursts, stirring well each time. You want it perfectly smooth so it coats nicely. Dip about one-third of the cookie into the melted chocolate, letting any excess drip off. Then lay them on parchment paper to set. If you’d like to see another decadent chocolate recipe, check out my guide to chocolate covered cherries!

If you prefer the sandwich style, you can easily make Jam Filled Italian Cookies. Just pair two cookies of similar size and gently press a small teaspoon of good quality jam—raspberry or apricot works best—between them. They taste just as amazing alongside your morning coffee as the dipped versions do. Want more inspiration for making incredible **Homemade Italian Cookies**? You can see some great ideas over at Our Salty Kitchen!
Serving Suggestions for Italian Butter Cookies
These light, buttery bites were practically invented to go with a warm beverage. They are totally perfect for **Holiday Baking** trays, but honestly, why save them? They shine just as much next to a strong cup of espresso or a soothing cup of black tea on a quiet afternoon. If you bring a tin of these **Italian Butter Cookies** to a gathering, they disappear instantly!
Because they hold up so well, they also make incredible, thoughtful gifts. Just stack a few swirls and chocolate-dipped halves together and tie them up with a ribbon—it feels so special! If you’re looking for another fantastic snack recipe to fill your holiday tins, you have to check out how I make easy cinnamon sugar pecans!
Storage & Reheating Instructions for Tender Butter Cookies
The best part about these Tender Butter Cookies is that they are amazing the next day, which means more time for eating and less time baking! You don’t need to reheat them at all; they are designed to be eaten at room temperature. Just stack them carefully in a good, airtight container.
Now, depending on how many you actually leave untouched, they should stay perfectly fresh for about a week. If you happen to have any left over and want to learn how to make some incredible classic peanut brittle, I’ve got that recipe ready for you!
Frequently Asked Questions About Italian Butter Cookies
I always get so many questions after people try this recipe—it’s just that good! Here are the ones popping up most often about making the best **Homemade Italian Cookies**.
Can I make Italian Butter Cookies without a cookie press?
Oh gosh, yes! Not everyone owns a cookie press, and that’s totally fine. If you don’t have one, you have two great options for getting beautiful **Bakery Style Butter Cookies**. The first is rolling the dough into small logs, chilling them until firm, and then slicing them into half-inch rounds before baking. The second, and my favorite alternative if you don’t have a press, is loading the **Simple Butter Cookie Dough** into a sturdy piping bag fitted with a large star tip—like the kind you use for frosting cupcakes—and piping swirls directly onto the sheet. Works like a charm!
What makes these cookies a ‘Melt In Your Mouth’ texture?
It really comes down to the foundation of this recipe! The combination of softened butter and powdered sugar, creamed until fluffy, traps tiny air cells. When you add the flour, you must *not* overmix, or you deflate those cells. That high fat content and the way the powdered sugar dissolves create those truly divine **Melt In Your Mouth Cookies** you expect from a traditional Italian bakery. It’s all about that careful creaming and gentle mixing!
Can I freeze the Simple Butter Cookie Dough?
Yes, you absolutely can! Freezing the dough is actually a great way to prep for **Holiday Baking**. After you mix the dough, wrap that log of **Simple Butter Cookie Dough** up super tight in plastic wrap. You can freeze it for up to three months. When you are ready to bake, just thaw it overnight in the fridge first. Make sure it’s nice and firm before you try to press it, okay? If you ever want to try another great make-ahead item, my recipe for chocolate zucchini muffins freezes beautifully too!
If you want to see another take on these favorites, I saw a great one for an easy homemade treat that might give you even more inspiration!
Nutrition Estimates for This Italian Butter Cookies Recipe
Okay, let’s talk about what goes into these delightful little morsels, just so you have a rough idea. Since we’re aiming for maximum buttery flavor in our **Italian Butter Cookies**, they definitely fall into the ‘treat’ category!
Here is an estimate based on the recipe making about 3 dozen cookies. Keep in mind these numbers can shift around depending on exactly how much butter you used or if you made substitutions. When it comes to baking, I always say ‘enjoy the treat’—these estimates are just for casual reference!
- Serving Size: 1 cookie
- Calories: 130
- Fat: 8g
- Saturated Fat: 5g
- Carbohydrates: 13g
- Sugar: 8g
- Protein: 2g
- Cholesterol: 30mg
This is the best part of baking at home; you control the ingredients! If you want to compare this to something a little healthier when you aren’t indulging in cookies, you can always check out my recipe for moist oatmeal banana muffins. But for now, just enjoy the richness of these amazing **Tender Butter Cookies**!
PrintBakery-Style Italian Butter Cookies: Melt-in-Your-Mouth Recipe

Make authentic, tender Italian Butter Cookies at home. This easy recipe yields buttery, melt-in-your-mouth cookies perfect for holidays or pairing with coffee.
- Prep Time: 25 min
- Cook Time: 12 min
- Total Time: 1 hour 37 min
- Yield: About 3 dozen cookies 1x
- Category: Dessert
- Method: Baking
- Cuisine: Italian
- Diet: Vegetarian
Ingredients
- 1 cup unsalted butter, softened
- 1 cup powdered sugar
- 1 large egg yolk
- 1 teaspoon vanilla extract
- 1/2 teaspoon almond extract
- 2 cups all-purpose flour
- 1/4 teaspoon salt
- Optional: 1/2 cup melted semi-sweet chocolate for dipping
- Optional: Jam for filling
Instructions
- Beat the softened butter in a large bowl until creamy. Add the powdered sugar and beat until the mixture is light and fluffy.
- Mix in the egg yolk, vanilla extract, and almond extract until just combined.
- In a separate bowl, whisk together the flour and salt. Gradually add the dry ingredients to the wet ingredients, mixing on low speed until a soft dough forms. Do not overmix.
- Wrap the dough in plastic wrap and chill in the refrigerator for at least 1 hour.
- Preheat your oven to 350°F (175°C). Line baking sheets with parchment paper.
- Fill a cookie press fitted with your desired tip (star or round works well for bakery style) with the chilled dough. Press the dough onto the prepared baking sheets into desired shapes, like swirls or logs.
- Bake for 10 to 12 minutes, or until the edges are lightly golden. The centers should remain pale.
- Let the cookies cool on the baking sheet for 5 minutes before transferring them to a wire rack to cool completely.
- For variations: Once cool, dip half of each cookie into melted chocolate, or sandwich two cookies together with a small amount of jam.
Notes
- For the best texture, use room temperature butter but ensure the dough is well-chilled before pressing.
- If you do not have a cookie press, you can roll the dough into small logs and slice them, or use two forks to create ridges.
- These cookies store well in an airtight container at room temperature for up to one week.
Nutrition
- Serving Size: 1 cookie
- Calories: 130
- Sugar: 8
- Sodium: 35
- Fat: 8
- Saturated Fat: 5
- Unsaturated Fat: 3
- Trans Fat: 0
- Carbohydrates: 13
- Fiber: 0
- Protein: 2
- Cholesterol: 30