

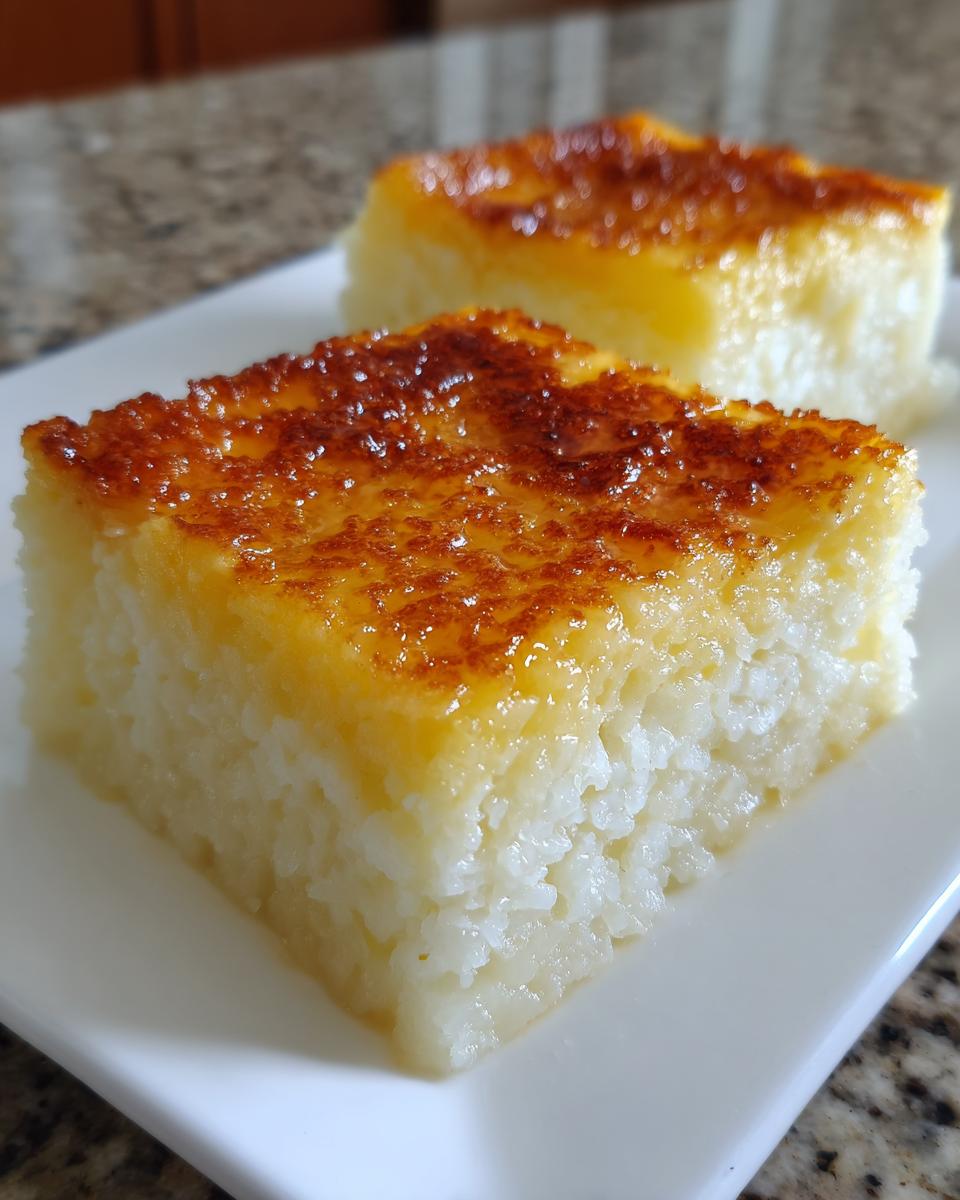
There is just something magical about tropical desserts, isn’t there? That warm hug of coconut and the satisfying chew of root vegetables makes me immediately nostalgic for community gatherings. If you’ve been searching high and low for the ultimate, fail-proof tropical bake, stop looking right now. My cassava cake recipe—an authentic Filipino Cassava Bibingka Recipe—is my absolute go-to.
I’m Aria, and as a passionate home cook, I developed this version to be wonderfully easy and incredibly creamy, even if you’ve never touched cassava before. Forget intimidating preparations! We are going to achieve that signature smooth, golden brown custard topping that makes this recipe famous. If you loved how simple my Basque cheesecake was, you’re going to adore this quick cassava cake. Trust me, this is the foundational homemade cassava cake you need in your rotation.
- Why This Easy Cassava Cake Recipe Works for You
- Ingredients for the Perfect Creamy Cassava Cake
- Step-by-Step Instructions for Homemade Cassava Cake
- Tips for Achieving the Best Chewy Cassava Cake Texture
- Variations: Macapuno and Cheesy Cassava Cake Options
- Storage and Reheating Instructions for Cassava Cake
- Equipment Needed for this Cassava Cake Recipe
- Frequently Asked Questions About Cassava Cake
- Share Your Homemade Cassava Cake Creations
Why This Easy Cassava Cake Recipe Works for You
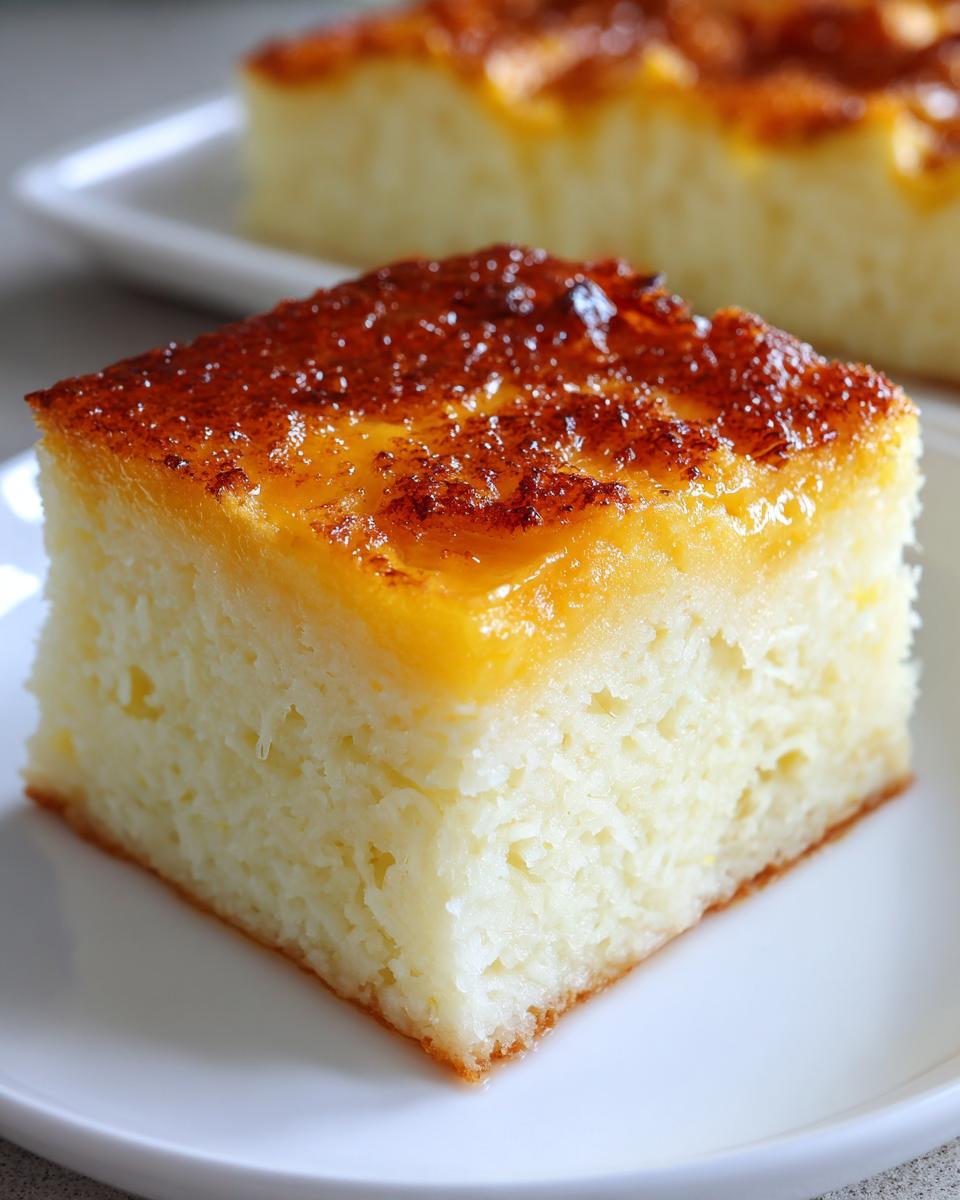
I totally get it; sometimes you want that incredible, rich flavor without spending half the day baking. That’s why I designed this easy cassava cake recipe to be lightning fast for a tropical dessert. We’re talking about a beautiful moist cassava dessert that comes together in under 90 minutes.
You want that perfect bite, right? This version guarantees a wonderfully chewy cassava cake base texture, which is often the hardest part for beginners. Plus, unlike some recipes that need hours just for the base to set, we move straight to the heavenly custard topping.
If you are looking for a simpler approach, check out my one-bowl vegan banana bread when you need something quick. But honestly, this Filipino Cassava Cake is just as straightforward and tastes like pure sunshine. It’s perfect for your next potluck dessert!
Ingredients for the Perfect Creamy Cassava Cake
Okay, grabbing the right ingredients is half the battle for this creamy cassava cake. Don’t stress too much if you can’t find fresh cassava; the frozen, thawed kind works beautifully, but you absolutely *must* squeeze out all that extra water first. Think of this like preparing spinach—you want the good stuff, not the excess liquid!
I’ve broken down everything you need below. Remember, the topping is what gives us that gorgeous golden finish we’re after. If you want to try my favorite customizations, you’ll find those listed with the topping ingredients too!
For the Cassava Cake Base
- 4 cups grated cassava (make sure it’s fully thawed if frozen, and squeeze out the liquid!)
- 1 (13.5 oz) can full-fat coconut milk (don’t skimp on full-fat here for the richness!)
- 1 (14 oz) can sweetened condensed milk
- 1/2 cup granulated sugar
- 1/2 cup melted unsalted butter
- 2 large eggs
- 1 teaspoon vanilla extract
- 1/4 teaspoon salt
For the Golden Custard Topping (and Optional Add-ins)
This is where the magic happens before the final bake. For that delicious sweet and savory kick you were hoping for, this is where you fold in your extras!
- 1/2 cup evaporated milk (this creates that lighter custard texture)
- 1/2 cup granulated sugar (yes, more sugar, but this is for the top layer!)
- 2 large egg yolks (just the yolks give the topping that amazing deep color)
- 1/4 cup coconut cream (this adds richness to the custard!)
- 1/2 cup shredded cheese OR 1/2 cup Macapuno strings (optional additions folded into the base batter)
If you want to see how I approach other rich, satisfying bakes, my best banana bread recipe uses similar dairy elements to lock in moisture.
Step-by-Step Instructions for Homemade Cassava Cake
Alright, let’s get this glorious Filipino Cassava Cake into the oven! This process is straightforward, but timing is everything, especially that beautiful two-stage bake. Before you even look at the ingredients, get your oven preheated to 350°F (175°C) and prep that 8×8 inch pan with parchment paper. I always use the goop method on the sides just to be extra sure my baked goods don’t stick!
Preparing the Cassava Cake Batter
In your biggest bowl—we need space!—combine the grated cassava, that full can of coconut milk, the condensed milk, the first portion of sugar, melted butter, eggs, vanilla, and salt. You want to mix this until everything looks happy and uniform. Don’t grab the electric mixer for this base; a sturdy wooden spoon or spatula is perfect. We don’t want to incorporate too much air here; we are aiming for that dense, chewy texture, not a puffy cake.
If you decided to add your optional cheese or Macapuno strings, gently fold them in right at the end. Pour that lovely batter evenly into your prepared pan.
Baking the Base Layer
Pop the pan into the preheated oven. The base layer needs 45 to 55 minutes. You’ll know it’s ready for the topping when the edges look set and just starting to kiss brown. It won’t look fully done yet, and that’s okay! It just needs to be solid enough to hold our beautiful custard.
Creating and Applying the Custard Topping
While the base is baking, grab a separate small bowl. Whisk together all your topping ingredients: the evaporated milk, the second 1/2 cup of sugar, those egg yolks, and the coconut cream. Whisk gently until it’s totally smooth—no lumps allowed! When the base is done, carefully slide the rack out. Pour that custard mixture slowly and evenly right over the surface. Take your time here so you don’t puncture the base layer!
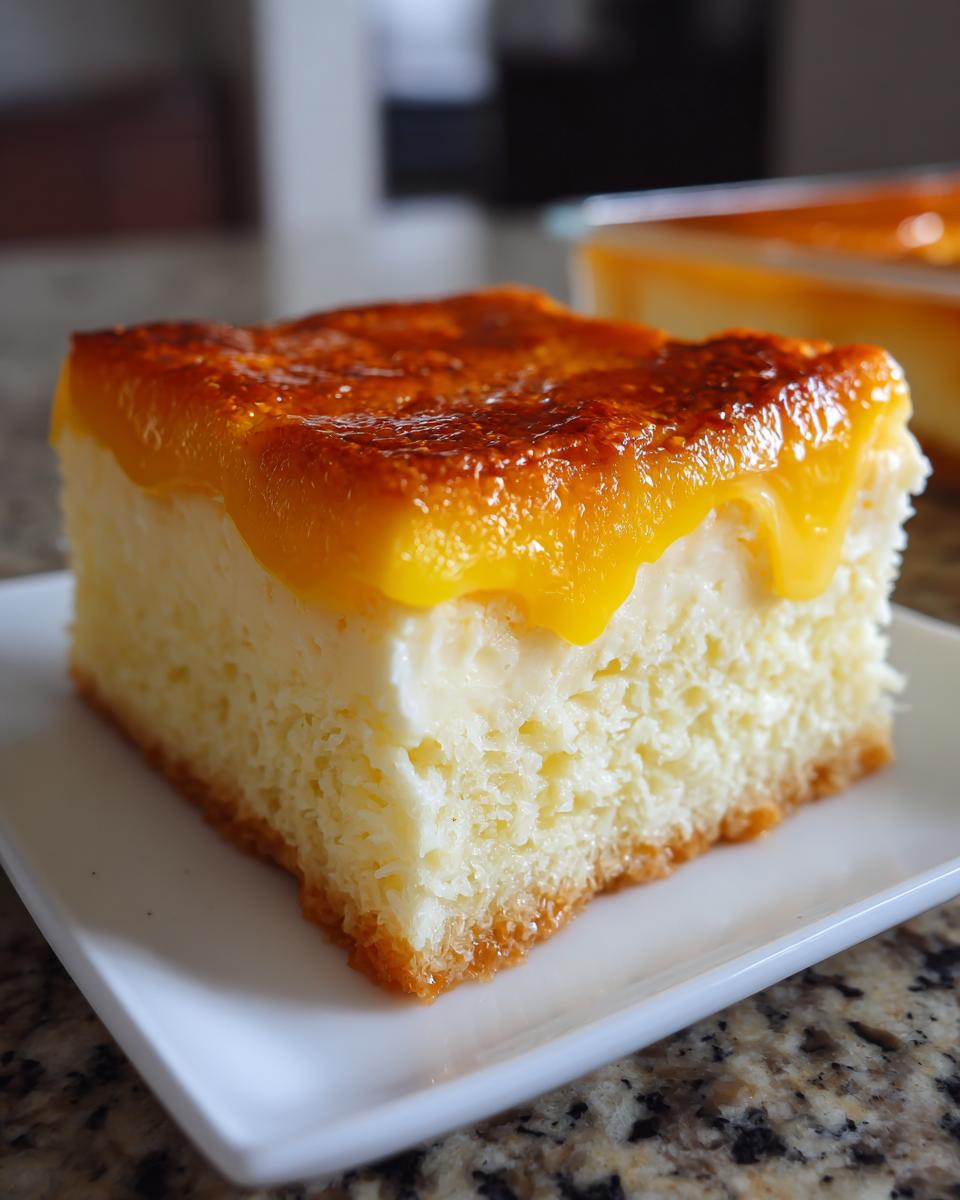
Finishing the Cassava Cake with Custard Topping
Back into the oven she goes! You’ll bake this for another 15 to 20 minutes. This is where you need to stand close! You want the topping to be set and gloriously golden brown. Keep a sharp eye on it, especially the last five minutes. If it seems like it’s browning too fast, just turn the heat down a bit. Once it’s perfect, pull it out. The absolute hardest part? You have to let this Moist Cassava Dessert cool completely before slicing, ideally chilling it for a couple of hours. Patience pays off for the perfect slice!
Tips for Achieving the Best Chewy Cassava Cake Texture
Texture, texture, texture! That’s what makes a Cassava Cake truly memorable, right? You don’t just want it to taste sweet and coconut-y; you need that perfect, satisfying chewiness that sticks wonderfully to your teeth (in a good way!). Honestly, getting this right comes down to how you treat your main ingredient.
My number one, non-negotiable tip for that ideal chewy finish comes before we even start mixing: Squeeze your cassava! Whether you use fresh or thawed frozen, you must press out as much water as humanly possible. I use a clean kitchen towel and twist it over the sink until I feel like I’m wringing out a wet sponge. Too much moisture means the final cake is rubbery, not chewy.
Secondly, don’t over-bake that base layer! If you leave the base in too long before adding the custard, it dries out, and you end up with a hard layer fighting your soft topping. Stop baking it as soon as the edges are set. For more troubleshooting tips on baking results, I always reference my notes on French onion soup—it’s all about knowing when to pull something off the heat!
For the secret to the topping staying soft, remember to look at the finishing bake time in this guide—we only need the custard to set, not cook into a hard shell!
Variations: Macapuno and Cheesy Cassava Cake Options
One of the best things about this cassava cake recipe is how adaptable it is! While the classic version with just the creamy custard topping is divine, adding extra textures or flavors is what makes it a true celebration dish. I love having options because it keeps this Classic Filipino Dessert fun to make year after year.
You asked about the two most popular variations—Cassava Cake with Macapuno (those sweet, preserved coconut strings) and the delightfully tangy Cheesy Cassava Cake. Both rely on maintaining that core creamy base, but they add wonderful complexity.
Here’s the secret to incorporating these: timing is everything! You add these extras right into the main batter before the first bake, which means they tuck right into that lovely, chewy base. We want them suspended in the cassava, not sinking to the bottom of the custard.
For the Macapuno, measure out your half cup and gently fold it in along with your grated cassava mixture. It adds a sweet, stringy texture that is just incredible. If you usually make my gooey cinnamon rolls and love those extra textural pockets, you’ll appreciate the Macapuno here!
Now, for the cheese! If you’re going for the Cheesy Cassava Cake, use about a half cup of finely shredded cheese—I prefer a mild cheddar so it melts nicely without overpowering the coconut. Fold that into the base batter too. When it bakes, the cheese melts down, creating little salty, savory pockets against the sweet cassava. It’s the perfect play on sweet and savory that Filipinos absolutely adore!
When it comes to the topping, keep it simple with just the custard mix poured over the top. This allows the rich flavors inside—whether it’s Macapuno or cheese—to shine without competing with the sharp tang of cheese on top, unless you use both inside and out! For more ideas on preparing this specific Macapuno version, check out this great recipe resource from Dish Estasty.
Storage and Reheating Instructions for Cassava Cake
I know you’ll probably devour this cassava cake in one sitting, but if you’re lucky enough to have leftovers, storage is important! Because this is a custard-topped dessert, it absolutely needs to go into the fridge. Wrap it up tightly or place it in an airtight container.
Honestly, my favorite way to eat our Filipino Cassava Cake is cold or chilled straight from the refrigerator—that custard topping firms up beautifully! If you prefer it softer, just let a slice sit on the counter for about 30 minutes before serving. It keeps wonderfully for about four days. For more tips on keeping bakes fresh, check out my guide on my easy moist pumpkin bread recipe!
Equipment Needed for this Cassava Cake Recipe
When I first started baking this amazing cassava dessert, I used whatever pans I had handy, but having the right tools really helps achieve that perfect baked outcome. Since this is a beloved merienda favorite, I want to make sure you’re set up for success right from the start! You don’t need fancy gadgets, just the essentials.
Think sturdy and reliable. Because this recipe involves mixing a thick batter and needs a two-stage bake, these specific items are what I always reach for, just like when I make my easy chicken pot pie casserole.
- The Pan: An 8×8 inch baking pan is your best friend here. It gives us the perfect depth for that thick cassava base and custard layer to bake evenly. If you use a larger pan, your cake will be too thin and might dry out!
- Parchment Paper: This is crucial for easy release! Cut a piece to fit the bottom of your 8×8 pan, leaving a little overhang on two sides. Seriously, don’t skip this—it makes cleaning up infinitely easier.
- Mixing Vessels: You need one large, sturdy mixing bowl—the bigger, the better, since we are mixing that thick cassava batter. A second, slightly smaller bowl is perfect for whisking your custard topping ingredients together separately.
- Measuring Tools: Standard cups and spoons are fine, but having a kitchen scale can help immensely if you are using fresh cassava that you grate yourself, just to ensure you hit that 4-cup mark accurately.
- Spatula or Wooden Spoon: For that base batter, a durable spatula or wooden spoon lets you mix thoroughly without whipping in too much air, which keeps the texture wonderfully dense and chewy!
Frequently Asked Questions About Cassava Cake
Even when a recipe seems super straightforward, sometimes little questions pop up, and that’s totally normal! I’ve collected some of the main things folks ask me about this glorious Filipino Cassava Cake. Don’t worry if you’re new to working with cassava; we’ll sort out those last details so your bake is perfect.
If you end up with leftovers, remember to check out my storage tips just before this section—even though this dessert is delicious fresh, knowing how to store it helps keep that texture just right, much like keeping my garlic parmesan meatloaf moist!
Can I use Tapioca Flour instead of Grated Cassava for this Cassava Cake?
That’s a great question, especially if you’re in a pinch! While you certainly can use tapioca flour, you need to know you’re making something closer to a true tapioca pudding cake, not exactly my intended Authentic Cassava Recipe. Grated cassava (fresh or frozen) breaks down during baking, giving you that uniquely dense, slightly fibrous, and *chewy* texture that defines a proper Cassava Bibingka Recipe.
Using just the flour tends to result in something much smoother, almost gelatinous, and usually thinner. It won’t have the same satisfying heft. Stick to the grated root vegetable if you are aiming for that traditional, melt-in-your-mouth chewiness we love!
How do I prevent the custard topping from cracking on my Cassava Cake?
Ah, the dreaded crack! This usually happens because the topping is exposed to too much direct, harsh heat, or perhaps the base layer underneath was too hot when the custard went on. When you take the base out after its initial bake, give it about five minutes to cool down just a tiny bit—it should still be hot enough to set the custard but slightly cooler so the custard doesn’t immediately shock and bubble aggressively.
When you pour that topping on, be gentle! Slowly pour it over the back of a spoon held just above the surface to spread the pressure. For the final bake, watch it like a hawk. You want it to slowly turn golden, not blast it with high heat. If you see it browning too quickly under the regular oven heat, you can switch to the broiler for just 60 seconds, but honestly, keeping that temperature steady usually works best for a smooth, creamy finish.
Is this the same as Tapioca Cake Recipe?
They are cousins, for sure, but they aren’t identical twins! Many people use these terms interchangeably, especially outside of the Philippines, because cassava *is* what we use to make tapioca starch. However, when we talk about this specific, rich, sweet, and often cheesy or Macapuno-laced Classic Filipino Dessert, we mean Filipino Cassava Cake.
A general “tapioca cake” might use pre-made tapioca pearl mixes or rely heavily on just the starch, leading to a different final texture. My recipe focuses on using the whole root—grated—to give you that beloved, rich, and creamy foundation that screams “home baking” to anyone familiar with merienda favorites!
Share Your Homemade Cassava Cake Creations
Now that you’ve conquered this amazing cassava cake, I desperately want to see what you came up with! Seriously, there is nothing that makes my day faster than seeing your pictures pop up online. Did you go for the classic golden custard, or did you dive right into the cheesy topping?
When you finish baking your Moist Cassava Dessert, please take a photo and tag me! I love seeing how this tradition makes its way into your kitchens. Cooking should always be a conversation, not a solo activity in the kitchen.
Once you’ve tasted that perfect, chewy bite, come back here. Drop a little star rating on the recipe card below so other home cooks know just how foolproof this Easy Cassava Cake Recipe is. And if you have any last-minute tips you discovered while making your own batch, pop them in the comments too! Who knows, maybe your little trick will become the next guiding star for another baker trying this incredible quick recipe!
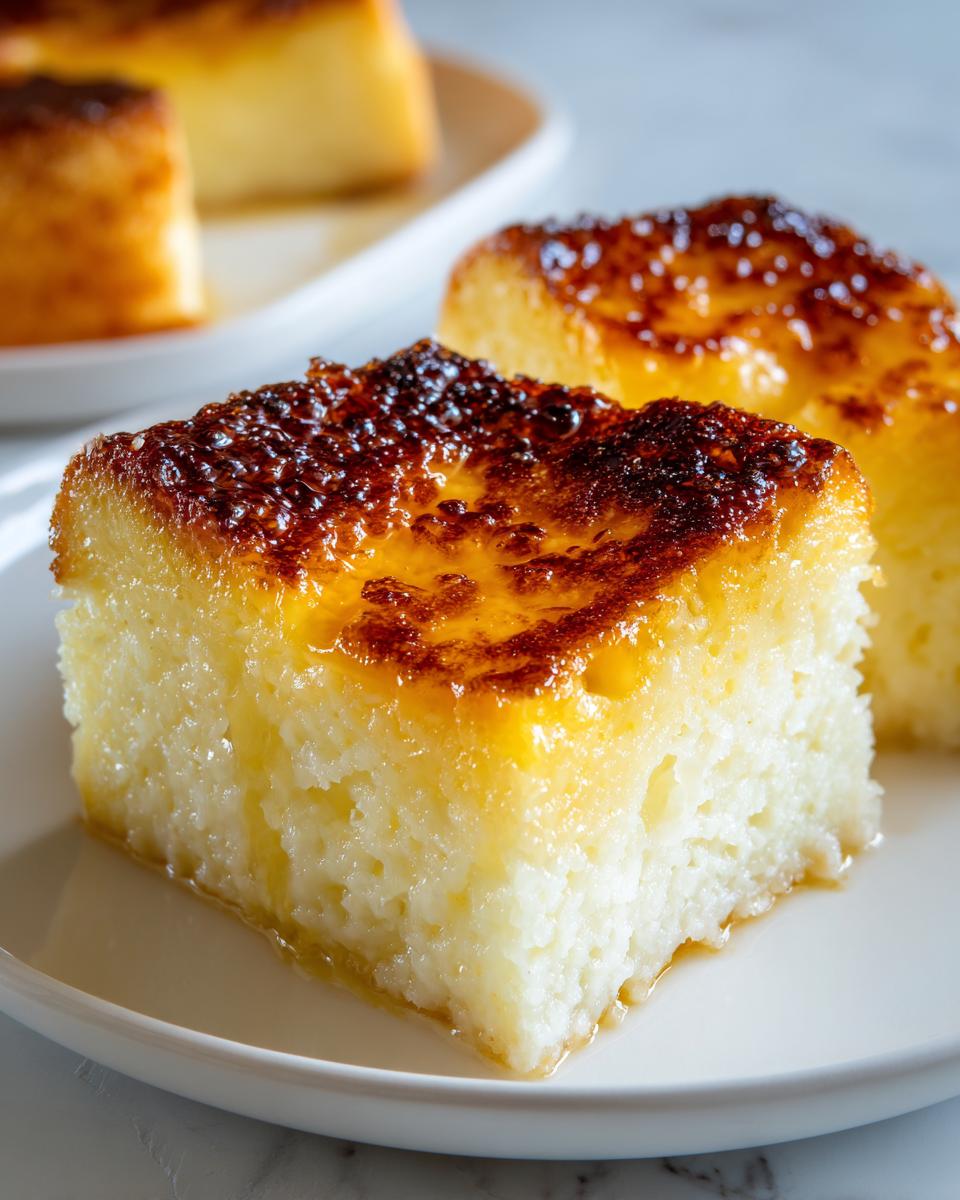
PrintEasy & Creamy Filipino Cassava Cake with Golden Custard Topping
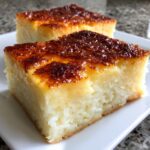
Make this authentic Filipino Cassava Cake, or Cassava Bibingka, easily at home. This recipe yields a moist, chewy base with a smooth, golden-brown custard topping, perfect for beginners. Include optional Macapuno or Cheese for extra flavor.
- Prep Time: 20 min
- Cook Time: 75 min
- Total Time: 95 min
- Yield: 9 servings 1x
- Category: Dessert
- Method: Baking
- Cuisine: Filipino
- Diet: Vegetarian
Ingredients
- 4 cups grated cassava (fresh or frozen, thawed)
- 1 (13.5 oz) can full-fat coconut milk
- 1 (14 oz) can sweetened condensed milk
- 1/2 cup granulated sugar
- 1/2 cup melted unsalted butter
- 2 large eggs
- 1 teaspoon vanilla extract
- 1/4 teaspoon salt
- 1/2 cup evaporated milk (for topping)
- 1/2 cup granulated sugar (for topping)
- 2 large egg yolks (for topping)
- 1/4 cup coconut cream (for topping)
- 1/2 cup shredded cheese or 1/2 cup Macapuno strings (optional)
Instructions
- Preheat your oven to 350°F (175°C). Grease and line an 8×8 inch baking pan with parchment paper.
- In a large bowl, combine the grated cassava, coconut milk, condensed milk, 1/2 cup sugar, melted butter, eggs, vanilla extract, and salt. Mix until the batter is uniform.
- If using, gently fold in the shredded cheese or Macapuno strings into the cassava mixture.
- Pour the batter into the prepared baking pan and spread evenly.
- Bake the base layer for 45 to 55 minutes, or until the edges are set and lightly golden.
- While the base bakes, prepare the custard topping. In a small bowl, whisk together the evaporated milk, 1/2 cup sugar, egg yolks, and coconut cream until smooth.
- Carefully remove the partially baked cake from the oven. Gently pour the custard mixture over the top of the cake base, ensuring it covers the surface evenly.
- Return the cake to the oven. Bake for another 15 to 20 minutes, or until the custard topping is set and achieves a golden-brown color. Watch closely to prevent burning.
- Remove the cake from the oven and let it cool completely in the pan before slicing. For best results, chill for at least 2 hours before serving.
Notes
- If you use frozen grated cassava, make sure you squeeze out any excess liquid before mixing it into the batter.
- To achieve a perfect golden-brown custard, you can switch the oven to the broiler setting for the last 1 to 2 minutes, watching constantly.
- For a richer, cheesier topping, use slightly more cheese or place the cheese in a thicker layer.
Nutrition
- Serving Size: 1 slice
- Calories: 350
- Sugar: 35g
- Sodium: 150mg
- Fat: 18g
- Saturated Fat: 14g
- Unsaturated Fat: 4g
- Trans Fat: 0g
- Carbohydrates: 45g
- Fiber: 3g
- Protein: 5g
- Cholesterol: 55mg