
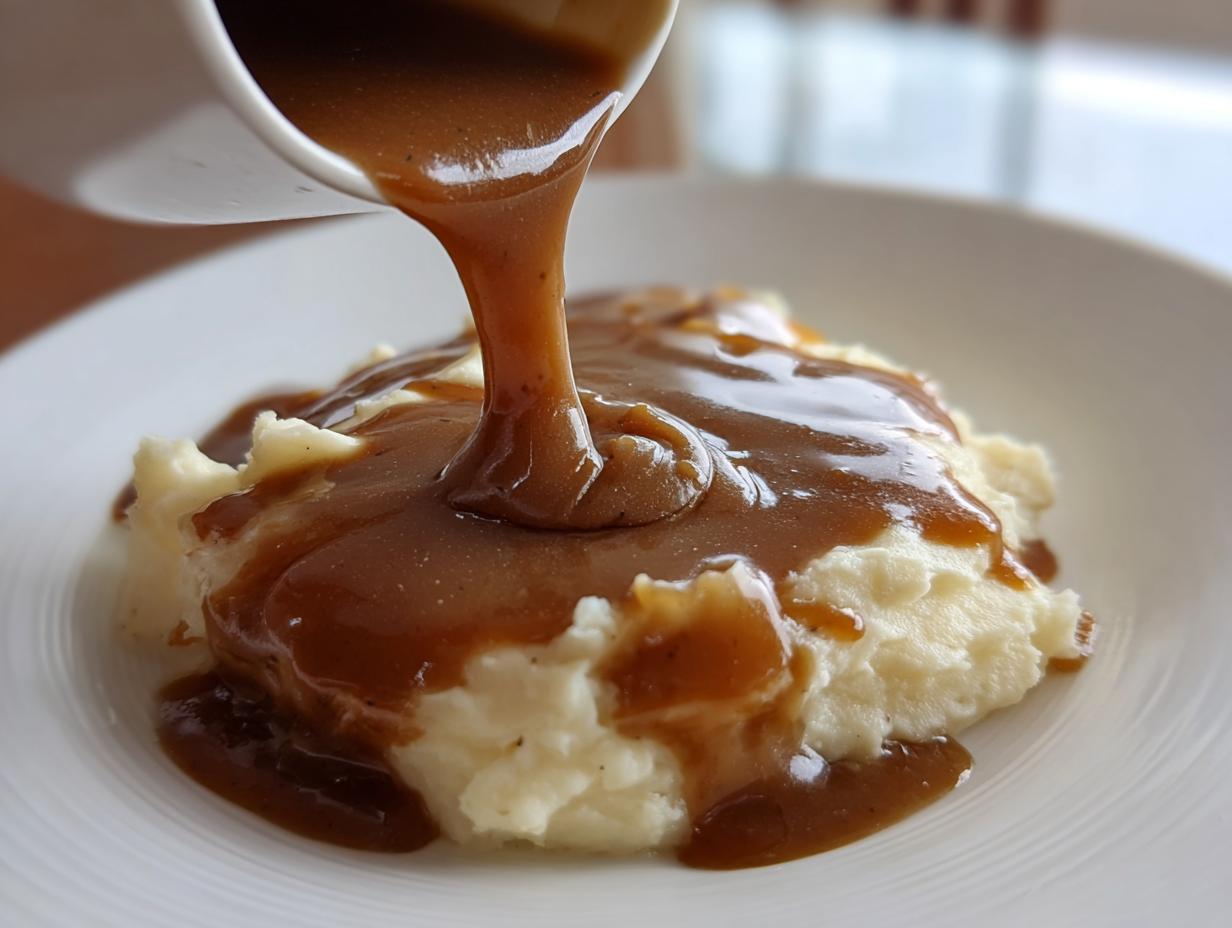
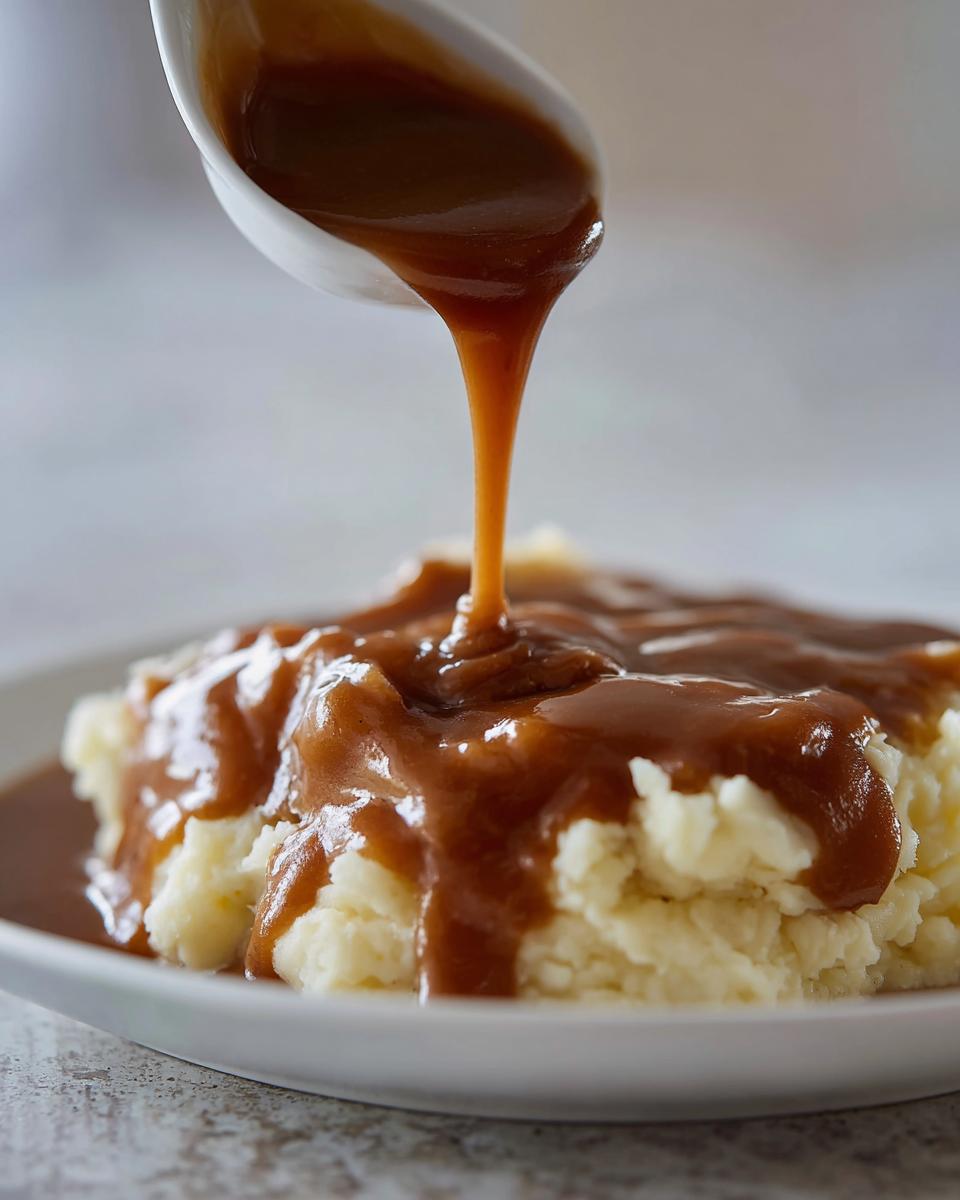
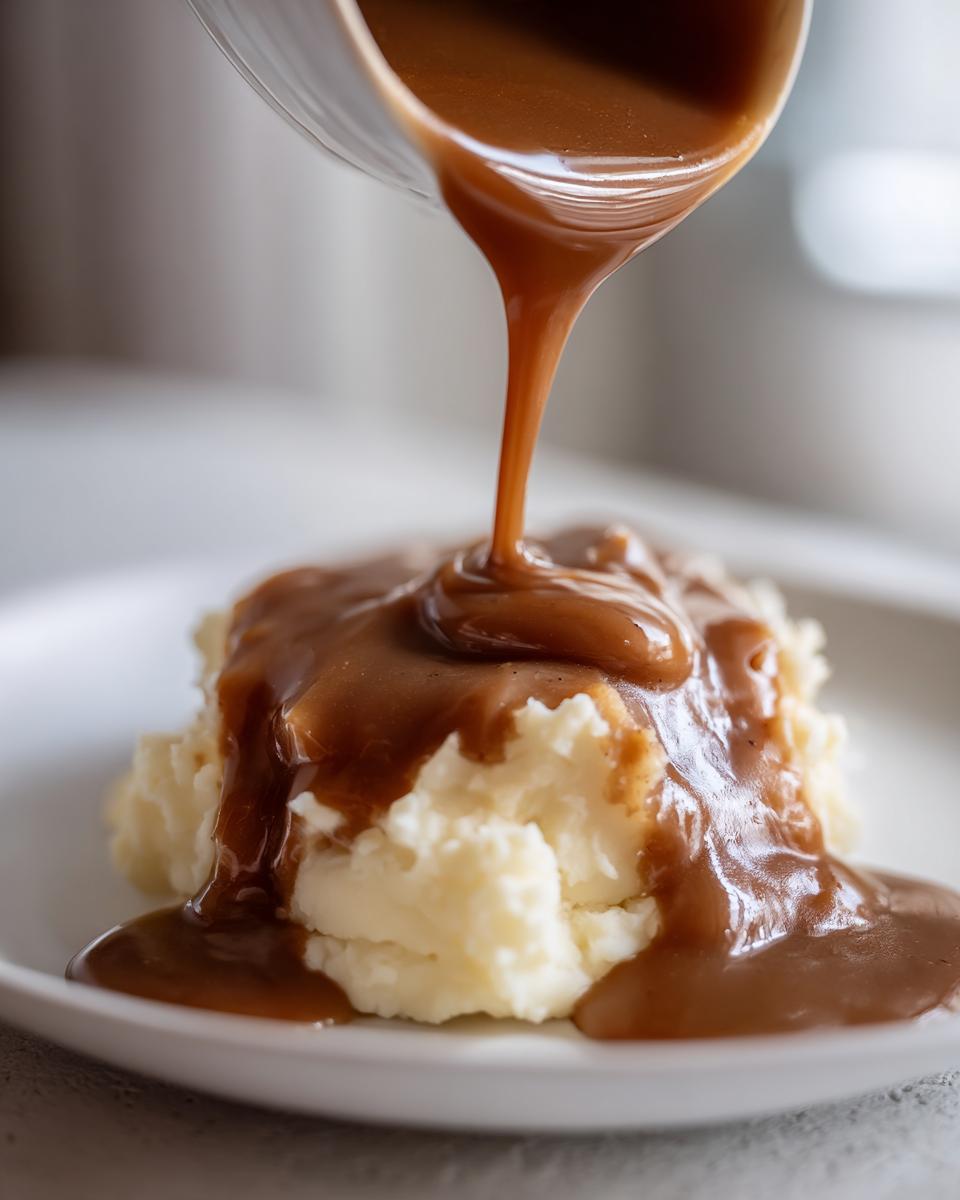
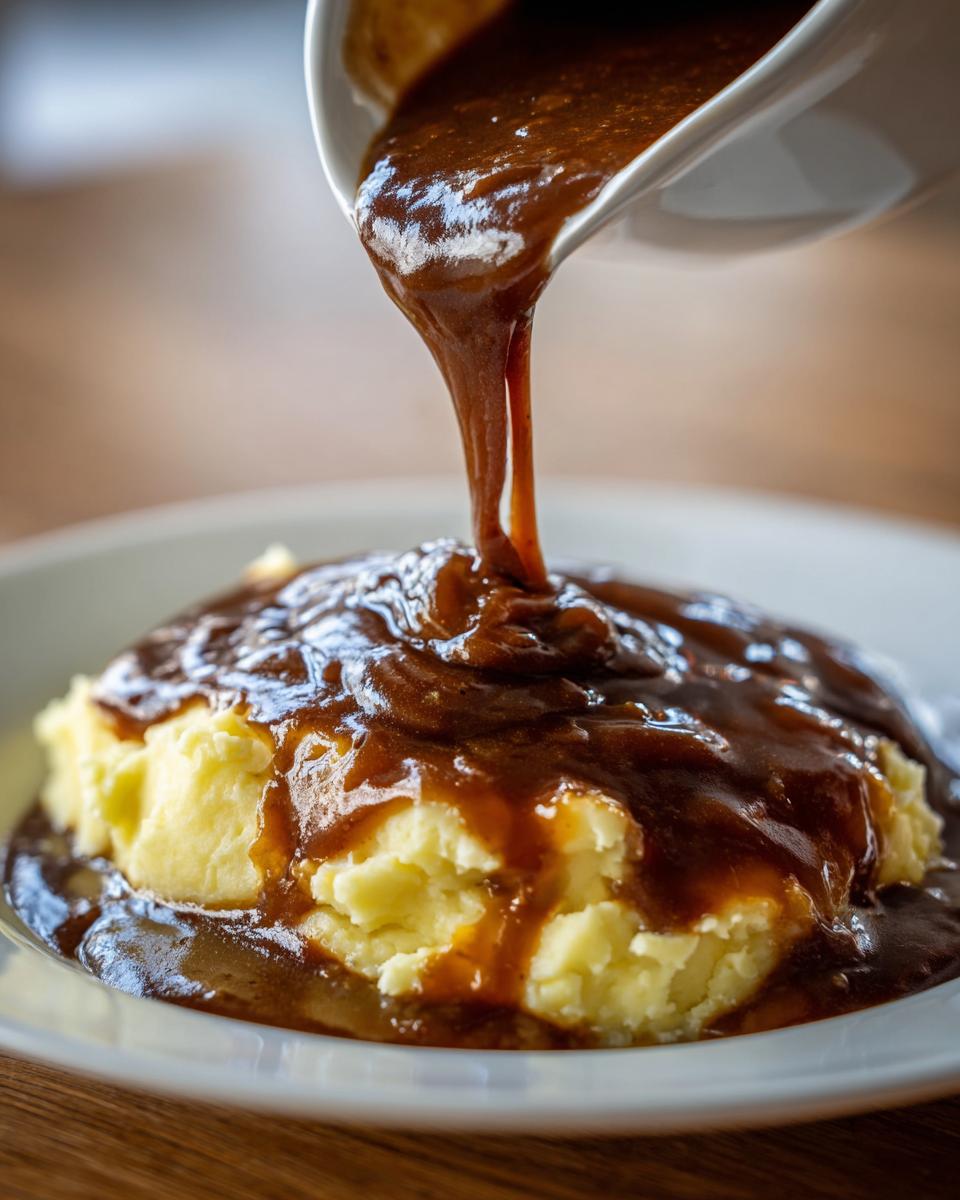
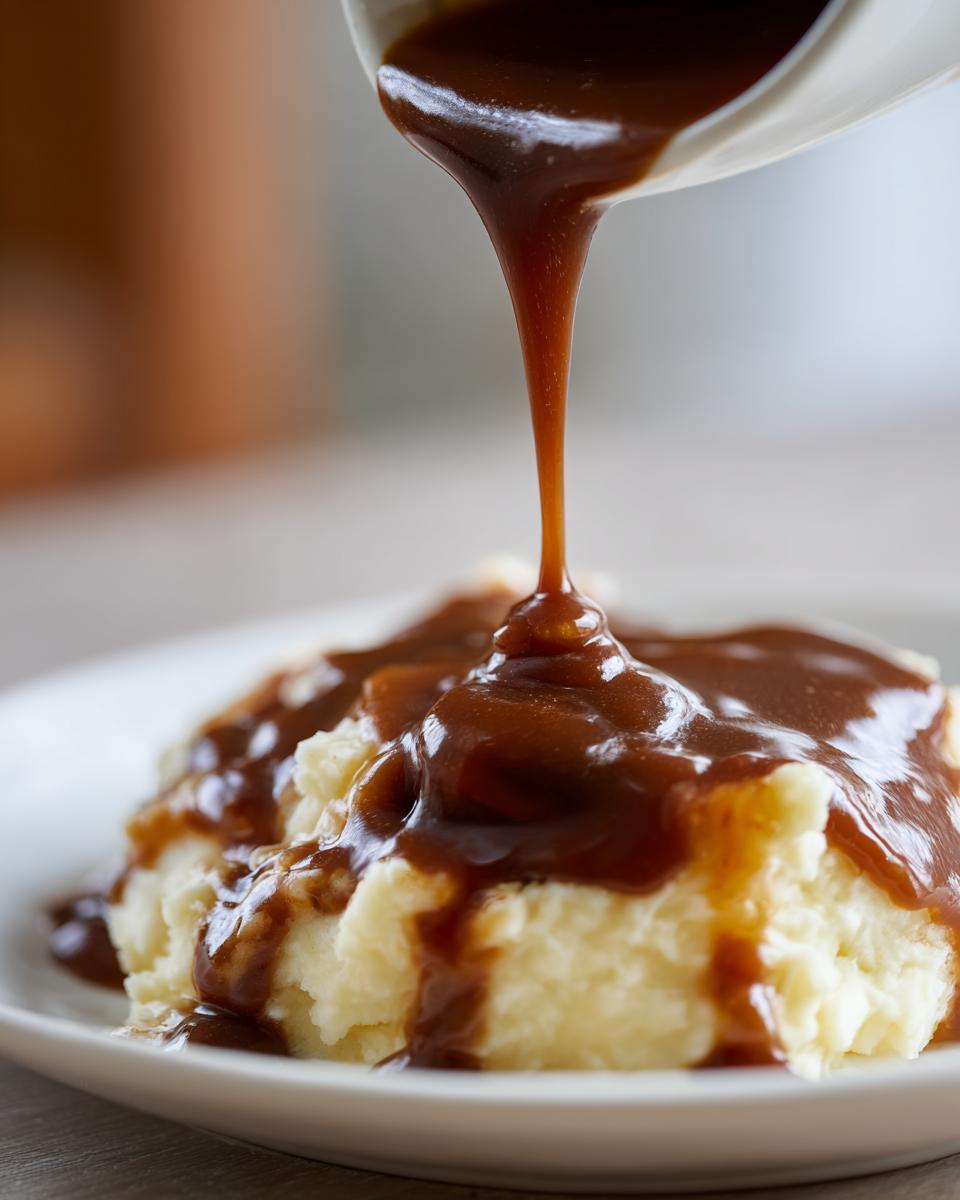
You know that feeling, right? The plate is ready—fluffy mashed potatoes piled high, maybe a slice of meatloaf waiting patiently—but it’s just not complete without that rich, savory blanket poured over everything. That’s why I’m sharing what I truly believe is the ultimate homemade brown gravy. Forget worrying about turkey drippings or beef remnants; this is pure stovetop magic!
When I started Cooking Zenith, my goal was to take those foundational comfort foods and make them accessible. This specific recipe proves you don’t need hours or messy pan scraps to achieve a velvety brown sauce. Seriously, you can whip up this savory, lump-free goodness in about 15 minutes. No fuss, just pure, delicious, homemade brown gravy perfection. It’s my go-to for elevating any Tuesday night dinner!
- Why This Is Your Best Homemade Brown Gravy Recipe (No Drippings Needed)
- Ingredients for Perfect Homemade Brown Gravy
- Step-by-Step Instructions for Quick Stovetop Gravy
- Expert Tips for the Best Savory Brown Gravy
- Making a Pantry Staple Brown Gravy Mix
- Serving Suggestions for Comfort Food Gravy
- Storing and Reheating Your Homemade Brown Gravy
- Frequently Asked Questions About Brown Gravy From Scratch
- Share Your Homemade Brown Gravy Success
Why This Is Your Best Homemade Brown Gravy Recipe (No Drippings Needed)
I know what you’re thinking: Gravy needs drippings, right? Wrong! That’s the first thing I want to debunk for you. This isn’t just *a* recipe; it’s the foundation for perfect homemade brown gravy that works even when you’ve just baked chicken breasts or pulled a veggie roast out of the oven. It’s designed for real life, which means it has to be fast and foolproof.
-
Ready in Under 15 Minutes
Seriously, this is the quickest stovetop gravy you’ll ever make. I timed it myself, and from the moment I turn on the heat until it’s pouring gloriously over the potatoes, it’s less than 15 minutes. Perfect for those weeknight scrambles!
-
Achieving Velvety Brown Sauce Texture
The secret weapon here is mastering the roux—that butter-and-flour paste. If you follow my simple whisking rule, you will never have lumps again. This guarantees that silky, velvety brown sauce texture every single time.
-
The Power of Beef Broth for Rich Flavor
Since we are ditching the drippings, we rely on flavorful beef broth. Using a good quality, lower-sodium beef broth is how we build deep, savory flavor from scratch. It’s what makes this the best savory brown gravy you’ll ever whip up without needing to tend a roast all day.
Ingredients for Perfect Homemade Brown Gravy
Okay, let’s talk about what goes into this amazing homemade brown gravy. Since we aren’t relying on leftover bits from a pan, we are building the flavor right here on the stovetop, which means your ingredients have to be good! I’ve listed exactly what I use for about two cups of sauce—perfect for four generous servings of mashed potatoes, or enough for a small meatloaf!
Trust me, having these pantry staples on hand means you are one step away from comfort food heaven:
- 4 tablespoons unsalted butter (this is our fat for the roux)
- 4 tablespoons all-purpose flour (the thickening agent!)
- 2 cups good quality beef broth (I always recommend low sodium so you can control the final saltiness)
- 1 teaspoon Worcestershire sauce (this is the secret depth, the umami kick!)
- 1/2 teaspoon onion powder
- 1/4 teaspoon garlic powder
- 1/4 teaspoon dried thyme (a classic pairing for beef flavors)
- Salt and freshly ground black pepper to taste (don’t be shy with the pepper!)
That’s it! Four basic pantry items plus the broth, butter, and flour. See? I told you making a truly great brown gravy from scratch was simple.
Step-by-Step Instructions for Quick Stovetop Gravy
Alright, here is where the magic happens!
If you’ve been intimidated by making homemade brown gravy because you hate lumps, pay close attention. We’re going step-by-step to ensure this quick stovetop gravy is perfectly smooth.
Creating the Roux Base
First things first, you need a solid roux. Melt those 4 tablespoons of butter in a medium saucepan over medium heat. Once it’s bubbly, whisk in all 4 tablespoons of flour really quickly until it looks like a smooth paste. Now, this is crucial: you must cook this paste, stirring constantly, for about 1 to 2 minutes. We’re looking for a light peanut butter color. That cooking time gets rid of that raw, pasty flour taste so your homemade brown gravy tastes rich, not pasty.
Incorporating Liquid and Seasonings
Now, switch to low speed. Slowly, and I mean slowly, whisk in your beef broth. Add just a little bit at a time, whisking until it’s fully incorporated and smooth before you pour in any more. If you dump it all in at once, you’ll end up with a flour rock! Once everything is smooth, stir in the Worcestershire sauce, onion powder, garlic powder, and thyme. This combination is what gives the gravy its complex, savory background, setting the stage for an amazingly easy brown gravy recipe.
Simmering to Thickening Point
Bring the whole mixture up to a gentle simmer, remembering to stir often so nothing sticks to the bottom. Let it bubble gently for about 5 to 8 minutes. You’ll know it’s ready when you drag a spoon across the bottom of the pan and the gravy clings to the back of that spoon. Give it a taste! This is your moment to season it up perfectly with salt and pepper. If it seems a little too thick for your liking—maybe for pouring over biscuits—just whisk in a splash of hot water until it flows just right.
Expert Tips for the Best Savory Brown Gravy
I always tell people that mastering a simple recipe like homemade brown gravy is more about technique than complicated ingredients. Since this version lets us skip the pan drippings, we need to be smart about developing that rich, savory look and taste. These little tricks are what elevate this from ‘good enough’ to seriously spectacular comfort food gravy!
Deepening the Color of Your Homemade Brown Gravy
If you want that gorgeous, deep mahogany color that looks like it simmered for hours, the secret is right there in the roux! Don’t rush step one. After your flour mixes with the butter, keep cooking it gently until it turns a shade darker than peanut butter—think light caramel or even copper penny brown. Cooking the brown gravy from scratch longer at this stage adds incredible depth of flavor, fulfilling that craving for a truly dark, hearty sauce.
The Secret to a Truly Velvety Texture
Even if you whisk like crazy, sometimes you get a tiny little bit of flour texture that isn’t quite right. For undeniable perfection—especially if you are serving this at a holiday table—grab a fine-mesh sieve! Once your gravy has simmered and thickened, just pour it slowly through the sieve right into your serving boat. It catches any tiny undissolved bits and ensures that professional, absolutely velvety brown sauce finish you’re looking for. It’s optional, but wow, does it make a difference!
Making a Pantry Staple Brown Gravy Mix
Okay, let’s talk about the future! Sometimes you just want that rich, savory flavor of homemade brown gravy but you don’t have 15 minutes to stand over the stove. I totally get it, especially on busy days. That’s why I love whipping up a big batch of the dry ingredients ahead of time. Think of it like your own secret, superior version of those store-bought packets!
This really transforms your spice cabinet into a powerhouse for pantry staple gravy. When you need gravy in a pinch, all the seasoning guesswork is done!
To create your own mix, you are just combining the dry elements from the main recipe. You are skipping the fat (the butter) which obviously needs to stay separate. Measure these out and store them together in an airtight container. When that craving hits, you just grab a scoop of your mix, melt some butter, whisk the dry blend in, and then whisk in your hot broth.
Here is exactly what to combine for your pantry staple gravy mix:
- 4 tablespoons all-purpose flour
- 1/2 teaspoon onion powder
- 1/4 teaspoon garlic powder
- 1/4 teaspoon dried thyme
That’s it! When you are ready to cook, use 2 tablespoons of this dry mix for every 1 cup of hot beef broth. Whisk the mix into the melted butter first to make your roux, then proceed with the slow addition of liquid as we detailed above. It saves so much time when you need a truly savory sauce without any forethought!
Serving Suggestions for Comfort Food Gravy
Now that you have this incredibly rich, lump-free homemade brown gravy ready in 15 minutes, the real fun starts: deciding what to bathe in it! This isn’t just some thin liquid; this is a robust, classic pan sauce alternative that elevates everything it touches. My family demands this gravy for almost every comfort food standard we make.
Honestly, you could probably eat this gravy with a spoon—don’t judge me! But if you are behaving, here are the absolute must-try pairings for this savory sauce:
- Mashed Potatoes: This is non-negotiable. A giant mound of creamy potatoes needs a generous drowning pool of this brown deliciousness. If you haven’t mastered mine yet, go check out the recipe for my creamy mashed potatoes!
- Meatloaf: Forget the ketchup glaze sometimes; sometimes you need a savory shower. This gravy is the quintessential meatloaf gravy recipe. It soaks right into the loaf and keeps every slice tender. For an extra flavor boost, try my easy garlic parmesan meatloaf!
- Roasted Chicken or Pork Chops: If you skip the drippings for your roast, this broth gravy steps up beautifully. It’s an easy way to create a wonderful pan sauce flavor profile without the extra work.
- Biscuits: Yes, biscuits! Especially if you use leftover gravy to make a quick sausage gravy later, or just pour this buttery version right over a stack of my flaky buttermilk biscuits for breakfast.
- Thanksgiving Day Sides: If you aren’t roasting a turkey but still crave that deep flavor, this makes your Thanksgiving side dishes made easy because you can make it a day ahead!
It’s truly the best savory brown gravy you can ask for when you need that deep, satisfying flavor right now.
Storing and Reheating Your Homemade Brown Gravy
One of the joys of making a fantastic homemade brown gravy is knowing you can have that incredible comfort food flavor on standby for a few days!
I always make a double batch! Why? Because who doesn’t want to drizzle this on leftover mashed potatoes the next morning? It’s incredibly easy to store, but you have to remember one thing about gravy: temperature changes can mess with the texture, especially since we used a flour-based roux. Don’t worry, though; it’s totally fixable!
Refrigeration Tips for Freshness
For the fridge, transfer your lovely brown gravy from scratch into an airtight container. It stays wonderful for 3 to 4 days. Seriously, I’ve pushed it to five once, but four is my safe bet. When it cools in the fridge, your gravy will get super thick—even solidifying a bit. That’s normal! You need patience when reheating this easy brown gravy recipe.
Freezing for Long-Term Comfort
If you are using the pantry staple gravy mix, that’s your long-term storage, but the actual cooked gravy freezes beautifully too! Scoop the gravy into freezer-safe bags or rigid containers, leaving about an inch of space at the top because liquids expand when they freeze. I find it lasts wonderfully for up to three months. When thawing, always move it to the fridge overnight first—never thaw gravy on the counter!
Reheating Smoothly on the Stovetop
This is the most important part for both refrigerated and thawed gravy. You must reheat it gently!
Place the chilled or thawed gravy in a small saucepan over low to medium-low heat. Get ready to whisk! Seriously, if you walk away for even a minute, you might get a thick lump clump stuck to the bottom. Whisk constantly but gently as it heats up. As it warms, it will loosen up, becoming that familiar, glorious river of sauce again. If it’s still too thick for your taste after it’s totally hot, just whisk in a tablespoon or two of hot water or warm beef broth until you hit that sweet spot for smothering your roast beef or chicken.
See? Making this quick stovetop gravy is a great skill to have. You get the rich flavor profiles of a deeply simmered sauce without any of the waiting!
Frequently Asked Questions About Brown Gravy From Scratch
I get so many questions about this recipe, which just tells me how much people crave that classic, rich brown gravy from scratch! Since this is made without drippings, sometimes people have minor adjustments they want to make. Never sweat it! That’s the beauty of cooking at home—you’re in charge. Here are the big questions I hear most often about achieving that perfect texture and color.
Can I make this brown gravy recipe vegan?
You absolutely can! That’s one thing I love about focusing on the roux technique for a quick stovetop gravy—it’s adaptable. You’d just swap out the butter for a good quality, flavorless oil or a vegan butter substitute. Instead of beef broth, you’ll use a really robust vegetable broth. Now, fair warning: the flavor profile will shift slightly since you lose that deep beefy note, but it still makes a fantastic, rich sauce for potatoes or biscuits!
What if my gravy is too thin after simmering?
If you’ve simmered it for the full 8 minutes and it’s still running a bit thin, don’t panic! You have two easy outs. If it’s only slightly too thin, just keep simmering it gently uncovered and let a bit more liquid evaporate—it will thicken up! If it’s *really* soupy, mix about a teaspoon of cornstarch with a tablespoon of cold water until it’s perfectly smooth. Whisk this slurry into your simmering gravy and stir for about 30 seconds; it will thicken almost instantly. That’s the secret to avoiding clumps in your creamy gravy for mashed potatoes!
How do I get a darker color without using soy sauce?
While a tiny dash of soy sauce (or Marmite, if you’re feeling adventurous!) works wonders for color and umami depth, I totally understand wanting to keep those flavors out! The key to a gorgeous brown color in this homemade brown gravy is all about taking your time with the fat and flour first. Cook that roux until it’s a deep, dark brown—like the color of dark chocolate, not just peanut butter. Just be sure to cook it a little longer on that lower heat to prevent burning. That extended cooking time creates that deep color and incredible, rich flavor naturally!
Share Your Homemade Brown Gravy Success
Whew! Now you have the knowledge to make the richest, smoothest homemade brown gravy whenever the craving hits—no special equipment or day-old roast needed!
This is where you get to make the recipe truly yours. I want to hear everything! Did you manage to get that perfect light peanut butter color on your roux? Did you use this easy brown gravy recipe over your Sunday meatloaf, or did you try it alongside a slow-cooked pot roast?
Please, please, please come back down below and leave a rating! If you made this brown gravy from scratch, let me know how many stars it deserves. Hearing your success stories—especially when you achieve that super smooth, velvety texture—is seriously the highlight of my day. Don’t forget to tell me what incredible comfort food you smothered with this absolute winner. Happy cooking, friends!
PrintThe Ultimate Homemade Brown Gravy (No Drippings Needed) – Rich, Velvety, and Ready in 15 Minutes

Make rich, savory homemade brown gravy from scratch in just 15 minutes. This easy stovetop gravy uses beef broth and requires no meat drippings, resulting in a velvety sauce perfect for mashed potatoes, meatloaf, or chicken.
- Prep Time: 5 min
- Cook Time: 10 min
- Total Time: 15 min
- Yield: About 2 cups 1x
- Category: Side Dish
- Method: Stovetop
- Cuisine: American
- Diet: Vegetarian
Ingredients
- 4 tablespoons unsalted butter
- 4 tablespoons all-purpose flour
- 2 cups beef broth (low sodium preferred)
- 1 teaspoon Worcestershire sauce
- 1/2 teaspoon onion powder
- 1/4 teaspoon garlic powder
- 1/4 teaspoon dried thyme
- Salt and black pepper to taste
Instructions
- Melt the butter in a medium saucepan over medium heat.
- Whisk the flour into the melted butter until a smooth paste, called a roux, forms. Cook the roux for 1 to 2 minutes, stirring constantly, until it turns a light peanut butter color. This cooks out the raw flour taste.
- Slowly whisk in the beef broth, a little at a time, ensuring no lumps form before adding more liquid. Continue whisking until the mixture is smooth.
- Add the Worcestershire sauce, onion powder, garlic powder, and thyme. Stir to combine.
- Bring the gravy to a simmer, stirring frequently. Reduce the heat to low and let it cook for 5 to 8 minutes, or until the gravy thickens enough to coat the back of a spoon.
- Taste the gravy and season generously with salt and black pepper. If the gravy is too thick, whisk in a tablespoon of hot water or broth until you reach your desired consistency.
- Serve this comfort food gravy immediately over your favorite dishes.
Notes
- For a darker brown color, cook the roux for an extra 2 to 3 minutes until it reaches a deeper brown shade before adding the broth.
- If you want a smoother, velvety texture, strain the finished gravy through a fine-mesh sieve before serving.
- You can make a brown gravy mix ahead of time by combining the flour, onion powder, garlic powder, and thyme in an airtight container. Store this pantry staple mix for later use.
Nutrition
- Serving Size: 1/4 cup
- Calories: 85
- Sugar: 0.5
- Sodium: 350
- Fat: 6
- Saturated Fat: 3.5
- Unsaturated Fat: 2.5
- Trans Fat: 0
- Carbohydrates: 6
- Fiber: 0.2
- Protein: 2
- Cholesterol: 15