
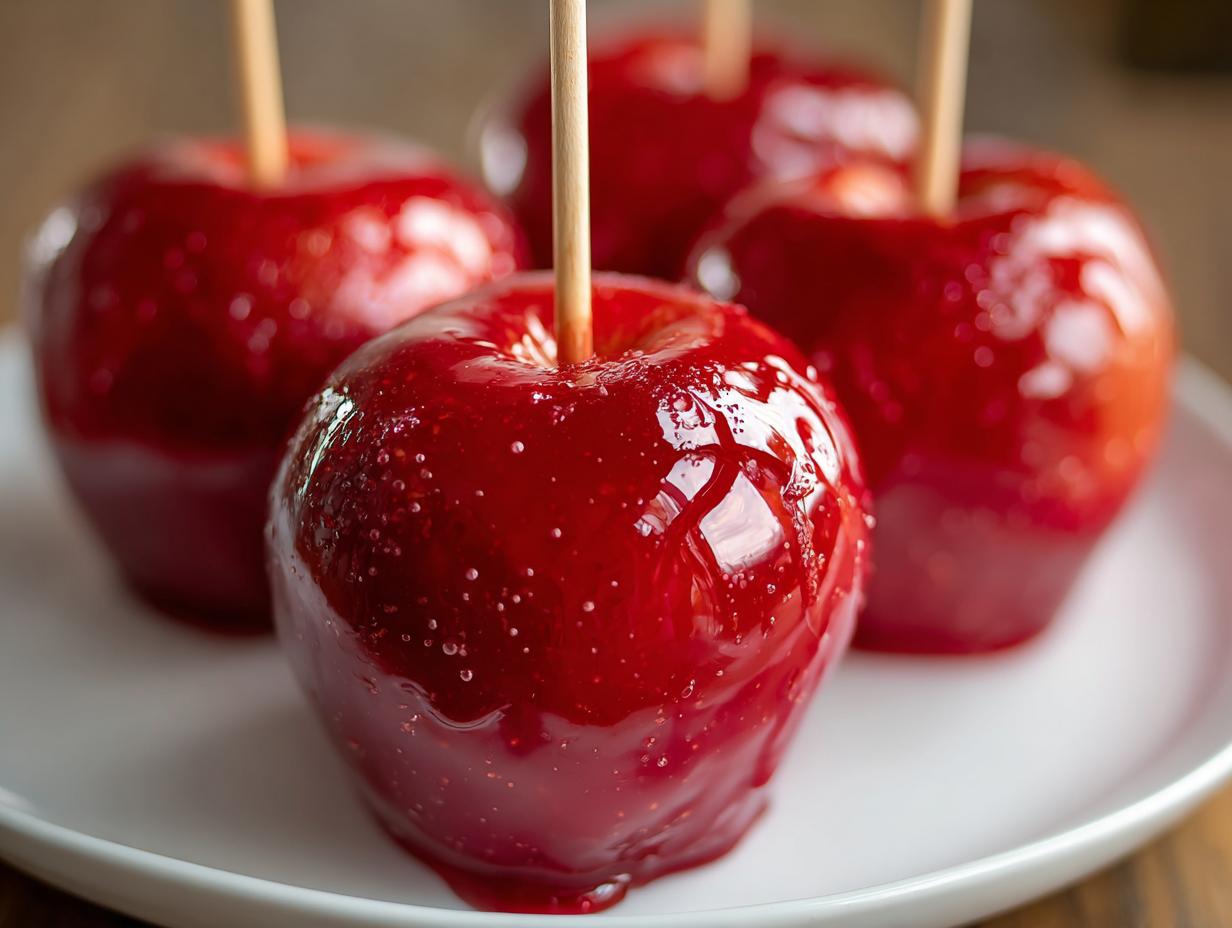
There is nothing quite like the smell of autumn settling in, right? For me, that means pulling out the cozy sweaters and immediately thinking about making those iconic, nostalgic fall treats. While pumpkin spice is great, my heart really belongs to homemade candy apples. I remember standing on a wobbly stool in my grandmother’s kitchen, watching her carefully swirl apples in molten red sugar. It looked like magic!
The biggest hurdle people face with these beauties is getting that super glossy, crack-free coating—the kind you see at the county fair that shines under the lights. Trust me, I’ve wrestled with crystallized sugar more times than I care to admit. But after years of testing, I finally perfected the method, and I’m sharing it all here. This isn’t just a recipe; it’s the foolproof guide to getting a flawless, shatteringly crisp shell on your apples every single time. You are going to feel like a total culinary wizard dipping these!
We need to get the apples ready for their shiny coats, so don’t wander off! We’ll need your sturdy apples and a good setup before we hit the stove. If you’re looking for other fall favorites to serve alongside these later, check out my recipe for moist apple bundt cake; it’s incredible warm.
- Why This Is the Best Easy Candy Apple Recipe
- Ingredients Needed for Perfect Candy Apples
- How to Prepare Apples for Dipping
- Step-by-Step Homemade Candy Apples Tutorial
- Making Bright Colored Candy Apples Variations
- Gourmet Candy Apple Ideas and Toppings
- Storage and Serving Tips for Classic Candy Apples
- Candy Apples vs Caramel Apples: Understanding the Difference
- Frequently Asked Questions About Making Candy Apples
- Share Your Perfect Candy Apples Creations
- Share Your Perfect Candy Apples Creations
Why This Is the Best Easy Candy Apple Recipe
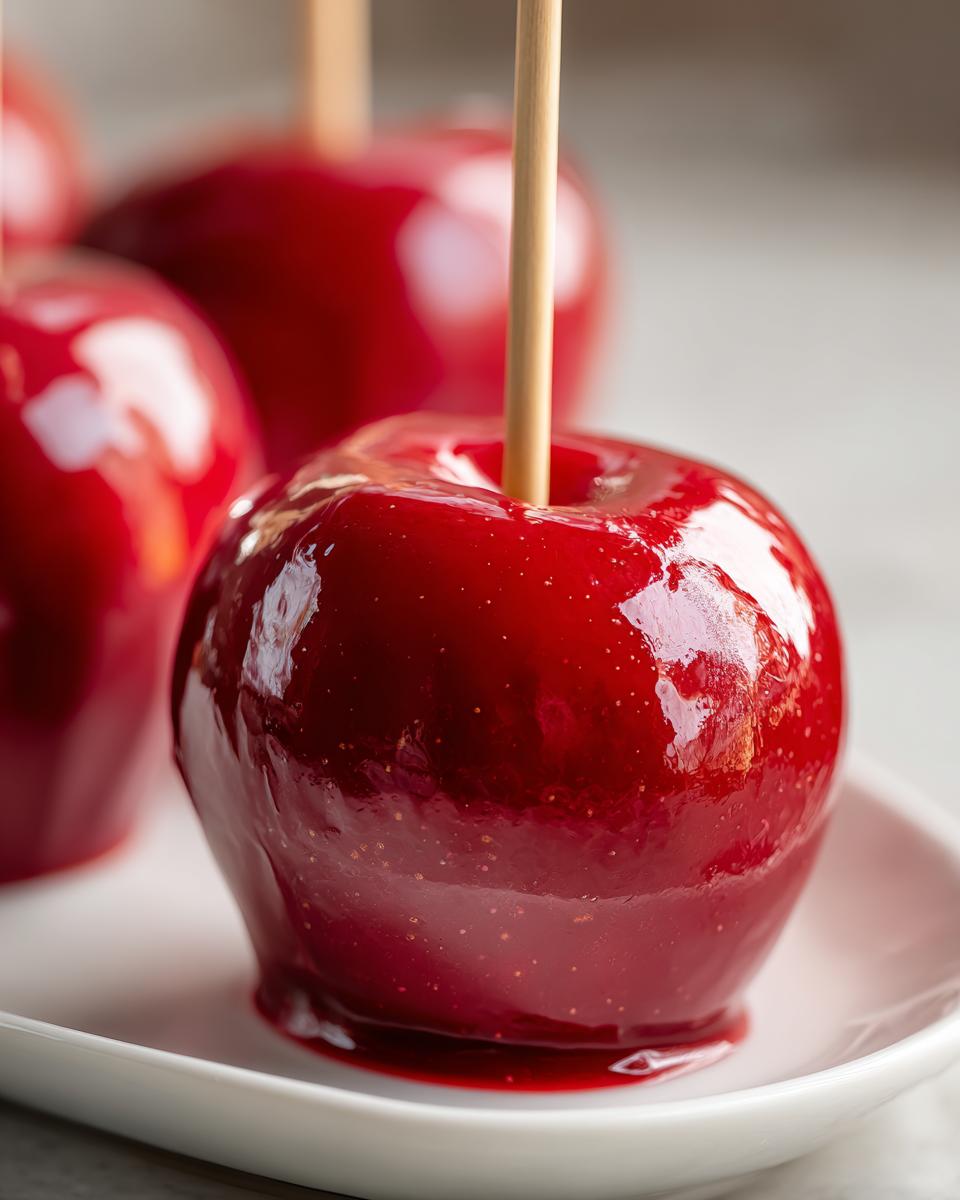
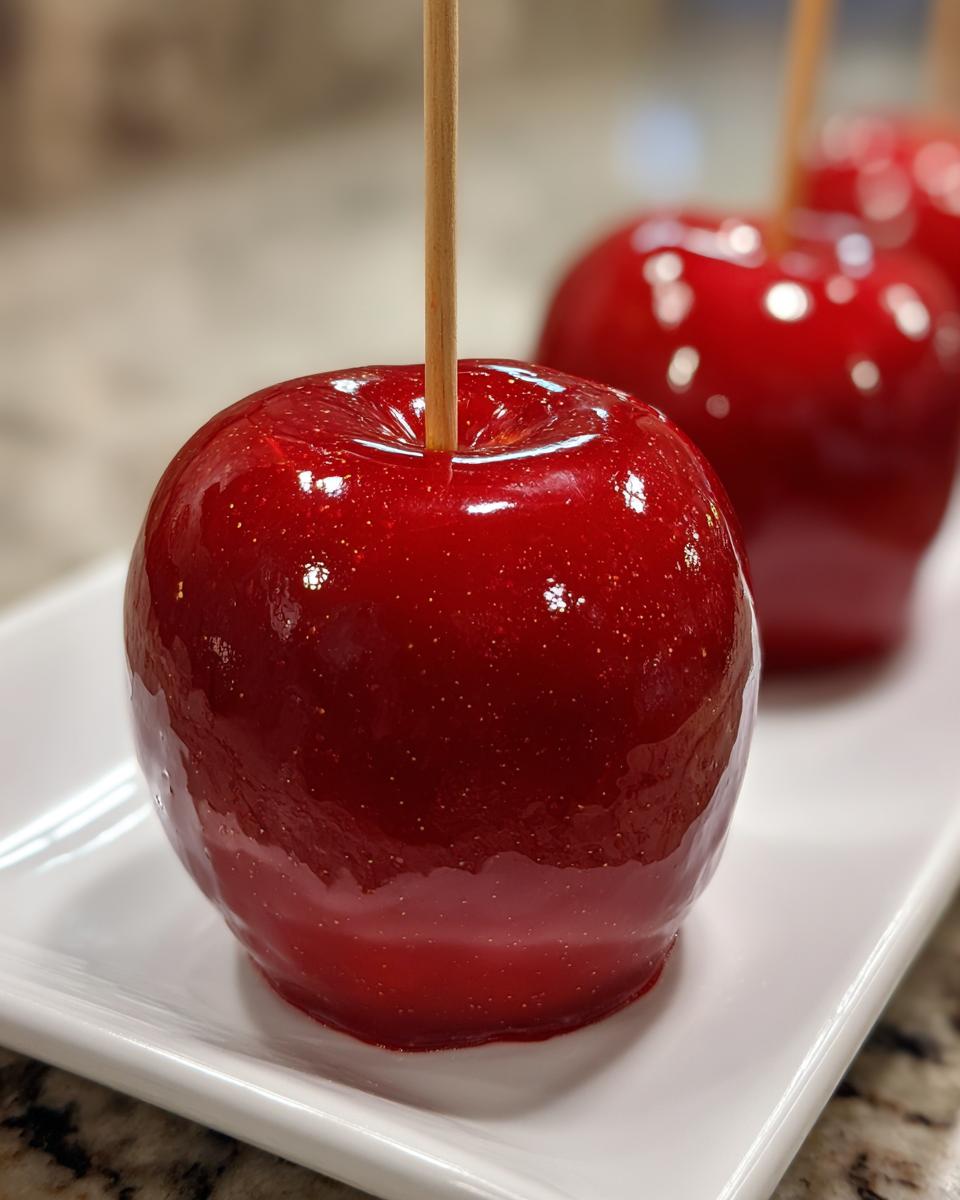
When I first started out, every batch of candy apples seemed to end in disaster—cloudy syrup, sticky mess, or worse, cracked shells before they even hit the cooling rack. That’s why I call this the **easy candy apple recipe**; it truly removes the guesswork! My goal was always that high-shine, glass-like finish, and we achieve the **perfect glossy coating** by focusing on two critical moments.
First, you have to prepare the fruit correctly—more on that later! But the absolute secret to that flawless, crack-free result happens on the stove. Once that sugar mixture starts rolling in that hard boil, you have to stop stirring completely. Seriously! If you touch it, you risk sugar crystals forming everywhere, which ruins the clarity and leads to cracking. That’s the difference between an okay batch and the kind of candy apples that look absolutely professional. If you love apples, you absolutely must try my crispy apple crisp while apples are in season!
Ingredients Needed for Perfect Candy Apples
Okay, first things first: the ingredients for these **candy apples** are surprisingly simple! We are sticking to the basics here, which is key to getting that crystal-clear candy shell. You don’t need a million specialty items, but using quality ingredients really helps ensure we get those **crack free candy apples** we are aiming for.
If you’ve made things with hard sugar syrups before, you know that the ratio matters hugely—too much water and it never sets, too little sugar and it’s sticky. This combination works every time, providing that perfect structure for dipping. We’ll be using corn syrup, which is essential because it keeps the sugar from going grainy. I know some people prefer to use butterscotch sometimes, but for the classic look, we need this specific mix!
Here is exactly what you need to pull together this batch of **candy apples**:
- 6 medium firm apples (I strongly suggest Granny Smith or Fuji; they hold up best and give a great tart contrast!)
- 6 wooden sticks or sturdy skewers for easy handling
- 2 cups granulated sugar—nothing fancy here!
- 1 cup light corn syrup (this is crucial for avoiding graininess!)
- 1/2 cup water
- 1 teaspoon red food coloring (If you want really vibrant, bright colors later, using gel coloring is far superior, but the drops work for classic red.)
- 1/2 teaspoon white vinegar (This little bit of acid is a secret weapon; it helps stabilize the sugar and stops crystallization from starting!)
If you’re feeling adventurous after mastering this base recipe, maybe whip up a batch of my easy homemade salted caramel; it pairs beautifully with tart apples if you decide to try caramel apples another day!
How to Prepare Apples for Dipping
Okay, this is where so many people mess up their beautiful batches of candy apples, and it breaks my heart! You can have the perfect syrup temperature, but if the apples aren’t ready, that candy coating is just going to slide right off or bubble up. The goal here is to create a totally clean surface so the candy has something to grip onto. Think of it like prepping a wall before you paint it—you need to sand away any imperfections first!
First, give those apples a really good scrub. Seriously scrub them under warm running water. We need to get rid of any residue or dust from the supermarket bins. Once they are clean, you need to wash and dry them completely. I usually use a nice, firm, tart apple like a Granny Smith; they have that fantastic bite that cuts right through the sugar sweetness. After washing, make sure you get those sticks firmly into the middle core—don’t be shy, you want them secure for dipping!
But here’s the real A-game move my mom insisted on before we were allowed to touch the candy pot. Even after drying, most store-bought apples have this invisible waxy coating designed to keep them fresh looking. That wax hates sticking to sugar candy! So, we have to banish it. You can find a great recipe for baked apples if you want to skip the hard candy fun, but for this treat, we need heat!
The Secret to Adhesion: Drying and Pre-treating
Listen closely, because this is the key for a **perfect glossy coating** that stays put! Once you’ve washed and stuck the skewers in, you have to dunk each apple quickly—we’re talking 5 seconds max—into a pot of hot, almost boiling water. Immediately take them out and dry them off better than you think you need to. This quick dip melts away that stubborn waxy layer. If there’s even one drop of moisture left when you hit that hot syrup, you run the risk of the candy either seizing instantly or developing tiny bubbles that ruin that glassy look.
Step-by-Step Homemade Candy Apples Tutorial
Now we get to the fun part—the actual candy making! This **homemade candy apples tutorial** focuses heavily on temperature. Forget trying to guess when it’s ready; for this level of shine and guarantee of *no cracking*, you absolutely need a candy thermometer. It’s the only tool that lets us successfully hit that crucial Hard Crack Stage.
First, get your apples sitting near the stove, ready to go, and place your parchment-lined baking dish right beside your workspace. We’re going to mix the hard stuff first. In a heavy-bottomed saucepan—I stress heavy-bottomed, or you’ll scorch the bottom—combine your sugar, the corn syrup, and water. Stir this gently over medium heat until you see all that sugar has completely dissolved. Once it starts bubbling, that’s it, you stop stirring, or you ruin the whole smooth coating!
You want to cook this mixture exactly like you are making hard candy. Insert that candy thermometer and just let it roll. We’re aiming high for this **simple candy dipping**. While that’s heating, think about what delicious toppings you might want to slap on right afterward!
Achieving Hard Crack Stage for Crack Free Candy Apples
This is the moment of truth, friends! You need that thermometer to climb all the way up to 300 degrees Fahrenheit. This temperature hits what professionals call the Hard Crack Stage, and it’s the absolute secret to getting **crack free candy apples**. If you pull it off the heat too early, the coating never hardens properly—it stays soft, sticky, and will definitely crack when you bite it.
Once you hit 300°F, snatch that pan off the burner immediately! Don’t wait even a second, because residual heat will keep cooking the syrup higher and higher, which leads to burnt flavor or worse. Now, *gently* stir in your red coloring (for that classic look!) and that tiny splash of vinegar. The vinegar is your barrier against crystallization, so don’t skip it!
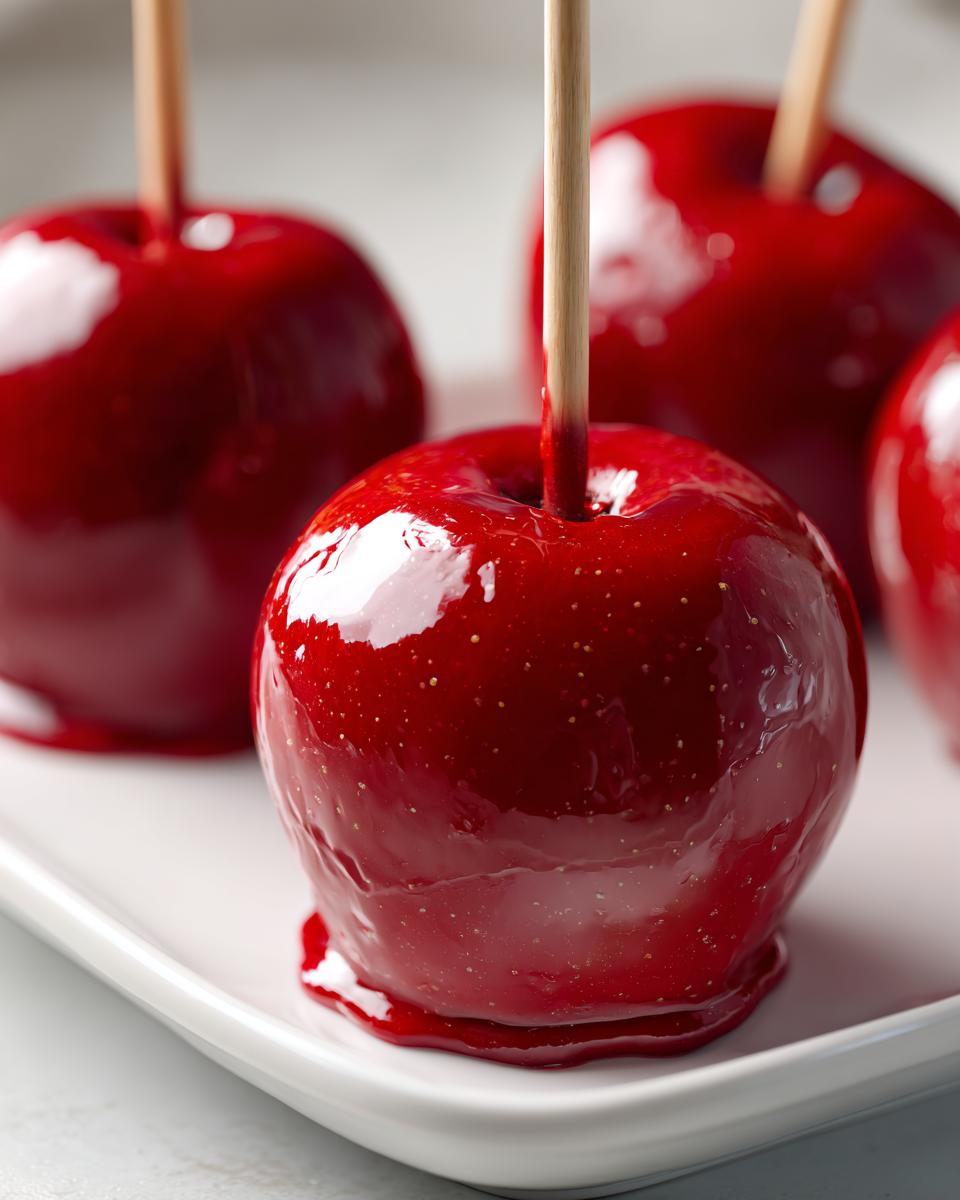
Dipping and Cooling for a Shiny Red Apples Recipe Finish
Here is the second finesse point in our **homemade candy apples tutorial**. You cannot plunge the apple in as soon as you add the color; that syrup is way too hot, and when it hits the cooler apple, it shocks the sugar, causing it to seize instantly and crack later. Also, if it’s cooled too much, it gets gloopy and thick, giving you a messy, uneven coat rather than that beautiful, thin shell we want for a **shiny red apples recipe** finish.
Wait about 3 to 5 minutes after taking it off the heat. You want to see the temperature drop down to around 280°F. *Then* you dip. Tilt your pan so the syrup pools slightly, swirl that apple quickly for an even coat, lift it out, and let the drips fall back in. Once you place it on the parchment, leave it absolutely alone! We let them sit for a full 30 to 45 minutes until they are rock hard and shining like little glass ornaments. If you want to check out tips on making easy icings, I wrote a whole guide on easy sugar cookie icing that hardens—the principles are actually quite similar!
If you found this guide helpful for hitting that high heat, check out this great recipe from a friend:
- For more easy steps on candy dipping, this guide always delivers: Make Perfect Candy Apples With This Simple Recipe.
Making Bright Colored Candy Apples Variations
So, you’ve mastered the classic shiny red, but maybe you’re making these for a themed birthday party or perhaps you just want something a little unexpected! While the traditional look is gorgeous, the great news is that this base recipe is fantastic for making **bright colored candy apples**. It’s all about having fun with the coloring step, which we touch upon briefly during the dipping process, but we can dive deeper here!
Remember when we added the red coloring and vinegar at 300°F? That’s your customization point! If you want a vibrant, saturated color that really pops—say, deep purple for a spooky Halloween theme or electric blue for a summer bash—you absolutely need to switch out the standard liquid food coloring drops for gel food coloring. The concentrated gel gives you that intense pigment without adding extra liquid to the syrup, which is critical as we don’t want to accidentally dilute our sugar ratio.
For a truly stunning **shiny red apples recipe** look, I often use a deep super-red gel coloring. But if you want to get creative, you can make batches of different colors and swirl them! That’s where things get really fun, though I’ll warn you, swirling takes practice and speed!
If you’re looking for inspiration on creating those multicolored swirls inspired by things like Starburst flavors, or even making gourmet chocolate apples, you should check out my guide on making a moist chocolate cake—because once you start thinking about color, you realize how much fun you can have with food decor!
For those who really want to nail those specific bright hues, I highly recommend taking a peek at this resource later; they do a fantastic job walking through how to get perfect electric shades: How to Make Hot Pink Candy Apples (or any other color!). Once you know how to handle the base syrup temperature, changing the color into the millions of shades possible for your **candy apples** is the easy part!
Gourmet Candy Apple Ideas and Toppings
Once you’ve mastered the beautiful, hard, crack-free shell on your **candy apples**, I think it’s time to start adding a little razzle-dazzle! That classic red is stunning, don’t get me wrong, but the real fun comes when you turn them into show-stopping **gourmet candy apple ideas**. The secret here is timing, because you only have a tiny window before that candy cools and hardens permanently on the apple!
Right after you pull your apple out of that beautiful, shiny red (or blue, or pink!) syrup, you have about 10 to 15 seconds before it sets too hard to do anything else. That’s when you move fast! I love making these for family gatherings because they instantly elevate the dessert table and become such **fun party apples**.
Here are a few of my favorite ways to load up these apples when they are still warm and sticky:
- The Classic Nut Roll: This is probably the most famous upgrade. Have a shallow dish ready with finely chopped peanuts, pecans, or walnuts. Roll the freshly dipped apple gently through the nuts until they cover that sticky shell. The saltiness of the nuts is just divine against the sweetness!
- Sprinkle Explosion: For kids’ parties or just for pure joy, rainbow sprinkles are non-negotiable. Use jimmies or nonpareils—whatever you like best! Roll immediately. This is also a great way to use up leftover sprinkle bags after a holiday baking spree.
- The Swirl Effect: If you make two different colors (using the jetting tip from the previous section!), you can drizzle the second color over the first *after* the apple is set for 10 seconds but *before* it’s fully hard. You get a gorgeous swirl effect!
These additions not only look incredible but they add a great textural element, which is what gourmet treats are all about. If you’re looking for more inspiration on mixing textures and flavors, you have to check out my recipe for my ultimate kitchen sink cookies—they are packed with everything good!
To give you even more inspiration on how far you can take this, I often look at lists like this one for creative twists. It’s amazing what people come up with for these kinds of treats: 20 Ideas for Caramel and Candied Apples.
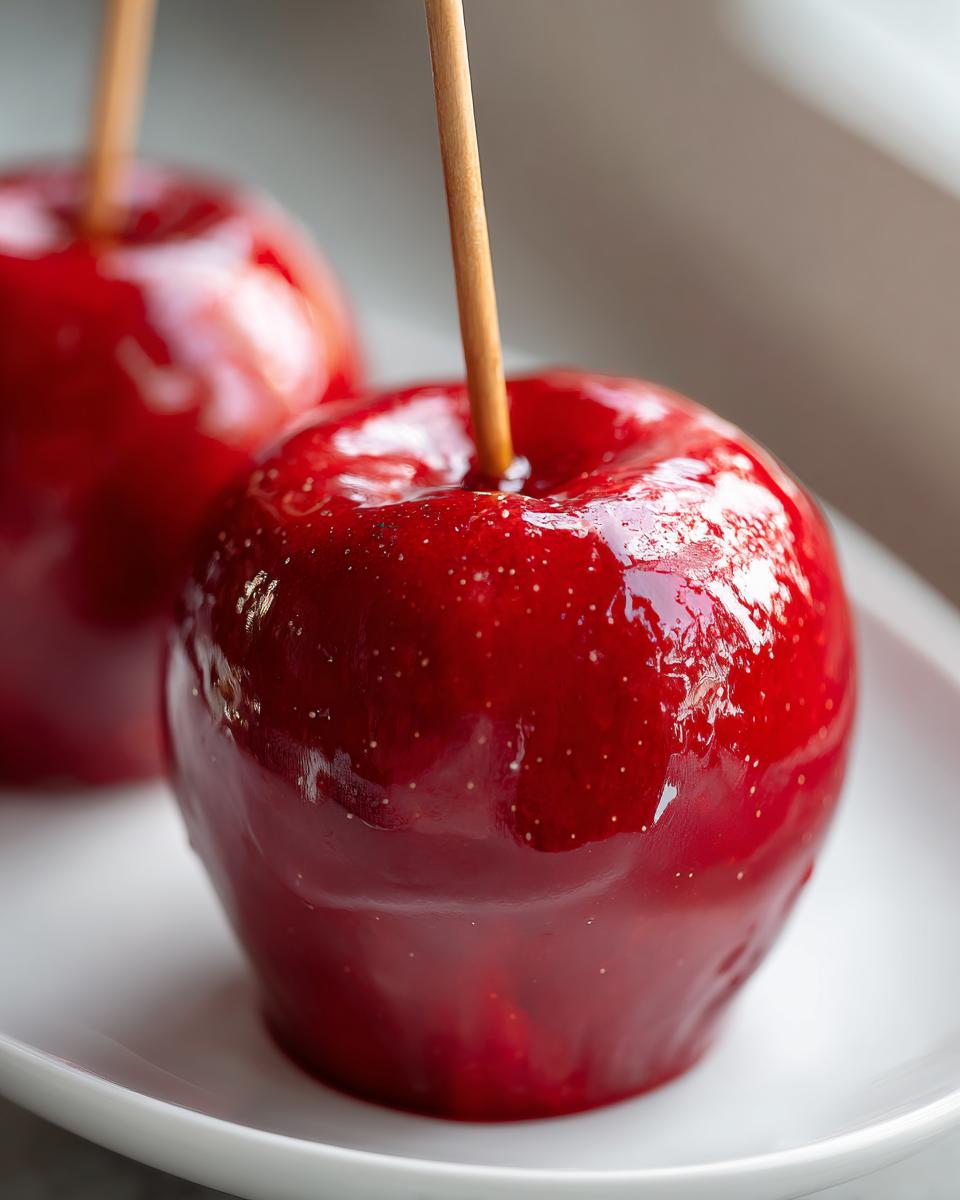
Storage and Serving Tips for Classic Candy Apples
Phew! You’ve made it through the tricky candy-making phase, and now you have six perfect, shining beauties! The next question is, how do you keep them looking that good until it’s time to serve them up? The biggest enemy of a crisp, beautiful **candy apple** is humidity. That slick candy shell loves to suck up moisture from the air, and before you know it, your beautiful glass coating starts getting sticky or weeping.
So, for storage, you absolutely need to keep them away from moisture—that means no humid basements or the inside of the fridge! The cold temperatures also don’t exactly help the candy stay perfectly crisp. I always find the best spot is a cool, dry counter, kept out of direct sunlight.
You must store them standing up, too! Laying them down means the hard candy shell presses against the parchment paper. When you try to pick it up later, bits of paper tear off and stick to your candy, ruining that elegant finish. Use a tall glass or a vase to hold them upright so the candy doesn’t touch anything while it sets up or when you’re storing leftovers.
These **candy apples** are actually great for making ahead! They keep perfectly well this way for about three days. If you’re prepping for a big event, you can have them ready to go well in advance. They are such a fantastic addition to any celebration; whether you’re pulling them out for prime **halloween treats** display or serving them as a gorgeous, nostalgic finale to your **fall dessert recipes**, they always cause a scene!
When you’re ready to serve that big batch, setting them out on a nice platter makes all the effort worthwhile. If you are having a big spread and need another easy, impressive appetizer, you really should try my easy pumpkin cheese ball recipe to balance out all that sugar!
Candy Apples vs Caramel Apples: Understanding the Difference
This is one of those little kitchen confusions that I hear about all the time, especially when I bring these out as **fall dessert recipes**! People will see the beautiful red coating and immediately call them caramel apples, but trust me, they are *not* treated the same way! It’s so important to know the difference when you are aiming for a specific texture, which is essential for that perfect bite.
When we talk about **candy apples**, we are talking about that incredibly hard, glass-like shell. We are making it with just sugar syrup cooked all the way up to 300°F—that Hard Crack Stage. When you bite into it, it should audibly *crack* and then shatter into little pieces in your mouth. That’s the fun! It’s brittle, shiny, and totally nostalgic.
Caramel apples, on the other hand, are all about deep, chewy flavor. Caramel only cooks to about 245°F (the softball stage), and it relies heavily on milk or cream being added, which completely changes the structure. A caramel apple is soft, bends when you bite it, and tends to get messy quickly if it gets warm. My recipe here is solely focused on the true, traditional, hard-shell **candy apples**. If you want to see another fun, sticky creation that relies on high heat sugar, you should definitely check out my recipe for classic southern candied yams!
Understanding this difference is key because if you pull this recipe’s syrup off the heat too soon thinking it’s caramel, you end up with a sticky puddle on the floor that never hardens!
Frequently Asked Questions About Making Candy Apples
I know that working with sugar at that kind of temperature can feel a little nerve-wracking! Even when you follow the steps perfectly, sometimes things just act weird, right? Over the years, these are the questions I get asked most often when people are trying to nail their first batch of **candy apples**. I’ll give you the answers that come straight from my test kitchen experience!
Why did my candy coating turn cloudy or crystallized?
Oh man, this is the absolute worst! You are aiming for that mirror shine, that **perfect glossy coating**, and instead, you get sugar sand. Cloudy or crystallized syrup almost always comes down to one of three culprits. First, and most common, is contamination. If even one sugar crystal (or a drop of water from a dirty utensil) gets into the boiling syrup, it can trigger the whole batch to crystallize. That’s why we stress *no stirring* after it boils!
Second, if you didn’t dissolve all the sugar initially before the boil, those undissolved granules can act as seeds for crystal growth. Finally, if the temperature went way too high and scorched slightly, it can affect the clarity. If you notice it starting to go cloudy while you’re dipping, take it off the heat instantly, add just one teaspoon of water, and bring it back to a very gentle warmth until it gets smooth again. Patience is your best friend here!
Can I make candy apples ahead of time for a party?
You absolutely can! Actually, I strongly recommend it, provided you heed the warning about humidity. As I mentioned before, that wonderful hard shell loves moisture. If you store your finished **candy apples** inside the refrigerator, you are basically guaranteeing the shell will get sticky and weep condensation when you bring them out. That’s never good for presentation!
The best way to store them is standing upright (so the coating doesn’t deform) in a container at cool room temperature, making sure the lid isn’t sealed airtight—a slightly vented container works best to manage any environmental humidity. They are usually perfect for up to three days this way. If you need to make a really huge batch for a massive gathering, make sure your kitchen stays cool while you are dipping them to keep the excess candy in the pot workable a little longer.
What is the best type of apple for candy apples?
I get asked this a lot when I’m prepping for my fall parties! You need an apple that is firm and tart. Why? Because the candy coating is intensely sweet, and if you use a super soft apple—like a Red Delicious—it will break down under the heavy coating and turn mushy before you even get a chance to bite into it.
My number one go-to for the best texture and flavor contrast is the Granny Smith. It’s tart, it holds its shape beautifully on the stick, and it gives you that snap when you bite through the hard candy into the crisp fruit beneath. Fuji apples are a close second if you want something a tiny bit sweeter than Granny Smith, but still nice and firm. Whatever you pick, just make sure it’s crisp and dry before it meets that hot sugar!
I always say: knowing the science behind the sugar helps you troubleshoot everything else, just like mastering the dough for a good crust helps when you try my easy homemade pizza dough!
Share Your Perfect Candy Apples Creations
Now that you have the full roadmap for achieving that professional, glossy, crack-free shell, it’s your turn to shine! Making these **candy apples** is a skill that feels so rewarding once you get it right, and I really want to see what colors and toppings you decide to experiment with.
Don’t be shy—I love seeing how you take my base recipe and make it your own, whether you stick to the classic red or dive into vibrant colors. If you try this recipe, please leave a star rating at the bottom of the page; it really helps other bakers know they can achieve this level of shine too!
I’d be so thrilled if you shared photos of your stunning final results on social media and tagged me! Keep practicing that sugar work, and remember that every messy batch leads you closer to that perfect crispness. May your candy always shine brightly!
If you’d like more recipes that bring that nostalgic, celebratory feel to your table, make sure you check out how I make my amazing soft and chewy snickerdoodles next!
Share Your Perfect Candy Apples Creations
Now that you have the full roadmap for achieving that professional, glossy, crack-free shell, it’s your turn to shine! Making these candy apples is a skill that feels so rewarding once you get it right, and I really want to see what colors and toppings you decide to experiment with.
Don’t be shy—I love seeing how you take my base recipe and make it your own, whether you stick to the classic red or dive into vibrant colors. If you try this recipe, please leave a star rating at the bottom of the page; it really helps other bakers know they can achieve this level of shine too!
I’d be so thrilled if you shared photos of your stunning final results on social media and tagged me! Keep practicing that sugar work, and remember that every messy batch leads you closer to that perfect crispness. May your candy always shine brightly!
If you’d like more recipes that bring that nostalgic, celebratory feel to your table, make sure you check out how I make my amazing soft and chewy snickerdoodles next!
PrintFoolproof Classic Candy Apples with Perfect Glossy Coating
Make perfect, shiny, crack-free candy apples using this simple recipe. This tutorial guides you through preparing the apples and achieving a flawless candy shell every time, ideal for fall parties or Halloween treats.
- Prep Time: 15 min
- Cook Time: 20 min
- Total Time: 35 min
- Yield: 6 servings 1x
- Category: Dessert
- Method: Stovetop Cooking
- Cuisine: American
- Diet: Vegetarian
Ingredients
- 6 medium firm apples (like Granny Smith or Fuji)
- 6 wooden sticks or skewers
- 2 cups granulated sugar
- 1 cup light corn syrup
- 1/2 cup water
- 1 teaspoon red food coloring (or gel coloring for brighter color)
- 1/2 teaspoon white vinegar
Instructions
- Wash the apples thoroughly. Remove the stems and insert a wooden stick firmly into the core of each apple.
- Prepare the apples for dipping: Wipe the skin completely dry with a paper towel. For best results and to help the candy adhere, dip the apples in boiling water for 5 seconds, then dry them again immediately and completely. Let them sit at room temperature while you prepare the syrup.
- Combine the sugar, corn syrup, and water in a medium, heavy-bottomed saucepan. Stir gently over medium heat until the sugar dissolves.
- Stop stirring once the mixture boils. Insert a candy thermometer, making sure the tip does not touch the bottom of the pan.
- Cook the syrup without stirring until it reaches 300 degrees Fahrenheit (Hard Crack Stage). This usually takes about 15 to 20 minutes. Watch the temperature closely.
- Once the temperature reaches 300 degrees Fahrenheit, immediately remove the pan from the heat. Carefully stir in the red food coloring and the white vinegar. The vinegar helps prevent the candy from crystallizing.
- Let the syrup cool slightly for about 3 to 5 minutes. The temperature should drop to around 280 degrees Fahrenheit before dipping. This cooling step helps prevent cracking.
- Tilt the saucepan and dip each apple into the syrup, rotating it to coat evenly. Lift the apple and allow excess syrup to drip back into the pan.
- Place the coated apples on a baking sheet lined with parchment paper or a silicone mat. Do not let them touch.
- Allow the candy apples to cool completely and harden, about 30 to 45 minutes, before serving.
Notes
- For a crack-free candy apple coating, ensure your apples are completely dry before dipping. Moisture causes the candy to seize or crack.
- If you want bright colored candy apples, use gel food coloring instead of liquid drops.
- If the candy starts to crystallize while you are dipping, add one teaspoon of water and gently heat it back up just until it is smooth again.
- If you want to make gourmet candy apple ideas, you can roll the dipped apple in crushed nuts or sprinkles immediately after dipping, before the candy sets.
Nutrition
- Serving Size: 1 apple
- Calories: 350
- Sugar: 85g
- Sodium: 2mg
- Fat: 0g
- Saturated Fat: 0g
- Unsaturated Fat: 0g
- Trans Fat: 0g
- Carbohydrates: 90g
- Fiber: 1g
- Protein: 0g
- Cholesterol: 0mg