
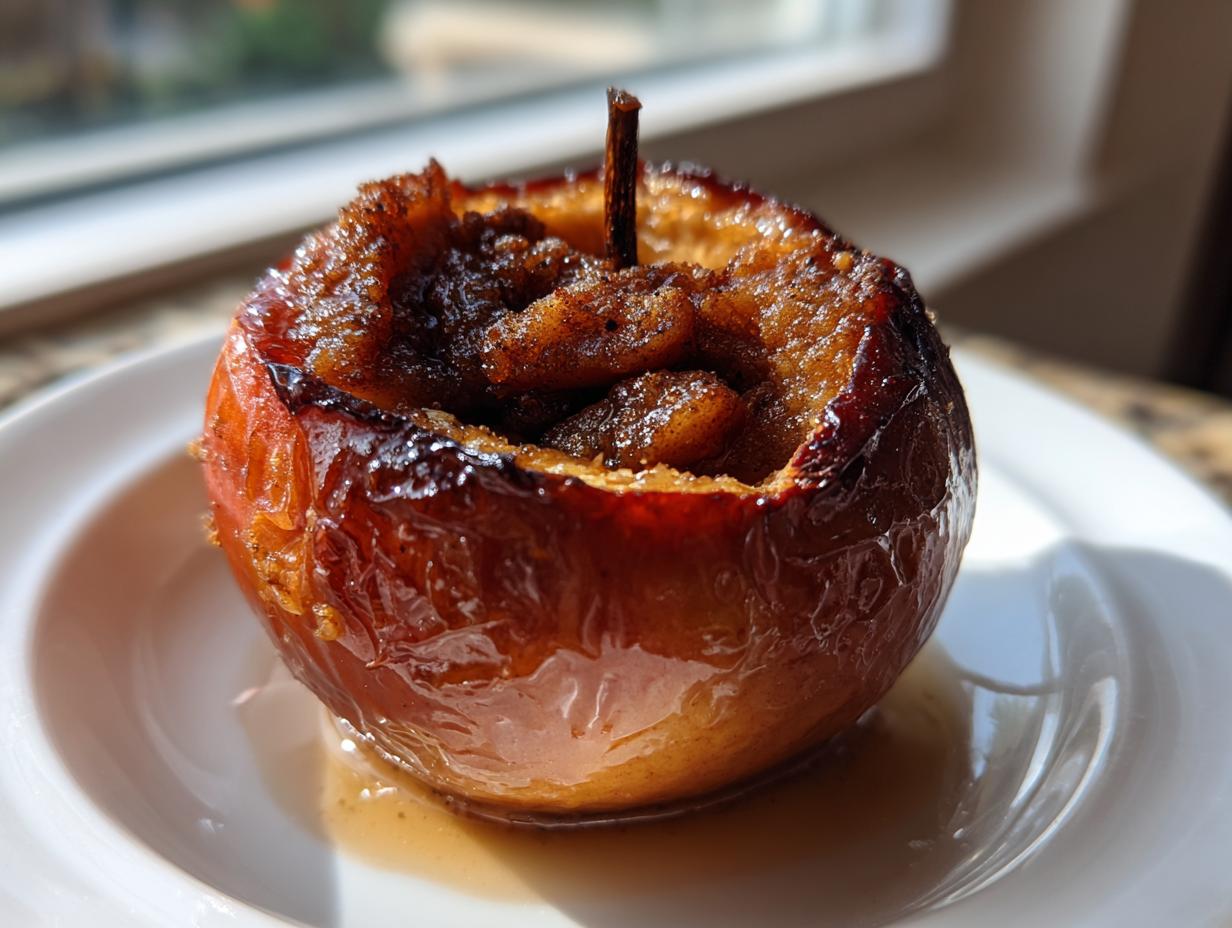
There’s just nothing that says “autumn is here” quite like the smell of cinnamon and warm fruit wafting from the oven. Forget those complicated fall baking projects; I want pure comfort, and that’s why this baked apple recipe is my absolute go-to. As Aria Thompson, a home cook first and foremost, I promise you this is the best baked apple recipe for capturing that simple, cozy feeling without spending all day in the kitchen. It’s straightforward, deeply flavorful, and ready before you know it. If you love this cozy feeling, wait until you try our apple crisp recipe—but first, let’s get these apples tender!
- Why This Easy Baked Apples Recipe is Your New Favorite
- Ingredients for the Best Baked Apple Recipe
- How to Prepare Cinnamon Baked Apples Step-by-Step
- Variations on the Classic Baked Apple Recipe
- Tips for Success When Making Baked Apples
- Serving Suggestions for Your Warm Apple Dessert
- Storage and Reheating Instructions for Leftover Baked Apple
- Frequently Asked Questions About Baked Apples
- Nutritional Information for this Baked Apple Recipe
Why This Easy Baked Apples Recipe is Your New Favorite
I developed this as the ultimate easy baked apples recipe because, honestly, I’m not always up for a huge production. This dessert delivers maximum cozy factor with minimum effort. You truly can’t beat the flavor!
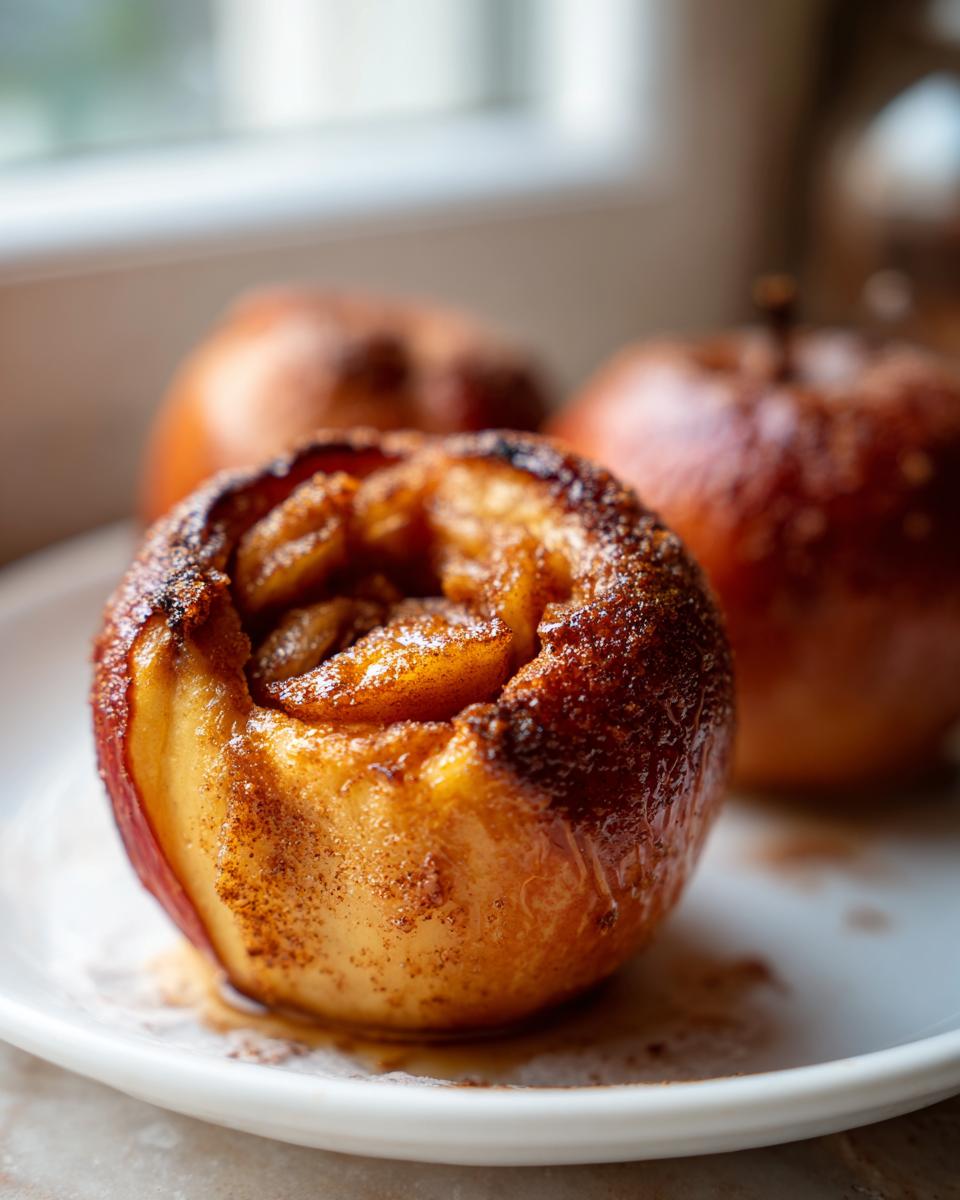
- Perfect for Cozy Autumn Desserts: The second these bake, your whole house smells like a fall postcard. It’s the essence of cozy autumn desserts in one sweet little package.
- Quick Prep Time for a Last-Minute Baked Apple Treat: Seriously, you’re looking at just 10 minutes of work before they go into the oven. Perfect for a quick weeknight treat or sneaking in ahead of time before dinner ends. It’s the best simple apple dessert because it fits right into your busy schedule.
Perfect for Cozy Autumn Desserts
The warmth from this dish is just unmatched. When that steam hits you—full of brown sugar and cinnamon—you instantly feel cozy, no matter how gloomy it is outside!
Quick Prep Time for a Last-Minute Baked Apple Treat
Because we are only spending about 10 minutes prepping, you can decide you want baked apples at 7 PM and still be eating them by 8 PM. That’s what I call efficiency!
Ingredients for the Best Baked Apple Recipe
Okay, let’s get our pantry ready! The key to a truly spectacular baked apple isn’t complicated ingredients, it’s having the right ones ready to go. Since this is a simple recipe, every item counts. Don’t skimp here!
- 4 medium baking apples (I really prefer Honeycrisp or Fuji for the best texture, but Granny Smith works if you like it a little tart!)
- 1/4 cup packed brown sugar (That molasses flavor is crucial!)
- 1 teaspoon ground cinnamon (Don’t try to substitute cinnamon extract, trust me on this one.)
- 1/4 teaspoon ground nutmeg (Just a tiny pinch really wakes up those warm spices.)
- 2 tablespoons unsalted butter, cut into 4 small pieces (You need the real stuff for that rich flavor.)
- 1/4 cup water (This creates the necessary steam so your apples don’t burn on the bottom.)
If you’ve got these ingredients, you are halfway to the kitchen heaven. If you happen to have some apple cider from a nice little farm stand, you can use that instead of water for an even deeper flavor—maybe a splash alongside some apple cider Moscow Mule later?
Selecting the Right Apples for Your Baked Apple
Choosing your apple is almost as important as the cinnamon. You want something that is crisp and can hold up to the heat without turning into total mush. If you want a beautiful, defined shape for your whole baked apple, stick to firmer varieties.
I always grab Honeycrisp or Fuji because they stay pleasantly firm but soften just enough to be buttery. If you use something softer, like McIntosh, you’re better off slicing them first because they will collapse into applesauce while baking whole. For a nice sweet-tart contrast, Granny Smith is reliable, but make sure you use the full amount of brown sugar because they really need that sweetness to balance out.
How to Prepare Cinnamon Baked Apples Step-by-Step
Now for the fun part! We are putting these beautiful spices onto the apples and tucking them into the oven. This process for making Cinnamon Baked Apples is so relaxing; just trust the process and you’ll have the coziest dessert ready soon. I always put on some quiet music while I do the prep work!
Coring and Filling the Baked Apple
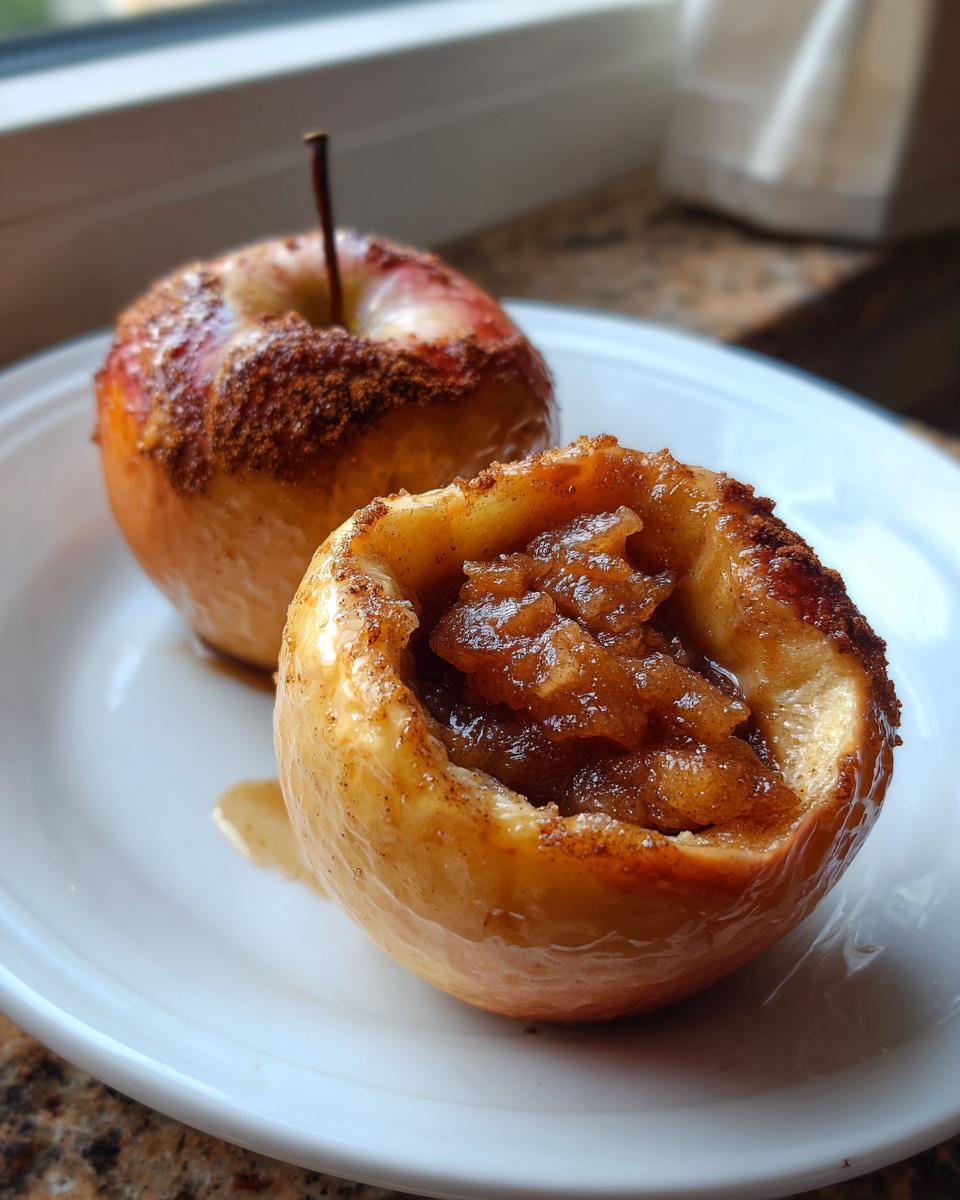
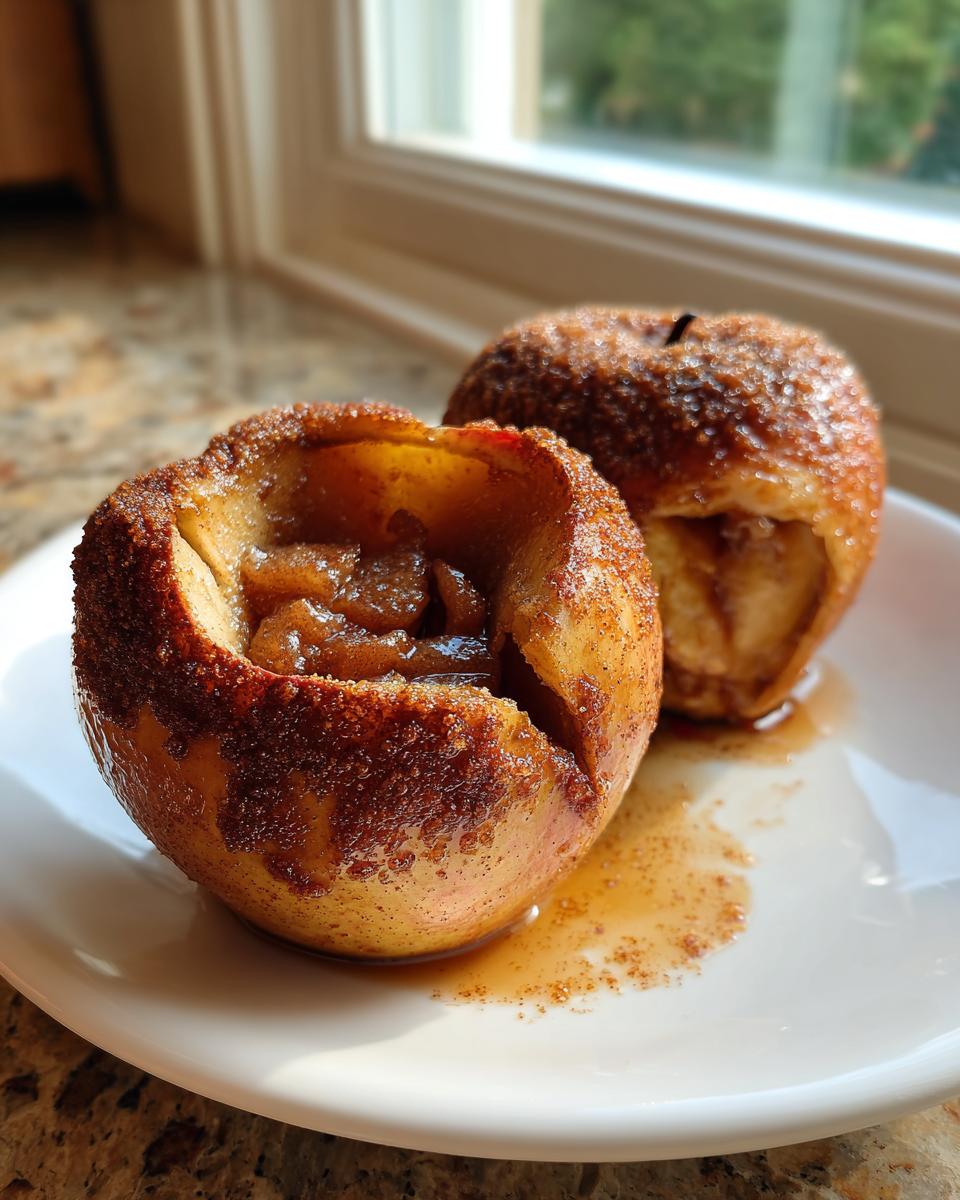
First things first: grab your baking dish and give it a light greasing. We don’t want anything sticking, especially when these apples get all soft and gooey. Next, wash your apples well. Here’s the crucial bit about coring: you need to scoop out that core, seeds and all, but be gentle! Stop before you pierce the bottom of the apple. If you cut all the way through, your glorious filling of brown sugar and cinnamon is going to just leak out into the pan and burn up. We want that goodness staying right where it belongs!
Mix your sugar, cinnamon, and nutmeg in a tiny bowl. Then, spoon that spicy mixture generously into the cavity of each apple. Make sure you pack it in there! Then, for that extra richness that turns into soft sauces? Pop a little pat of butter right on top of the filling in each apple. It melts down beautifully.
Baking Technique for Tender Results
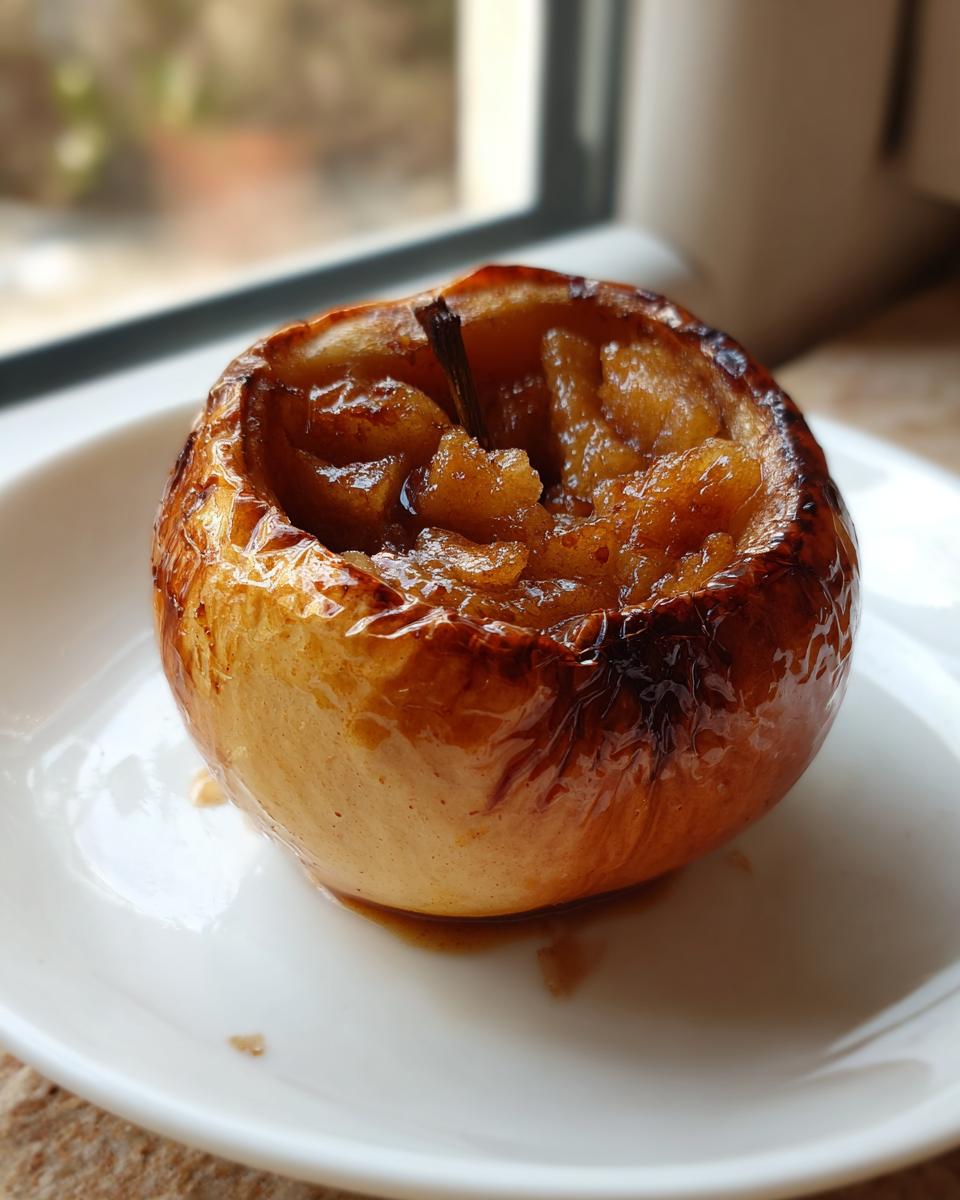
This watery element is my secret weapon for truly tender results. Pour about a quarter cup of water into the bottom of your baking dish, making sure it sits around the apples, not sloshing into the cores. This water creates steam in the oven. Steam is what keeps the apples from drying out or scorching on the outside while the inside is still hard. That moisture is key to that fall-apart texture.
Pop them into a preheated 375 degrees Fahrenheit oven. Now, baking time varies quite a bit based on how big your apples are—a tiny Fuji will cook faster than a huge Honeycrisp. Generally, aim for 35 to 45 minutes. But don’t just watch the clock! My expert tip from years of practice is this: after about 35 minutes, gently pierce an apple near the core with the tip of a sharp paring knife. If the knife slides in easily with almost no resistance, they are done! If you feel any major crunch, give them another 5 to 10 minutes. You want them velvety soft for the best baked apple experience.
Variations on the Classic Baked Apple Recipe
While I absolutely adore the classic whole baked apple, sometimes you need a different approach, especially if you’re short on time or just want to use up apples that are a bit too small for coring. Don’t worry, we can totally adjust things to make fantastic baked apples your way! This recipe is so adaptable, which is why I think it works for basically everyone looking for a wonderful fall dessert.
Making Easy Baked Apple Slices Recipe
If you’re dealing with a mountain of apples, or if you just prefer not to mess with coring, making easy baked apple slices recipe is the way to go! You skip the tedious coring step entirely. Just wash your apples (you can peel them or leave the skin on, totally up to you) and slice them thinly or into wedges. Toss them in that same brown sugar, cinnamon, and nutmeg mixture. Make sure every slice gets coated well!
Since slices are thinner, they bake way faster. Instead of 40 minutes, you’ll only need about 20 to 25 minutes at 375°F. They come out tender, spicy, looking a bit like a deconstructed, warm apple study session. They are fantastic mixed into oatmeal or used as a topping for yogurt. You can check out some other quick ideas over at our sweet potato casserole recipe page for more inspiration on fast sweet sides!
Achieving Caramel Baked Apples Flavor
Who doesn’t love that deep, gooey, rich flavor of caramel? If you’re craving true caramel baked apples, the fix is super simple. Once you’ve spooned the brown sugar and spice mixture into the cored apple cavity, just drizzle about a teaspoon of pure maple syrup right on top of the sugar mound before you put the butter piece on. Maple syrup works like magic here; it caramelizes beautifully with the butter!
Alternatively, if you have a jar of store-bought caramel sauce, just give everything a heavy drizzle before it goes into the oven. That extra gooey sweetness drips down the sides and creates this light sauce in the bottom of the pan. It’s heavenly served with those warm, tender apples and maybe a side of apple fritter bites if you are feeling extra ambitious!
Tips for Success When Making Baked Apples
Listen, even the easiest recipe can go sideways if you skip a tiny step or two. I want your entire experience making these baked apples to be zero stress, so let me share a few things I’ve learned over the years to turn a good result into a spectacular one. These little pointers will save you from scorched edges or, worse, apples that are still raw in the middle.
First off, let’s talk about that dreaded scorching that happens on the edges of the dish. That water in the bottom of the pan is your savior here! If the water level starts getting too low halfway through baking and you see the sugar bubbling up suspiciously dark, just add a tablespoon or two more of hot water. I always keep a glass of hot water nearby for this very reason. We want tender fruit, not burnt sugar!
To avoid mushiness, especially if you’re using softer apples, make sure you’re not over-baking. Remember that knife test I mentioned? That’s your real guide. Stop baking the moment the knife slides in easily. If you leave them in for an extra 15 minutes hoping to maximize the filling runoff, all you get is a watery mess, not a dessert. Soft is perfect; disintegrated is not.
Lastly, if you’re slicing your apples instead of baking them whole—which you should totally try out if you want to read about quickly baked fruit—toss them in a bowl with the spices for a solid five minutes before spreading them on the sheet. This allows the moisture from the apples to start mixing with the sugar, creating a better coating before they hit the heat. You can find another fantastic fruit recipe idea, like our flaky crust blueberry pie, for when you decide you need something more involved!
And if you’re looking for more ideas on how to use up those mid-week apples without turning on the oven again, check out these brilliant Cinnamon Baked Apple Slices—they are so simple!
Serving Suggestions for Your Warm Apple Dessert
When your baked apple comes out of the oven, it already smells like heaven, but how you serve it truly elevates it to a memorable warm apple dessert experience. Truly, this is the final flourish where you make it your own. Because the apples are so tender and warm, they pair beautifully with contrasts in temperature and texture—think cold and creamy!
The absolute classic, and what my own family always asks for, is a generous scoop of high-quality vanilla bean ice cream nestled right next to, or even on top of, the warm apple. That hot-cold contrast is just magic! If you want a stunning visual presentation, try serving that ice cream right on top; it melts down just enough to create the perfect pool of baked apples with ice cream topping.
If you’re serving this to guests, consider creating a small topping bar! This makes it interactive and fun. You can set out little bowls of:
- Chopped pecans or walnuts for a necessary crunch.
- A drizzle of extra caramel sauce (if you made the caramel variation!).
- A dusting of powdered sugar or extra cinnamon.
For something completely decadent that feels luxurious, try this: serve them alongside a warm dipping bowl of my creamy classic cheese fondue recipe. Wait, what? Hear me out—sweet and savory is always a showstopper! (Okay, okay, maybe stick to savory dips for the apple slices you made, but for the whole baked apple, ice cream is usually the winner.)
If you’re looking for other incredible comfort food pairings, take a peek at the amazing simple recipes over at Easy Baked Cinnamon Sugar Apples for serving inspiration!
Storage and Reheating Instructions for Leftover Baked Apple
If you manage to have any leftover baked apple—which, let’s be honest, is a minor miracle in my house—you want to treat them right so they taste just as cozy the next day. These are fantastic as a quick breakfast if you’ve got some left!
The best way to store them is in an airtight container in the refrigerator. They should keep beautifully for about three to four days. The sugar and spices act as a natural preservative, so they hold up really well. Just cover them tightly! If you left the buttery filling sitting out, it might separate a little, but that’s totally normal. Just make sure the container seals well so they don’t absorb any weird fridge smells.
Reheating is where you have to make a choice based on texture. If you want that nice, slow, gentle heat that brings back the tenderness without any sogginess, use the oven. Pop the leftovers on a small oven-safe dish (with maybe a teaspoon of water underneath if they look a little dry) and warm them at about 300°F for about 10 to 15 minutes. It brings back that freshly baked aroma perfectly.
Now, if you’re in a rush—say, it’s 7 AM and you need fuel fast—the microwave works, but you have to be careful not to overdo it. Microwave them in 20-second bursts until they are just warmed through. Too long in the microwave, and that lovely tender structure turns into actual mush, and nobody wants a sad, limp baked apple for breakfast, right? If you’re planning ahead for meals during the week, you might want to check out my tips on making an easy leftover turkey pot pie recipe for those colder nights!
Frequently Asked Questions About Baked Apples
I totally get it—baking always raises a few questions, especially when you want that perfect result every time. I’ve pulled together some of the most common things people ask me about making these sweet, warm treats. Hopefully, this clears everything up so you can get back to enjoying that incredible smell!
Can I make a healthy baked apples snack version?
Yes, absolutely! You can easily turn this into a healthy baked apples snack without losing the comforting flavor. If you are watching sugar intake, remember the notes I shared: the easiest swap is replacing the brown sugar with a quality keto-friendly sweetener like erythritol or monk fruit blend. It gives you the sweetness without the extra load. Just swap it 1:1 for the brown sugar in the filling, add your cinnamon and nutmeg, and you’re good to go! They turn out just as tender and you can still serve them warm with a dollop of Greek yogurt instead of ice cream for a protein boost. For more quick, healthy fuel, check out my thoughts on quick healthy lunch ideas!
What is the best way to core apples for baking?
To answer the question everyone asks about how to bake whole apples: your best friend here is a melon baller or a small, sharp spoon—like a grapefruit spoon if you have one. The main goal when coring is to create a nice little cup for the filling, but you absolutely must leave the bottom intact! You don’t want to puncture through the base of the apple.
Take off the top stem area, and then start scooping down the middle. Go until you feel the resistance of the bottom skin, then stop and wiggle your tool out. If you leave about a half-inch of apple flesh on the bottom, it holds the spices right where we need them while the apple softens. It takes a little practice, but once you get the hang of it, it’s fast. You can also read up on other ways people are enjoying this dessert, like the oven method described over at Oven Baked Apples.
Nutritional Information for this Baked Apple Recipe
I always think it’s helpful to have a general idea of what you’re eating, even when it’s something as wonderfully cozy as a baked apple dusted with brown sugar. Now, remember, I’m testing recipes in my home kitchen, not in a certified lab! So, please take these numbers with a grain of salt—or perhaps a sprinkle of nutmeg. These estimates are based on dividing the total recipe yield (4 servings) by the standard ingredients listed.
For a single serving of this classic cinnamon baked apple, you can expect the following nutritional breakout. It’s surprisingly low in fat considering how rich it tastes, mainly thanks to the apples carrying the workload!
- Serving Size: 1 apple
- Calories: 240
- Sugar: 45g (Mostly from the added brown sugar and natural fruit sugars)
- Fat: 6g
- Saturated Fat: 3.5g
- Protein: 0.5g
- Carbohydrates: 48g
- Fiber: 6g
See? That 6 grams of fiber is fantastic! It’s why I often suggest these as a great mid-afternoon boost when you need something sweet but wholesome. If you’re looking for more quick, guilt-free treats to keep your energy up, you absolutely must look over my collection of healthy snack ideas. Enjoying this warm apple dessert knowing it packs a good fiber punch makes it even sweeter!
PrintEasy Baked Cinnamon Sugar Apples
Make tender, sweet baked apples filled with warm cinnamon and brown sugar. This simple apple dessert is perfect for a cozy autumn treat or a quick snack.
- Prep Time: 10 min
- Cook Time: 40 min
- Total Time: 50 min
- Yield: 4 servings 1x
- Category: Dessert
- Method: Baking
- Cuisine: American
- Diet: Vegetarian
Ingredients
- 4 medium baking apples (like Honeycrisp or Fuji)
- 1/4 cup packed brown sugar
- 1 teaspoon ground cinnamon
- 1/4 teaspoon ground nutmeg
- 2 tablespoons unsalted butter, cut into small pieces
- 1/4 cup water
Instructions
- Preheat your oven to 375 degrees Fahrenheit. Lightly grease a small baking dish.
- Wash the apples. Use a melon baller or small spoon to core the center of each apple, leaving about a half-inch of apple at the bottom so the filling stays inside. Do not cut all the way through the bottom.
- In a small bowl, mix the brown sugar, cinnamon, and nutmeg.
- Place the cored apples into the prepared baking dish.
- Spoon the sugar and spice mixture evenly into the center cavity of each apple.
- Place a small piece of butter on top of the sugar mixture in each apple.
- Pour the water into the bottom of the baking dish around the apples. This creates steam to keep the apples moist.
- Bake for 35 to 45 minutes, or until the apples are tender when pierced with a fork. Baking time depends on the size and variety of your apples.
- Carefully remove from the oven. Serve warm, perhaps with a scoop of vanilla ice cream for the best baked apple dessert experience.
Notes
- For baked apple slices, simply slice the apples instead of coring them whole, toss with the sugar and spice mixture, and bake for 20-25 minutes until tender.
- If you prefer a keto baked apples option, substitute the brown sugar with a keto-friendly sweetener blend like erythritol and monk fruit.
- To achieve a caramel baked apples flavor, add 1 tablespoon of maple syrup or a drizzle of caramel sauce over the filling before baking.
Nutrition
- Serving Size: 1 apple
- Calories: 240
- Sugar: 45
- Sodium: 2
- Fat: 6
- Saturated Fat: 3.5
- Unsaturated Fat: 2.5
- Trans Fat: 0
- Carbohydrates: 48
- Fiber: 6
- Protein: 0.5
- Cholesterol: 15