
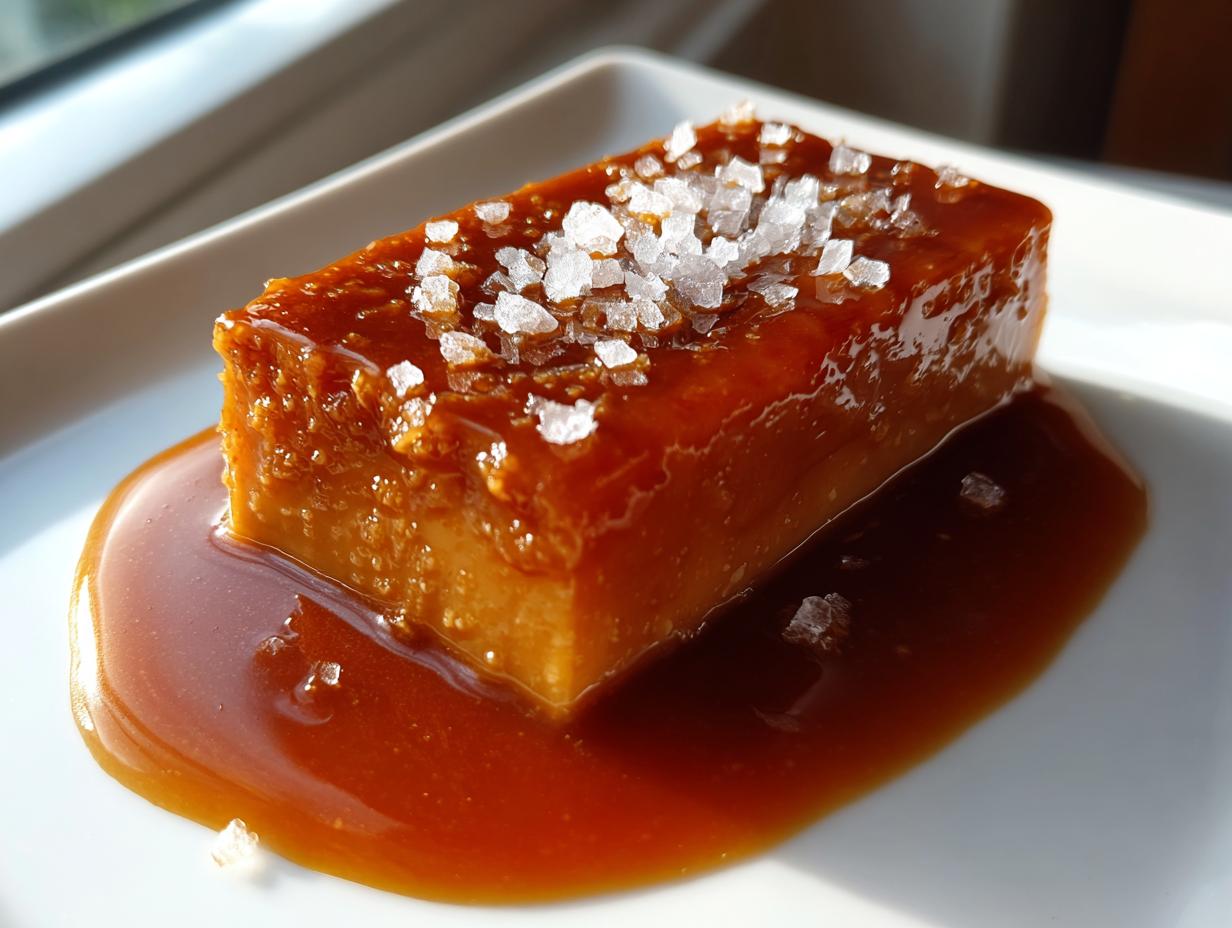
Oh, the sheer magic of pulling liquid gold right off your own stovetop! Nothing says “I made this with real effort” quite like a thick, silky drizzle of homemade sweetness. I promise you, once you taste this homemade salted caramel sauce—especially when it’s warm over a scoop of plain vanilla ice cream—you won’t look at the jarred stuff ever again. This recipe is my absolute favorite because it delivers that rich, buttery caramel flavor without any of the scary parts. Seriously, we’re ditching that fussy candy thermometer completely! I developed this method because, like you, I want incredible flavor without making things ten times harder than they need to be. You can read more about my whole philosophy over on the About Page, but know this: I’m just a passionate home cook dedicated to making complex flavors simple for your kitchen.
- Why This Is the Best Homemade Salted Caramel Sauce Recipe
- Gathering Ingredients for Your Homemade Caramel Sauce
- Step-by-Step Instructions: How to Make Caramel
- Tips for Success with Your Quick Caramel Topping
- Serving Suggestions for Gourmet Caramel Drizzle
- Storage and Reheating Homemade Caramel
- Frequently Asked Questions About Making Caramel
- Estimated Nutritional Information for Salted Caramel Sauce
- Share Your Buttery Caramel Treats
Why This Is the Best Homemade Salted Caramel Sauce Recipe
Why fuss when you can achieve gourmet results in minutes? This salted caramel sauce isn’t just good; it’s truly the best because it’s so unbelievably easy. You get that deep, complex flavor without any of the anxiety that comes with candy making. That’s why I call it a quick caramel topping that everyone—yes, even total beginners—can master. Trust me, making this smooth batch of homemade caramel gives you instant kitchen cred!
Speed and Simplicity: A Beginner Caramel Tutorial
We are talking about a total time commitment of about 15 minutes from start to finish. If you’ve been scared off by recipes calling for fancy equipment, this one is for you. We are completely bypassing the candy thermometer! This lets you focus only on the visual cues—the color of the sugar—instead of stressing over exact temperatures. It’s practically foolproof, which is exactly what I aimed for when I created this version.
The Secret to Rich and Creamy Caramel
The richness comes down to quality. I insist on using plenty of real unsalted butter and heavy cream. But here’s the real trick for that beautiful, silky texture: your heavy cream HAS to be at room temperature. If you drop cold cream into hot melted sugar, you risk your beautiful, liquid caramel seizing up instantly. I learned that the hard way! Using room temperature cream ensures everything blends together into a perfectly rich and creamy caramel.
Gathering Ingredients for Your Homemade Caramel Sauce
Before we get to the fun part (which is watching sugar transform into gold!), we need to line up our supporting cast. These ingredients are simple, but they need a little bit of prep work, so trust me and get everything ready before you approach the stovetop. We need rich flavor, and these four items deliver it beautifully. Remember, we are making a truly buttery caramel treat here!
- 1 cup granulated sugar
- 6 tablespoons unsalted butter, cut into small pieces
- 1/2 cup heavy cream, brought to room temperature
- 1/2 teaspoon sea salt, plus extra for topping
Ingredient Notes and Substitutions for Perfect Caramel
Listen closely about that cream temperature; this is non-negotiable for easy caramel! If that heavy cream is cold, it shocks the melted sugar and makes it grab up into a hard block—we want smooth sauce, not a sugar brick! Also, don’t skimp on the butter; that’s where that luxurious mouthfeel comes from. I sometimes see people ask if they can use whole milk instead of cream, and the answer is really no. Milk doesn’t have enough fat content, and your caramel won’t be nearly as rich or thick. Stick to the heavy cream for the best possible caramel payoff.
Step-by-Step Instructions: How to Make Caramel
Okay, deep breath! This is where the magic happens, and honestly, it’s also where you need to pay 100% attention. Making the initial melted sugar for this caramel is the one part that requires absolute focus. I can still remember the first time I made this version—I walked away for maybe thirty seconds to grab a clean whisk, and when I turned back, my sugar was smoking way past amber! Don’t let that be you. Set everything near the stove, stand right there, and let’s turn that boring white sugar into glorious, liquid caramel.
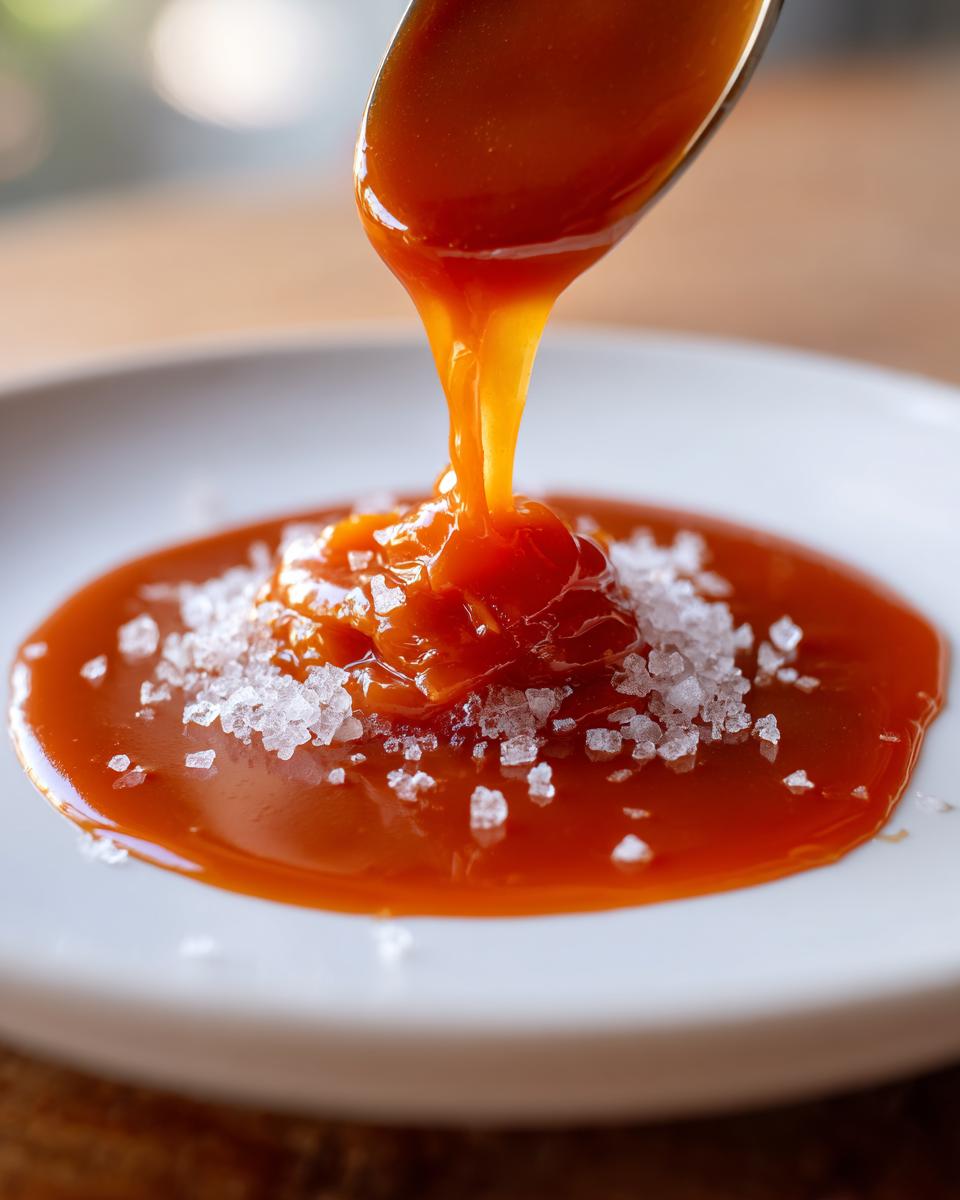
Melting the Sugar: Achieving the Right Caramel Color
First things first: put your sugar in your heavy, medium saucepan on medium heat. You have to let it sit there untouched for a good few minutes. Don’t stir it! If you keep poking it, it will crystallize, and we don’t want crunchy caramel spots. Just let the stuff on the edges melt, and then gently swirl the whole pan occasionally until all the sugar turns into a completely smooth liquid. You are aiming for a lovely, deep amber color—think of the shade of a nice dark beer or maybe honey that’s been aged a little bit. That color translates directly into the depth of your final caramel flavor.
Incorporating Butter and Cream Safely
Once you hit that perfect amber shade, yank the pan right off the heat! This is critical: immediately whisk in those pieces of room temperature butter, one by one. The mixture is going to bubble up like crazy—it’s hot, so stand back a little! Once that butter is smooth, you slowly pour in the room-temperature cream while still whisking nonstop. It will bubble up even *more* fiercely this time, but keep whisking until it calms down and looks like one unified, smooth caramel liquid. We keep it on low heat for just one more minute to make sure everything is integrated perfectly before we call it done!
Tips for Success with Your Quick Caramel Topping
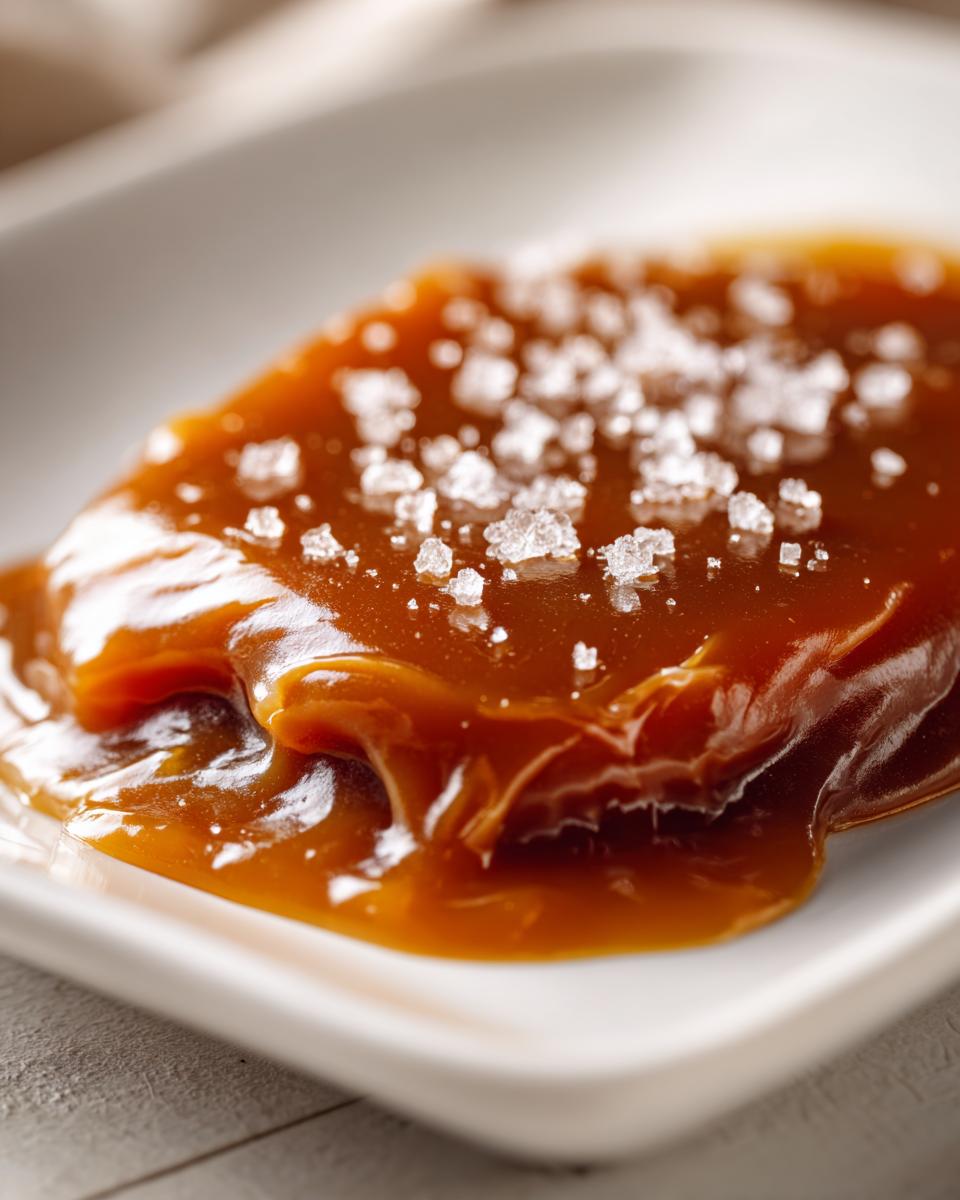
So you’ve made your incredible liquid gold! Now, let’s talk about keeping this fantastic caramel topping perfect for later. The biggest headache people run into is sometimes the sugar decides it wants to go back to being granular right after you melt it. If you notice tiny, hard sugar crystals forming while melting, don’t panic! Immediately splash in about a tablespoon of very hot water and whisk like mad; that usually shocks the crystals back into submission.
Also, remember that this sauce thickens up a lot as it cools. If you’re storing it (which you should, because leftovers are the best!), and you pull it out later to drizzle, it might be too stiff. That’s okay! Just give it a little warm-up. You can heat a small portion in the microwave for 10 or 15 seconds, or put it back on the stovetop over very low heat. Stir it until it flows nicely again. This ensures your homemade caramel is always ready for action!
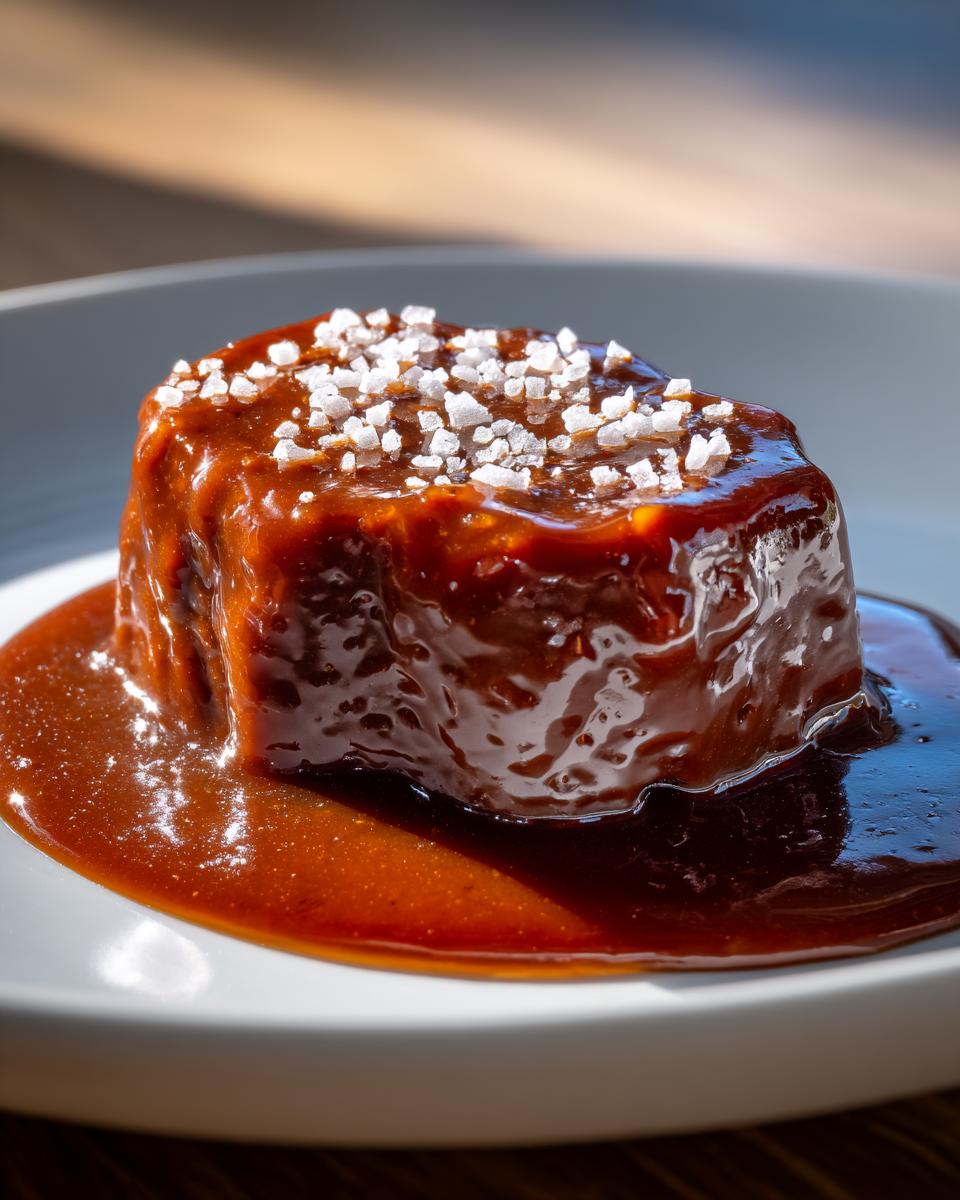
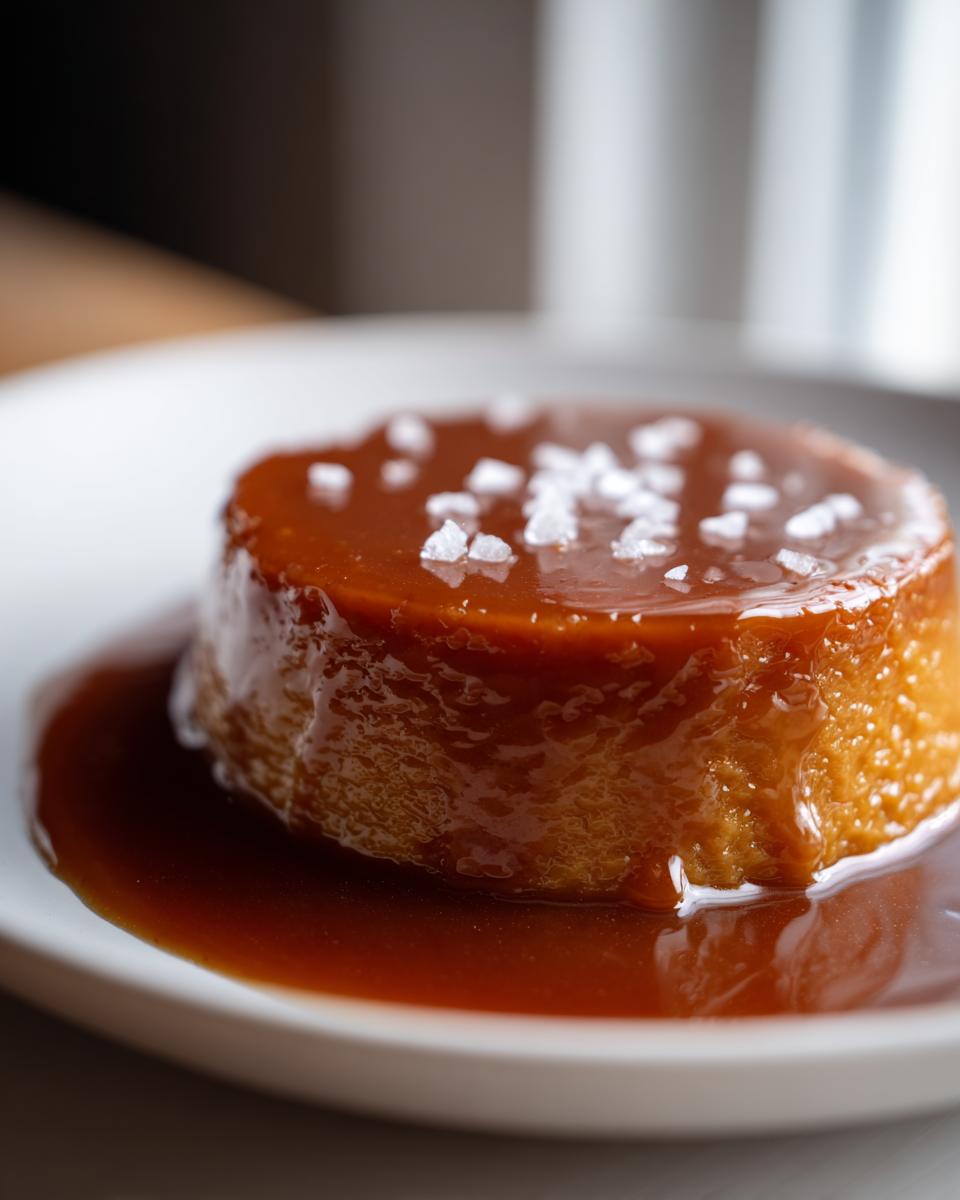
Serving Suggestions for Gourmet Caramel Drizzle
Now that you have this luscious pot of homemade caramel, what are you going to do with it? Honestly, I just stand over the sink and eat it with a spoon, but I try to share! This gourmet caramel drizzle recipe works beautifully on just about anything you want to elevate. Forget buying that expensive topping; you made this yourself!
Think of all the classic caramel dessert ideas! It’s non-negotiable over vanilla bean ice cream, naturally. It creates the most stunning swirl in your morning coffee or latte—seriously, try it. It’s also absolutely divine poured hot over apple slices or mixed into brownie batter. If you happen to have any homemade pecan pie leftovers, a drizzle of this salty sweetness right on top makes it taste brand new again. Use it liberally; that’s the point of making it at home!
Storage and Reheating Homemade Caramel
The best part about this quick caramel recipe is how long it lasts—if you can keep your hands off it, that is! Store your leftover sauce in a clean, airtight glass jar. I usually keep mine right in the fridge. It keeps beautifully for about two to three weeks, sometimes longer, hiding behind the pickles. Now, when you pull that chilly jar out, the caramel will be super stiff, almost like fudge. That’s totally normal! Don’t try to force it out.
To get back to that perfect drizzly texture, you just need a gentle warm-up. Pop a small amount—maybe two tablespoons—into a microwave-safe dish and zap it for about 10 or 15 seconds. Stir it, and if it’s still too thick, give it another quick blast. Alternatively, you can put the jar (if it’s oven-safe, which most aren’t!) or a small amount in a saucepan over super low heat. Keep stirring until your beautiful homemade caramel flows smoothly again. Easy peasy!
Frequently Asked Questions About Making Caramel
I get so many questions about this easy caramel recipe, and that’s a good sign you’re ready to jump in! Caramel can feel tricky because sugar is so sensitive, but you shouldn’t let that intimidate you. Here are a few things I hear most often from folks just getting started making their first batch of homemade caramel.
Can I use the microwave for this caramel recipe?
While this recipe is designed for the stovetop so you can gently watch the sugar melt, yes, you absolutely can make microwave caramel! It’s a slightly different process where you usually heat the sugar alone in short bursts, then carefully add the butter and cream. It goes faster, but you sacrifice a little bit of that deep, slow-cooked flavor my stovetop method gives you.
How do I turn this sauce into soft chewy caramels homemade?
That’s a great question! To get those soft chewy caramels homemade, you need to cook the mixture much, much longer until it hits the firm-ball stage, which is usually around 245°F on a thermometer. Since we’re avoiding the thermometer here, just know that for candy, you definitely need to cook it past this sauce stage until it gets significantly thicker than what we are doing for the drizzle. This recipe is truly optimized for sauce!
Why did my caramel seize up on me?
Nine times out of ten, when your caramel seizes—meaning it turns grainy and hard—it’s because the cold heavy cream shocked the hot sugar too fast. Remember how I stressed bringing the cream to room temperature? That’s why! If it happens, put the whole darn thing back on the lowest heat setting and just stir very gently. Sometimes, a tiny splash of extra hot water helps dissolve those sugar crystals right back into your creamy caramel.
If you try this recipe and have other thoughts or can’t figure something out, please don’t hesitate to reach out via the Contact Page! Happy caramel making!
Estimated Nutritional Information for Salted Caramel Sauce
I always feel a little weird posting nutrition facts because, honey, we are making dessert! This rich and creamy topping is definitely an indulgence. But just so you have the full picture for those days you need to plan things out, here’s what the numbers generally look like for this recipe, based on the ingredients we used.
Keep in mind these are estimates, based on serving size being about two tablespoons. Things like the exact brand of butter or cream you use can shift these numbers around a tiny bit, so take it as a helpful guide rather than gospel truth!
- Serving Size: 2 tablespoons
- Calories: 190
- Total Fat: 10g
- Saturated Fat: 6g
- Carbohydrates: 26g
- Sugar: 25g
- Sodium: 120mg
- Protein: 0g
See? Lots of delicious, pure sugar and fat—that’s what makes it taste so good! Enjoy it guilt-free by drizzling it over something healthy like a baked apple or maybe a plain Greek yogurt. Or, you know, just eat it with a spoon. No judgment here in this kitchen!
Share Your Buttery Caramel Treats
I truly hope you loved making this easy caramel as much as I did sharing the tips with you! Now it’s your turn. Did you end up drizzling it on pancakes or maybe into your afternoon coffee? I want to hear all about it! Please jump down below, leave a rating for the recipe, and tell me how your batch turned out. If you took a picture of your final gourmet caramel drizzle, tag us on social media so I can admire your success! We love seeing what you create. Remember, if you have any questions, you can check out our Privacy Policy, but really, just leave a comment!
PrintEasy Homemade Salted Caramel Sauce (No Thermometer Needed)
Make rich, buttery salted caramel sauce at home using simple ingredients. This beginner-friendly recipe requires no candy thermometer and is ready in minutes, perfect for drizzling over desserts.
- Prep Time: 5 min
- Cook Time: 10 min
- Total Time: 15 min
- Yield: About 1 1/4 cups 1x
- Category: Dessert Topping
- Method: Stovetop
- Cuisine: American
- Diet: Vegetarian
Ingredients
- 1 cup granulated sugar
- 6 tablespoons unsalted butter, cut into pieces
- 1/2 cup heavy cream, room temperature
- 1/2 teaspoon sea salt, plus more for topping
Instructions
- Place the sugar in a medium, heavy-bottomed saucepan over medium heat. Do not stir initially.
- Allow the sugar to melt completely, swirling the pan occasionally to ensure even melting. Watch closely as it turns amber brown. This takes about 5 to 8 minutes.
- Once the sugar is fully melted and a deep amber color, immediately remove the pan from the heat.
- Carefully whisk in the butter pieces, one piece at a time, until fully melted and incorporated. The mixture will bubble vigorously.
- Slowly pour in the room temperature heavy cream while whisking constantly. The mixture will bubble up again. Continue whisking until smooth.
- Return the pan to low heat and cook for 1 minute, stirring constantly. Do not let it boil rapidly.
- Remove from heat and stir in the 1/2 teaspoon of sea salt.
- Pour the sauce into a heatproof jar. Sprinkle a little extra sea salt on top while the sauce is still warm.
- Let the sauce cool completely before using. It will thicken as it cools.
Notes
- Use room temperature heavy cream to prevent the hot sugar from seizing when you add the liquid.
- If the sauce hardens after cooling, reheat it gently on the stovetop or in the microwave for a few seconds to restore its drizzly consistency.
- This sauce works well over ice cream, brownies, or mixed into coffee.
Nutrition
- Serving Size: 2 tablespoons
- Calories: 190
- Sugar: 25g
- Sodium: 120mg
- Fat: 10g
- Saturated Fat: 6g
- Unsaturated Fat: 4g
- Trans Fat: 0g
- Carbohydrates: 26g
- Fiber: 0g
- Protein: 0g
- Cholesterol: 35mg