
Okay, let’s talk about the best part of baking sugar cookies: the decorating! You’ve spent ages rolling out the dough perfectly, cutting out cute shapes, and now comes the moment of truth. I know so many people who get stressed about finding the right sugar cookie icing that actually dries firm so you can stack and gift them. That’s where I come in! I’m Aria, and believe me, I’ve made every single icing mistake out there. But I cracked the code on a formula that dries hard and gives you that beautiful, glossy finish you see in bakeries. And the best part? It’s so simple, even if your kitchen experience starts and stops with boiling water!
- Why This is the Best Sugar Cookie Icing Recipe for Hardening
- Gathering Ingredients for Your Smooth Cookie Icing Tutorial
- Step-by-Step Instructions for Perfect Cookie Flooding Icing
- How to Make Cookie Icing That Dries Fast and Stays Glossy
- Coloring and Applying Your Vanilla Sugar Cookie Frosting Guide
- Storing Leftover Sugar Cookie Icing
- Frequently Asked Questions About Perfect Cookie Flooding Icing
- Serving Suggestions for Your Decorated Cookies
- Share Your Best-Tasting Cookie Icing Creations
Why This is the Best Sugar Cookie Icing Recipe for Hardening
Seriously, if you need icing that survives being boxed up and shipped across the country or just stacked high on your counter for the holidays, this is it. We aren’t messing around with runny glazes here. This recipe delivers that perfect combination of hard shell and show-stopping shine. I really think it’s the best sugar cookie icing recipe I’ve ever tested because it masters all three things: it tastes amazing, it gets rock solid, and it looks gorgeous on your sugar cookies!
- Dries firm enough to stack without smudging.
- Delivers a naturally smooth and glossy finish.
- Uses ingredients you already have in your pantry.
Quick Prep Time for Your Sugar Cookie Icing
The absolute best part about this sugar cookie icing is the turnaround time. We are talking ten minutes of prep time, tops! And since there’s no cooking involved, it’s a true no-bake method. You can have this mixed up before your first batch of cookies is even cool enough to touch. That speed means less waiting and more decorating, which is exactly how I like to do things in my kitchen!
Gathering Ingredients for Your Smooth Cookie Icing Tutorial
Okay, let’s get the goods lined up. When I first started making this sugar cookie icing, I was thrilled because it uses stuff I almost always have on hand! We need four main players here to get that perfect texture we are aiming for. Remember, everything just gets whisked together, which is why I love this so much for beginners. You’ll need four cups of confectioners’ sugar—and please, please do yourself a favor and make sure you sift that first! That eliminates any gritty surprise at the bottom of your bowl. Then, you’ll grab six tablespoons of milk or water, depending on what you have handy, and one teaspoon of vanilla extract for that classic flavor we all crave.
Ingredient Notes and Substitutions for Perfect Sugar Cookie Icing
Now, pay attention because this next part is where we control the finish. I list light corn syrup as optional, but trust me, if you have it, throw in maybe a quarter teaspoon. That little bit of syrup is the secret weapon for extra shine and gloss on your finished sugar cookie icing. It doesn’t change the flavor a bit, just makes it look bakery-quality!
If you’re looking for that ultra, rock-hard shell—like something that won’t budge when stacked for gifting—you might want to swap out the liquid base entirely. For a true royal icing texture that dries *super* hard, just switch your milk or water for one egg white plus about a half teaspoon of meringue powder. That’s the pro trick for making your icing for sugar cookies that hardens just perfectly!
Step-by-Step Instructions for Perfect Cookie Flooding Icing
Alright, now for the fun part: mixing this magic potion! Dump that big bowl of sifted confectioners’ sugar right into your mixing bowl. Then, add your liquid—the milk or water. I always start by pouring in about four tablespoons of the liquid and then grabbing a whisk. You need to mix this until it’s super smooth, no lumps allowed! Remember, we are looking for a consistency that can cover your sugar cookie icing beautifully.
Once it looks mostly combined, toss in your vanilla and that optional corn syrup we talked about for that gorgeous gloss. Mix it all until you have that beautiful, thick pourable icing. This is where beginners sometimes panic, but don’t worry! The next step separates the outliners from the flooders.
Adjusting Consistency: The Key to Decorative Cookie Icing Techniques
This is honestly the most important tip for successful decorative cookie icing techniques! You have to test the consistency. If you lift your whisk out, how does the icing fall? For piping those crisp borders, you want the icing to fall off the whisk and leave a nice, defined trail on the surface that holds its shape for about ten seconds. That means it’s perfect for outlining.
If you are flooding the center, you want it thinner. It should flow more like thick honey when you pour it. If it’s too thick for flooding, add liquid—just a half teaspoon of milk or water at a time! If you accidentally make it too thin (oops!), don’t grab the milk again! Just whisk in a tablespoon of your reserved sifted sugar until you get that perfect, slow drizzle back. That’s the secret to having successful sugar cookie icing that behaves itself!
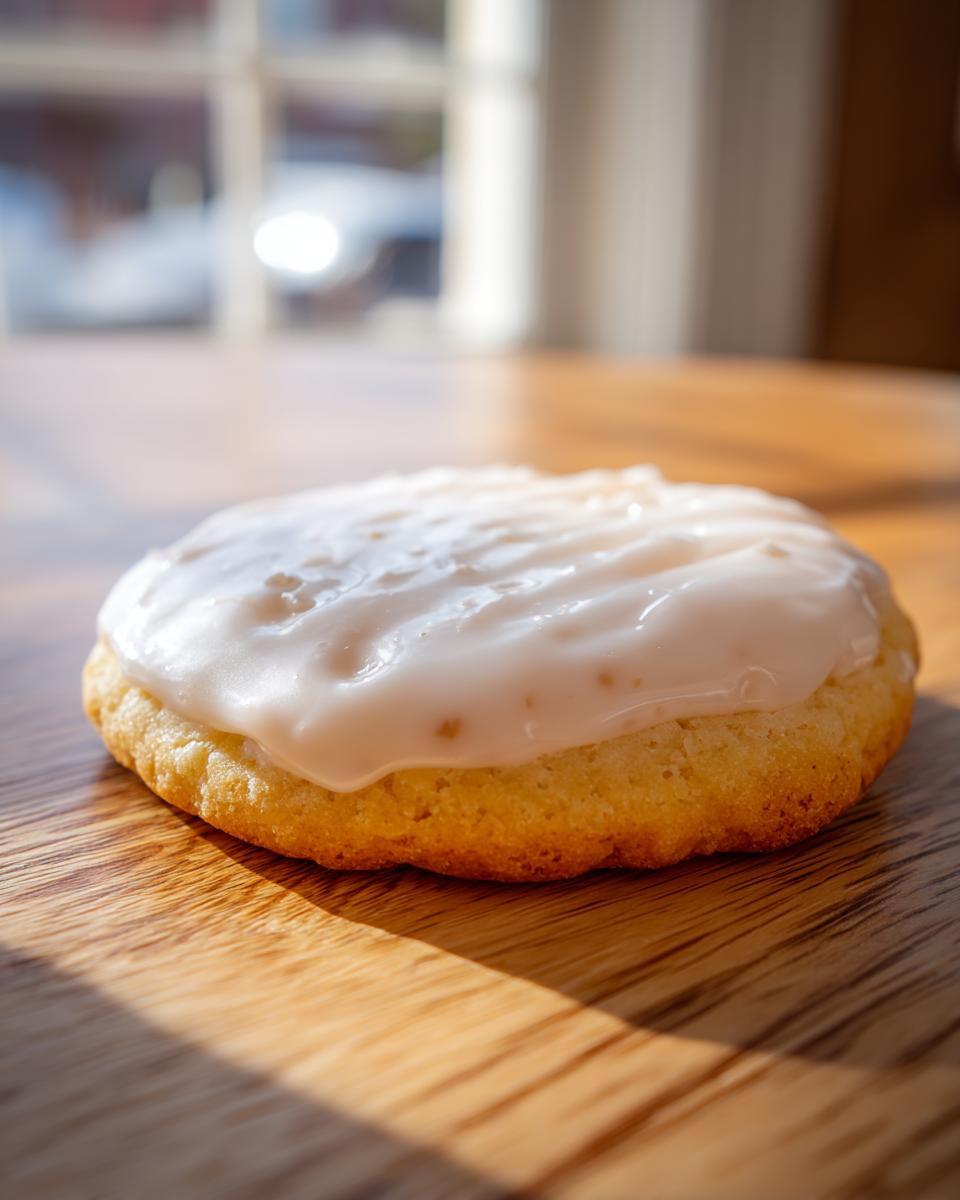
How to Make Cookie Icing That Dries Fast and Stays Glossy
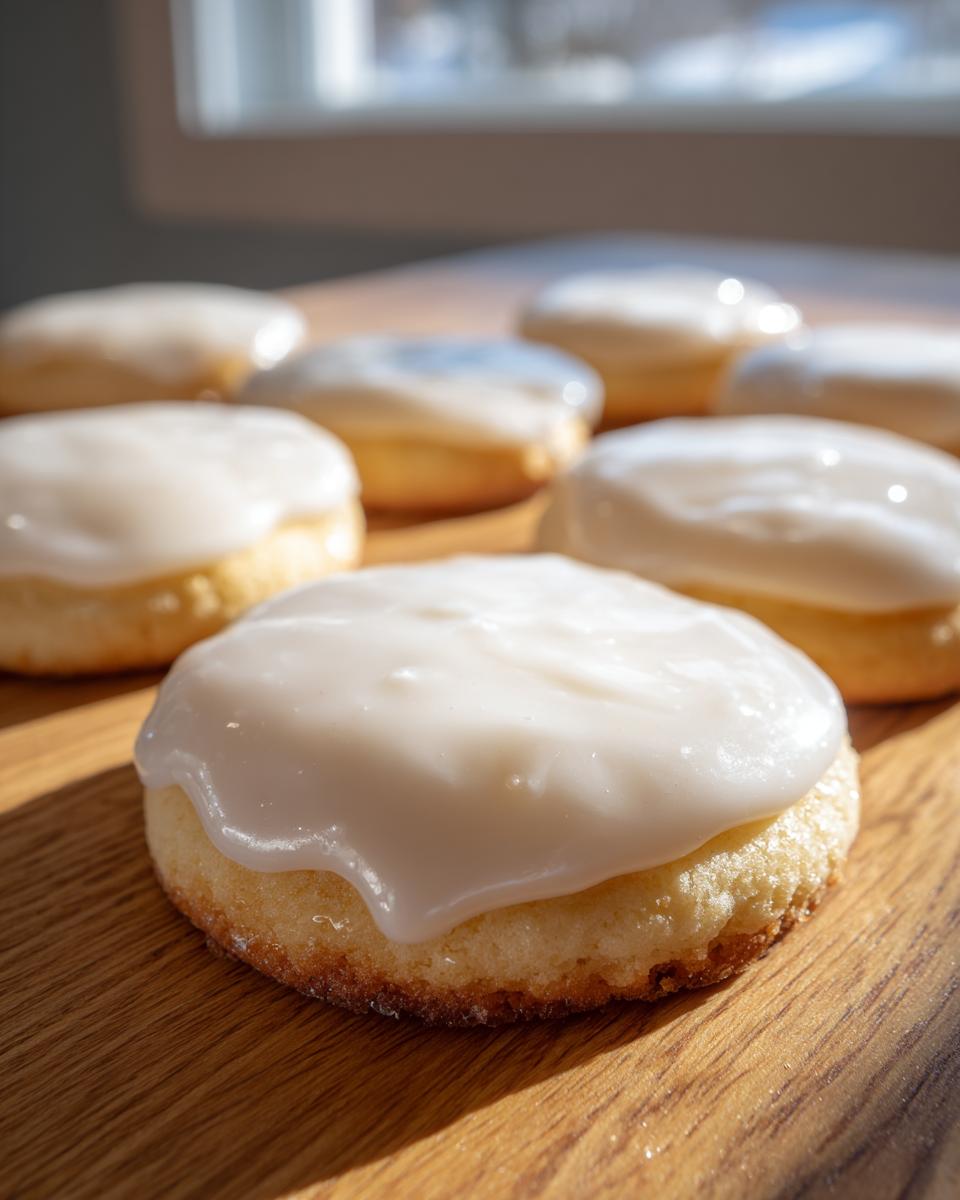
This is the part where patience comes into play, but honestly, it’s mostly hands-off time! Once you’ve finished decorating your beautiful cookies, you have to let this sugar cookie icing set up. If you try to stack them or wrap them too soon, you’re going to end up with a sticky mess and a lot of frustration, trust me! Room temperature is usually fine, but if you’re baking for a party tomorrow and need them done *now*, I have a trick for you.
I let mine sit out flat on a baking rack, and I always put a small fan nearby, angled slightly so it blows gently over the tops. It sounds silly, but that moving air helps evaporate the moisture so much quicker, which helps that hard, glossy shell form up beautifully! This little boost speeds up the whole process tremendously.
Generally, you are looking at about four to eight hours for the icing to dry completely hard. Why the big window? Humidity is the enemy here! If it’s a rainy day, it might take closer to eight hours. But when that surface is totally firm to the touch—not even a slight give when you press lightly—then you know your sugar cookie icing is ready for stacking, boxing, or eating immediately!
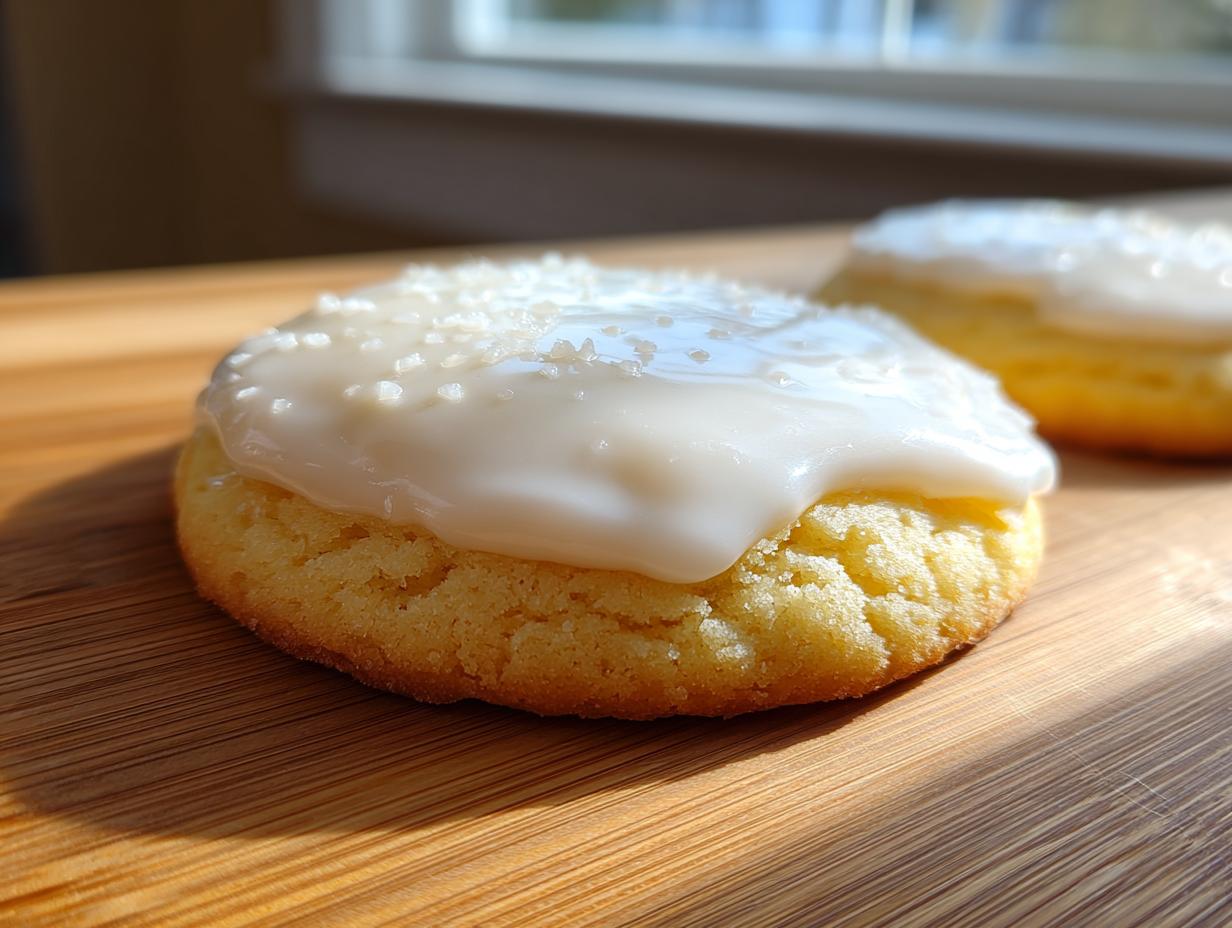
Coloring and Applying Your Vanilla Sugar Cookie Frosting Guide
Before we let this amazing vanilla sugar cookie frosting set up, we have to use our artistic flair! If you want color in your sugar cookie icing, now is the time. I always recommend using gel food coloring, not the liquid stuff, because those drops can throw off our perfect consistency ratios we just worked so hard to achieve. Just add a tiny dab of gel coloring to the portion of icing you want to change and stir it really well until the color is totally uniform. Don’t add too much at once, or you might end up making the icing soupy!
Once the color is perfect, it’s time to get this sweet stuff onto your cooled cookies! You have options here, depending on how fancy you want to get. For those crisp, clean designs, grabbing a piping bag fitted with a small, round tip is the way to go. We use the classic two-step technique: first, you pipe an outline around the edge of the cookie. This creates a little dam, holding the thinner icing inside!

Then, grab a small spoon or even a toothpick, and carefully spread the rest of the thinner icing directly into that border you just made. This is called flooding! It sounds complicated, but honestly, it’s just filling in the lines. If you’re just doing a simple dunk-and-dry look, you can totally skip the piping bag and just spoon a nice blob of the icing onto the center of the cookie and use the back of the spoon to gently spread it to the edges. It might not be as crisp as piping, but it dries just as beautifully and hardens up nicely!
Storing Leftover Sugar Cookie Icing
Okay, so maybe you went a little overboard mixing up that sugar cookie icing—it happens to the best of us! The good news is, you don’t have to throw away any leftover magic potion. Unlike some frostings that absolutely need the fridge, this simple glaze keeps really well at room temperature, which is just so convenient for my busy kitchen schedule.
If you have extra, just transfer it into a small, airtight container. See, because this is mostly sugar, it resists going bad quickly when sealed up nicely. Make sure the lid fits tight so it doesn’t dry out on top! You can totally leave it sitting on the counter for up to two days. I’ve even done three days in a pinch, but two is my solid recommendation.
When you pull it back out to use it later, don’t panic if the surface looks a little weird or crusty—that’s completely normal for any sugar cookie icing that has separated slightly. You just need to give it a really good stir! That’s the crucial step: stir it vigorously until everything is completely smooth and back to that perfect pourable consistency we worked so hard to achieve earlier. If you need to thin it out again after it sits, just add a teeny, tiny splash of milk or water until it comes back to life. Easy peasy!
Frequently Asked Questions About Perfect Cookie Flooding Icing
I know you might have a few last-minute questions bombarding your brain before you dive into decorating. That’s totally fair—getting that consistent sugar cookie icing texture is everything! I’ve gathered up the questions I get asked most often about this recipe, especially when folks are trying to achieve that beautiful, hard shell finish we love so much.
We want your next batch of holiday cookies to look incredible, so let’s clear up any confusion about your beginner-friendly cookie icing!
Can I use this easy cookie icing for beginners without corn syrup?
Absolutely, you can! Corn syrup is just my little secret weapon for that super high-gloss look that makes the icing look shiny and almost wet when it first dries. But if you don’t have any, leaving it out will not ruin the recipe at all. You’ll still end up with a fantastic, smooth cookie icing that hardens beautifully! It might just look slightly more matte than super glossy, but it will still seal up perfectly on your cookies. Don’t let lack of one optional ingredient stop you from making this easy cookie icing for beginners, promise?
What is the difference between this glaze and true royal icing?
That’s a great question, because the terms get mixed up all the time! This recipe is more of a thick, dependable glaze or a hybrid icing. It uses milk or water as its primary liquid base, which gives it that slightly softer, incredibly tasty finish compared to true royal icing. If you compare it to a traditional royal icing recipe for sugar cookies, the main difference is the protein source. True royal icing relies on egg whites (or meringue powder) for that ultra-hard, almost brittle finish. If you follow the substitution note in the recipe and use the whipped egg white instead of milk, then *that* batch becomes true royal icing that dries rock hard and is great for intricate piping!
How long does it take for the icing to dry completely?
This is the golden question, isn’t it? If you want that satisfying feeling of being able to stack your cookies without making a huge mess, you need patience! At normal room temperature on a dry day, expect to leave your decorated cookies alone for about six to eight hours. If you’re dealing with high humidity, it might push it closer to the next morning. That’s why that fan trick I mentioned works wonders—it can cut that drying time by half! Just make sure they are fully dry before you try to package them for gifting.
Can I make a big batch of this simple 3 ingredient cookie icing ahead of time?
You sure can! If you’re having a big decorating party, making this simple 3 ingredient cookie icing ahead of time saves you so much chaos on the day of. Just mix it up following the instructions, store it in the airtight container as I mentioned, and leave it on the counter. When you pull it out later, just stir, stir, stir! If it seems a little tight, add water a drop at a time until you get your desired consistency back. It’s the best!
Serving Suggestions for Your Decorated Cookies
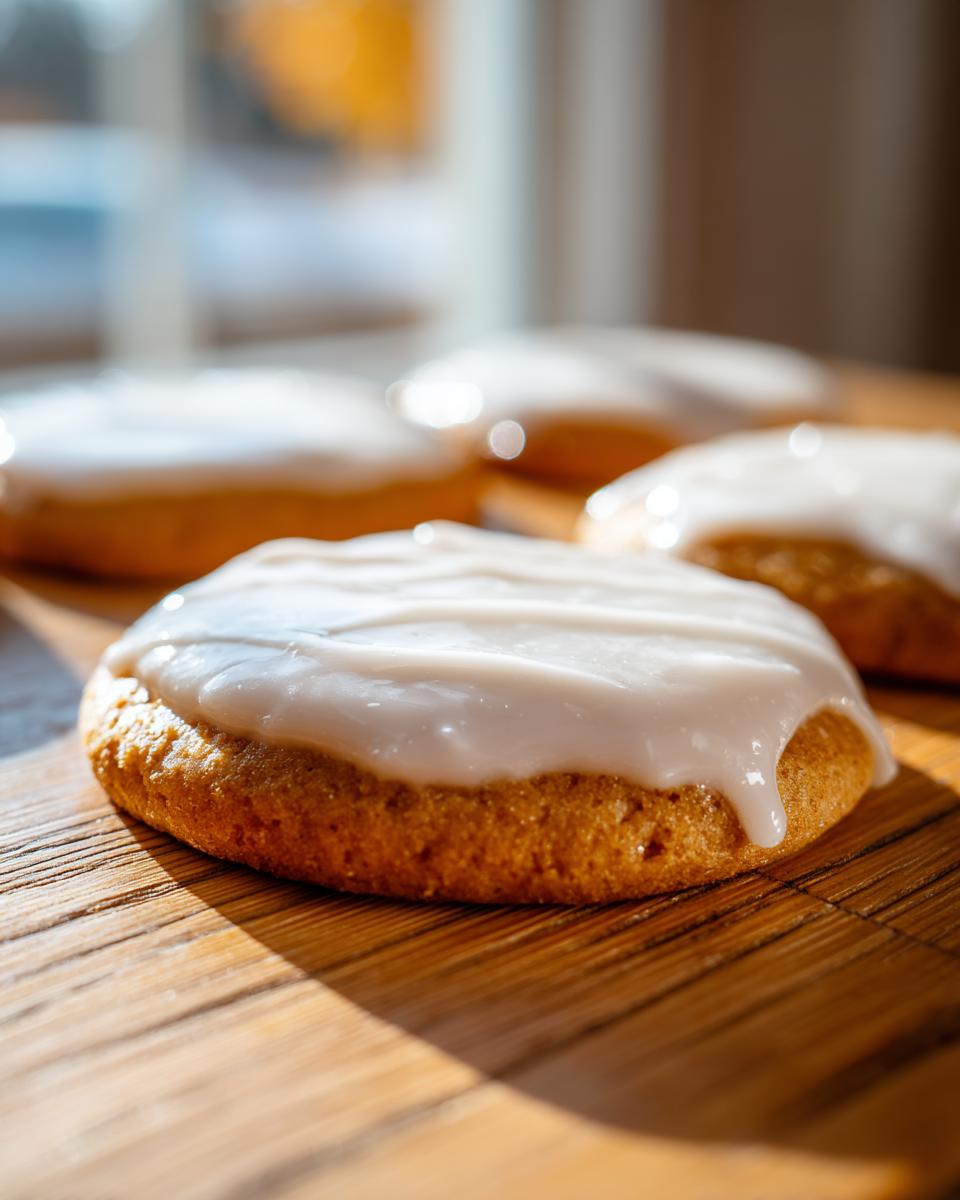
Now that you have this incredible, hard-setting glaze, you need something worthy to put it on! While this icing is undeniably built for the classic sugar cookie cutout—the crisp edges are perfect for holding the outline—it’s also fantastic on a vanilla shortbread base. If you’ve been looking for a way to level up your homemade gifts, these beautifully decorated treats are perfect. Imagine a platter of these, maybe mixed in with some tangy lemon cookies or even some classic homemade cinnamon buns waiting to be glazed!
These iced cookies look amazing piled high on a tiered stand during the holidays, or individually wrapped with a little ribbon for teacher appreciation gifts. They truly elevate any dessert spread just by looking so professional!
Share Your Best-Tasting Cookie Icing Creations
I’ve shared all my secrets for getting that super smooth, hard-drying sugar cookie icing, and now it’s your turn! I absolutely live for seeing what you all create in your kitchens. Seriously, when you nail that flooding technique or perfectly stack a box of decorated holiday cookies, I need to see it!
Please snap a picture of your beautifully iced masterpieces and tag me on social media! Knowing that this recipe helped you make something delicious and beautiful makes all my recipe testing worth it. Hearing from you lets me know I’m giving you the best advice possible.
And if you found this recipe truly helpful—maybe it was simpler than you expected, or the gloss knocked your socks off—don’t forget to leave a star rating or a quick thought in the comments section right below this. Feedback really helps other home cooks who are nervously looking for the right vanilla sugar cookie frosting guide jump in with confidence. Happy decorating!
PrintThe Ultimate Easy Sugar Cookie Icing That Dries Hard and Glossy

Make smooth, glossy sugar cookie icing that dries firm, perfect for decorating and gifting. This simple recipe uses basic ingredients and is ideal for beginners.
- Prep Time: 10 min
- Cook Time: 0 min
- Total Time: 10 min
- Yield: Coats about 2 dozen medium cookies 1x
- Category: Dessert
- Method: No Bake
- Cuisine: American
- Diet: Vegetarian
Ingredients
- 4 cups confectioners’ sugar, sifted
- 6 tablespoons milk or water
- 1 teaspoon vanilla extract
- 1/4 teaspoon light corn syrup (optional, for extra gloss)
Instructions
- In a medium bowl, whisk together the sifted confectioners’ sugar and the milk or water until smooth.
- Add the vanilla extract and the corn syrup, if using. Mix until the icing is completely smooth and has a thick, yet pourable consistency.
- Test the consistency: For outlining and piping, the icing should be thick enough to hold a line on the cookie surface. For flooding, it should flow slowly off the whisk.
- Adjust thickness: If the icing is too thick, add liquid (milk or water) a half teaspoon at a time. If it is too thin, add more confectioners’ sugar, one tablespoon at a time.
- Color the icing if desired by adding gel food coloring now.
- Apply the icing to cooled sugar cookies using a piping bag or a small spoon. Outline the cookie first, then fill in the center (flood).
- Allow the icing to dry completely at room temperature. This usually takes 4 to 8 hours, depending on humidity, for a hard, glossy finish.
Notes
- For a royal icing texture that dries very hard, substitute 1 egg white for the milk/water and add 1/2 teaspoon of meringue powder.
- If you need the icing to dry faster, place the decorated cookies in front of a small fan while they set.
- Store unused icing in an airtight container at room temperature for up to two days; stir well before reusing.
Nutrition
- Serving Size: 2 tablespoons
- Calories: 100
- Sugar: 25g
- Sodium: 1mg
- Fat: 0g
- Saturated Fat: 0g
- Unsaturated Fat: 0g
- Trans Fat: 0g
- Carbohydrates: 26g
- Fiber: 0g
- Protein: 0g
- Cholesterol: 0mg