
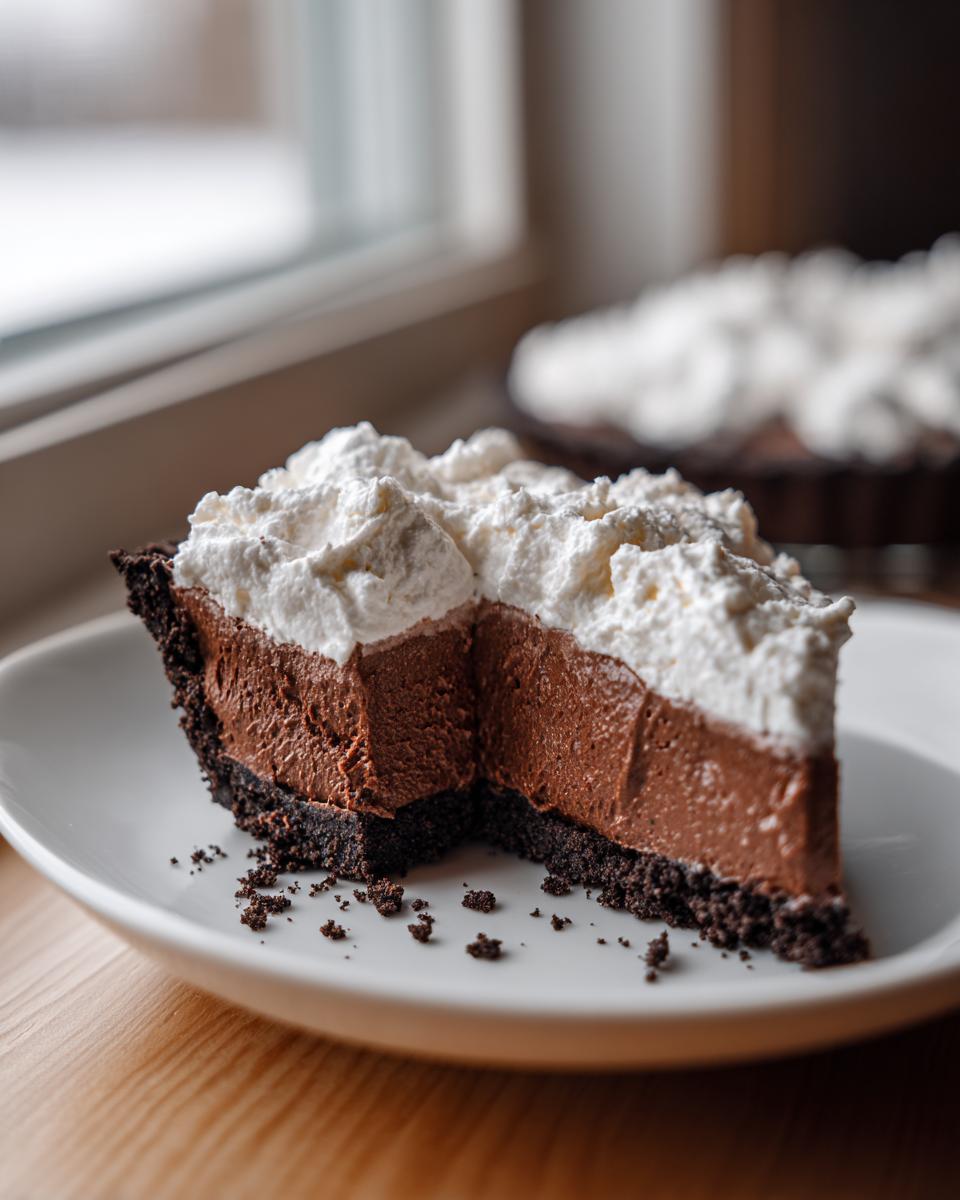
When you picture the ultimate indulgent dessert, what comes to mind? For me, it’s something rich, dark, and deeply satisfying, but served on a weeknight without needing a degree in pastry arts. That’s exactly what this chocolate mousse pie delivers!
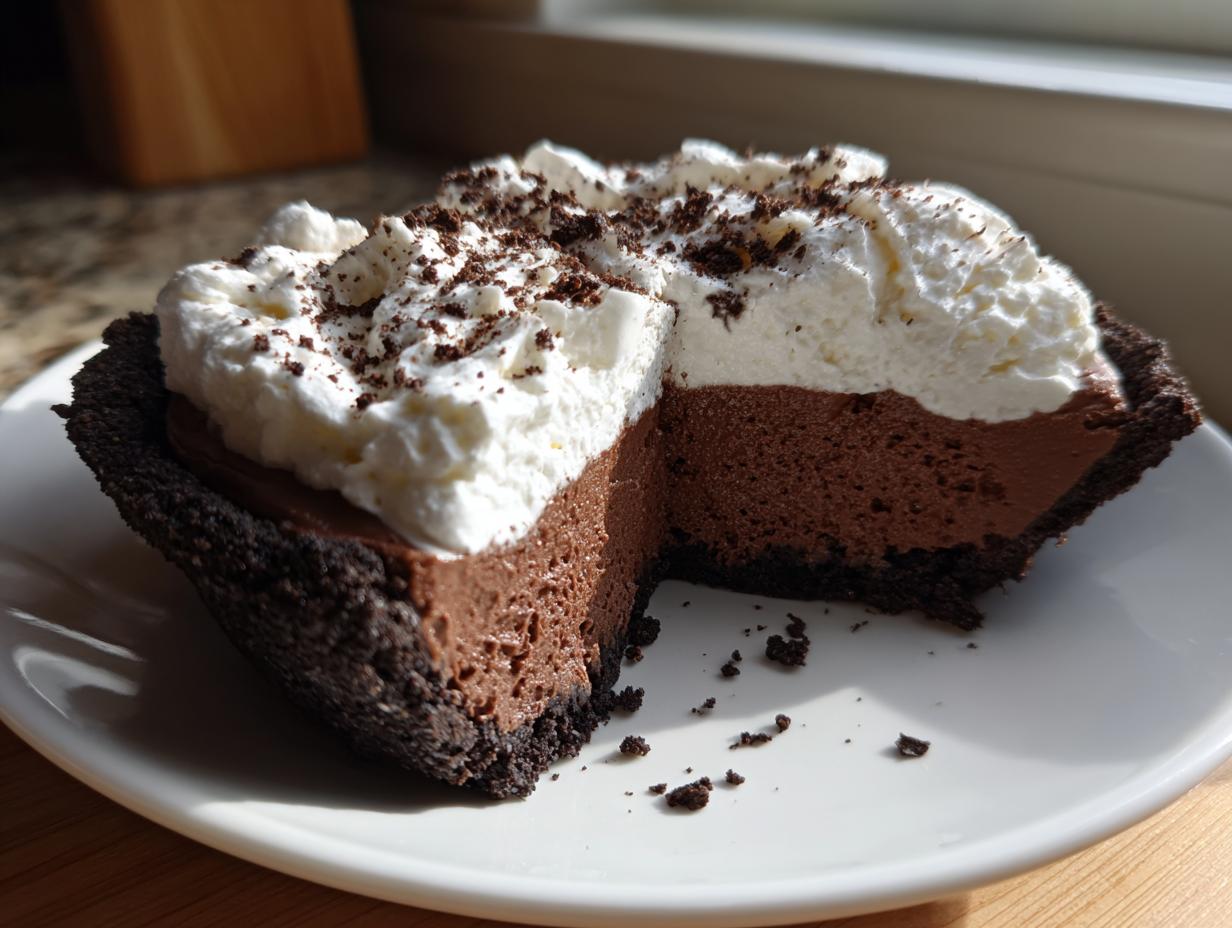
Forget the oven! This is my absolute favorite stress-free showstopper: the Easy No-Bake Chocolate Mousse Pie with that dreamy Oreo crust. I truly believe extraordinary flavor doesn’t need extravagant effort, and this recipe proves it. We’re talking luxurious, creamy chocolate mousse that sets up perfectly, all while you’re probably still cleaning up dinner. It’s comforting, it’s impressive, and trust me, it will become your new go-to for those sudden chocolate cravings or unexpected guests. You’re going to love how simple this no-bake Oreo dessert is to pull together!
- Why You Will Make This Easy No-Bake chocolate mousse pie
- Gathering Ingredients for Your chocolate mousse pie
- Step-by-Step Instructions for the No-Bake chocolate mousse pie
- Tips for the Ultimate chocolate mousse pie Success
- Ingredient Notes and Substitutions for this chocolate mousse pie
- Make-Ahead and Storage for Your chocolate mousse pie
- Serving Suggestions for a Decadent chocolate mousse pie
- Frequently Asked Questions about this No Bake chocolate pie
- Nutrition Estimates for Your chocolate mousse pie
Why You Will Make This Easy No-Bake chocolate mousse pie
There are just some desserts that make you feel fancy when you serve them, but this one hides a massive secret: it’s unbelievably simple. Seriously, I pull this out when I need to look like I spent hours in the kitchen, and no one is ever the wiser!
Here is why this recipe will become your absolute favorite:
- Zero Oven Time Required: This is the ultimate no hassle dessert! You absolutely do not need to preheat anything. We let the freezer and the fridge do all the hard work, which is wonderful, especially when the weather is piping hot outside.
- The Oreo Crust Sensation: Let’s be honest, a good crust makes the pie, and using Oreos means we have instant flavor and texture. If you love crushing cookies with a rolling pin, then this crust is going to be your jam. For more easy cookie crust ideas, check out my guide on the easy no-bake Oreo pie!
- Light and Airy Mousse: We aren’t making a heavy, dense chocolate cake here. The folding technique we use creates this incredible, light texture that just melts in your mouth. It’s decadent without being overwhelming.
- Perfect Make-Ahead Option: This is my secret weapon for hosting. You assemble the whole thing the day before, let it set, and you are 90% done! It truly is the best make ahead chocolate dessert for any busy weekend.
Gathering Ingredients for Your chocolate mousse pie
Okay, don’t let this list scare you! Even though we are making an impressive chocolate mousse pie, the ingredients are surprisingly straightforward. Seriously, most of this stuff is probably already hiding in your pantry or fridge. Remember, we are keeping things simple here, so skip anything fancy. If you want to master other rich chocolate dishes, my guide on fudgy flourless chocolate cake is a great follow-up!
For the Oreo Crust
- 1 3/4 cups Oreo cookie crumbs (that’s about 25 delicious cookies!)
- 6 tablespoons unsalted butter, melted
For the Creamy chocolate mousse filling
- 8 ounces cream cheese, and this is important: it absolutely *must* be softened. Room temperature is your friend here!
- 1 cup powdered sugar
- 1 teaspoon vanilla extract
- 1 cup heavy whipping cream, kept nice and cold for whipping
- 8 ounces semi-sweet chocolate, melted and then allowed to cool down just a bit before we use it.
For the Whipped Cream Topping
- 1 cup heavy whipping cream, even colder than the cream for the filling!
- 2 tablespoons powdered sugar
- 1/2 teaspoon vanilla extract
Step-by-Step Instructions for the No-Bake chocolate mousse pie
This is where the magic happens! Since we aren’t relying on the oven for any structure, technique is everything. We need to respect the air we whip into that cream, or we’ll end up with a dense hockey puck instead of a light, airy mousse. Don’t worry, it’s all about just a few gentle folds. If you want to practice your gentle folding skills on something savory first, try my guide for no-cook pizza sauce!
Preparing the Oreo Crust Base
First things first: the foundation! In a bowl, you just need to mix up those Oreo crumbs and the melted butter until everything looks nice and sandy. Then, take your 9-inch pie plate and press that mixture into the bottom and firmly up the sides. When I say firmly, I mean it! Really press it down well so it doesn’t crumble when you slice it later. Pop that shell right into the freezer while you tackle the filling. Freezing it up gives it a nice, solid structure.
Creating the Silky Mousse Pie Filling
Grab your softened cream cheese and beat it until it’s gloriously smooth—no lumps allowed! Then, slowly mix in the powdered sugar and vanilla extract until it’s one creamy dream. Now, the important part: In a totally separate, chilled bowl, whip that first cup of heavy cream until you get stiff peaks. Stiff peaks mean when you lift the whisk, the cream stands up straight! Next, gently fold that glorious whipped cream into the cream cheese mixture. Lastly, fold in your melted semi-sweet chocolate. Here is my big trick: make sure that melted chocolate isn’t hot! If it’s too warm, it’ll melt your whipped cream instantly, and that’s how you lose the air we worked so hard to build.
Assembling and Chilling Your chocolate mousse pie
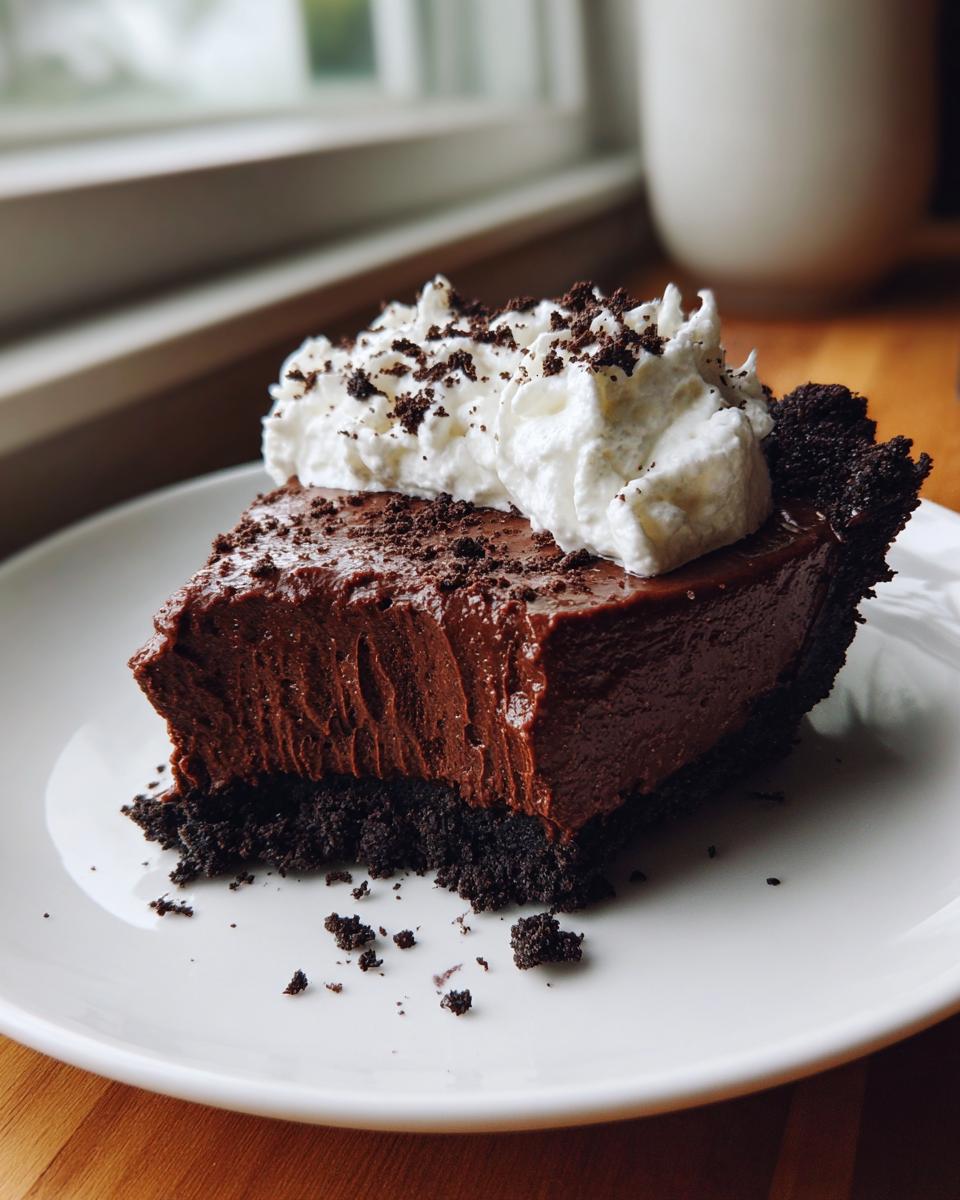
Once your mousse filling looks perfectly uniform—no white streaks and no melted chocolate lumps—it’s time to layer. Carefully scrape all that decadent mousse into your waiting, frozen Oreo crust. Smooth the top out with an offset spatula so it looks lovely naked before we touch the topping. Cover it loosely with plastic wrap and send it to the fridge. It needs a minimum of four hours to chill, but honestly, overnight is even better for that perfect, sliceable texture.
Finishing with the Whipped Cream Topping
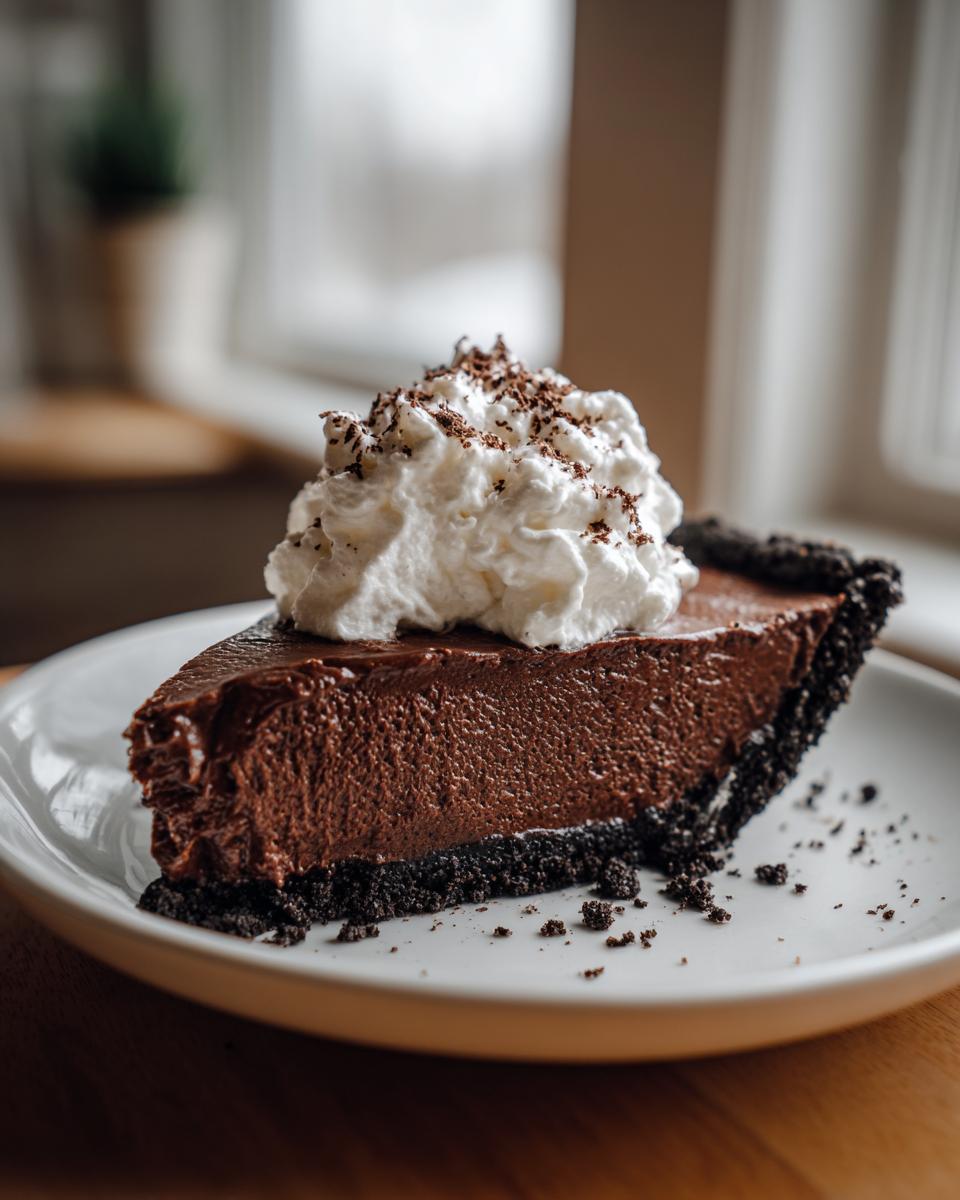
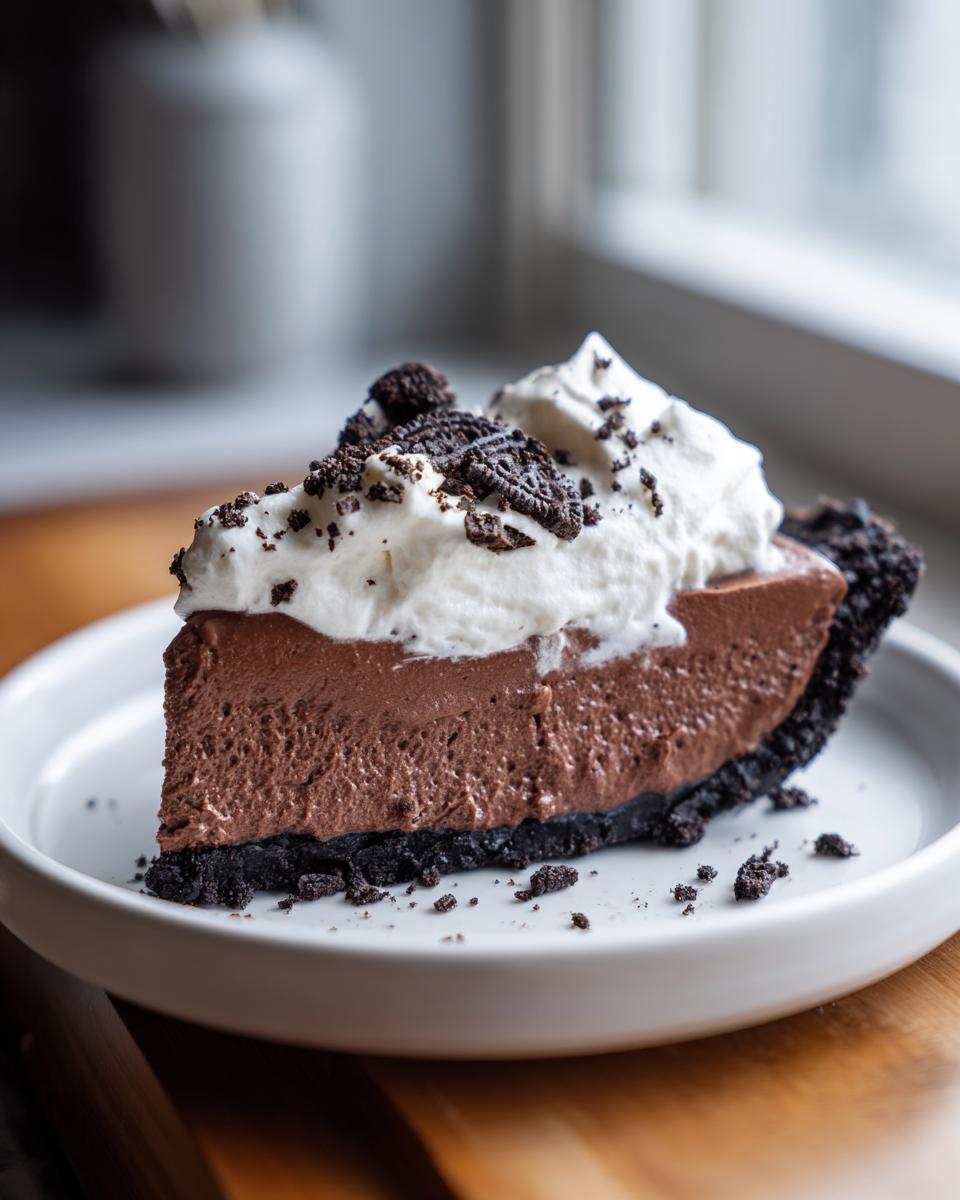
Just before you’re ready to serve this incredible chocolate mousse pie, whip up your topping! Use the second cup of super cold heavy cream, the remaining powdered sugar, and vanilla. Whip this until stiff peaks form again; this topping needs to hold its shape! Spread this fluffy white cloud all over the top of your chilled pie. If you’re feeling extra fancy, grab some chocolate shavings. Slice it up, and watch people swoon!
Tips for the Ultimate chocolate mousse pie Success
Getting that amazing, silky mousse pie texture hinges on respecting the ingredients, especially the chocolate. One of the notes in my recipe card stresses this, and trust me, I learned this the hard way once! I was rushing to serve this for a gathering and poured my melted chocolate in while it was still too warm. The whole thing deflated into a sad, puddle-like mess. Learn from my mistake!
So, remember these crucial takeaways:
- Cool the Chocolate: Always make sure your melted semi-sweet chocolate has cooled down until it’s just barely warm to the touch before folding it into the mousse base. This keeps all that beautiful air we incorporated in the whipped cream intact.
- Handle With Care: When folding in the whipped cream and the chocolate, be gentle, like you are tucking a baby into bed. Overmixing is the enemy of a light, airy dessert!
- Serving Window: While this is a great make-ahead chocolate dessert, the recipe tastes the absolute best when served within two days of making it. After that, the texture of the crust can start to change slightly due to moisture migration.
Ingredient Notes and Substitutions for this chocolate mousse pie
I always get questions about switching things up in a recipe, especially when we talk about achieving that perfect texture in our chocolate mousse pie. My philosophy is that while the core recipe is sacred, small tweaks can make it yours! If you’re making my favorite chocolate brownie cookies, you already know I love adjusting things, but for this pie, we proceed with caution!
Let’s look at the easy swaps you can make without ruining our goal of creating rich chocolate treats.
First up, the crust: If you are out of Oreos, or maybe you just don’t love that dark chocolate base, the good news is that this recipe is very forgiving. You can absolutely swap out the Oreo crumbs for a standard graham cracker crust. Just follow the same ratios (crumbs to melted butter) and press it in. It gives the pie a slightly warmer, sweeter flavor profile, which is also lovely.
Now, a serious note on flavor: the chocolate quality matters! We use semi-sweet chocolate, but if you want that truly *decadent* flavor, don’t skimp here. Using a high-quality baking bar instead of standard chocolate chips makes a world of difference. The chips have stabilizers in them to help them hold their shape, but a good baking bar melts smoother and incorporates deeper into that mousse base. That’s how you get that luxurious finish every time.
And while we used semi-sweet here because it balances the sweetness of the cream cheese and topping, if you are a real dark chocolate fanatic, feel free to use a bittersweet bar (around 65-70% cocoa)! Just be aware that if you go much darker, you might want to add an extra tablespoon of sugar to the filling mix just to keep things balanced.
Make-Ahead and Storage for Your chocolate mousse pie
One of the biggest reasons I adore this chocolate mousse pie is that it’s the perfect partner for anyone who likes to plan ahead—and who doesn’t love that when entertaining?
This is officially my favorite make ahead chocolate dessert because the filling actually *needs* time to firm up. You can’t rush perfection, especially when it comes to a creamy filling setting in that Oreo crust!
So, how do you keep it looking pristine until serving time? Once you’ve added the finished whipped cream topping, you need to cover the pie loosely with plastic wrap. Make sure the wrap isn’t touching the topping, or you’ll ruin your beautiful peaks! Then, pop the whole thing back into the refrigerator.
Now, here’s the critical timing note from my recipe card: this amazing pie is truly best eaten within two days of assembly. After 48 hours, the moisture from that rich mousse starts to make the Oreo crust a little bit soft—and while some people don’t mind that, I prefer the satisfying *crunch* you get on day one or two. If you’re planning a big dinner party, make this pie the afternoon before your guests arrive. It lets the flavors deepen overnight, and you won’t have any last-minute kitchen stress!
Serving Suggestions for a Decadent chocolate mousse pie
Pulling this chocolate mousse pie out of the fridge is always a moment! It’s so rich and intensely chocolatey, but because the filling is so light and airy, it sometimes feels like it needs just a little something extra on the side to cut through that decadence. Think of it like this: you have this amazing, dark, creamy river of mousse, and you need little islands of brightness!
You absolutely need to try topping it with fresh fruit. This pie already has a gorgeous whipped cream topping dessert layer, but adding something tart and bright just sings next to the sweet chocolate. My absolute favorite go-to is fresh raspberries. They just look beautiful scattered across that white cloud, and the little burst of tartness cleanses the palate perfectly between big, rich bites.
If fruit isn’t your thing, or maybe it’s out of season, don’t fret! A simple, very light dusting of high-quality unsweetened cocoa powder right before serving brings a beautiful matte look to the shiny whipped cream and adds a final layer of deep chocolate flavor without adding extra sweetness. You could also serve smaller slices alongside some strong, black coffee or maybe a little dessert wine if you’re serving this for a grown-up holiday event.
For an extra fun touch, especially if you’re serving kids, try making some quick chocolate-dipped strawberries on the side. It keeps the chocolate theme going but adds a beautiful fruit element right there on the plate!
Frequently Asked Questions about this No Bake chocolate pie
Can I use milk chocolate instead of semi-sweet for the filling?
You certainly could, but honestly, I recommend sticking to semi-sweet or even dark chocolate if you want that truly decadent flavor. Milk chocolate has a lot more sugar, and since our filling already has powdered sugar and a sweet sweet Oreo crust, using milk chocolate can sometimes make the final chocolate mousse pie taste a little too sweet and less complex. If you use it, just know you might lose a bit of that deep, rich flavor profile we are aiming for!
How long does this no bake chocolate pie really need to set in the fridge?
This is my biggest piece of advice for anyone making this no bake chocolate pie: don’t skimp on the chill time! The crust freezes quickly (about 15 minutes), but the filling needs time for the fats in the cream cheese and chocolate to re-solidify and hold the whipped cream structure. Four hours is the bare minimum I will accept. If you can give it a full night in the fridge, you’ll get the absolute cleanest slices possible. If you’re in a hurry, you can pop it in the freezer for about an hour, but make sure you transfer it back to the fridge about 30 minutes before serving so it softens just enough.
My whipped cream keeps deflating when I fold it in. What am I doing wrong?
Ah, the dreaded deflation! This happens for two reasons, and both are easy to fix. First, your cream cheese mixture might be too warm, or you might have beaten the cream cheese too much, incorporating too much air too early. Second, and this is the most common culprit: your melted chocolate was too hot! That warm chocolate melts those lovely air bubbles right out of your whipped cream. Always let your melted chocolate cool until it is just slightly warm to the touch—not hot, not cool—before you start folding. It’s the secret to keeping that creamy chocolate mousse light and high!
Can I make this recipe without the Oreo crust?
Of course! Nothing sacred here, we love options. If you don’t have Oreos or just aren’t feeling that specific flavor, you can easily swap in about 1 1/2 cups of graham cracker crumbs mixed with the usual 6 tablespoons of melted butter. You still need to press it firmly and freeze it like we did in the original crust section. A shortbread crust would also work wonders if you’re feeling adventurous. For even more impressive pie recipes, you absolutely have to check out my guide on the ultimate chocolate meringue pie, though that one does require baking!
Is this rich chocolate treat suitable for making a day or two ahead of time?
Yes, this is definitely a wonderful make-ahead dessert! I suggest assembling the entire pie—crust, filling, and topping—the night before you intend to serve it. My only caveat is to refrigerate it tightly covered, and try to serve it within 48 hours for the very best texture. If you want more inspiration for easy holiday baking, check out the details over on my chocolate meringue pie page!
Nutrition Estimates for Your chocolate mousse pie
I always want you to know exactly what goodness you are putting into your body when you enjoy one of my recipes. While I focus more on flavor than counting every exact nutrient, I did run the numbers for this incredible chocolate mousse pie so you have a good guideline!
Keep in mind that these figures are just estimates based on general ingredient brands. If you use extra dark chocolate chunks or a different brand of Oreos, your numbers might shift a little bit. That’s just the nature of home cooking, right? The most important thing is the joy this rich chocolate treat brings to the table!
- Serving Size: 1 slice
- Calories: Around 450
- Sugar: 35g
- Fat: 30g
- Saturated Fat: 18g
- Carbohydrates: 40g
- Protein: 5g
Remember, this is a truly decadent dessert, not a light salad! Every serving comes packed with that chocolatey goodness you crave. If you are looking for a lighter main dish to balance out a dessert like this, you should definitely take a peek at how I make my hearty vegetarian lentil soup. Sometimes you just need something wholesome to balance the indulgence!
PrintEasy No-Bake Chocolate Mousse Pie with Oreo Crust
You can make this decadent, creamy chocolate mousse pie without turning on your oven. It features a simple Oreo crust and a light, airy chocolate filling, topped with whipped cream.
- Prep Time: 20 min
- Cook Time: 0 min
- Total Time: 4 hr 20 min
- Yield: 8 servings 1x
- Category: Dessert
- Method: No-Bake
- Cuisine: American
- Diet: Vegetarian
Ingredients
- 1 3/4 cups Oreo cookie crumbs (about 25 cookies)
- 6 tablespoons unsalted butter, melted
- 1 package (8 ounces) cream cheese, softened
- 1 cup powdered sugar
- 1 teaspoon vanilla extract
- 1 cup heavy whipping cream, cold (for filling)
- 8 ounces semi-sweet chocolate, melted and slightly cooled
- 1 cup heavy whipping cream, cold (for topping)
- 2 tablespoons powdered sugar (for topping)
- 1/2 teaspoon vanilla extract (for topping)
Instructions
- Prepare the crust: Combine the Oreo cookie crumbs and melted butter in a medium bowl. Press the mixture firmly and evenly into the bottom and up the sides of a 9-inch pie plate. Place the crust in the freezer while you prepare the filling.
- Make the cream cheese base: In a large bowl, beat the softened cream cheese with an electric mixer until smooth. Gradually add 1 cup of powdered sugar and 1 teaspoon of vanilla extract, beating until fully combined and creamy.
- Prepare the mousse filling: In a separate, chilled bowl, whip 1 cup of cold heavy whipping cream until stiff peaks form. Gently fold the whipped cream into the cream cheese mixture until just combined.
- Add the chocolate: Slowly fold the melted and slightly cooled semi-sweet chocolate into the mousse mixture until no streaks remain. Be careful not to overmix to keep the mousse light.
- Assemble the pie: Pour the chocolate mousse filling into the chilled Oreo crust. Smooth the top with a spatula. Cover the pie loosely with plastic wrap and refrigerate for at least 4 hours, or until the filling is firm.
- Make the topping: Before serving, whip the remaining 1 cup of cold heavy whipping cream with 2 tablespoons of powdered sugar and 1/2 teaspoon of vanilla extract until stiff peaks form.
- Finish and serve: Spread or pipe the whipped cream topping over the chilled pie. You can garnish with chocolate shavings if desired. Slice and serve immediately.
Notes
- For the best texture, ensure your melted chocolate has cooled slightly before folding it into the mousse base. If it is too hot, it will deflate the whipped cream.
- You can substitute the Oreo crust with a graham cracker crust if you prefer a different base flavor.
- This make-ahead chocolate dessert is best served within 2 days of preparation.
Nutrition
- Serving Size: 1 slice
- Calories: 450
- Sugar: 35g
- Sodium: 210mg
- Fat: 30g
- Saturated Fat: 18g
- Unsaturated Fat: 12g
- Trans Fat: 0.5g
- Carbohydrates: 40g
- Fiber: 2g
- Protein: 5g
- Cholesterol: 65mg