
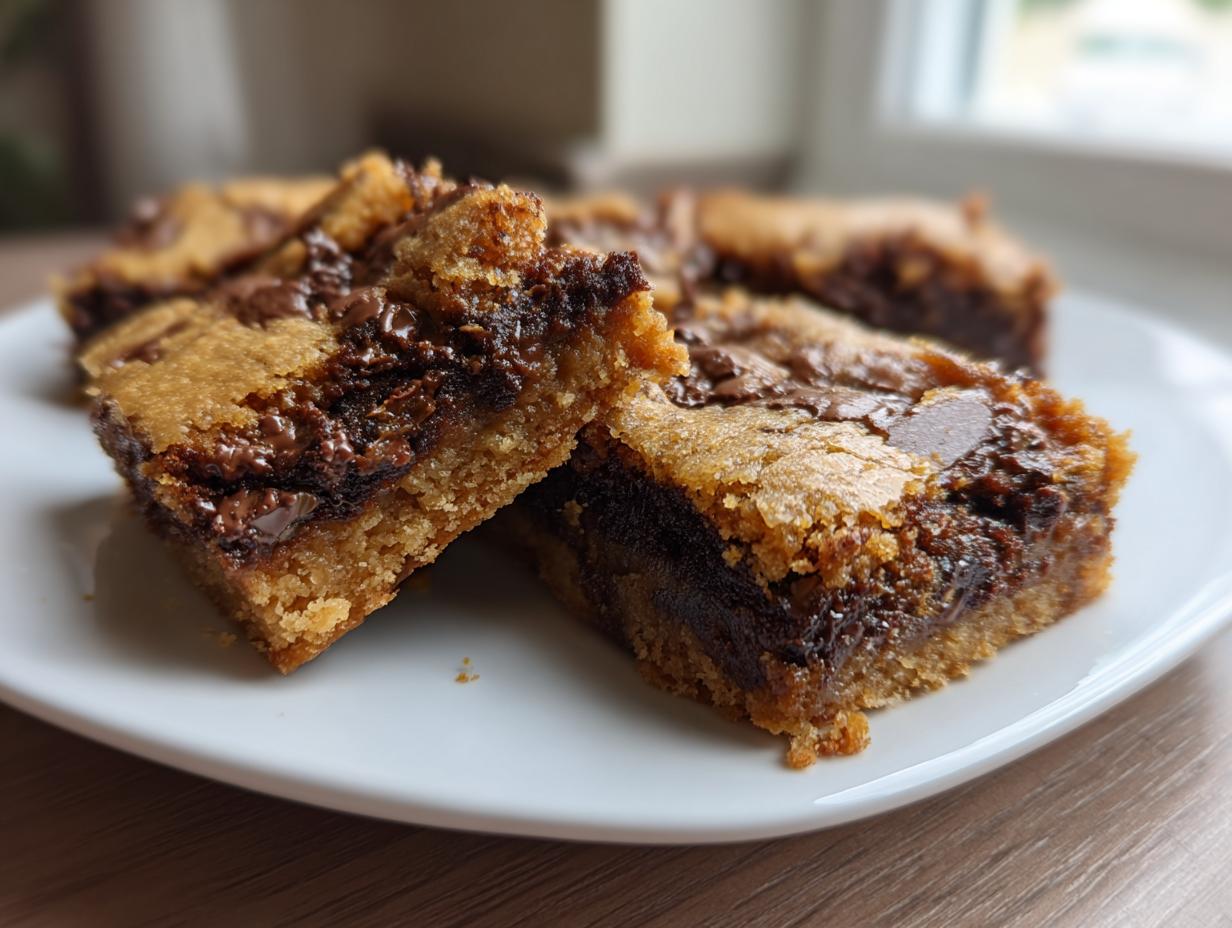
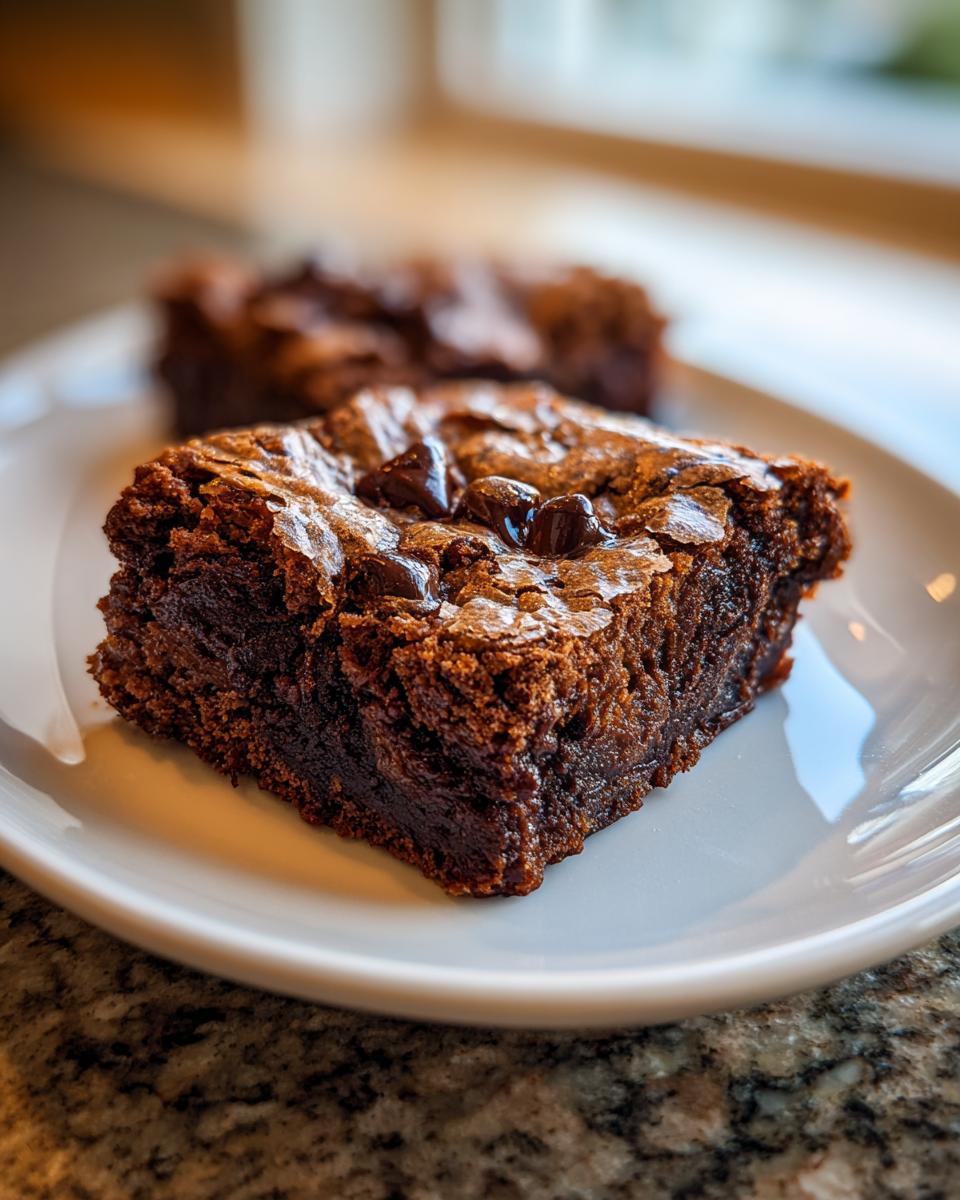
Forget boring blondies! If you’re chasing that deep, irresistible toasted flavor that comes only from perfectly browned butter, you’ve hit the jackpot. Seriously, once you unlock how to coax pure nutty magic out of simple butter, the game changes. I’m so excited to share what I consider the definitive guide for making the brown butter ooey gooey bars. These aren’t just treats; they’re an experience! Here at Cooking Zenith, Aria Thompson poured months into perfecting the ratio of sugars and fats to ensure that center stays unbelievably soft. Trust me, these rich brown butter dessert bars are exactly what your weeknight baking routine has been missing. If you also love that deep, toasty flavor swirl, you should check out this amazing brown butter chocolate chip banana bread recipe for another flavor adventure!
- Why This is the Ultimate brown butter ooey gooey bars Recipe
- Gathering Ingredients for Your brown butter ooey gooey bars
- Step-by-Step Instructions for brown butter ooey gooey bars
- Tips for Perfect Chewy Brown Butter Squares
- Variations on Your Rich Brown Butter Dessert Bars
- Storage and Maintaining the Gooey Texture of brown butter ooey gooey bars
- Frequently Asked Questions About brown butter ooey gooey bars
- Estimated Nutritional Data for brown butter ooey gooey bars
- Share Your brown butter ooey gooey bars Creations
Why This is the Ultimate brown butter ooey gooey bars Recipe
Look, there are tons of bar recipes out there, but these deliver on the *promise* of brown butter. We aren’t messing around with flavor here. These are the best brown butter bars recipe because they nail the two things people want most: incredible toasted flavor and that soft, melt-in-your-mouth center.
- For a truly rich brown butter dessert bar, we use every golden speck!
- The sugar balance guarantees you get those stunning gooey brown butter blondies texture instead of a tough cookie.
Achieving Perfect Toasted Flavor
This is where most home cooks get scared, but trust me, it’s easy! The key to that deep flavor brown butter dessert profile is seeing those milk solids turn dark brown—not black! My expert tip (learned through a few burnt batches, oops!) is always to use a light-colored saucepan. It lets you see the color change perfectly.
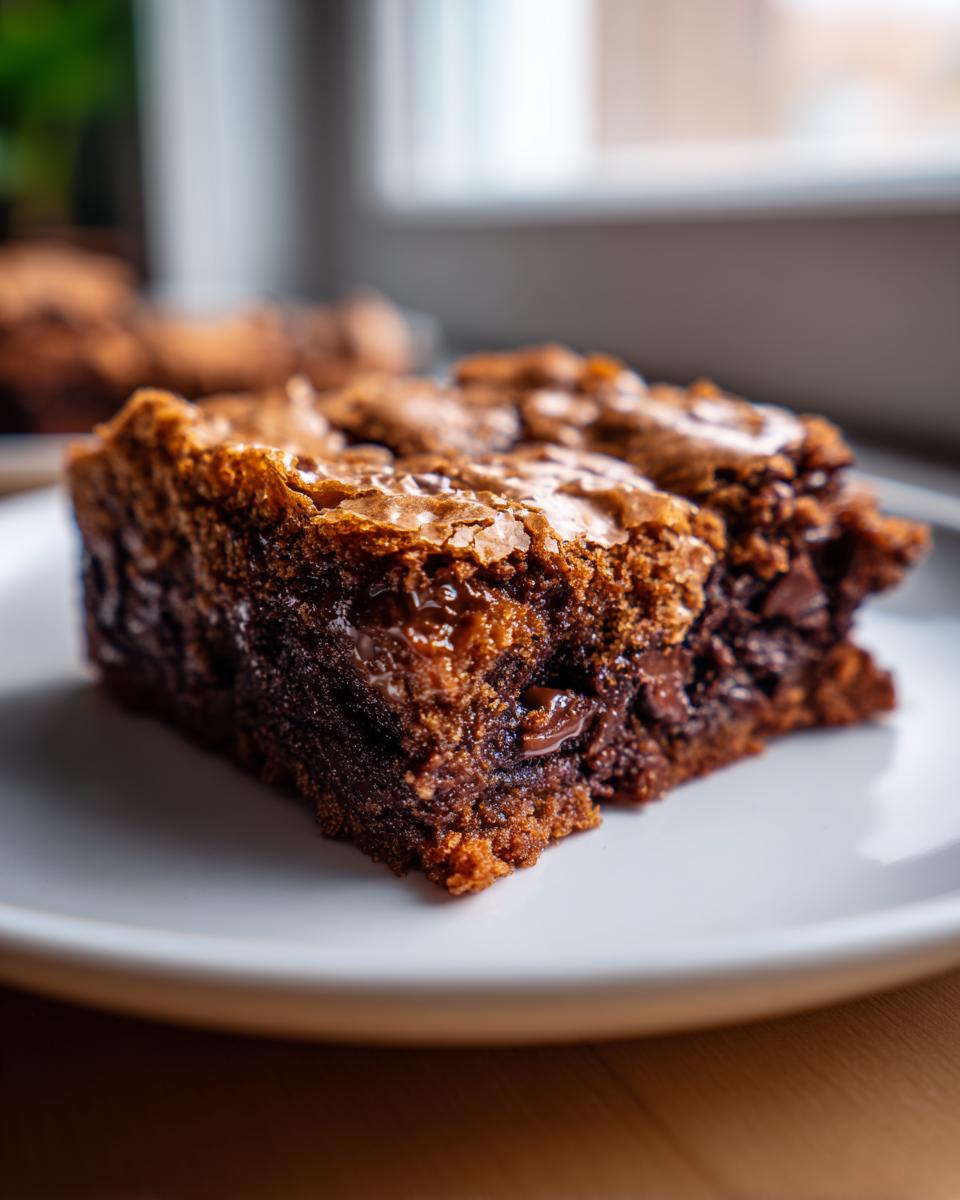
The Secret to the Gooey Texture
The ‘ooey gooey’ label isn’t just marketing talk! It comes down to a specific balance of brown sugar versus white sugar and *knowing* when to pull these out of the oven. If you overbake by even five minutes, you lose the magic. We’re aiming for barely set!
Gathering Ingredients for Your brown butter ooey gooey bars
Okay, time to raid the pantry! Since the flavor is all about that amazing butter, make sure you start with good quality butter—two full sticks exactly. You absolutely need both light brown sugar (packed well!) and regular white sugar; this ratio is critical for the chewiness! Remember my advice on caramel? If you ever want to add a little swirl later, you might want to look into this easy homemade salted caramel recipe for topping!
- 1 cup (2 sticks) unsalted butter
- 1 1/2 cups packed light brown sugar
- 1/2 cup granulated sugar
- 2 large eggs, room temperature, please!
- 1 tablespoon vanilla extract
- 1 3/4 cups all-purpose flour
- 1 teaspoon baking powder
- 1/2 teaspoon salt
- 1 cup semi-sweet chocolate chips (if you’re not feeling them, leave them out!)
Step-by-Step Instructions for brown butter ooey gooey bars
Alright, this is where the wizardry happens! It all hinges on managing that butter heat correctly. Take your time here—don’t rush the browning. Once you master this part, you’ll get the most incredible toasted butter dessert bars every time.
Preparing the Pan and Preheating
First things first: get that oven warming up to 350°F (175°C). You need a 9×13 inch pan—this size is important for thickness! Line it with parchment paper, but make sure you leave some overhang on the sides. These bars get super soft, and those parchment handles are your best friends when it’s time to lift them out later.
Mastering the Brown Butter Technique
Melt your butter in a light-colored saucepan over medium heat. You’ll see it foam up, and then the foam will die down. Watch closely! Tiny brown bits will form on the bottom, and it will smell wonderfully nutty—that’s what we want. As soon as you smell that nutty toastiness, immediately pour *everything* into your mixing bowl, scraping every last toasted speck in there. Let it cool for about ten minutes so you don’t scramble the eggs!
Mixing Wet and Dry Components
Whisk the brown sugar and white sugar vigorously into that *slightly* cooled brown butter for a full minute until it looks glossy. Then, add the room-temperature eggs one at a time, beating well after each one until the batter smooths out. Now, gently mix your flour, baking powder, and salt into the wet stuff. Mix until it’s *just* combined. Stop stirring the second you don’t see flour streaks anymore. Overmixing makes for tough bars, and we are hunting for soft!
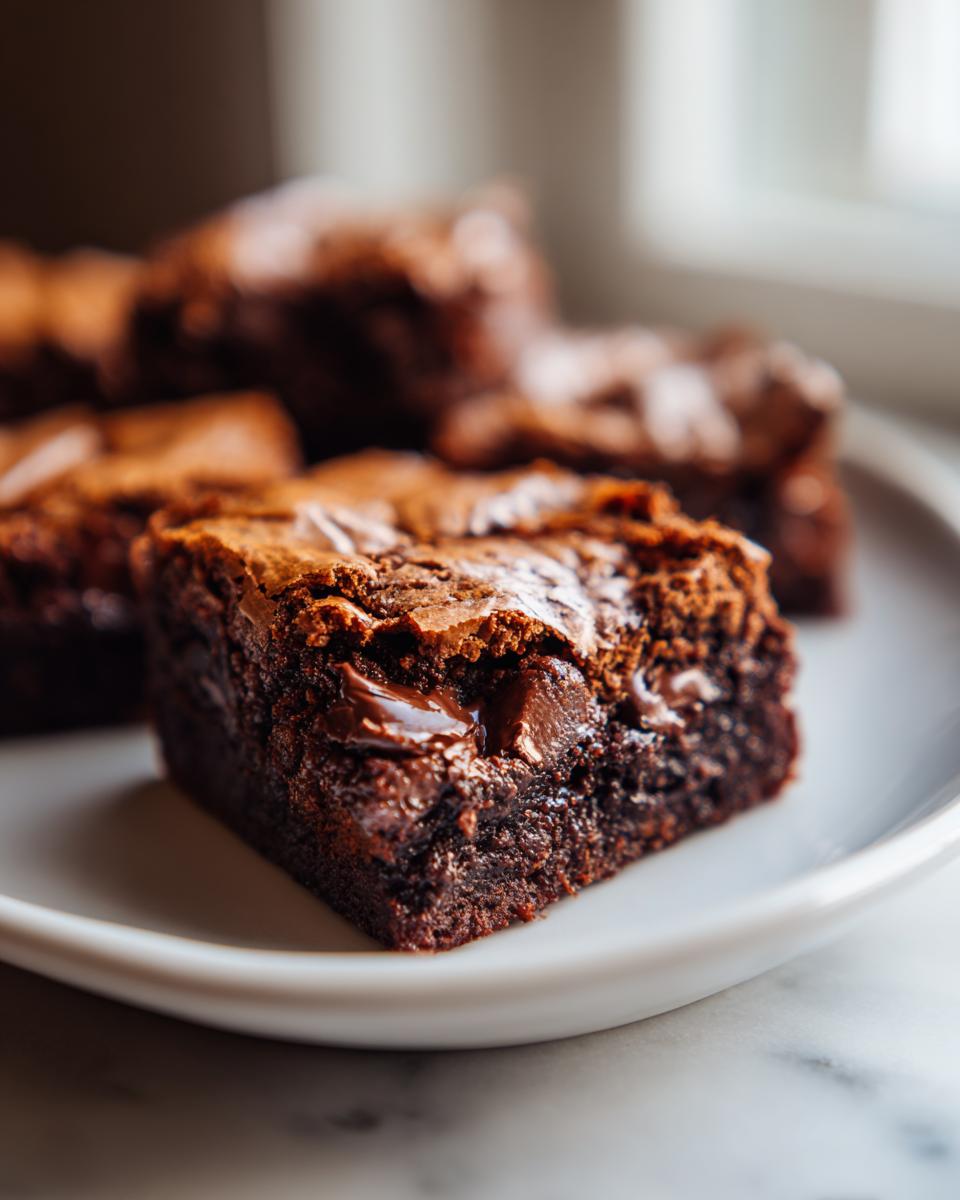
Baking and Cooling for the Perfect Gooey Finish
Spread that gorgeous batter evenly. Bake for about 25 to 30 minutes. Here’s the secret for your brown butter ooey gooey bars: pull them out when the edges look set, but the middle still wobbles just a bit. That slight underbake is non-negotiable for gooiness! You must let them cool completely—I mean totally solid—on a rack before using those parchment handles to lift them out. That cooling time finishes the baking process perfectly.
Tips for Perfect Chewy Brown Butter Squares
Even the best recipes can have hiccups, right? Don’t stress if your first batch of chewy brown butter squares isn’t magazine-perfect. A little insight goes a long way to making sure these bars always turn out amazing. If you follow these little tricks, you’ll be making the perfectly chewy dessert bars with total ease.
Butter Browning Troubleshooting
If your butter burns—oops! It happens when the heat is too high. If that happens, you have to toss it and start over; you can’t save scorched milk solids! If it just melts and foams but never browns, your heat is too low; crank it up slightly and swirl more often. Remember, for how to make brown butter sticky bars, seeing those dark bits is everything!
Temperature Control for Texture
Please, friends, use room temperature eggs! I can’t stress this enough, especially when dealing with warm melted fat. Cold eggs shock the butter mixture, making it seize up and preventing that beautiful glossy emulsification we need. Room temperature eggs mix smoothly, ensuring you get the softest, dreamiest center for your brown butter ooey gooey bars.
Variations on Your Rich Brown Butter Dessert Bars
While these rich brown butter dessert bars are perfection on their own, I never stop experimenting! Brown butter is such a versatile canvas for mix-ins. If you’re looking to boost the texture game, tossing in some extras right before the pan is the way to go. I always recommend checking out my guide for peanut butter chocolate chip cookie bars for inspiration on great mix-ins!
Adding Nuts and Toffee
I love adding half a cup of roughly chopped pecans or walnuts. Toasting them lightly in a dry skillet before adding them boosts their flavor even more! Toffee bits are also phenomenal; they melt just enough to create little pockets of chewy gold throughout the bar.
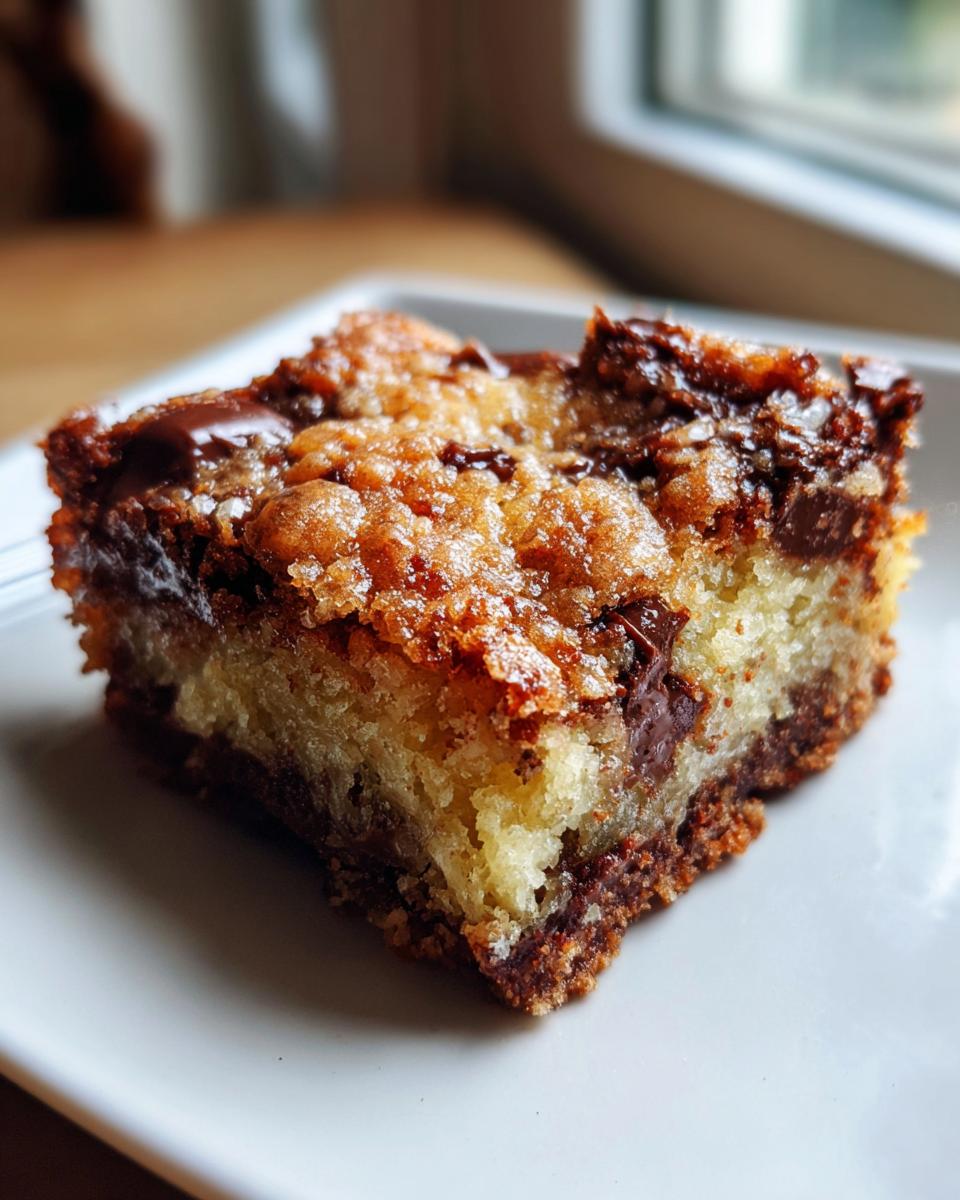
Salted Caramel Swirl brown butter ooey gooey bars
If you want to elevate these to truly next-level status, you can swirl in some thick, pre-made salted caramel sauce. Spoon globs of the caramel over the batter once it’s in the pan, and then gently run a knife through it once or twice. Don’t mix too much; you want ribbons, not a muddy mess!
Storage and Maintaining the Gooey Texture of brown butter ooey gooey bars
Okay, here’s the moment of truth: how do we keep these bars soft so they stay brown butter ooey gooey bars and don’t turn into hard squares overnight? The answer is simple: air tight! Store them completely cooled—and I mean *completely*—in an airtight container at room temperature. If you try to refrigerate these, the amazing texture you worked so hard for will stiffen up too much.
For the very best flavor and chewiness, mine never last more than two days! But for longer storage, a quick 10 seconds in the microwave just before eating brings back that fresh-from-the-oven softness. You can also check out my tips for making a delicious brownie refrigerator cake if you are looking for different ways to store fudgy bakes!
Frequently Asked Questions About brown butter ooey gooey bars
You guys always ask the best questions! Baking is all about details, especially when you’re trying to hit that perfect soft center. I’ve gathered the ones that come up most often when you’re making these brown butter ooey gooey bars.
Can I use salted butter instead of unsalted butter in these bars?
You certainly can, but you have to be careful! Because we are adding salt separately in the recipe, if you use salted butter, just cut the added salt down to a tiny pinch—maybe 1/4 teaspoon, or even just skip it entirely if your butter is quite salty. We want the brown butter flavor, not a salt bomb!
How do I know if my Gooey Brown Butter Blondies are done baking?
When baking for that true gooey-ness, you have to trust your eyes over the clock sometimes. Don’t wait until the center looks completely dry or firm! If you see the edges are golden brown and pulling slightly away from the parchment, but the very middle still looks a little glossy or wet—pull them out! That residual heat lingering after you remove the pan is what finishes setting them without drying out that wonderful center.
Can these be made ahead of time?
Yes, these are actually even better on day two! Remember that airtight container advice? Make sure they are 100% fully cooled before you seal them up. They stay delightfully soft at room temperature for a few days. If you’re storing leftovers, I always recommend warming individual portions slightly before serving for that best experience. You can find tons of tips on my guide to easy brown butter treats!
Estimated Nutritional Data for brown butter ooey gooey bars
Okay, listen—I know we aren’t baking these for health reasons, but sometimes it’s fun to check the stats! These numbers are an estimate for one serving, based on the base recipe. If you go wild with mix-ins, like loading up on chocolate chips, those amounts will obviously shift around a bit. Enjoy responsibly!
- Serving Size: 1 bar
- Calories: 280
- Sugar: 28g
- Fat: 16g
- Protein: 3g
Share Your brown butter ooey gooey bars Creations
I honestly cannot wait for you to try these! Making these brown butter ooey gooey bars has brought me so much joy over the years, and I truly hope they become a staple in your kitchen too. Now that you’ve tried the recipe, what did you think? Did you manage to keep your hands off them long enough to cool completely? I’m dying to know!
Head over to the comments section below and give this recipe a star rating—it helps us fellow home cooks know when a recipe is a total winner. Did you sneak in some extra sea salt flakes on top? Did you try to swirl in peanut butter? Don’t be shy! I love seeing your results and hearing about your personal twists on these glorious squares. If you want to learn more about the vision behind Cooking Zenith and how we aim to elevate your everyday cooking, you can read all about it here!
PrintUltimate Gooey Brown Butter Bars
Make rich, deeply flavored brown butter bars with an irresistibly soft, gooey center. This recipe focuses on achieving the perfect nutty flavor from the butter and a wonderfully chewy texture.
- Prep Time: 15 min
- Cook Time: 30 min
- Total Time: 45 min
- Yield: 16 servings 1x
- Category: Dessert
- Method: Baking
- Cuisine: American
- Diet: Vegetarian
Ingredients
- 1 cup (2 sticks) unsalted butter
- 1 1/2 cups packed light brown sugar
- 1/2 cup granulated sugar
- 2 large eggs, room temperature
- 1 tablespoon vanilla extract
- 1 3/4 cups all-purpose flour
- 1 teaspoon baking powder
- 1/2 teaspoon salt
- 1 cup semi-sweet chocolate chips (optional)
Instructions
- Preheat your oven to 350°F (175°C). Line a 9×13 inch baking pan with parchment paper, leaving an overhang on the sides for easy removal.
- Melt the butter in a light-colored saucepan over medium heat. Continue cooking, swirling the pan occasionally, until the butter foams, then subsides, and brown bits form at the bottom. The butter will smell nutty. This takes about 5 to 8 minutes. Immediately pour the brown butter into a large, heat-safe mixing bowl, scraping in all the browned milk solids. Let it cool for 10 minutes.
- Add the brown sugar and granulated sugar to the slightly cooled brown butter. Whisk vigorously for 1 minute until well combined.
- Add the eggs one at a time, mixing well after each addition until the batter is smooth and glossy. Stir in the vanilla extract.
- In a separate bowl, whisk together the flour, baking powder, and salt.
- Gradually add the dry ingredients to the wet ingredients, mixing on low speed or by hand until just combined. Do not overmix.
- Fold in the chocolate chips, if using.
- Spread the batter evenly into the prepared baking pan.
- Bake for 25 to 30 minutes. For the best ooey gooey texture, the edges should be set, but the center should still look slightly soft and underbaked.
- Remove from the oven and let the bars cool completely in the pan on a wire rack before lifting them out using the parchment overhang. Cooling fully is key to setting the texture.
- Cut into squares.
Notes
- To achieve perfect brown butter, use a light-colored pan so you can clearly see the milk solids turning golden brown.
- For extra chewiness, slightly reduce the baking time by 2-3 minutes and rely on the residual heat to finish cooking while cooling.
- Store the cooled bars in an airtight container at room temperature for up to 4 days to maintain the soft texture.
Nutrition
- Serving Size: 1 bar
- Calories: 280
- Sugar: 28
- Sodium: 110
- Fat: 16
- Saturated Fat: 10
- Unsaturated Fat: 6
- Trans Fat: 0
- Carbohydrates: 33
- Fiber: 1
- Protein: 3
- Cholesterol: 55