
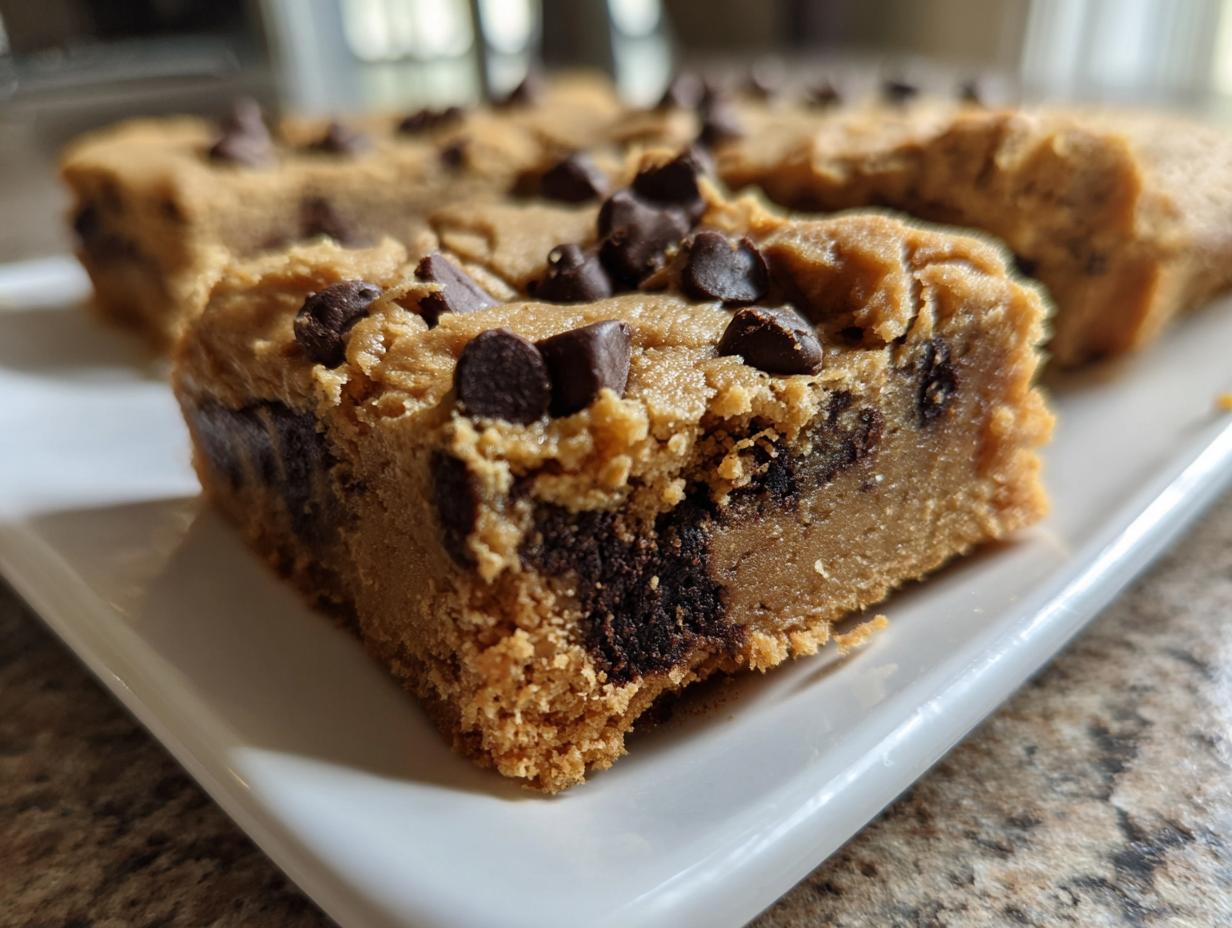
Let’s be honest, is there any flavor combination more perfect than peanut butter and chocolate? I swear, asking me to choose between them is like asking me to pick a favorite child! But you don’t have to choose, because here we get both in glorious abundance.
These peanut butter chocolate chip cookie bars are what I turn to when I need a crowd-pleaser fast. Forget rolling 48 individual cookies; we’re doing this in one single, beautiful 9×13 pan. The secret—and I mean a real, tested secret from my years in the kitchen—is that we make these extra thick and ridiculously chewy. They are foolproof. Seriously, if you can cream butter and sugar, you can master these. They truly represent what Cooking Zenith is all about: elevating your everyday baking without adding stress. Trust me, these come out perfectly every single time.
- Why Our peanut butter chocolate chip cookie bars Recipe Works (E-E-A-T)
- Gathering Ingredients for the Best peanut butter chocolate chip cookie bars Recipe
- Step-by-Step Instructions for Easy Cookie Bars Dessert
- Tips for Success When Baking peanut butter chocolate chip cookie bars
- Variations for Your Chocolate Chip Cookie Bar Recipe
- Serving Suggestions for Rich Peanut Butter Chocolate Baked Goods
- Storage and Reheating peanut butter chocolate chip cookie bars
- Frequently Asked Questions About peanut butter chocolate chip cookie bars
- Share Your Simple Dessert Bars to Bake Experience
Why Our peanut butter chocolate chip cookie bars Recipe Works (E-E-A-T)
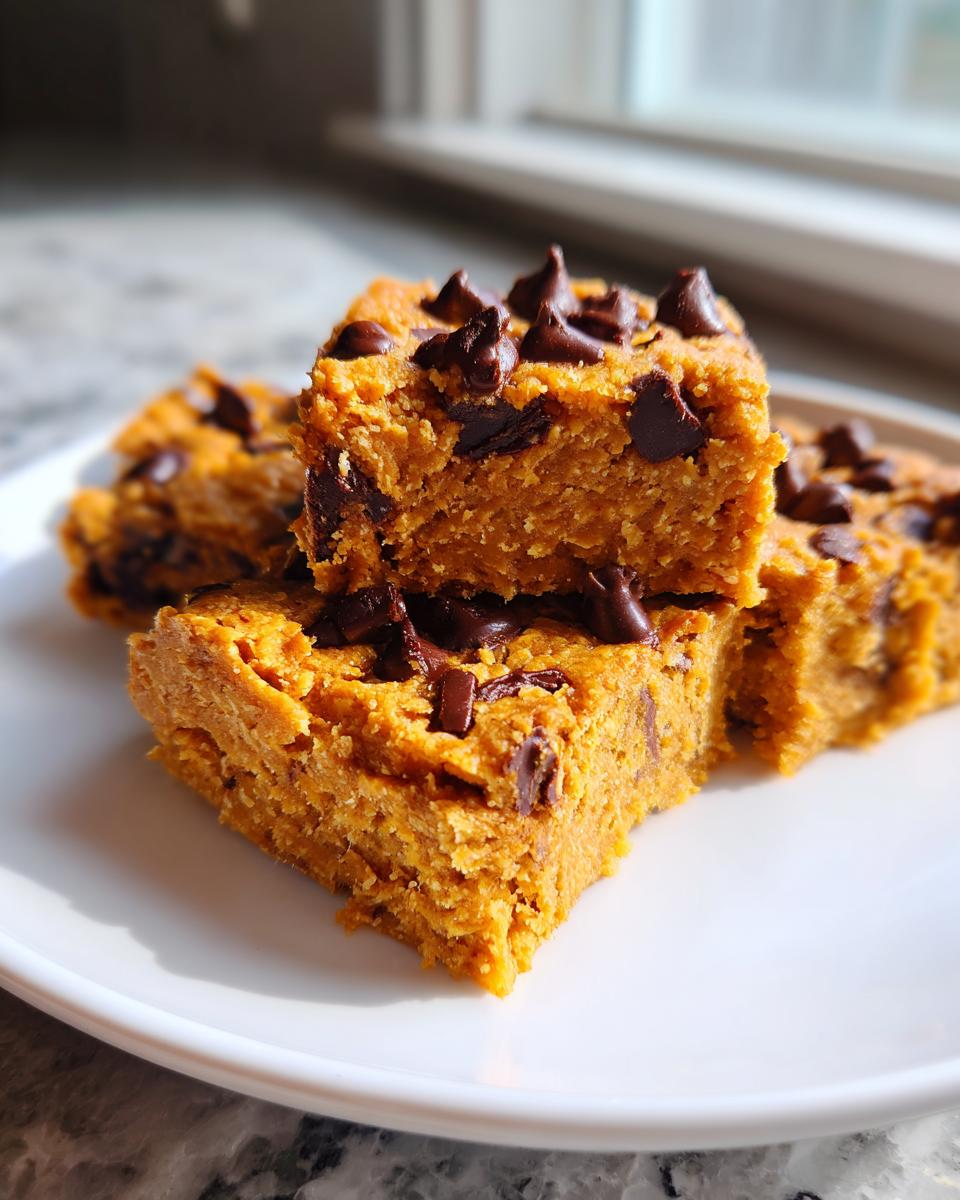
I’ve tested batches of these bars until I was seeing chocolate in my sleep, all to ensure they weren’t cakey! That’s the major difference with these. We aren’t aiming for a stiff cake texture here; we want them rich, dense, and perfectly chewy. Because they are one pan, cleanup is a breeze, which is just another win for the busy home cook. This recipe is one of the Best Peanut Butter Dessert Bars I’ve ever developed, hands down.
When I finalized this formula, I insisted on using the right balance of sugars and fats. It results in a moist center that practically begs you to eat another one.
Achieving the Perfect Chewy Texture in Your peanut butter chocolate chip cookie bars
The secret weapon for chewiness lies squarely with our sugar choices. We use way more packed light brown sugar than granulated white sugar. Brown sugar brings molasses, which is naturally hygroscopic—meaning it loves to hold onto moisture. That keeps your bars soft!
Also, when you cream the butter and sugars together, really watch that mixture. You need it to get pale and visibly fluffy. Don’t rush that step! Creaming whips air into the dough, but when combined with the right fats, it sets up into that signature dense, non-cakey chew when baked.
If you are interested in another fantastic, no-fail square, you should check out my recipe for Lunch Lady Peanut Butter Bars—they have a slightly different vibe, but just as much comfort!
Gathering Ingredients for the Best peanut butter chocolate chip cookie bars Recipe
Alright, let’s talk ingredients. Because this is a one-bowl type of recipe, the quality of what goes in really shines through in the final product. I’m laying out everything you need for the absolute best Peanut Butter Chocolate Chip Bars Recipe. Measurements have to be spot-on here, especially with the flour and sugar, or you risk getting that dense, hockey-puck texture we’re trying so hard to avoid!
Here is the rundown of what you’ll need to pull together:
- 1 cup unsalted butter, softened (Make sure it’s actually soft, not melted!)
- 1 cup packed light brown sugar (That packing makes a big difference in moisture!)
- 1/2 cup granulated sugar
- 2 large eggs (This is important—they need to be room temperature!)
- 1 teaspoon vanilla extract
- 1 cup creamy peanut butter (Crucial detail coming up just below!)
- 2 1/4 cups all-purpose flour
- 1 teaspoon baking soda
- 1/2 teaspoon salt
- 1 cup semi-sweet chocolate chips (I use Ghirardelli when I can swing it.)
If you’re looking to mix peanut butter with chocolate in another format, you absolutely have to try my Peanut Butter Chocolate Chip Banana Bread recipe when you have a little extra time!
Ingredient Notes and Substitutions for peanut butter chocolate chip cookie bars
The success story of these bars hinges on a couple of details, so listen up! First, for the peanut butter: you need the classic, creamy kind—the kind that lists sugar and oil on the label. Skip the natural, runny stuff that separates. If you use the oily kind, your bars will spread too much and get kinda greasy. We need structure here!
Second, the eggs. I cannot stress this enough: room temperature eggs blend much smoother into the creamed butter and sugar. If you forget to take them out, you can place the whole eggs (in their shells!) in a bowl of warm water for about five minutes. It brings them up to temp quickly. Happy ingredient mixing leads to happy baking!
Step-by-Step Instructions for Easy Cookie Bars Dessert
Making these Easy Cookie Bars Dessert is seriously straightforward, which is why I love them for weeknight baking. The key is setting up your pan first! Preheat your oven to 350 degrees Fahrenheit right away. Then grab a 9×13 inch backing pan and line it with parchment paper. Make sure you leave a little overhang on the sides—this acts as a sling so you can easily pull the whole baked block out later. Trust me, trying to chisel these out of the pan is not fun!
Now we get to the mixing. This is where we build that incredible chewiness that makes these bars legendary.
Mixing the Wet and Dry Components for Your peanut butter chocolate chip cookie bars
In a big bowl, or the bowl of your stand mixer if you’re feeling fancy, you need to cream that softened butter with both sugars until it looks genuinely light and fluffy. I mean it—don’t stop too soon! Beat those eggs in one at a time; they need to fully incorporate before the next one goes in. Then, stir in your vanilla and—the star attraction—the creamy peanut butter until you have one smooth, glorious mixture.
In a separate, smaller bowl, just whisk together your flour, baking soda, and salt. Now, this is the moment for finesse! Add the dry stuff to the wet stuff gradually, mixing only on low speed until you *just* see the last bit of flour disappear. Overmixing flour develops gluten, and that gives you cake; we want chew! Finally, gently fold in most of those chocolate chips, saving a few for the top decoration scatter.
Press that dough evenly into your prepared pan. It’s thick, so use the back of a spatula or your fingertips lightly dusted with flour to press it flat. Sprinkle the remaining 1/4 cup of chocolate chips right over the top for a beautiful finish. If you are looking for another wonderfully simple one-pan treat, check out my Cake Mix Cookie Bars—they are a lifesaver!
Baking and Cooling Your Baked Peanut Butter Squares
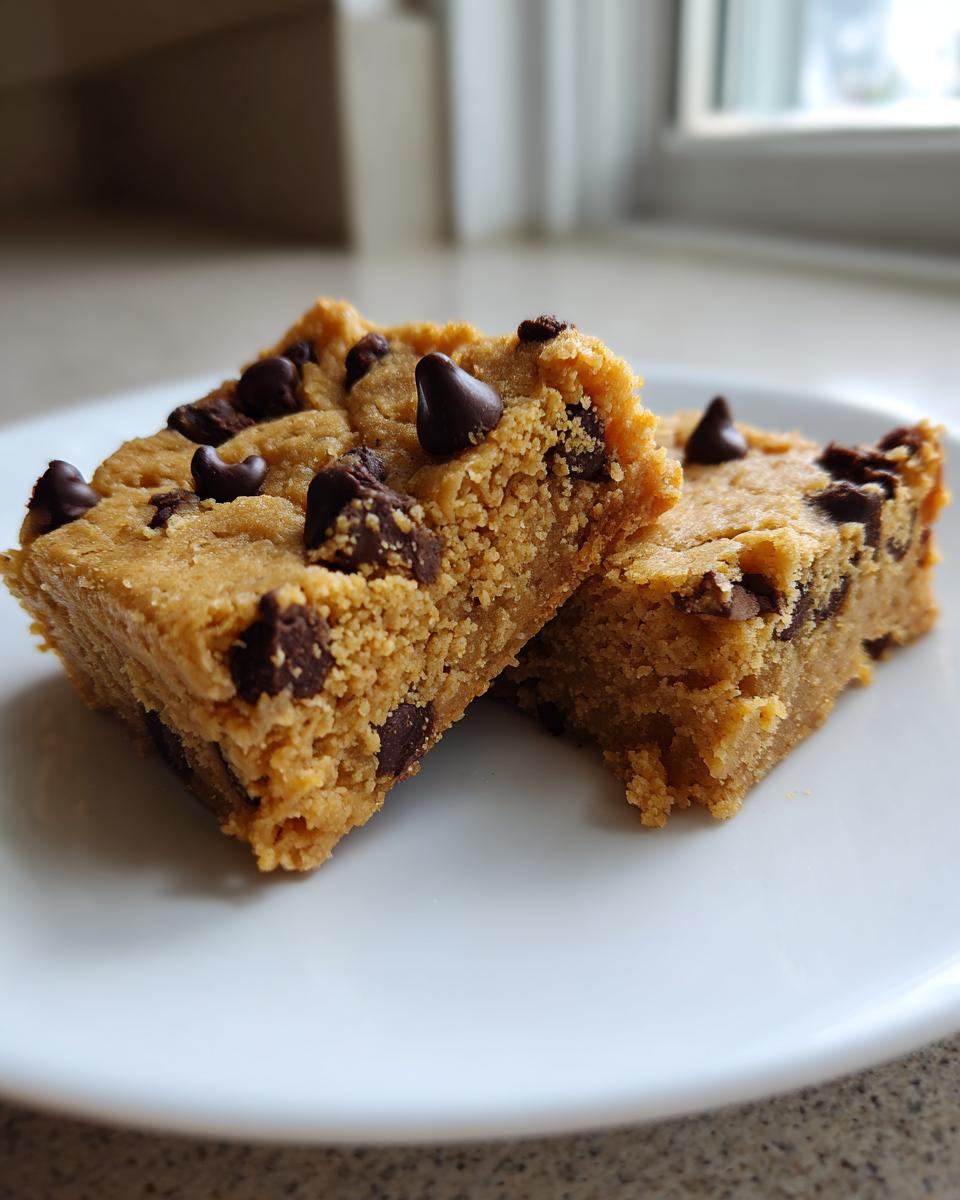
Pop that pan into your preheated 350°F oven. We’re aiming for about 25 to 30 minutes of baking time. Don’t just follow the clock, though—watch the edges! They should look lightly golden brown. When you test it, the toothpick shouldn’t come out totally clean; that means dry cake. You want to see moist, soft crumbs clinging to the toothpick. That’s the sweet spot for Baked Peanut Butter Squares.
Here’s the absolute hardest part: cooling. Put the pan on a wire rack and let these cool completely—and I mean completely, maybe an hour or two— before trying to lift them out using those parchment sling handles. If you cut them warm, they fall apart into a lovely, messy puddle, which is delicious but not great for clean squares! Patience, my friend, patience pays off here.
Tips for Success When Baking peanut butter chocolate chip cookie bars
Even with a foolproof recipe like this, sometimes small things can throw off your game in the kitchen. I’ve gathered a few pointers from my testing process to help ensure your Baking Peanut Butter Bars go off without a hitch, whether you’re worried about flatness or crumbly edges.
First off, if you’re worried about the bars spreading too thin, double-check your butter temperature. Remember I said softened, not melted? If your butter is too warm, the fats melt instantly in the oven before the structure can set. That means flat bars! If your home is warm, pop your creamed butter mixture into the fridge for 10 minutes before adding the eggs. It tightens things up just enough.
My second big tip relates to the chocolate chips. We only used 3/4 cup in the dough, right? If you want that fantastic, thick, gooey layer throughout—not just on top—you can fold in a whole cup, but then you must press the dough into a smaller pan, like a 9×9 square. That substitution guarantees a much thicker bar, but remember, you’ll need to bump that baking time up by about 10 minutes. It’s worth the extra wait!
If, after baking, your squares seem a little too soft right out of the oven, don’t panic! This is normal for a chewy recipe. Resist the temptation to cut them right away. That chilling time is when the starches stabilize and the moisture redistributes. If you’re in a real hurry, you can chill the whole pan in the fridge for 30 minutes after it cools on the counter for 15. That will set them up beautifully for clean cuts.
For more guidance on making sturdy, soft cookies that hold their shape perfectly, take a look at my tips for Chewy Soft Sugar Cookies. The same foundational rules about sugar and creaming apply!
Variations for Your Chocolate Chip Cookie Bar Recipe
Now that you absolutely nail down the classic Chewy Chocolate Chip Bar Recipe, it’s time to have a little fun! I love that these bars are so adaptable. They are like the perfect blank canvas for whatever craving hits you next. I’ve got a few go-to ways I tweak this batch when I’m feeling creative, and they all pass the taste test with flying colors.
First up, let’s dive into texture and richness. If you want to up the ante on that peanut butter flavor, try going halfsies on the peanut butter! Use half a cup of the regular creamy peanut butter, and then use half a cup of a crunchy peanut butter. The crunch factor adds such a nice bite against all that soft cookie dough. Plus, it makes them look homemade and wonderfully rustic!
How about a swirl? Swirls always look fancy, but they are secretly so easy. After you press the dough into the pan, take about a half-cup of extra creamy peanut butter (maybe warmed slightly so it’s runny) and dollop it randomly across the top. Then, take a butter knife and gently drag it through the surface in wide figure-eights. It creates this gorgeous peanut butter chocolate swirl that looks professional, but took maybe thirty extra seconds of effort.
If you’re baking for a party or just love sparkle, don’t skip the post-bake topping. Once the bars have cooled slightly but are still warm, sprinkle them with flaky sea salt—it enhances the chocolate and cuts the sweetness perfectly. If the kids are involved, use some colorful sprinkles mixed in with that final dusting of chips! They look incredible for potlucks or bake sales, and they disappear instantly.
I also have a fantastic idea if you want to lean into the banana flavor profile next time; you can check out my Chocolate Chip Banana Bread recipe for a different, but equally comforting, baked treat!
Serving Suggestions for Rich Peanut Butter Chocolate Baked Goods
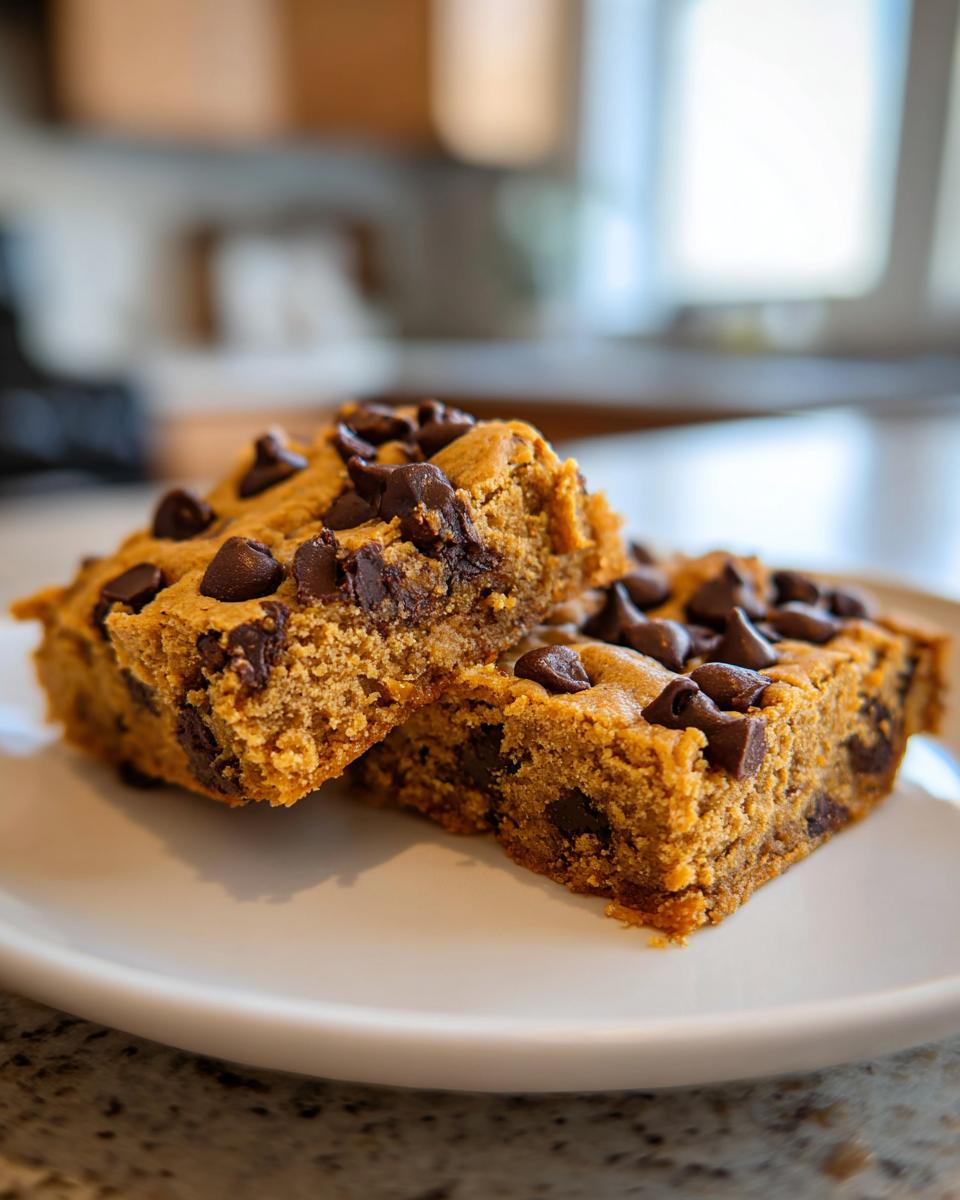
When you pull these beautiful, rich bars out of the oven and let them cool, you start thinking about how to serve them. And honestly, these Rich Peanut Butter Chocolate Baked Goods are wonderful exactly as they are—just cut into squares and walking around eating them over the sink, which I know we all do sometimes!
But if you are making these for company, or just want to elevate a Tuesday night dessert into something truly special, I have a few easy tricks. They are fantastic when served slightly warm. Not piping hot, because they will fall apart, but if you let them sit on the counter for about an hour after cooling, or give a square about 15 seconds in the microwave, they soften up perfectly.
My absolute favorite way to serve them is with a big scoop of good quality vanilla bean ice cream right on top. The contrast between the cold, creamy ice cream and that warm, gooey peanut butter swirl? Perfection. It’s simple elegance, achieved in under a minute.
If you’re looking for a good beverage pairing, a tall glass of cold milk is always traditional, of course. But I find that these deeply flavored bars stand up beautifully to a strong cup of black coffee or an Americano. The slight bitterness of the coffee really cuts through the richness of the peanut butter and chocolate.
For more ideas on achieving that perfect texture in other chocolate chip recipes—especially the thick, chewy kind you get at the bakery—you absolutely have to look at my recipe for Thick & Chewy Chocolate Chip Cookies! They share the same DNA for chewiness.
Storage and Reheating peanut butter chocolate chip cookie bars
One of the best things about making a big batch of these peanut butter chocolate chip cookie bars is that you usually end up with leftovers—which is great because they taste even better the next day, in my opinion! But you have to store them right to keep that wonderful chewiness locked in.
For short-term storage, keep them right on the counter at room temperature. Make sure they are completely cool first, though! Put them into an airtight container. I usually layer them with wax paper or parchment sheets between the layers, just to make sure the chocolate doesn’t stick to the square on top of it. Honestly, they stay perfectly soft and chewy like this for about three or four days. If you try to keep them in the fridge, the sugars tend to crystalize a bit, and you risk hardening the butter, which is the opposite of what we want!
If you need to keep these around for a longer stretch, say for a future potluck or just for rainy-day snacking, we are freezing them! You can freeze these squares for up to three months, easy. Wrap the cooled squares tightly first in plastic wrap, then again in aluminum foil, or slip them into a heavy-duty freezer bag. Make sure you press out as much air as possible before sealing them up.
Reheating is super simple and brings back that fresh-from-the-oven deliciousness. If you’re grabbing one that was refrigerated or frozen, you want to bring that moisture back into the fats and sugars. I recommend popping the individual square onto a microwave-safe plate for about 15 to 20 seconds. It won’t look any different, but you’ll notice it instantly when you bite into it—that gooey, yielding chewiness just melts right back into place. No need to reheat the whole pan at once!
Frequently Asked Questions About peanut butter chocolate chip cookie bars
I know you might have a few lingering questions, because when I first developed this, I had about a dozen myself! It’s my job to make sure your experience is perfect, so let’s tackle the most common things people ask when they are ready to bake these peanut butter chocolate chip cookie bars.
Can I make these peanut butter chocolate chip cookie bars fudgier?
You absolutely can, but you have to be brave about it! If you want them fudgier instead of chewy, you need to pull them out of the oven a couple of minutes early. Remember I said the toothpick should come out with moist crumbs? For fudgier bars, aim for the toothpick to have maybe one or two actual wet spots on it—just barely not raw dough. You’ll need to let them cool completely before cutting, though, or they will totally collapse. It’s a fine line to walk, but oh so worth it for a truly decadent treat!
What is the best pan size for thick chocolate chip cookie bars?
For the specific batch size this recipe yields, the 9×13 inch pan gives you those wonderful, slightly thinner, perfectly chewy chocolate chip bar recipe squares that bake up fast. If you look back at the notes, however, I mentioned that if you really crave a thicker, more decadent square—more like a blondie texture—you should use a 9×9 inch pan instead. Just be warned: switching to that smaller area means you need to add about 10 more minutes to your baking time so the center gets done properly. It’s a trade-off between quick baking and supreme thickness!
Do you ever use brown butter in your desserts? I find it adds such a complex, nutty note that pairs beautifully with the peanut butter. It’s a simple switch you can try next time for a true upgrade! For a recipe where that technique shines, take a look at my Brown Butter Chocolate Chip Banana Bread—it’s amazing.
Share Your Simple Dessert Bars to Bake Experience
Now that you’ve got the secret to making these amazing, easy-to-bake squares, I’m dying to hear what you think! Honestly, nothing makes my day faster than knowing one of my recipes turned your kitchen into the smell of pure joy today.
Did these turn out exactly as chewy as you hoped? Did the peanut butter and chocolate combo hit that perfect sweet spot? I want to see your creations! If you made these peanut butter chocolate chip cookie bars, please come back and leave a star rating right here on the page. That quick feedback helps other home cooks know exactly what to expect when they try this recipe.
And seriously, if you managed to snap a quick picture before they disappeared (they vanish fast, I know!), share it with me on social media and tag Cooking Zenith. Nothing brings me more joy than seeing all of our home cooking turning out amazing!
If you’re looking for more quick, rewarding bakes that are perfect for potlucks or just an easy weeknight treat, make sure you browse my full selection of Simple Dessert Bars to Bake. Happy baking, and I can’t wait to read your reviews!
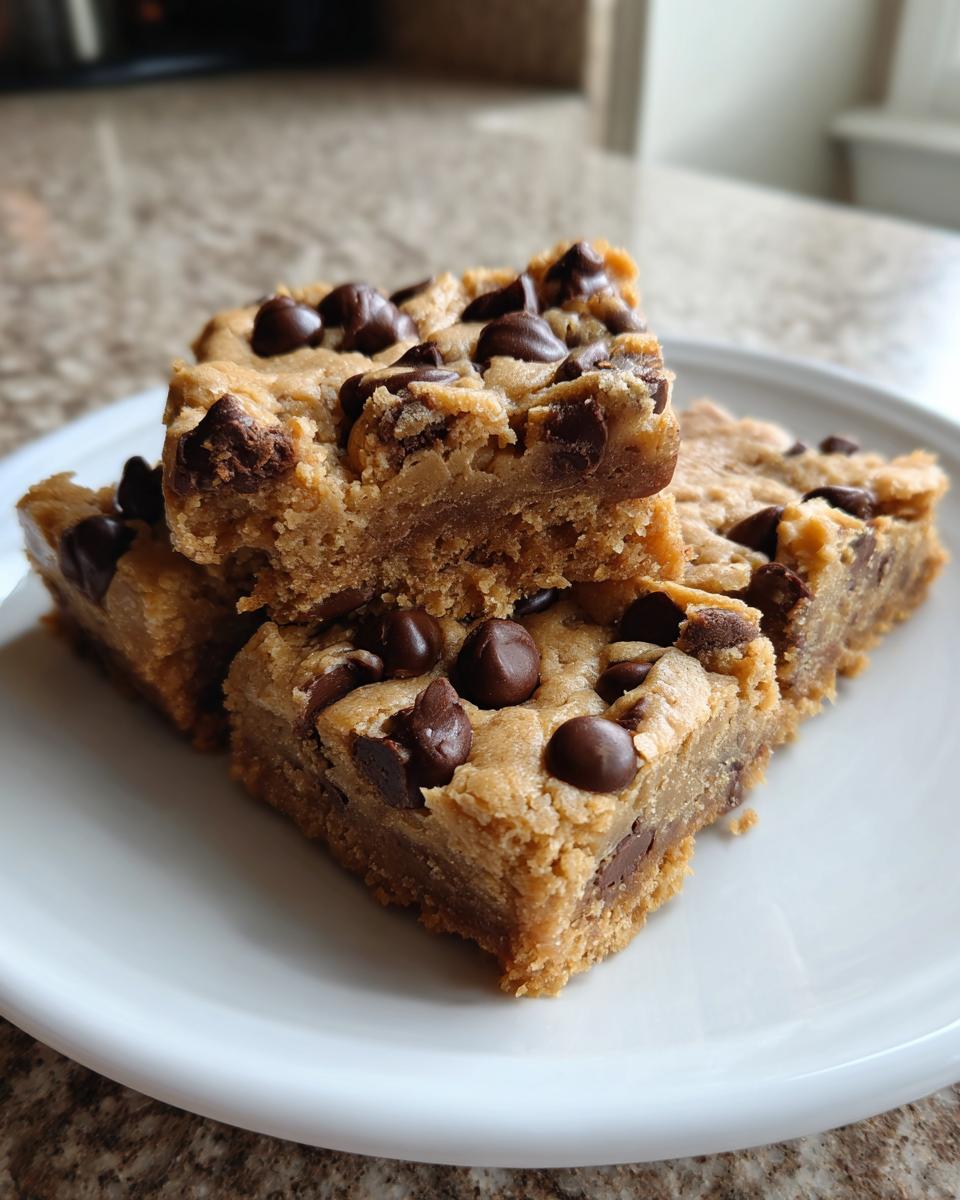
PrintChewy Peanut Butter Chocolate Chip Cookie Bars
Make rich, chewy dessert bars with a peanut butter cookie base and a layer of melted chocolate chips. This one pan recipe is simple for family baking.
- Prep Time: 15 min
- Cook Time: 30 min
- Total Time: 45 min
- Yield: 24 servings 1x
- Category: Dessert
- Method: Baking
- Cuisine: American
- Diet: Vegetarian
Ingredients
- 1 cup unsalted butter, softened
- 1 cup packed light brown sugar
- 1/2 cup granulated sugar
- 2 large eggs
- 1 teaspoon vanilla extract
- 1 cup creamy peanut butter
- 2 1/4 cups all-purpose flour
- 1 teaspoon baking soda
- 1/2 teaspoon salt
- 1 cup semi-sweet chocolate chips
Instructions
- Preheat your oven to 350 degrees Fahrenheit. Line a 9×13 inch baking pan with parchment paper, leaving an overhang on the sides for easy removal.
- In a large bowl, cream together the softened butter, brown sugar, and granulated sugar until the mixture is light and fluffy.
- Beat in the eggs one at a time, mixing well after each addition. Stir in the vanilla extract and creamy peanut butter until just combined.
- In a separate bowl, whisk together the flour, baking soda, and salt. Gradually add the dry ingredients to the wet ingredients, mixing on low speed until just incorporated. Do not overmix.
- Fold in 3/4 cup of the chocolate chips.
- Press the dough evenly into the prepared baking pan. Sprinkle the remaining 1/4 cup of chocolate chips over the top of the dough.
- Bake for 25 to 30 minutes, or until the edges are lightly golden brown and a toothpick inserted near the center comes out with moist crumbs attached.
- Let the bars cool completely in the pan on a wire rack before lifting them out using the parchment paper overhang. Cut into squares.
Notes
- For fudgier bars, slightly reduce the baking time.
- Use room temperature eggs for better incorporation into the batter.
- If you prefer a thicker bar, use a 9×9 inch pan, but increase the baking time by about 10 minutes.
Nutrition
- Serving Size: 1 bar
- Calories: 220
- Sugar: 18g
- Sodium: 110mg
- Fat: 12g
- Saturated Fat: 5g
- Unsaturated Fat: 7g
- Trans Fat: 0g
- Carbohydrates: 27g
- Fiber: 1g
- Protein: 4g
- Cholesterol: 30mg