
Oh, I know exactly what you’re craving! There’s just nothing like those iconic, rectangular comfort desserts we used to grab in the cafeteria line, right? They hit a sweet spot of nostalgia that store-bought treats just can’t touch. Well, I’m Aria, and I want you to ditch the idea that these classic School Cafeteria Treats are too complicated to recreate.
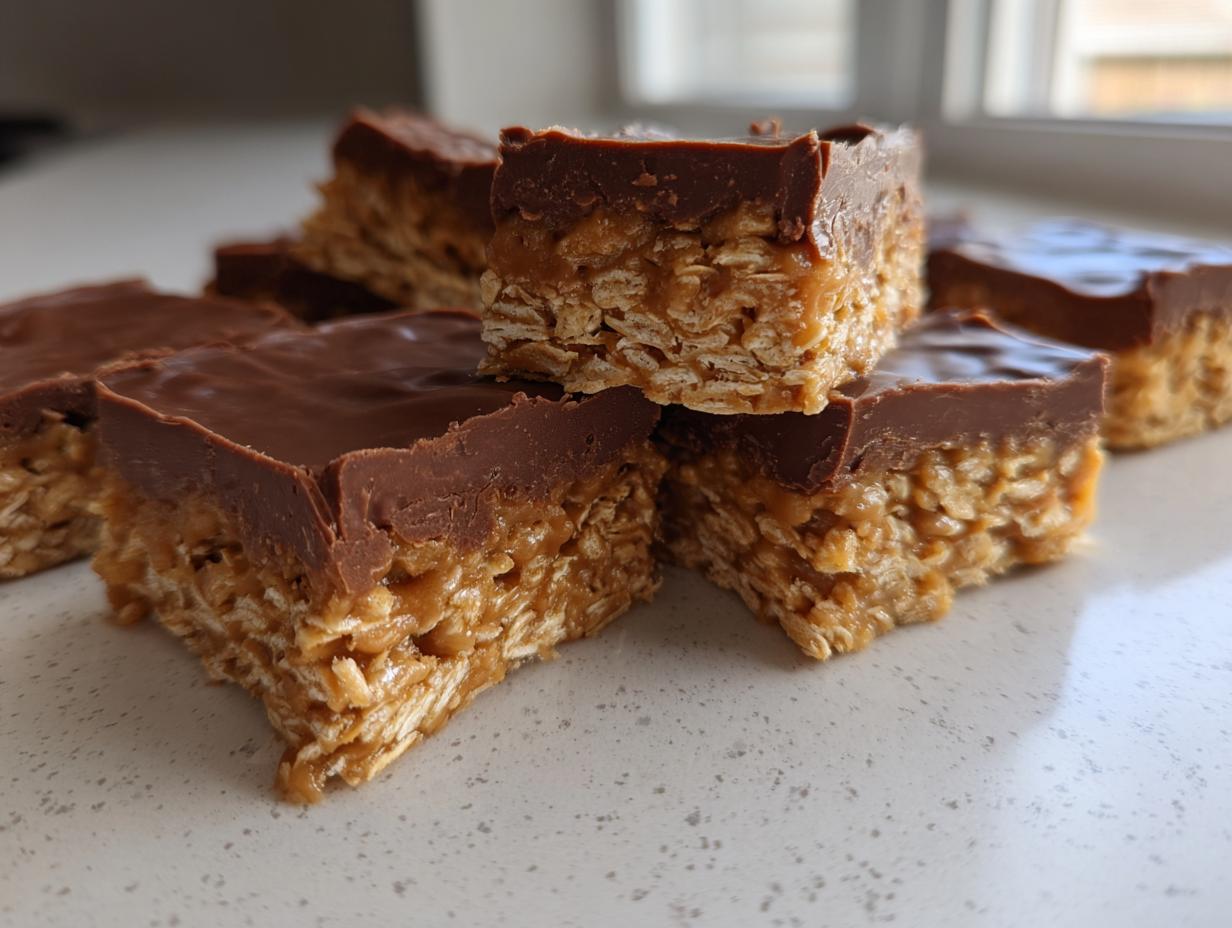
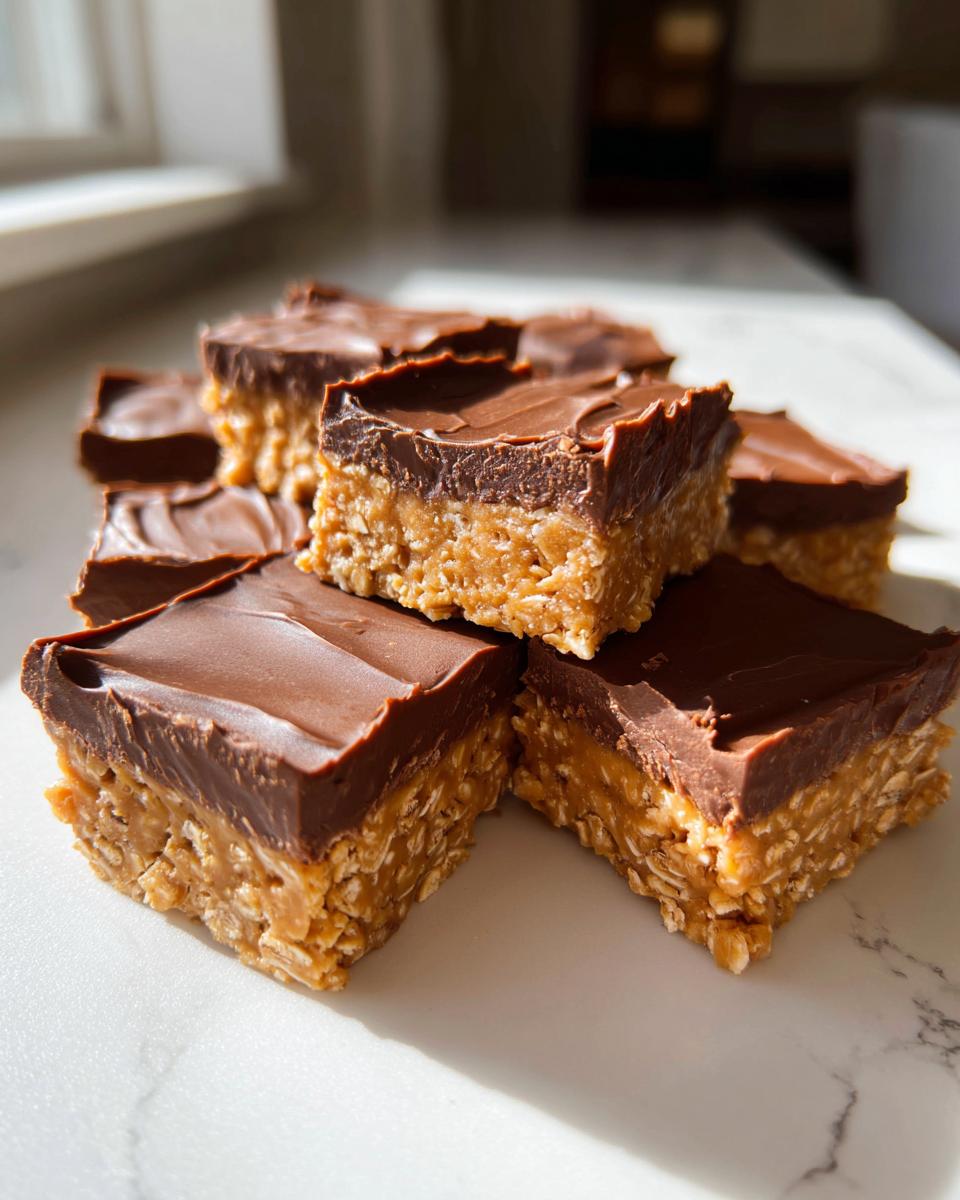
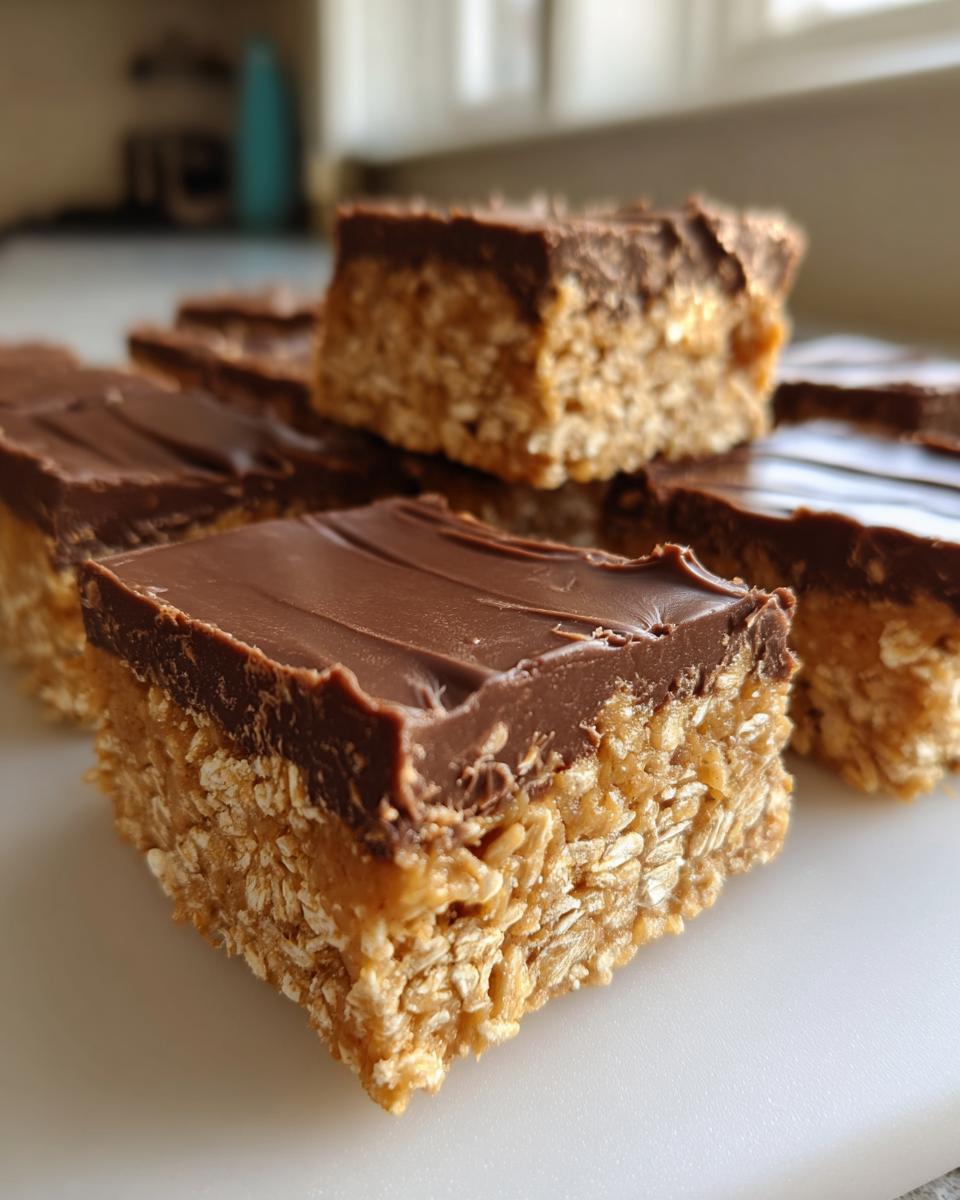
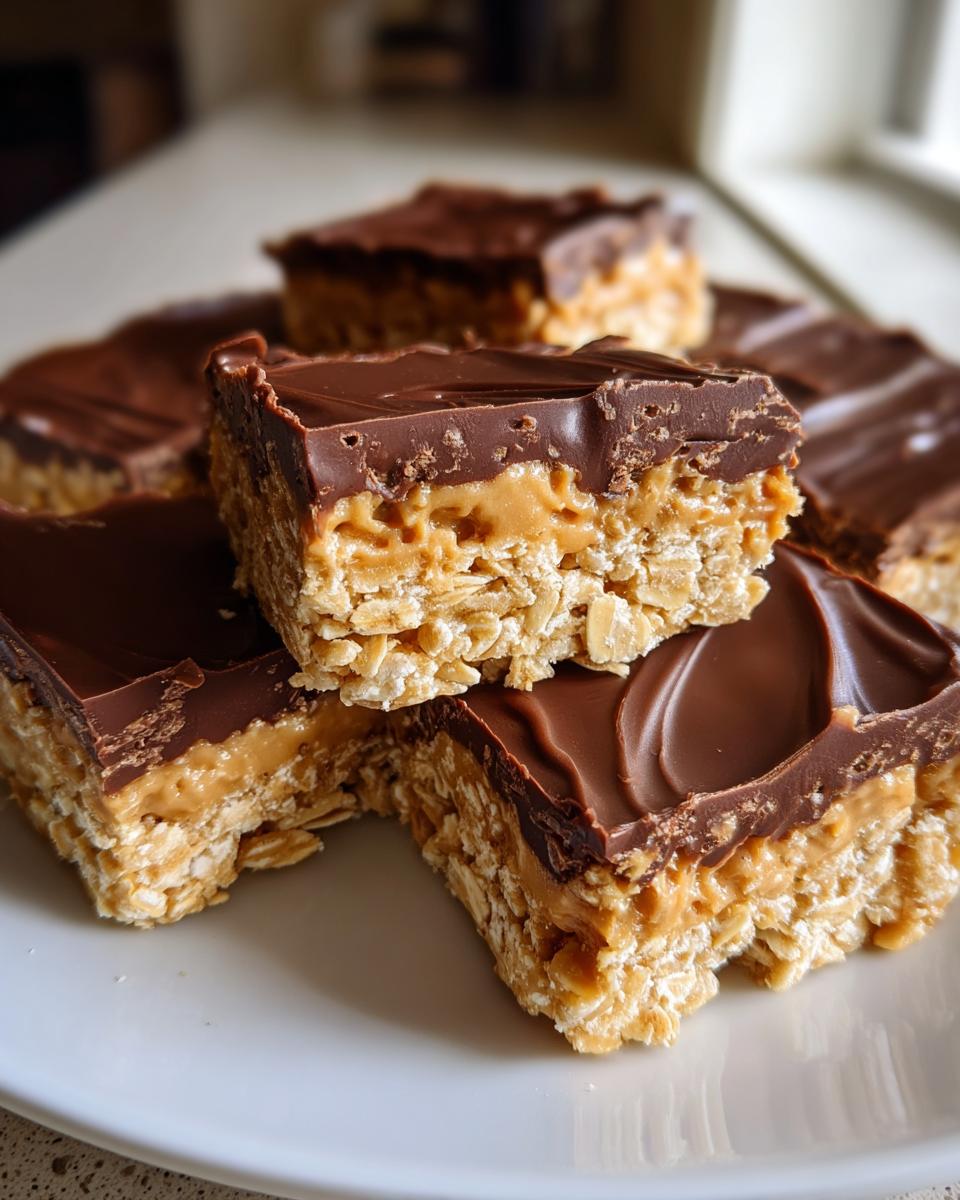
I’ve spent years perfecting this recipe from my own childhood memories to bring you the ultimate version: the no-bake Lunch Lady Peanut Butter Bars. Forget turning on the oven! This recipe is incredibly straightforward, relying on quality ingredients to build those perfect three layers—the sturdy base, the dreamy creamy center, and that rich chocolate top. Trust me, making something this good from scratch, with zero baking required, will give you a huge boost of culinary confidence. Let’s get started!
- Why You Need These Nostalgic Lunch Lady Peanut Butter Bars
- Essential Ingredients for Perfect Lunch Lady Peanut Butter Bars
- Step-by-Step Guide to Making Lunch Lady Peanut Butter Bars
- Expert Tips for Perfect Lunch Lady Peanut Butter Bars Texture
- Storage and Make-Ahead Tips for your lunch lady peanut butter bars
- Variations on the Classic Lunch Lady Peanut Butter Bars
- Serving Suggestions for these Creamy Chocolate Topped Bars
- Frequently Asked Questions About Lunch Lady Peanut Butter Bars
- Nutritional Snapshot of Your Homemade Lunch Lady Peanut Butter Bars
- Nutritional Snapshot of Your Homemade Lunch Lady Peanut Butter Bars
Why You Need These Nostalgic Lunch Lady Peanut Butter Bars
I’m honestly telling you, these are the bars everyone asks me to bring whenever I volunteer for a potluck or school event. They are ridiculously simple to make, which is the main reason I keep coming back to them. You need these because:
- They are entirely No Bake! Seriously, no preheating required. You save time, energy, and your kitchen stays cool.
- The assembly is so easy, even if you’re new to baking, you can nail these layered treats on the first try.
- They are the biggest Crowd Pleaser, guaranteed to bring smiles because they are such wonderful Childhood Favorite Treats.
- You can whip these up way ahead of time, which is a lifesaver when life gets busy! Check out my easy cake mix cookie bars when you want another quick fix, but these peanut butter ones take the top spot.
Essential Ingredients for Perfect Lunch Lady Peanut Butter Bars
When we talk about making the best lunch lady peanut butter bars, we have to treat the ingredients with respect. Because this is a no-bake situation, the quality of what you put in really shines through, so ditch the questionable substitutes! I need you to grab your measuring cups because everything needs to be precise here for that perfect layered texture.
For the base, you’ll need that full cup of softened butter mixing with one cup each of creamy peanut butter and brown sugar. Don’t skip the eggs; they help bind things together even without heat! We’re using that classic blend of flour, baking soda, salt, and, importantly, rolled oats to give our base that slight chewiness that sets these apart from any old graham cracker version. If you love that toasted flavor, you might want to check out my graham cracker toffee recipe for another idea, but stick to the oats for these!
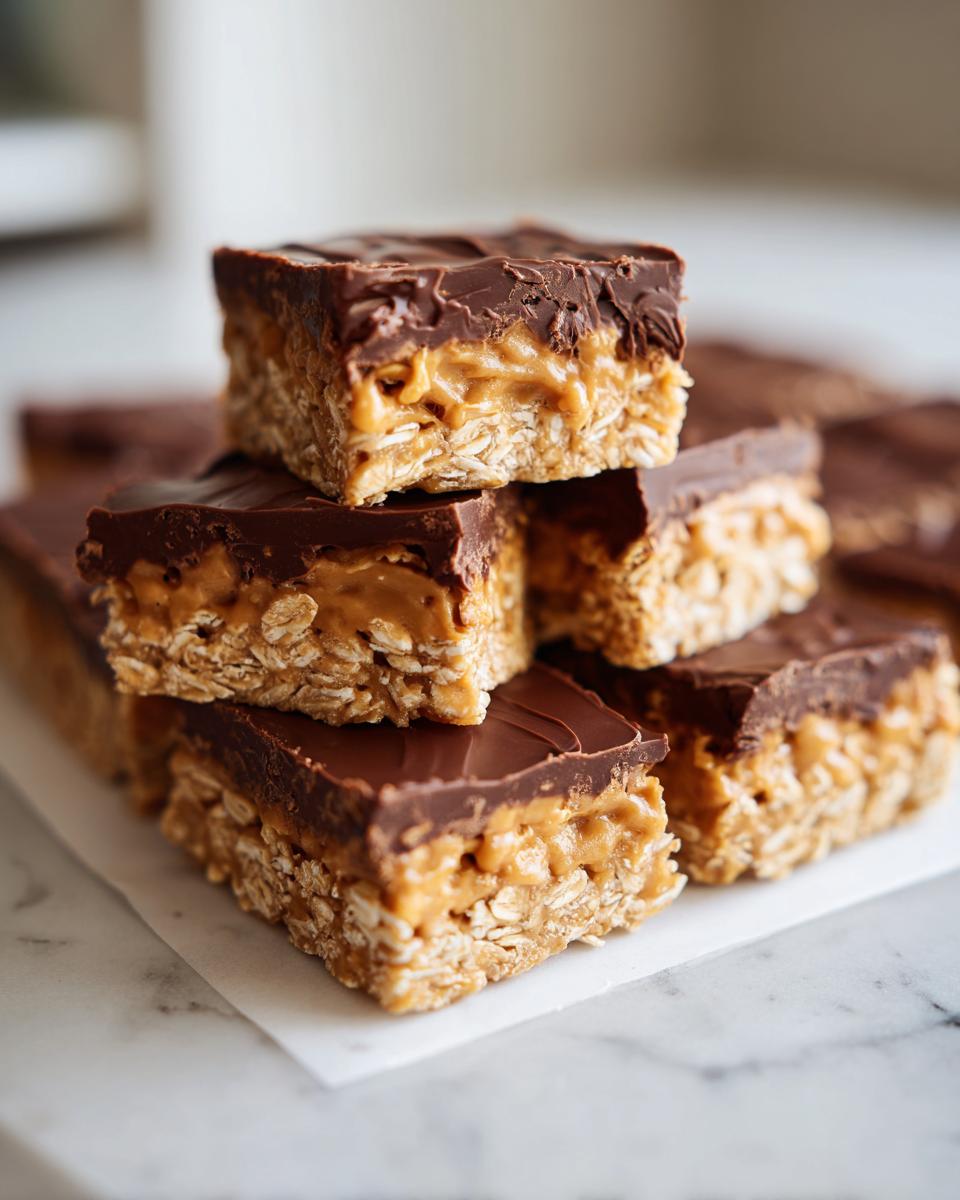
The creamy center layer is super simple—just a bit more creamy peanut butter mixed with powdered sugar and softened butter to create that smooth, decadent filling. Finally, for the top, we just need good semi-sweet chocolate chips and a splash of milk for that glossy finish. Remember, creamy peanut butter is non-negotiable for that smooth melt!
Step-by-Step Guide to Making Lunch Lady Peanut Butter Bars
Okay, here is where the magic truly happens. Don’t be intimidated by the layers; we are putting them together like we are building the best childhood memory brick by brick. The secret to that perfect texture—the one that holds together when you slice it—is making sure each component sets just right before we move to the next step. Pay close attention to the mixing of the base; that’s where we build the foundation for our fantastic lunch lady peanut butter bars.
Preparing the Pan and Base Layer for your lunch lady peanut butter bars
First things first, get your 9×13 pan ready. I always line mine with parchment paper, leaving a big overhang on the sides—that’s your handle for lifting these bars out later! In your big mixing bowl, beat that softened butter, the 1 cup of peanut butter, both sugars, until it looks pale and genuinely fluffy. Remember what I always say about creaming butter? It needs air! Once the eggs and vanilla are beaten in, gently mix in your dry stuff and those oats. Press that fantastic base firmly and evenly into your prepared pan.
Assembling the Creamy Center Layer
Now for the dreamy middle bit! In a smaller bowl, just beat together the extra creamy peanut butter, the powdered sugar, and the quarter cup of softened butter. You want this so smooth it looks like frosting, seriously. Spread this creamy layer gently over the oat base we just pressed down. Then, sprinkle that first cup of chocolate chips evenly over the top of the creamy layer. This is the step that makes me anxious! Pop the whole pan into the freezer for just 15 minutes. We need it firm before the final topping goes on.
Melting the Chocolate Topping for the lunch lady peanut butter bars
While your base is chilling out in the freezer, we tackle that gorgeous chocolate top. Toss those last cup of chocolate chips with the milk into a microwave-safe bowl. This is a high-risk zone, so listen up: only microwave in short 30-second bursts. You absolutely must stir well after every single burst! If you walk away for a minute, you’ll scorch it, and burnt chocolate is just sad. Keep stirring until it’s completely smooth and glossy. Pour that melted goodness over your chilled layers and smooth it out quickly.
If you’re looking for tips on making easy dips to go alongside these, check out my recipe for easy fruit dip—sometimes you need something lighter after something this rich!
Expert Tips for Perfect Lunch Lady Peanut Butter Bars Texture
You’ve got the main recipe down, but to transition from making good bars to making the absolute BEST lunch lady peanut butter bars, you need to know the little secrets. My grandmother always said precision in the simple stuff is what separates amateurs from home cooks who really shine.
First up, the temperature of your base ingredients! Since this is no-bake, make sure that butter and peanut butter for the base are perfectly softened—not melted! If they are too warm, your base will spread during cleanup, and you won’t get that sturdy bottom layer needed to hold up the rest. Also, note that we are using oats here, which is a slight twist on the traditional graham cracker crush. The oats give you a slightly chewier, more rustic texture, really embodying those beloved School Cafeteria Treats.
My biggest authority tip? Don’t rush those chilling times! Especially that 15 minutes in the freezer after the creamy layer goes on. It’s essential. If that layer isn’t firm when you pour on the warm chocolate topping, they will bleed together, and you’ll lose those gorgeous distinct layers. If you love deeply fudgy things after you master bars, you absolutely have to try my chocolate crinkle cookies next; they have that dense, brownie-like center!
Storage and Make-Ahead Tips for your lunch lady peanut butter bars
Because these lunch lady peanut butter bars don’t see any oven time, their storage needs are a little different than a baked cookie, but honestly, it makes them fantastic for planning ahead! That’s why they’re one of my go-to Easy Make Ahead Bars.
The keys here are temperature and air! Once the chocolate top is completely set—and I mean rock solid—you can lift the whole thing out of the pan using those parchment paper handles. You want to cut them into squares right away, or just before serving. Store the cut bars in an airtight container. They absolutely must live in the refrigerator.
They stay perfectly creamy and delicious for about five days when chilled. If you need to keep them longer, you can absolutely freeze them! Wrap the cut bars tightly in plastic wrap and then pop them into a sturdy freezer bag. They keep beautifully for up to two months. When you want one, just pull one or two out and let them sit on the counter for about 20 minutes before digging in. This is perfect for getting ahead of holiday baking or making sure you have a tasty snack ready for lunchboxes all week long. Check out my full guide on easy make ahead bars for more make-ahead magic!
Variations on the Classic Lunch Lady Peanut Butter Bars
Part of the fun of mastering a recipe like these lunch lady peanut butter bars is making them absolutely *yours*. Since we aren’t baking, we don’t need to worry about structural integrity changing too much with little additions. This recipe is incredibly forgiving!
If smooth peanut butter isn’t your only love, you can certainly swap it out for crunchy peanut butter in the base layer—just know it’ll add some extra texture there. For a different flavor profile in that creamy middle layer, try adding a teaspoon of maple extract instead of vanilla into the chocolate topping mixture. Wow, that changes things up!
Also, never underestimate the power of mix-ins. Want a little pop of color or extra decadence in the base? Stir in half a cup of mini chocolate chips or even some colorful sprinkles before pressing it into the pan. It keeps that fantastic no-bake structure while adding a playful touch. If you are getting adventurous with mix-ins, take a peek at my totally loaded Kitchen Sink Cookies recipe; those ideas translate so well to bars!
Serving Suggestions for these Creamy Chocolate Topped Bars
These decadent bars are just too good to keep locked away for a special occasion! They are absolutely perfect for tossing into a lunchbox for an afternoon surprise, or they make the easiest contribution to any last-minute potluck since they travel so well when chilled. Honestly, the best way to enjoy one is straight out of the fridge alongside a tall, cold glass of milk.
If you’re enjoying one as a grown-up afternoon treat—maybe while catching up on emails—I highly recommend pairing it with a rich, black coffee. The slight bitterness cuts through that sweet peanut butter and chocolate perfectly. If you are making homemade milk to go with them, make sure you try my recipe for chocolate milk from scratch; it truly elevates the experience!
Frequently Asked Questions About Lunch Lady Peanut Butter Bars
I know you might still have questions simmering about these lunch lady peanut butter bars, especially if you’re trying to make them faster or adjust them for a crowd. That’s okay! When you’re diving into Retro Dessert Recipes, sometimes the method needs a little tweaking to fit modern life. I’ve gathered the most common things people ask me about these Easy Peanut Butter Bars!
Can I substitute graham crackers for the oats in the base?
That’s a fantastic question! Our recipe here uses rolled oats because I love that slightly chewy texture they give the bar—it makes them feel a little heartier than some of those super-crumbly versions. However, absolutely yes, you can switch them out! Graham crackers are super common in many iterations of these Decadent Peanut Butter Layer Bars. If you use graham cracker crumbs (you’ll need crushed crumbs equivalent to 1 cup of oats), the base will be a little more tender and crumbly, which is also totally delicious. It just changes the mouthfeel slightly compared to the oaty version.
Why do my layers separate when I cut the bars?
Oh, that’s the worst! There’s nothing sadder than cutting into what should be beautiful, distinct layers and watching them slide apart. Nine times out of ten, this happens because you didn’t give the layers enough time to set properly. Remember that 15 minutes in the freezer after you place that creamy center layer? It’s vital! You need that layer firm enough so that the warm chocolate topping doesn’t melt down into it. If the whole thing isn’t chilled through properly before you slice, the layers won’t have the structural integrity to hold when you press down with the knife. Always wait until that top chocolate layer is completely firm!
Are these considered Retro Dessert Recipes if they are no-bake?
Absolutely, without a doubt! These bars fall right into the category of Retro Dessert Recipes and Childhood Favorite Treats for a reason. Even though they don’t go into the oven, the flavor profile—that combination of sweet peanut butter, a slightly salty base, and smooth chocolate—is pure 80s and 90s cafeteria nostalgia. The fact that they are **No Bake Peanut Butter Desserts** actually made them even more popular back then because they were quick and easy for schools to churn out! They might not be baked, but they definitely tick all the boxes for a comforting throwback.
If you are looking for other simple meals to bring to gatherings after you’ve finished these amazing bars, take a look at my tips for quick, healthy lunch ideas!
Nutritional Snapshot of Your Homemade Lunch Lady Peanut Butter Bars
I always want to be upfront—these bars are pure, comforting indulgence, so they aren’t exactly a health food! But knowing what’s in your homemade treat is important, right? Since ingredient amounts can vary based on brands, these are just my best estimates per square, based on the recipe above for twenty-four servings. They give you a good picture of what you’re enjoying!
- Serving Size: 1 bar
- Calories: 280
- Sugar: 22g
- Sodium: 150mg
- Fat: 17g (Saturated Fat: 7g)
- Carbohydrates: 30g
- Protein: 6g
- Cholesterol: 25mg
The Ultimate Nostalgic No-Bake Lunch Lady Peanut Butter Bars
Make these easy, no-bake Lunch Lady Peanut Butter Bars. They feature a classic peanut butter oat base, a creamy center, and a rich chocolate topping, bringing back school cafeteria memories.
- Prep Time: 20 min
- Cook Time: 0 min
- Total Time: 2 hours 20 min
- Yield: 24 servings 1x
- Category: Dessert
- Method: No Bake
- Cuisine: American
- Diet: Vegetarian
Ingredients
- 1 cup unsalted butter, softened
- 1 cup creamy peanut butter
- 1 cup granulated sugar
- 1 cup packed light brown sugar
- 2 large eggs
- 1 teaspoon vanilla extract
- 2 cups all-purpose flour
- 1 teaspoon baking soda
- 1/2 teaspoon salt
- 1 cup old-fashioned rolled oats
- 1 cup semi-sweet chocolate chips
- 1/2 cup creamy peanut butter (for the center layer)
- 1/4 cup powdered sugar (for the center layer)
- 1/4 cup unsalted butter, softened (for the center layer)
- 1 cup semi-sweet chocolate chips (for the topping)
- 1/4 cup milk (for the topping)
Instructions
- Prepare a 9×13 inch baking pan by lining it with parchment paper, leaving an overhang for easy removal.
- In a large bowl, beat the softened butter, 1 cup peanut butter, granulated sugar, and brown sugar until the mixture is light and fluffy.
- Beat in the eggs one at a time, then mix in the vanilla extract.
- In a separate bowl, whisk together the flour, baking soda, and salt. Gradually add the dry ingredients to the wet ingredients, mixing until just combined.
- Stir in the rolled oats. Press this base mixture evenly into the prepared pan.
- For the creamy middle layer, beat together the 1/2 cup peanut butter, powdered sugar, and 1/4 cup softened butter until smooth. Spread this mixture evenly over the oat base.
- Sprinkle 1 cup of chocolate chips over the creamy layer. Place the pan in the freezer for 15 minutes to firm up the layers slightly.
- For the chocolate topping, combine the remaining 1 cup of chocolate chips and milk in a microwave-safe bowl. Microwave in 30-second intervals, stirring after each, until smooth.
- Pour the melted chocolate topping over the chilled layers and spread it evenly.
- Refrigerate the bars for at least 2 hours, or until the chocolate topping is completely set.
- Use the parchment paper overhang to lift the bars from the pan. Cut into squares before serving.
Notes
- For the best texture, use creamy peanut butter for both the base and the middle layer.
- If you prefer a firmer chocolate topping, reduce the milk in the topping mixture to 2 tablespoons.
- These bars are best stored in an airtight container in the refrigerator.
Nutrition
- Serving Size: 1 bar
- Calories: 280
- Sugar: 22
- Sodium: 150
- Fat: 17
- Saturated Fat: 7
- Unsaturated Fat: 10
- Trans Fat: 0
- Carbohydrates: 30
- Fiber: 1
- Protein: 6
- Cholesterol: 25