
You know those desserts that instantly transport you back to childhood parties or Grandma’s dining room table? That’s exactly what we’re whipping up today! Sometimes easy means opening a can, sure, but the best, most memorable flavors come straight from the mixing bowl. That’s why I, Aria Thompson, wanted to share my absolute favorite Vintage Maraschino Cherry Cake recipe. This isn’t some complicated bakery creation; it’s a wonderfully moist, intensely flavorful cherry cake made completely from scratch. I developed this version after tinkering with my family’s old recipe box—it’s all about capturing that perfect nostalgic pink hue and tender crumb without the fuss. Trust me, this from-scratch bake is simpler than you think!
- Why This Vintage Maraschino Cherry Cake Recipe Stands Out
- Gathering Ingredients for Your Homemade Cherry Cake From Scratch
- Step-by-Step Instructions for the Perfect Moist Cherry Cake
- Tips for Making a Beautiful Cherry Cake
- Variations on the Classic Cherry Cake
- Serving Suggestions for Your Homemade Cherry Layer Cake
- Storage and Reheating Instructions for Leftover Cherry Cake
- Frequently Asked Questions About This Cherry Cake
- Estimated Nutritional Data for Your Cherry Cake Slice
- Share Your Perfect Cherry Cake Creation
Why This Vintage Maraschino Cherry Cake Recipe Stands Out
What makes this particular cherry cake recipe my go-to? It hits that sweet spot of being deeply nostalgic yet incredibly practical for today’s kitchen. It’s incredibly easy, harnessing the power of maraschino cherries, which means less prep time for you!
- It delivers a truly moist cherry cake experience every single time.
- It’s the ultimate easy cherry dessert that looks gorgeous on any platter.
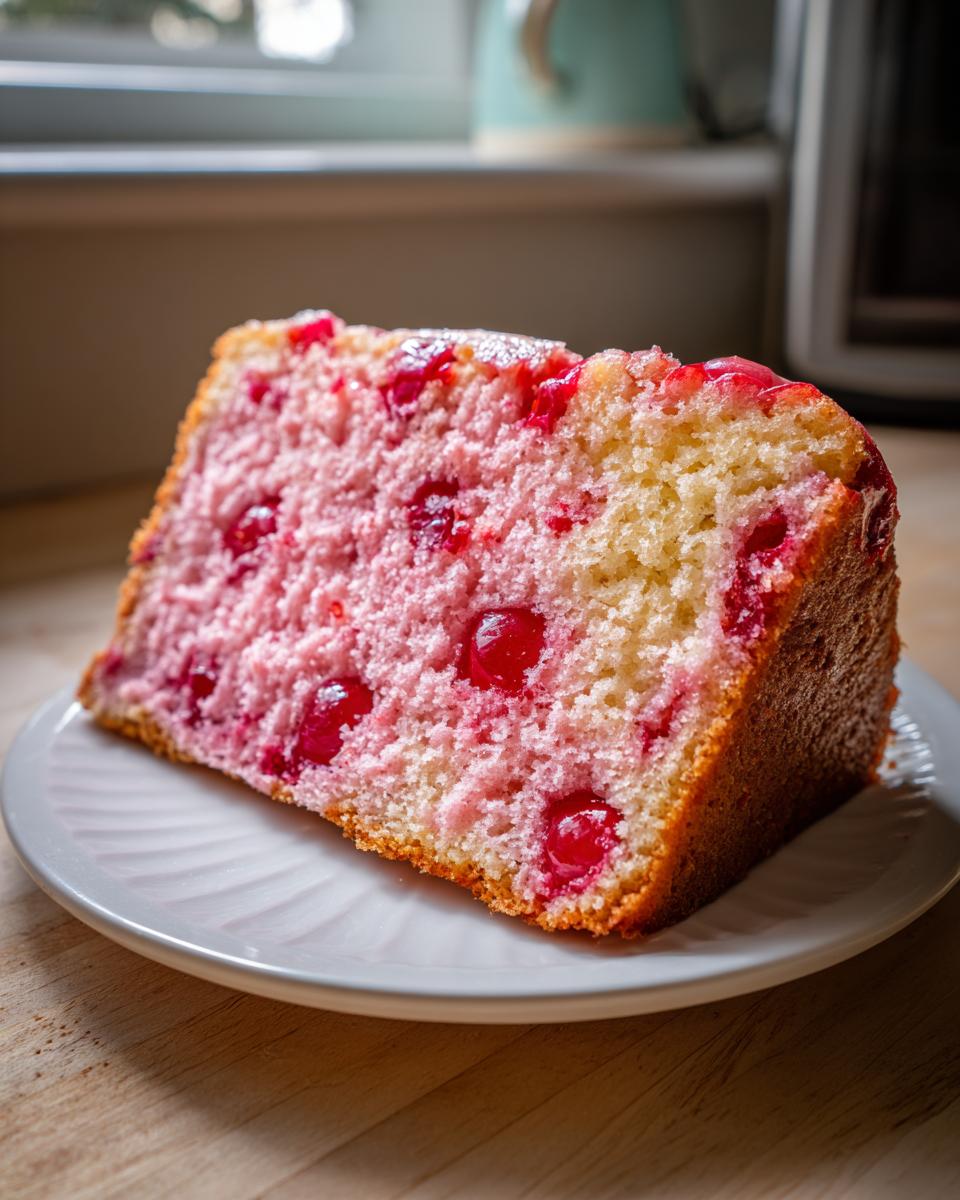
- You get that vibrant, retro pink color naturally from the cherry juice—no hard work required!
If you love recipes where the flavor payoff exceeds the effort, like my moist applesauce cake, you are going to adore this one.
Gathering Ingredients for Your Homemade Cherry Cake From Scratch
Okay, let’s talk about what you need to round up for this homemade cherry cake from scratch. Because we aren’t opening a boxed mix here, getting the right components is actually what guarantees this beautiful texture. We’ll start with the basics: flour, baking powder for that lift, and a little salt to balance everything out. Then comes the richness—softened butter, granulated sugar, two gorgeous eggs, vanilla, milk, and of course, that secret weapon liquid!
Essential Dry and Wet Components for the Cherry Cake
You need your flour, baking powder, and salt whisked together first—that’s your dry foundation. For the wet stuff, make sure that butter is perfectly softened—not melted, just ready to work! Creaming that butter with the sugar is key for aeration, as you know. Then comes the milk and the liquid that gives this cherry cake its lifeblood, which you’ll mix with those eggs and vanilla extract.
The Star: Maraschino Cherries for the Best Cherry Cake Recipe
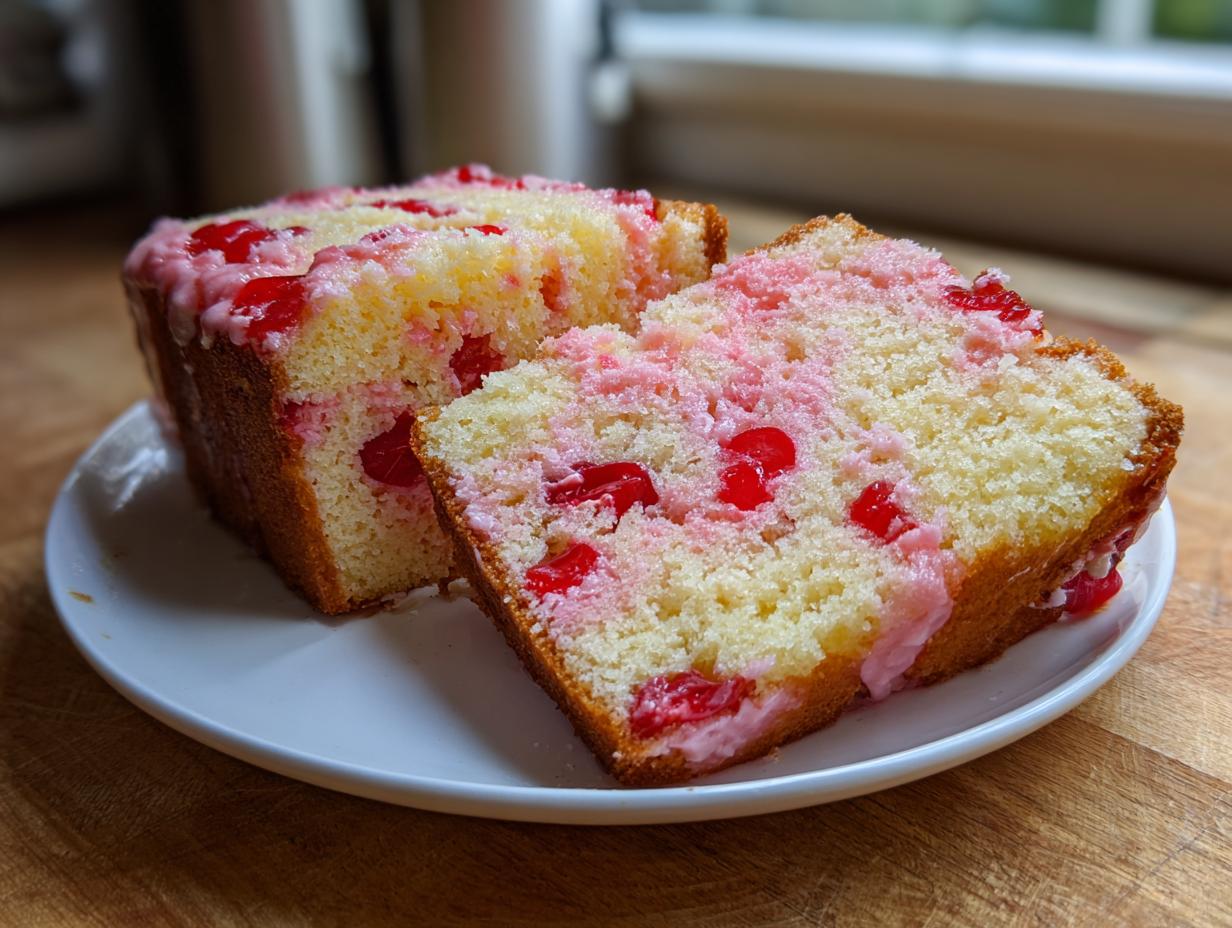
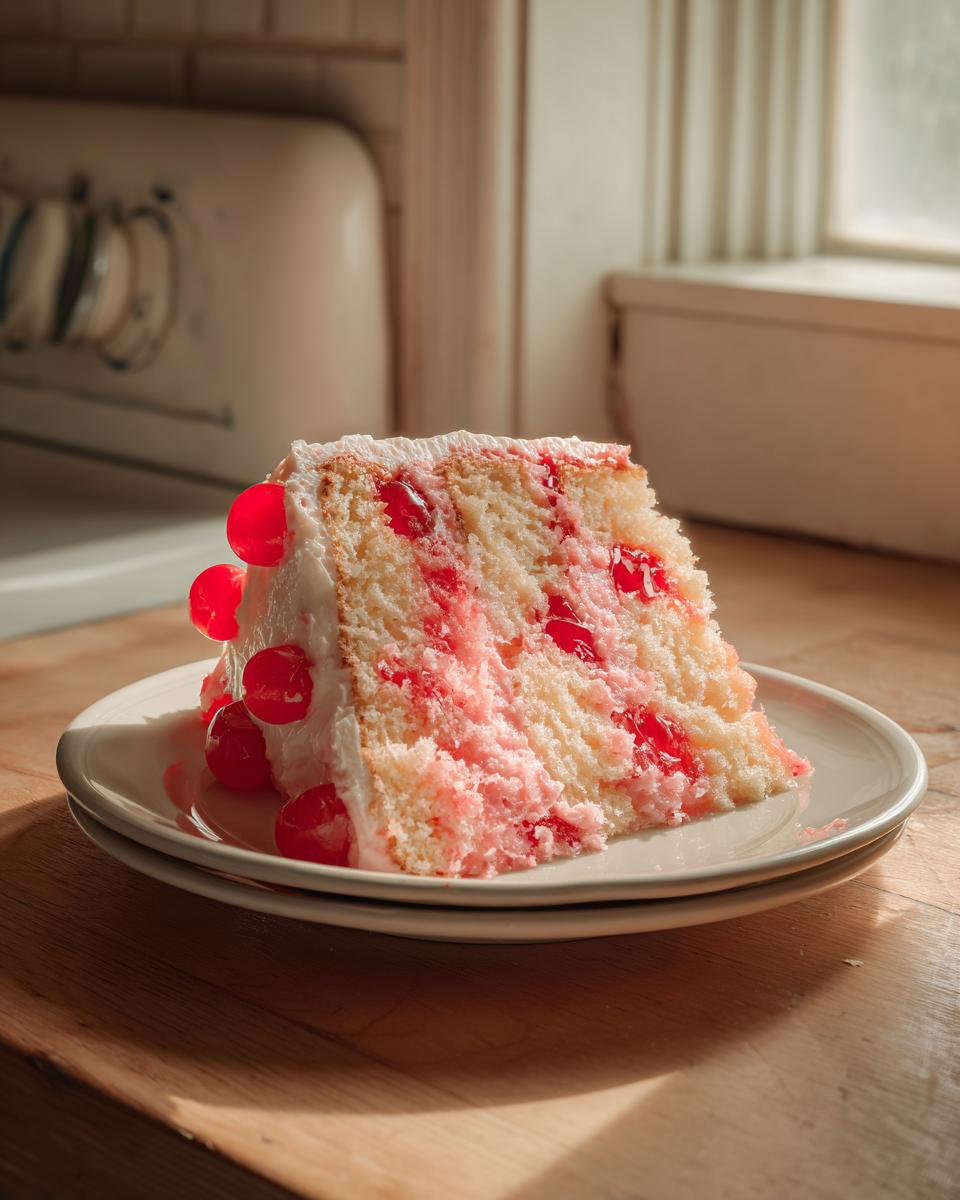
This is where the magic for the Vintage Maraschino Cherry Cake truly happens. We need two things from that jar: the bright red, slightly chewy chopped cherries mixed right into the batter, and—this is the crucial part—the reserved juice! Seriously, don’t throw that juice out! It’s not just for moisture; that slightly syrupy liquid is what gives this cake that signature, unmistakable pink tint. That’s the sign of a best cherry cake recipe done right. We also save a few whole ones for decorating the top!
Step-by-Step Instructions for the Perfect Moist Cherry Cake
Now that you’ve gathered all your beautiful components, it’s time to bring this moist cherry cake to life! Remember how I talked about creaming the butter and sugar? That patient step is the absolute foundation for a great texture, just like in my classic vanilla cake recipe. We are following the tried-and-true method here for maximum flavor development.
Preparing the Batter for Your Cherry Cake
First things first, get that oven heating up to 350°F (175°C) while you work. Start by creaming your butter and sugar until it’s truly light and fluffy—don’t stop early! Next, you’ll introduce the eggs, one at a time; beat well after each addition so they incorporate fully. Now for the alternating dance! You’re going to add your dry flour mix and your cherry juice mixture back and forth. Always start and end with the dry stuff. Add about a third of the flour, mix just until it disappears, pour in half your pink juice mixture, mix, then another third of the flour, the rest of the liquid, and finish with the final bit of dry ingredients.
Stop the mixer the second you see no more streaks of flour! Overmixing at this stage develops gluten and makes your beautiful cherry cake tough, and we absolutely don’t want that. Finally, gently fold in those chopped maraschino cherries. You want them distributed evenly, not beaten into mush!
Baking and Cooling the Cherry Cake
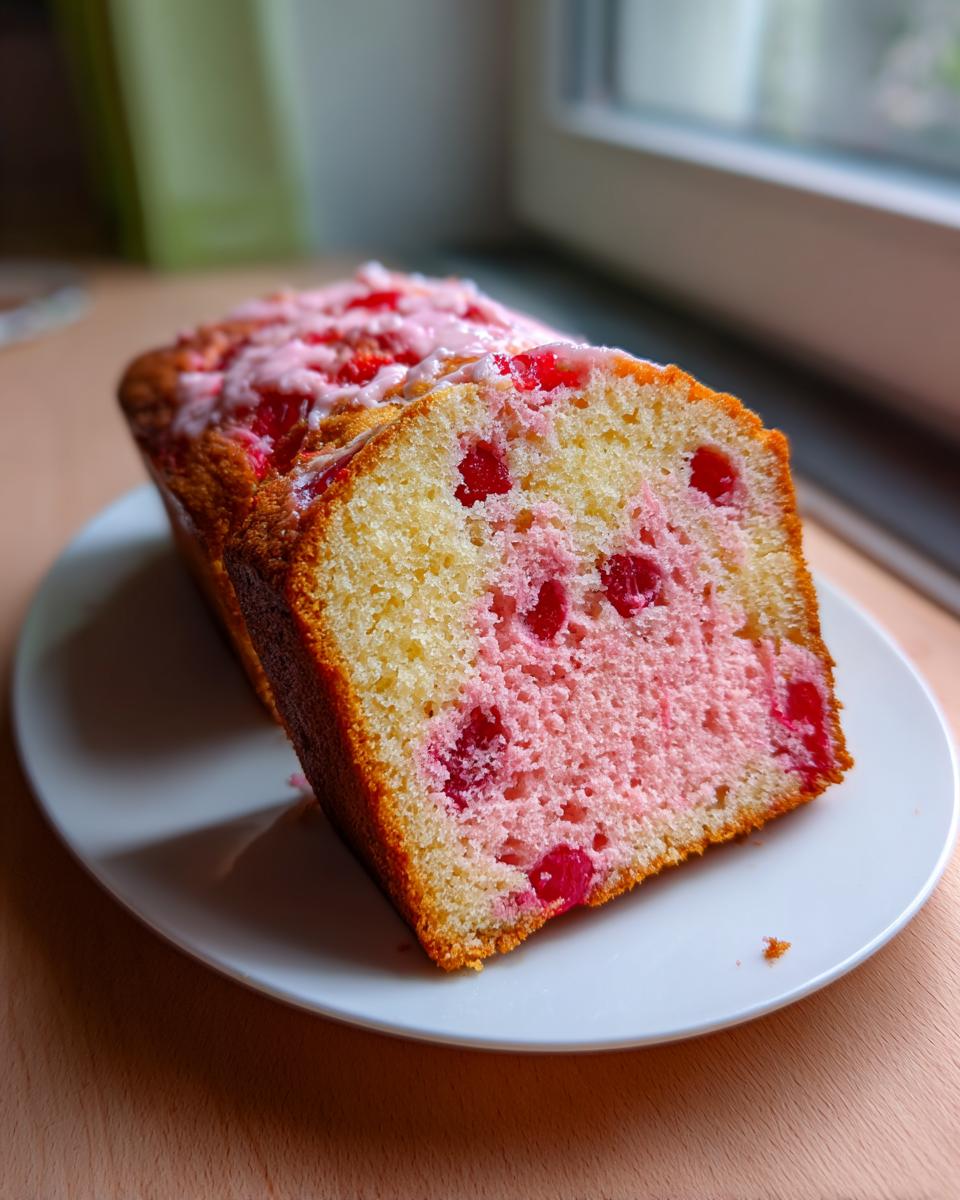
Pour that gorgeous pink batter into your prepared pan—I used a 9-inch round, but feel free to use a loaf pan if that’s what you have! Bake it for about 30 to 35 minutes. If you opted for a loaf pan, you might need 45 to 55 minutes because it’s much thicker, so keep an eye on it. You know it’s done when a wooden pick inserted into the center comes out clean, with maybe just a few tiny, moist crumbs attached. Don’t pull it out if the pick is wet!
Resist the urge to dive in right away! Let that homemade cherry cake cool right there in the pan for a solid 10 minutes. This lets it firm up just enough so it doesn’t crumble when you try to flip it out onto the wire rack to finish cooling completely. Never frost a warm cake; trust me on this one!
Tips for Making a Beautiful Cherry Cake
We want this cherry cake to look as amazing as it tastes, right? Nobody wants a pale, boring dessert when they’ve put in the work to bake from scratch! While the maraschino juice gives us a lovely natural pink tint, that color can sometimes be a little shy. If you are aiming for those vibrant, picture-perfect beautiful cherry cakes, don’t be afraid to add just one or two drops of good quality red food coloring when you mix in the juice. It really amps up the happy factor!
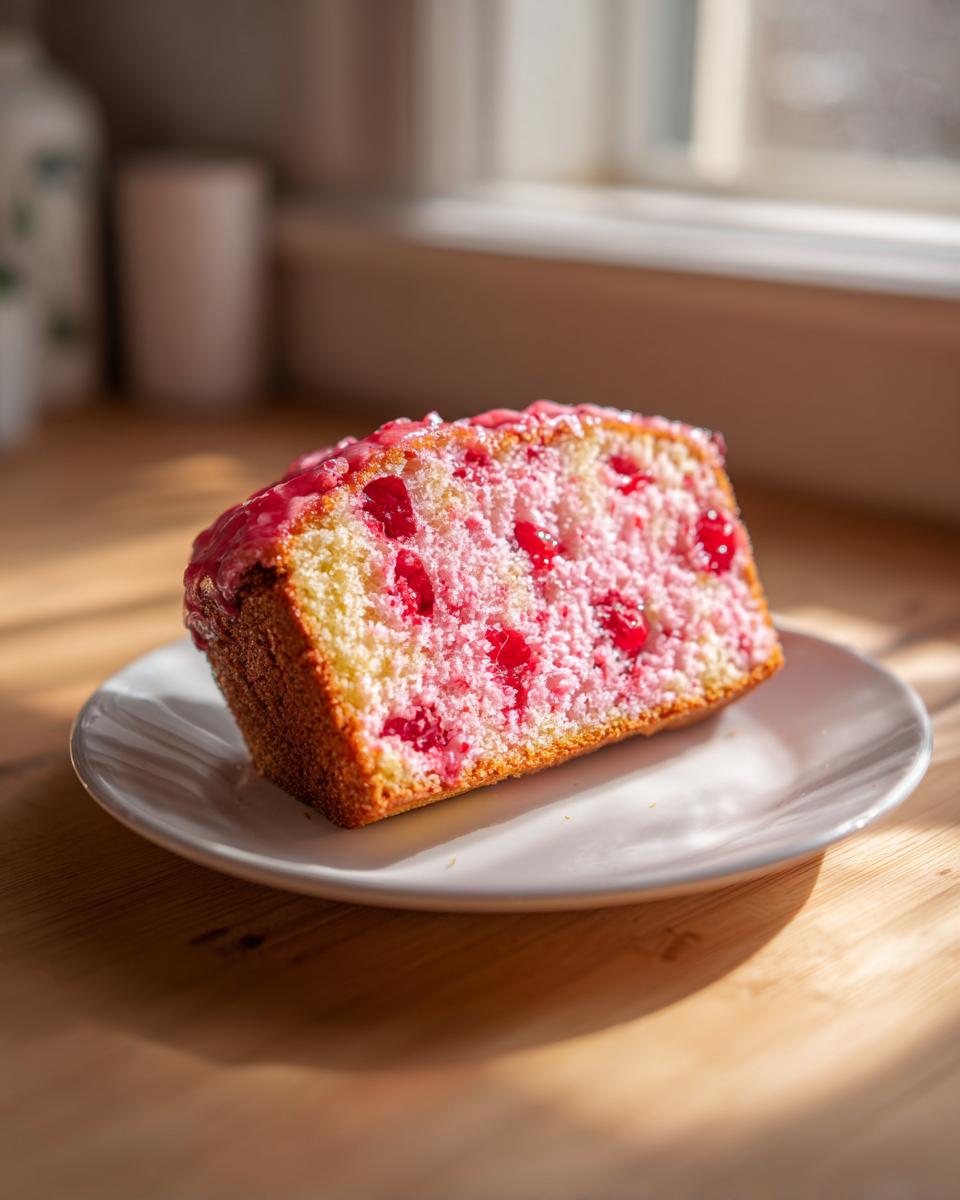
Also, how you finish it matters so much! While I love a simple spread of glaze, this cake truly sings when paired with a tangy frosting that cuts through the sweetness of the cherries. Think about whipping up a classic cream cheese frosting for the perfect pairing. That combination, honestly, is heavenly, and you can even look into recipes for cheesecake-style toppings if you want something extra decadent.
Lastly, staging those whole cherries on top before baking is my little trick. They sink slightly but look so charming when the cake pops out. It’s those tiny details that turn a casual bake into a celebration centerpiece!
Variations on the Classic Cherry Cake
While this Vintage Maraschino Cherry Cake is perfect just as she is, part of the fun of baking from scratch is making it your own! We all have little twists we like to add to our favorite recipes, right? This base recipe for a simple, moist cherry cake is so flexible. You can easily pivot into different flavor profiles or change up the baking format entirely without messing up the great flavor we built here.
Creating a Cherry Almond Dessert Variation
If you want to lean into something a little fancier—maybe something that echoes those beautiful lemon cakes but with a warm twist—you have to try the Cherry Almond Dessert version. It’s so simple! When you’re adding your vanilla extract in Step 4, just swap it out or split the difference with almond extract. A half-teaspoon of almond extract turns this cake into something really elegant. The almond plays so nicely with the bright sweetness of the maraschino cherries. It’s an instant upgrade for holidays or special brunches!
Transforming the Cherry Cake into a Loaf
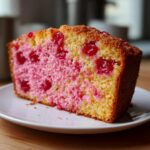
Sometimes you don’t need a fancy layer cake; you just need a sliceable, comforting quick bread. This recipe makes an amazing Cherry Pound Cake Recipe when baked in a loaf pan. If you decide to pour your batter into a loaf pan instead of a 9-inch round, you absolutely must remember to adjust your baking time! The 30-35 minute window is for a thinner cake. For a loaf, you’re going to need to keep that oven running closer to 45 or 55 minutes. Always test with that wooden pick—slow and steady wins the race when filling up a deep pan so the center cooks all the way through.
Serving Suggestions for Your Homemade Cherry Layer Cake
So, the cake is cooled, and it’s looking absolutely stunning with that pop of pink! Now, how do we serve this masterpiece? Since this cherry cake is naturally sweet from the cherries, I always suggest a little tang to keep things interesting. My number-one pairing for this homemade cherry layer cake perfection is definitely a rich cream cheese frosting.
The slight acidity in the cream cheese beautifully balances the sugary cherry notes. If you’re feeling extra, you could even make a swirl of that frosting and top it with a slice of the classic New York cheesecake recipe we share! It’s just divine.
Storage and Reheating Instructions for Leftover Cherry Cake
I rarely have leftovers of this cherry cake, honestly, because everyone digs in so fast! But when I do manage to save a slice, keeping it moist is my top priority. This cake is so tender, and nobody wants dry corners the next day!
If you’ve gone ahead and whipped up a gorgeous layer of that cream cheese frosting we talked about, you’ll need to act smart about storage. Any cake topped with cream cheese frosting has to go into the refrigerator. Just make sure you cover it tightly with plastic wrap or put it into an airtight container first. That condensation can turn surfaces sticky fast, and we don’t want that, do we?
If, by chance, you kept this moist cherry cake plain—just a simple glaze or powdered sugar, nothing dairy heavy—you can absolutely leave it on the counter. Wrap those slices up really well in plastic wrap, or put the whole cake in an airtight Tupperware. It stays perfectly moist at room temperate for two, maybe three days. If you are just saving a slice to have with your morning coffee, let it sit out on the counter for about 20 minutes before you indulge. A little time lets the texture really relax and taste its best!
Frequently Asked Questions About This Cherry Cake
I get so many excited messages after people bake this cake, and a few questions always pop up! It’s totally normal when you’re baking something with a vintage twist. I always try to give you the clearest advice so your cherry cake turns out perfect, just like mine does every time. Here are the answers to the questions I hear the most!
Can I use fresh cherries instead of maraschino cherries in this Cherry Cake?
Oh, that’s a great question, especially when fresh cherries are in season! Yes, you absolutely can use fresh ones for a Summer cherry dessert, but you have to make a few swaps. If you use fresh cherries, you’ll need to pit them, of course, and they don’t release as much colored syrup as the jarred ones. If you use fresh cherries, you’ll need to reduce the milk in the recipe slightly and possibly add a tiny dash of red food coloring to get that signature look. Also, fresh cherries release water, so you might want to toss them lightly in a tablespoon of flour before folding them in so they don’t sink to the bottom!
What makes this recipe a Vintage Cherry Recipes classic?
This one goes back to the glamorous days of mid-century baking! This recipe falls squarely in the Vintage Cherry Recipes category because of the heavy reliance on maraschino cherries for both flavor and color. Back then—say the 1950s through the 1970s—maraschinos were a staple in dessert making. They offered reliable sweetness and that brilliant, cheerful pink hue without having to mess around with fresh fruit that might be slightly sour or hard to find year-round. It’s nostalgia in a slice, honestly!
Is this a Quick Cherry Dump Cake alternative?
That’s a fun comparison! While this recipe definitely falls on the easier side of layer cakes, it’s not a true “dump cake.” A quick cherry dump cake shakes everything together, often using a boxed cake mix or crust topping. This cherry cake is made from scratch cherry cake style, meaning we cream the butter and sugar and mix wet/dry individually. However, the good news is using the pre-sweetened, preserved maraschino cherries makes prep much faster than if you had to pit and chop a full pound of fresh fruit. So, it’s speedier than a traditional layer cake, just a little more involved than a true dump dessert.
Estimated Nutritional Data for Your Cherry Cake Slice
Now, I always like to give folks a heads-up about the numbers, because we all balance what we bake with how we eat, right? Remember, I’m not a certified nutritionist—I’m just a home cook sharing what I know! The data below is an *estimate* for one slice of the cherry cake if you divide the whole thing into 8 servings.
The quality of your butter and the amount of frosting you slather on top will definitely change these figures, so take them as a helpful guideline rather than gospel. My goal is amazing flavor, and this moist cherry cake delivers!
- Serving Size: 1 slice (approx.)
- Calories: 350
- Sugar: 35g (Yes, it’s a treat!)
- Fat: 16g (Hello, real butter!)
- Protein: 5g
- Carbohydrates: 48g
- Cholesterol: 75mg
You’ll notice the fat content is a little higher, but that’s the price of using real butter to get that incredible texture we built into this from scratch cherry cake. Enjoy every bite!
Share Your Perfect Cherry Cake Creation
That’s it, my friends! You’ve made a truly spectacular, utterly delicious cherry cake right here in your own kitchen. Whether you chose a simple glaze or went full-on with a thick layer of cream cheese frosting, I am just so excited for you to taste this piece of baking history.
But the journey doesn’t end when the cake leaves the oven! Honestly, seeing what you all create is what keeps me pouring over old recipe cards here at Cooking Zenith. I want to know how it turned out for you!
Did you add more vanilla? Did you try the almond extract twist? Did you use a loaf pan instead of a round one? Please, please come back down here and tell me all about it in the comments section. Sharing your experience helps other home cooks gain the confidence to try this homemade cherry layer cake too. Leaving a rating really helps support the site!
And if you snapped a picture of your vibrant slice—maybe sitting next to a cup of coffee for a perfect afternoon break—tag me on social media! It truly makes my day to see that beautiful pink cake making its way onto your tables. If you ever have other questions about this, or any of our other recipes, you can always reach out using the contact page. Happy baking, let’s celebrate this perfect moist cherry cake!
PrintVintage Maraschino Cherry Cake Recipe
Make this moist, nostalgic Vintage Maraschino Cherry Cake from scratch. This easy dessert features bright cherry flavor and a beautiful pink hue, perfect for celebrations.
- Prep Time: 15 min
- Cook Time: 35 min
- Total Time: 50 min
- Yield: 8 servings 1x
- Category: Dessert
- Method: Baking
- Cuisine: American
- Diet: Vegetarian
Ingredients
- 1 3/4 cups all-purpose flour
- 1 1/2 teaspoons baking powder
- 1/2 teaspoon salt
- 1/2 cup unsalted butter, softened
- 1 cup granulated sugar
- 2 large eggs
- 1 teaspoon vanilla extract
- 1/2 cup milk
- 1/2 cup maraschino cherry juice (from the jar)
- 1/2 cup chopped maraschino cherries, drained
- 1/4 cup maraschino cherries, whole, for topping
Instructions
- Preheat your oven to 350°F (175°C). Grease and flour one 9-inch round cake pan or a standard loaf pan.
- In a medium bowl, whisk together the flour, baking powder, and salt. Set this dry mixture aside.
- In a large bowl, use an electric mixer to cream together the softened butter and sugar until the mixture is light and fluffy. This step helps create a moist cake.
- Beat in the eggs one at a time, mixing well after each addition. Stir in the vanilla extract.
- In a separate small bowl, mix the milk and the maraschino cherry juice together.
- Gradually add the dry ingredients to the wet ingredients, alternating with the cherry juice mixture. Begin and end with the dry ingredients, mixing only until just combined. Do not overmix.
- Gently fold in the chopped, drained maraschino cherries.
- Pour the batter into your prepared pan. Place a few whole maraschino cherries on top of the batter for decoration, if desired.
- Bake for 30 to 35 minutes, or until a wooden pick inserted into the center comes out clean. For a loaf cake, baking time may be closer to 45-55 minutes.
- Let the cake cool in the pan for 10 minutes before inverting it onto a wire rack to cool completely.
- Frost with your favorite cream cheese frosting or a simple glaze once fully cooled.
Notes
- For the best color and flavor, use the juice reserved from a good quality jar of maraschino cherries.
- If you want a richer color, add 1-2 drops of red food coloring to the batter.
- This cake pairs well with a simple vanilla buttercream or a light cream cheese frosting.
Nutrition
- Serving Size: 1 slice
- Calories: 350
- Sugar: 35
- Sodium: 250
- Fat: 16
- Saturated Fat: 9
- Unsaturated Fat: 7
- Trans Fat: 0.5
- Carbohydrates: 48
- Fiber: 1
- Protein: 5
- Cholesterol: 75