
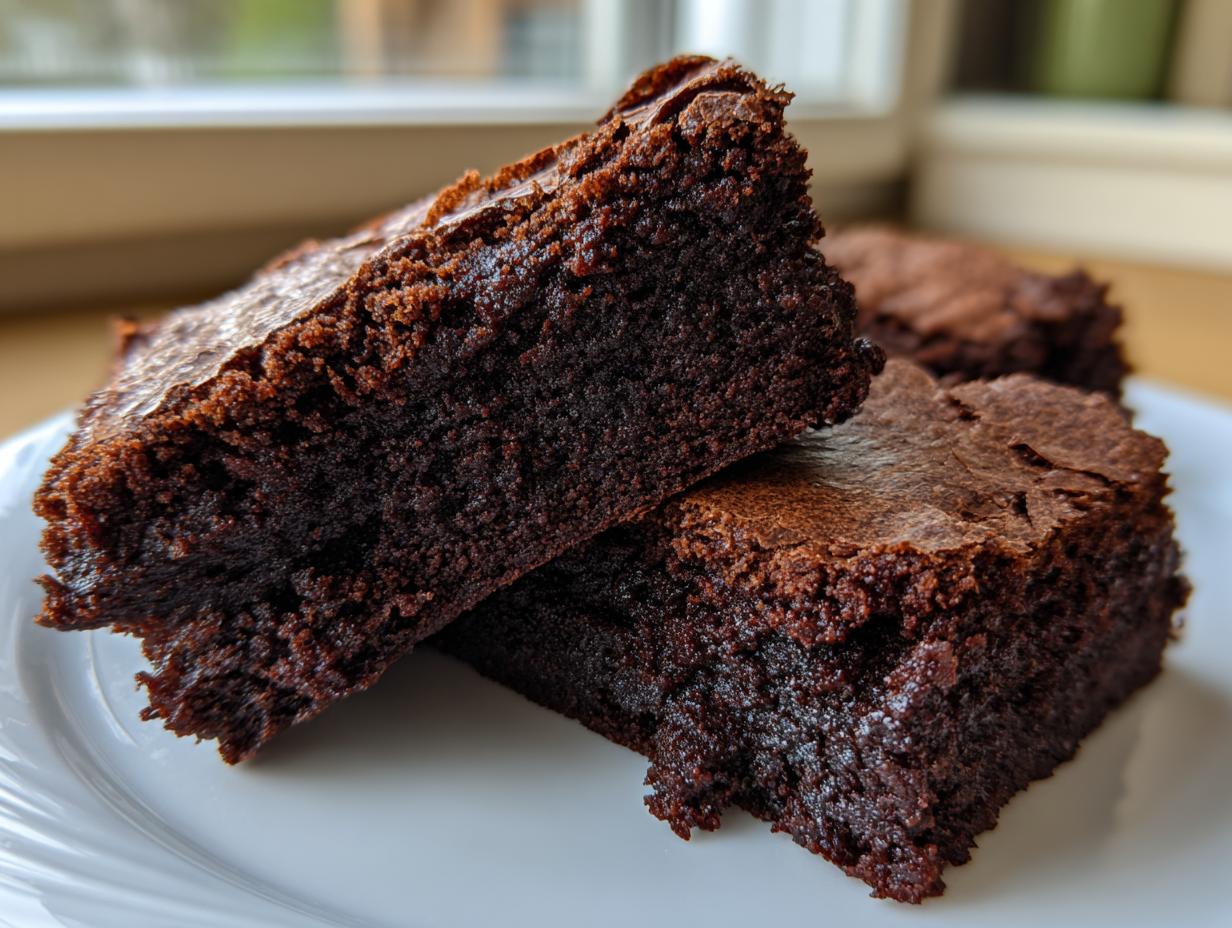
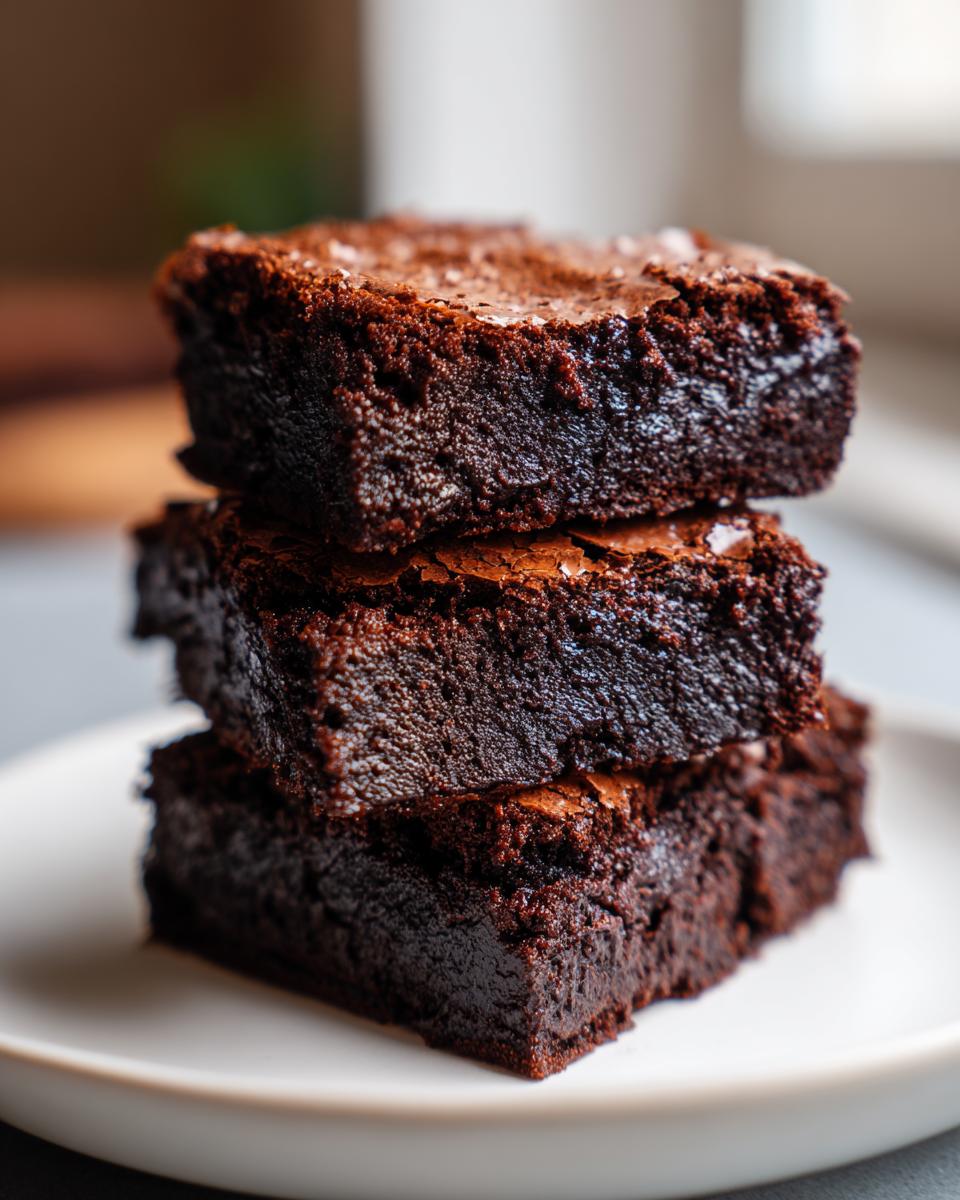
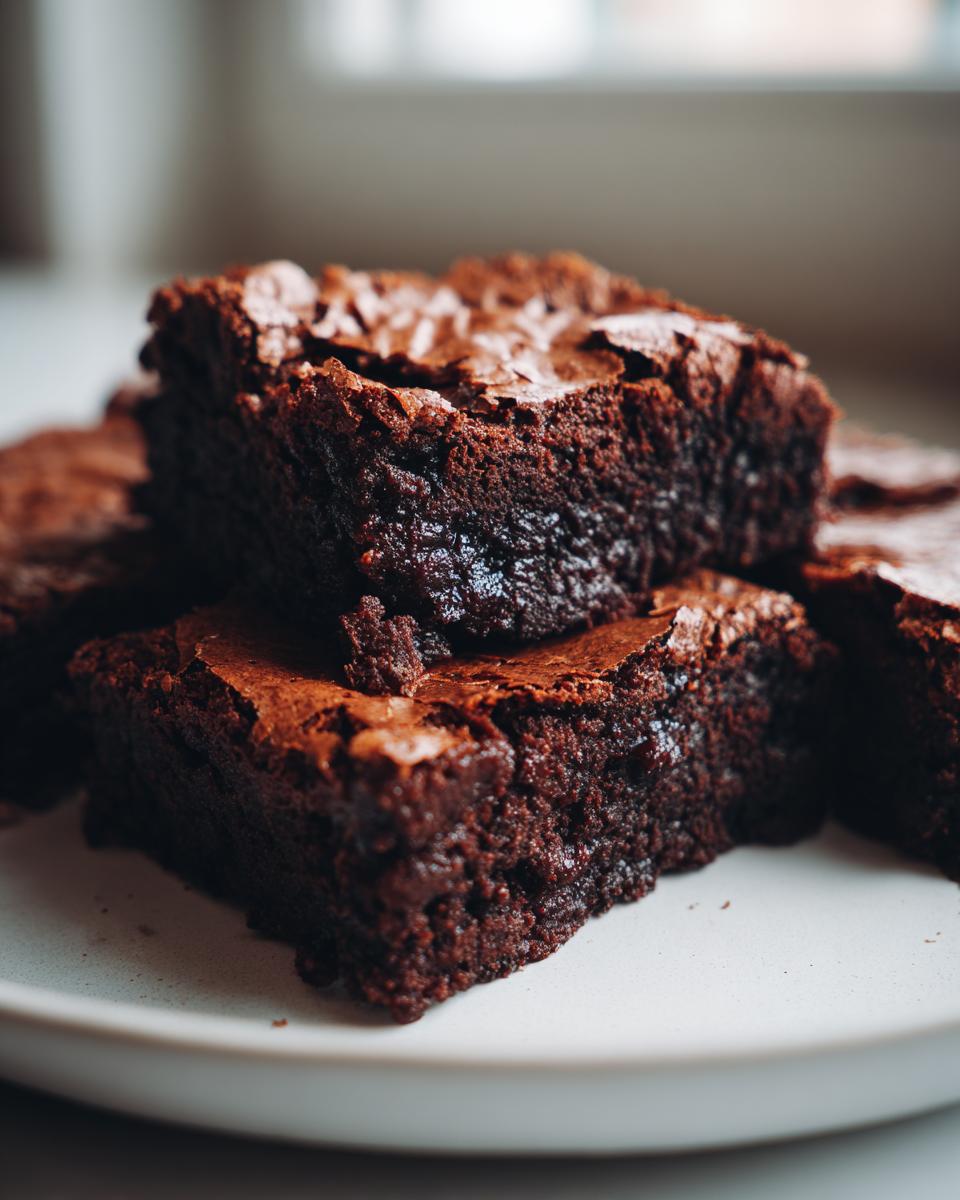
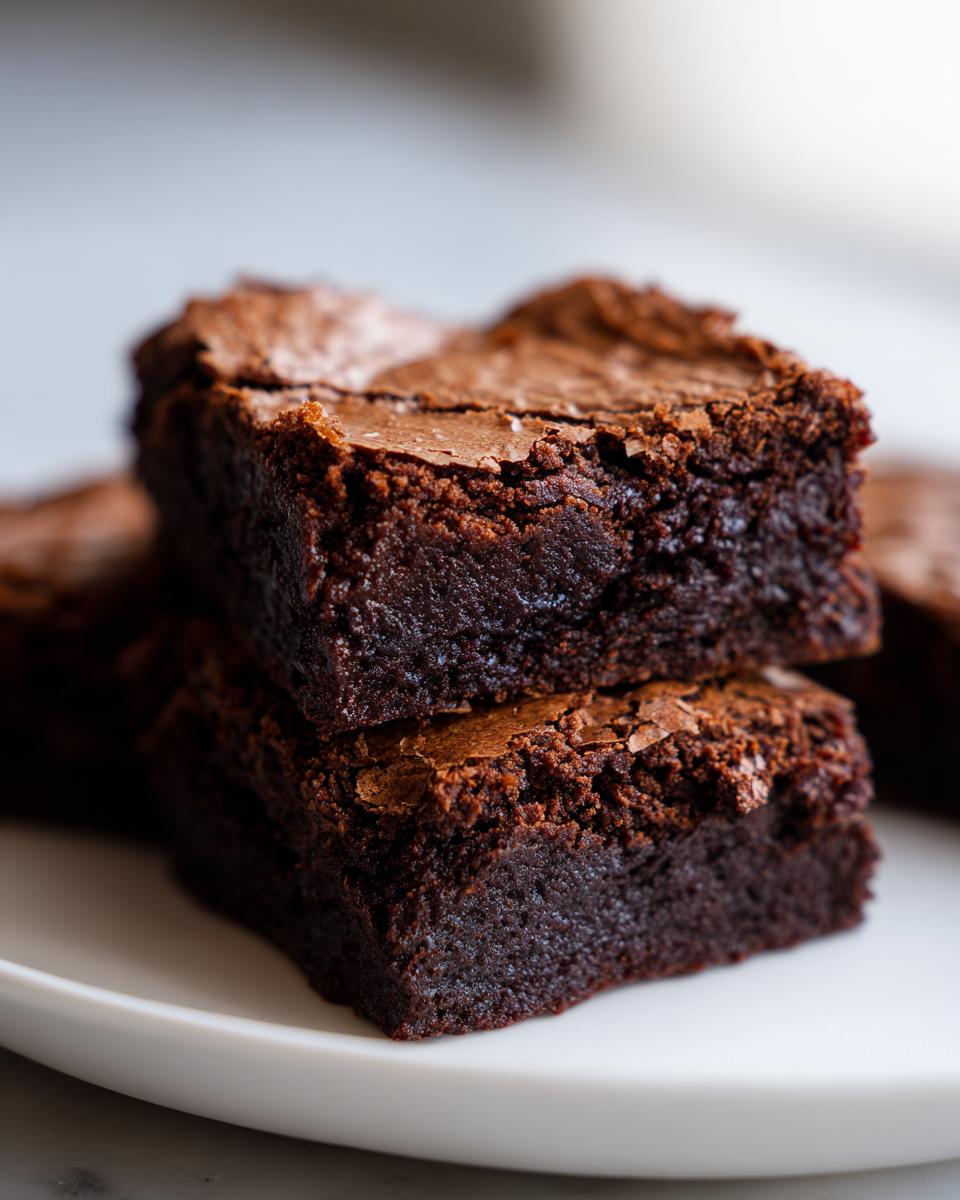
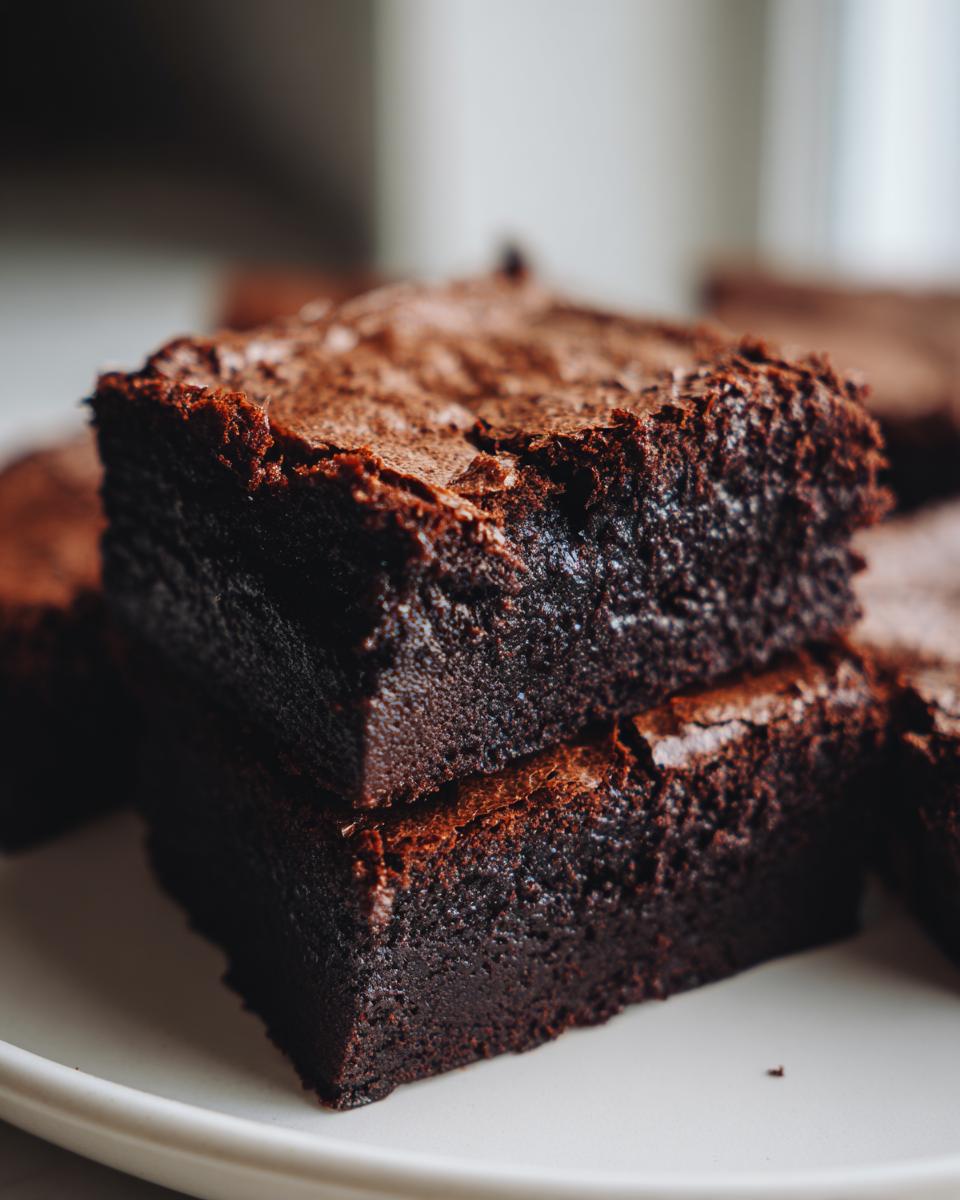
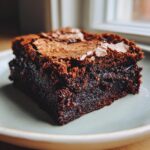
Listen, there is nothing quite like that moment when you bite into the perfect chocolate treat. You know the one I mean—deeply chocolatey, impossibly dense, and topped with that beautiful, shiny, paper-thin crackle. For years, I chased that elusive texture, but I finally cracked the code for what I call my Ultimate Fudgy Brownies with Crackly Tops. This isn’t just any chocolate square; nailing the fudgy brownie texture felt like winning the lottery. Forget dry, cakey squares; these are gooey chocolate dessert bars made perfectly from scratch, every single time. Trust me, once you get this method down, you’ll never look back!
- Why These Are the Best Homemade Brownies (The Fudgy Factor)
- Ingredients for Your Ultimate Fudgy Brownie Recipe
- Chewy Brownie Instructions: Achieving the Crackly Top
- Tips for Success: Mastering Your From Scratch Cocoa Brownie
- Variations for Your Classic Baked Dessert Squares
- Storage and Reheating Instructions for Gooey Chocolate Dessert Bars
- Frequently Asked Questions About Making the Best Brownie Recipe Ever
- Serving Suggestions for Your Rich Chocolate Bake
- Recipe Snapshot and Next Steps
Why These Are the Best Homemade Brownies (The Fudgy Factor)
If you’re anything like me, you’ve been disappointed by brownies that promise richness but deliver a disappointing cake texture. That’s why I went back to the drawing board to create what I genuinely think are the best homemade brownies out there. The secret to keeping these ultra-fudgy is twofold: we use significantly more fat and sugar relative to the flour. This imbalance is intentional because we want chew and gooeyness, not puffiness!
This easy fudgy brownie recipe relies heavily on mixing the butter, both sugars, and the eggs until they emulsify perfectly. That glossy base traps the air needed for the crackle, but keeps the inside dense. The absolute biggest tip I can give you, and please engrave this on your baker’s heart, is to underbake them by just a minute or two. Seriously, when a toothpick comes out looking moist—not wet batter, but definitely coated in crumbs—pull them out immediately. They firm up as they cool, and that slight underbaking is pure fudgy heaven. For other fun twists, check out my Buckeye Brownies or my layered Brownie Refrigerator Cake recipes!
Ingredients for Your Ultimate Fudgy Brownie Recipe
When you’re making something this decadent, you can’t skimp! The beauty of this recipe is that it uses pantry staples, so chances are you won’t even need to run to the store. Remember, clarity here leads to success later in the oven. If you are exploring other dense chocolate options, I have a great Black Bean Brownie recipe, but for these classic ones, stick to what I list below. We build that signature texture with just a few key players:
- 1 cup (2 sticks) unsalted butter
- 1 1/4 cups granulated sugar
- 1 cup packed light brown sugar
- 4 large eggs (make sure these are room temperature if you can!)
- 1 tablespoon vanilla extract
- 3/4 cup unsweetened cocoa powder (I prefer Dutch-process for depth!)
- 1/2 cup all-purpose flour
- 1/2 teaspoon salt
- 1 cup semi-sweet chocolate chips (optional, but please don’t skip them!)
Chewy Brownie Instructions: Achieving the Crackly Top
Okay, this is where the magic happens, people! Follow these chewy brownie instructions exactly, and I promise you’ll get that enviable fudgy brownie with crackly top. It all starts before you even look at the flour. Preheat that oven to 350°F (175°C) right away. We’re using a 9×9 metal pan because metal conducts heat brilliantly, which helps forge that crust. Line it with parchment paper, leaving an overhang—I call this my sling! It saves your sanity later when you need to lift those gorgeous squares out.
Prep Work and Melting the Base for Your Brownie
First things first: melt that butter gently over low heat. You don’t want it browning, just fully liquid. Pull it off the stove immediately and whisk in both your granulated and brown sugars vigorously. This dissolves the sugar into the fat, which is one of the first secrets to that shiny surface we’re chasing. Next, the eggs go in one by one. Whisk enthusiastically after each egg until the whole mixture looks beautifully glossy and smooth. Don’t forget that vanilla!
Mixing Wet and Dry Components for Perfect Brownie Batter
In a separate bowl, just toss the cocoa, flour, and salt together with a fork—no need for complicated sifting here. Now, listen closely: add these dry bits to your beautiful wet mixture gradually. Mix only until *just* combined. I mean it! If you stir until it’s perfectly uniform, you’re developing gluten, and that gives you cake! We want gooey, so stop mixing right when you see the last streak of flour disappear. Fold in those optional chocolate chips gently if you’re using them.
Baking and Cooling the Deep Dark Chocolate Brownie
Pour that rich batter into your prepared pan and smooth the top. Bake it for 30 to 35 minutes. If you pull the oven door open at 30 minutes, stick a toothpick right in the center. If it has moist crumbs clinging to it—like it was just licked clean—it’s done! If you bake it until that toothpick is totally clean, you’ve made cake. For an extra boost of flavor, you can check out my recipe for fudgy date brownies too. After baking, you MUST let these cool completely on a wire rack. Patience is the final secret ingredient here. Cutting them warm is a disaster; chilling them lets them set into perfect squares.
Tips for Success: Mastering Your From Scratch Cocoa Brownie
Getting these incredible from scratch cocoa brownies right requires understanding *why* we do certain things. This isn’t just guesswork; it’s solid, delicious science! I learned so much developing this perfect brownie baking guide, especially about achieving that magical shell on top. That crackly finish? It’s all about fully dissolving the granulated and brown sugars into that warm butter and egg mixture. When the sugars hit the heat, they create a meringue-like layer on the surface as they bake. If your sugar granules aren’t fully incorporated, that top layer won’t form correctly.
Secondly, hold the baking powder and soda! I cannot stress this enough for fudgy fans. This recipe is designed to be dense—it’s a rich chocolate bake, not a light lift. Any chemical leavening agent (like baking powder) tries to create lift, which results in a cakey crumb, the exact opposite of what we want here. If you want that deep, dark chocolate flavor, you can totally swap in Dutch-process cocoa powder; it’s less acidic and makes the chocolate taste richer. For fun variations, you should absolutely check out my chocolate brownie cookies recipe too! Remember, the structure of these gooey chocolate dessert bars comes from the eggs and the fats, not from airy bubbles!
Variations for Your Classic Baked Dessert Squares
Once you master the base recipe—which you have, because you followed my instructions perfectly, right?—it’s time to make these classic baked dessert squares truly your own. I love that this straightforward recipe is such a stunning canvas for creativity. Don’t be afraid to stir things up! These simple additions can transform your batch from merely amazing to legendary.
My absolute favorite go-to addition for deepening the chocolate is adding espresso powder. Just one teaspoon dissolved into the melted butter wakes up the cocoa flavor incredibly well—you won’t taste coffee, just deeper, richer chocolate. If you’re feeling a little nutty, fold in about ¾ cup of toasted pecans or walnuts along with your chocolate chips during the last step.
For a swirl, you can make a simple peanut butter swirl or even a cheesecake layer. If you go for cheesecake, just soften four ounces of cream cheese with a tablespoon of sugar and a tiny splash of vanilla, swirl it over the top of the batter *before* baking, and use a knife to gently marble it in. If you want something festive, try my peppermint brownies inspiration! Just remember, anything you add risks slightly altering the bake time, so keep an eye on that toothpick test!
Storage and Reheating Instructions for Gooey Chocolate Dessert Bars
The hardest part about storing these gooey chocolate dessert bars is having any left to store! If you manage to save any, keep them tightly wrapped in plastic wrap or stored in an airtight container at room temperature for up to four days. They stay incredibly fudgy this way, honestly. If you need them to last longer, you can absolutely freeze them! Wrap each square individually in plastic wrap, then toss them into a freezer bag. They keep perfectly for up to three months.
When you need a quick chocolate fix, grab one from the freezer, let it sit on the counter for about ten minutes, or just microwave it for 10-15 seconds. That little zap brings them right back to that just-baked, melted state. For the very best results, try pairing them with some warm sauce, or check out my recipe for easy fudge for pairing ideas!
Frequently Asked Questions About Making the Best Brownie Recipe Ever
Even when you follow a recipe to the letter, questions pop up once you get into the kitchen, right? That’s totally normal! I get asked the same things all the time about this recipe, because making the best brownie recipe ever involves a little bit of science. Below, I’ve tried to answer the biggest sticking points so you can bake with total confidence!
How do I guarantee a crackly top on my brownie?
This is the million-dollar question! To guarantee that beautiful shiny, crackly meringue-like top, you need that powerful whisking step early on. You must whisk the melted butter and both sugars together until they look a little paler and glossy. Then, when you vigorously whisk in those eggs until they start thickening up—that’s where the structure forms. Finally, don’t overbake! Pull them when the toothpick is still clinging to moist crumbs. It sets the surface texture perfectly as the pan cools down.
Can I use melted butter instead of softened butter in this brownie recipe?
Great question! Actually, this recipe specifically calls for melted butter, and that is a huge difference from other recipes you might see online! Recipes that ask for softened butter are usually relying on you creaming the butter and sugar to incorporate air, which leads to a lighter, cakier texture. Because we want these to be deep, dense, and fudgy, we skip the creaming and use melted butter to create a very heavy batter that doesn’t want to rise much at all. If you switch to softened butter, you won’t get the same gooey texture, and you’ll struggle with how to make brownies that are not cakey!
Another common issue is cutting them cleanly. If you try to slice warm brownies, they just smear everywhere! My absolute favorite trick is chilling them in the fridge for at least an hour after they’ve cooled slightly on the counter. Once they are cold, the squares cut like a dream. For more tips on getting perfectly chewy cookies, check out my Thick and Chewy Chocolate Chip Cookies guide!
Serving Suggestions for Your Rich Chocolate Bake
Honestly, these rich chocolate bake squares are perfect all on their own, especially when they are still slightly warm and gooey beneath that crisp top. But why stop at perfection when you can reach nirvana? My favorite way to serve them is straightforward: a dusting of quality powdered sugar right before serving. It looks so elegant, doesn’t it?
When I really want to go all out for company, I pair a square with a scoop of high-quality vanilla bean ice cream—the cold hitting the gooey center is amazing. A drizzle of tart raspberry sauce cuts through the richness beautifully. If you need a frosting recipe for another project, check out my fluffy vanilla buttercream, but for these, keep it simple!
Recipe Snapshot and Next Steps
Before you run off to bake these incredible, fudgy squares, here’s a quick rundown of what you’re getting into time-wise and yield-wise. This is seriously such a simple dessert recipe for chocolate lovers; the minimal prep time is just amazing for a weekend treat!
- Prep Time: 15 min
- Cook Time: 35 min
- Total Time: 50 min (plus cooling time, which is mandatory!)
- Yield: 16 perfect squares
- Category: Dessert
- Method: Baking
- Cuisine: American
Alright, that’s the technical stuff done! Now comes the fun part. I need you to promise me something: when you pull these out and they are cooling on the rack, take a deep breath and smell that chocolate! It’s the best smell in the world. Once you slice them up, please come back here and tell me how you liked them. Drop a rating below if this became your new family favorite chocolate treat! I’m always looking for feedback on my quick dessert for chocolate craving recipes! If you want to learn more about my mission here at Cooking Zenith, you can check out my About Page!
PrintThe Ultimate Fudgy Brownies with Crackly Tops
Follow this simple recipe to make rich, deep dark chocolate brownies from scratch that are perfectly fudgy inside with that desirable crackly top.
- Prep Time: 15 min
- Cook Time: 35 min
- Total Time: 50 min
- Yield: 16 squares 1x
- Category: Dessert
- Method: Baking
- Cuisine: American
- Diet: Vegetarian
Ingredients
- 1 cup (2 sticks) unsalted butter
- 1 1/4 cups granulated sugar
- 1 cup packed light brown sugar
- 4 large eggs
- 1 tablespoon vanilla extract
- 3/4 cup unsweetened cocoa powder
- 1/2 cup all-purpose flour
- 1/2 teaspoon salt
- 1 cup semi-sweet chocolate chips (optional)
Instructions
- Preheat your oven to 350°F (175°C). Line a 9×9 inch metal baking pan with parchment paper, leaving an overhang on two sides for easy removal. Lightly grease the exposed sides of the pan.
- In a medium saucepan over low heat, melt the butter completely. Remove from heat.
- Whisk the granulated sugar and brown sugar into the melted butter until fully combined.
- Add the eggs one at a time, whisking well after each addition until the mixture is smooth and glossy. Stir in the vanilla extract.
- In a separate bowl, whisk together the cocoa powder, flour, and salt.
- Gradually add the dry ingredients to the wet ingredients, mixing only until just combined. Do not overmix.
- If using, gently fold in the chocolate chips.
- Pour the batter into the prepared pan and spread evenly.
- Bake for 30 to 35 minutes. A toothpick inserted near the center should come out with moist, fudgy crumbs attached, not wet batter. For chewier results, err on the shorter side of the baking time.
- Let the brownies cool completely in the pan on a wire rack before lifting them out using the parchment overhang and cutting into squares.
Notes
- For the best crackly top, ensure your sugar is fully dissolved into the warm butter and eggs before adding the dry ingredients.
- Do not substitute baking powder or soda; this recipe relies on the eggs for lift, keeping the texture dense and fudgy.
- If you prefer a richer chocolate flavor, use Dutch-process cocoa powder.
Nutrition
- Serving Size: 1 square
- Calories: 250
- Sugar: 28g
- Sodium: 110mg
- Fat: 14g
- Saturated Fat: 9g
- Unsaturated Fat: 5g
- Trans Fat: 0g
- Carbohydrates: 30g
- Fiber: 2g
- Protein: 3g
- Cholesterol: 65mg