
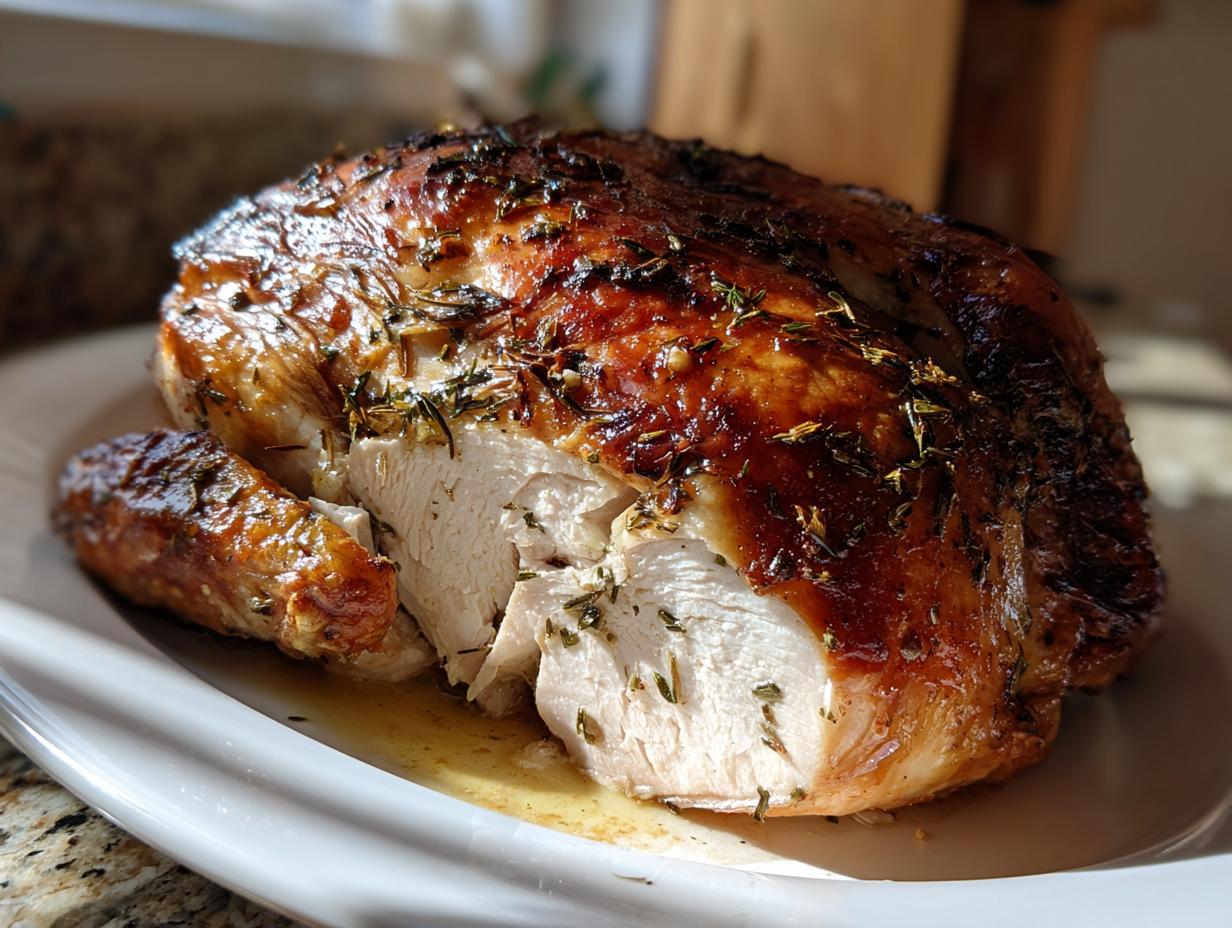
Oh, that holiday dread! We’ve all been there, right? You pull that big bird out of the oven, and it looks perfect—golden brown and grand—but the moment you carve into that beautiful turkey, it’s dry as sawdust. It’s the absolute WORST, especially when you’ve got the whole family waiting. Well, forget those stressful years because I have the solution! This Juicy Garlic Herb Butter Roast Turkey is exactly what you need for the best turkey ever. It’s rich, incredibly flavorful, and stays moist all the way through. Aria developed this recipe focusing on simple techniques that really work, proving you don’t need to be a professional chef to master the ultimate holiday roast.
- Why This Garlic Herb Butter Roast Turkey is the Best Turkey Ever
- Ingredients for Your Juicy Garlic Herb Butter Turkey
- Step-by-Step Instructions for the Perfect Roast Turkey Recipe
- Expert Tips for an Unforgettable Holiday Turkey Centerpiece
- Making Rich Gravy from Your Turkey Pan Drippings
- Storing and Reheating Your Leftover Turkey
- Frequently Asked Questions About Roasting Turkey
- Estimated Nutritional Data for This Turkey Recipe
- Share Your Experience Making This Turkey
Why This Garlic Herb Butter Roast Turkey is the Best Turkey Ever
If there’s one cooking challenge that makes home cooks sweat, it’s achieving that mythical Moist Turkey that isn’t swimming in brine. This Herb Roasted Turkey recipe solves that! We aren’t relying on complicated injections or stuffing the bird for hours. The magic here is honestly the butter barrier. It gives you that gorgeously Juicy Turkey experience without all the fuss. Plus, the flavor payoff from the herbs and garlic is just incredible. You’ll want to use the drippings later to make my amazing gravy recipe—you can find my guide on foolproof gravy here!
Achieving Ultimate Juiciness with Herb Butter
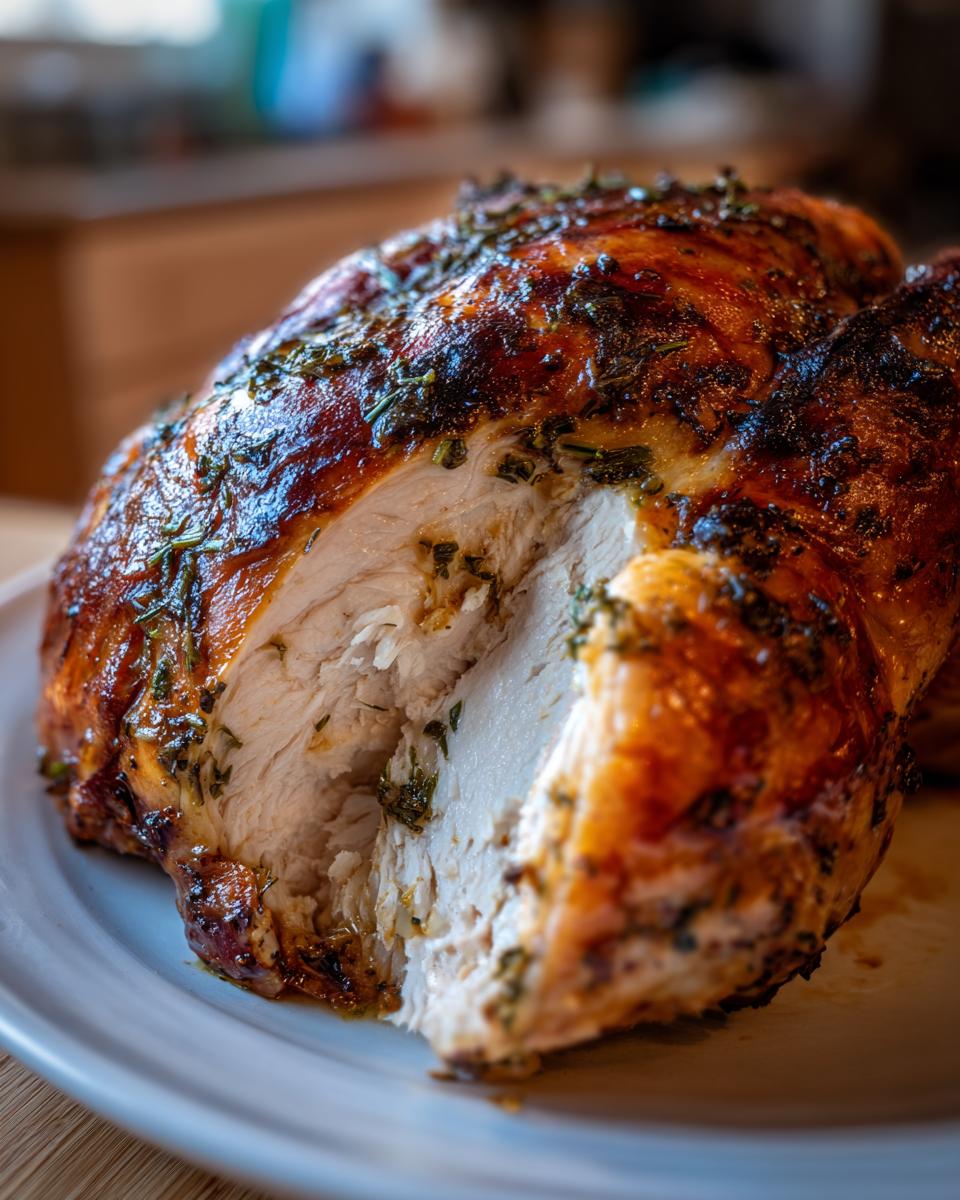
Okay, this is where we cheat nature a little bit and I absolutely love it. My favorite part is gently teasing the skin away from the white meat on the breast and thighs. You have to be careful not to rip it, but once you get that space, rub half of that glorious herb butter directly onto the meat underneath! That fat melts down slowly while roasting, basting the actual muscle tissue from the inside out. The minced garlic and herbs underneath release all their perfumes right where you need them!
The Secret to Crispy Skin on Your Turkey
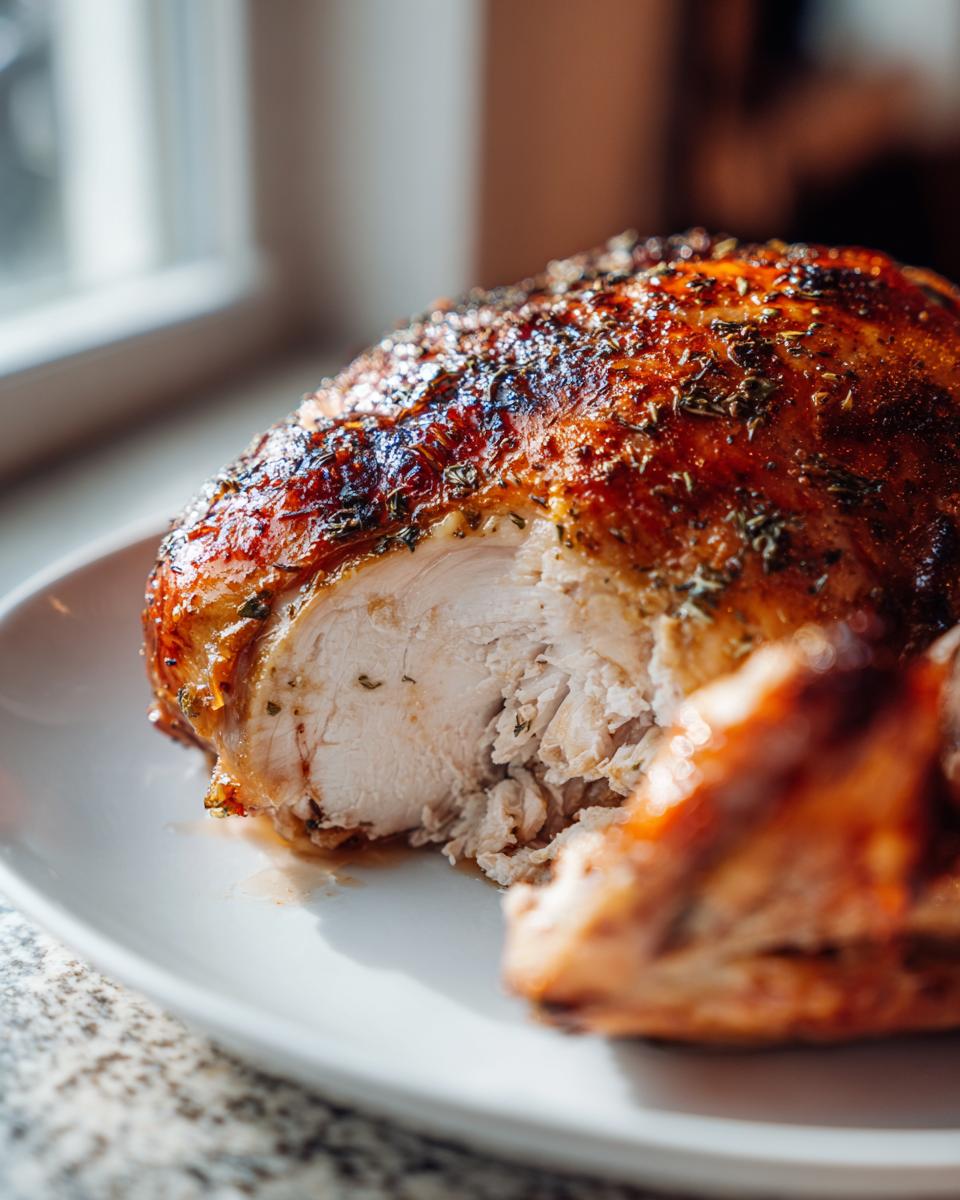
Listen, my philosophy for a holiday centerpiece is simple: flavor inside, crunch outside. For that flawless, crackly Crispy Skin you see in magazines, you absolutely must pat the whole bird bone dry with paper towels first. No moisture—no crispiness! Then, we rub the rest of that butter all over the surface. And keep an eye on the notes; kicking the heat up high for the very last 15 minutes gives you that final, beautiful golden shatter. Trust me on the drying part!
Ingredients for Your Juicy Garlic Herb Butter Turkey
Okay, the real talk starts here. You saw how much flavor this turkey gets, and honestly, it’s down to using real ingredients handled correctly. Don’t skimp here—this is your main event! I’ve listed everything out clearly below. Make sure your butter is softened so you can mix it easily with the herbs, but don’t let it melt or get oily, or we lose that structure we need for the rub.
- 1 whole turkey (12-14 lbs), thawed
- 1 cup unsalted butter, softened
- 4 cloves garlic, minced
- 2 tablespoons fresh rosemary, chopped
- 1 tablespoon fresh thyme leaves
- 1 tablespoon salt
- 1 teaspoon black pepper
- 1 large onion, quartered
- 2 carrots, roughly chopped
- 1 cup chicken broth
See? Nothing complicated! It’s all about fresh herbs and good butter. Having the quartered onion and carrots ready to go inside the cavity makes the roasting day so much smoother. It’s all about calm preparation to guarantee that amazing Roast Turkey Recipe outcome!
Step-by-Step Instructions for the Perfect Roast Turkey Recipe
Alright, time to stop admiring the ingredients and get cooking! This is where we turn that beautiful raw bird into the show-stopping Roast Turkey Recipe everyone talks about. Don’t rush anything here, especially the patting dry, and you’ll be rewarded. If you’re planning a big feast, you can make the herb butter the day before—it just gets even better sitting together!
Preparation and Herb Butter Application
First things first: get that bird naked! Take out the neck and the little bag of stuff inside the cavity. Now, get those paper towels and seriously dry the skin everywhere—top, sides, legs. Moisture is the enemy of crispiness, remember? Once dry, mix up that wonderful herb butter described above. Now, here’s the expert trick: slide your fingers carefully between the skin and the breast meat. Push about half that butter right under there, making sure the meat gets coated. Rub the rest evenly over the outside skin—this creates that beautiful golden color later on.
Roasting the Turkey and Maintaining Moisture
Stuff the cavity gently with your onion quarters and carrots—they just steam inside and add flavor, we aren’t actually stuffing the bird. Pour your cup of chicken broth into the roasting pan bottom; this keeps the air around the turkey humid. Slap it into a 325 degrees Fahrenheit oven. You need to baste it every 45 minutes with the pan juices. If you see that skin getting dark too fast, just grab some foil and loosely tent the top until the meat is cooked. Don’t forget that thermometer check!
Resting the Turkey for Maximum Flavor
When the thigh hits 165 degrees Fahrenheit internally, pull the whole thing out! Seriously, take it out. Tent it loosely with foil—don’t wrap it tight, or all that beautiful crisp skin will get steamy and soft. Now, this is the hardest step: you have to let it rest for a minimum of 30 minutes. This resting time lets all those fantastic juices redistribute back into the meat fibers, which is the real secret to a super Moist Turkey. If you carve too soon, that juice just runs onto the cutting board, not into your mouth!
While that turkey is resting, this is the perfect time to whip up some gravy using those amazing drippings, or maybe figure out how to make those perfect Yorkshire puddings to go alongside it.
Expert Tips for an Unforgettable Holiday Turkey Centerpiece
Okay, we have roasted this incredible bird, and now I want to share the little tricks that take it from great to utterly legendary. You want this to be the Holiday Turkey Centerpiece that people talk about until next year, right? These little hacks, tucked away in the recipe notes, are total game-changers for your Thanksgiving Turkey.
First, let’s talk about getting that skin just perfect, because nobody wants pale, flabby turkey skin! If you followed the steps, it should be golden, but for that café-quality crackle, you need to finish strong. If your turkey is done but hasn’t yet achieved that deep mahogany color, crank your oven up to 425 degrees Fahrenheit for the final 15 minutes. Watch it like a hawk, though! Sugar browns fast, and we want crispiness, not charcoal. This simple temperature boost guarantees that stunning visual appeal you want in your roast.
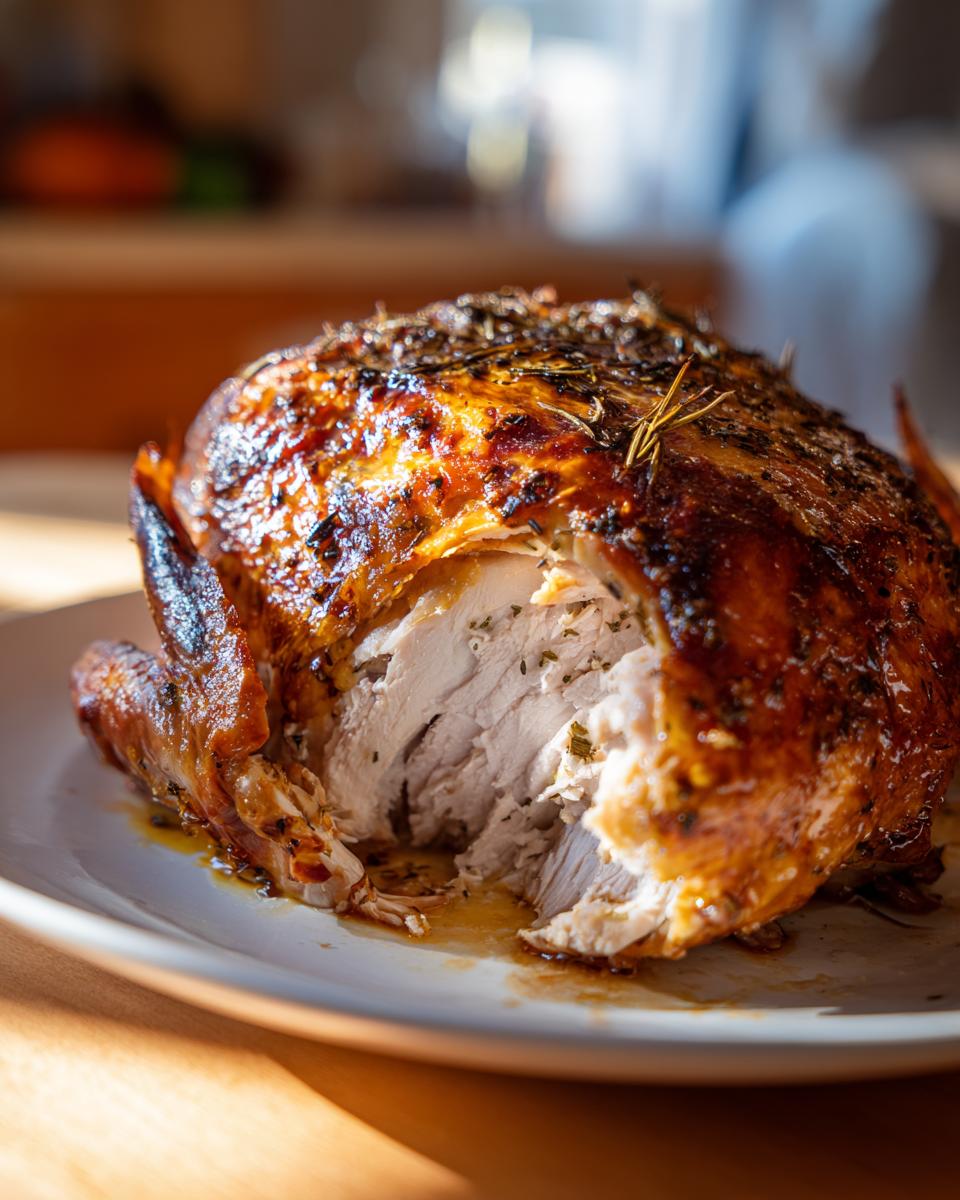
Also, if you want to pivot away from the savory garlic flavor for a sweeter twist, you absolutely must try glazing it. During those last 30 minutes of roasting—when you’re basting anyway—brush on a simple mixture of melted butter and maple syrup. Just a quarter cup of syrup with a tablespoon of butter, brushed on every ten minutes. It creates a beautiful, slightly tacky finish that pairs so well with the herbs already in the butter rub. It’s a beautiful alternative flavor profile for any festive gathering. You can find inspiration for other festive desserts, like my Cranberry Orange Cheesecake, to round out the holiday menu!
Making Rich Gravy from Your Turkey Pan Drippings
Phew! You’ve wrestled that beautiful, juicy turkey out of the pan and it’s resting peacefully under foil. Don’t you dare wash that roasting pan! Those drippings and browned bits stuck to the bottom are liquid gold. That’s where the richest, deepest, most flavorful gravy you’ve ever made is just waiting to happen. This part isn’t complicated, I promise, but it makes the whole meal feel restaurant-quality.
You’ll want to skim off most of the fat—save that for roasting potatoes later! What you want to keep is the flavorful brown liquid left in the bottom, sometimes called the fond. I have a detailed, step-by-step guide over here that walks through turning those drippings into a smooth, lump-free gravy using a simple roux. It’s so much better than the powdery stuff from a packet, and it doesn’t take much extra time at all while your turkey chills out!
Storing and Reheating Your Leftover Turkey
If you managed to have any of this glorious turkey left over, congratulations! You’re now in possession of the best leftovers in the world. But here’s the thing about roasted meat: it dries out fast if you don’t treat it right when storing and reheating. We want to keep that juicy flavor we worked so hard for, right? So, we need a solid plan for your Leftover Turkey Ideas.
First step is getting it cooled down quickly. Don’t leave that big platter sitting on the counter! Cut the meat off the bones as soon as it’s safe to handle. You want to refrigerate all that delicious meat—both breast and thigh—in shallow, airtight containers. This helps it cool quickly, which is super important for safety. Make sure you get it tucked into the fridge within two hours of pulling it from the oven. It should be good for about three to four days in there.
When it comes time to reheat, forget the microwave for a plain slice if you can help it—it turns meat rubbery immediately. My preferred method for keeping the meat moist is to reheat it gently in a bit of broth or stock. If you’re just heating up a few slices, put them in a small saucepan with just a splash of that homemade turkey gravy or broth, cover it, and heat it on low until it’s just warmed through. You aren’t trying to cook it again; you’re just bringing it up to temperature gently while adding that moisture back in. If you’re using it in a casserole or soup, the liquid in the dish will handle the moisture for you!
Frequently Asked Questions About Roasting Turkey
I know when you’re getting ready for the big day, you have a million little worries running through your head, and usually, a lot of them circle back to the main event: the Thanksgiving Turkey! It’s totally normal to have questions, because this bird is a centerpiece, not a casual weeknight chicken. I put together the questions I get asked the most often about getting that perfect, stress-free roast. Hopefully, this helps you feel confident heading into the kitchen!
How do I ensure my turkey is fully thawed before cooking?
Oh gosh, pulling out a partially frozen turkey—that is a disaster waiting to happen! You cannot rush this part, so plan backwards from your cooking day. The safest rule of thumb, the one I swear by, is to give yourself about 24 hours in the refrigerator for every four to five pounds of bird weight. So, if you have a 14-pound turkey, that means you need at least three full days chilling in the fridge. Make sure it’s wrapped well so it doesn’t drip anywhere. If you forgot, you can use the cold water method, but that takes constant attention!
What temperature should the turkey reach to be safe?
We need to talk safety, especially when serving a crowd. The only way to know for sure is with a reliable meat thermometer—don’t guess! The USDA says that poultry, including your whole bird, is safe to eat when it hits an internal temperature of 165 degrees Fahrenheit. Where do you check this? You need to insert that thermometer into the thickest part of the thigh, making sure you aren’t accidentally poking into the bone. The bone will read hotter, confusing you into thinking it’s done when it’s really not!
Can I use this herb butter method for a smaller turkey breast?
Absolutely yes, you totally can! This herb butter is fantastic on everything, including a smaller Turkey Breast Recipe. The main difference will be the cooking time, which shrinks down significantly. For a bone-in turkey breast, you can generally estimate about 13 to 15 minutes per pound at 325 degrees Fahrenheit, but you must use that thermometer. Since you’re constantly checking the temperature, you’ll nail that Juicy Turkey result without all the guesswork associated with a whole bird. Just be sure to rub the butter under everything, just like we did for the big guy!
If you have any other burning questions about getting that perfect roast, hang tight and pop them in the comments below! I check them all the time.
Estimated Nutritional Data for This Turkey Recipe
I always tell people that reading the nutrition label on a recipe is like reading the back of a box—it’s important context, but it shouldn’t stop you from enjoying something truly delicious! Because this recipe uses a whole bird and the final fat distribution can change based on trimming, these numbers are my very best, carefully calculated estimates based on the ingredient breakdown in the recipe.
Keep in mind, these figures are based on a serving size of 6 ounces of cooked meat for 10 servings. If you are carving up the breast meat only or if your bird is slightly bigger or smaller, the proportions will shift a bit. But honestly, when this turkey comes out perfect, who is really counting calories? Still, it’s good to know we used mostly lean protein here!
- Serving Size: 6 oz cooked meat
- Calories: 350
- Protein: 45g
- Fat: 18g (with 7g Saturated Fat)
- Carbohydrates: 1g
- Sugar: 1g
- Sodium: 450mg
- Cholesterol: 140mg
I’m thrilled that it’s so high in protein—that’s what keeps everyone feeling satisfied through the afternoon! If you are tracking your macros or looking for healthier snack ideas later this week, this roast is actually a fantastic, wholesome base. Enjoy the feast, and we’ll worry about the specifics later!
Share Your Experience Making This Turkey
Well, that’s it! You’ve made the centerpiece, you carved the moist, flavorful bird, and everyone is patting you on the back. Now, I really, really want to know how it went! Cooking Zenith thrives on helping home cooks like you conquer the classics, and hearing your success stories means everything to me.
Did you manage to get that Crispy Skin just right? Did the family rave about the garlic butter flavor? Don’t be shy! Please jump down to the comments below and leave your star rating for this Roast Turkey Recipe. Even if you had a little hiccup—maybe you were nervous about the timing or decided to try the maple glaze—tell me about it!
We all learn from each other, so if you’ve got a brilliant tip for managing your Holiday Turkey Centerpiece next time, share the wisdom! And if you snap a picture of your finished roast looking beautiful on the table, tag us when you share it online. I try to look at every picture because seeing your amazing results is truly the best part of my whole process. If you need to reach out privately later about anything—maybe ingredient substitutions or leftover ideas—you can always get in touch via the contact page!
PrintJuicy Garlic Herb Butter Roast Turkey

Follow this recipe to roast a whole turkey that stays moist and develops crispy, flavorful skin using a simple herb butter rub. This is the perfect centerpiece for your holiday meal.
- Prep Time: 30 min
- Cook Time: 3 hr 30 min
- Total Time: 4 hr 0 min
- Yield: 10 servings 1x
- Category: Holiday Dinner
- Method: Roasting
- Cuisine: American
- Diet: Low Calorie
Ingredients
- 1 whole turkey (12–14 lbs), thawed
- 1 cup unsalted butter, softened
- 4 cloves garlic, minced
- 2 tablespoons fresh rosemary, chopped
- 1 tablespoon fresh thyme leaves
- 1 tablespoon salt
- 1 teaspoon black pepper
- 1 large onion, quartered
- 2 carrots, roughly chopped
- 1 cup chicken broth
Instructions
- Remove the turkey from its packaging and remove the neck and giblets. Pat the entire turkey skin dry with paper towels.
- In a small bowl, combine the softened butter, minced garlic, chopped rosemary, thyme, salt, and pepper. Mix until you have a uniform herb butter.
- Gently loosen the skin over the turkey breast and thighs. Rub about half of the herb butter directly onto the meat under the skin. Rub the remaining butter all over the outside of the turkey skin.
- Place the quartered onion and chopped carrots inside the turkey cavity. Pour the chicken broth into the bottom of a large roasting pan.
- Preheat your oven to 325 degrees Fahrenheit. Place the turkey breast-side up on a rack inside the roasting pan.
- Roast the turkey for approximately 3 to 3.5 hours, or until a meat thermometer inserted into the thickest part of the thigh registers 165 degrees Fahrenheit. Baste the turkey with pan drippings every 45 minutes.
- If the skin begins to brown too quickly, loosely tent the turkey with aluminum foil.
- Once the turkey reaches 165 degrees Fahrenheit, remove it from the oven. Tent loosely with foil and let it rest for at least 30 minutes before carving.
Notes
- For extra crispy skin, increase the oven temperature to 425 degrees Fahrenheit for the last 15 minutes of cooking, watching carefully to prevent burning.
- If you prefer a maple glaze, mix 1/4 cup of maple syrup with 1 tablespoon of melted butter and brush it on during the last 30 minutes of roasting.
- Use the pan drippings to make gravy for serving.
Nutrition
- Serving Size: 6 oz cooked meat
- Calories: 350
- Sugar: 1
- Sodium: 450
- Fat: 18
- Saturated Fat: 7
- Unsaturated Fat: 11
- Trans Fat: 0
- Carbohydrates: 1
- Fiber: 0
- Protein: 45
- Cholesterol: 140