
The holiday table just isn’t the same without that rich, savory blanket covering everything, right? I know how much pressure there is to nail that perfect side dish, and honestly, nothing ruins a feast faster than watery, lumpy sauce. That’s why I’m sharing my absolute favorite, foolproof method for the best homemade turkey gravy you will ever taste. This recipe guarantees a silky-smooth texture using those fantastic pan drippings! As a passionate home cook, not a stuffy chef, I developed this method to work every single time, even if you’re terrified of making gravy. Trust me, my journey to culinary confidence, documented over on the About Page, proves anyone can master this comfort food classic. Let’s drown those potatoes!
- Why This Foolproof Turkey Gravy Recipe Works Every Time
- Essential Ingredients for Classic Holiday Turkey Gravy
- How To Make Turkey Gravy From Scratch Pan Drippings Gravy
- Gravy Without Drippings Alternative for a Quick Turkey Gravy
- Tips for Success with Your Homemade Turkey Gravy Recipe
- Storage and Make Ahead Creamy Gravy Instructions
- Serving Suggestions for Comfort Food Gravy Sides
- Frequently Asked Questions About Turkey Gravy
- Share Your Perfect Pourable Turkey Gravy Results
Why This Foolproof Turkey Gravy Recipe Works Every Time
When you’re aiming for rich, comforting flavor, you need a reliable technique. My method for this turkey gravy solves the two biggest holiday disasters: lumps and blandness. I promise you, ditching the powdered stuff for this from-scratch approach is worth the five extra minutes of stirring! Here’s the secret sauce to why this works so well:
- You start with a proper fat-to-flour ratio (the roux!), which is the anchor for a great sauce.
- We only use warm stock—this is a non-negotiable step to keep things silky!
- It maximizes the flavor straight from the roasting pan drippings.
Achieving Silky Smooth Turkey Sauce
Listen, nobody wants little flour pebbles in their gravy, right? That’s why we focus hard on the lump-free gravy method when combining the roux and the stock. You have to add that warm broth slowly—and I mean *slowly*—while whisking like your life depends on it! Don’t rush this part. Think of it like tempering eggs; you introduce the liquid gently so everything marries perfectly instead of clumping up in resistance.
Maximizing Rich Savory Turkey Sauce Flavor
The flavor foundation for any incredible turkey gravy rests entirely in those browned, caramelized bits stuck in your roasting pan. We scrape all that deliciousness up! If you want to really elevate this to next-level flavor, adding a splash of dry white wine or sherry right after you cook the roux means you get to scrape up even more tasty goodness right before you add the stock. That little bit of acidity brightens the whole rich savory turkey sauce.
Essential Ingredients for Classic Holiday Turkey Gravy
When we talk about making my classic holiday turkey gravy, we’re talking about a short list of high-impact players. You need exactly half a cup of those precious turkey drippings—that gorgeous liquid fat and savory browned bits stuck in the bottom of your roasting pan. Then comes the flour, half a cup to build that perfect roux base. For the liquid, you simply must use warm turkey or chicken stock; I use about four cups total. Remember to season it up toward the end with salt and pepper to taste. Simple! This is how you ensure your gravy is rich before we even get to the cooking.
Ingredient Notes and Substitutions
Now, the most important expert note: what if your turkey was skinny or you didn’t get enough fat? Don’t panic! If you come up short on drippings, we just swap in unsalted butter to make up that half-cup measurement for the fat component. That butter acts just like the drippings fat when making your roux. And please, please, please make sure your stock is warm before you start adding it. Cold stock hitting that hot roux mixture is what causes instant lumps! We want smooth velvet, not a lumpy disaster.
How To Make Turkey Gravy From Scratch Pan Drippings Gravy
Okay, this is where the magic happens, and honestly, the fun part of making turkey gravy from scratch! We are taking that gorgeous, flavorful sludge—the drippings—and turning it into something spectacular. This whole process is fast, maybe 30 minutes total, but every minute counts, so keep your whisk handy! This is where we prove this is truly a foolproof gravy recipe because the technique is everything.
Building the Roux: The Foundation of Your Turkey Gravy
First step, make sure your roasting pan is stable on the stove over medium heat—be careful, that fat is hot! Add your measured drippings (or butter swap) and let it get nice and hot. Now dump in your flour and start whisking immediately. You are cooking this paste, called a roux, for about two to three minutes. You are waiting for two things: it has to look smooth like wet sand, and you have to smell it change. When that raw flour smell disappears and it starts smelling a little bit nutty, you’re there! That’s the smell I always associate with Thanksgiving starting; it’s such a comforting aroma. If you are adding wine, pour it in right now and let it sizzle and absorb completely before moving on.
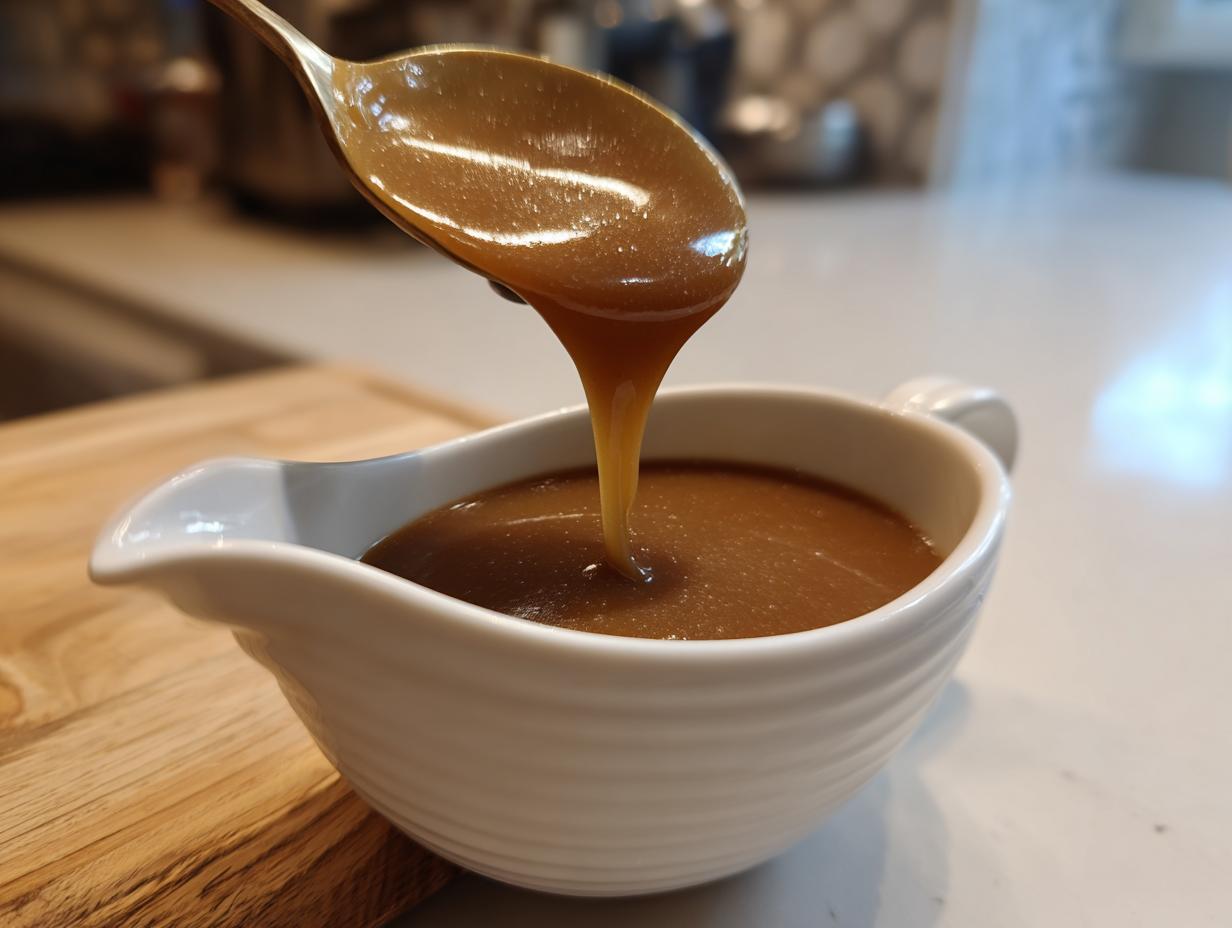
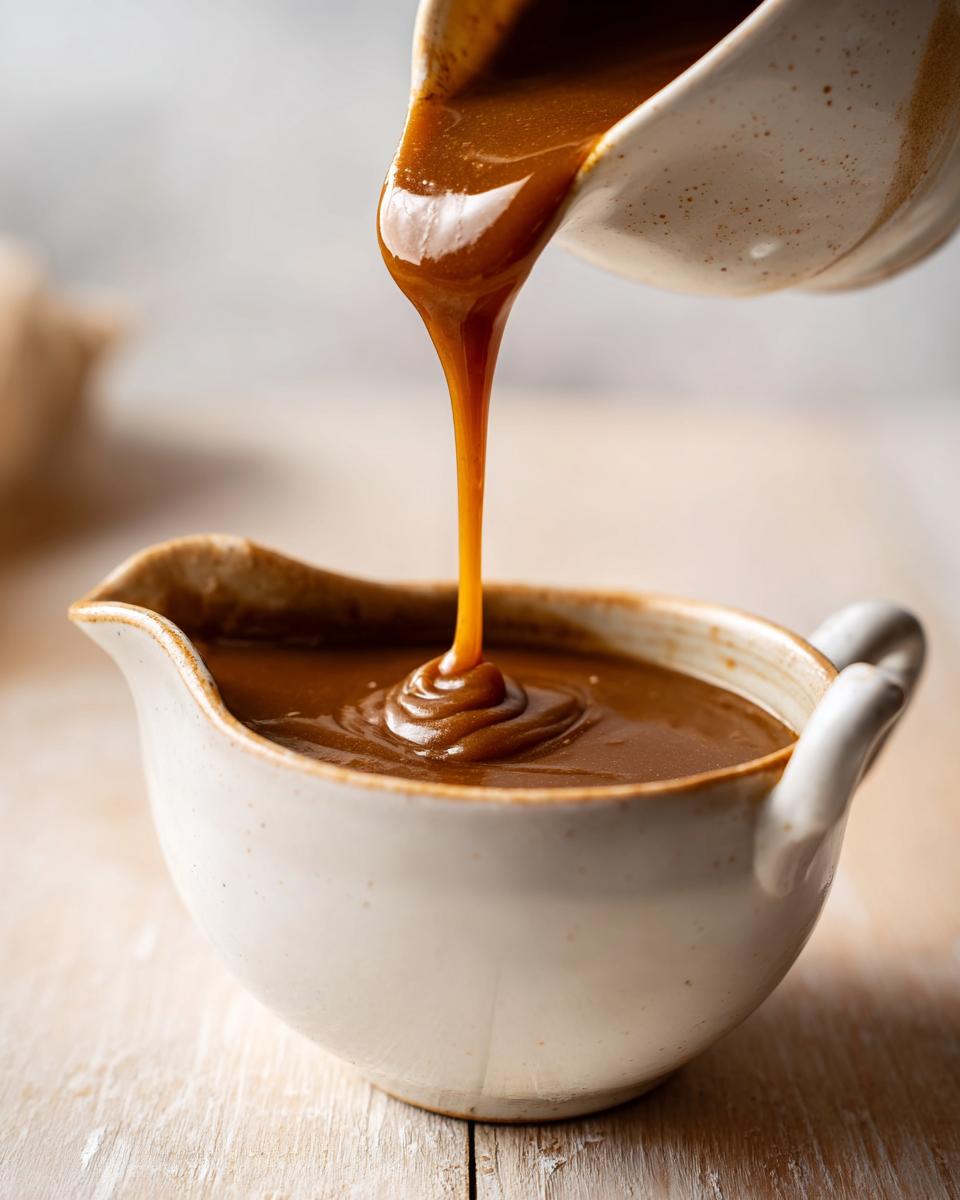
Achieving Perfect Pourable Gravy Consistency
This next part is pure focus! Once the roux is happy, you slowly, slowly whisk in the warm stock, one cup at a time. I mean it—whisk vigorously as the first cup goes in until it melts into the roux perfectly, turning into a thin liquid. Then you add the next cup, and so on. Once it’s all in there, you bring it to a simmer. Let it bubble quietly for about five to ten minutes, stirring now and then until it coats the back of a spoon nicely. If it gets too thick, just whisk in a splash more warm stock. If it’s still too thin? No stress; just mix a tiny bit of flour with cold water to make a slurry, whisk that in, and watch it tighten up! This guaranteed method helps you hit that perfect pourable gravy consistency. For my final secret, I always strain it right before serving!
If you need to chat about any step—maybe your heat is too high or you have a question about the wine—don’t hesitate to reach out on my contact page! I always check in, and I love hearing from folks who are trying out these from-scratch recipes. If you’ve got a success story, check out the tips linked over at It Is A Keeper too for more amazing gravy approaches!
Gravy Without Drippings Alternative for a Quick Turkey Gravy
Okay, I know the big fear: what if your turkey didn’t render enough fat, or maybe you’re not making a whole turkey this year? Honestly, it happens to the best of us! But that doesn’t mean you have to settle for sad, thin sauce. For a great turkey gravy when the pan is looking dry, we just skip the drippings step. Instead of using drippings for the fat in your roux, just use the exact same amount—half a cup—of good quality, unsalted butter.
Because butter doesn’t have those intensely savory roasted flavors attached, you need to boost the flavor back in. I recommend adding a tiny bit more salt and pepper, maybe a teaspoon of dried poultry seasoning, or even dissolving a half-cube of good bouillon into your warm stock before you add it to the roux. You can see different ways folks handle a gravy without drippings alternative, like the methods detailed over here at Crayons and Cravings, but the key is swapping that fat and replacing the flavor! It still comes out rich and savory, trust me.
Tips for Success with Your Homemade Turkey Gravy Recipe
Even with a foolproof recipe, sometimes the difference between good gravy and *amazing* gravy comes down to those little finishing touches. I always tell people that making the roux correctly is 80% of the battle, but these last steps truly solidify that rich, holiday flavor you’re looking for. You want your turkey gravy to look as good as it tastes, so we focus on polish here. If you want a truly professional result, don’t skip the final straining step. You can see some brilliant advice on texture adjustments over at Ava’s Cooking, and I agree with their focus on the end result!
Straining for the Ultimate Silky Smooth Turkey Sauce
This is my non-negotiable final step for a truly luxurious, professional-feeling silky smooth turkey sauce. Even if you whisked like a champion, sometimes a tiny bit of flour paste or a small bit of undissolved spice solids gets left behind. We don’t want those in our final presentation! I grab the finest-mesh sieve I own—you know, the one so tight it looks like lace—and I pour the entire finished gravy through it right before serving. It catches everything instantly and gives you that beautifully clean, velvety texture that pours perfectly over everything on your plate. It takes literally ten seconds and makes a huge difference!
Storage and Make Ahead Creamy Gravy Instructions
The biggest secret to a stress-free holiday? Making things ahead! You can absolutely make a big batch of this turkey gravy ahead of time; it’s one of the best cheats for a great feast. Just cool it down completely, cover it tight, and stick it in the fridge for up to three days. For longer storage, your best bet is the freezer, which you can read more about on our Privacy Policy page—just kidding! Kidding aside, if you freeze it, it lasts for several months.
Now, here’s what you need to know: when gravy cools, that flour base tightens up, so it will look like a solid brick when you pull it out! Don’t panic when it looks like cement! Just gently reheat it on the stovetop on low heat. As it warms up, whisk in a little bit more warm stock—maybe a splash or two—until you reach that perfect, luscious consistency again. You can even check out some great tips for preparing this over at The Food Charlatan on handling your make ahead creamy gravy. Remember you can always adjust the thickness when reheating!
Serving Suggestions for Comfort Food Gravy Sides
Honestly, once you have this rich, savory turkey gravy in hand, the possibilities are endless! The absolute classics are non-negotiable, of course. Pour heaps of it over fluffy, buttery mashed potatoes—it’s practically a requirement. And don’t forget your stuffing or dressing, which just soaks up all that goodness. I also love using extra gravy as a quick dipping sauce for leftover turkey slices or slathered across warm biscuits. It instantly transforms any plate into the pinnacle of comfort food gravy sides!
Frequently Asked Questions About Turkey Gravy
Because making the world’s best turkey gravy should feel easy, not stressful, I’ve gathered a few things folks always ask me after they try this method. It’s all about building that confidence in the kitchen, so ask away! We want your holiday meal to be seamless, and usually, a quick Q&A solves any last-minute worries about consistency or ingredients.
Can I make this Easy Thanksgiving Gravy ahead of time?
Yes, absolutely! That’s one of the biggest perks of this recipe. You can definitely make your easy Thanksgiving gravy a day or two ahead of time. Just cool it completely, cover it well, and pop it in the fridge. When you reheat it, just plan on whisking in a little extra warm stock—maybe a splash at a time—until it loosens up back into that perfect pouring texture. It reheats beautifully!
How do I fix turkey gravy that is too thin?
If your turkey gravy decides it wants to be more broth than sauce, don’t sweat it! The best solution is creating a simple slurry. Take just one tablespoon of flour—or cornstarch if you prefer—and mix it very well with two tablespoons of cold water until it’s totally smooth. Whisk that little mixture right into your barely simmering gravy until it thickens up to that beautiful consistency we aim for. It fixes almost any thinning issue instantly!
What if I don’t have enough pan drippings for my turkey gravy?
This is the most common question, and the answer is simple: swap them out! For the fat portion of the roux, if you only have a quarter cup of drippings, use a quarter cup of good unsalted butter to make up the difference to reach that half-cup requirement. You’ll find tons of great advice, including using bouillon cubes when you don’t have drippings, over at Diethood. Just remember that when you use butter, you are replacing fat, so don’t forget to add extra seasonings like a dash of Worcestershire to keep that savory depth in your final sauce!
If you tried out our beginner turkey gravy tutorial and loved the results, don’t forget to check out the official terms of use right here: Terms of Use so you know all the site rules!
Share Your Perfect Pourable Turkey Gravy Results
I truly hope this recipe takes the stress right out of your holiday cooking. This turkey gravy is one of my greatest joys to teach because it proves that simple ingredients can create the most unbelievable comfort on a plate! So, hit that star rating system right below this—I’d absolutely love to know how you found the steps for the beginner turkey gravy tutorial.
More than just the stars, I want to hear the details! Did you serve this over stuffing, maybe on biscuits, or did you just stand over the mashed potatoes and eat it with a spoon? Let me know in the comments below what you paired your perfect pourable gravy consistency with. Happy cooking, everyone, and please come back and tell me how it went!
PrintFoolproof Turkey Gravy From Drippings: Smooth and Rich

Make the best homemade turkey gravy using pan drippings for a rich, savory flavor. This recipe guarantees a silky, lump-free texture perfect for your holiday meal.
- Prep Time: 10 min
- Cook Time: 20 min
- Total Time: 30 min
- Yield: 4 servings 1x
- Category: Side Dish
- Method: Stovetop
- Cuisine: American
- Diet: Vegetarian
Ingredients
- 1/2 cup turkey pan drippings (or use butter if drippings are scarce)
- 1/2 cup all-purpose flour
- 4 cups turkey or chicken stock, warm
- 1 teaspoon salt, or to taste
- 1/2 teaspoon black pepper, or to taste
- Optional: 1/4 cup dry white wine or sherry
Instructions
- Collect the turkey drippings from the roasting pan. Measure out 1/2 cup of the fat and drippings; set aside any remaining liquid or solids for later if needed.
- Place the roasting pan (or a separate saucepan) over medium heat. Add the 1/2 cup of reserved drippings/fat.
- Whisk the 1/2 cup of flour into the hot fat. Cook this roux, stirring constantly, for 2 to 3 minutes until it forms a smooth paste and smells slightly nutty. This step cooks out the raw flour taste.
- If using wine, pour it in now and whisk until it is fully absorbed by the roux, scraping up any browned bits from the bottom of the pan.
- Slowly pour in 1 cup of the warm stock while whisking vigorously to prevent lumps. Continue whisking until the mixture is smooth.
- Gradually whisk in the remaining 3 cups of warm stock until fully incorporated.
- Bring the gravy to a simmer, stirring often. Reduce the heat to low and let it simmer for 5 to 10 minutes, or until the gravy thickens to your desired consistency.
- Taste the gravy. Stir in salt and pepper as needed. If the gravy is too thick, whisk in a little more warm stock. If it is too thin, create a slurry by mixing 1 tablespoon of flour with 2 tablespoons of cold water, then whisk this into the simmering gravy until thickened.
- Strain the gravy through a fine-mesh sieve into a clean saucepan or gravy boat to ensure a perfectly silky smooth texture. Serve hot.
Notes
- If you do not have enough drippings, substitute the missing amount with unsalted butter to maintain the 1/2 cup fat measurement for the roux.
- For extra flavor, add 1 teaspoon of poultry seasoning or a splash of Worcestershire sauce during the simmering stage.
- To make ahead, cool the gravy completely, cover, and refrigerate for up to 3 days. Reheat gently on the stovetop, whisking in a little extra stock if it thickens too much upon cooling.
Nutrition
- Serving Size: 1/2 cup
- Calories: 150
- Sugar: 1
- Sodium: 450
- Fat: 10
- Saturated Fat: 4
- Unsaturated Fat: 6
- Trans Fat: 0
- Carbohydrates: 12
- Fiber: 0
- Protein: 4
- Cholesterol: 15