
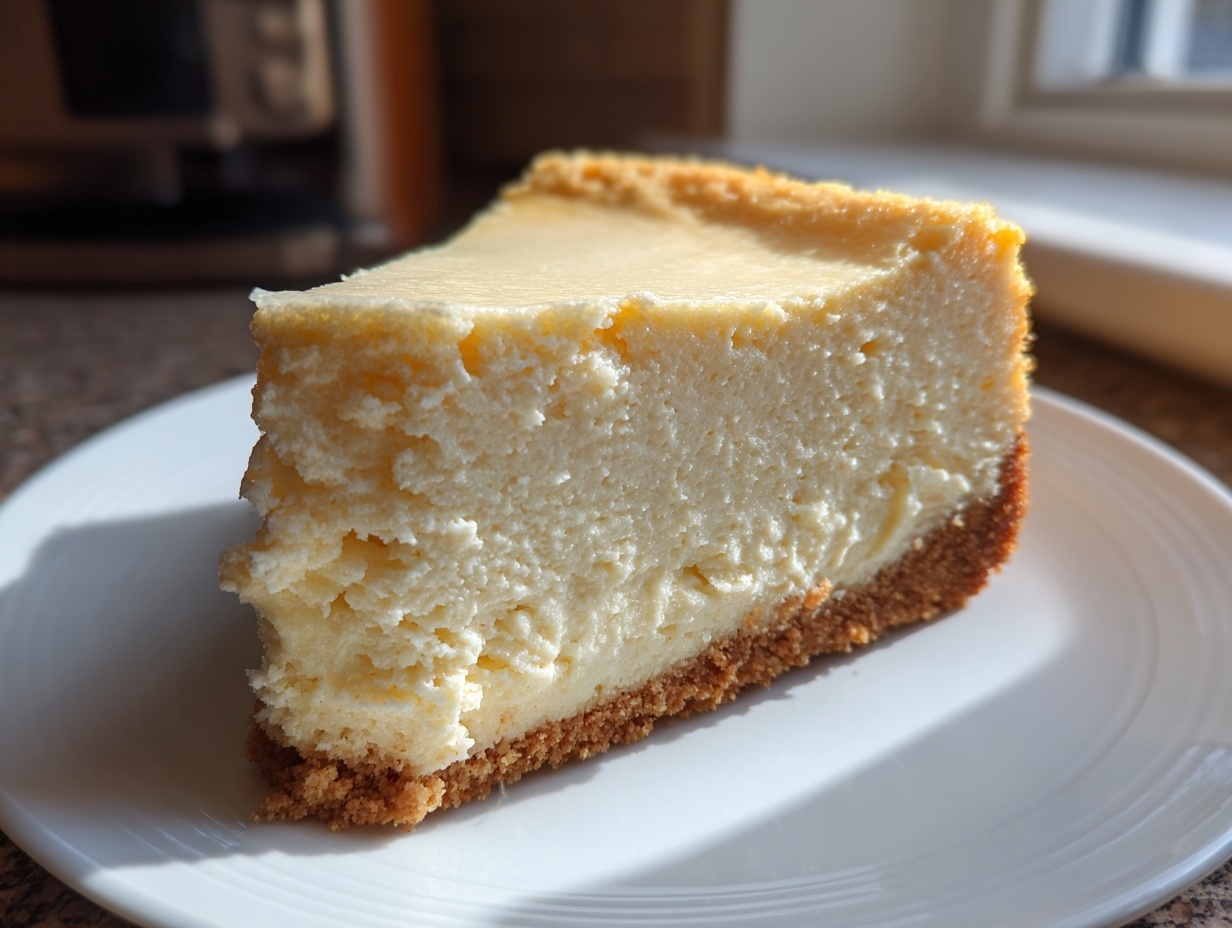
Oh, friends, if you think you’ve tasted decadence, wait until you meet this dessert. Sometimes, you just crave something incredibly rich, something that screams celebration, and for me, that is always a perfect white chocolate cheesecake. Forget those dense, overly sweet versions you might have tried! My promise to you today, straight from my home kitchen to yours, is that this guide is the only one you’ll ever need to master the art of the seamless, utterly smooth, and beautifully crack-free baked white chocolate cheesecake.
I remember the first time I tried to bake one—it cracked so badly I nearly cried! But after endless testing, figuring out the rhythm of the oven and the crucial cooling process, I cracked the code. Trust me, achieving that creamy perfection everyone dreams about is totally achievable. We’re going to get you there together. Don’t forget to check out my recipe for homemade classic lemonade if you need a bright palate cleanser after indulging!
- Why This Is the Best white chocolate cheesecake Recipe You Will Make
- Ingredients for Your Perfect white chocolate cheesecake
- How to Prepare the Perfect white chocolate cheesecake
- Tips for Achieving a Crack-Free white chocolate cheesecake
- Serving Suggestions for Your Decadent white chocolate dessert
- Storage and Make-Ahead Tips for white chocolate cheesecake
- Variations on the Classic white chocolate cheesecake
- Frequently Asked Questions About Making white chocolate cheesecake
Why This Is the Best white chocolate cheesecake Recipe You Will Make
When you’re making a dessert this luxurious, you need reliability, right? I hear you! This recipe isn’t just something I whipped up once; it’s been tested through holiday dinners and birthday parties to ensure it performs beautifully every single time. It’s designed for maximum decadence while remaining totally trustworthy for the home baker.
- Guaranteed smooth, velvety filling—no lumps allowed!
- The sweetness of the white chocolate is perfectly balanced so it never tastes cloying.
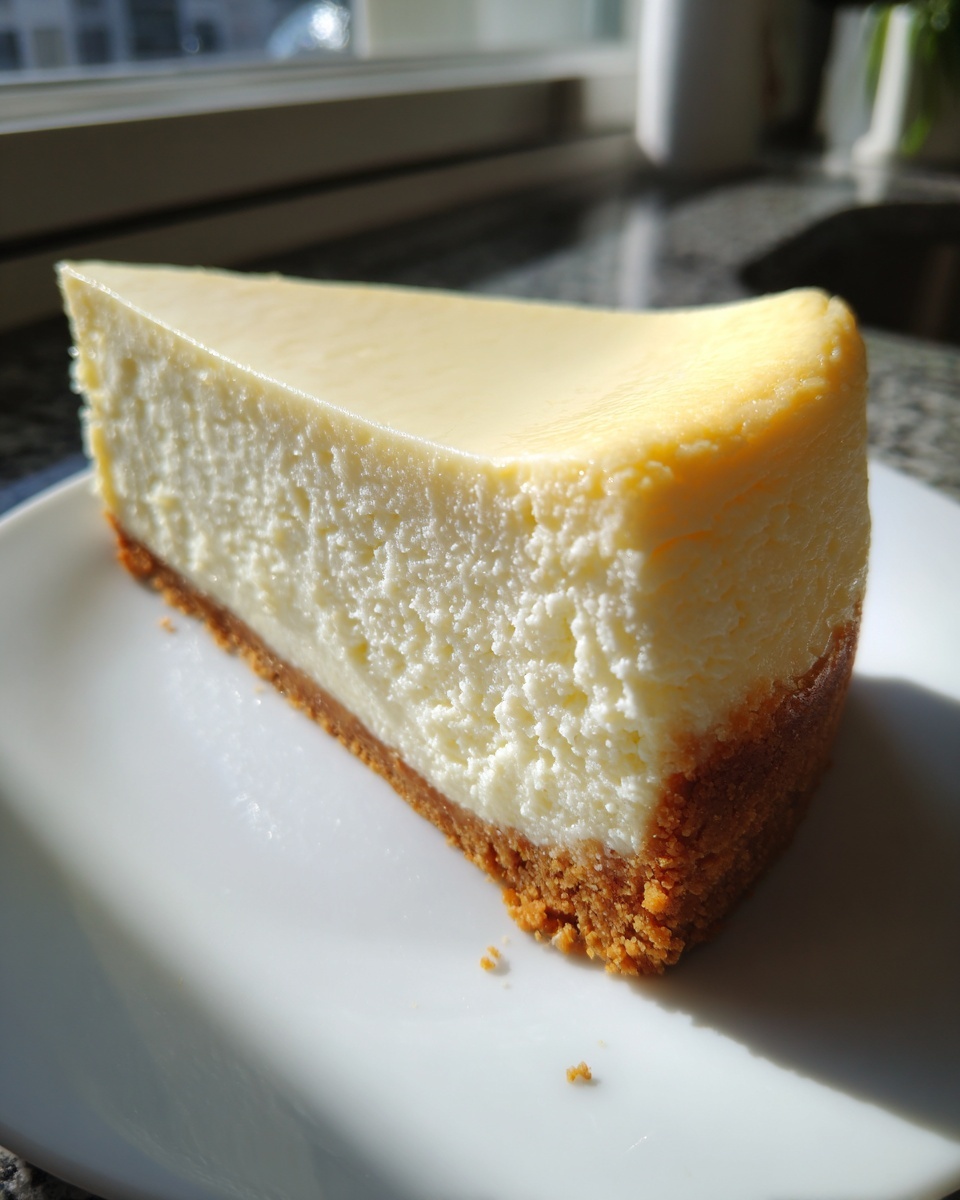
- We stick to that classic, buttery graham cracker crust that just *works*.
I’ve spent years getting this right so hopefully, you only have to bake it once to call it your signature recipe. It’s truly a gourmet white chocolate dessert idea that looks hard but isn’t!
Key Success Factors for a Creamy white chocolate cheesecake
I know it seems fussy, but these three things are non-negotiable if you want that flawless, creamy white chocolate filling. First, make sure your dairy—the cream cheese and eggs—are truly at room temperature. Cold ingredients don’t blend right!
Second, you absolutely must use that water bath we talk about later. It keeps the bake gentle. And finally, the slow cooling inside the turned-off oven is my secret for trust—it stops the rapid temperature drop that causes everyone’s favorite issue: the dreaded crack. Follow these, and you’ll have a perfect white chocolate cheesecake crust to bottom it!
Ingredients for Your Perfect white chocolate cheesecake
Okay, let’s talk components! When you’re making something this rich, you can’t just throw things in—we need precise measurements for this decadent white chocolate dessert. Don’t worry, it’s all standard stuff. You’ll need one and a half cups of graham cracker crumbs for our base, and six tablespoons of melted butter to bind it all up. For the gorgeous filling, we’re using a full three (8 ounce) packages of cream cheese, softened please!
Then we mix in one and a half cups of sugar, a teaspoon of vanilla extract, and just a pinch of salt to wake everything up. For real creaminess, we fold in four large eggs—room temperature, remember—one cup of heavy cream later on, and the star: 8 ounces of genuinely good quality white chocolate, melted down gently.
Ingredient Notes and Substitutions for white chocolate cheesecake
Listen, the white chocolate quality really matters here. Don’t grab the cheap stuff hiding a ton of stabilizers; you want a white chocolate that melts into something luscious. Look for one with real cocoa butter content. That melts better and tastes infinitely better in your creamy white chocolate filling.
And I touched on it before, but let me stress this: everything cold needs a good 30 minutes on the counter. Cold eggs plus room-temp cream cheese equals lumps! If you aren’t feeling graham crackers, I’ve tested this recipe successfully using shortbread cookie crumbs or even crushed Oreos for a chocolatey twist. They all form a perfect white chocolate cheesecake crust, just adjust that initial 10-minute bake time if the cookies are finer.
Oh, and if you’re looking for other simple baked goods ideas while you’re waiting for the cream cheese to soften, you have to see my recipe for easy condensed milk bread. It’s a lifesaver!
How to Prepare the Perfect white chocolate cheesecake
This is where the magic happens, and honestly, where most people get nervous. But don’t you fret! We are following a very clear roadmap here. First thing: get your oven preheated to 325°F. While that’s warming up, grab your 9-inch springform pan—this is important—and wrap the outside of it completely, really well, with heavy-duty aluminum foil. We need to protect it from bath time!
Next, let’s press that crust in firmly after mixing the crumbs, sugar, and melted butter. Give it 10 minutes in the oven just to set, then pull it out to cool down a touch. Now for the filling! Beat that beautiful smooth cream cheese, then add the sugar, vanilla, and salt—just mix it until it’s *barely* combined. Don’t let it get fluffy!
Beat in your room-temperature eggs one at a time, stopping after each one. Then, slowly introduce the heavy cream and that slightly cooled, melted white chocolate. Pour that gorgeous batter over your cooled crust. Now, be gentle; pour it into your roasting pan, then carefully add your hot water for the bath.
Bake this beauty for about 60 to 75 minutes. You’re looking for set edges but a slight jiggle right in the center—that means it’s just cooked. After that time, turn the oven off, prop the door open about two inches, and just leave it in there for a full hour. This is the secret to avoiding those awful cracks! Seriously, check out my guide on New York Cheesecake—the cooling process is similar! After that hour, let it cool on the counter, and then it’s rigid chilling time—at least 6 hours, but preferably overnight.
Mastering the water bath technique for a smooth cheesecake texture
The water bath, or bain-marie, is your best friend when making any baked white chocolate cheesecake. Why? Because cheesecake filling is mostly eggs and dairy, and it cooks best when it’s steamed gently, not blasted with dry oven heat. If the heat rises too quickly, the edges cook faster than the center, and boom—you get cracks!
To set this up, once your foil-wrapped springform pan is sitting in the big roasting pan, use a kettle to pour hot water into the roasting pan. You want the water line to come about halfway up the sides of the springform pan. This creates a humid environment that cooks everything evenly and keeps that filling texture unbelievably smooth. And remember that slow cool-down inside the turned-off oven? That gradual temperature drop is just as important as the bath itself for stopping surface blemishes.
Tips for Achieving a Crack-Free white chocolate cheesecake
Okay, let’s talk about the monster under the culinary bed: cracks! Honestly, it’s the number one reason people shy away from making a beautiful baked white chocolate cheesecake. But I’m telling you, it’s almost always down to two things we’ve already mentioned, just needing a little extra attention now.
We talked about not overbeating once those eggs go in. If you mix too aggressively after adding the eggs, you whip air into the batter, and when that air tries to escape during baking or cooling, it pulls the top surface apart. Stop mixing the second everything looks uniform. Remember, that melted white chocolate needs a moment to incorporate without whipping in air!
The other huge factor is rapid temperature change. That’s why the gentle water bath and the hour-long cool-down *inside* the turned-off oven are keys to success. We are easing that cake down from 325°F to room temperature slowly. It keeps every particle relaxed and smooth.
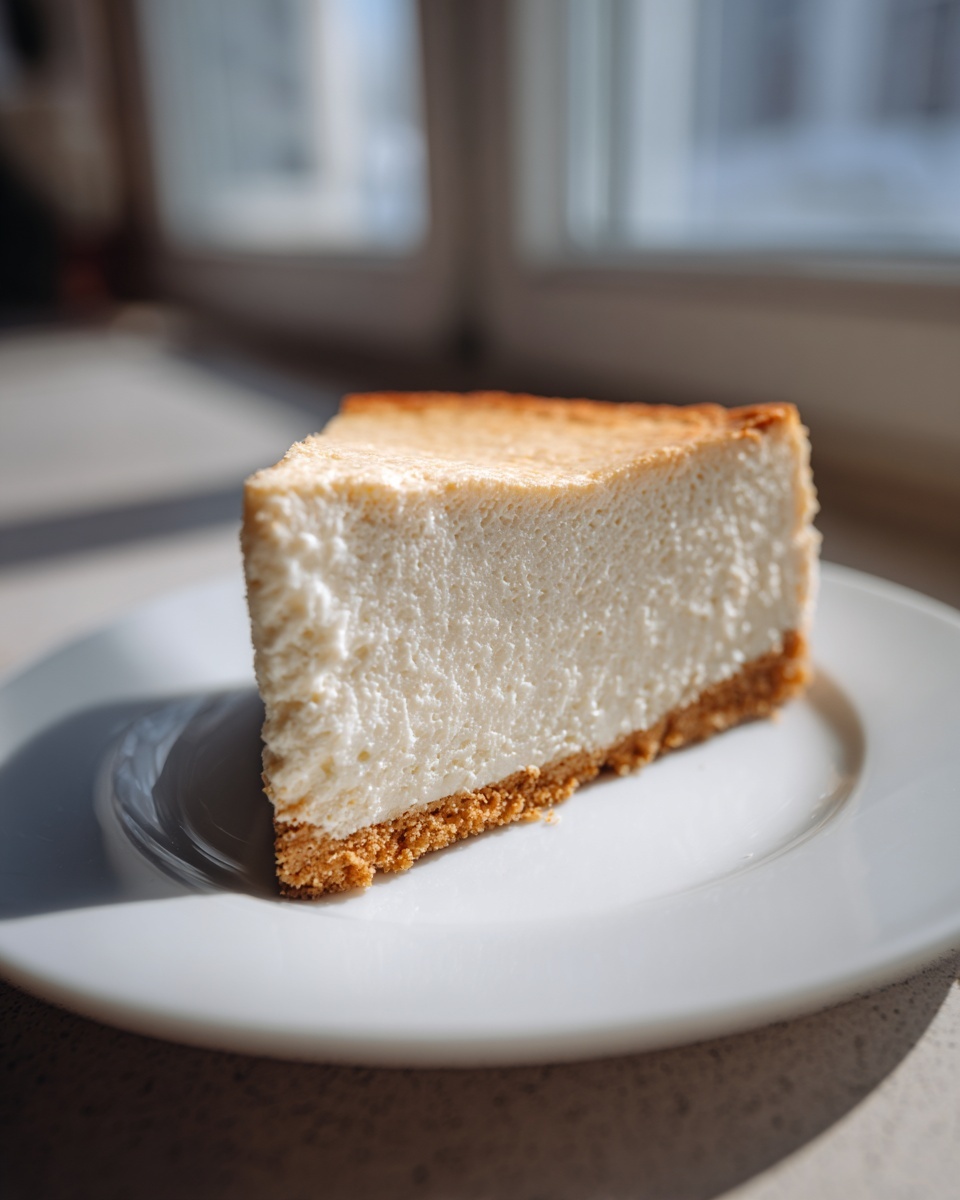
My absolute favorite expert tip for checking doneness, which you’ll see in the instructions, is that wobble test. When you gently nudge the edge of your springform pan, the outside shouldn’t move, but the center two inches should still look a little soft, like panna cotta—it should wobble slightly in the middle. If it’s solid, you’ve probably overbaked it, and you risk a dry center rather than that amazing smooth cheesecake texture we are aiming for. If it wobbles too much, give it five more minutes. It’s all about trusting that slight movement!
If you want to see a technique that intentionally embraces a cracked top (for contrast!), you need to look at my guide on Basque cheesecake. But for this creamy version, gentle handling is everything.
Serving Suggestions for Your Decadent white chocolate dessert
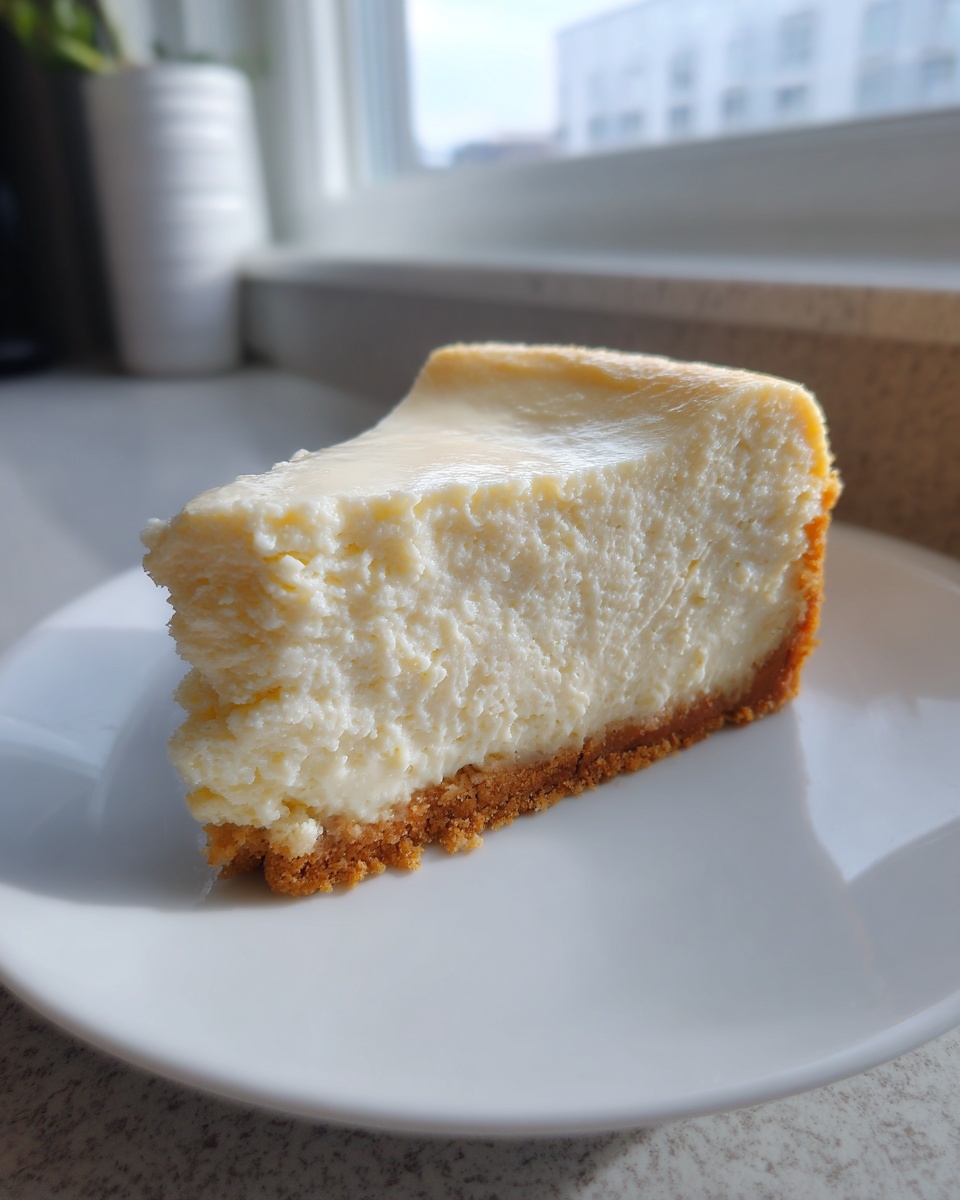
Alright, the hard part is over! You’ve baked it, you’ve chilled it until it’s perfect, and now you get to the really fun part: making it look as incredible as it tastes. This is where you turn a standard slice of cheesecake into that show-stopping rich white chocolate dessert worthy of a magazine cover. Honestly, this white chocolate cheesecake is so flavorful on its own, you don’t need much fuss!
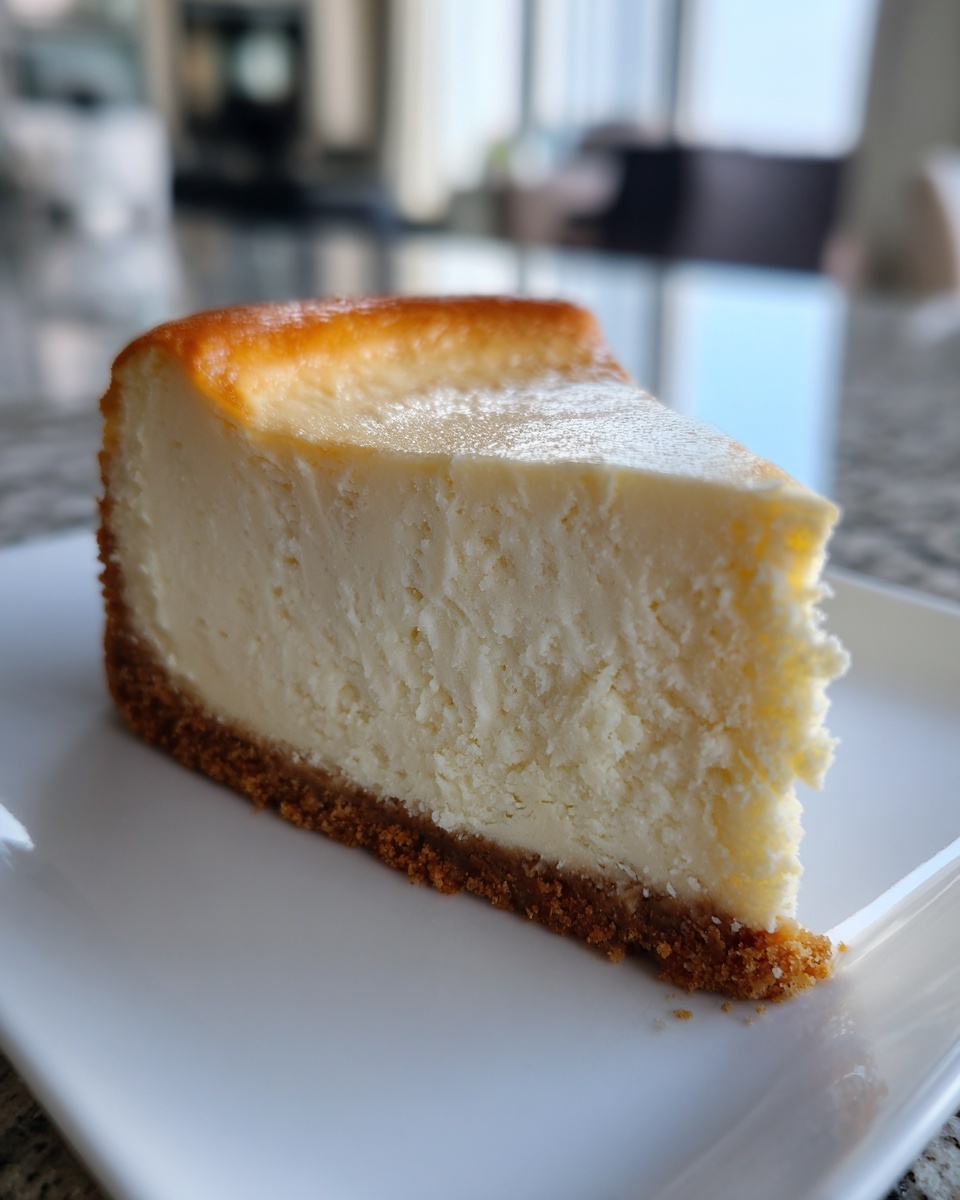
My go-to presentation is always simple elegance. A light dusting of powdered sugar is classic, but if you want a little more texture, grab some white chocolate and use a vegetable peeler across the top to create delicate shavings. They melt just slightly on contact with the cool cake, making for an amazing initial bite.
If you’re looking to introduce a color contrast, you simply must try pairing it with tart fruit. A quick homemade raspberry coulis is perfect. It cuts through the richness so beautifully! I actually have a fantastic process for making a white chocolate raspberry cake that you can adapt the topping from. The bright red against that creamy white is just stunning, which is why it’s such a great holiday white chocolate cheesecake option.
For coffee lovers, try sprinkling a touch of finely ground espresso beans around the perimeter right before serving. It’s subtle but adds a gorgeous earthy note that complements the subtle vanilla tones in our creamy filling. Remember, presentation is just another way of showing love to the people you’re feeding!
Storage and Make-Ahead Tips for white chocolate cheesecake
One of the best things about a beautiful white chocolate cheesecake is that it’s practically designed to be made ahead of time! That long chilling period we talked about isn’t just for setting; it’s actually when the flavors marry up and the texture becomes utterly sublime. This means less stress on the big day!
Once your cheesecake is fully chilled—and I mean totally firm, at least 6 hours, but overnight is best—you can finally release it from the springform pan. Don’t try to take the ring off while it’s still room temperature, or you risk having the sides weep beautifully all over your clean counter. Wait until it’s refrigerator-cold before attempting the release.
For general storage, cover the platter or the base of the pan tightly with plastic wrap (make sure the wrap doesn’t touch the top surface if you added a delicate topping). It keeps beautifully in the fridge for about 4 to 5 days. It’s such a great dessert recipe for parties because you can literally make it on Wednesday for a Saturday gathering!
Now, can you freeze it? Yes, you absolutely can! If you plan to freeze it, I recommend doing so before you add any perishable toppings. Slice it first—this is crucial for easy serving later—and place those slices on a baking sheet to flash freeze for about two hours until solid. Once they’re hard little discs, transfer them to an airtight, freezer-safe container layered between parchment paper. It keeps well for about one month. When you want one, just pull a slice out and let it thaw slowly in the fridge for several hours.
If you’re looking for another great make-ahead party dessert that doesn’t require an oven, you really should check out my recipe for easy no-bake ice cream cake. Sometimes you just need a break from the oven, even when dealing with something as lovely as cheesecake!
Variations on the Classic white chocolate cheesecake
This base recipe for a creamy, perfect white chocolate cheesecake is seriously foolproof, which means it’s just begging for you to start experimenting! Honestly, once you nail the smooth texture, it feels like a culinary superpower, and you can start switching things up. These are my favorite, super simple ways to customize it without messing up the structure we worked so hard to achieve.
You don’t need a whole new recipe—just a few thoughtful additions can transform this into something entirely new. I love making batch variations for parties so everyone gets a slice of their favorite flavor profile. It’s a fun way to keep your baking exciting!
Switching Up the Crust for a Different Base Flavor
We used a classic graham cracker crust, which is reliable, but there are so many delicious alternatives if you want to lean into a different theme for your white chocolate dessert recipes for parties. If you want something a bit richer and buttery, try swapping those graham crumbs for finely crushed shortbread cookies. Be gentle pressing them into the pan; shortbread has more fat and sets up wonderfully.
For a very decadent, deep chocolate vibe—perfect if you are making this into a holiday white chocolate cheesecake—just use crushed Oreo cookies (filling and all!) in place of the graham crackers. The slight saltiness of the dark chocolate contrasts amazingly with the sweet, pure white chocolate filling without requiring you to change the filling ingredients at all. Just make sure to use the same amount of melted butter to bind your substitute crumbs!
Adding Zest and Tang for Balance
White chocolate is sweet, and sometimes, you just need that little bit of acidic *zing* to keep things lively! My number one technique here is adding citrus zest right into the filling mixture along with the vanilla extract. Fresh lemon zest, about one tablespoon worth, is divine—it brightens up the whole flavor profile without tasting like lemon pie. It plays so nicely with the vanilla.
Another fantastic addition, especially if you enjoy tart fruit, is swirl. I developed a full recipe for a white chocolate raspberry cheesecake, but for a simpler approach, just make a very thick raspberry sauce. Once you pour your cheesecake batter into the prepared crust, dollop spoonfuls of that thick sauce on top and use a knife to gently swirl it in about an inch deep. Don’t over-swirl, or you’ll muddy the colors, but a few artistic turns make for a gorgeous presentation and excellent flavor contrast!
Nutty Enhancements and Toppings
If you want to add crunch, nuts are the perfect answer! Toasted nuts add texture that simple creamy cheesecake filling really needs. My favorite addition for a bit of textural heaven is toasted macadamia nuts. They have a naturally buttery, slightly sweet flavor that really complements the white chocolate.
When adding nuts, I suggest chopping them finely—about 1/2 cup total—and folding them into the batter right at the end, just before you pour it into the pan. They need to be small enough not to interfere with the smooth texture, but big enough to give you a satisfying bite. If you prefer a topping that you add only after baking and chilling, try scattering toasted and lightly salted chopped pecans or slivered almonds over the top right before you serve it. The saltiness always enhances the sweet richness of a rich white chocolate dessert idea!
Frequently Asked Questions About Making white chocolate cheesecake
I know diving into a new recipe, especially one as delicate as cheesecake, brings out a ton of questions! I’ve done my best to answer the common ones here so you feel totally ready to tackle this white chocolate cheesecake project. Don’t hesitate to jump in; the only way to learn is by doing (and asking questions)!
Can I skip the water bath for this baked white chocolate cheesecake?
Honestly, skipping the water bath is the quickest way to get those dreaded cracks! I strongly advise against it if you are after that smooth cheesecake texture. The water bath creates steam, which gently cooks the custard filling evenly. If you bake it dry, the edges cook too fast while the center struggles, leading to tough spots and surface collapse when it cools. It’s worth the extra step—I promise!
What is the best white chocolate to use for the creamiest filling?
This is so important for a truly decadent white chocolate dessert. You need high-quality white chocolate that lists cocoa butter as a main ingredient, not just vegetable oil. Look for brands like Ghirardelli, Lindt, or Valrhona if you can find them. Avoid waxy baking chips if possible; they won’t melt into that luscious, smooth texture we are aiming for in this easy white chocolate cheesecake filling.
How do I know when the baked white chocolate cheesecake is done?
This is where most bakers panic, but I covered this trick in detail! You are aiming for doneness when the outer edges (about two inches in) look set, but the very center still has a visible, slight wobble when you gently nudge the pan. If you wait until it looks fully set, it will be overbaked by the time it cools. Remember that wobble means perfect doneness for a creamy white chocolate filling!
Can I use a different crust besides graham cracker?
Absolutely! If you love a richer flavor, consider making a simple fudge recipe inspired crust out of crushed shortbread cookies or even chocolate wafers. Just use the same amount of melted butter to bind the crumbs together. It makes for a fantastic alternative crust for your white chocolate cheesecake!
PrintCreamy Baked White Chocolate Cheesecake
Follow this guide to make a rich, smooth baked white chocolate cheesecake with a classic graham cracker crust. This recipe focuses on achieving a creamy texture without cracks.
- Prep Time: 25 min
- Cook Time: 75 min
- Total Time: 100 min
- Yield: 12 servings 1x
- Category: Dessert
- Method: Baking
- Cuisine: American
- Diet: Vegetarian
Ingredients
- 1 1/2 cups graham cracker crumbs
- 1/4 cup granulated sugar
- 6 tablespoons unsalted butter, melted
- 3 (8 ounce) packages cream cheese, softened
- 1 1/2 cups granulated sugar
- 1 teaspoon vanilla extract
- 1/4 teaspoon salt
- 4 large eggs, room temperature
- 1 cup heavy cream
- 8 ounces high-quality white chocolate, melted and slightly cooled
Instructions
- Preheat your oven to 325 degrees F. Wrap the outside of a 9-inch springform pan tightly with heavy-duty aluminum foil.
- Prepare the crust: Mix graham cracker crumbs, 1/4 cup sugar, and melted butter until combined. Press the mixture firmly into the bottom of the prepared springform pan. Bake for 10 minutes. Remove and let cool slightly.
- Prepare the filling: In a large bowl, beat the softened cream cheese with an electric mixer until smooth. Scrape down the sides.
- Add 1 1/2 cups sugar, vanilla extract, and salt. Beat until just combined. Do not overmix.
- Beat in the eggs one at a time, mixing only until each egg is incorporated.
- Slowly mix in the heavy cream and the cooled, melted white chocolate until the batter is uniform.
- Pour the filling over the cooled crust.
- Create a water bath: Place the foil-wrapped springform pan into a larger roasting pan. Carefully pour hot water into the roasting pan until the water reaches halfway up the sides of the springform pan.
- Bake for 60 to 75 minutes. The edges should look set, but the center 2 inches should still wobble slightly when gently nudged.
- Turn off the oven. Prop the oven door open slightly (about 2 inches) and let the cheesecake cool inside the oven for 1 hour. This gradual cooling prevents cracking.
- Remove the cheesecake from the water bath and foil. Let it cool completely on a wire rack.
- Chill the cheesecake in the refrigerator for at least 6 hours, or preferably overnight, before serving.
Notes
- For a smooth cheesecake texture, ensure your cream cheese and eggs are at room temperature before starting.
- To prevent cracks, avoid overbeating the batter once the eggs are added, as this incorporates too much air.
- If you prefer a different crust, substitute shortbread crumbs or crushed Oreos for the graham crackers.
Nutrition
- Serving Size: 1 slice
- Calories: 450
- Sugar: 35
- Sodium: 250
- Fat: 30
- Saturated Fat: 18
- Unsaturated Fat: 10
- Trans Fat: 0.5
- Carbohydrates: 40
- Fiber: 1
- Protein: 8
- Cholesterol: 120