
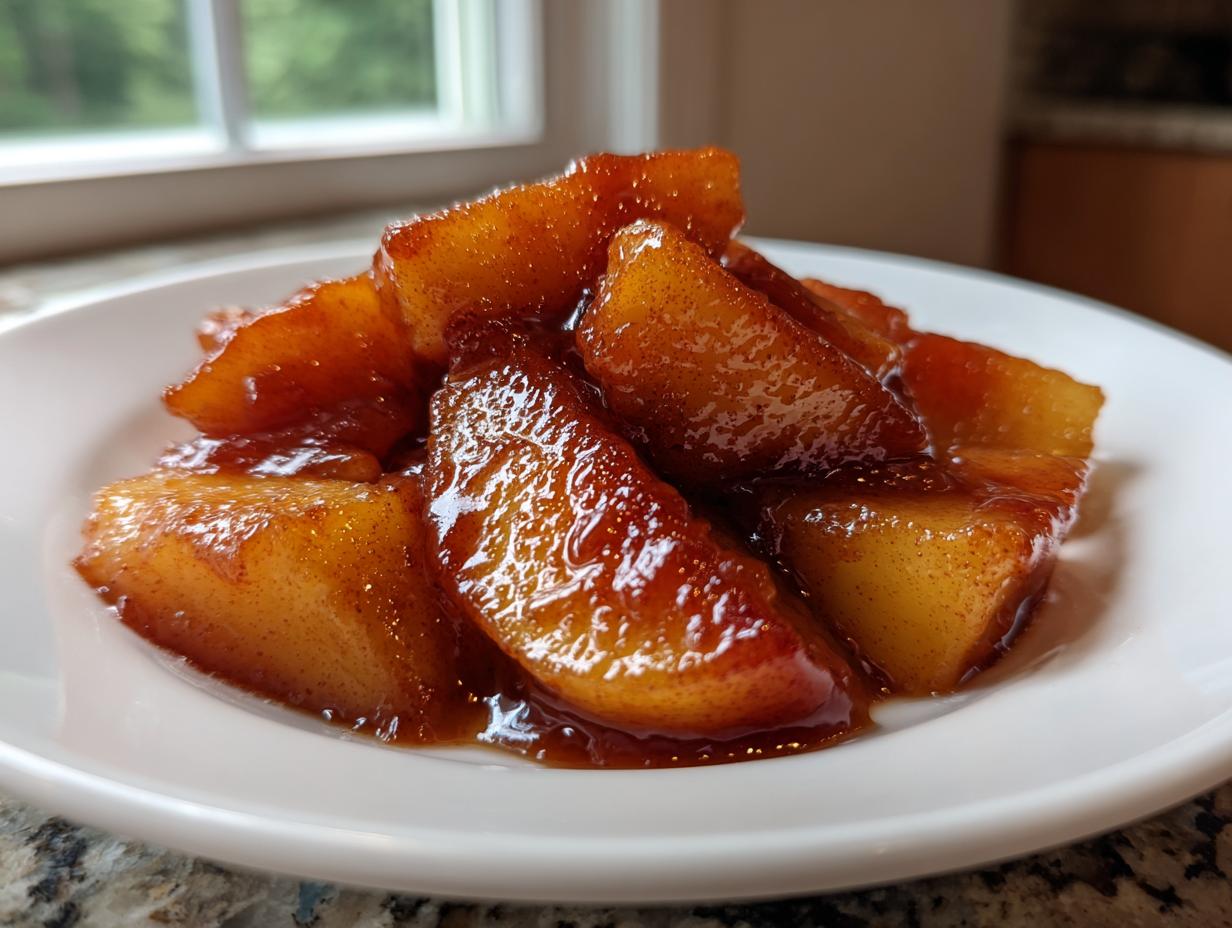
Oh, the horror! You’re finally ready to bake that perfect autumn pie, and when you cut into it—surprise!—you find a sad, watery puddle instead of that thick, luscious filling you dreamed of. Trust me, I’ve been there, and that’s why I spent ages perfecting this one single component of the season’s best desserts. Forget spending half your evening peeling and waiting; this is the absolute Best Quick & Easy Stovetop Apple Pie Filling you’ll ever make, guaranteed to thicken up beautifully. Here at Cooking Zenith, founder Aria Thompson is all about foolproof methods for the home cook, and this recipe completely removes the fear of runny centers. When you master this quick apple pie filling, you unlock dessert confidence! Check out my recipe for Apple Fritter Bread for another great way to use those baking apples!
- Why This Quick Apple Pie Filling Recipe Works So Well
- Gathering Ingredients for Your Homemade Apple Pie Filling
- How to Make Stovetop Apple Pie Filling Step-by-Step
- Baking Apple Filling Guide: Flavor Profile and Spice Balance
- Versatility: Using Your Apple Pie Filling for More Than Pies
- Make Ahead Apple Filling and Storage Tips
- Frequently Asked Questions About Apple Filling for Pies
- Estimated Nutritional Data for Apple Pie Filling
- Share Your Best Apple Pie Filling Creations
Why This Quick Apple Pie Filling Recipe Works So Well
I know what you’re thinking: how can a filling be done that fast? Honestly, the stovetop method is a game-changer! We’re talking about getting that deep, gorgeous flavor, the perfect spice profile, and apples that are tender-crisp—not mushy—in about ten minutes of actual cooking time. This isn’t some slow-simmered affair meant for a lazy Sunday. This Quick Apple Pie Filling Recipe is designed for when you need that cozy fall flavor tonight.
The secret that builds my trust with you on every recipe is structure. We aren’t relying on a long bake time to thicken things up; we use cornstarch controlled right here on the stovetop. This means zero evaporation, locking in moisture and spices precisely where they belong. Plus, when you’re done, you can whip up my Crispy Apple Fritters while the main filling cools! It’s all about efficiency!
And the flavor? Wow. We hit every note: sweet from the brown sugar, just enough tartness from the apples, and that classic warm spice blend. If you ever need a fun, non-baking use for this flavor base, try mixing it into my Apple Cider Mule for a festive fall drink!
Gathering Ingredients for Your Homemade Apple Pie Filling
Putting together this filling is so straightforward, it feels like cheating! You only need a handful of pantry staples, but those staples are chosen specifically to deliver that rich, non-watery result we’re aiming for. We need about six medium apples—and please make sure you peel, core, and slice these about a quarter-inch thick. Don’t cut them too thin or they will disappear!
For the sweet/spice mix, we use a blend of brown and white sugar, salt, and the holy trinity of spices: cinnamon, nutmeg, and allspice. But the real MVP for texture in this Homemade Apple Pie Filling is the cornstarch. It’s the quick-setting ingredient that keeps our sauce thick and glossy. And don’t forget the butter at the very end—that’s what makes it truly decadent!
Key Ingredient Notes and Substitutions
Choosing your apples is crucial for the best flavor. I always suggest a mix! Use tart apples like Granny Smith because they hold their shape well and provide a nice acidic counterpoint to the sugar. Then blend those with a sweeter apple, like Honeycrisp or Fuji. This sweet and tart balance prevents the filling from tasting flat.
Speaking of richness, that last step calls for just 2 tablespoons of unsalted butter stirred in off the heat. This creates that lovely, Buttery Apple Filling texture everyone loves. Now, about the cornstarch: If you happen to skip it—maybe you’re making this as a topping instead of a pie—just know your sauce will be thinner. It’s perfect over my Easy Honey Butter, but you’ll need a pie shield if you use it in a crust!
How to Make Stovetop Apple Pie Filling Step-by-Step
Okay, let’s get cooking! This is where the magic happens fast. Remember how I said speed was a benefit? Well, it’s all about stacking your ingredients correctly on the stovetop. You can use the instructions I laid out in the main recipe, but here’s the special rundown on the *why* behind the method.
First, before you even think about turning the heat on, you need to combine ALL your dry stuff—the sugars, the spices, and especially that cornstarch—in your saucepan. I mean really whisk them together until they look perfectly uniform. If you dump the cornstarch on top of apples alone, you risk getting little white lumps of unmixed starch floating around later. That’s a rookie mistake we are skipping! Next, toss in your apple slices and lemon juice and give it a gentle coat.
Now, turn the heat to medium. You need to cook this, stirring frequently, until the sugar is totally dissolved and you see the first tiny bubbles starting to form. This usually takes about 5 to 7 minutes. Keep that spoon moving, especially around the bottom and sides! Scorching is the enemy of good flavor, and since this stovetop method cooks fast, constant movement ensures every apple slice gets coated evenly and doesn’t burn onto the pan bottom. Keep stirring until that sauce looks noticeably thicker—we are aiming for that velvety gloss here.
Achieving No Watery Apple Pie Filling: The Thickening Secret
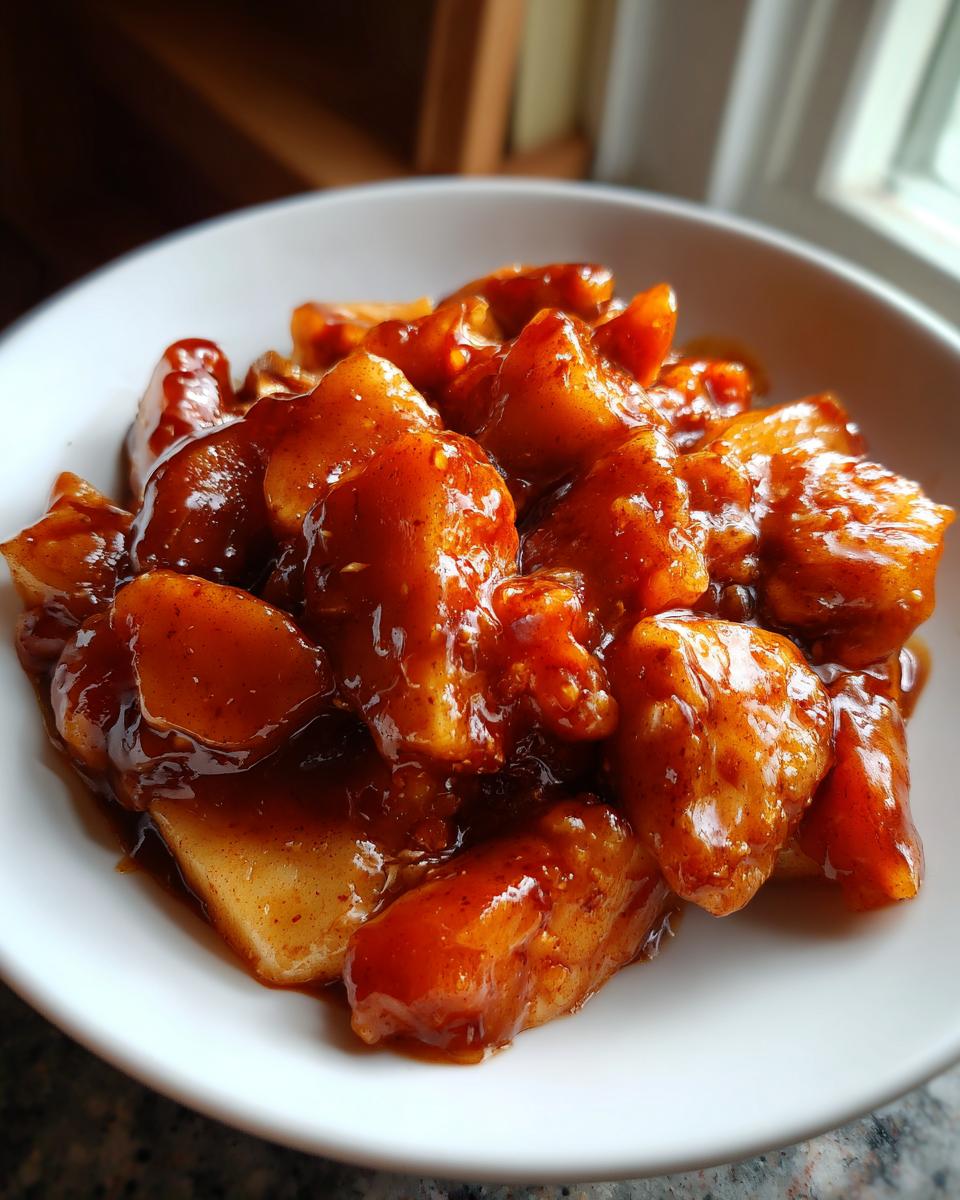
This is the step people rush, and that’s why they get soup instead of sauce in their pies. Once you see the mixture bubbling happily, you need to cook it for another two to three minutes, stirring constantly, until it seriously coats the back of your spoon. That means the cornstarch has fully activated and gelatinized. You don’t want raw cornstarch taste, but you absolutely need it active to give you that structure.
But the real non-negotiable tip for No Watery Apple Pie Filling happens *after* you stir in that final knob of butter off the heat—you have to let it cool completely! Seriously! If you immediately start rolling this warm filling into a cold pie crust, the temperature shock makes the sauce seize up weirdly, and it releases water as it cools in the oven. Let it rest on the counter until it’s just warm to the touch, or refrigerate it briefly. This cooling step sets the structure perfectly before it ever touches your pastry. For more tips on baking timing, check out my post on small batch cinnamon rolls!
If you want to see how others ace this quick method, take a peek at this recipe from a fellow home baker: 8-Minute Easy Apple Pie Filling.
Baking Apple Filling Guide: Flavor Profile and Spice Balance
If the texture is the backbone of a great filling, the spices are definitely its personality! This is where we move from basic cooked apples to that true, warm, comforting flavor we associate with fall baking. We are creating a deeply Spiced Apple Pie Filling here, and it relies on a trio that just sings together: cinnamon, nutmeg, and just a whisper of allspice.
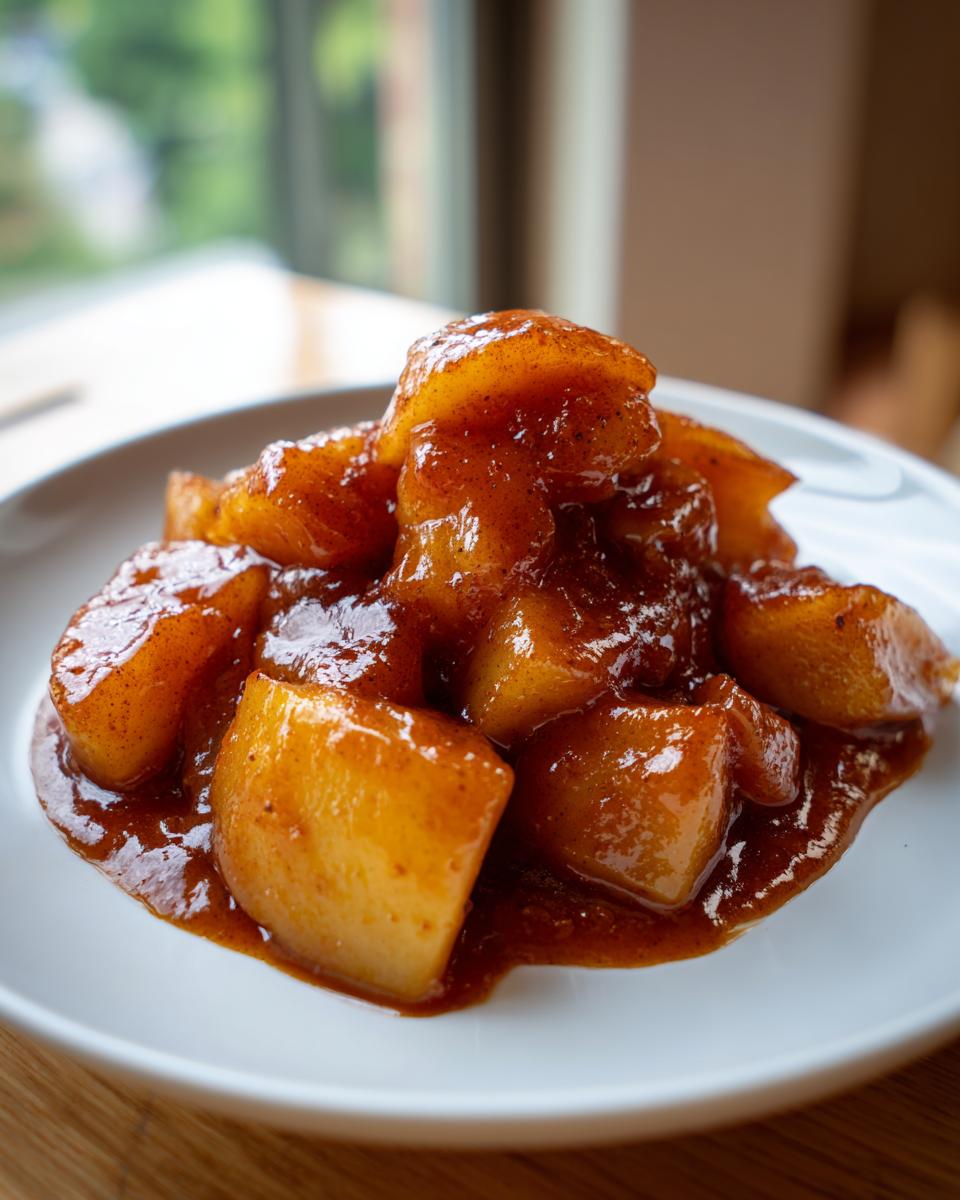
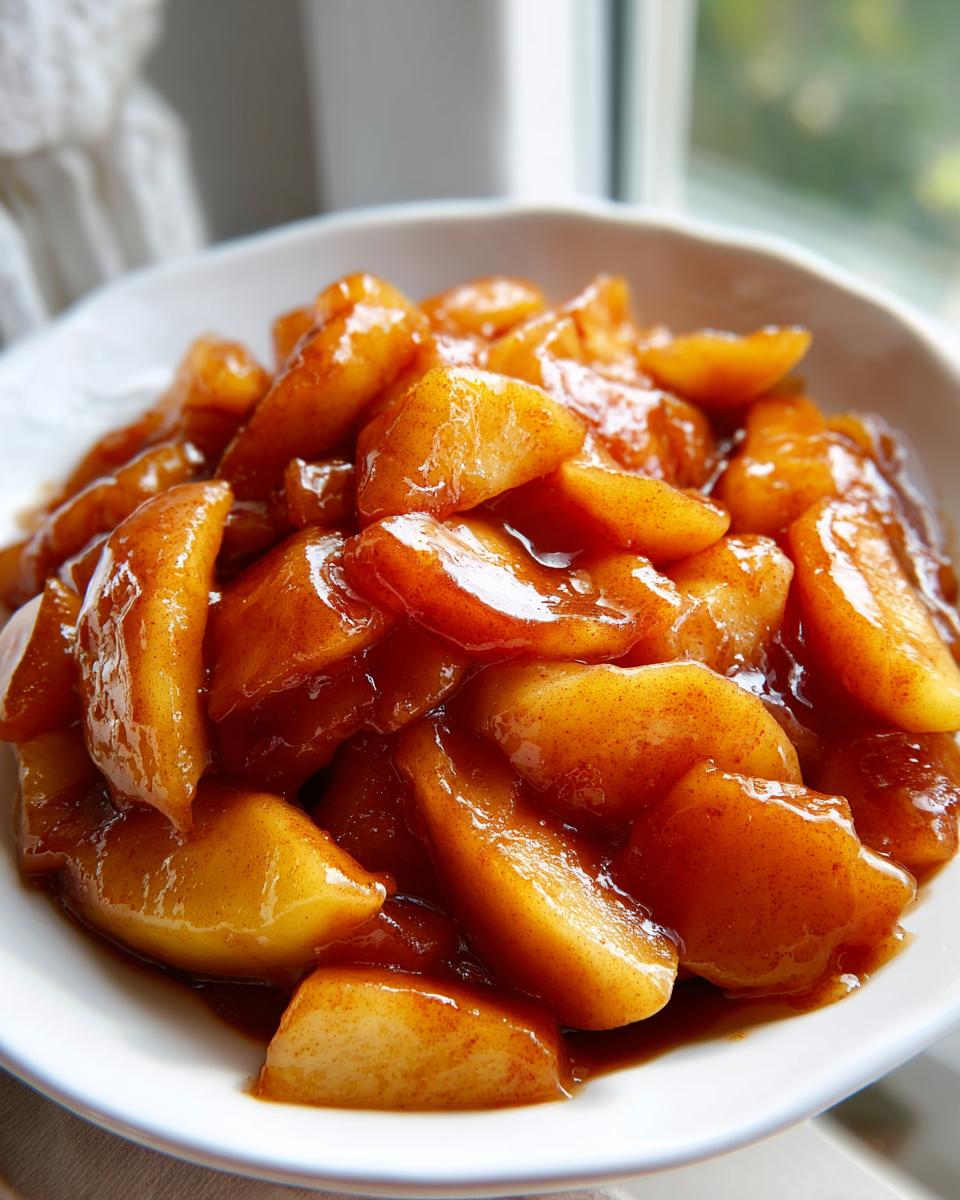
The cinnamon leads the way, of course—you can never have too much of that warm hug! But seriously pay attention to the color this recipe delivers. That rich, almost amber hue? That’s not the stove; that’s the dark brown sugar doing heavy lifting! Honestly, white sugar alone just gives you sweetness, but brown sugar brings molasses notes that deepen the whole profile. It really pairs so well with the tartness of the apples, creating a much more complex, caramelized background flavor than any simple syrup could manage.
I always feel like the allspice is the secret handshake in this blend; it adds a little mystery that makes people ask, “What is that warm flavor?” Try to resist adding extra spices until after you taste the cooled filling, though. Sometimes less is intensely more! If you love baking with citrus zest, these spices work beautifully in my Cranberry Orange Cookies, too.
If you want to see how others approach their flavor profiles, check out this one that mentions a secret grandma recipe for inspiration! Grandmas Secret Apple Pie Filling.
Versatility: Using Your Apple Pie Filling for More Than Pies
So, what happens if you don’t need a whole pie this week? Don’t panic about leftovers! This amazing apple pie filling is far too good to let sit sadly in the fridge until next holiday. Honestly, I find myself making a batch just so I can use it for other things throughout the week. It’s incredibly versatile, even if you skipped the cornstarch, which results in a naturally thinner sauce perfect for toppings!
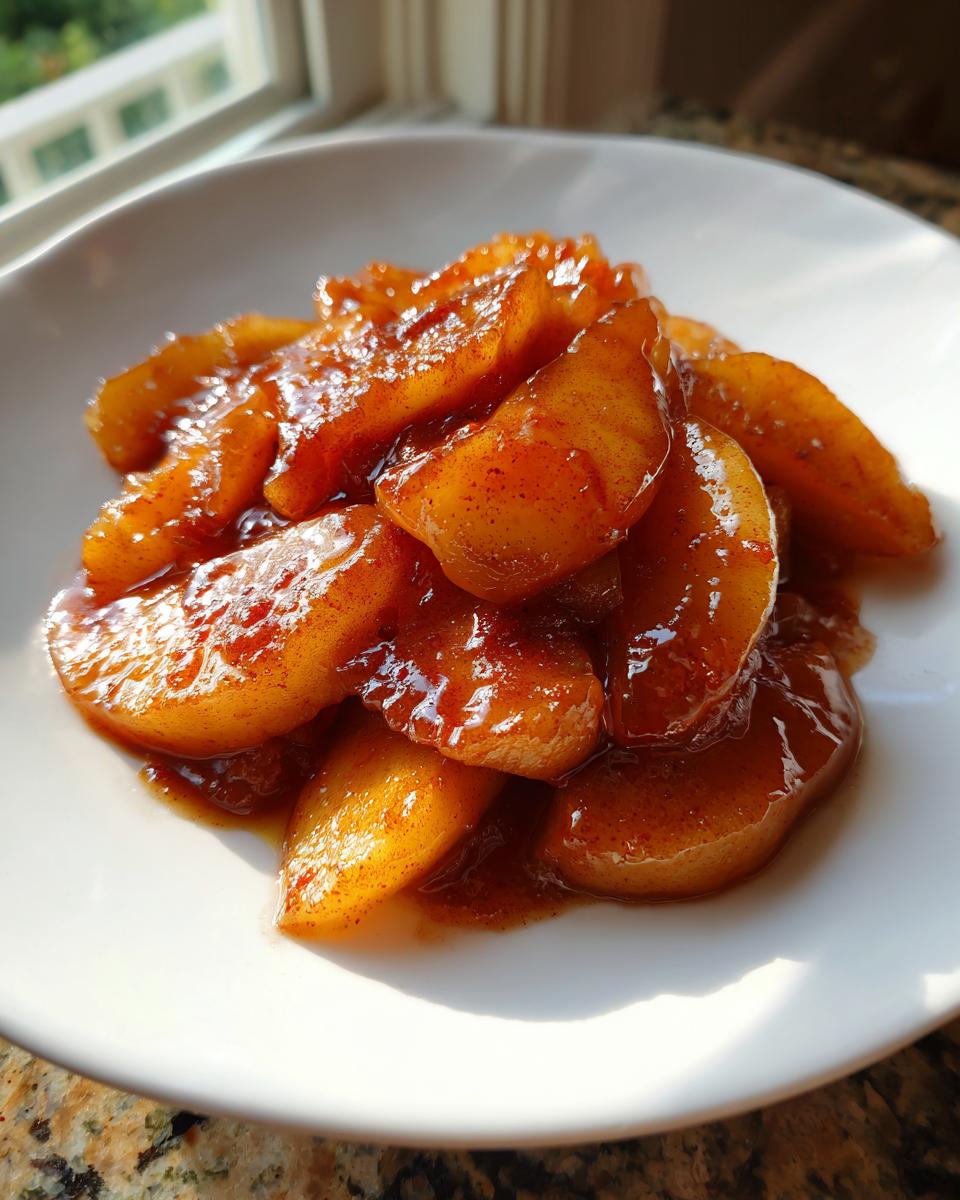
My favorite quick fix is using it as a decadent Pie Topping Idea. Seriously, dollop it generously over my Easy Pear Crisp—it’s just a swap-out, and boom, instant upgrade! If you’re looking for breakfast inspiration, this warm, spiced topping brightens up a boring bowl of oatmeal immediately. You get all that apple flavor without having to bake anything!
It also works magic spooned over my One-Bowl Moist Oatmeal Muffins. If you want to see something truly wonderful, try baking it right on top of a warm scone batter. For great ideas on using leftovers in crisps, check out this recipe for an Apple Crisp Recipe With Apple Pie Filling!
Make Ahead Apple Filling and Storage Tips
This is where we talk about being smart in the kitchen, which is something I always strive for! Knowing how to make a batch of this filling ahead of time means you have dessert potential ready to go whenever the craving hits. That’s why learning how to prepare this Make Ahead Apple Filling is essential for smoothing out your busy week.
The good news is that this stovetop method is fantastic for storage. Once the filling has cooled down completely—and I mean truly cool, not just lukewarm—you can transfer it into airtight containers. I find glass containers work best because they don’t hold onto odors, but any sturdy, sealed container works fine. Stored properly in the refrigerator, this filling stays fantastic for about a full week. That’s enough to cover pie emergencies for seven whole days!
For longer-term storage, freezing is the answer. You absolutely can freeze this! The key here is to freeze it in usable portions. Maybe you know you always use about 2.5 cups for a small tart, or the full 5 cups for a big family pie. Portion it out into freezer-safe bags or small tubs, making sure to leave a little headspace in the container since liquids expand when they freeze.
When you’re ready to use it, just thaw it overnight in the fridge. Because we cooked the cornstarch slurry perfectly, the texture holds up beautifully after freezing and thawing. It reheats perfectly on the stove or right in your pie crust before baking. It’s just so much easier than having to peel and slice six apples on a whim!
If you love setting yourself up for success throughout the week, you should check out my recipe for Easy Make-Ahead Cheesy Egg Bake; it’s another lifesaver for busy mornings!
Frequently Asked Questions About Apple Filling for Pies
I get so many questions whenever I post this recipe because everyone wants to cut out the box stuff! Those canned fillings are just loaded with extra junk and never taste as good as this quick batch. Here are some of the top things people ask me about making this foolproof Easy Apple Pie Filling from scratch.
Can I make this apple pie filling recipe gluten-free?
Oh, absolutely! That’s one of the bonuses of ditching the can. Because we use cornstarch as our primary thickener, this recipe is naturally gluten-free right out of the gate. Cornstarch is just pure starch, so it’s perfectly safe for those avoiding gluten. The only thing you need to double-check, just to be 100% sure, is your spice containers. Sometimes ground spices are processed in facilities that also handle wheat, so always confirm that your cinnamon and nutmeg are certified GF if you have a serious allergy!
What is the best type of apple for this easy apple pie filling recipe?
You know you need that perfect sweet-tart punch for the Best Apple Pie Filling, right? No single apple can usually deliver that complexity! My rule is always to mix up your apples. You need structure, so bring in something firm like Granny Smith, which holds its shape and brings that necessary tartness.
Then, balance that out with something slightly sweeter, like Honeycrisp or Gala. When you combine them, you get apples that cook down just right—tender but not collapsing into applesauce—and the flavor is balanced. If you only use super-sweet apples, the filling tastes flat, and if you use all tart ones, it’s borderline sour. The mix is the key to that homemade taste!
If you’re looking for other kitchen staples that you can prep ahead, you should absolutely look at my recipe for Moist Banana Zucchini Bread—it’s another great one to have on hand!
Estimated Nutritional Data for Apple Pie Filling
Now, let’s talk about the numbers, because even though this is comfort food, I always like to be upfront about what we’re working with! Remember, since this recipe moves from stovetop to pie or crisp, these estimates are based on a standard serving cup of the *filling* itself before it goes into a crust or gets topped with anything else. These figures are just guidelines, but they show you how surprisingly reasonable this homemade option is compared to those gloppy canned versions!
I pulled these numbers from the recipe details based on one cup of the finished, cooled filling. When you make this apple pie filling from scratch, you control every single ingredient, which is way better than guessing what preservatives are lurking in the store-bought stuff.
- Calories: Approximately 320 per cup serving.
- Total Fat: Only about 4 grams, which is mostly those healthy fats from the last bit of butter we stirred in for richness!
- Carbohydrates: Around 73 grams—that’s mostly from the natural sugars in the apples and the brown sugar we added.
- Sugar: Right around 55 grams. It tastes sweet, but it’s much better quality sugar than what you find in processed foods.
- Protein and Fiber: You get a small boost of fiber from the apples, which is always a win!
If you’re using this filling as a topping for something like my Fudgy Date Brownies, you’ll want to factor that extra sweetness into your decision, of course. But as a standalone component, this quick recipe is packed with flavor and surprisingly balanced!
Share Your Best Apple Pie Filling Creations
Alright, my kitchen friends, that’s my method for getting the absolute best, thickest, most comforting batch of **apple pie filling** without spending hours over the stove! Now it’s your turn to take this recipe and make some memories in your own space.
I truly hope this quick stovetop method gives you the confidence to skip the store-bought stuff forever. Once you see how easy it is to get that gorgeous, spiced sauce, you’ll never look back. Seriously, I’m excited just thinking about it!
Did this recipe save your next dessert? Did you use Granny Smiths or Honeycrisps? Did you manage to resist eating half the batch before it even cooled down? I want to know everything!
Please, please leave a comment below telling me how it went! Drop a rating so other folks know they can trust this technique for getting no watery apple pie filling. Photos are the best, so if you snap a pic of your finished pie, crisp, or even just your bowl of decadent filling, tag me on social media! Seeing your bakes, especially if you tried incorporating this filling into something wild, makes my day.
And hey, if you loved this recipe and are looking for another one-bowl wonder perfect for using up that extra seasonal haul, you have to try my Chocolate Brownie Cookies next! Happy baking, everyone!
PrintThe Best Quick & Easy Stovetop Apple Pie Filling
Make this foolproof homemade apple pie filling on the stovetop in under 20 minutes. This recipe creates a thick, perfectly spiced sauce that prevents watery pies and works well for crisps or as a topping.
- Prep Time: 15 min
- Cook Time: 10 min
- Total Time: 25 min
- Yield: About 5 cups filling (enough for one 9-inch pie) 1x
- Category: Dessert
- Method: Stovetop
- Cuisine: American
- Diet: Vegetarian
Ingredients
- 6 medium apples (like Granny Smith or Honeycrisp), peeled, cored, and sliced 1/4-inch thick
- 3/4 cup packed brown sugar
- 1/4 cup granulated sugar
- 2 tablespoons cornstarch
- 1 teaspoon ground cinnamon
- 1/4 teaspoon ground nutmeg
- 1/8 teaspoon ground allspice
- 1/4 teaspoon salt
- 2 tablespoons unsalted butter
- 1 tablespoon lemon juice
Instructions
- Combine the brown sugar, granulated sugar, cornstarch, cinnamon, nutmeg, allspice, and salt in a medium saucepan. Whisk the dry ingredients together well.
- Add the sliced apples and lemon juice to the saucepan. Toss gently to coat the apples evenly with the sugar and spice mixture.
- Place the saucepan over medium heat. Cook, stirring frequently, until the sugar dissolves and the mixture begins to bubble, about 5 to 7 minutes.
- Continue to cook, stirring constantly, until the sauce thickens significantly and coats the back of a spoon, about 2 to 3 minutes more. The apples should be tender-crisp.
- Remove the pan from the heat. Stir in the 2 tablespoons of butter until it melts completely into the filling.
- Let the apple pie filling cool completely before using it in your pie crust or dessert. This cooling step is key to preventing a runny filling.
Notes
- For a sweeter filling, increase the brown sugar to 1 cup.
- If you skip the cornstarch, your filling will be much thinner, suitable for topping pancakes or oatmeal.
- This filling is excellent made ahead and stored in an airtight container in the refrigerator for up to one week.
- Use a mix of tart and sweet apples for the best flavor balance.
Nutrition
- Serving Size: 1 cup
- Calories: 320
- Sugar: 55
- Sodium: 150
- Fat: 4
- Saturated Fat: 2
- Unsaturated Fat: 2
- Trans Fat: 0
- Carbohydrates: 73
- Fiber: 4
- Protein: 0
- Cholesterol: 8