
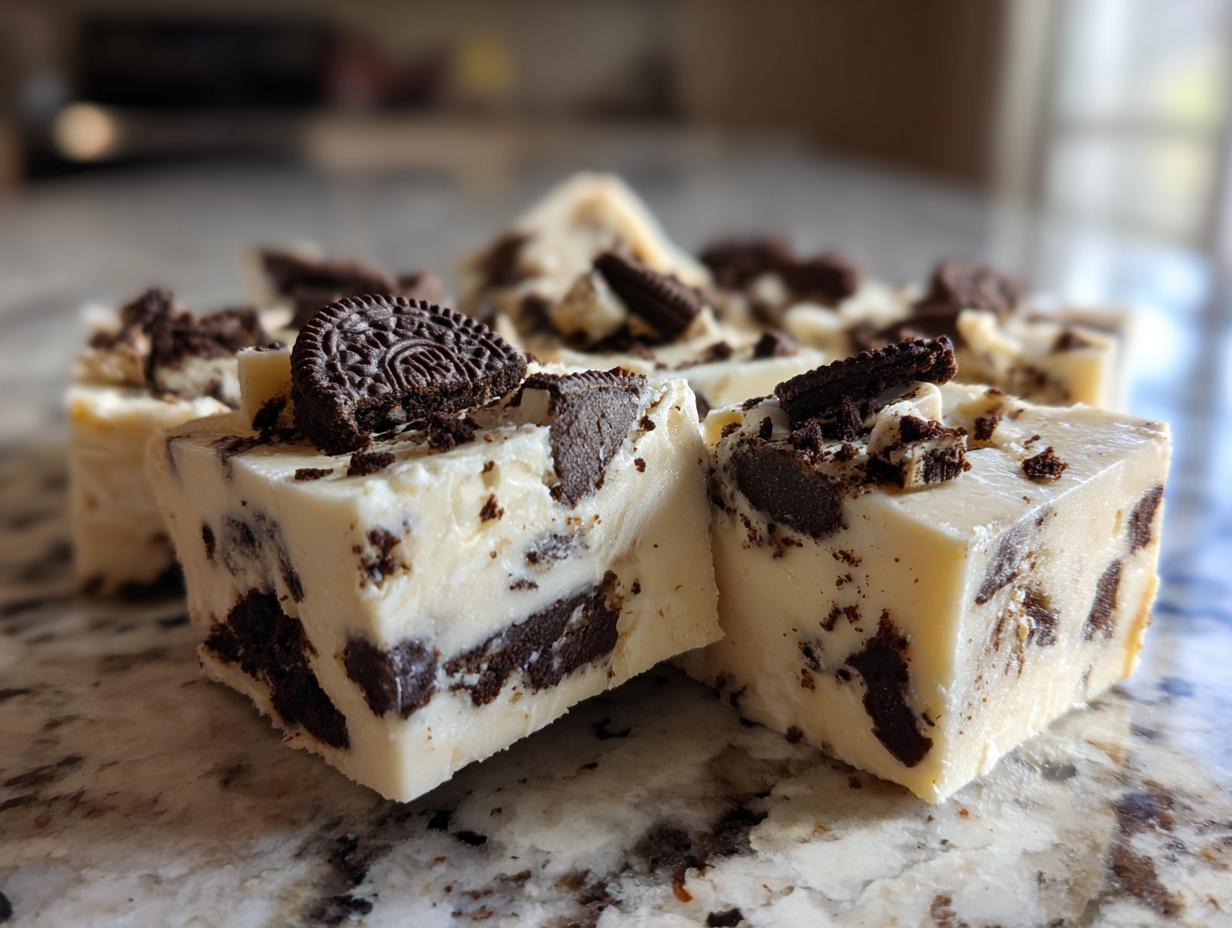
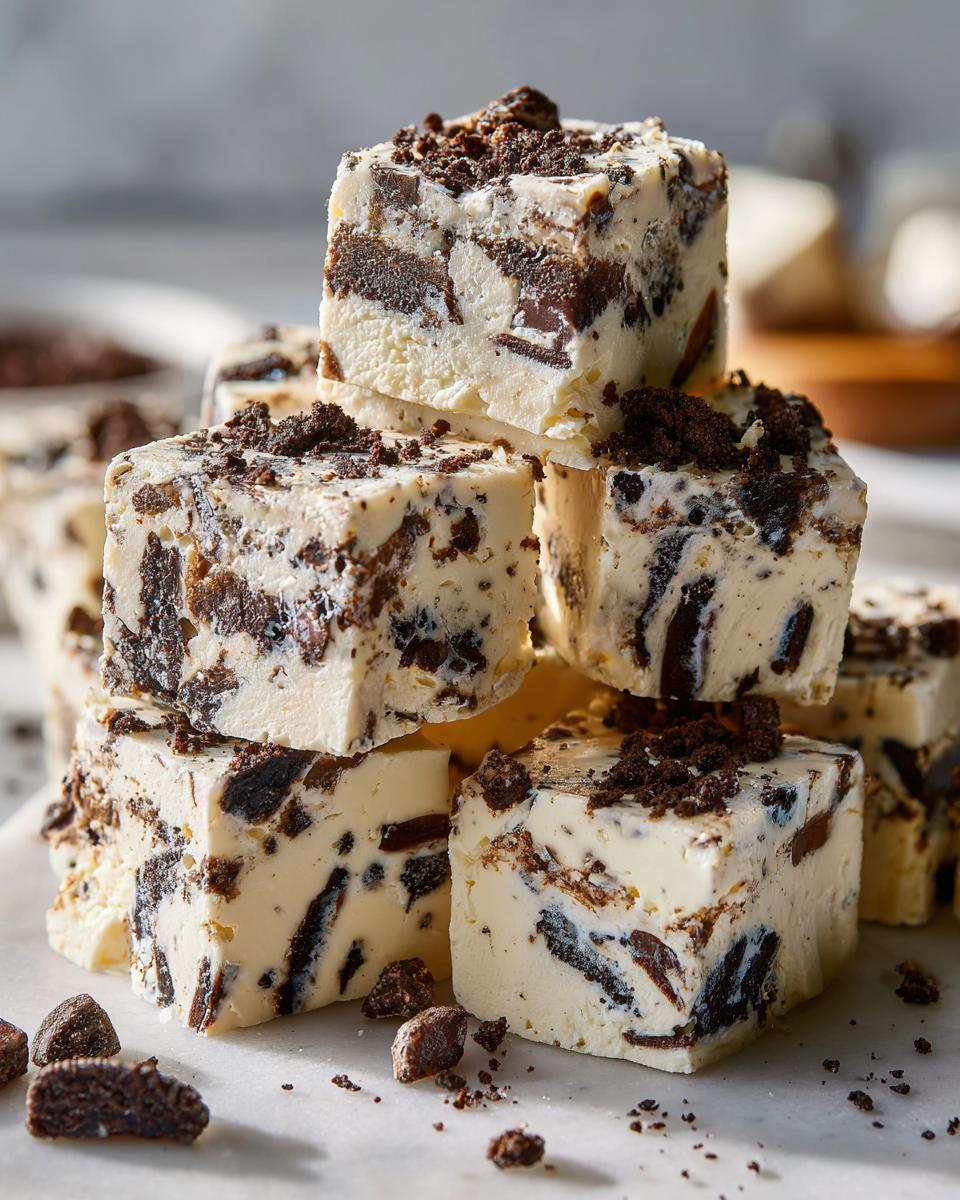
You know those moments when you absolutely need something sweet, deeply decadent, and you need it *now*? I live for those moments, and that’s exactly how this ultimate oreo fudge was born. I’m Aria, and while I love a complex bake, sometimes life calls for pure, unadulterated simplicity. This recipe delivers rich, creamy cookies-and-cream satisfaction with zero oven time required. Seriously, you melt, stir, chill, and that’s it! It’s the definition of a quick dessert that tastes like you spent hours on it. Trust me, having this no-bake wonder in your back pocket makes you look like a dessert superstar!
- Why This Creamy Oreo Fudge Recipe Stands Out
- Gathering Ingredients for Your Simple Sweet Treats
- Step-by-Step Guide to Making Perfect Oreo Fudge
- Tips for the Best Creamy Fudge Texture
- Storing Your Homemade Candy and Oreo Fudge
- Serving Suggestions for Your Holiday Fudge
- Frequently Asked Questions About Oreo Fudge Recipe
- Estimated Nutritional Snapshot for White Chocolate Fudge
- Share Your Homemade Oreo Fudge Creations
Why This Creamy Oreo Fudge Recipe Stands Out
When people look for an Easy Fudge Recipe, they want three things: speed, simplicity, and something that tastes insanely good. This one checks every single box, I promise! It’s the perfect example of how minimal effort can result in maximum reward.
- This is true No Bake Fudge—the oven stays off, which means no temperature watching, no fuss, and you get that smooth, cool texture every single time.
Quick Prep Time for Your Oreo Fudge
Seriously, you are looking at maybe 10 minutes of active work. Ten minutes! That’s less time than it takes to decide what movie to watch. It’s my go-to for when I need Quick Dessert Recipes for unexpected company or just need a quick sweet fix before the evening is over. No planning required!
The Magic of No Bake Fudge
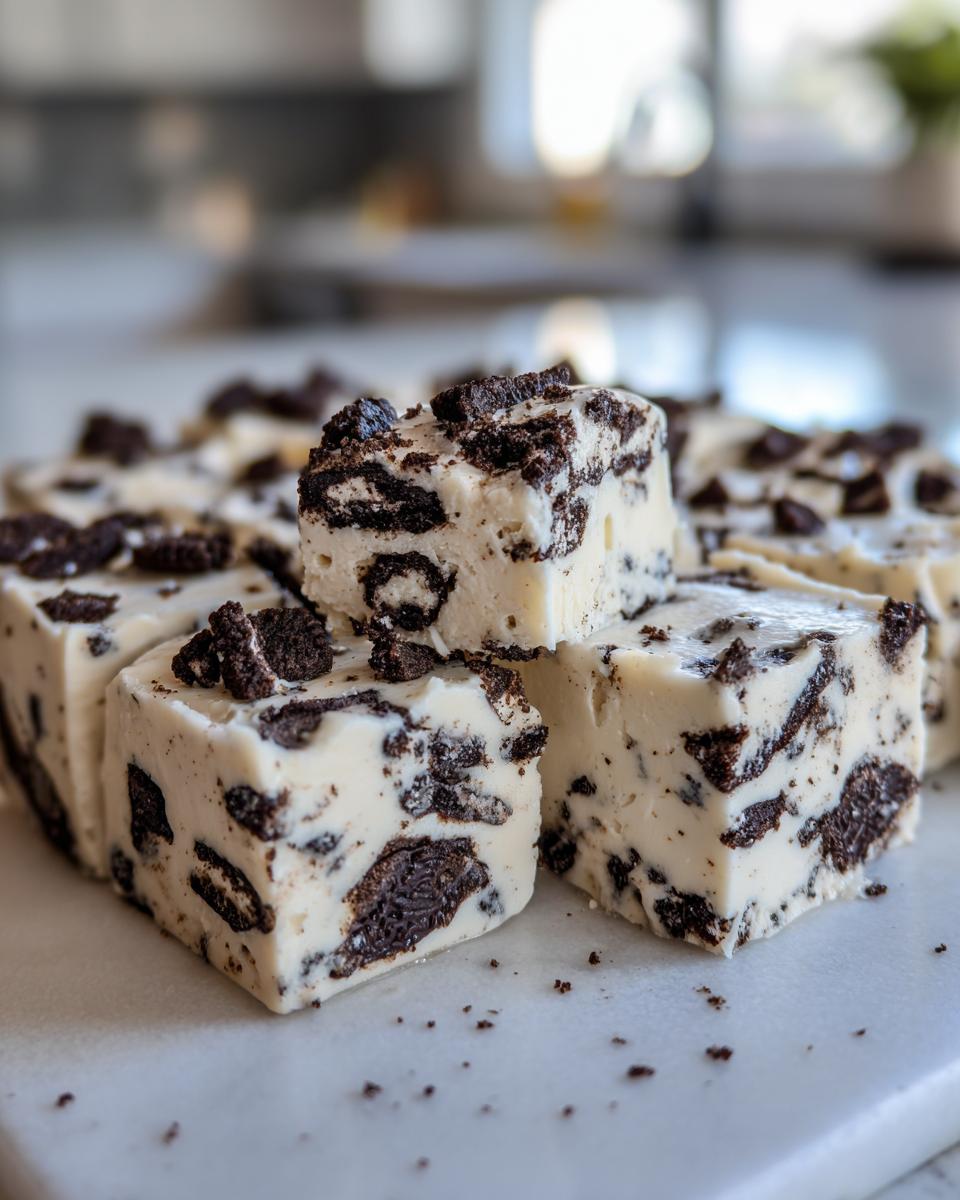
Because we aren’t baking this at all, we skip all the issues with crumbly tops or dry edges. The magic happens when the melted chocolate and condensed milk combine—they create a structure that’s naturally gooey and impossibly Creamy Fudge once it sets up. It turns beginners into instant fudge pros!
Gathering Ingredients for Your Simple Sweet Treats
The best part about this 3 Ingredient Fudge potential is how little you need to gather! Honestly, if you count just the milk, the white chocolate, and the cookies, you’re done. But for that perfect texture and flavor that I preach about, you absolutely need the vanilla extract too. This isn’t a fussy recipe at all, which is why it works so beautifully as a Simple Sweet Treat.
Here is what you need in your shopping basket:
- One 14-ounce can of sweetened condensed milk—make sure it’s the full-fat stuff, trust me!
- Two cups of white chocolate chips.
- One teaspoon of vanilla extract (for depth!).
- About three cups of crushed Oreo cookies—and I mean crushed, not just broken up!
Ingredient Notes and Substitution Tips
If you are going for that ultra-smooth result, definitely reach for good quality white chocolate chips or wafers. Wafers tend to melt a little easier, but chips work just fine if you use patience during the melting stage. Don’t even think about using low-fat milk here; that condensed milk is the backbone of the whole structure, so get the real deal!
As for those Oreos? Just toss them in a food processor and pulse! You want that lovely mix of fine crumbs and tiny, crunchy chunks mixed throughout your Chocolate Cookie Fudge. If you only have whole cookies, put them in a heavy Ziploc bag and pound them with a rolling pin until they look like coarse dirt. That hands-on work feels fantastic, honestly!
Step-by-Step Guide to Making Perfect Oreo Fudge
Okay, now we get to the fun part! This is where we turn simple ingredients into magic. I promise you, as a home cook who dreads turning on the oven unnecessarily, this process is foolproof if you just follow these few little steps I learned through trial and (very delicious) error. We want that rich, creamy experience, remember?
Preparing the Pan and Melting the Base for Oreo Fudge
First thing’s first: grab your 8×8 pan and line it with parchment paper. Make sure you leave some overhang on the sides. This is your handle later! Lightly grease that paper so nothing sticks—it’s insurance against sticking, and we don’t want any broken pieces of Oreo Fudge Recipe! Next, combine your white chocolate chips and that sweet can of condensed milk in a microwave-safe bowl. I always microwave this in 30-second bursts, stirring vigorously between each one. If you try to go for a full minute, you risk scorching that gorgeous white chocolate. We are aiming for smooth, not seized!
Folding in Cookies and Setting the Cookies and Cream Fudge
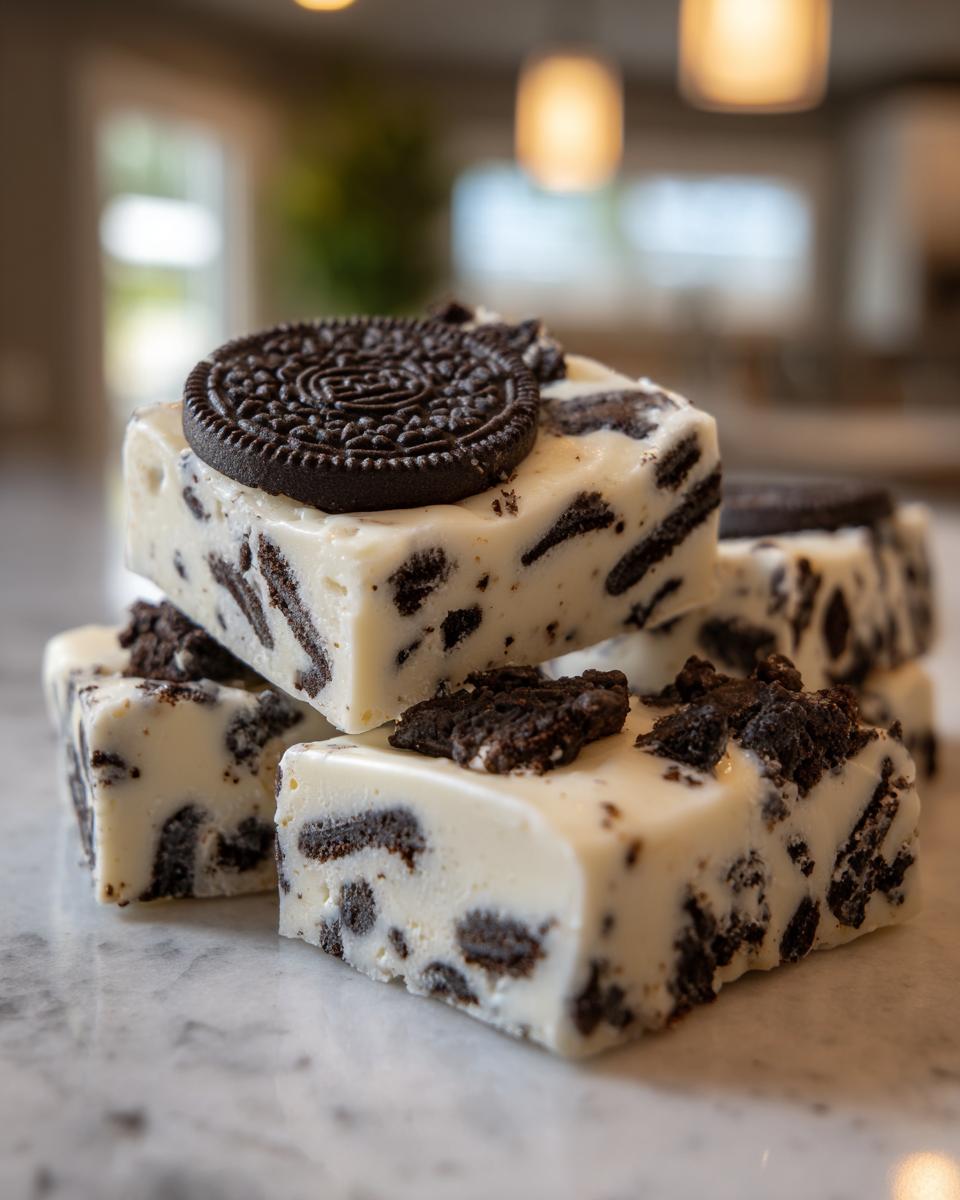
Once your mixture is totally smooth—no lumps of chocolate allowed—stir in your vanilla. Now, the best part! Gently fold in those three cups of crushed Oreos. You’re not whipping a cake batter here; we are folding. We want those chunks to stay intact! Spread the whole beautiful mess evenly into your prepared pan. If you want that extra cookie punch on top, sprinkle a few more crushed cookies over the surface and give them a light press. Pop that pan into the fridge for a minimum of two hours. Don’t cheat this step! That chilling time is crucial for getting those clean, perfect squares of Cookies and Cream Fudge.
Tips for the Best Creamy Fudge Texture
I know, sometimes No Bake Fudge can be tricky; you expect creamy, but sometimes you get, well, stiff or grainy. That’s why I’ve spent way too many nights testing ingredients to get this ratio exactly right for you. The most important thing for that melt-in-your-mouth quality is temperature control during the mixing stage. Don’t rush that chocolate melt!
If you apply a little gentle heat and stir patiently—similar to how I handle my frosting base—you keep the mixture emulsified beautifully. This ensures you get that stunningly Creamy Fudge texture that everyone raves about. Also, don’t chop your Oreos too fine! Those little bits of crunchy cookie are essential to break up the richness.
If your fudge seems too soft after chilling, don’t panic! Just pop it back into the fridge for another hour. A quick mix of quality ingredients and avoiding overheating the white chocolate base is really the secret sauce here. For reference on achieving smooth bases, check out my tips on making smooth Vanilla Buttercream; the principle of gentle heat is the same!
Storing Your Homemade Candy and Oreo Fudge
Now that you’ve made this incredible Homemade Candy, you need to know how to keep it perfect! Since this fudge is rich but doesn’t rely on frosting, it’s quite sturdy. For the first few days, I actually prefer storing mine tightly covered at room temperature. It keeps that wonderfully soft bite, which I love!
However, if you decide to make a huge batch for the holidays or want it to last longer, definitely move it to the refrigerator. Stored correctly in an airtight container, it stays fantastic for almost a week. Just let it sit out on the counter for about 15 minutes before serving for the ultimate texture. Don’t forget to check out my guide on easy homemade teriyaki sauce storage too—same principle: airtight containers are your best friend!
Serving Suggestions for Your Holiday Fudge
While cutting this Oreo Fudge into little squares is the fastest route, I always encourage people to get a little creative, especially when it comes to gifting! These make the absolute best Last Minute Gifts because they look gourmet but took no time at all to create. Seriously, wrap them up pretty with some twine and a bow!
When I serve them here at home, I usually arrange them on a platter alongside fruit or next to a strong cup of coffee—the rich sweetness really balances out a dark roast. They are also fantastic broken up a bit and sprinkled over vanilla ice cream, or used as a crunchy topping for a simple no-bake cheesecake base. If you’re looking for other amazing appetizer-style treats, you might want to check out my recipe for pumpkin cheese ball recipe, but for pure indulgence, stick with this gorgeous Holiday Fudge!
Frequently Asked Questions About Oreo Fudge Recipe
I get so many questions about this Oreo Fudge Recipe because everyone is worried they’ll mess up the melting part! It’s totally understandable, but once you know the tricks, it’s smooth sailing. Here are the things I hear most often when people try making this easy treat for the first time.
Can I use dark chocolate instead of white chocolate in this Oreo Fudge?
Oh, absolutely, you can! If you swap out the white chocolate chips for semi-sweet or good quality dark chocolate chips, you’ll end up with a totally different, but equally delicious, result. Just know that the fudge won’t be quite as sweet and the ‘cookies and cream’ look won’t pop as much against the darker base. It will taste richer, more intense, and deeply chocolatey—a great option if you prefer less sugar overall!
What is the best way to crush the Oreos for the fudge?
Listen, the food processor is your best friend here, hands down. It gives you an even, quick crush that mixes perfectly into the base. If you don’t have one, use the rolling pin method I mentioned, but try to keep pulsing or pounding until you get a texture that resembles coarse sand mixed with a few pea-sized chunks. If the crumbs are too big, they can make the fudge texture inconsistent. We want that nice, even breakdown for the best final texture!
How long does this No Bake Fudge need to set?
This is where patience comes in! While you might be tempted to eat it straight away (I’ve been there!), you really need the full setting time. I specify a minimum of two hours in the refrigerator, but honestly, if you can leave it overnight, even better. Refrigeration ensures it’s firm enough to get those clean cuts you see in the photos. If you leave it out on the counter to firm up on a hot day, it might stay a little too soft for perfect squares, so the fridge is the safest bet for this No Bake Fudge.
Estimated Nutritional Snapshot for White Chocolate Fudge
Okay, so let’s talk numbers for a second. I’m using the standard math based on the ingredients listed here—mostly the white chocolate, the condensed milk, and the Oreos—to give you a rough idea of what you’re getting into with one small square. Remember, because this is homemade candy, these values are just estimates, and your exact results will vary depending on the brands you grab!
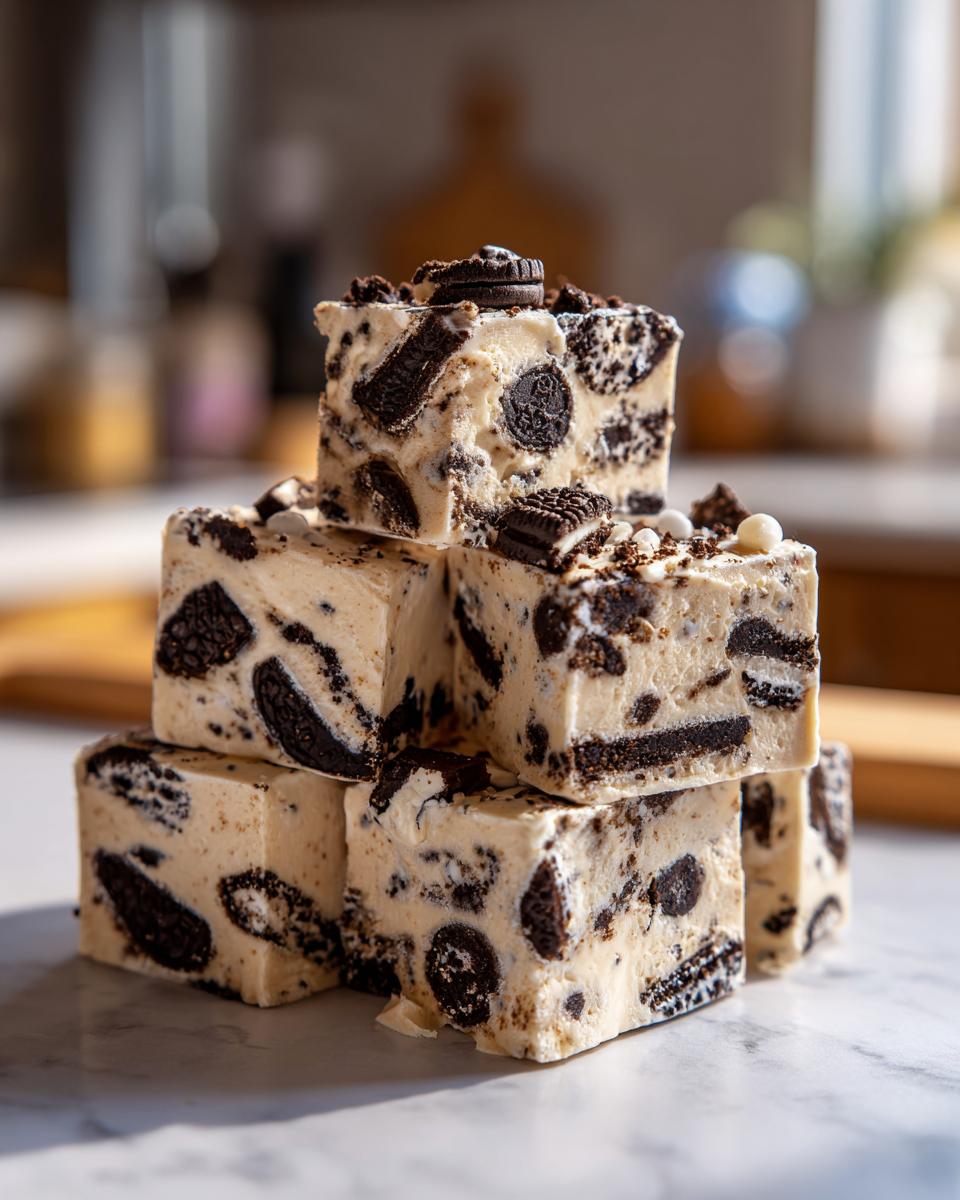
When you cut this into the 36 small squares I recommend, here’s what that beautiful piece of White Chocolate Fudge looks like:
- Calories: Around 180
- Fat: About 10 grams total
- Carbohydrates: Roughly 22 grams
- Sugar: Hovering around 18 grams
- Protein: A small boost, about 2 grams
It is definitely a treat, not a health food, but isn’t that the point of a delicious Oreo Fudge? Enjoy it guilt-free because you made it yourself, and you know exactly what went into it!
Share Your Homemade Oreo Fudge Creations
Now that you have this incredibly easy, totally decadent Oreo Fudge cooling in the fridge, I really want to see what you make! Honestly, watching you all bring my recipes to life in your own kitchens is the best part of my whole day. Baking should always feel like a shared adventure, right?
Once you try a square (and when are you going to stop at just one, really?), please hop down to the comments below and let me know how it went! Did you use extra Oreos on top? Did you cut them into tiny little squares or go for big, satisfying blocks? Ratings and feedback truly help me know which Simple Sweet Treats I should focus on next!
And please, please, share photos on social media! Tag me so I can see your beautiful results—especially if you packaged them up as Holiday Fudge gifts. I love seeing those creamy, crunchy squares all wrapped up and ready to share the joy. Go enjoy that rich, no-bake goodness!
PrintEasy No-Bake White Chocolate Oreo Fudge
Make this simple, creamy Oreo fudge using just a few ingredients. This no-bake recipe is perfect for quick desserts or holiday gifting.
- Prep Time: 10 min
- Cook Time: 0 min
- Total Time: 2 hr 10 min
- Yield: 36 small squares 1x
- Category: Dessert
- Method: No Bake
- Cuisine: American
- Diet: Vegetarian
Ingredients
- 1 (14 ounce) can sweetened condensed milk
- 2 cups white chocolate chips
- 1 teaspoon vanilla extract
- 3 cups crushed Oreo cookies (about 24 cookies)
- Extra crushed Oreos for topping (optional)
Instructions
- Line an 8×8 inch baking pan with parchment paper, leaving an overhang on the sides for easy removal. Lightly grease the paper.
- In a microwave-safe bowl, combine the white chocolate chips and sweetened condensed milk.
- Microwave in 30-second intervals, stirring well after each interval, until the mixture is completely smooth and melted. This usually takes 1 to 2 minutes total. Do not overheat.
- Stir in the vanilla extract.
- Fold in the 3 cups of crushed Oreo cookies until they are evenly distributed throughout the fudge mixture.
- Pour the fudge mixture into the prepared pan and spread it evenly.
- If desired, sprinkle extra crushed Oreos over the top and gently press them into the fudge.
- Refrigerate the fudge for at least 2 hours, or until firm enough to cut.
- Lift the fudge out of the pan using the parchment paper overhang. Cut into small squares before serving.
Notes
- For the best texture, crush your Oreos in a food processor or place them in a sealed bag and crush them with a rolling pin.
- If you do not have a microwave, melt the chocolate and milk mixture gently in a double boiler over low heat, stirring constantly.
- Store this homemade candy in an airtight container at room temperature for up to 4 days, or in the refrigerator for up to 1 week.
Nutrition
- Serving Size: 1 square
- Calories: 180
- Sugar: 18
- Sodium: 95
- Fat: 10
- Saturated Fat: 6
- Unsaturated Fat: 4
- Trans Fat: 0
- Carbohydrates: 22
- Fiber: 0
- Protein: 2
- Cholesterol: 10