
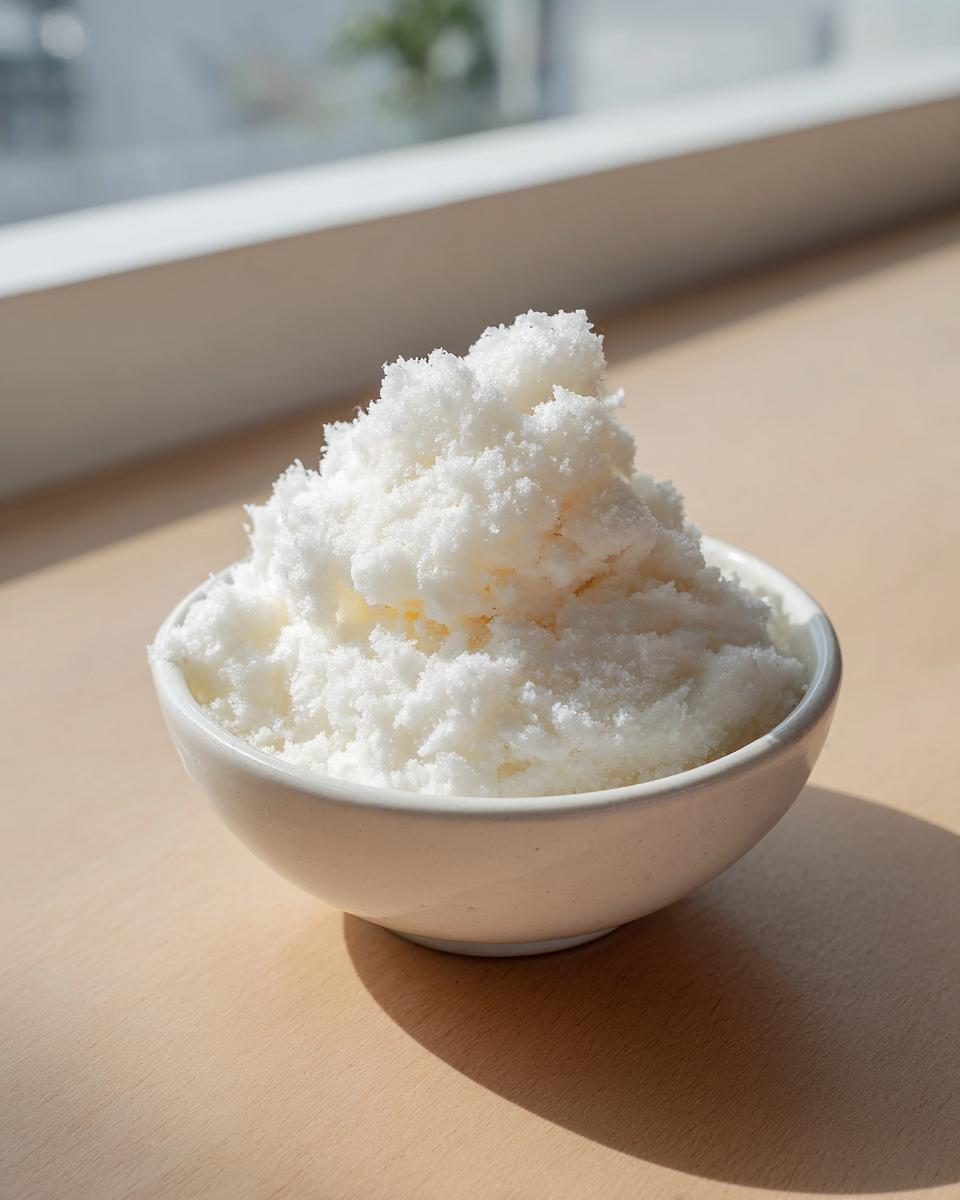
Oh, isn’t there just something magical about the first big snowfall? It instantly transports me back to being a kid, bundling up in mismatched snow pants just to taste the crisp air. If you’re anything like me, a snow day means pausing everything and seeking out that simple, pure joy. And what’s more joyful than turning fresh snow into dessert? Forget those fancy machines! Today, we are making true, old-fashioned **snow ice cream**—a recipe so easy and fast, it feels almost like cheating. It requires zero cooking, uses ingredients you probably already have, and tastes like happy childhood memories. Trust me, this **Easy Snow Ice Cream** takes just five minutes to mix up, and it’s the perfect way to elevate the ordinary quiet of a winter afternoon.
- Why This Easy Snow Ice Cream Recipe Belongs in Your Winter Rotation
- Gathering Ingredients for Your Snow Ice Cream
- How to Make Snow Ice Cream Safely and Perfectly
- Tips for Success with Homemade Ice Cream with Snow
- Serving Suggestions and Storage for Your Winter Dessert Recipe
- Frequently Asked Questions About Making Snow Ice Cream
- Nutritional Estimates for Snow Ice Cream
- Share Your Family Snow Day Fun
Why This Easy Snow Ice Cream Recipe Belongs in Your Winter Rotation
When the snow is falling, you don’t want a complicated recipe; you want instant gratification. This is the absolute best winter treat for getting everyone involved in the kitchen, even if the kitchen itself stays perfectly warm!
Speed and Simplicity: The Ultimate No Cook Ice Cream
I mean it when I say ‘fast’! From gathering the snow to having your first spoonful, we’re clocking in at about five minutes total. It’s the definition of a Quick Winter Dessert, and because there’s zero heat involved, it’s great for when you don’t want to turn on the oven.
Family Snow Day Fun: A Nostalgic Activity
This is hands-down one of my favorite Snow Day Activities. Kids love the novelty of eating snow, and watching them gently fold the base into the flakes is priceless. It’s one of those sweet, central memories we create as home cooks.
Creamy Snow Dessert Texture Achieved Easily
Worried about it tasting like crunchy sugar water? Don’t be! By using the right ratio of cream and sugar dissolved first, we create a wonderfully Creamy Snow Dessert that feels satisfyingly rich, not icy.
Gathering Ingredients for Your Snow Ice Cream
The beauty of this dessert is its simplicity. We rely on the quality of our main ingredient—the snow! Since this is a **Simple Frozen Dessert** that relies on that fresh fluff, we need to be careful about where we source it. Don’t skip the quality check; it’s crucial for a delicious and safe result.
Essential Components for Classic Snow Ice Cream Recipe
For the classic, light vanilla version, you just need these four essentials. They mix perfectly to result in that lovely Vanilla Snow Cream:
- 4 cups fresh, clean snow (Must be fluffy and freshly fallen!)
- 1 cup heavy cream or whole milk (Heavy cream gives you that extra creamy texture, but whole milk is great too!)
- 1/2 cup granulated sugar
- 1 teaspoon vanilla extract
Ingredient Notes and Substitutions for Sweet Snow Recipe
If you want to go extra rich—and who doesn’t?—I highly recommend swapping out the cream and sugar combo for one can of sweetened condensed milk mixed with that one teaspoon of vanilla. It makes for an incredibly luxurious **Sweet Snow Recipe**. Honestly, if you’re aiming for a true, decadent experience, that condensed milk version is the way to go for the best flavor!
How to Make Snow Ice Cream Safely and Perfectly
This is so quick, you’ll barely have time to worry about it melting! Remember, this is a **No Cook Ice Cream**, which means speed is your best friend when combining the components. Follow these steps exactly, and you’ll have a perfect scoop every time.
Step 1: Selecting and Preparing the Snow
Okay, this is the most important step, so listen up! You absolutely must get clean snow. Don’t scoop from the bottom drift near the road, and certainly don’t touch anything that looks yellow or grey. I grab clean scoops from the top layer of undisturbed drifts in the backyard. Use a clean, large mixing bowl—I mean large, because the snow collapses fast—and gently pack in about 4 cups of that fresh, fluffy stuff.
Step 2: Creating the Creamy Base
While you need clean snow, you also need a flavorful base. In a separate, smaller bowl, whisk together your heavy cream (or milk), granulated sugar, and vanilla extract. You have to whisk this until you can no longer feel the sugar granules when you rub a little between your fingers. If the sugar isn’t dissolved, your **Homemade Ice Cream with Snow** will end up gritty, and nobody wants gritty ice cream! This pre-dissolving step is key.
Step 3: Folding to Achieve Quick Winter Dessert Consistency
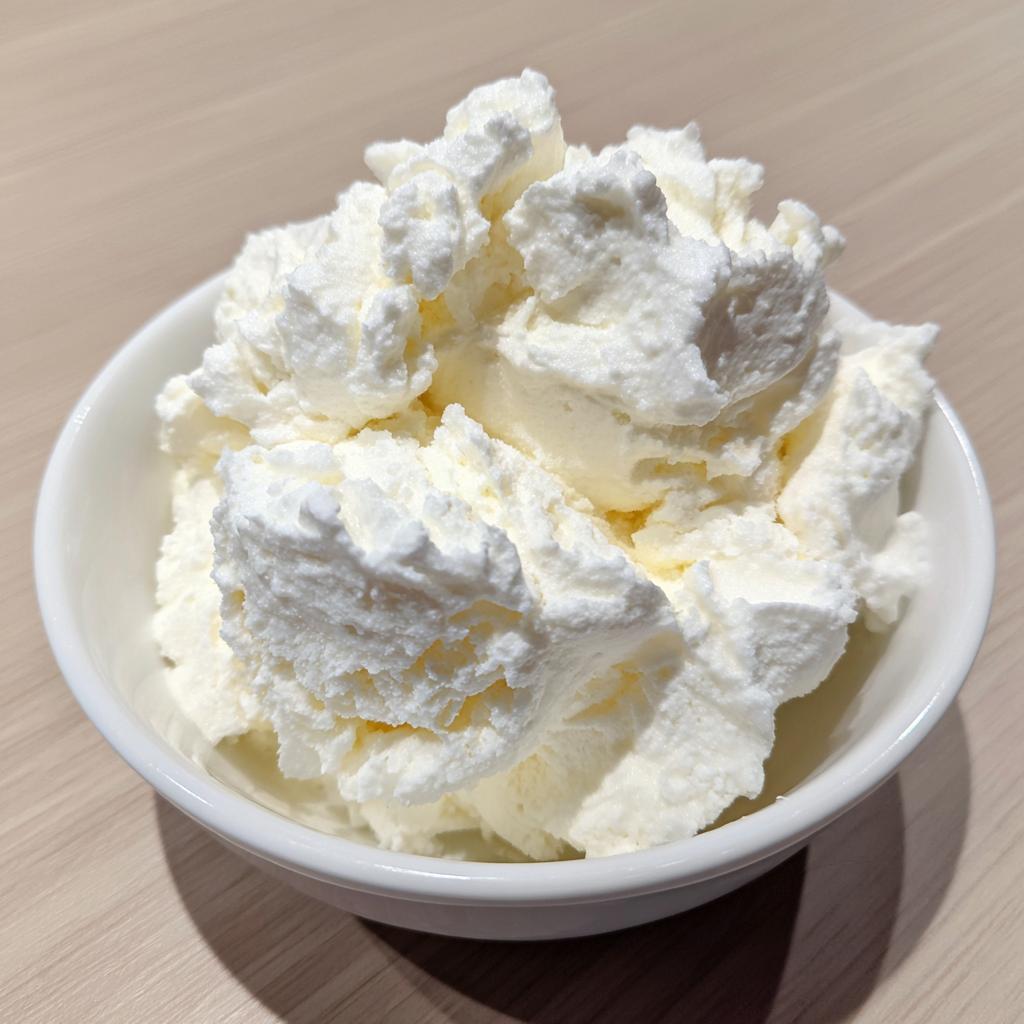
Now, pour your sweet cream mixture right over the snow in the big bowl. Grab a sturdy spoon—no whisks here! You need to gently fold the liquid into the snow. You’re not mixing vigorously like you’re beating eggs; you’re just encouraging the cream to coat the snow crystals. Work quickly! As soon as it starts looking thick and almost like soft-serve ice cream, you’re done! Serve it right away!
Tips for Success with Homemade Ice Cream with Snow
Even though this is one of the easiest recipes ever, melting is our true nemesis. A little planning goes a long way in ensuring you get that signature thick texture rather than a puddle!
Troubleshooting Melting Issues
If you have a lot of helpers or if your kitchen is unusually warm, that snow starts collapsing quicker than you can fold. If things get soupy before it firms up, don’t panic! Pop the whole giant bowl into the freezer for maybe three or four minutes—just a quick chill. Then pull it out and finish folding right away. This trick buys you just enough time to keep that delightful density.
Flavor Boosts and Toppings
Once you nail the basic **Snow Cream Recipe**, you can start playing! We always add some fun stuff right at the end. Think rainbow sprinkles, mini chocolate chips, or a drizzle of melted peanut butter. A little bit of fruit preserve swirled in tastes fantastic too, turning it into a really unique and Seasonal Dessert Ideas centerpiece.
Serving Suggestions and Storage for Your Winter Dessert Recipe
I have to be direct here: this is a made-to-eat-now situation. This is the most simple frozen dessert you’ll ever make, but it doesn’t have binding agents to keep it solid.
Best Way to Serve Vanilla Snow Cream
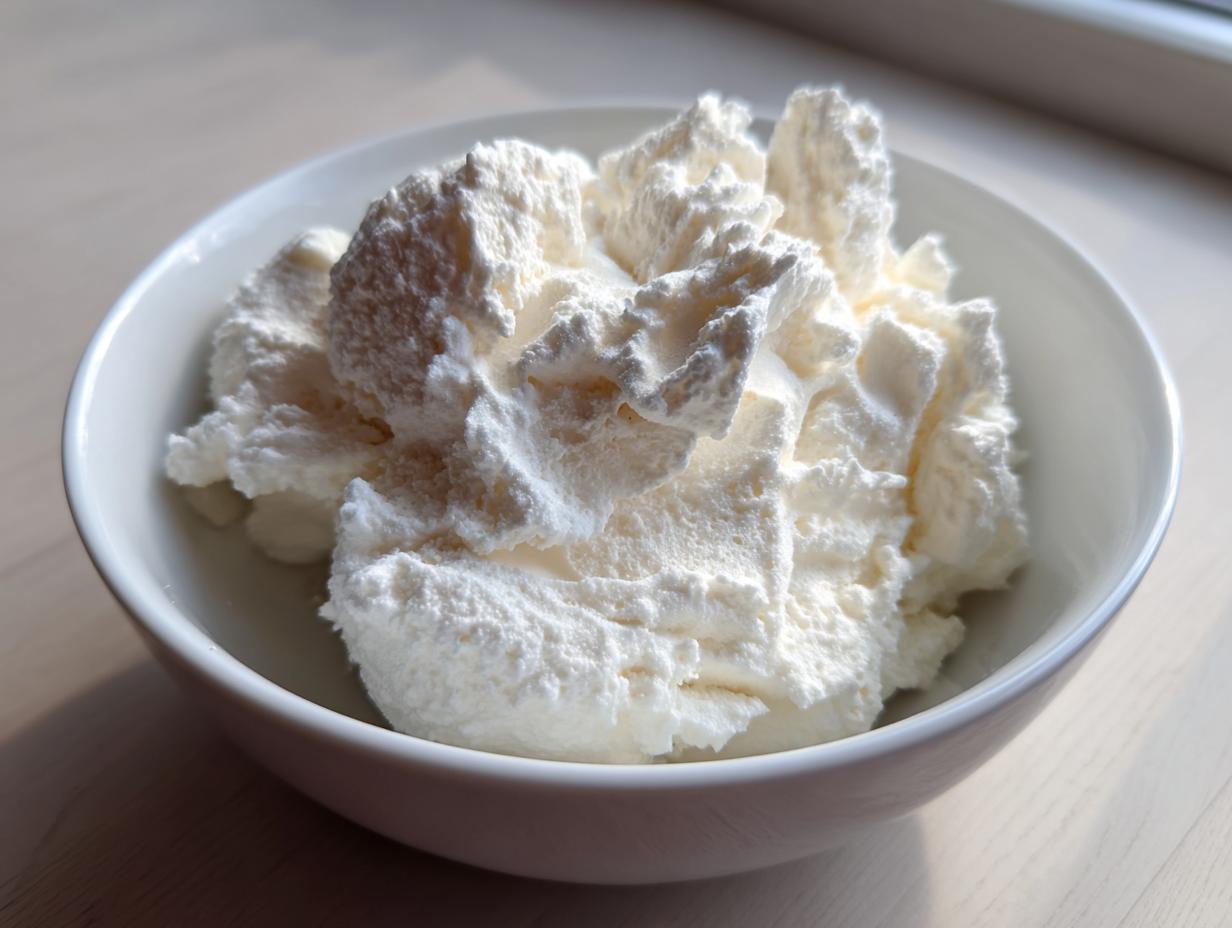
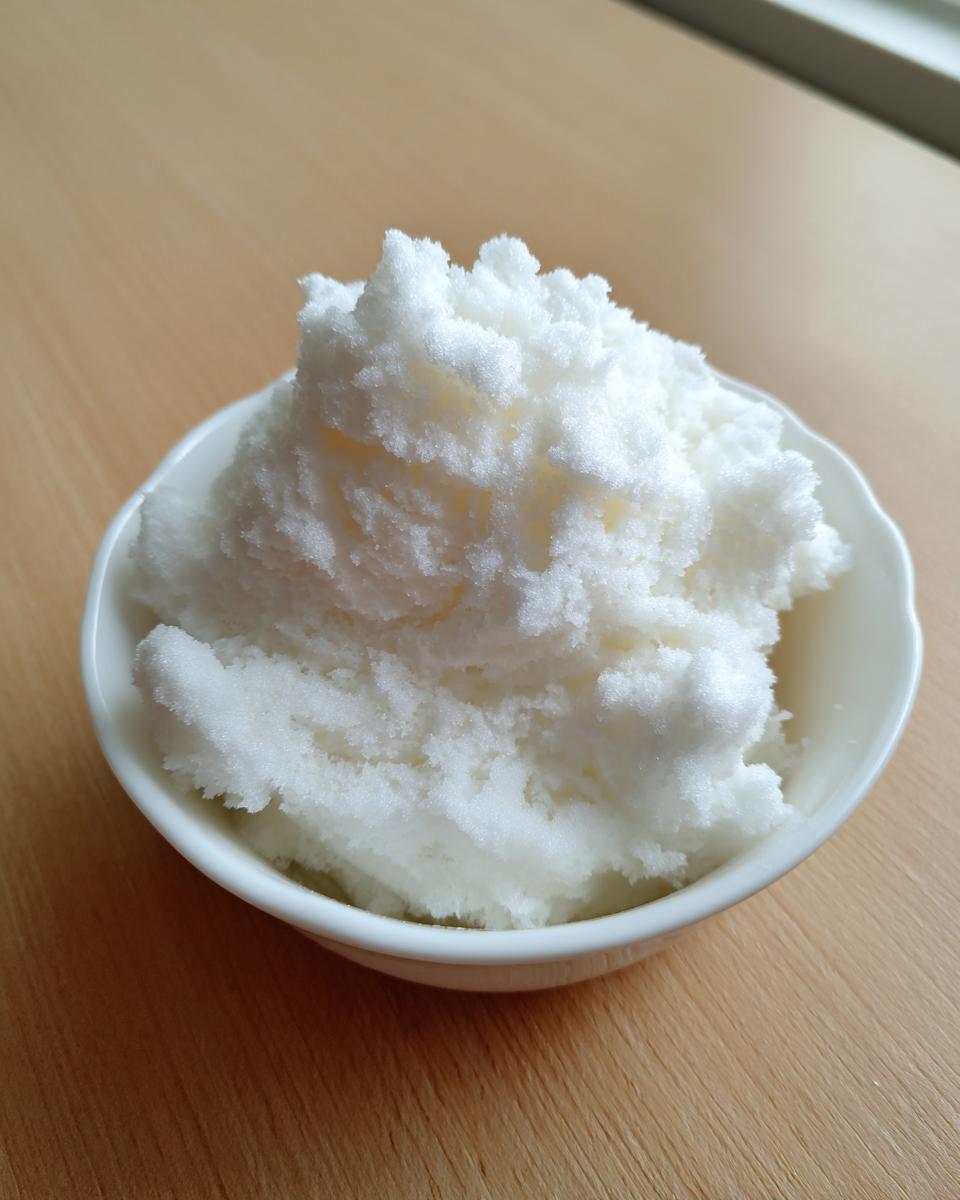
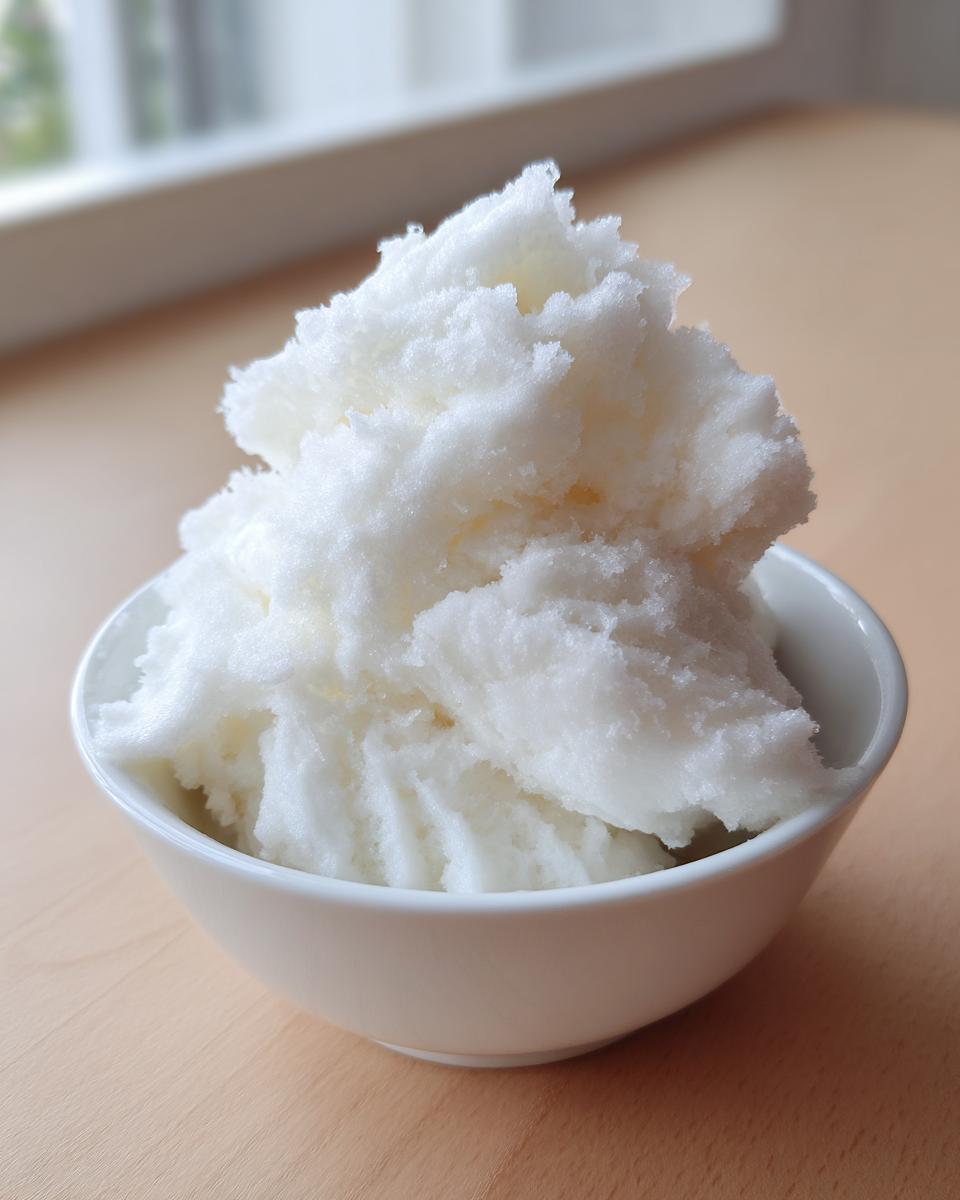
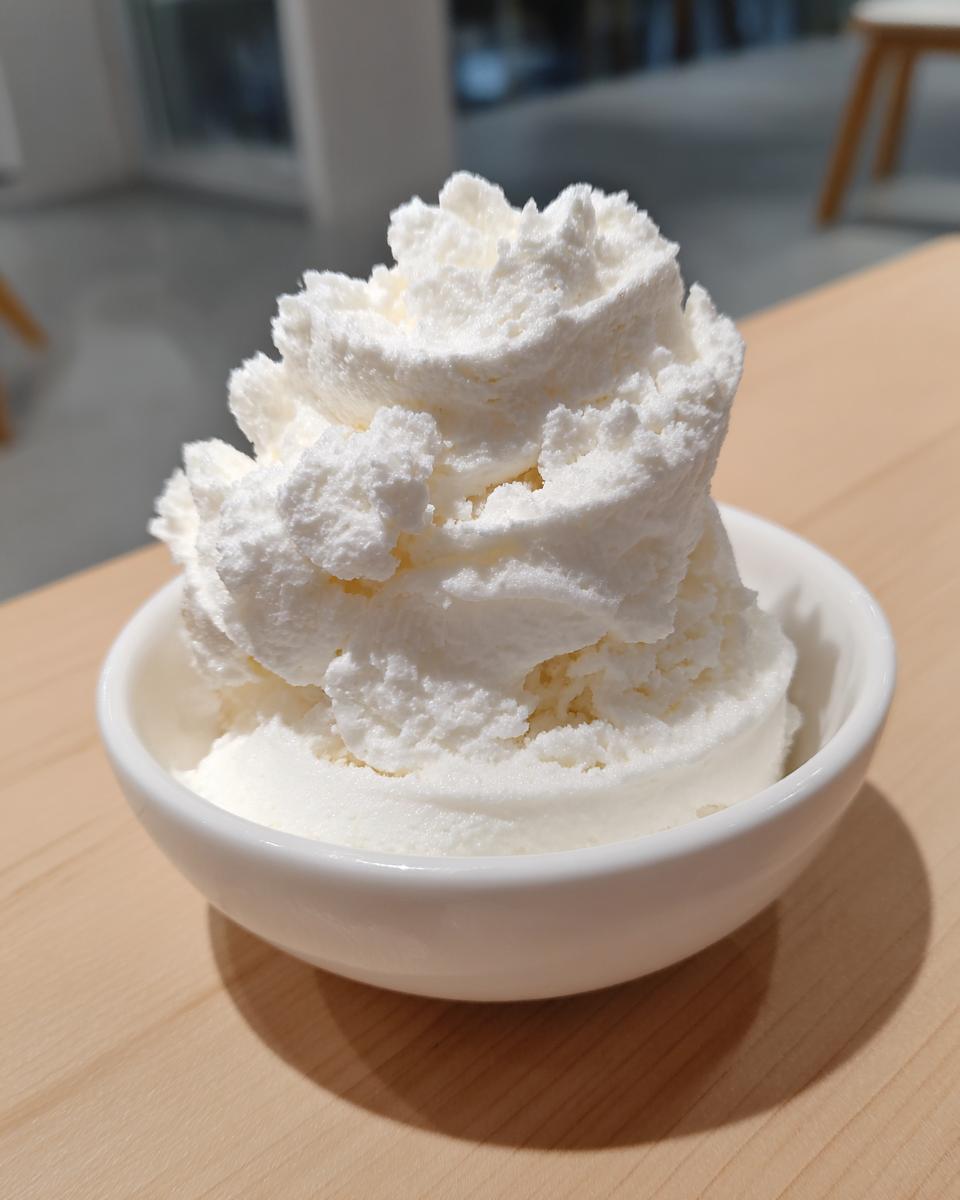
You want to get this into little bowls immediately after folding. It’s glorious right off the spoon like soft-serve—we usually get about 4 servings, just enough for a perfect little winter treat without feeling too heavy. Enjoy it while it’s at its fluffiest!
Storage Limitations
If you have leftovers, well, they are just going to melt into sweet, vanilla-flavored snow water. I know tempting, isn’t it? Resist the urge to try to refreeze it or store it in an airtight container. If you absolutely must save some, put it into a freezer-safe container and check it in an hour, but honestly, the best batch is the one eaten fresh.
Frequently Asked Questions About Making Snow Ice Cream
Is it safe to eat snow for this No Churn Snow Ice Cream?
Safety first, always! You must only use snow that has fallen very recently—within the last hour or two if possible—and it must be clean. Never use snow near busy streets, pathways, or anything that might have runoff that could contaminate it. If you have any doubt about the source, don’t use it, period. That’s the most important rule for enjoying your No Churn Snow Ice Cream.
Can I make this recipe without dairy products?
You certainly can! If you are avoiding dairy, you can use a high-fat, unsweetened plant-based cream like canned coconut cream (the thick part only) or a thick oat-based cream substitute. You’ll still need to mix it with sugar just like we did in the main recipe to make sure everything dissolves properly for that wonderful **Creamy Snow Dessert** mouthfeel.
What is the difference between this and Old Fashioned Snow Cream?
That’s a great question! The oldest versions, what we sometimes call **Old Fashioned Snow Cream**, often involved boiling milk, sugar, and sometimes even eggs together first, letting it cool, and *then* mixing it with the snow. My version is purely for speed—it’s the raw, simple pairing of fresh snow with a sweet liquid base. We skip the cooking entirely!
Nutritional Estimates for Snow Ice Cream
Because we are using fresh snow, which is basically frozen water, the calories really come from the creamy base mix. For a single serving (about one cup) using the heavy cream base, the estimates are generally around:
- Serving Size: 1 cup
- Calories: 250
- Sugar: 25g
- Fat: 15g
- Protein: 3g
Please know these are just estimates! If you use whole milk instead of heavy cream, the fat and calories drop significantly. If you use condensed milk, they go up! It’s all relative to what you mix in.
Share Your Family Snow Day Fun
I would absolutely love to see your creations! Truly, there’s nothing better than seeing families enjoying this tradition. Did you go for the classic vanilla, or did you try a fun flavor swirl? Let me know how your **Family Snow Day Fun** went by rating this recipe below, and if you took any pictures, share them over on social media—tag me! I always have a little peek to see how everyone is enjoying these simple, chilly moments. Want more simple treats? Let me know what I should develop next!
- Why This Easy Snow Ice Cream Recipe Belongs in Your Winter Rotation
- Gathering Ingredients for Your Snow Ice Cream
- How to Make Snow Ice Cream Safely and Perfectly
- Tips for Success with Homemade Ice Cream with Snow
- Serving Suggestions and Storage for Your Winter Dessert Recipe
- Frequently Asked Questions About Making Snow Ice Cream
- Nutritional Estimates for Snow Ice Cream
- Share Your Family Snow Day Fun
Why This Easy Snow Ice Cream Recipe Belongs in Your Winter Rotation
When the snow is falling, you don’t want a complicated recipe; you want instant gratification. This is the absolute best winter treat for getting everyone involved in the kitchen, even if the kitchen itself stays perfectly warm!
Speed and Simplicity: The Ultimate No Cook Ice Cream
I mean it when I say ‘fast’! From gathering the snow to having your first spoonful, we’re clocking in at about five minutes total. It’s the definition of a Quick Winter Dessert, and because there’s zero heat involved, it’s great for when you don’t want to turn on the oven.
Family Snow Day Fun: A Nostalgic Activity
This is hands-down one of my favorite Snow Day Activities. Kids love the novelty of eating snow, and watching them gently fold the base into the flakes is priceless. It’s one of those sweet, central memories we create as home cooks.
Creamy Snow Dessert Texture Achieved Easily
Worried about it tasting like crunchy sugar water? Don’t be! By using the right ratio of cream and sugar dissolved first, we create a wonderfully Creamy Snow Dessert that feels satisfyingly rich, not icy.
Gathering Ingredients for Your Snow Ice Cream
The beauty of this dessert is its simplicity. We rely on the quality of our main ingredient—the snow! Since this is a **Simple Frozen Dessert** that relies on that fresh fluff, we need to be careful about where we source it. Don’t skip the quality check; it’s crucial for a delicious and safe result.
Essential Components for Classic Snow Ice Cream Recipe
For the classic, light vanilla version, you just need these four essentials. They mix perfectly to result in that lovely Vanilla Snow Cream:
- 4 cups fresh, clean snow (Must be fluffy and freshly fallen!)
- 1 cup heavy cream or whole milk (Heavy cream gives you that extra creamy texture, but whole milk is great too!)
- 1/2 cup granulated sugar
- 1 teaspoon vanilla extract
Ingredient Notes and Substitutions for Sweet Snow Recipe
If you want to go extra rich—and who doesn’t?—I highly recommend swapping out the cream and sugar combo for one can of sweetened condensed milk mixed with that one teaspoon of vanilla. It makes for an incredibly luxurious **Sweet Snow Recipe**. Honestly, if you’re aiming for a true, decadent experience, that condensed milk version is the way to go for the best flavor!
How to Make Snow Ice Cream Safely and Perfectly
This is so quick, you’ll barely have time to worry about it melting! Remember, this is a **No Cook Ice Cream**, which means speed is your best friend when combining the components. Seriously, follow these steps exactly, and you’ll have a perfect scoop every time. We’re channeling that pure **Ice Cream from Snow** magic here!
Step 1: Selecting and Preparing the Snow
Okay, this is the most important step, so listen up! You absolutely must get clean snow. Don’t scoop from the bottom drift near the road, and certainly don’t touch anything that looks yellow or grey. I grab clean scoops from the top layer of undisturbed drifts in the backyard. You want that light, fluffy stuff. Use a clean, large mixing bowl—I mean large, because the snow collapses fast—and gently pack in about 4 cups of that fresh fluff.
Step 2: Creating the Creamy Base
While you need clean snow, you also need a flavorful base that’s perfectly smooth. In a separate, smaller bowl, whisk together your heavy cream (or milk), granulated sugar, and vanilla extract. You have to whisk this until you can no longer feel the sugar granules when you rub a little between your fingers. If the sugar isn’t dissolved, your **Homemade Ice Cream with Snow** will end up gritty, and nobody wants gritty ice cream! This pre-dissolving step is absolutely essential for a great texture. It’s all about building flavor right from the start, much like getting the foundation perfect for a great apple crisp.
Step 3: Folding to Achieve Quick Winter Dessert Consistency
Now, pour that sweet cream mixture right over the snow in the big bowl. Grab a sturdy spoon—no whisks here! You need to gently fold the liquid into the snow. You’re not mixing vigorously like you’re beating eggs; you’re just encouraging the cream to hug all those little snow crystals. Work quickly! Once it starts looking thick and almost like soft-serve ice cream, you’re done! Get it into bowls right away to enjoy this fantastic Snow Ice Cream!
Tips for Success with Homemade Ice Cream with Snow
Even though this is one of the easiest recipes ever, melting is our true nemesis. A little planning goes a long way in ensuring you get that signature thick texture rather than a puddle! I’ve made this so many times that I know exactly what to watch out for, and I want your batch to be perfect.
Troubleshooting Melting Issues
If you have a lot of helpers or if your kitchen is unusually warm, that snow starts collapsing quicker than you can fold. If things get soupy before it firms up, don’t panic! That’s totally normal when you’re dealing with something that literally melts into water. If that happens, just pop the whole giant bowl into the freezer for maybe three or four minutes—just a quick chill. Then pull it out and finish folding right away. This trick buys you just enough time to keep that delightful density, and it ensures you get that creamy texture we talked about!
Flavor Boosts and Toppings
Once you nail the basic **Snow Cream Recipe**, you can start playing! Remember, this isn’t like a traditional ice cream where the flavor is baked in; the flavor is added at the end, which gives you so much freedom. We always add some fun stuff right at the very end. Think rainbow sprinkles, mini chocolate chips, or maybe a tiny swirl of caramel sauce—just a drizzle! A little bit of fruit preserve swirled in tastes fantastic too, turning it into a really unique and cozy Winter Dessert Recipe centerpiece. You can check out some other fun flavor ideas over at this great blog for inspiration!
Serving Suggestions and Storage for Your Winter Dessert Recipe
I have to be direct here: this is a made-to-eat-now situation. This is the most simple frozen dessert you’ll ever make, but it doesn’t have binding agents to keep it solid like your typical store-bought pint. That fresh, airy texture from the snow crystals is divine when it’s fresh, but it disappears quickly!
Best Way to Serve Vanilla Snow Cream
You want to get this into bowls immediately after folding in the last bits of cream mixture. Don’t wait! You’ll notice the texture is somewhere between a soft-serve and a fresh snow cone. We usually get about 4 decent servings out of a batch, which is just the right amount for everyone to get a good helping and come back for seconds if they’re fast enough! It’s the perfect grab-and-go treat for warming up after playing outside using your favorite cold drink recipe!
Storage Limitations
If you have leftovers, well, they are just going to melt into sweet, vanilla-flavored snow water pretty quickly. I know it’s tempting to think you can save it for later, but you really can’t. Resist the urge to try to refreeze it or store it in an airtight container in the freezer. It won’t come back the same way, trust me! It will either turn into a solid block of icy milk sugar or just melt into a puddle. The best way to enjoy this **Homemade Ice Cream with Snow** is fresh. If you have a tiny bit left and you’re desperate, maybe put it in a tiny cup and let it freeze solid, but honestly, the best batch is the one eaten right away when you’re still catching your breath from playing in the yard. For more quick recipe ideas, check out the fun inspiration over at this site!
Frequently Asked Questions About Making Snow Ice Cream
It’s totally normal to have questions when you’re using something as unique as snow in your dessert! I hear all the time about safety or consistency, especially when people are trying it for the first time. Here are the things I get asked most often about making our favorite **Quick Winter Dessert**.
Is it safe to eat snow for this No Churn Snow Ice Cream?
This is honestly the most important question, and my answer is always a firm yes, provided you follow the rules! You must only use snow that has fallen very recently—think within the last hour or two if possible—and it has to be clean. Never, ever scoop from the bottom, near roads where car exhaust or salt might have settled, or anywhere the ground looks dirty. I always grab the top, fluffy layer from a spot I know is pristine, maybe under a tree line away from the house traffic. If you stick to that safety rule, your **No Churn Snow Ice Cream** will be pure delight!
Can I make this recipe without dairy products?
Oh yes, absolutely! We want everyone to enjoy this fun treat. If you are avoiding dairy, the key is finding a substitute that is thick enough to carry the sweetness and sugar throughout the snow crystals. You can definitely use full-fat canned coconut milk—just scoop out that thick cream layer that rises to the top. Alternatively, a very thick, unsweetened plant-based cream works wonders too. Using one of these will help you maintain that gorgeous, almost unbelievably **Creamy Snow Dessert** texture without needing traditional heavy cream!
What is the difference between this and Old Fashioned Snow Cream?
That’s a fantastic query! The **Old Fashioned Snow Cream** traditions I’ve heard about usually involve a little more elbow grease. Historically, folks would sometimes cook the sugar and milk together first, let it cool down—sometimes even adding eggs—and *then* mix that slightly thickened, cooked mixture into the snow. Our recipe is designed for maximum speed and minimal effort. We skip all cooking, skipping the cooling time, and just rely on dissolving the sugar directly into fresh cold cream right before we fold it into the snow. It keeps the whole thing a true, 5-minute project, perfect for those cold afternoons when you need a fast treat.
Nutritional Estimates for Snow Ice Cream
I always get asked about the nutrition, especially since this is basically snow mixed with sugar and cream! Since fresh snow is essentially frozen water, most of the calories and fat are coming straight from that yummy liquid base we mix up. Please keep in mind, these numbers are just estimates based on the standard recipe using heavy cream, not the condensed milk variation, which would be richer!
- Serving Size: 1 cup
- Calories: 250
- Sugar: 25g
- Fat: 15g
- Protein: 3g
If you swap out the heavy cream for whole milk, you’ll see those fat and calorie counts drop down quite a bit. Similarly, if you opt for the secret weapon—sweetened condensed milk—you’ll notice the sugar content increases significantly! It’s a trade-off for that extra decadence, right? It’s a treat, so enjoy it—we’re only making this when the weather demands it!
Share Your Family Snow Day Fun
Oh, I truly hope you gave this a try! There’s nothing that makes my day more than knowing one of my simple recipes brought a little bit of unexpected joy to someone’s home. If you made this **Simple Frozen Dessert** and your family enjoyed turning their backyard into a five-minute dessert bar, I would absolutely love to hear about it!
Did you go with the classic vanilla, or did you get adventurous and add some cocoa powder or maybe a swirl of jam during the folding process? Life is too short for boring desserts, right? I really want to see how your **Family Snow Day Fun** turned out. Don’t be shy—go ahead and rate this **Snow Ice Cream** recipe below, and if you snapped a picture of the mixing process or your kids enjoying their scoops, please share it! You can tag us or reach out directly through my Contact Page.
If you enjoyed this, you might also love checking out some of the creative takes on simple winter treats I found over at this heartfelt baking blog. Keep cozy, keep cooking, and I’ll see you in the next post!
PrintEasy Snow Ice Cream Recipe: A Nostalgic Winter Treat

Learn how to make creamy, sweet snow ice cream using fresh, clean snow and simple pantry ingredients. This no-cook recipe is a fun, quick winter dessert perfect for family snow days.
- Prep Time: 5 min
- Cook Time: 0 min
- Total Time: 5 min
- Yield: 4 servings 1x
- Category: Dessert
- Method: No Cook
- Cuisine: American
- Diet: Vegetarian
Ingredients
- 4 cups fresh, clean snow
- 1 cup heavy cream or whole milk
- 1/2 cup granulated sugar
- 1 teaspoon vanilla extract
Instructions
- Gather your snow. You must use fresh, clean snow that has fallen recently. Avoid snow near roads or areas where it might have picked up dirt or pollutants. Place the snow in a large bowl.
- In a separate bowl, whisk together the heavy cream (or milk), sugar, and vanilla extract until the sugar dissolves completely. This mixture is your ice cream base.
- Pour the cream mixture over the snow in the large bowl.
- Use a sturdy spoon or spatula to gently fold the cream mixture into the snow. Work quickly to prevent the snow from melting too fast. Continue folding until the mixture thickens and resembles soft-serve ice cream.
- Serve the snow ice cream immediately in bowls.
- For variations, you can substitute the milk/cream mixture with one can of sweetened condensed milk mixed with 1 teaspoon of vanilla for a richer flavor.
Notes
- Always select snow from an area you know is clean and safe for consumption.
- If the mixture melts before reaching the right consistency, place the bowl in the freezer for a few minutes to firm it up slightly, then continue mixing.
- Add toppings like sprinkles, chocolate chips, or fruit preserves for extra flavor.
Nutrition
- Serving Size: 1 cup
- Calories: 250
- Sugar: 25g
- Sodium: 30mg
- Fat: 15g
- Saturated Fat: 9g
- Unsaturated Fat: 6g
- Trans Fat: 0g
- Carbohydrates: 27g
- Fiber: 0g
- Protein: 3g
- Cholesterol: 45mg