
There is just something magical about homemade candy, isn’t there? That rich, dense, satisfying flavor that never seems to come out right when you buy it packaged. Well, friends, I’m cutting through the confusion today! If you’re hunting for the absolute best, most foolproof, and quickest treat to satisfy that craving, you need this ultimate easy no-bake rocky road fudge. Seriously, this recipe is my secret weapon for the holidays. When things get hectic, I turn to this simple fudge because it delivers maximum decadence with minimum effort. We are talking about a genuine quick sweet fix that tastes like you spent hours on it, but I promise you, you didn’t! I want you to feel the confidence of mastering a decadent confection, which is why I packed this recipe with the simplest steps possible. Head over to my guide on easy holiday treats for even more inspiration!
- Why This Rocky Road Fudge is Your New Favorite Easy Fudge Recipe
- Essential Ingredients for Perfect Rocky Road Fudge
- Simple Fudge Tutorial: Step-by-Step Instructions for Rocky Road Fudge
- Tips for Success Making Velvety Chocolate Fudge
- Make Ahead Holiday Dessert and Storage for Rocky Road Fudge
- Serving Suggestions for This Classic Rocky Road Candy
- Frequently Asked Questions About Easy Holiday Treats
- Nutritional Estimates for Your Rocky Road Fudge
- Share Your Rocky Road Fudge Creations
Why This Rocky Road Fudge is Your New Favorite Easy Fudge Recipe
As someone who believes cooking shouldn’t be stressful, I developed this recipe because it truly delivers on foolproof results. You get that rich, deep, velvety chocolate fudge taste without ever turning on the stove. It might just be the easiest fudge recipe I’ve ever shared. It’s truly amazing how good something this simple can be!
- It’s completely no-bake, which saves oven space during busy holiday baking weeks.
- It’s perfect for turning into beautiful Christmas fudge gifts—just wrap them up!
- The texture is consistently smooth, thanks to the simple melting method.
If you absolutely love quick treats, you should definitely check out my recipe for no bake fudge alternatives too.
Quick Sweet Fix: Ready Fast with Minimal Effort
Seriously, you have to see the clock when you make this. The active time is less than 10 minutes! We use the microwave which is such a game-changer for a quick chocolate dessert. You melt the chocolate, stir everything together, and you’re done. It’s the ultimate fuss free dessert when that sweet craving hits hard. Just give it two hours to chill, and you are enjoying decadent chocolate squares!
Essential Ingredients for Perfect Rocky Road Fudge
Okay, let’s talk ingredients! What I love most about this rocky road fudge is that it relies on just a few things you probably already have hanging out in your pantry or freezer. This keeps the recipe accessible and truly proves you don’t need a huge shopping list for amazing homemade candy. We aren’t getting fancy here; we are getting delicious and efficient!
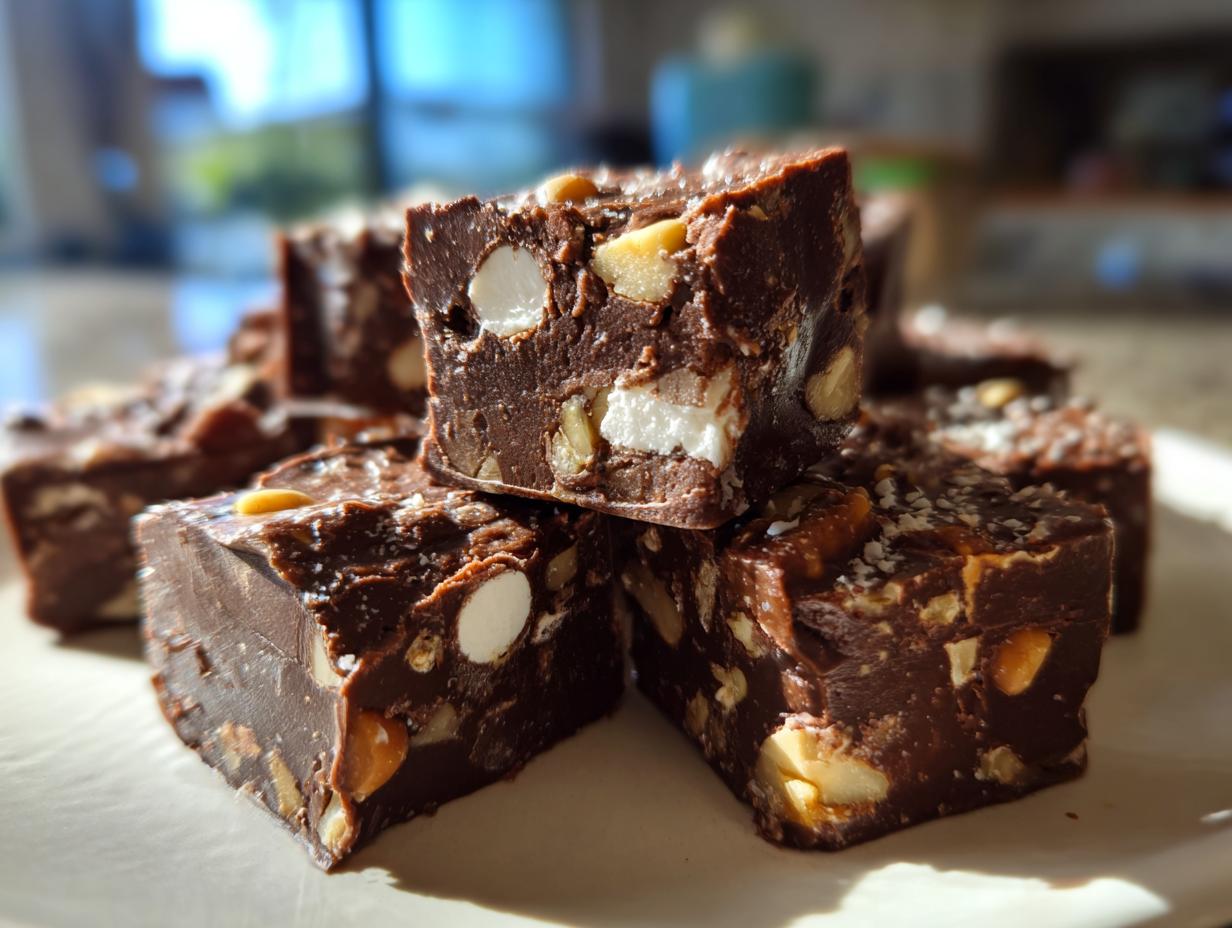
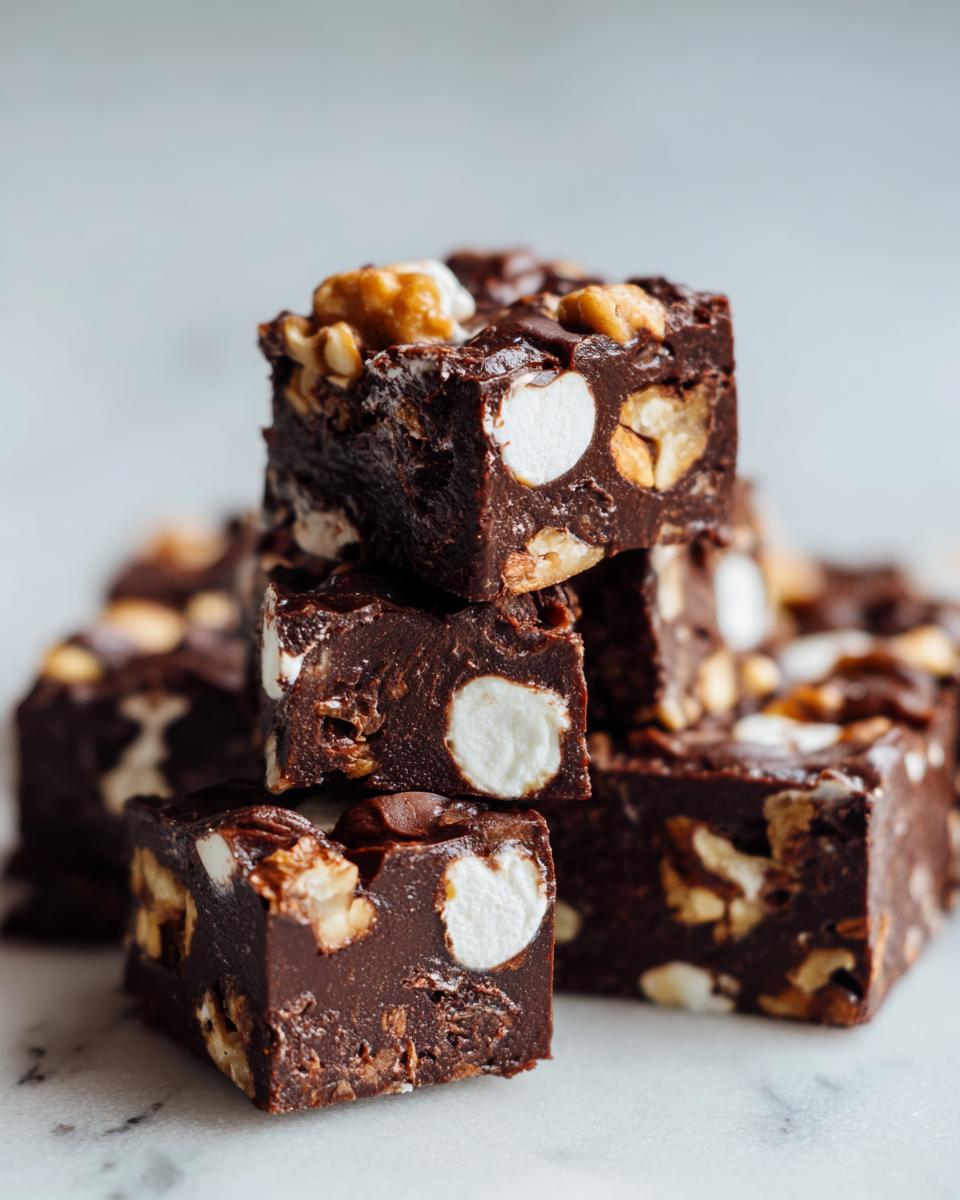
See the full list below, but just know that the magic comes from the combination of chocolate, the fluffy texture of the marshmallows, and the bite of the nuts. Remember, while we keep the ingredient count low, the flavor payoff is huge!
Ingredient Notes and Substitution Tips for Marshmallow Nut Fudge
Since we are relying on so few components, quality really matters here. Don’t skimp on your chocolate chips! If you use a higher quality semi-sweet chip, you’ll get a much smoother, richer melt, which is crucial for that velvety chocolate fudge look we want. For the nuts, the recipe calls for walnuts or pecans, but if you have a different favorite—like almonds—go right ahead! This is your marshmallow nut fudge, after all. Just make sure they are freshly chopped so they mix in evenly. Using good chocolate is the main factor in achieving the best homemade fudge texture. Trust me on this one!
Simple Fudge Tutorial: Step-by-Step Instructions for Rocky Road Fudge
Now for the fun part—assembly! I truly believe this simple fudge tutorial is what sets this recipe apart. There is zero complex tempering or stirring over a double boiler required unless you want to, though I’ll give you that option later. For the quickest result that still gives you that gorgeous, decadent chocolate squares texture, we are going straight for the microwave. It’s fast, it’s fuss-free, and it works like a dream!
Just follow these steps closely, and you’ll have your rocky road fudge setting perfectly in no time. Remember, this is your beginner entry point into homemade candy! You’ve got this!
Preparing the Pan and Melting Chocolate for Microwave Fudge Recipe
First things first: get your 8×8 pan ready. I always recommend lining it with parchment paper, letting it overhang on two sides like little handles. This makes lifting the hardened fudge out so simple later—no wrestling required! If you don’t have parchment handy, just spray it really well with cooking spray. Next, combine your sweetened condensed milk and both types of chocolate chips in a substantial, microwave-safe bowl. Now, here’s the key to the microwave fudge recipe: heat in short bursts. Start at 30 seconds on high. Pull it out, stir it thoroughly, then put it back for another 30 seconds. Keep doing this until it’s *just* melted and smooth. Stirring really well between those 30-second blasts incorporates air and prevents scorching the bottom. It usually takes me about 1.5 to 2 minutes total.
Folding in Mix-ins and Setting Your Decadent Chocolate Squares
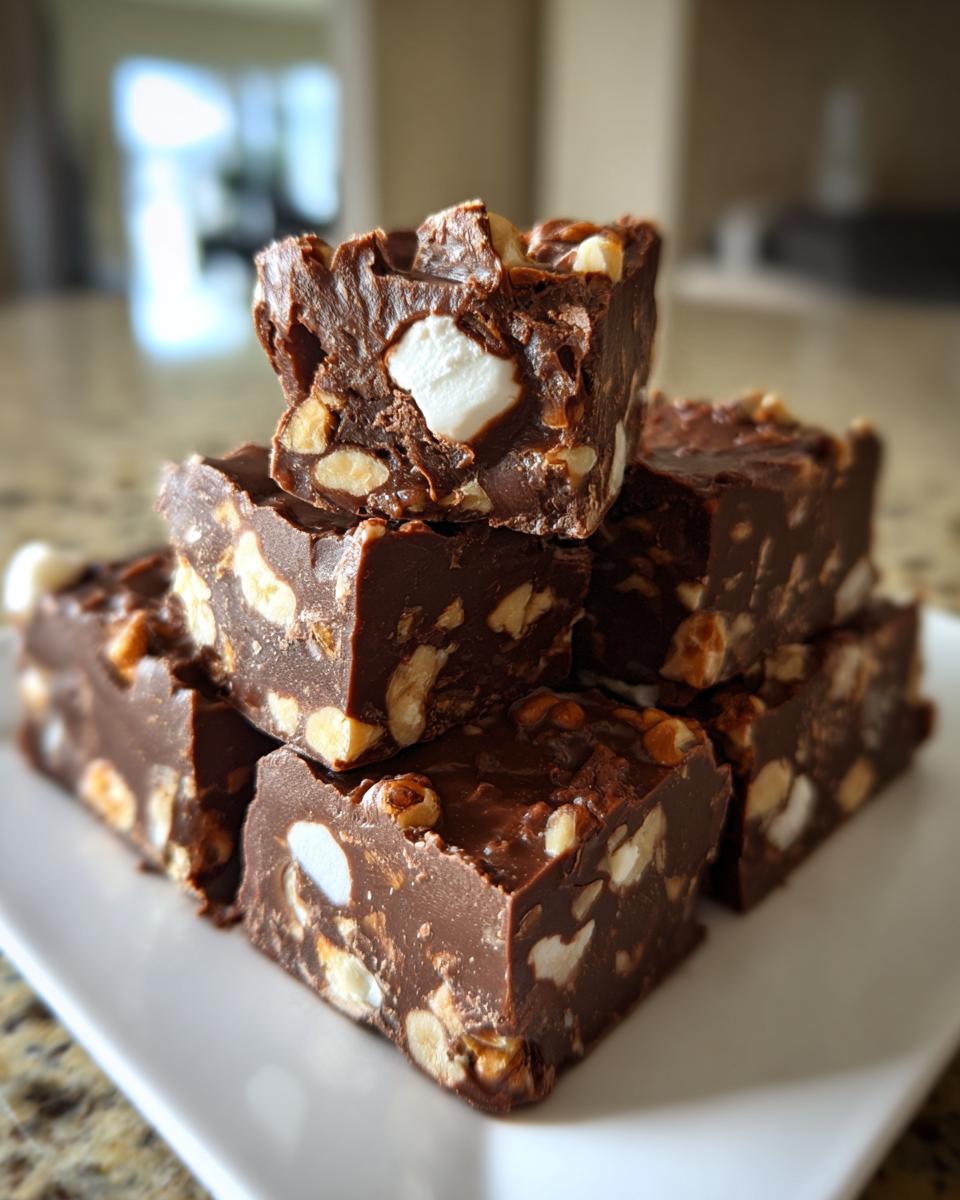
Once that chocolate looks glossy and velvety smooth, stir in your vanilla and salt. Now, move quickly! This is the moment you add your two cups of mini marshmallows and your cup of chopped nuts. Use a spatula to gently fold them in. Don’t stir too vigorously, or those marshmallows will start breaking down and melting into the chocolate base instead of staying nice and distinct. Gently press the whole sticky, bumpy mixture evenly into the pan you prepared earlier. It’s going to look thick! Pop that pan into the refrigerator for at least two hours. Honestly, try to leave it for three if you can! This chilling time is non-negotiable for getting clean cuts for your chocolate dessert bars.
For more tips on easy cooking that fits into a busy life, check out my thoughts on simple weeknight dinners!
Tips for Success Making Velvety Chocolate Fudge
Even with such an easy fudge recipe, sometimes things can go a tiny bit sideways, right? I want you prepared! If your melted chocolate ever looks a little grainy—which usually happens if it overheats—don’t panic. Just stir in an extra teaspoon of warm milk or even coconut oil to help bring that glossy texture back. It often works wonders!
When folding in those marshmallows, as I mentioned, speed is your friend. If they start to melt before you transfer the mixture to the pan, the outside of your fudge won’t have those lovely, chewy pockets. If you’re nervous about the microwave heating too quickly, try the double boiler method I put in the notes. It’s slower, yes, but it gives you total control over achieving that perfect velvety chocolate fudge base. It’s one of my favorite tricks for any chocolate melting, really. Don’t forget to look at how to make my best fudgy, chewy chocolate crinkle cookies for another simple weeknight treat!
Make Ahead Holiday Dessert and Storage for Rocky Road Fudge
One of the best perks of this fantastic rocky road fudge is that it’s designed to be a make ahead holiday dessert stunner! Since it just needs to chill to set up, you can make this entire batch days before your party so you aren’t stressing on the day. If you’re bagging these up for Christmas fudge gifts, you get to seal the deal without any last-minute baking chaos.
For storage, keep it simple. This is straightforward homemade candy, so it does great at room temperature in an airtight container—up to a week! I usually keep mine on the counter unless the kitchen gets really warm. If you need it to last longer, definitely pop it in the fridge. It stays wonderfully fudgy even when cold, and it’s always ready when you need a fuss free dessert!
Need to get some other baking done? Feel free to check out my recipe for Christmas sprinkle sugar cookies for more holiday prep ideas!
Serving Suggestions for This Classic Rocky Road Candy
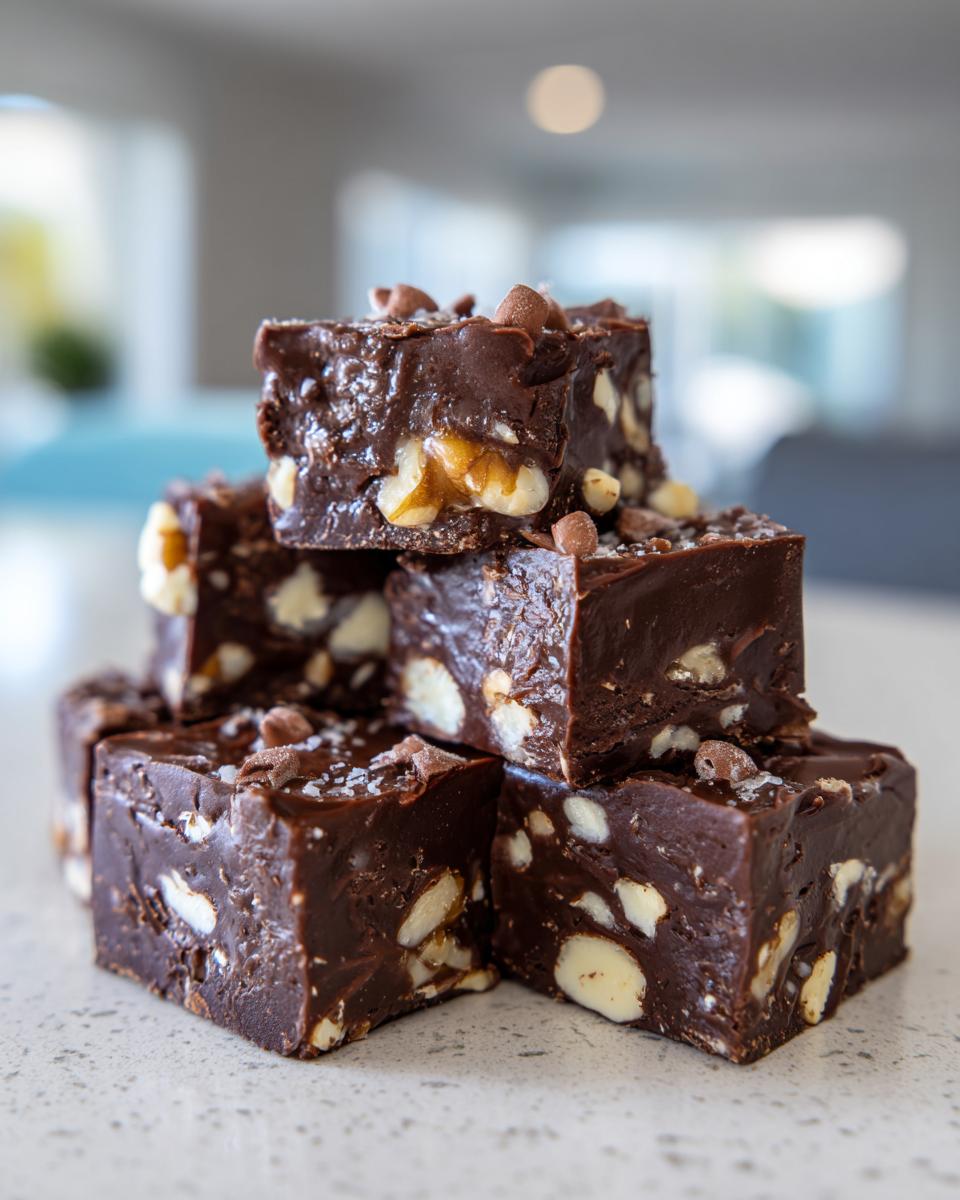
Once your rocky road fudge is firm and you’ve cut those beautiful little squares, it’s time to serve! Because this is such a rich chocolate dessert bar, a little goes a very long way. For parties, I always cut them petite—think one-inch bites. They go incredibly fast on a platter, especially when you mix them with some plain pretzels for a little salty contrast.
This classic rocky road candy is also my absolute favorite accompaniment to a freshly brewed cup of coffee in the afternoon. The deep chocolate flavor just sings next to a strong roast. If you’re looking for other sweet bites to put out, you have to check out my tips for the best homemade cinnamon buns recipe!
Frequently Asked Questions About Easy Holiday Treats
I get so many questions about this recipe, especially from folks trying out their first batch of homemade candy. It’s totally understandable if you have doubts when diving into fudge recipes for beginners! Here are the ones I hear most often when people are gearing up for their Christmas fudge gifts.
Can I substitute the nuts or marshmallows?
Yes, absolutely! If you aren’t a fan of walnuts or pecans, feel free to use sliced almonds—they give a lovely subtle crunch. The key is to keep the volume similar so you maintain the right ratio of mix-ins to chocolate. And please, use mini marshmallows. The regular-sized ones just don’t mix in as smoothly, and they take up too much space! My main advice for any easy fudge recipe is to stick close to the main chocolate and milk ratios.
My chocolate looks a bit dull, how do I make my fudge shiny?
That dull look usually means the chocolate got a little bit too warm, or maybe some condensation got introduced during cooling. You want that gorgeous, glossy finish! For the best shine, make sure you don’t overheat your chocolate in the microwave—stop stirring when you still see a few tiny lumps, then let the residual heat melt those last bits. Also, try to avoid opening the fridge door to check on it too frequently while it’s setting! A quick chill in an airtight container helps lock in that velvety finish.
Can I freeze this rocky road fudge?
You certainly can! While I prefer keeping this quick chocolate dessert refrigerated or at room temperature, freezing works great if you are making a huge batch early. Wrap individual squares tightly in plastic wrap first, then place them in a freezer-safe, airtight bag or container. It keeps well for up to three months. When you want to enjoy some, let it thaw slowly in the refrigerator overnight before bringing it out to room temperature. It stays delicious!
If you are looking for other quick ideas for fueling your mornings, take a peek at my tips for easy breakfast recipes!
Nutritional Estimates for Your Rocky Road Fudge
Now, I know what some of you are thinking: this rocky road fudge is pure indulgence, and I agree! Chocolate, marshmallows, nuts—it’s heaven! But for those who like to track, I always like to give you a general idea of what’s in each square. Keep in mind that since this is a home recipe, we’re using standard packaged ingredients, so these numbers are going to be estimates.
This breakdown is based on cutting the batch into 36 small squares. If you cut them larger, those numbers will obviously jump up! If you’re making this for a party, they disappear so fast you won’t even have time to worry about it, but it’s good information to have!
- Serving Size: 1 square
- Calories: About 180
- Sugar: 22g (That molasses in the chocolate chips adds up, friends!)
- Fat: 10g total
- Protein: Around 3g
It’s an honest representation for a rich, homemade candy. We’re getting a little bit of goodness from that satisfying protein in the nuts, but mostly, we are enjoying a decadent, fuss free dessert. I always say, life is too short not to enjoy a little bit of amazing, simple fudge now and then!
Share Your Rocky Road Fudge Creations
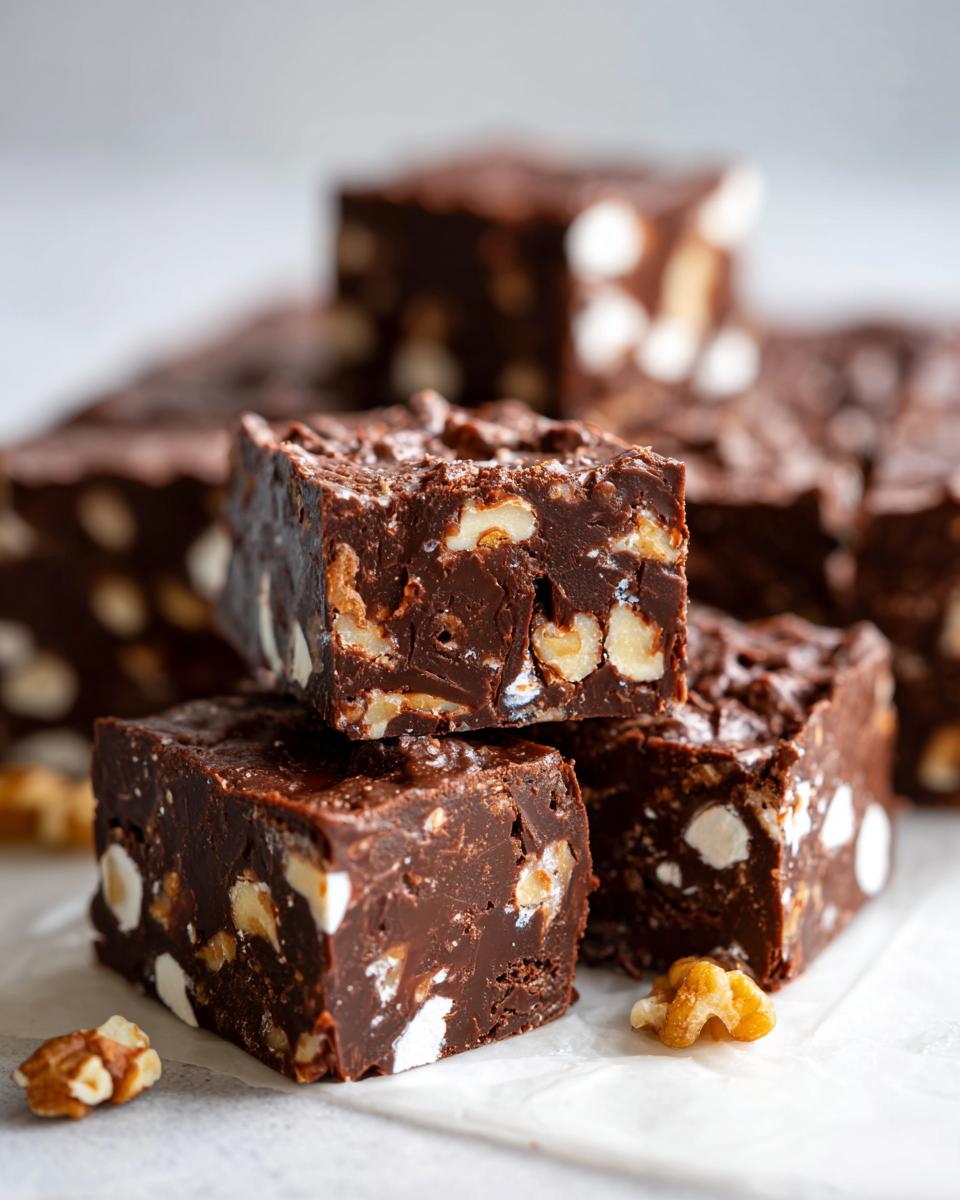
Alright, my friends, now the fun part is over to you! You’ve made the ultimate easy fudge recipe—your own batch of gorgeous, jiggly, textured rocky road fudge. I sincerely hope you found it as fast and simple as I promised! I can’t wait to hear how they turned out for you. Did you manage to keep your hands out of the pan while it was chilling? Did the microwave method make life easier for you?
Please, please, please drop a comment down below! Tell me what nuts you went with (pecans or walnuts—the eternal debate!). If you end up packaging these little squares up for your family or friends, I would absolutely love to see a picture! It truly makes my day when I see your creations inspired by the kitchen. You can always reach out to me directly using the contact page if you have a specific question or just want to share a win.
And if this recipe was a hit and earned a permanent spot on your recipe rotation, consider giving it a rating right there on the page. Your feedback helps other home cooks feel confident trying out this incredibly quick and satisfying marshmallow nut fudge. Happy cooking, and enjoy every single decadent bite!
PrintUltimate Easy No-Bake Rocky Road Fudge (Microwave Option Included)

Make this simple, rich Rocky Road Fudge using a quick microwave method. This no-bake recipe combines chocolate, marshmallows, and nuts for a decadent homemade candy perfect for holiday gifts or a quick sweet fix.
- Prep Time: 10 min
- Cook Time: 5 min
- Total Time: 2 hours 15 min
- Yield: 36 small squares 1x
- Category: Dessert
- Method: No-Bake (Microwave)
- Cuisine: American
- Diet: Vegetarian
Ingredients
- 1 (14 ounce) can sweetened condensed milk
- 2 cups semi-sweet chocolate chips
- 1 cup milk chocolate chips
- 1 teaspoon vanilla extract
- 1/2 teaspoon salt
- 2 cups mini marshmallows
- 1 cup chopped walnuts or pecans
- Cooking spray or parchment paper for an 8×8 inch pan
Instructions
- Prepare an 8×8 inch baking pan by lining it with parchment paper or lightly coating it with cooking spray. Set aside.
- In a microwave-safe bowl, combine the sweetened condensed milk, semi-sweet chocolate chips, and milk chocolate chips.
- Microwave on high in 30-second intervals, stirring well after each interval, until the chocolate is completely melted and the mixture is smooth. This usually takes 1.5 to 2 minutes total.
- Stir in the vanilla extract and salt until combined.
- Gently fold in the mini marshmallows and the chopped nuts. Work quickly so the marshmallows do not melt completely.
- Press the fudge mixture evenly into your prepared pan.
- Refrigerate for at least 2 hours, or until the fudge is firm enough to cut.
- Lift the fudge out of the pan using the parchment paper overhang. Cut into small squares. This makes a great Christmas fudge gift.
Notes
- For a smoother texture, you can melt the chocolate and milk in a double boiler instead of the microwave.
- If you prefer a different nut, almonds work well in this marshmallow nut fudge.
- Store the finished fudge in an airtight container at room temperature for up to one week, or in the refrigerator for longer storage.
Nutrition
- Serving Size: 1 square
- Calories: 180
- Sugar: 22g
- Sodium: 45mg
- Fat: 10g
- Saturated Fat: 6g
- Unsaturated Fat: 4g
- Trans Fat: 0g
- Carbohydrates: 23g
- Fiber: 1g
- Protein: 3g
- Cholesterol: 10mg