
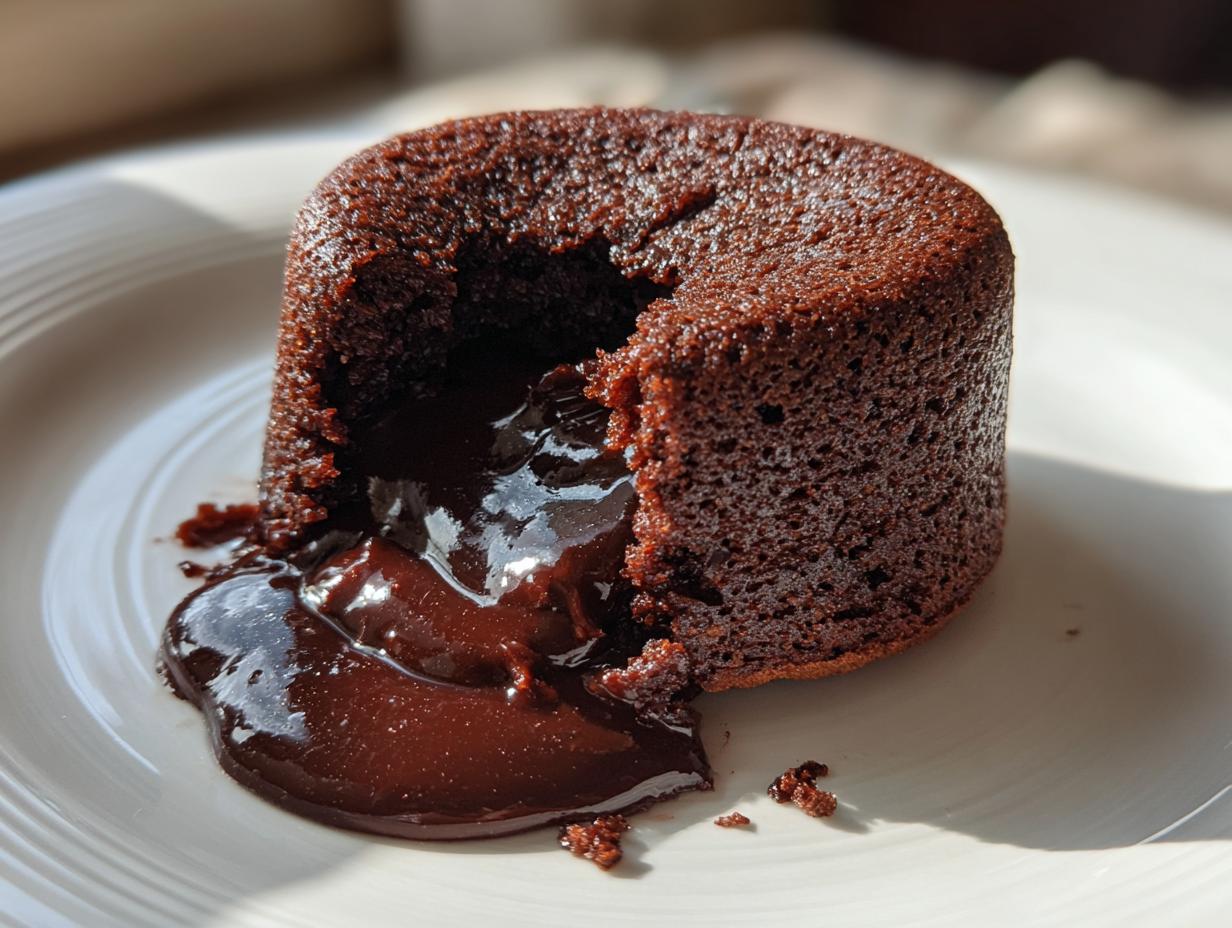
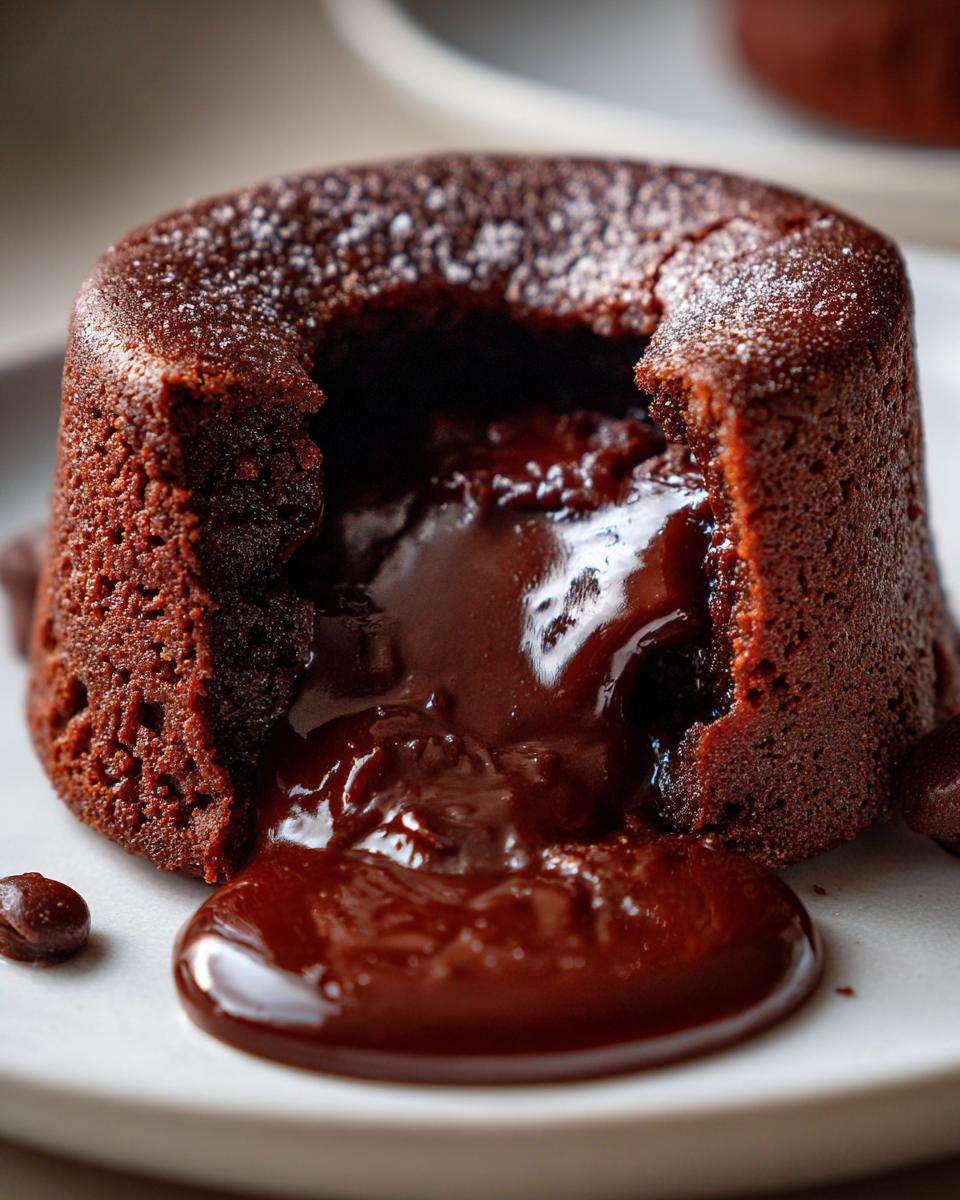
There is nothing quite like that moment, right? You slide your fork into the soft edge of what looks like a perfect little cake, and suddenly, a stream of warm, liquid chocolate flows out onto the plate. That moment—that sheer, unbelievable chocolate magic—is exactly what we are chasing today. I’m Aria, and I remember being so intimidated by restaurant desserts, thinking they required chef magic. Not for this! My specialty is taking something totally decadent, like this Foolproof Classic Chocolate lava cake, and making it work in your kitchen in under 30 minutes. Forget fussy techniques; this recipe guarantees that gorgeous, molten center every single time. Seriously, 24 minutes total, and you are in heaven. If you love this chocolate commitment, make sure you check out my tutorial for thick and chewy chocolate chip cookies too!
- Why This Is the Best Lava Cake Recipe You Will Ever Make
- Ingredients for Your Classic Chocolate Lava Cake
- Equipment Needed for Individual Chocolate Cakes
- How to Prepare Your Quick Lava Cake Recipe Step-by-Step
- Tips for Success: Mastering the Decadent Chocolate Dessert
- Make-Ahead and Storage for Your Lava Cake
- Serving Suggestions for Your Warm Chocolate Pudding Cake
- Frequently Asked Questions About Making Lava Cake
- Estimated Nutritional Data for One Chocolate Lava Cake
Why This Is the Best Lava Cake Recipe You Will Ever Make
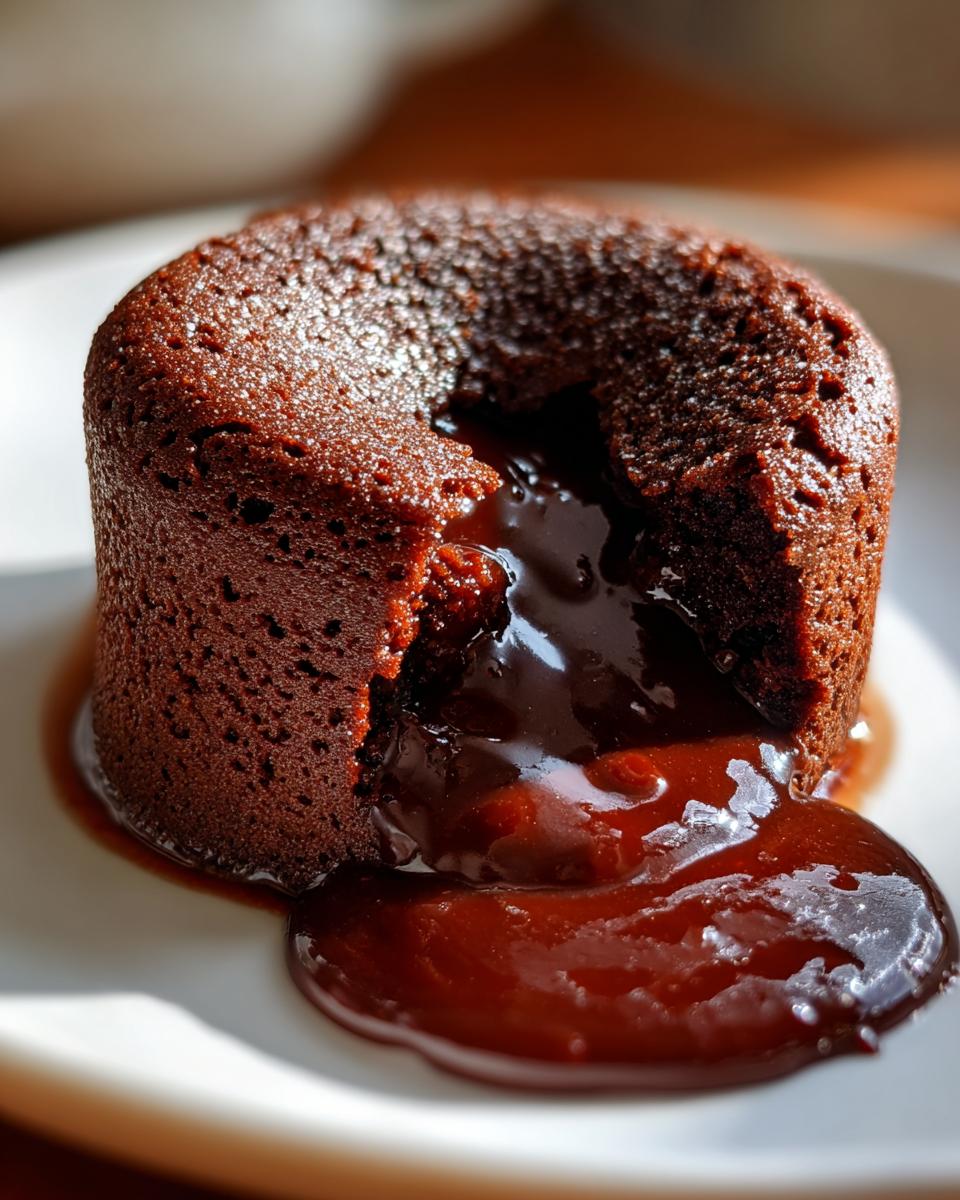
Look, I’ve burnt enough chocolate in my life to know the difference between a recipe that *might* work and one that you can rely on when you need a guaranteed showstopper. This Molten Chocolate Cake is that reliable recipe. Seeing those crisp edges and knowing a perfect, silky river of chocolate is waiting inside? That’s what makes you feel like you’re serving a Restaurant Style Dessert at Home, but it only took me 24 minutes total to get there. When I first nailed this ratio of eggs to bittersweet chocolate, I almost shouted! It’s the perfect balance, truly.
Achieving the Perfect Gooey Center Dessert
The secret to that incredible flow—that signature Gooey Center Dessert experience—is all about the eggs and the time. We use two whole eggs plus two extra yolks. Those extra yolks add richness and help keep that center soft. Then, we bake it hot and fast, between 12 and 14 minutes. If you go past that, you’re just baking smaller cakes! Don’t mess with the timing; that’s when the magic happens. Need a non-chocolate drink pairing? My homemade lemonade recipe is surprisingly good against the richness!
Ingredients for Your Classic Chocolate Lava Cake
When it comes to this decadent chocolate lava cake, don’t skimp on the quality of your chocolate—it really is the star here. We need just a few powerhouse ingredients to get that rich, melt-in-your-mouth texture. Below are the essentials for four of these lovely individual chocolate cakes. Remember to have your butter softened for greasing the ramekins! If you’ve mastered this, you might want to try my recipe for a super easy 5-minute chocolate dip next.
- 4 ounces bittersweet chocolate, chopped finely
- 4 ounces unsalted butter
- 2 large eggs
- 2 large egg yolks
- 1/4 cup granulated sugar
- 2 tablespoons all-purpose flour
- A tiny pinch of salt
- Unsweetened cocoa powder, for dusting the ramekins
- Butter, softened, for greasing the ramekins
Ingredient Notes and Substitutions for your lava cake
Because this recipe has so few components, that bittersweet chocolate makes all the difference. Use a good quality bar; trust me, you can taste the difference versus chips! If you wanted to experiment—and I do love a good variation—you can easily turn this into a Nutella dessert idea. Just swap out one ounce of the chopped bittersweet chocolate for one ounce of Nutella when you melt it together with the butter. It really pumps up the richness!
Equipment Needed for Individual Chocolate Cakes
You don’t need a specialized tool kit for this dessert, thank goodness! Since we are making these individual chocolate cakes, the most crucial piece of equipment you need are the ramekins. I always use four 6-ounce ramekins for this recipe. If you use a different size, you’ll have to adjust that delicate baking time we talked about, so the standard ones are best for beginners.
You’re also going to need a solid baking sheet to set those ramekins on—this just makes them way easier to move in and out of that hot oven. And because we are dealing with melted chocolate, grab a heatproof bowl and something to set it over for a double boiler situation. If you’re looking for other small-batch treats, you should totally check out my recipe for chocolate brownie cookies!
How to Prepare Your Quick Lava Cake Recipe Step-by-Step
Okay, this is the action phase! Since this is a Quick Lava Cake Recipe, preparation is everything. We need things ready to go because once the batter is mixed, it needs to hit that hot oven immediately. You absolutely have to preheat your oven to 425°F before you even think about melting chocolate. Trust me on this one; a slow preheat means a less impressive center later on. Make sure those ramekins are prepped *first*!
Preparing the Ramekins for Easy Release
This step is non-negotiable, seriously. If you skip it, your beautiful little creation might stick and tear when you try to plate it. Take your softened butter and grease the inside of all four ramekins generously—get into the corners. Then, grab your cocoa powder and dust them thoroughly. You want a nice, even coating all over the butter. Tap out the excess sharply over the sink. That cocoa acts like a non-stick armor for your chocolate cake!
Melting Chocolate and Butter Correctly
Next up, the flavor foundation! Set up your double boiler—that means a heat-proof bowl sitting snugly over a saucepan that has just a tiny simmer of water underneath. Never let the water touch the bottom of the bowl, or you’ll scorch that beautiful chocolate. Gently stir the bittersweet chocolate and butter together until they are completely smooth and glossy. Once melted, pull that bowl off the heat right away to cool down just a touch while you whisk those eggs. If the chocolate is too hot when you mix it with the eggs, you’ll end up with chocolate scrambled eggs, and nobody wants that! Once you get that batter mixed up—and remember to only fold the flour in gently—get it into the prepared ramekins and into the oven fast. After baking, only wait one minute before inverting! That short time is key to keeping things molten. If you want to see another quick chocolate treat, peep my recipe for chocolate eclair cake!
Tips for Success: Mastering the Decadent Chocolate Dessert
Creating a truly perfect, mind-blowing Decadent Chocolate Dessert like this lava cake comes down to timing, timing, timing. Here’s where I get a little obsessive, but you’ll thank me when you see the results! When you check on those cakes around the 12-minute mark, resist the urge to open that oven door wide. Every time you do that, you’re blasting the heat away, and the center might never set correctly. Just peek quickly through the glass!
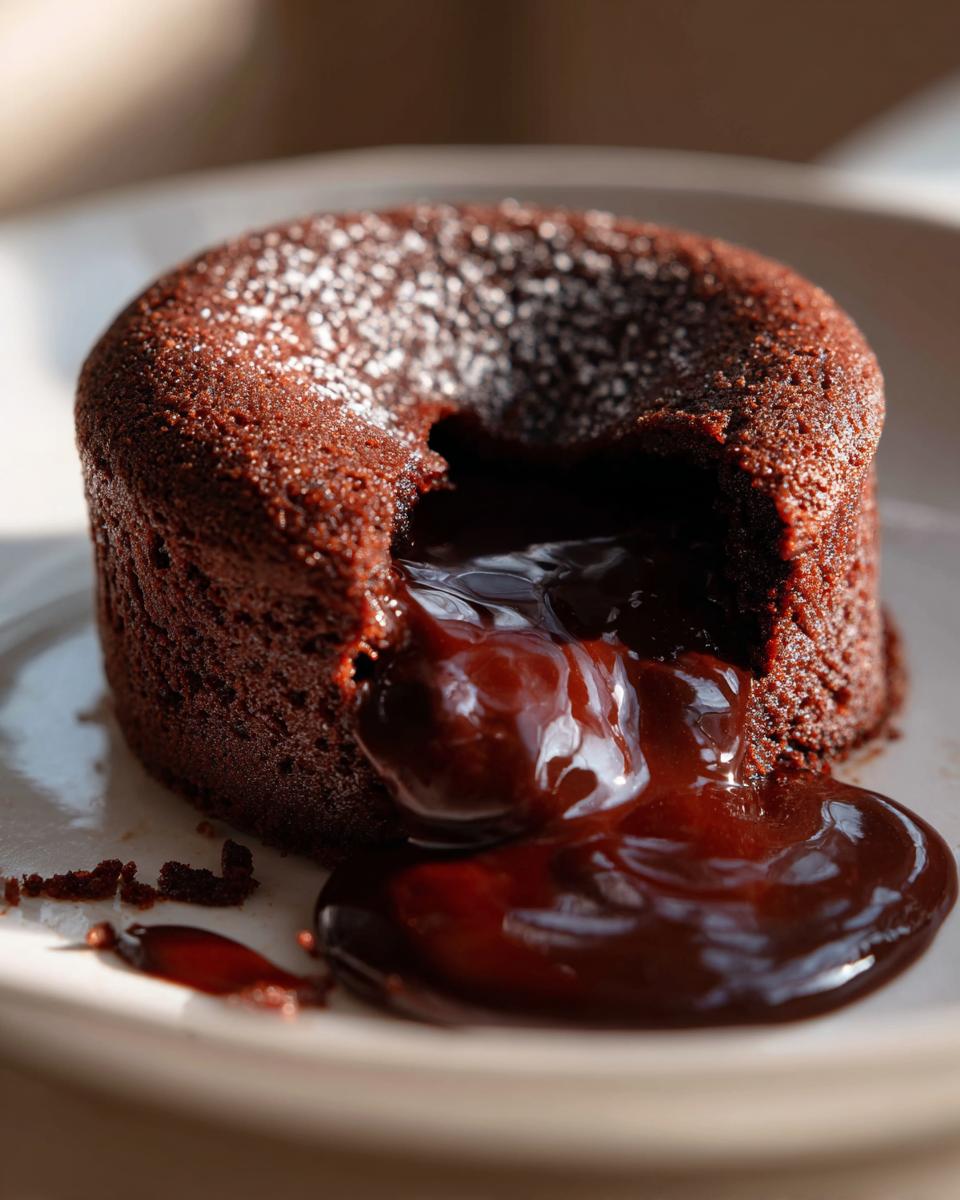
You are looking for edges that are clearly baked—they should look matte and slightly pulled away from the ramekin walls. But the center? It better still have a little shimmy to it when you gently nudge the baking sheet. That means the inner liquid chocolate pudding is protected! Once they are out, you have to plate them immediately. If they sit too long, that residual heat keeps cooking the center, and boom—you’ve got a brownie instead of a lava cake. Serve it warm; that’s the whole point!
If you want to elevate this even further for your guests, try whipping up a batch of my homemade onion dip for an appetizer. Wait, no, for pairing purposes, maybe stick to vanilla ice cream!
Make-Ahead and Storage for Your Lava Cake
One of the best things about this easy chocolate dessert is that it’s totally fine to prep ahead of time. Honestly, planning is how you enjoy making dinner parties! You can totally fill up those prepared ramekins with the batter, cover them tight with plastic wrap, and stick them right in the fridge. They hold up beautifully for up to 24 hours—perfect for making the day before your big date night!
Now, here’s the catch with making your lava cake ahead: you have to adjust your baking when it’s time to eat. If you bake them straight from the refrigerator (which is still cold), that oven heat takes longer to penetrate to the middle. You must add 2 to 3 minutes to the baking time we discussed. I’d start checking them at the 14-minute mark if they are cold, just so you don’t accidentally bake out all that gloriously gooey center! This makes serving that hot, melt-in-your-mouth chocolate dessert so much less stressful on the day itself.
If you have leftovers—which sometimes happens if I make a double batch—store the finished, cooled cakes in an airtight container at room temperature for about two days. Reheating is tricky because you don’t want to overcook the molten part, so I usually just zap the cooled cake for about 15 seconds to warm it up gently. If you want to practice making something else ahead of time, try my recipe for easy cinnamon butter!
Serving Suggestions for Your Warm Chocolate Pudding Cake
Okay, the oven timer just buzzed, and you’ve successfully inverted your beautiful Warm Chocolate Pudding Cake onto the plate. Now comes the fun part: transforming it into an absolutely Impressive Easy Dessert! You want that “wow” moment when you bring this to the table, right? Luckily, this cake is so rich on its own that you only need a couple of simple additions to truly knock it out of the park.
The classic combination that never fails me is a scoop of vanilla bean ice cream—that hot, cold contrast is essential for maximum enjoyment. As the creamy ice cream starts melting against the warm chocolate, it creates its own little sauce right there on the plate. Don’t forget fresh berries! Raspberries or strawberries are perfect because their slight tartness cuts through the deep richness of the chocolate brilliantly.
If you’re aiming for that truly restaurant-style finish, remember the simple dusting? Take a fine-mesh sieve and just lightly dust the top of the cake with powdered sugar before it even hits the table. It looks sophisticated without costing you any extra time. If you’re feeling adventurous with toppings after your chocolate success, you HAVE to try my recipe for creamy roasted butternut squash soup—it’s a completely different vibe, but equally comforting!
Frequently Asked Questions About Making Lava Cake
It’s funny, even when a recipe seems foolproof, we home cooks always have those little nagging questions buzzing in our heads. I get it! These individual chocolate cakes are special occasion food for some, so we want to make absolutely sure they turn out right. Here are the questions I hear most often about perfecting this decadent treat.
Can I bake this lava cake in an air fryer?
You absolutely can! People are getting so creative with their appliances, and yes, you can definitely adapt this recipe for your air fryer to create amazing Air Fryer Chocolate Treats. The main thing is finding the right size ramekin that fits comfortably in your basket without touching the heating element. Since the temperature is so direct in an air fryer, you’ll need to slightly lower the heat and watch them closely—the time will be way shorter than the 12 to 14 minutes we give for the oven, so start checking at 8 minutes!
How do I know when my lava cake is done?
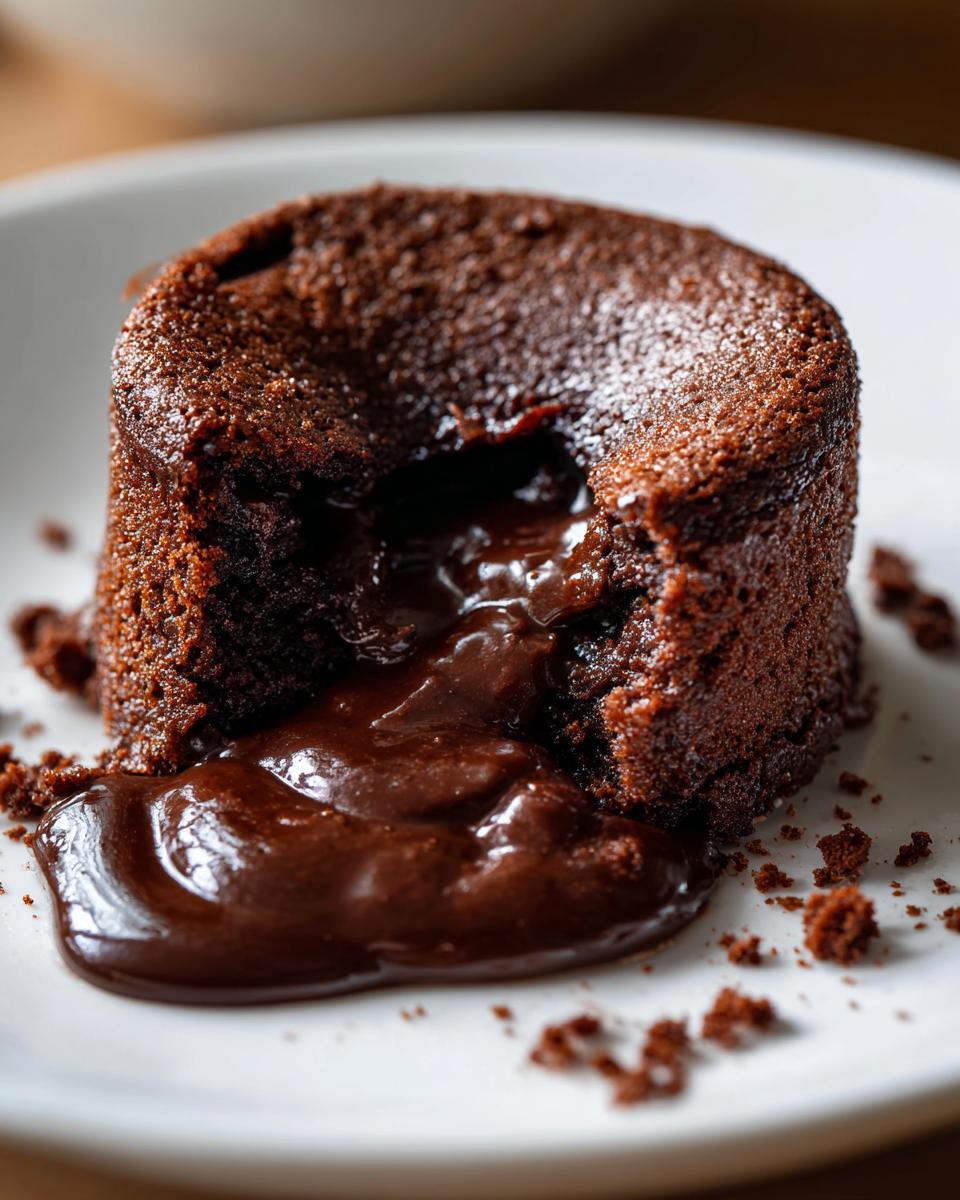
This is the make-or-break moment for that beautiful flow! You must ignore the urge to poke it with a toothpick all the way to the center. You are looking for visual cues: the edges of your lava cake should look set, firm, and slightly pulled away from the side of the ramekin. But here is the key: the very center needs to still look soft, slightly wet, and definitely have a little jiggle when you gently shake the baking sheet. That jiggle is liquid gold; if it’s totally solid, you’ve made a delicious little brownie instead!
I want to make one cake slightly different. Can I use Nutella?
Oh, that’s a great idea for a Nutella Dessert Idea variation! We covered this briefly, but yes, you can substitute some of the chocolate. Remember, you’re swapping out 1 ounce of the bittersweet chocolate for 1 ounce of Nutella. You fold the Nutella in with the melted chocolate and butter. It gives you that extra hazelnut dimension, and the result is still an intensely rich, gooey dessert perfect for a single serving chocolate dessert when you crave something beyond plain chocolate.
Can I make this ahead of time?
Yes, and I highly recommend it if you’re serving these for a dinner party! You can fill your prepared ramekins, cover them well, and refrigerate them for a full day. Just remember the baking adjustment we talked about: you need to add about 2 or 3 extra minutes to your bake time since you are starting cold. This is one of the best things about making these individual chocolate cakes!
If you’re practicing your baking skills beyond this amazing dessert, don’t forget to check out my recipe for easy chicken enchiladas for a savory option!
Estimated Nutritional Data for One Chocolate Lava Cake
I always include this section because while we are making something totally indulgent, I want you to have a clear idea of what you’re digging into. It gives you that culinary confidence to know exactly what’s in your creation, which is part of my whole mission here at Cooking Zenith! When you are whipping up this classic chocolate lava cake, remember that these numbers are definitely an estimate based on the specific brands of bittersweet chocolate and butter I use.
This detailed look helps you appreciate just how rich this single-serving treat is. If you need something slightly lighter but still crave creamy goodness, you might want to check out my avocado chicken salad recipe!
- Serving Size: 1 cake
- Calories: 410
- Sugar: 25g
- Fat: 28g
- Protein: 7g
- Total Carbohydrates: 32g
That sugar and fat content reflects the pure, concentrated chocolate goodness inside that gooey center dessert—it’s totally worth it for a date night or special occasion, I promise! Enjoy every bite!
PrintFoolproof Classic Chocolate Lava Cake for a Gooey Center Dessert
Make this decadent chocolate lava cake easily at home. This recipe delivers crisp edges and a warm, silky molten center every time, perfect for a quick indulgence or impressing guests.
- Prep Time: 10 min
- Cook Time: 14 min
- Total Time: 24 min
- Yield: 4 servings 1x
- Category: Dessert
- Method: Baking
- Cuisine: American
- Diet: Vegetarian
Ingredients
- 4 ounces bittersweet chocolate, chopped
- 4 ounces unsalted butter
- 2 large eggs
- 2 large egg yolks
- 1/4 cup granulated sugar
- 2 tablespoons all-purpose flour
- Pinch of salt
- Unsweetened cocoa powder, for dusting ramekins
- Butter, softened, for greasing ramekins
Instructions
- Preheat your oven to 425 degrees Fahrenheit. Generously butter four 6-ounce ramekins. Dust the inside of each buttered ramekin with cocoa powder, tapping out any excess. Place the prepared ramekins on a baking sheet.
- Place the chopped chocolate and butter in a heatproof bowl set over a saucepan of simmering water (a double boiler). Stir until the mixture is completely melted and smooth. Remove from heat and let it cool slightly.
- In a separate medium bowl, whisk together the whole eggs, egg yolks, and granulated sugar until the mixture is pale yellow and slightly thickened, about 2 minutes.
- Gently whisk the slightly cooled chocolate mixture into the egg mixture until just combined.
- Sift the flour and salt over the chocolate mixture. Fold the dry ingredients in with a spatula until no streaks of flour remain. Do not overmix.
- Divide the batter evenly among the four prepared ramekins.
- Bake for 12 to 14 minutes. The edges should look set, but the center should still look soft and jiggly. This timing is key for the molten center.
- Let the lava cakes cool in the ramekins for 1 minute. Carefully run a thin knife around the edge of each cake. Place a serving plate upside down over the ramekin, then invert the plate and ramekin together. Lift the ramekin off.
- Serve your warm chocolate lava cake immediately with ice cream or fresh berries.
Notes
- For a Nutella dessert idea, replace 1 ounce of the bittersweet chocolate with 1 ounce of Nutella and stir it in with the melted chocolate and butter.
- If you are making these ahead, you can refrigerate the filled ramekins for up to 24 hours. Add 2 to 3 minutes to the baking time if baking straight from the refrigerator.
- To achieve restaurant style dessert at home, dust the finished cake with powdered sugar before serving.
Nutrition
- Serving Size: 1 cake
- Calories: 410
- Sugar: 25g
- Sodium: 110mg
- Fat: 28g
- Saturated Fat: 17g
- Unsaturated Fat: 11g
- Trans Fat: 0.5g
- Carbohydrates: 32g
- Fiber: 2g
- Protein: 7g
- Cholesterol: 165mg