
Listen, sometimes you just need dessert. And when I say “need,” I mean you need it fast, you need it rich, and you absolutely cannot talk about turning on the oven because that horrible summer heat is already bad enough! That’s why this amazing no bake peanut butter pie recipe is my secret weapon; it’s truly the best creamy version out there. As a home cook, not a stuffy professional chef, I promise you this recipe is foolproof. It delivers that dreamy, decadent flavor you expect, but with only about 20 minutes of actual work before it heads to the fridge. If you adore quick fixes, you might also love my recipe for an easy no-bake ice cream pie recipe for even more oven-free fun! Trust me, you are going to want to save this one for all those last-minute cravings and busy weeknights!
- Why This Creamy No Bake Peanut Butter Pie is Your New Favorite Easy Peanut Butter Pie
- Gathering Ingredients for Your No Bake Peanut Butter Pie
- Step-by-Step Instructions for the Perfect No Bake Peanut Butter Pie
- Tips for a No Fail Peanut Butter Pie Success
- Make Ahead Dessert and Storage for Your No Bake Peanut Butter Pie
- Variations: Creating a Chocolate Peanut Butter Pie No Bake Version
- Serving Suggestions for This Peanut Butter Cream Cheese Pie
- Frequently Asked Questions About Making a No Bake Peanut Butter Pie
- Understanding the Nutrition of This Decadent Treat
- Share Your Experience Making This Simple Pie Recipe
Why This Creamy No Bake Peanut Butter Pie is Your New Favorite Easy Peanut Butter Pie
I’ve made dozens of desserts when the AC just can’t keep up with the oven heat, but nothing beats this version of the no bake peanut butter pie. It sounds too good to be true, but I swear on my stand mixer, this is the best Easy Peanut Butter Pie you’ll ever try. It hits all those must-haves people want in a simple treat!
- No oven, zero preheat stress! It’s a true Quick No Oven Dessert.
- It sets up beautifully firm without gelatin or eggs.
- It’s rich, decadent, and absolutely addictive.
Effortless Preparation for a Simple Summer Dessert
You are looking at maybe 20 minutes of actual mixing time. That speed makes this the ultimate Potluck Dessert Idea. Seriously, if you need a crowd-pleaser that doesn’t require you fighting off the kitchen heat, this falls right into that sweet spot of no preheat recipes. You press the crust, whip the filling, and walk away. That’s it!
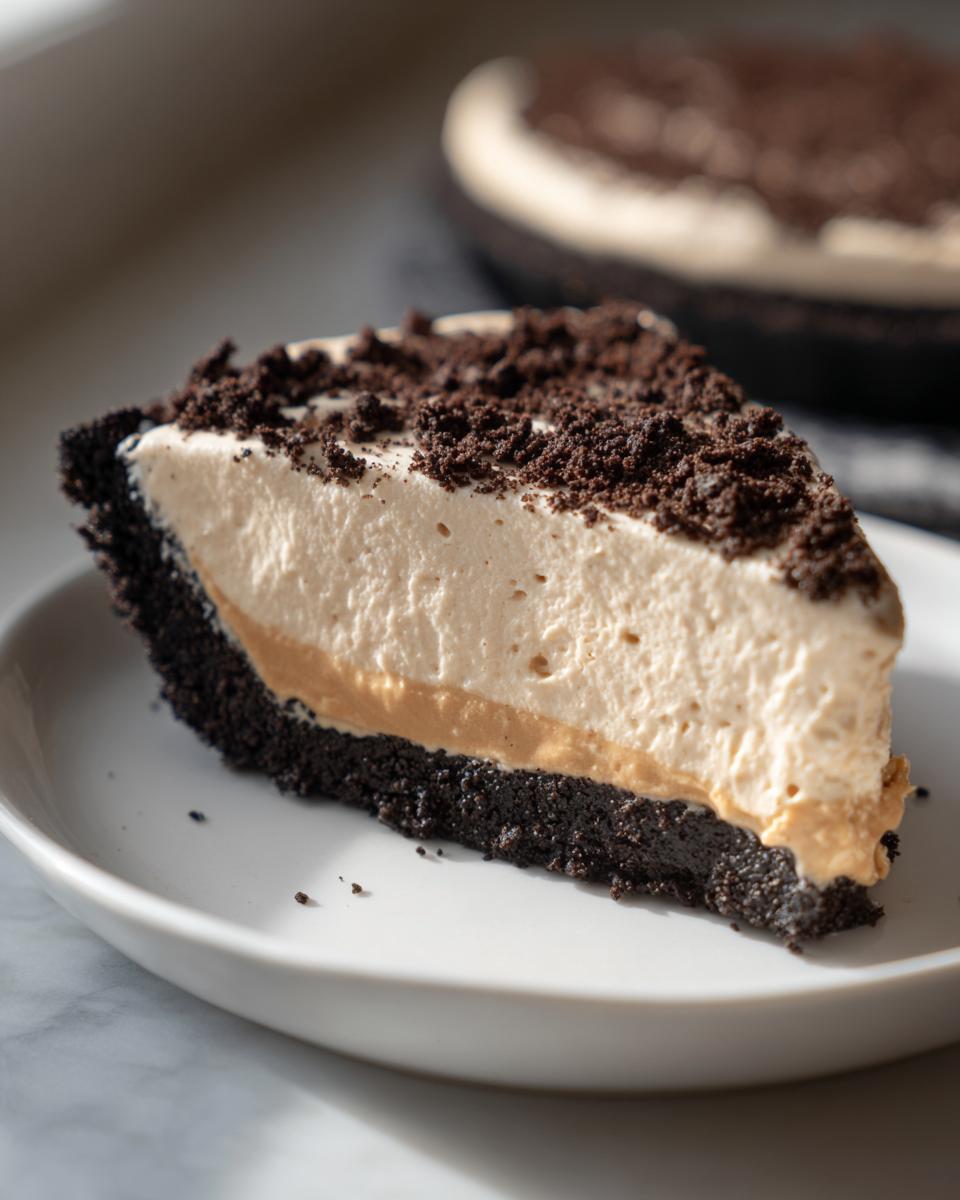
The Secret to a Fluffy Peanut Butter Filling
The dreaminess here comes from two key things: softened cream cheese and freshly whipped heavy cream. Folding those two together creates this incredible, light texture. It’s not dense like a traditional refrigerated pie; we’re aiming for that melt-in-your-mouth, Fluffy Peanut Butter Filling feeling, and these ingredients deliver every single time.
Gathering Ingredients for Your No Bake Peanut Butter Pie
Okay, get ready to gather your supplies because this is where the magic starts! Since this is an easy peanut butter pie, we don’t need a huge shopping list, but these ingredients are non-negotiable for that perfect texture. We are relying on a few pantry staples mixed with fresh fridge items to make this happen. If you want to see another great way I use peanut butter in a no bake dessert snack, check out my recipe for peanut butter rice krispie treats!
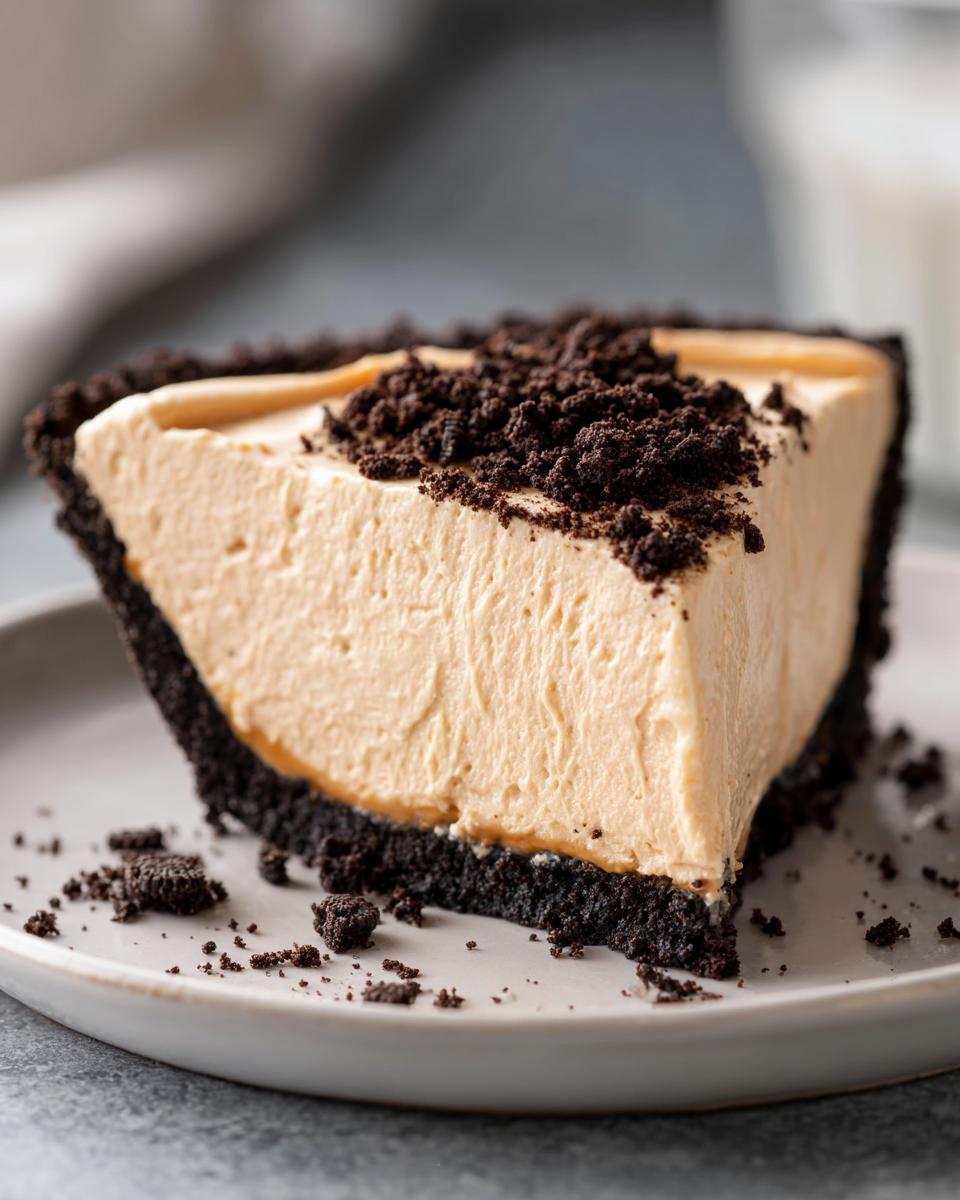
For the Chocolate Oreo Crust Pie Recipe
For our base, we’re using Oreos because that chocolate crunch is the best partner for peanut butter, making this a fantastic Oreo Crust Pie Recipe. You only need three things here:
- 1 1/2 cups of your Oreos totally crushed up—I mean *finely* crushed!
- 6 tablespoons of unsalted butter, fully melted.
- And that’s it for the crust! See how simple that is?
For the Creamy Indulgent Pie Filling
This filling is what makes it such a Creamy Indulgent Pie. We need that cream cheese tang to balance the sweetness. Make sure your cream cheese is nice and soft so it mixes beautifully:
- 1 cup of standard creamy peanut butter—none of those natural stirred kinds for this recipe, okay?
- 8 ounces of cream cheese, softened to room temperature.
- 1 cup of powdered sugar—sifting helps here, trust me!
- 1 teaspoon of vanilla extract for warmth.
- 1 1/2 cups of heavy whipping cream, nice and cold.
- We also need 1/4 cup of granulated sugar just for whipping the cream.
- Don’t forget optional toppings like a drizzle of chocolate sauce!
Step-by-Step Instructions for the Perfect No Bake Peanut Butter Pie
Alright, now for the assembly! Don’t worry if you’ve never made a no bake peanut butter pie before; these steps are so clear, you’ll feel like a pro right away. We are moving fast for the first part, but the results are worth the wait during the chill time. If you ever want to see how I manage desserts that take longer but are totally worth the oven time someday, definitely check out my chocolate caramel toffee crunch cake!
Creating the No Bake Peanut Butter Graham Cracker Crust Base
First things first: the crust! This is step one for any good no bake dessert recipes setup. Dump your finely crushed Oreos and that melted butter into your pie plate. Now, you have to press hard! Use the bottom of a flat glass or your knuckles to really pack it down on the bottom and slightly up the sides. You want it solid so it doesn’t crumble everywhere when you slice it. Pop that plate into the freezer while you mix the filling—it needs to get firm! Oh, and remember my note: if you used graham crackers instead of Oreos, just use a bit less butter, about 1/4 cup, for your Peanut Butter Graham Cracker Crust.
Achieving the Velvety Peanut Butter Pie Filling
Time for filling! Use your mixer for the base—beat the peanut butter, softened cream cheese, powdered sugar, and vanilla until it’s beautifully smooth. Make sure you scrape down the bowl so there aren’t any lumps of cream cheese hiding! Next, in a separate, cold bowl, you’ll whip your heavy cream and granulated sugar until you get those lovely stiff peaks. This is crucial for that Velvety Peanut Butter Pie texture. Now, be gentle: fold about a third of that whipped cream into the peanut butter base to lighten it up first. Then, softly fold in the rest until it’s just blended. Don’t stir it like you’re angry; we need those air bubbles for that incredible fluff!
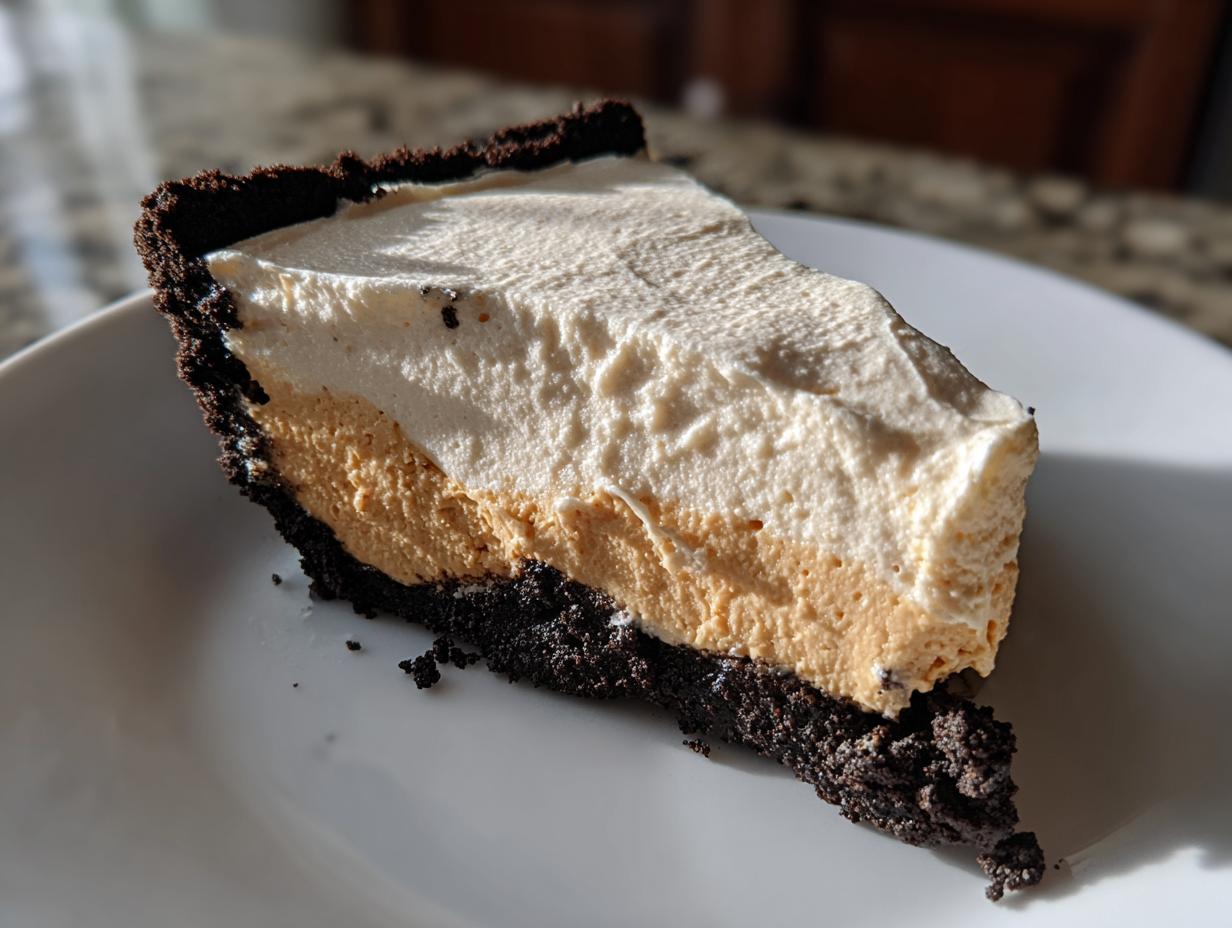
Chilling and Serving Your Decadent Peanut Butter Treat
Carefully spoon all that glorious, fluffy filling into your chilled crust and smooth out the top with an offset spatula. This is what turns it into a legitimate Decadent Peanut Butter Treat! Now comes the hardest part: covering it loosely and sliding it into the fridge. You absolutely must chill this for at least four hours. If you can wait overnight? Even better! That guarantees your no bake peanut butter pie sets up perfectly firm and sliceable. When serving, go wild with toppings!
Tips for a No Fail Peanut Butter Pie Success
Look, even though this is a no bake peanut butter pie, there are still a couple of spots where things can go sideways if you rush it. My goal is always to help you achieve a No Fail Peanut Butter Pie, because nobody wants a soupy dessert after putting in the effort!
My biggest piece of insight, the one I always share, revolves around temperature. Make sure that cream cheese is truly softened—I mean, if you gently poke it, your finger should sink right in without any resistance. If it’s cold, you end up fighting clumps in your mixer! Also, when you’re whipping the heavy cream, make sure that bowl and your beaters are cold. A chilled bowl helps the cream stiffen up much faster and reach those stiff peaks without turning grainy.
For extra insurance, especially if you’re making this for a big event like the one where I usually serve my best three-cheese bruschetta dip, I always taste-test the filling *before* folding in the whipped cream. If you want more tang, add a tiny splash of lemon juice—it brightens everything up!
Make Ahead Dessert and Storage for Your No Bake Peanut Butter Pie
This is one of my absolute favorite things about making a no bake peanut butter pie—it’s the ultimate Make Ahead Dessert! You actually *have* to make it ahead of time, which means zero stress on the day you plan to serve it, whether it’s for a summer barbecue or a dinner party where I’ve also served my easy marinated cheese appetizer.
Once the pie is fully chilled and set on the fourth hour (or ideally overnight), you want to store it covered in the refrigerator. Because there is no egg-based filling here, this pie holds up wonderfully. You can easily enjoy this no bake dessert for about three to four days kept cold and covered tightly. I usually cover it loosely the first day and then use plastic wrap pressed gently against the topping before the second day to keep the whipped cream looking fresh. It’s such a reliable simple summer dessert!

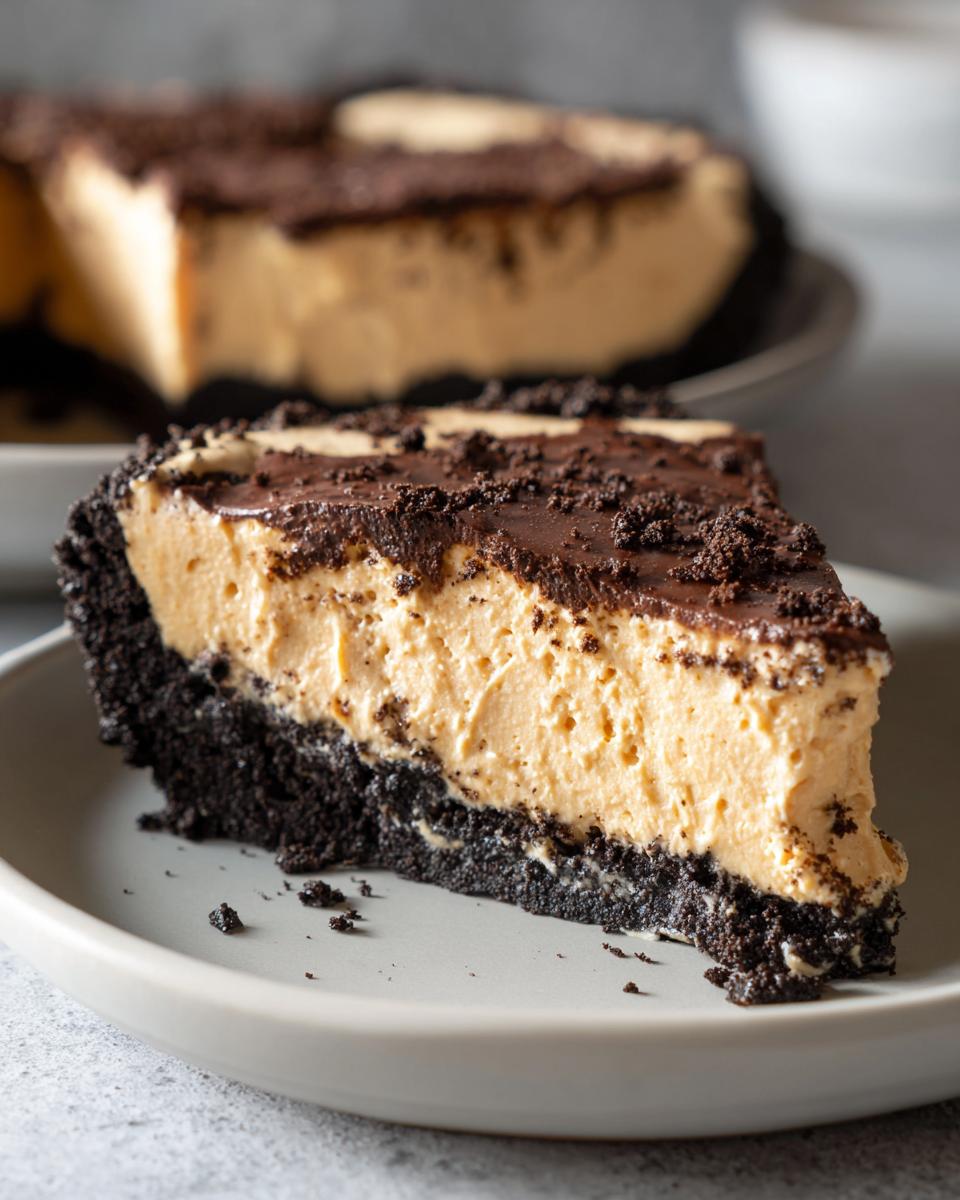
Variations: Creating a Chocolate Peanut Butter Pie No Bake Version
Now, I know the classic is amazing, but we can certainly lean into the chocolate side if that’s your jam! If you’re dreaming of a full-on Chocolate Peanut Butter Pie No Bake experience, it’s super easy to pivot with minimal extra steps. This is one of those truly flexible no bake dessert recipes.
My favorite way to make it richer is actually swapping out the plain whipped cream for chocolate whipped topping—just use a good quality store-bought one or make your own and fold in a tablespoon of cocoa powder. Want to elevate it even more? If you want to get really wild, check out my recipe for a chocolate pecan pie sometime, though that one is definitely *not* no-bake!
Another quick trick to dial up the chocolate flavor in the filling base is to mix in one small tablespoon of unsweetened cocoa powder right when you are creaming the peanut butter and cream cheese. You’ll end up with a gorgeous swirl of peanut butter and chocolate throughout your fluffy center. For other great crowd-pleasers, this version is similar to what appears on this recipe site, but I think my folding technique keeps mine fluffier!
Serving Suggestions for This Peanut Butter Cream Cheese Pie
This Peanut Butter Cream Cheese Pie is rich, folks—it’s super rich! Because it’s practically a dessert goldmine on a plate, you don’t need a ton of heavy sides. When I serve this up after a big meal, I keep the accompaniments light so the pie can truly shine. A crisp, slightly tart side cuts through that creamy texture beautifully.
Think a small side of fresh raspberries or thinly sliced Granny Smith apples tossed lightly in lemon juice. And of course, a wonderfully hot cup of my best rich creamy homemade hot chocolate makes this heavenly on any slightly cooler evening!
Frequently Asked Questions About Making a No Bake Peanut Butter Pie
I know you might have a few lingering questions about making sure this incredibly creamy indulgent pie sets up just right, especially if you’re trying to master other simple pie recipes! That’s totally normal when you’re venturing into the world of no bake dessert recipes. I’ve gathered the questions I get asked most often by my friends when they try this no bake peanut butter pie for the first time.
Can I use crunchy peanut butter instead of creamy?
Oh, you certainly *can*, but you have to know what you’re signing up for! Using crunchy peanut butter will give your filling some texture, obviously. If you prefer that slight grit, go for it! However, if you’re after that smooth, velvety experience that defines this recipe—the one where you basically just sink into the filling—then you absolutely stick with creamy. Crunchy adds chewiness, which isn’t what we were aiming for in this specific no bake peanut butter pie, but hey, your kitchen, your rules!
What is the best crust alternative for this no bake dessert?
The Oreo crust is pure genius, as it hardens up beautifully in the freezer, but I totally get wanting alternatives. As mentioned in the notes, you can swap it for a traditional Peanut Butter Graham Cracker Crust, just remember to adjust your melted butter down to about 1/4 cup. Another super simple option that works like a charm for any no bake dessert is using vanilla wafer crumbs! They press down just as easily as the Oreos and give a slightly lighter, buttery base.
How long does this pie need to chill to set properly?
This is the most important timing question! You need a minimum of four hours for the filling to set enough just to hold its shape. But listen to me: if you can possibly wait until the next day, do it. Overnight chilling is the secret handshake for a truly firm, perfect slice. When planning your other simple weeknight dinners, plan to make this pie the night before you need it. For more troubleshooting tips, check out what my friends are saying over at this site!
Understanding the Nutrition of This Decadent Treat
Now, I know we make this no bake peanut butter pie because it tastes like pure, indulgent joy, not because we are tracking macros! But since this is such a rich treat, I always like to provide a little snapshot of what’s in a slice. Keep in mind that these numbers are just estimates based on the ingredients I listed, especially since the toppings can change things up drastically.
Here’s the breakdown for one serving, assuming you skip the extra chocolate drizzle for now:
- Calories: About 450 per slice
- Fat: Around 30g
- Sugar: Roughly 35g
- Protein: About 10g
It’s definitely a treat, not an everyday thing, but wow, is it worth it! Don’t worry too much about the numbers; just enjoy this incredible decadent peanut butter treat!
Share Your Experience Making This Simple Pie Recipe
I truly hope you loved making this no bake peanut butter pie as much as I love baking it! It’s one of those simple pie recipes that just feels good to bring out for company, or honestly, just for me on a Tuesday night. Now that you’ve mastered the fluffiness and nailed that Oreo crust, I need to hear all about it!
Did you stick with the chocolate drizzle, or did you go wild with peanut butter cups? Did this become your go-to quick no oven dessert for summer gatherings?
Please, please, please—leave a rating down below! A five-star review lets other home cooks know this is the real deal for an easy peanut butter pie. I absolutely love reading your comments about how it turned out for your family. If you snapped a picture of your beautiful, perfectly set slice, tag me! I love seeing my recipes come to life in your kitchens. If you want to read a little more about my philosophy on elevating everyday cooking, you can check out my mission over at the About Page anytime. Happy baking—or should I say, happy chilling!
PrintThe Best Creamy No-Bake Peanut Butter Pie with Oreo Crust
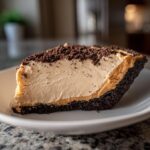
Make this easy no bake peanut butter pie for a quick, indulgent dessert. The creamy peanut butter filling sets perfectly over a chocolate Oreo crust without needing your oven.
- Prep Time: 20 min
- Cook Time: 0 min
- Total Time: 4 hr 20 min
- Yield: 8 servings 1x
- Category: Dessert
- Method: No Bake
- Cuisine: American
- Diet: Vegetarian
Ingredients
- 1 1/2 cups finely crushed Oreo cookies (about 24 cookies)
- 6 tablespoons unsalted butter, melted
- 1 cup creamy peanut butter
- 8 ounces cream cheese, softened
- 1 cup powdered sugar
- 1 teaspoon vanilla extract
- 1 1/2 cups heavy whipping cream, cold
- 1/4 cup granulated sugar (for whipped cream)
- Optional topping: Chocolate sauce or miniature peanut butter cups
Instructions
- Prepare the crust: In a medium bowl, combine the crushed Oreo cookies and melted butter. Press this mixture firmly into the bottom and up the sides of a 9-inch pie plate. Place the crust in the freezer while you prepare the filling.
- Make the peanut butter filling base: In a large bowl, beat the creamy peanut butter, softened cream cheese, powdered sugar, and vanilla extract together with an electric mixer until the mixture is smooth and fully combined. Scrape down the sides of the bowl as needed.
- Prepare the whipped cream: In a separate, clean bowl, beat the cold heavy whipping cream and granulated sugar until stiff peaks form.
- Fold the mixtures: Gently fold about one-third of the whipped cream into the peanut butter mixture to lighten it. Then, fold in the remaining whipped cream until just combined, creating a fluffy peanut butter filling. Do not overmix.
- Assemble the pie: Spoon the fluffy peanut butter filling evenly into the chilled Oreo crust. Smooth the top with a spatula.
- Chill: Cover the pie loosely with plastic wrap and refrigerate for at least 4 hours, or preferably overnight, until the filling is firm.
- Serve: Before serving your no bake peanut butter pie, drizzle with chocolate sauce or top with chopped peanut butter cups, if desired. Slice and serve cold.
Notes
- For a graham cracker crust variation, substitute 1 1/2 cups of graham cracker crumbs for the Oreos and use 1/4 cup of melted butter instead of 6 tablespoons.
- If you prefer a richer, denser filling, you can substitute the heavy whipping cream with 1 cup of frozen whipped topping (like Cool Whip), thawed, folding it into the peanut butter cream cheese mixture.
- This simple summer dessert is best made ahead of time to allow for proper setting.
Nutrition
- Serving Size: 1 slice
- Calories: 450
- Sugar: 35g
- Sodium: 310mg
- Fat: 30g
- Saturated Fat: 12g
- Unsaturated Fat: 18g
- Trans Fat: 0g
- Carbohydrates: 40g
- Fiber: 2g
- Protein: 10g
- Cholesterol: 55mg