
Sometimes you just need warm, fluffy bread on the table RIGHT NOW, don’t you? You want that satisfying, slightly crisp crust without waiting hours for yeast to wake up. Trust me, I get it! That’s why I am absolutely obsessed with this Garlic Cheddar Beer Bread. It checks every single box: it’s ridiculously fast, there is absolutely no yeast required, and the combination of cheese and savory garlic is just heavenly. This isn’t just another quick bread; it’s the ultimate weeknight side dish. Here at Cooking Zenith, my entire philosophy is about showing you that extraordinary flavor doesn’t need extravagant effort. And this easy beer bread proves that perfectly.
- Why This Garlic Cheddar Beer Bread is Your New Favorite Quick Bread Recipe
- Ingredients for the Best Garlic Cheddar Beer Bread
- Step-by-Step Instructions for Easy Homemade Beer Bread
- Expert Tips for Mastering Your No Yeast Bread
- Serving Suggestions for This Classic Beer Bread
- Storage and Reheating Instructions for Leftover Beer Bread
- Troubleshooting Common Beer Bread Issues
- Estimated Nutrition for This Cheesy Bread Recipe
- Your Thoughts on This Fast Bread Recipe
Why This Garlic Cheddar Beer Bread is Your New Favorite Quick Bread Recipe
Let’s be real: sometimes I want homemade bread for my chili, but I do not have two hours to babysit dough. That’s where this recipe shines! It’s the ultimate Quick Bread Recipe because we are skipping the yeast entirely—it’s the perfect No Yeast Bread. You heard me—zero rising time! That means you mix it, dump it in the pan, and it’s ready in under an hour. Check out my easy breakfast recipes for those mornings when you need speed!
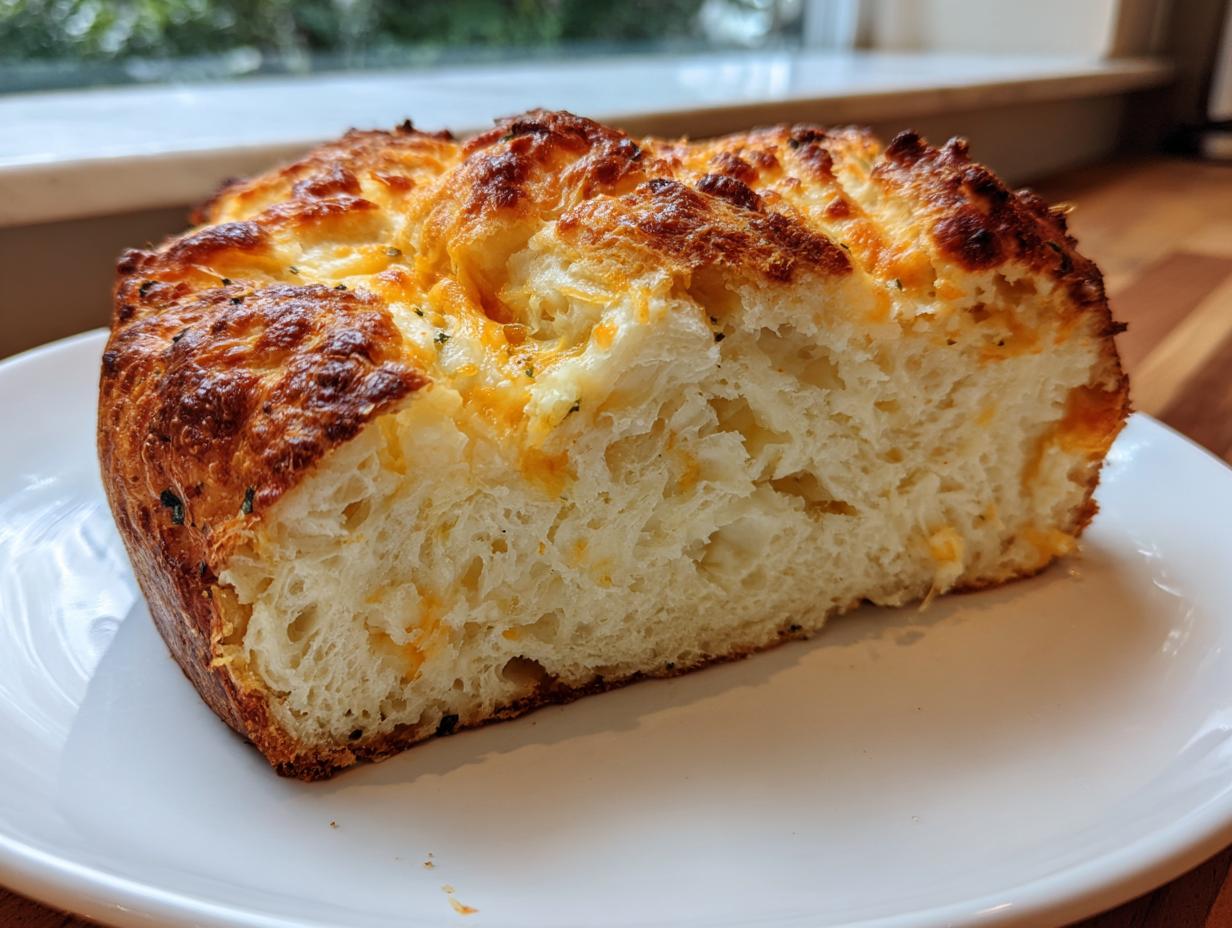
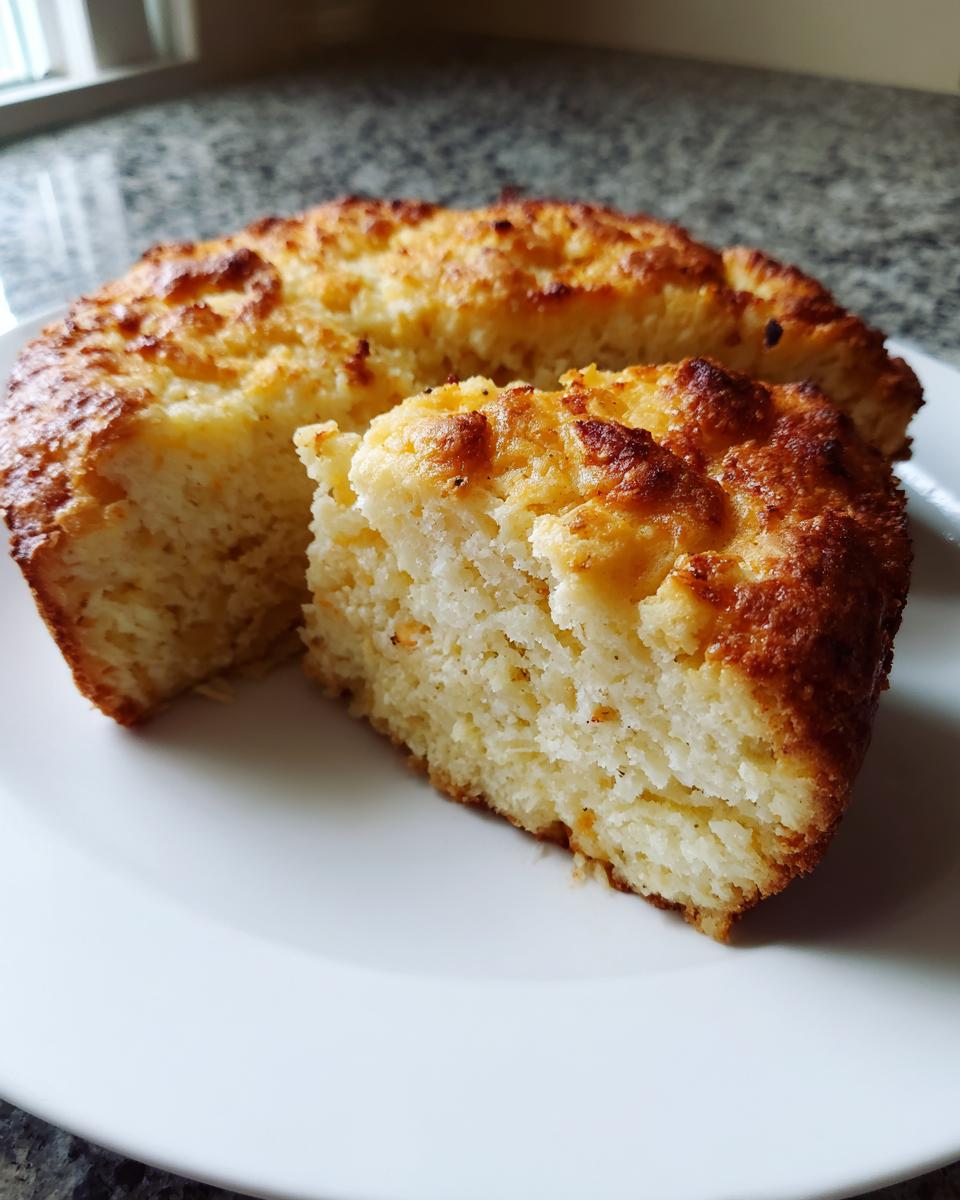
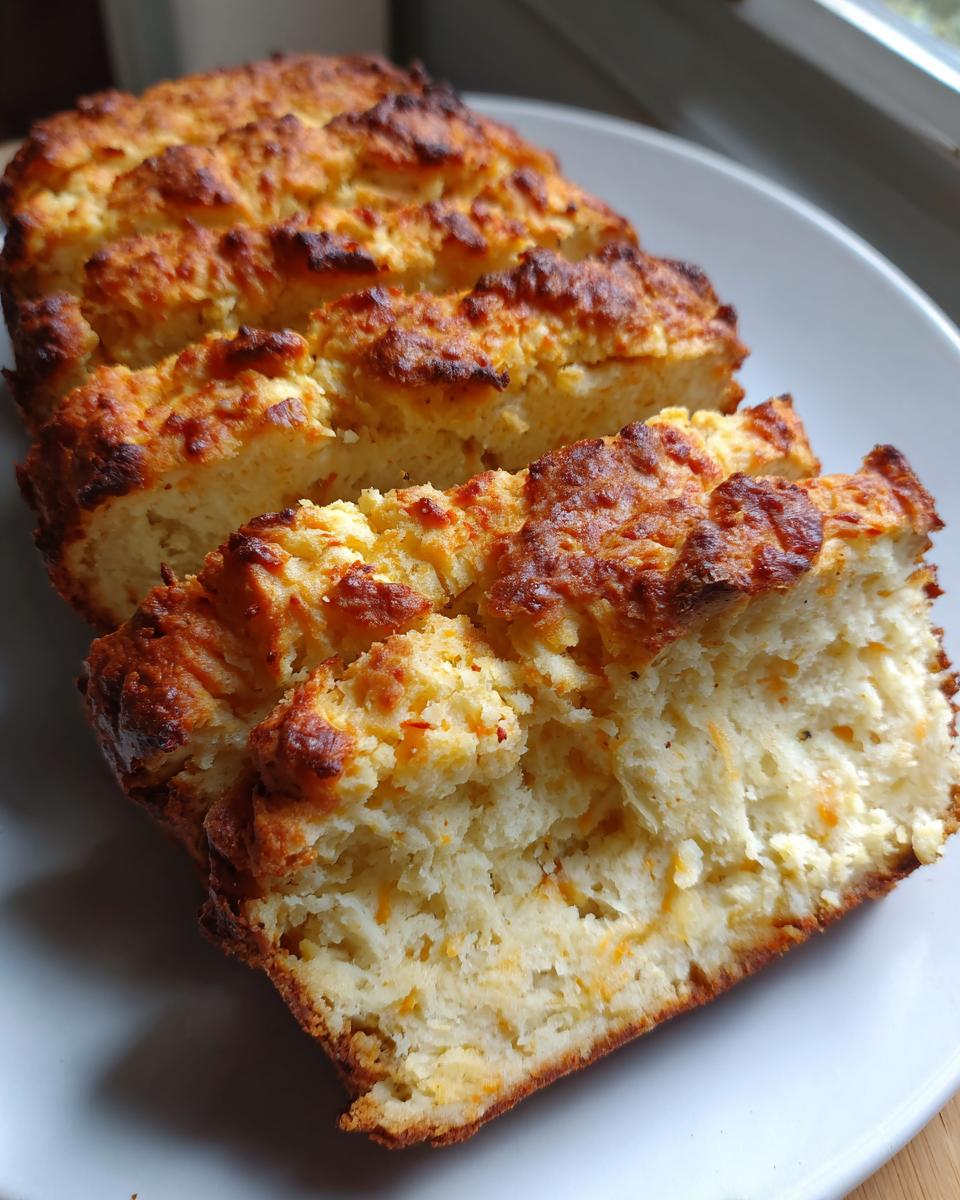
The texture of this beer bread is what really blew me away when I first perfected this. You get that unbelievably soft, fluffy center, but the top bakes up into this glorious, crackly, Buttery Crust Bread. I used to skip bread entirely on busy nights, but now, thanks to this simple formula for Yeast Free Baking, I always have a savory side ready to go. It truly makes dinner feel instantly more comforting.
Ingredients for the Best Garlic Cheddar Beer Bread
This Garlic Cheddar Beer Bread recipe is proof that incredible flavor only requires a handful of simple pantry staples—plus some sharp cheese and garlic, of course! When you’re looking for that perfect loaf to pair with a big bowl of soup, like my favorite Broccoli Cheddar Soup, these specific ratios make all the difference in achieving that fluffy texture without yeast. Remember, the beer needs to be at room temperature; warm beer mixes so much smoother!
Essential Components for Your Beer Bread Loaf
Here is exactly what you’ll need. Don’t go swapping out ingredients willy-nilly here—we want that perfect, tender crumb that makes this such a fantastic Quick Bread Recipe!
- 3 cups all-purpose flour
- 1 tablespoon baking powder (this is our main lift, since we skip yeast!)
- 1 teaspoon salt
- 1 tablespoon sugar (just a touch to balance the sharp cheddar)
- 1 cup shredded sharp cheddar cheese (shredded yourself is always best!)
- 2 teaspoons garlic powder (don’t use fresh garlic here; powder dissolves perfectly)
- 1 (12-ounce) bottle of beer, room temperature (Lager or pale ale works wonderfully)
- 4 tablespoons unsalted butter, melted
See? We have the basics for an Easy Homemade Bread, but the cheese and garlic take it straight into glorious Savory Quick Breads territory. Get these laid out, and we’re practically halfway done!
Step-by-Step Instructions for Easy Homemade Beer Bread
Okay, this is the easiest part, I promise! Since we are skipping all that kneading and waiting time, this whole process feels like magic. Preheat your oven right away to 375 degrees Fahrenheit—get that heat going! Then, you need to grease and flour a standard 9×5 inch loaf pan. I like to use a little spray and then dust it, just to be thorough, because we want this beautiful beer bread to slide right out! If you are looking for other quick fixes, check out my recipe for easy homemade salt caramel—sometimes simple is best!
Mixing the Dry Ingredients and Cheese for Savory Quick Breads
Grab your biggest bowl for this! In that bowl, you’re going to whisk together the flour, baking powder, salt, and sugar. You want these dry ingredients really nice and happy together. Once they look uniform, stir in that sharp cheddar cheese and the garlic powder. Making sure the cheese is evenly distributed now prevents weird clumps of dry flour later. This thorough initial mix prepares the base for perfect Savory Quick Breads.
Combining Wet and Dry: The Secret to Perfect Beer Bread Batter
Now take your room-temperature beer and pour the entire thing right into the bowl. Mix it gently with a wooden spoon just until everything comes together. Seriously, stop mixing when it looks combined! If you overmix, you develop too much gluten, and then poof—hello tough, dense loaf! A few small lumps mean you did it right. Pour all that beautiful batter into your prepared pan and then drizzle that melted butter evenly over the top. That butter is what gives us our dreamy crust.
Baking Your Beer Bread to Achieve a Buttery Crust Bread
Into the oven it goes for about 45 to 55 minutes. You know it’s done when a wooden skewer stuck right in the center comes out clean—no wet batter clinging to it. Now here’s a little boost, something I learned when I wanted an extra crunchy top: if you see the crust browning too fast around the 30-minute mark, brush a tiny bit more melted butter over the top then! That extra butter ensures you get that decadent Buttery Crust Bread texture we absolutely love. Let it sit in the pan for ten minutes before turning it out to cool.
Expert Tips for Mastering Your No Yeast Bread
When you are working without yeast, the temperature of your ingredients becomes your secret weapon for success in Yeast Free Baking. I absolutely insist on the beer being room temperature—if it’s ice cold, it shocks the baking powder and inhibits that quick lift we are counting on. Trust me, using cold beer results in a flatter loaf, and nobody wants sad, dense beer bread!
Also, don’t be afraid of darker beers! While simple lagers are fine, using a stout or a dark ale adds a tiny bit of molasses complexity that complements the cheddar so well. It really deepens the flavor profile. If you have fantastic results, you should check out my guide on Yorkshire Pudding—it relies on similar high-heat chemistry tricks!
My big rule for this No Yeast Bread is: mise en place! Have everything measured and ready to go before you even open that beer bottle. Once the baking powder meets the liquid, the clock is ticking, and you need to get it into the oven fast!
Serving Suggestions for This Classic Beer Bread
This is where the Garlic Cheddar Beer Bread truly earns its spot as a superstar Comfort Food Side. Honestly, I bake this loaf almost any time I know we are having something warm, savory, or spoonable. It’s the perfect vehicle for soaking up every last bit of broth!
The absolute best scenario for this bread is serving it right alongside a hearty bowl of soup. If you want something truly classic that requires minimal effort on your part, this is the ultimate Bread for Soup and Chili. The garlic and cheese notes play unbelievably well against rich, savory bases.
If you are looking for a recommendation, you must try this bread with my Classic Old-Fashioned Hamburger Soup! The sharp cheddar in the bread cuts through the richness of the beef soup perfectly. It makes for such a satisfying meal when you don’t want to fuss over multiple complex side dishes.
But don’t reserve it just for dinner! Since this recipe is so incredibly simple and fast, it works perfectly as a savory afternoon snack or an appetizer before the main event. Slice it thick, maybe add a smear of honey butter if you’re feeling fancy, and watch it disappear. It’s the easiest way to elevate any weeknight meal!
Storage and Reheating Instructions for Leftover Beer Bread
Now, if you manage to have any of this Garlic Cheddar Beer Bread left over—which is a feat in my house—you need to know how to store it properly. Since this is a Quick Bread Recipe, it doesn’t have the preservatives of commercial loaves, so we need to be a little smart about keeping it fresh.
The best way to save your loaf is to let it cool completely and then wrap it tightly in plastic wrap. After that, tuck it into an airtight container or a zip-top bag. Storing it on the counter at room temperature is fine for about two days. Honestly, I’ve never tried freezing it, but I imagine if you did, you’d want to slice it first so you can thaw individual pieces as needed.
The reheating step is critical if you want to recapture that magic! You absolutely must reheat slices to bring back that amazing texture. Microwaving works, sure, but it can steam the crust and make it a little soft. For the best results, I always go for the oven or a toaster oven. Pop a thick slice onto a baking sheet at about 350 degrees Fahrenheit for just five to seven minutes.
That low, slow heat warms the interior right through, and the best part? It crisps up that crust again! You get that warm, fresh-from-the-oven feel, bringing back the glorious experience of that original Buttery Crust Bread. It’s the perfect way to enjoy your Easy Homemade Bread the next day with your morning coffee!
Troubleshooting Common Beer Bread Issues
Don’t let a small baking hiccup scare you off this beer bread! Even though this is one of the easiest Beginner Baking Projects out there, temperature and ingredient freshness can sometimes play funny tricks. If your loaf isn’t behaving exactly as expected, don’t sweat it! We’re going to troubleshoot it right here so you can cook with confidence next time.
Why Did My Beer Bread Turn Out Dense?
This is usually the number one issue with any No Yeast Bread, and nine times out of ten, it comes down to mixing. Remember how I warned you not to overmix? That’s because a gentle hand keeps the batter light. If you mixed for a long time, you activated too much gluten, which results in a tough, dense crumb. Next time, stop mixing the minute you no longer see flour streaks!
Another killer for density is cold beer. If you used beer straight from the fridge, it chills the batter tremendously and slows down the reaction with the baking powder. This leaves you with a loaf that barely rises. Always use room temperature beer for this Quick Bread Recipe!
Why Didn’t the Center Cook Through?
If your crust looks beautifully brown but the center is still wet when you test it, you probably had one of two issues. First, your oven thermometer might be lying to you! If your oven wasn’t quite hot enough (i.e., below 375°F), the outside baked faster than the inside could catch up. You might need to invest in an inexpensive oven thermometer, which is a lifesaver for so many Simple Baking Recipes.
If the temp was fine, it could just be the pan! Using a dark metal pan or a glass pan can sometimes conduct heat differently than the standard light-colored aluminum pans. If using glass, you might need to drop the temperature by 25 degrees. If you find your crust is getting dark on the outside but the inside is struggling, give it a loose tent of aluminum foil halfway through to shield the top while the middle finishes baking. This keeps it from burning as you wait for those middle layers to set.
When you’re struggling with timing, think about what you’re serving it with! If you’re planning to dunk this in a hearty liquid, like my Easy One-Pot Ravioli Soup, try to ensure it’s fully cooked so it doesn’t turn to mush too fast when dipped!
Is My Crust Not Buttery Enough?
Ah, the quest for the perfect Buttery Crust Bread! If your top didn’t brown up enough or seems lacking in that savory crunch, you probably needed more fat on top. Remember that drizzle of melted butter? If you want an extra punch, I suggest brushing a teaspoon of butter over the top of the dough *just* before it goes in, and then pull it out at the 30-minute mark and brush on another teaspoon. That double application really sinks in and creates that signature crispness that makes this Savory Quick Bread so irresistible.
Estimated Nutrition for This Cheesy Bread Recipe
I know that when we’re making comfort food sides like this cheesy beer bread, we aren’t exactly focused on counting every little calorie, but I always think it’s helpful to have a general idea of what’s in the loaf! It keeps me honest when I’m planning out the rest of the week’s menu. Since this recipe has those delicious additions like the cheddar cheese and the savory garlic powder, it moves beyond the basic three-ingredient loaf, so the totals shift a bit.
The figures below are based on typical calculations for this Garlic Cheddar Beer Bread, but please remember, these are just estimates! The final numbers can really change depending on what kind of beer you use—a light lager versus a heavy stout makes a difference—and what kind of sharp cheddar finds its way into your batter. Transparency is key for good home cooking, so here’s a snapshot for one slice.
- Calories: Around 250
- Fat: About 10g (with 6g being saturated from that lovely cheese and butter!)
- Carbohydrates: Nearly 35g
- Protein: A solid 7g to keep you satisfied
See? It’s rich without being overwhelmingly heavy—especially for a Quick Bread Recipe! It fits beautifully into a balanced meal when paired with something lighter, like a big bowl of soup. Think of this as a wonderfully satisfying Weeknight Side Dish rather than a dessert bread. Enjoying this in moderation makes it an easy part of any diet!
Your Thoughts on This Fast Bread Recipe
I genuinely hope you whip up a loaf of this Garlic Cheddar Beer Bread soon! Seriously, when you realize you can have a warm, savory, cheesy loaf of homemade bread on the table faster than you can run to the store for store-bought rolls, it changes your entire perspective on weeknight baking. This truly is my go-to Fast Bread Recipe when I need a quick comfort food fix.
I would absolutely love to hear how yours turned out! Did you stick to the sharp cheddar, or did you sneak in some Gruyere? I’m always curious what beer people choose, too. Are you a stout person, or do you stick to a crisp pilsner for your No Yeast Bread? Drop a comment below and let me know your experience!
If you made it, please take a second to rate the recipe at the top of the page! Your feedback really helps other cooks feel confident trying out this simple method. If you have any questions at all about technique or sourcing ingredients, don’t hesitate to reach out via my contact page. Happy baking, and I can’t wait to see your results!
PrintEasy No-Yeast Garlic Cheddar Beer Bread
Create a moist, flavorful loaf with a buttery crust quickly. This simple beer bread recipe requires no yeast and is perfect for serving alongside soups or chili.
- Prep Time: 10 min
- Cook Time: 50 min
- Total Time: 60 min
- Yield: 8 servings 1x
- Category: Side Dish
- Method: Baking
- Cuisine: American
- Diet: Vegetarian
Ingredients
- 3 cups all-purpose flour
- 1 tablespoon baking powder
- 1 teaspoon salt
- 1 tablespoon sugar
- 1 cup shredded sharp cheddar cheese
- 2 teaspoons garlic powder
- 1 (12-ounce) bottle of beer, room temperature
- 4 tablespoons unsalted butter, melted
Instructions
- Preheat your oven to 375 degrees Fahrenheit. Grease and flour a standard 9×5 inch loaf pan.
- In a large bowl, whisk together the flour, baking powder, salt, and sugar.
- Stir in the shredded cheddar cheese and garlic powder until evenly distributed.
- Pour the entire bottle of beer into the dry ingredients. Mix with a spoon until just combined. Do not overmix; a few lumps are fine.
- Pour the batter into the prepared loaf pan.
- Drizzle the 4 tablespoons of melted butter evenly over the top of the batter.
- Bake for 45 to 55 minutes, or until a wooden skewer inserted into the center comes out clean.
- Let the bread cool in the pan for 10 minutes before turning it out onto a wire rack to cool completely.
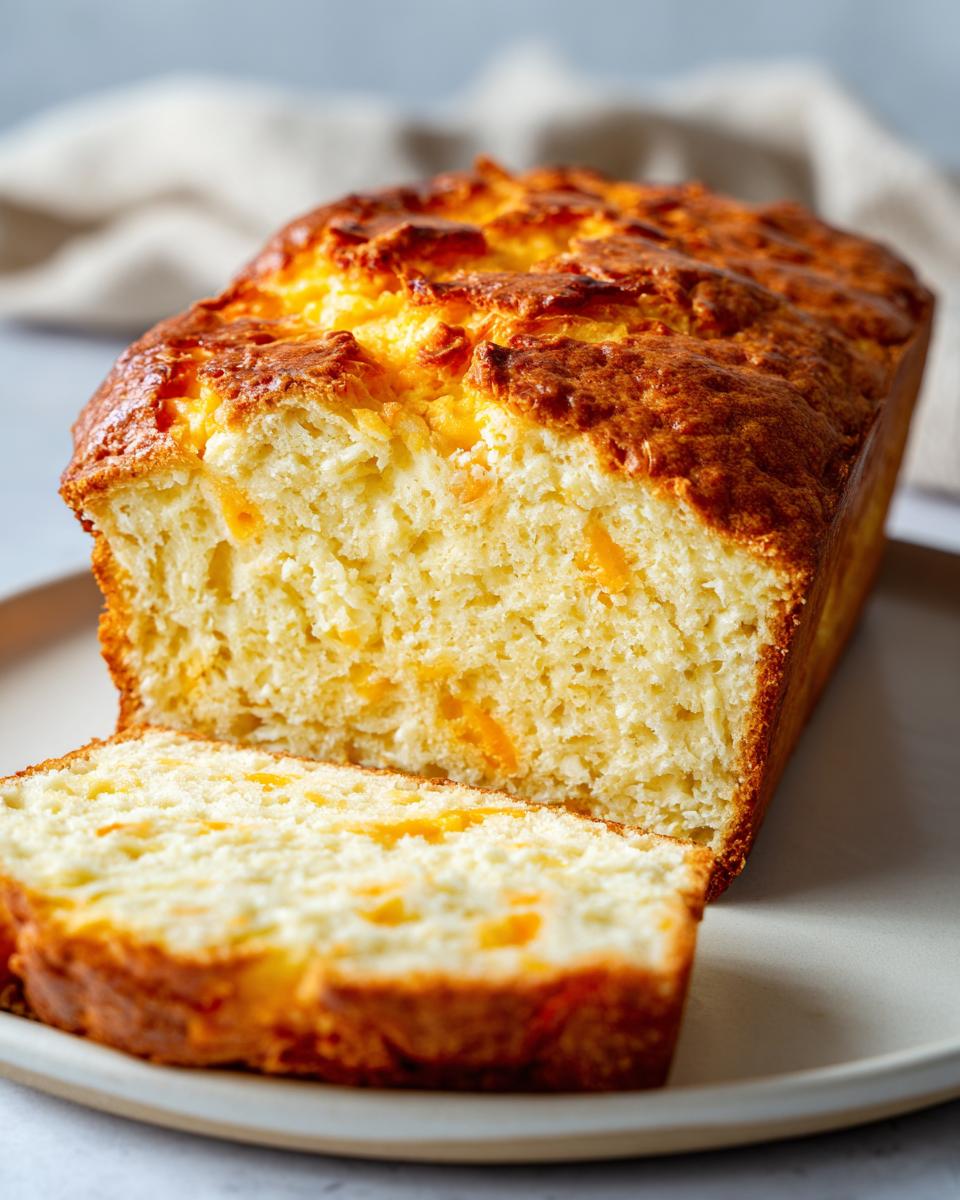
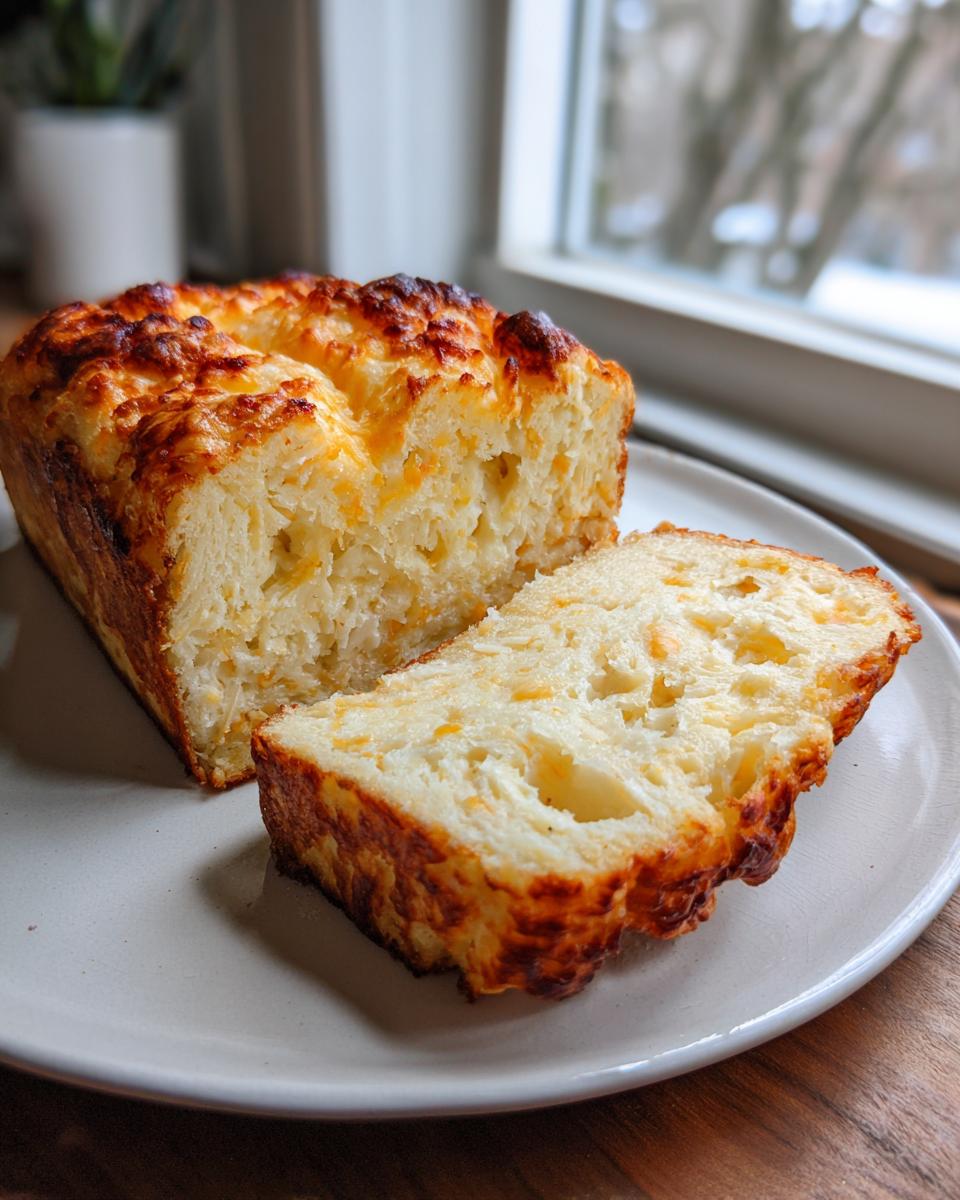
- Slice and serve warm for the best buttery crust and soft center.
Notes
- Use a room temperature beer for best mixing results. Darker beers add more flavor complexity.
- For an extra buttery crust, brush a little extra melted butter over the top of the loaf halfway through baking.
- This bread pairs well with chili, stew, or as a savory weeknight side dish.
Nutrition
- Serving Size: 1 slice
- Calories: 250
- Sugar: 3
- Sodium: 350
- Fat: 10
- Saturated Fat: 6
- Unsaturated Fat: 4
- Trans Fat: 0
- Carbohydrates: 35
- Fiber: 1
- Protein: 7
- Cholesterol: 25