
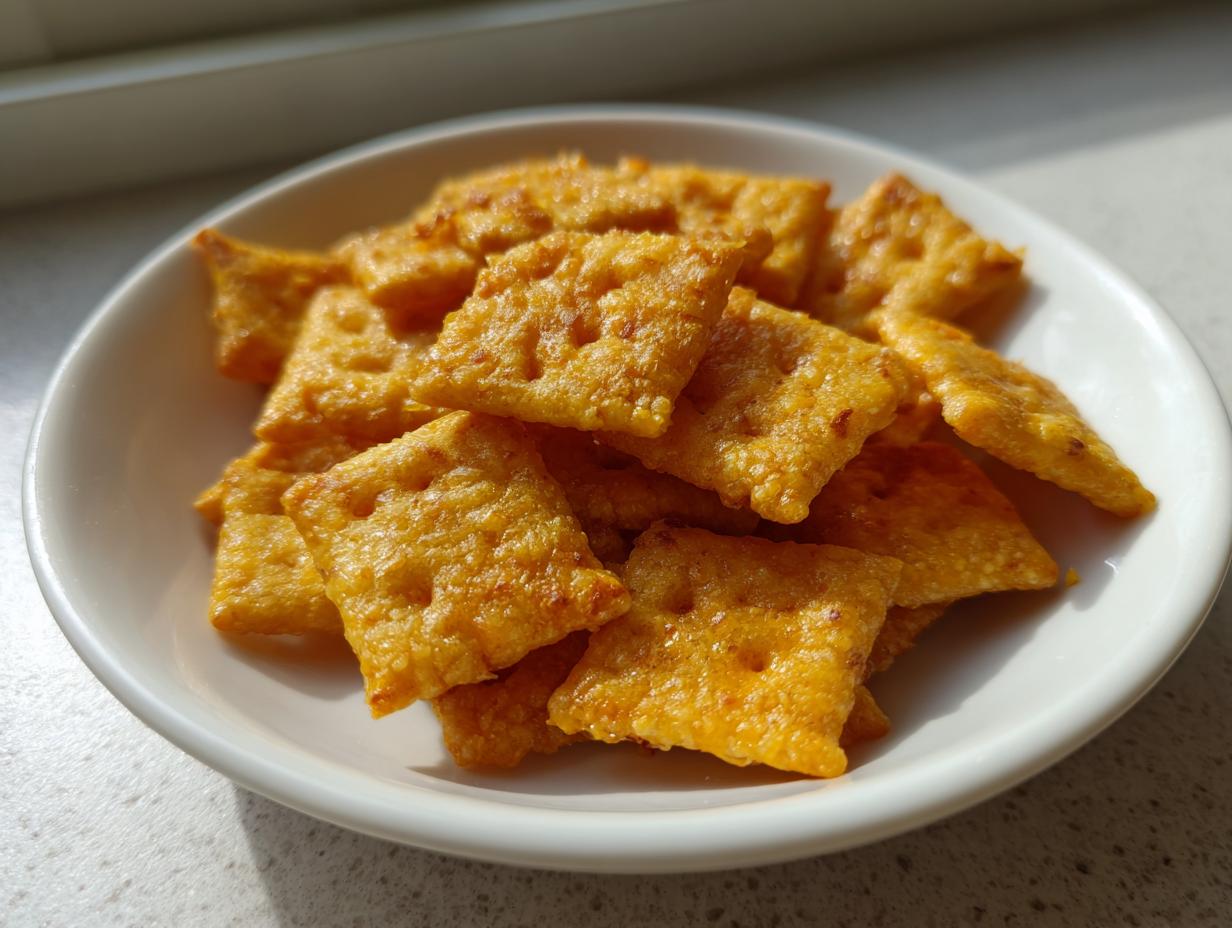
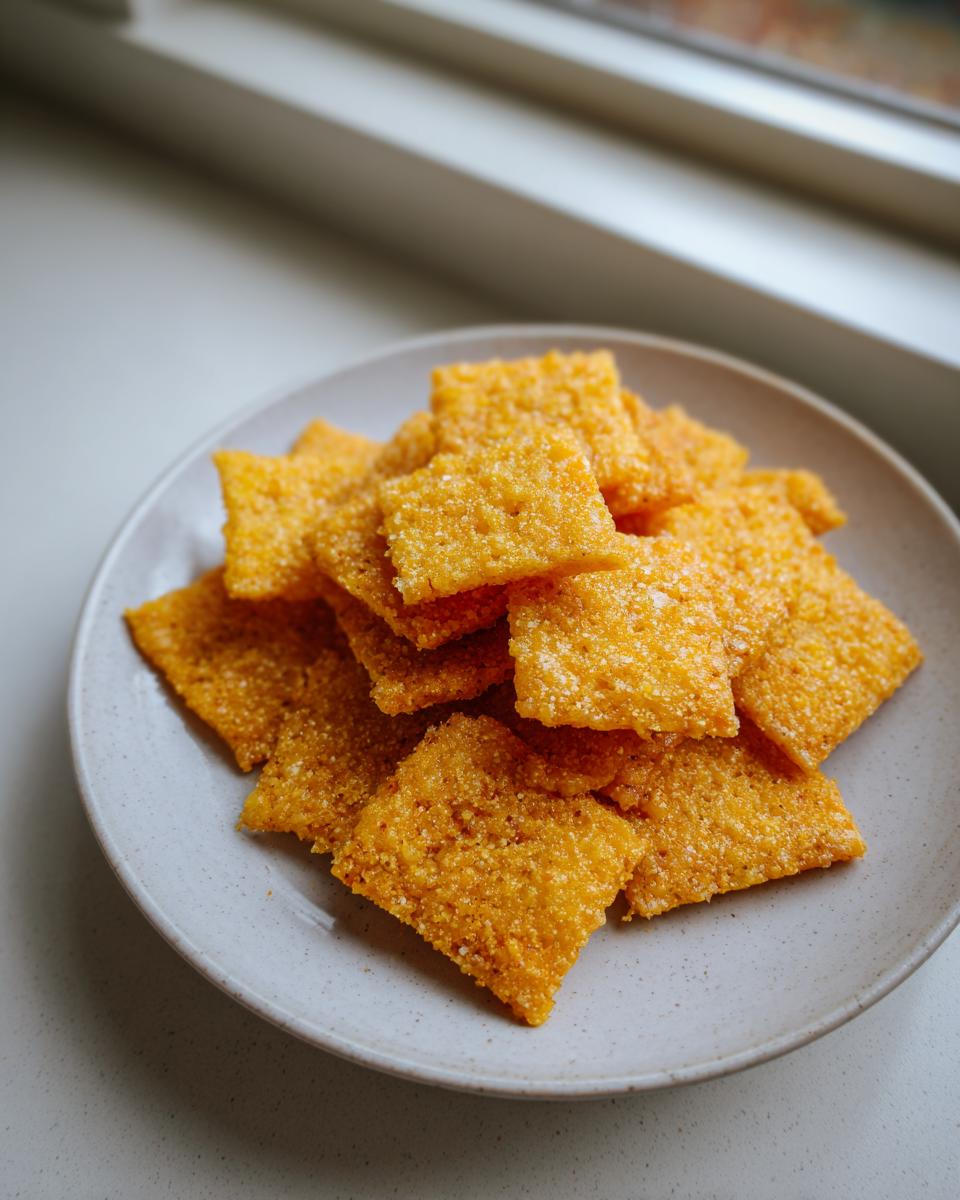
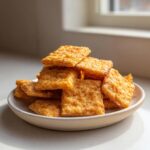
Oh, you know that feeling, right? You reach into the pantry for those familiar orange boxes, take a bite, and it’s just… stale cardboard with vaguely cheesy dust? Ugh. I’ve spent years trying to find a store-bought version that truly satisfies that deep, savory crunch craving, and frankly, I gave up. That is why I perfected these Easy 4-Ingredient Homemade Cheddar Cheese Crackers. I’m Aria, and here at Cooking Zenith, my whole goal is to prove you don’t need twenty stabilizers and flavor enhancers to make something magnificent. This recipe is straightforward, absolutely foolproof, and results in the best homemade cheese crackers you will ever eat. They’re buttery, deeply cheesy, and shatteringly crisp. Trust me, once you make this batch, you will never go back to the box again. If you’re looking for more simple ways to make snack time special, check out some of my favorite healthy snack ideas!
- Why This Easy Cheese Cracker Recipe Beats Store-Bought Versions
- Gathering Ingredients for Your Simple 4 Ingredient Crackers
- Step-by-Step Instructions for Baking Cheese Crackers
- Tips for Success When Making Cheese Crackers
- Variations for Your Cheesy Bites Recipe
- Serving Suggestions for Homemade Savory Snacks
- Storage and Reheating Instructions for Cheese Crackers
- Frequently Asked Questions About Our Easy Cheese Cracker Recipe
- Estimated Nutritional Data for These Cheese Crackers
Why This Easy Cheese Cracker Recipe Beats Store-Bought Versions
Honestly, opening a box of commercial cheese crackers feels like settling. Why trade real flavor for shelf life? My version uses just four simple ingredients, which means you get all the cheesy goodness without any of the strange additives you can’t pronounce. It’s an instant upgrade, trust me! When you make these at home, you control the result, and the taste difference is shocking.
Here’s what makes these homemade cheese crackers truly supreme:
- Flavor Punch: We use sharp cheddar, giving you a robust cheese flavor those pale imitations just can’t match.
- Buttery Richness: Real butter melts into the dough, creating a depth of flavor that is impossible to replicate commercially.
- Ingredient Control: You know exactly what’s going into your snack, making these perfect for packing in lunchboxes for the kids.
Achieving Maximum Crispiness in Homemade Cheese Crackers
If you want your crackers to shatter satisfyingly when you bite them, you have to treat them right. The secret to that perfect, snappy texture—the hallmark of a better than store-bought crackers experience—comes down to two things. First, roll that 4 ingredient cracker dough paper-thin—I mean aiming for about 1/16th of an inch. If it looks too thin, roll it thinner! Second, make sure you prick every single shape with a fork before baking. Those little fork holes let steam escape, preventing bubbles and ensuring an even, wonderful crunch.
Gathering Ingredients for Your Simple 4 Ingredient Crackers
The best part about this recipe is how ridiculously short the ingredient list is! That’s why we call them our Simple 4 Ingredient Crackers. You don’t need fancy sourcing or a crowded pantry to make something amazing. You just need cheese, flour, salt, and that crucial cold butter. This simplicity is what makes them such a go-to snack when you’re running low on time but still want that homemade wow factor.
Here’s exactly what you need ready to go:
- 1 cup all-purpose flour
- 1/2 cup cold unsalted butter, cut into small pieces
- 1 cup sharp cheddar cheese, shredded
- 1/4 teaspoon salt
See? That’s it! Make sure that butter is genuinely cold. If it’s soft, your mixture won’t cut together correctly, and you won’t get that fabulous flaky texture we are aiming for in these homemade cheese crackers.
Ingredient Notes and Substitutions for Cheese Crackers
Now, while the core recipe is only four things, I know you bakers like to tinker a little, or maybe you have dietary things to manage. The best substitution tip I can give you comes from my own experimentation. If you want to dip your toes into making Keto Cheese Crackers or just lower the carbs slightly, you can swap out half of that all-purpose flour for almond flour. Do not swap it all; I tried that once, and it turned into a delicious, cheesy flatbread rather than a cracker!
Also, while the recipe calls for sharp cheddar—and I highly recommend it for the flavor punch—feel free to mix it up! Gruyère melts beautifully, or you can blend cheddar with some Parmesan for an extra salty kick. Just make sure whatever cheese you choose is freshly shredded. Pre-shredded bags have anti-caking agents that can subtly change how these beautiful crackers behave in the oven.
Step-by-Step Instructions for Baking Cheese Crackers
Okay, now for the fun part! Getting these **cheese crackers** made is so satisfying because the actual hands-on time is minimal. It’s all about technique here, not frantic whisking. We need patience for the chilling, but the mixing itself flies by. Remember, we are aiming for delicious results, so let’s take our time getting the dough right before it sets up in the fridge. You can even see my tips for adding crunch to other snacks over here if you want to cheat and try something else while these chill: air fryer potato chips recipe for crunch!
Preparing the Dough for Crispy Cheddar Crackers
First up, we combine what I call our dry base. In a good big bowl—the one you don’t mind getting messy—toss together that flour and the salt. Next comes the cold butter, cut into little cubes. This is where your fingers do the work! Use your fingertips, or if you hate getting butter under your nails, definitely use a pastry blender, and work that butter into the flour until it looks like sandy gravel or coarse breadcrumbs. Don’t let the butter melt from the heat of your hands; keep it cold!
Once your butter is nice and crumbly, stir in all that gorgeous, shredded sharp cheddar cheese. Make sure it’s evenly mixed throughout the flour mixture. This is the last stage before liquid. Now, we add the water, just a tiny splash at a time—maybe 2 or 3 tablespoons total. You want the dough to just barely hold its shape when you squeeze a bit, but seriously, stop mixing the second it comes together into a rough ball. Overmixing develops gluten, and we want a tender cracker, not a tough one!
Rolling and Cutting for Perfect Homemade Cheese Crackers
Take that rough ball, flatten it into a disk—that helps it chill faster—wrap it up tight, and stick it in the refrigerator for at least 30 minutes. This resting time is non-negotiable; it lets that butter firm up again, which is vital for our ultimate crispiness.
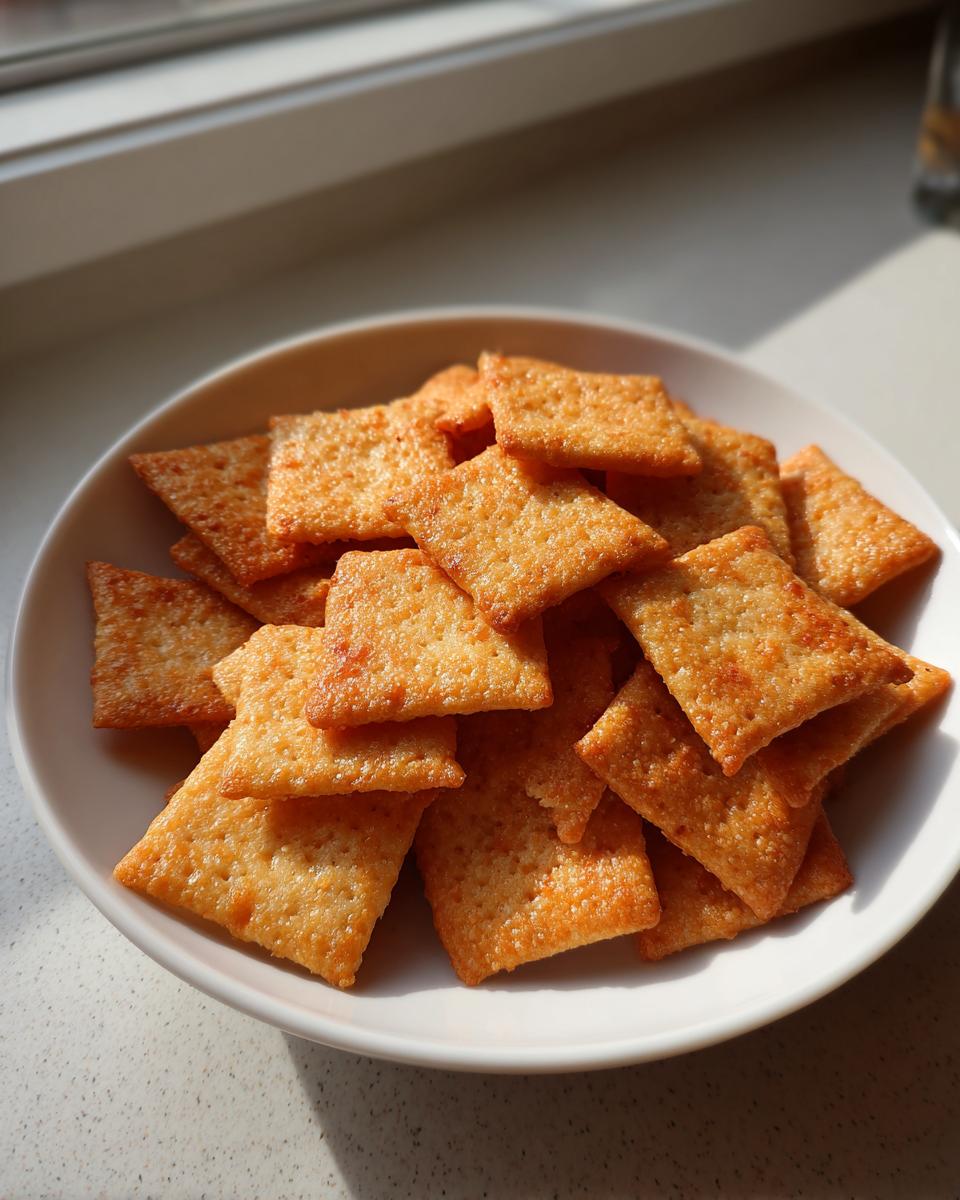
When it’s chilled and your oven is preheated to 375°F (190°C), it is time for the most important step in achieving those **Better Than Store Bought Crackers** textures. Dust your counter lightly and roll that dough out. I mean thin, friends. Aim for 1/16th of an inch thick. If you can see light right through it, you’re doing amazing! You can use cookie cutters, but honestly, using a pizza cutter or a sharp knife to score small squares or rectangles is faster and easier for me.
Lay all your cut crackers onto parchment paper-lined sheets—this prevents sticking later, which is the bane of any baker’s existence. And before they go near the heat, prick each cracker several times with a fork. Those little fork pokes are your steam vents! Bake for about 10 to 14 minutes, rotating the sheets halfway through so they brown evenly. They are done when the edges just start turning a light gold. They will keep crisping up on the pan as they cool down, so don’t burn them trying to get them dark!
Tips for Success When Making Cheese Crackers
Even with such a simple ingredient list, I’ve seen people run into little snags when making their first batch of these cheese crackers. Don’t stress! Most problems boil down to temperature or thickness, which are easy fixes once you know the trick. I’ve learned these lessons over many, many batches, trying to get that perfect shatter!
If your dough is sticking to the counter no matter how much flour you use, that generally means it hasn’t chilled long enough. That cold butter needs to be firm so it doesn’t smear across the surface when you roll it. Pop it back in the fridge for another 15 minutes; patience now equals easy cleanup later.
Texture trouble is usually about rolling thickness. If your crackers are coming out soft in the middle, it means they were too thick. Remember what the pros say: they must be close to paper-thin! If you roll them too thick, the center steams instead of bakes, which leaves you with something soft like a biscuit, not the crunchy, satisfying snack we are aiming for. If you’re looking for other great crunchy homemade snacks, you might love checking out what my friends at M.J. & Hungry Man suggest!
Also, don’t skip rotating your baking sheets when they’re in the oven. My oven runs hotter on the left side than the right, and if I forget to turn the pans halfway through, I end up with some beautifully golden crackers and some that are just flirting with burnt edges. A quick rotation keeps everything even, ensuring all your homemade cheese crackers come out perfect and ready for dipping!
Variations for Your Cheesy Bites Recipe
Once you’ve got the four-ingredient basic down, these homemade cheese crackers turn into the perfect canvas for fun flavor experiments! I just love taking a simple base recipe and turning it into something unexpected. These little crispy treats are wonderful as is, but as part of my philosophy to elevate everyday cooking, sometimes you just need to throw in an extra handful of flavor. Think of these as your master template for the ultimate Cheesy Bites Recipe.
The easiest modifications come from spices. You can add anything to that initial flour mixture before you start cutting in the butter. A quarter teaspoon of cayenne pepper gives a lovely, subtle warmth that cuts through the richness of the cheddar. If you happen to have some onion powder or garlic powder sitting around, toss in about half a teaspoon of each; it takes them straight into savory party territory.
You can also explore different cheese blends! I mentioned using Gruyère before, but try swapping half the cheddar for aged Parmesan. That salty, granular cheese adds amazing bursts of flavor. If you are curious about a regional twist that uses a bit of extra spice and maybe even pecans, you might want to pop over and check out the recipe for Southern Cheese Crackers – it’s a deep dive into flavor!
Making Low Carb Snacks with Keto Cheese Crackers
I always get questions about making Keto Cheese Crackers from this recipe, and I’m happy to tell you it’s quite doable! Remember how I mentioned swapping half the white flour for almond flour earlier? That’s your main step here. Almond flour is what gives you that low-carb base while still providing enough structure to hold the cheese together.
If you go the full keto swap route, you probably want to skip the water entirely or use just a tiny bit until the dough holds loosely. Because almond flour behaves differently than wheat flour, it absorbs moisture slower. You still need that chill time—don’t skip it!—to make sure you can roll it thin enough before baking. These will turn out slightly different from the flour version, maybe a little more delicate, but just as cheesy and satisfying!
Serving Suggestions for Homemade Savory Snacks
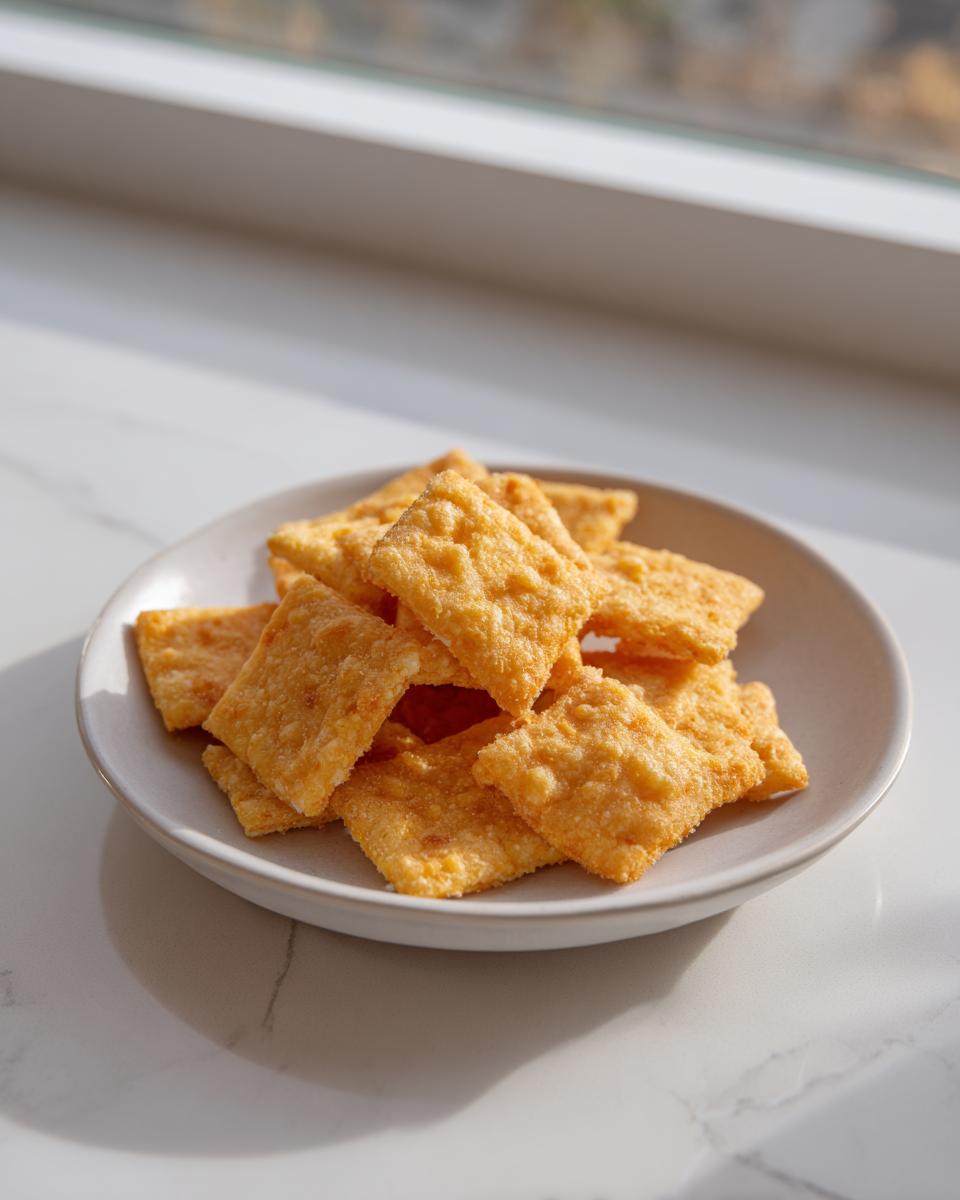
Okay, you’ve made them! They are golden, they are impossibly crisp, and your whole kitchen smells amazing. Now what? These homemade cheese crackers don’t need much help, but they certainly love company. They shine brightest when paired with something creamy or brothy.
Try setting them out as the ultimate appetizer crackers alongside a simple bowl of my easy stovetop broccoli cheddar soup—they are heavenly for dipping! Or frankly, they are great just sprinkled over a salad instead of croutons. They’re surprisingly versatile for such a simple savory snack. Seriously, try them crumbled over baked macaroni and cheese for an incredible topping!
Storage and Reheating Instructions for Cheese Crackers
One of the biggest joys of taking the time to make things from scratch is that you get leftovers! But, unlike the boxed kind, these cheese crackers have no artificial preservatives, so we need to treat them nicely to keep that signature crunch alive. Good news, though: this recipe is super stable if you follow a few rules.
The recipe notes mention that they should last up to a week, and that’s totally accurate, provided you store them in an airtight container at room temperature. That means a sturdy Tupperware, a good clip-top jar, or even a Ziploc bag with all the air squeezed out works perfectly. Keep them away from high humidity areas, like right next to the sink or stove, because moisture is the enemy of crunch!

Now, let’s be real. After about day three, maybe four, they might lose just a *tiny* bit of that just-baked snap, especially if your container isn’t perfectly sealed. If you notice they’ve softened just a smidge—and I mean a tiny bit—don’t mourn them! They are saved easily. Just spread them back onto a baking sheet and pop them in a 300°F oven for about 5 to 7 minutes. This little revival trick dries them right back out. It’s like magic, bringing them back to that perfect “snap” texture. Think of this reheating trick like a quick reset button for your snacks. For more great ways to enjoy simple food all week long, check out my tips for easy weeknight dinners!
Frequently Asked Questions About Our Easy Cheese Cracker Recipe
It’s totally normal to have questions when switching from store-bought to baking from scratch! This recipe for homemade cheese crackers is so simple, but a couple of steps seem to trip people up at first. I’ve gathered the most common ones I get asked so you can bake these perfect, crispy cheddar crackers without a second thought. If you are looking for more ideas on fun things to pack—especially when you need great quick, healthy lunch ideas—baking these ahead of time is a lifesaver!
Can I use pre-shredded cheese in this recipe?
Oh, I really wish you could, but I have to say no, or at least strongly advise against it! Remember, we are trying to create the absolute best, melt-in-your-mouth flavor here. Pre-shredded cheese is dusted with things like potato starch or cellulose powder so the shreds don’t stick together in the bag. What does that do to the crackers? It makes them greasy and can actually inhibit that perfect melt we need. Grab a block of good sharp cheddar and shred it yourself right before you start. It takes two minutes longer, but the result is so much better for your easy cheese cracker recipe.
How thin do I really need to roll the dough?
This is probably the most important question of all, because it directly determines whether you get a satisfying crunch or a sad, slightly chewy snack. When I say thin, I mean thin! You should be aiming for about 1/16th of an inch. If you hold the rolled-out dough up to the kitchen light, you should be able to see shadows through it. Don’t be intimidated by how fragile it looks when you cut out your shapes; those delicate bits are what turn into those coveted better than store bought crackers.
Can I make the dough ahead of time or freeze it?
Yes, absolutely! The chilling step is mandatory, but you can easily push that. You can wrap the dough disk tightly and keep it in the fridge for up to two days before rolling it out. If you want to go further, you can wrap it very securely in plastic wrap and then foil, and freeze it for up to three months. Just let it thaw slowly in the refrigerator overnight before you plan to roll it out. Having balls of this dough ready to go means you can whip up a batch of crunchy homemade snacks anytime the craving hits!
How can I customize the flavor for a Ranch Seasoned Cracker taste?
If you want to lean into that savory herb profile, you can easily turn these into Ranch Seasoned Crackers. Before you cut in the butter, add about 1 tablespoon of dry ranch seasoning mix (the powder packet kind works great) right in with your flour and salt. You might want to reduce the added salt in the recipe a tiny bit, since the ranch mix is usually salty enough. This adds a wonderful, recognizable flavor without adding any extra steps other than mixing.
Estimated Nutritional Data for These Cheese Crackers
Because we rely on real, wholesome ingredients—sharp cheddar, butter, and flour used sparingly—these homemade treats are surprisingly straightforward compared to the mystery ingredients lurking in packaged foods. When you calculate the nutrition for fresh baking, you know exactly what you’re getting. It just tastes better when you know the quality!
Keep in mind these numbers are estimates based on using the exact measurements provided in the recipe for standard ingredients. Your final count might shift slightly depending on the exact brand of butter or the sharpness of your cheddar, but this gives you a really solid idea of what’s in each serving of these fantastic cheese crackers.
For a standard serving size of about 15 crackers, here is the breakdown:
- Serving Size: 15 crackers
- Calories: 150
- Fat: 10g
- Carbohydrates: 12g
- Protein: 5g
- Sugar: 0.5g
See how low that sugar count is? That’s because all the flavor comes from the cheese, not added sweeteners! We are focusing on savory satisfaction here. If you loved learning exactly what goes into these snacks, you might enjoy diving into some of my easy weeknight dinner recipes where we focus on clean, homemade flavor profiles too.
PrintEasy 4-Ingredient Homemade Cheddar Cheese Crackers
Make crispy, cheesy crackers at home that surpass store-bought versions using only four simple ingredients. This recipe delivers addictive flavor perfect for snacking or lunchboxes.
- Prep Time: 15 min
- Cook Time: 14 min
- Total Time: 59 min
- Yield: 4 servings 1x
- Category: Snack
- Method: Baking
- Cuisine: American
- Diet: Vegetarian
Ingredients
- 1 cup all-purpose flour
- 1/2 cup cold unsalted butter, cut into small pieces
- 1 cup sharp cheddar cheese, shredded
- 1/4 teaspoon salt
Instructions
- In a large bowl, combine the flour and salt.
- Cut the cold butter into the flour mixture using a pastry blender or your fingertips until the mixture resembles coarse crumbs.
- Stir in the shredded cheddar cheese until it is evenly distributed.
- Add 2 to 3 tablespoons of ice water, one tablespoon at a time, mixing until the dough just comes together. Do not overmix.
- Form the dough into a disk, wrap it in plastic wrap, and chill it in the refrigerator for at least 30 minutes.
- Preheat your oven to 375°F (190°C). Line two baking sheets with parchment paper.
- On a lightly floured surface, roll the dough out very thinly, about 1/16 inch thick, for maximum crispiness.
- Use a pizza cutter or knife to cut the dough into small squares or desired shapes.
- Transfer the cut crackers to the prepared baking sheets. Prick each cracker a few times with a fork.
- Bake for 10 to 14 minutes, rotating the sheets halfway through, until the edges are lightly golden brown and the crackers are crisp.
- Let the homemade cheese crackers cool completely on the baking sheets before serving. They will crisp up further as they cool.
Notes
- For extra flavor, substitute half the all-purpose flour with almond flour for a low carb snack base, though this will change the texture.
- Roll the dough as thin as you can manage; this step is key to achieving a better than store-bought, crispy texture.
- Store leftover crackers in an airtight container at room temperature for up to one week.
Nutrition
- Serving Size: 15 crackers
- Calories: 150
- Sugar: 0.5
- Sodium: 180
- Fat: 10
- Saturated Fat: 6
- Unsaturated Fat: 4
- Trans Fat: 0.1
- Carbohydrates: 12
- Fiber: 1
- Protein: 5
- Cholesterol: 25