
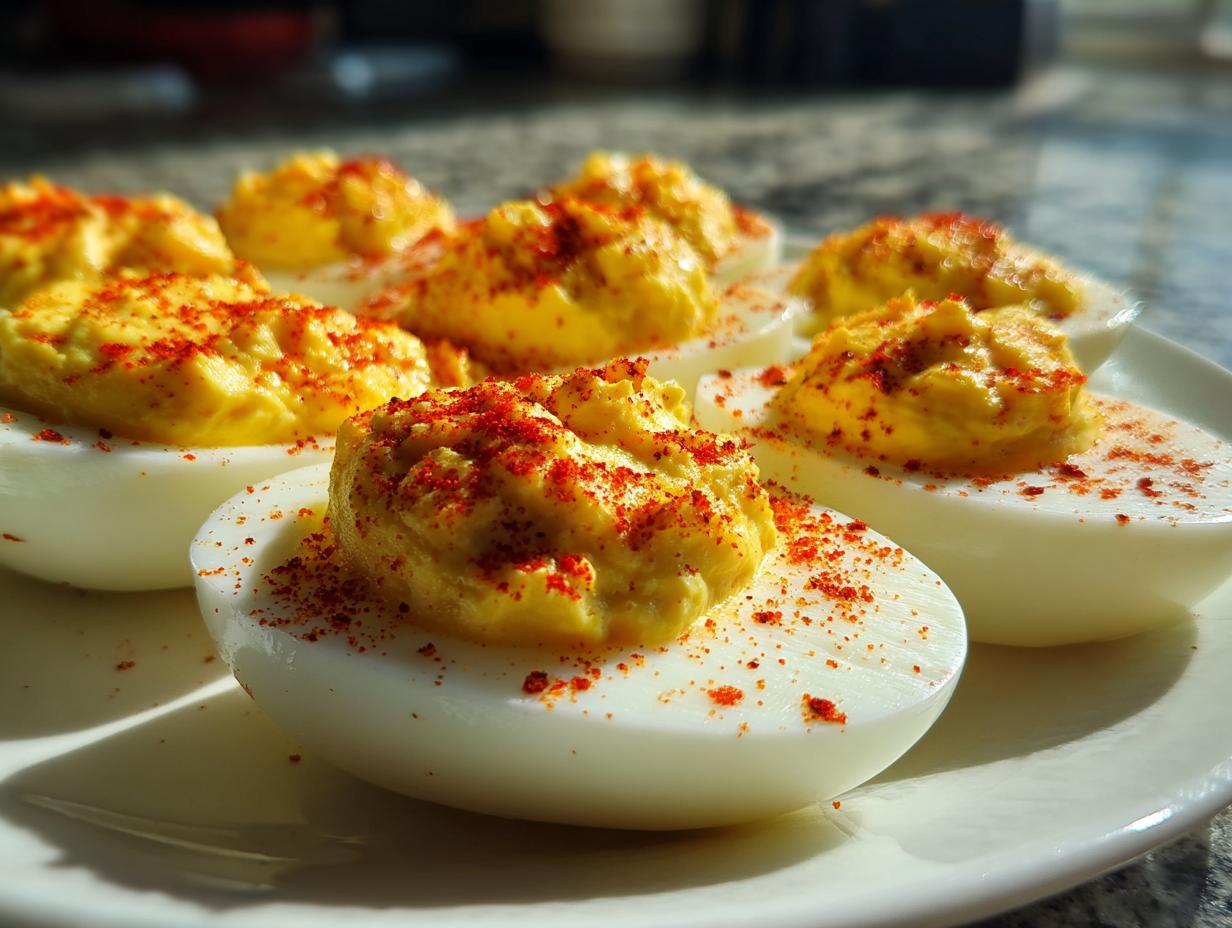
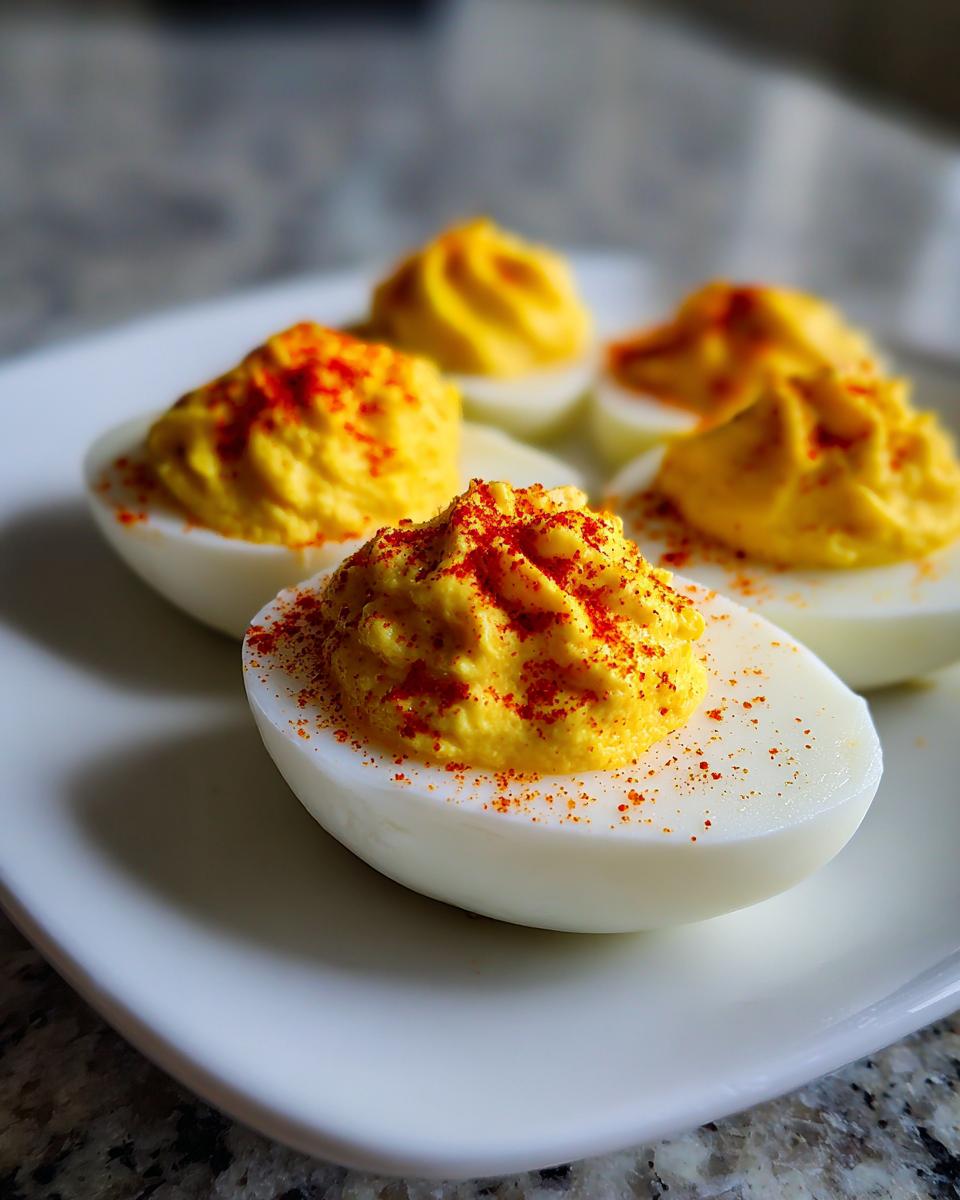
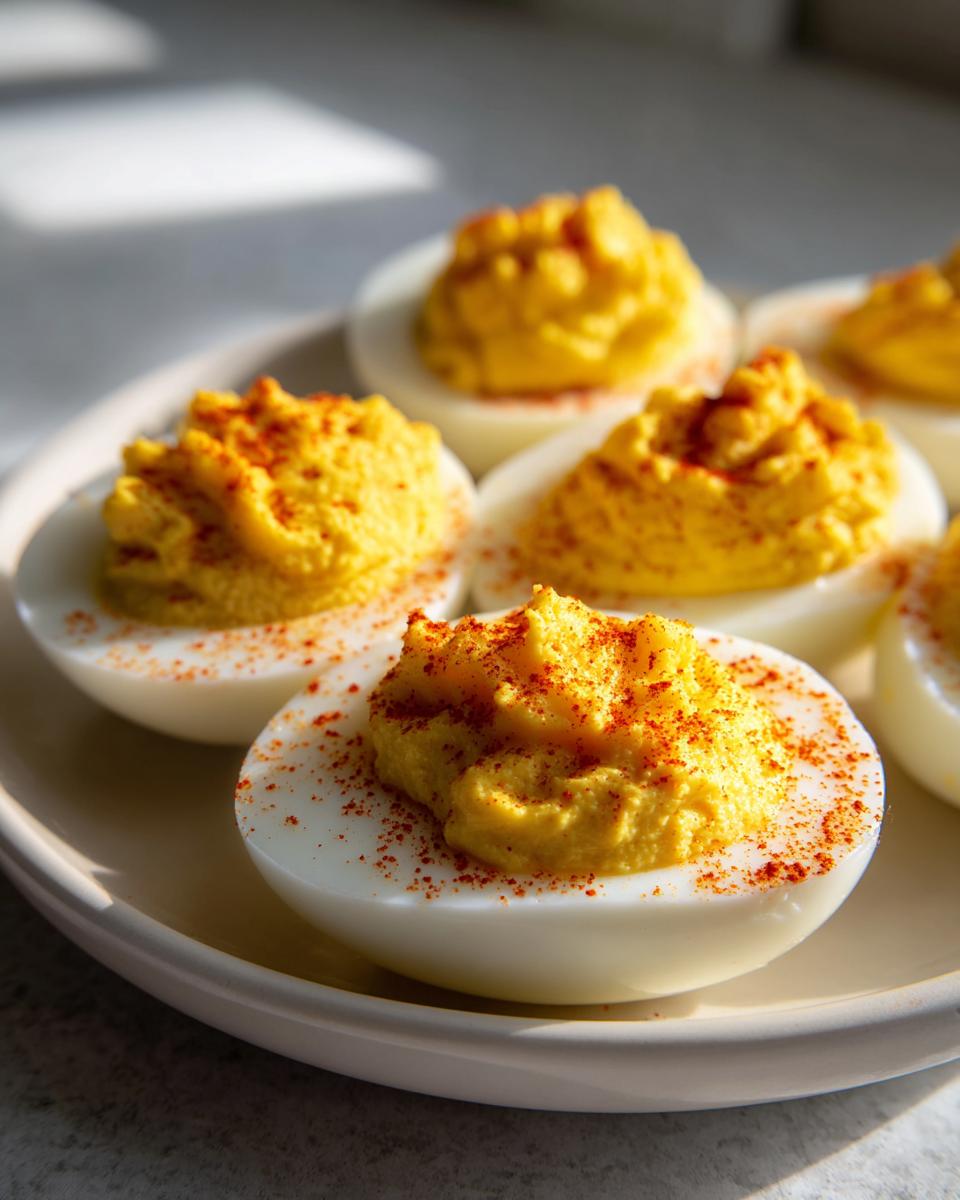
If you’re looking for the appetizer that vanishes first at every gathering—whether it’s a summer picnic or a big holiday dinner—you’ve landed in the right spot. I’m Aria, and I want to share my definitive guide to making the absolute best deviled eggs. Forget dry, crumbly messes! My goal here is simple: getting you that signature, impossibly creamy deviled eggs filling that tastes just like tradition but is genuinely foolproof. This isn’t some fussy restaurant technique; this is the tested, true recipe that works for home cooks every single time. If you love crowd-pleasing appetizers, you’ll also want to check out my recipe for amazing bruschetta dip. Trust me, once you see how easy it is to achieve that perfect texture, these will become your reputation.
- Why This Classic Southern Deviled Eggs Recipe Works Every Time
- The Foolproof Method for Perfect Hard-Boiled Eggs for Deviled Eggs
- Creating the Ultra-Creamy Yolk Filling for Your Deviled Eggs
- Elevating Your Deviled Eggs: Southern and Million Dollar Variations
- Making Deviled Eggs Ahead of Time for Parties and Holidays
- Serving Suggestions for Classic Deviled Eggs
- Storing and Reheating Your Deviled Eggs
- Frequently Asked Questions About Deviled Eggs
- Share Your Perfect Deviled Eggs Creations
Why This Classic Southern Deviled Eggs Recipe Works Every Time
The secret to why these deviled eggs are legendary isn’t in some exotic spice; it’s all in the prep work, which is where we build the foundation for the best deviled eggs you will ever serve. We focus on maximizing flavor and, crucially, making sure the eggs peel like a dream! That’s why I always insist on this specific timing.
- The 12-minute gentle boil followed immediately by the ice bath stops the cooking process dead in its tracks. This prevents that unattractive green ring around the yolk—a total dealbreaker!
- This technique ensures perfectly cooked yolks that are ready to mash into a texture you just can’t fake.
If you want to see what other classics I rely on, you should take a look at my tips for the best classic French toast. It uses the same philosophy: perfect foundation equals flawless results.
Gathering Ingredients for Perfect Deviled Eggs
You only need a few simple things, but they have to be good quality because there’s nowhere for mediocre ingredients to hide! For twelve eggs, which gives you 24 halves of pure appetizer joy, you’ll need those dozen large eggs, of course. Then, for the filling that makes them so wonderfully creamy deviled eggs, grab half a cup of good, full-fat mayonnaise—don’t skimp here! We follow that up with two tablespoons of standard yellow mustard—that bright tang is essential. If you want that little zing of Southern tradition, you need one tablespoon of white vinegar, along with the half teaspoon of salt and a whisper of black pepper. If you’re feeling bold, a tiny pinch of cayenne will wake everything up!
The Foolproof Method for Perfect Hard-Boiled Eggs for Deviled Eggs
Okay, let’s talk about the actual boiling, because this is where most people get tripped up and end up fighting stuck shells! We are aiming for firm, fluffy yolks—the perfect base for your deviled eggs—and zero green discoloration. It’s so easy once you know the timing. First, you need a pot big enough to hold your eggs comfortably. You’ll cover the eggs with cold water, maybe an inch above them, and bring that water to a full, rolling boil over high heat. Don’t start timing until it’s actually boiling hard!
The absolute game-changer for getting easy deviled eggs is what happens next. Right when it hits that rolling boil, kill the heat instantly, put a lid on the pot, and just let the residual heat do the work for exactly 12 minutes. Seriously, set a timer! Twelve minutes is the sweet spot for a perfectly set, yet still tender, yolk. Once that time is up, you immediately drain that hot water and plunge those eggs into a massive bowl of ice water. That ice bath is super important—it shocks the eggs, stops the cooking instantly so you don’t get sulfur rings, and helps the shell separate beautifully. Stick them in there until they are totally cool, probably 10 minutes. Seriously, following this boil-and-ice method is why our creamy filling always turns out flawless. You can find another easy win in my one-pot ravioli soup recipe!
Creating the Ultra-Creamy Yolk Filling for Your Deviled Eggs
Once you’ve peeled those gorgeous hard-boiled eggs—and hopefully, they peeled easily thanks to that ice bath—it’s time for the main event: the filling! Gently scoop all the golden yolks out into a clean bowl. Now, this is where I get slightly obsessive about texture. You can mash them with a fork, and that gives you a nice, rustic look, but if you truly want that restaurant-quality, unbelievably creamy deviled eggs sensation, here is my pro-tip: press those yolks through a fine-mesh sieve first. Trust me, once they go through the sieve, they become like fine dust, which means zero lumps!
After sieving, go ahead and add in your mayonnaise, mustard, vinegar, and spices. You need to mix this long and hard until it is truly homogeneous—I mean, you shouldn’t see any white specks or streaks of mustard. It should look like velvet. Don’t forget to taste it right here! This is the only chance you get before these are plated. If it tastes a little flat, maybe add another tiny pinch of salt, or a teensy splash more vinegar if you like it zesty. While you’re here learning about creamy textures, you absolutely have to see how I get my homemade Alfredo sauce so perfect!
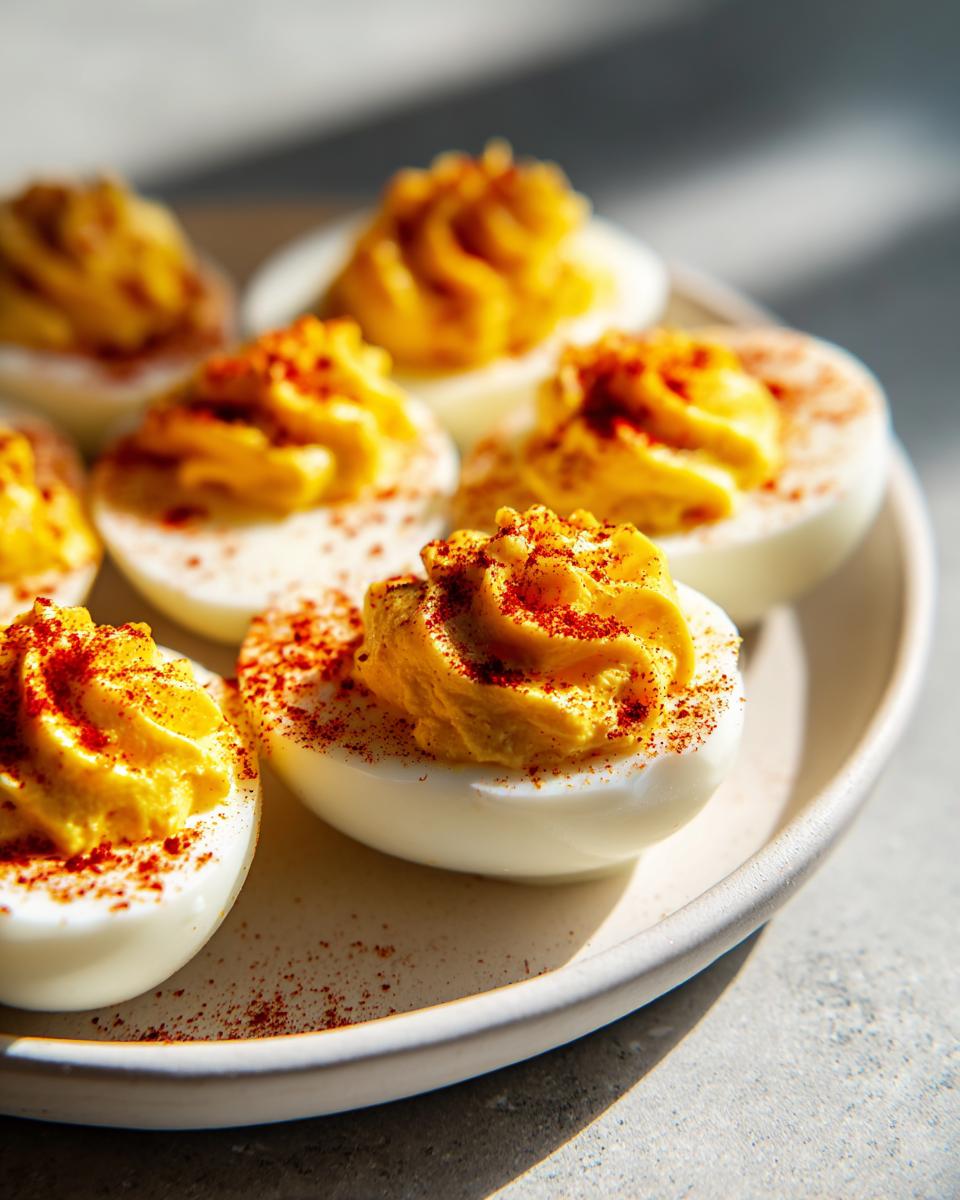
Piping vs. Spooning: Presentation Tips for Classic Deviled Eggs
Deciding how to put the filling back into those white cups is all about the party vibe you’re going for. For a relaxed picnic or a casual Sunday lunch, just using a small spoon gives you a lovely, generous, homemade look. It is fast and easy, which checks the box for great party food ideas.
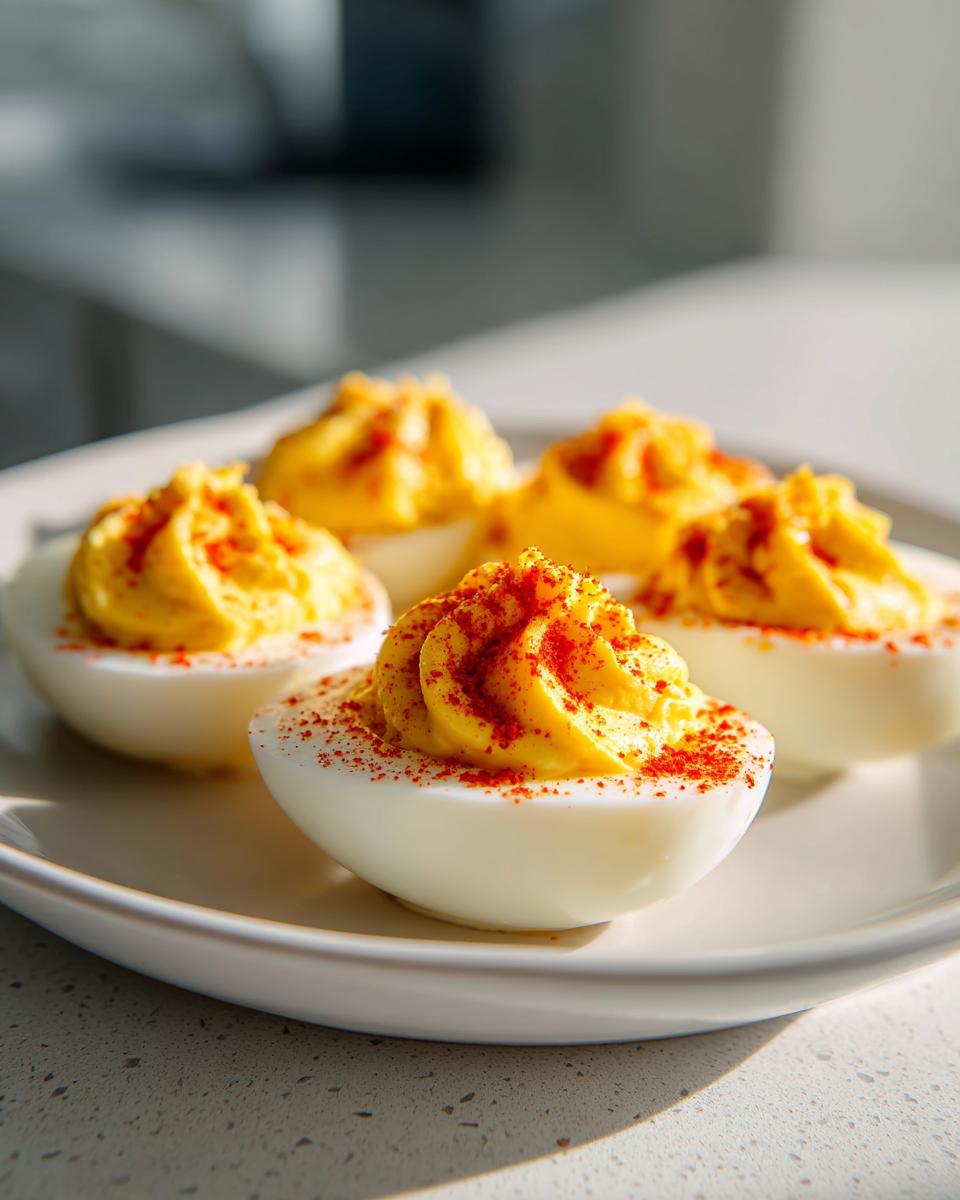
But, if you want them to look truly fancy and professional—perfect for Christmas or Easter—you’ll want to pipe it. Grab a piping bag and fit it with a large star tip; this creates those gorgeous, ridged swirls. It takes an extra minute, but turning those simple deviled eggs into something that looks architecturally perfect is always worth it!
Elevating Your Deviled Eggs: Southern and Million Dollar Variations
While this classic deviled eggs recipe is near perfection on its own, you absolutely have to know about the fun ways we dress these up for special events. If you’re catering to savory lovers, the best way to upgrade automatically is to turn them into million dollar deviled eggs. The secret there is often swapping out some of the mayo for a little cream cheese for extra richness and, of course, piling on that crispy, crumbled bacon. We even have a note in the recipe card suggesting you add four slices of cooked, crumbled bacon right into the yolk mixture—wow, makes them taste so decadent!
Beyond the bacon boost, the topping is where you can really play around with texture and color. Paprika, which we already use for garnish, is classic, but if you want more flavor in your deviled egg topping ideas, try smoky chipotle powder instead of regular paprika. Fresh chives are wonderful, but chopped dill or even finely minced pickled jalapeños give you a great kick. These little transformations are what turn simple deviled eggs into the most talked-about item on your holiday appetizer recipes table. You can see some other amazing takes by checking out this recipe from Downshiftology, too!
Making Deviled Eggs Ahead of Time for Parties and Holidays
If you’re hosting a big event or juggling multiple dishes for your holiday appetizer recipes spread, planning ahead is your secret weapon! You absolutely do not have to make these all on party day. In fact, you can do a lot in advance to make things way easier on yourself.
Here’s the strategy I use: you can boil your eggs and even peel them a day ahead of time. Seal those peeled halves in an airtight container and keep them tucked in the fridge. The yolk filling? That’s another great thing to prep early! My notes suggest you can make that creamy deviled eggs mixture up to 24 hours ahead. Store that filling separately in a sealed container. Don’t mix it with the whites yet!
The only thing you must reserve until about an hour before serving is the actual filling of the whites. If you fill them too early, the filling starts to dry out or weep, and we want them looking fresh! If you want more great ideas on things you can prep early, check out this recipe for an easy marinated cheese appetizer.
Serving Suggestions for Classic Deviled Eggs
Honestly, these deviled eggs are just so versatile! They absolutely shine as a starter when guests first arrive, setting a high bar for the meal to come. They are a staple for any potluck, but they truly steal the show as iconic Thanksgiving deviled eggs on that crowded holiday table. Because they hold up so well, they are also fantastic when tucked into a cooler as one of your easy-to-grab picnic side dishes. They’re always the first things gone, no matter the occasion!
Storing and Reheating Your Deviled Eggs
If somehow you have leftover deviled eggs—which, let’s be honest, is rare!—storage is pretty simple. You must keep them cold. Pop any leftovers onto a platter, cover them tightly with plastic wrap, or tuck them into an airtight container, and place them in the refrigerator right away. They are definitely best eaten the day they are made.
Now, please listen to me on this one thing: never, ever try to reheat them! Warming up eggs that are mixed with mayonnaise and vinegar just never works out well; the texture turns weird and oily. Instead, if they’ve been chilling for a day, just give them a good 15 minutes on the counter to take the chill off before serving them again.
Frequently Asked Questions About Deviled Eggs
I always get questions about making the perfect deviled eggs, so let’s tackle the common hiccups here. People often ask how to guarantee those beautifully rich, creamy deviled eggs instead of a grainy mess. My biggest tip is ensuring you mash those cooked yolks completely smooth before adding anything wet—and yes, running them through a sieve helps immensely! This is similar to how I get the filling right for my chicken salad sandwich.
Then there’s the peeling ordeal. If you follow my 12-minute boil and immediate ice bath method, you shouldn’t have trouble, but if you struggle, try cracking the shell all over *before* running the egg under simmering water; that helps separate the membrane from the white.
Can I use already hard-boiled eggs from the grocery store? You technically can, but remember, those eggs are older, and older eggs peel much easier. However, the yolk might taste a bit duller. For the best deviled eggs, fresh is always better, but when planning your make ahead appetizers, using store-bought can save time!
Troubleshooting Common Deviled Eggs Issues
If you see that unwelcome greenish-gray ring around your yolk, you overcooked them! Immediate icing is the only fix. If your filling is too runny for piping, try adding a touch more mayonnaise or even a small amount of the reserved egg white for body.
Share Your Perfect Deviled Eggs Creations
Now that you have the technique down for the fluffiest, most decadent creamy deviled eggs, I absolutely want to know how they turned out! Did everyone gobble them up instantly? Did you try the bacon variation or stick to the pure classic?
The whole point of Cooking Zenith is building this amazing community where we all share our kitchen wins. Please take a moment to leave a rating right below this recipe, and tell me in the comments how your results compared to my grandma’s advice—was the texture exactly what you hoped for?
If you snap a picture of your beautiful platter of appetizers headed out the door for a party or a picnic, tag us on social media! We love seeing your creations. And if you’re curious about more about my kitchen philosophy and how I develop these foolproof guides, you can always read that on my About Page. Happy cooking, everyone!
PrintClassic Southern Deviled Eggs: The Best Creamy Recipe

Make the best deviled eggs for your next gathering. This classic Southern recipe delivers an ultra-creamy, flavorful yolk filling that disappears first at any party or holiday table.
- Prep Time: 20 min
- Cook Time: 12 min
- Total Time: 42 min
- Yield: 24 halves (12 servings) 1x
- Category: Appetizer
- Method: Boiling and Mixing
- Cuisine: American
- Diet: Vegetarian
Ingredients
- 12 large eggs
- 1/2 cup mayonnaise
- 2 tablespoons yellow mustard
- 1 tablespoon white vinegar
- 1/2 teaspoon salt
- 1/4 teaspoon black pepper
- Pinch of cayenne pepper (optional)
- Paprika, for garnish
- Fresh chives, chopped (optional, for garnish)
Instructions
- Place eggs in a large saucepan and cover with cold water by about one inch. Bring the water to a rolling boil over high heat.
- Once boiling, immediately remove the pan from the heat, cover it, and let the eggs stand for exactly 12 minutes.
- Prepare an ice bath by filling a large bowl with ice and cold water.
- Drain the hot water from the eggs and immediately transfer them to the ice bath to cool completely, about 10 minutes. This stops the cooking process and helps with peeling.
- Peel the cooled hard-boiled eggs. Slice each egg in half lengthwise. Gently scoop the yolks into a medium bowl. Arrange the egg white halves on a serving platter.
- Use a fork to mash the egg yolks until they are fine and crumbly.
- Add the mayonnaise, mustard, vinegar, salt, pepper, and cayenne pepper (if using) to the mashed yolks.
- Mix the filling thoroughly until it is completely smooth and creamy. Taste and adjust seasoning if needed.
- Spoon or pipe the yolk mixture back into the hollowed-out egg white halves. For a classic look, use a spoon; for a fancier presentation, use a piping bag fitted with a star tip.
- Garnish each deviled egg with a light sprinkle of paprika and a few chopped fresh chives, if desired.
- Chill the deviled eggs for at least 30 minutes before serving to allow the flavors to set.
Notes
- For the creamiest filling, press the mashed yolks through a fine-mesh sieve before mixing in the wet ingredients.
- If you are making these for a picnic or party, you can prepare the filling up to one day ahead and store it covered in the refrigerator. Fill the egg whites just before serving.
- To make ‘Million Dollar Deviled Eggs,’ add 4 slices of cooked, crumbled bacon to the yolk mixture before filling the whites.
Nutrition
- Serving Size: 2 halves
- Calories: 90
- Sugar: 1
- Sodium: 150
- Fat: 8
- Saturated Fat: 2.5
- Unsaturated Fat: 5.5
- Trans Fat: 0
- Carbohydrates: 0.5
- Fiber: 0
- Protein: 3
- Cholesterol: 120