
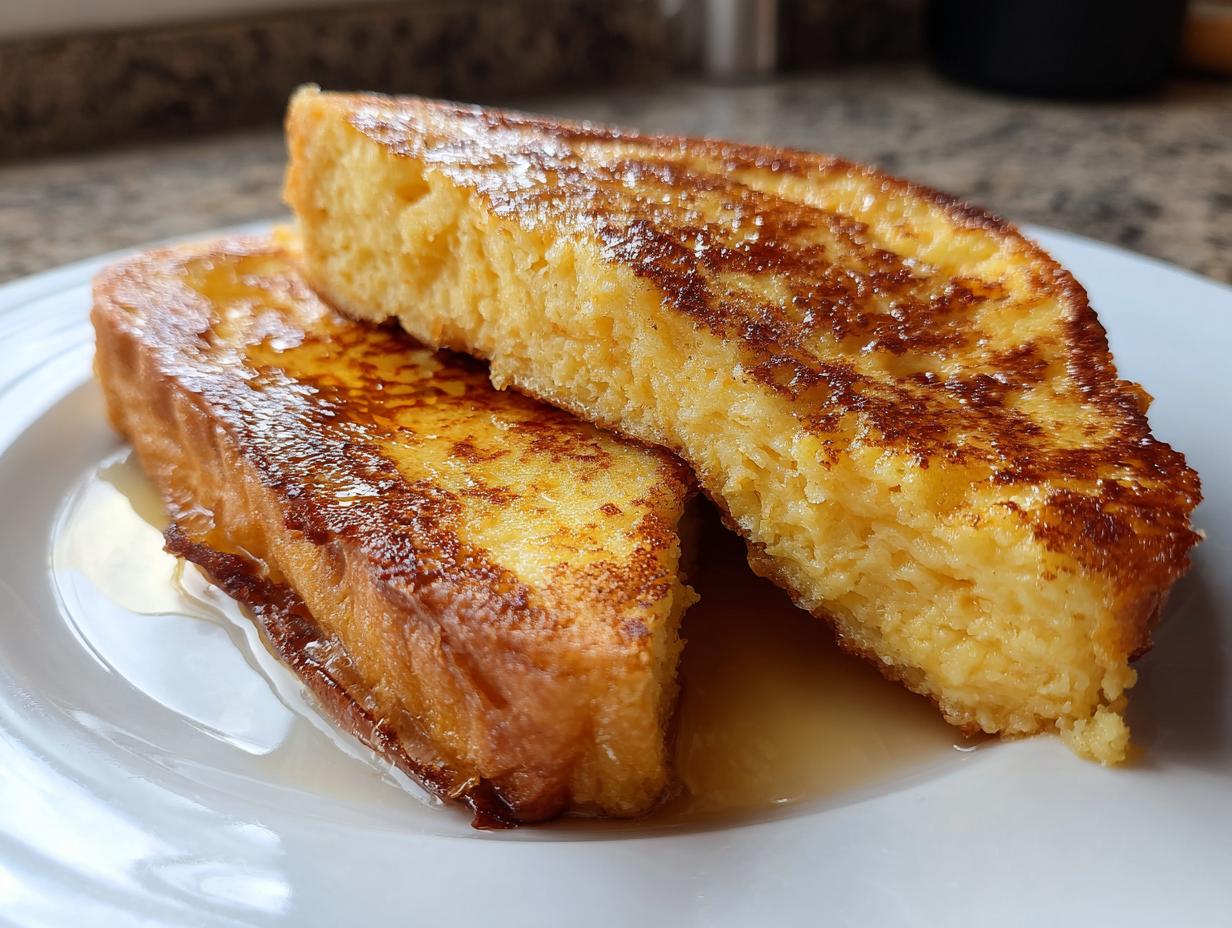
Are you tired of french toast that turns out either soggy in the middle or burnt on the edges? Trust me, those days are over! Achieving that magical balance—super crispy, browned outsides hugging a rich, impossibly fluffy center—is the absolute goal here. This guide will walk you through my foolproof method for the ultimate classic french toast. Here at Cooking Zenith, founder Aria Thompson built our whole philosophy around making impressive meals easy, and these steps are designed to give you confidence right in your own kitchen. We’re skipping the complicated stuff and going straight for weekend brunch perfection! You can read more about our mission to elevate everyday cooking over on our About page.
- Why This Classic French Toast Recipe Delivers the Best Results
- Gathering Ingredients for Your Ultimate French Toast
- Step-by-Step Instructions for Perfect French Toast
- Expert Tips and Tricks for Next-Level French Toast
- Simple Variations on Classic French Toast
- Serving Suggestions and French Toast Toppings Ideas
- Storage and Reheating Instructions for Leftover French Toast
- Frequently Asked Questions About Making French Toast
- Estimated Nutritional Data for This French Toast Recipe
Why This Classic French Toast Recipe Delivers the Best Results
You see, making amazing french toast isn’t just about throwing bread in an egg mix; it’s about creating structural integrity! This recipe is famous in my family because it nails the texture every single time. We bypass the dry, disappointing results you often get by focusing on two major secrets that elevate it to the best french toast you’ll ever make. If you’re aiming for that melt-in-your-mouth experience, you need to know these steps. It’s all about listening to what the bread needs, and that’s why professional cooks love these simple tricks, which you can see echoed over at Modern Honey.
Achieving the Perfect Custardy French Toast Center
The secret weapon for that unbelievable custardy french toast center is the dairy ratio. We use a blend of whole milk *and* heavy cream. That little bit of fat makes a huge difference, making the inside soft and rich instead of chewy. But here’s the key part: soaking time. You can’t rush it, but you can’t go too far! I let each slice sit in the custard for about 30 seconds per side. Any longer, especially with thicker bread, and you’ve got mush. We want the bread saturated, but still strong enough to hold its shape.
Tips for Ultra Crispy French Toast Edges
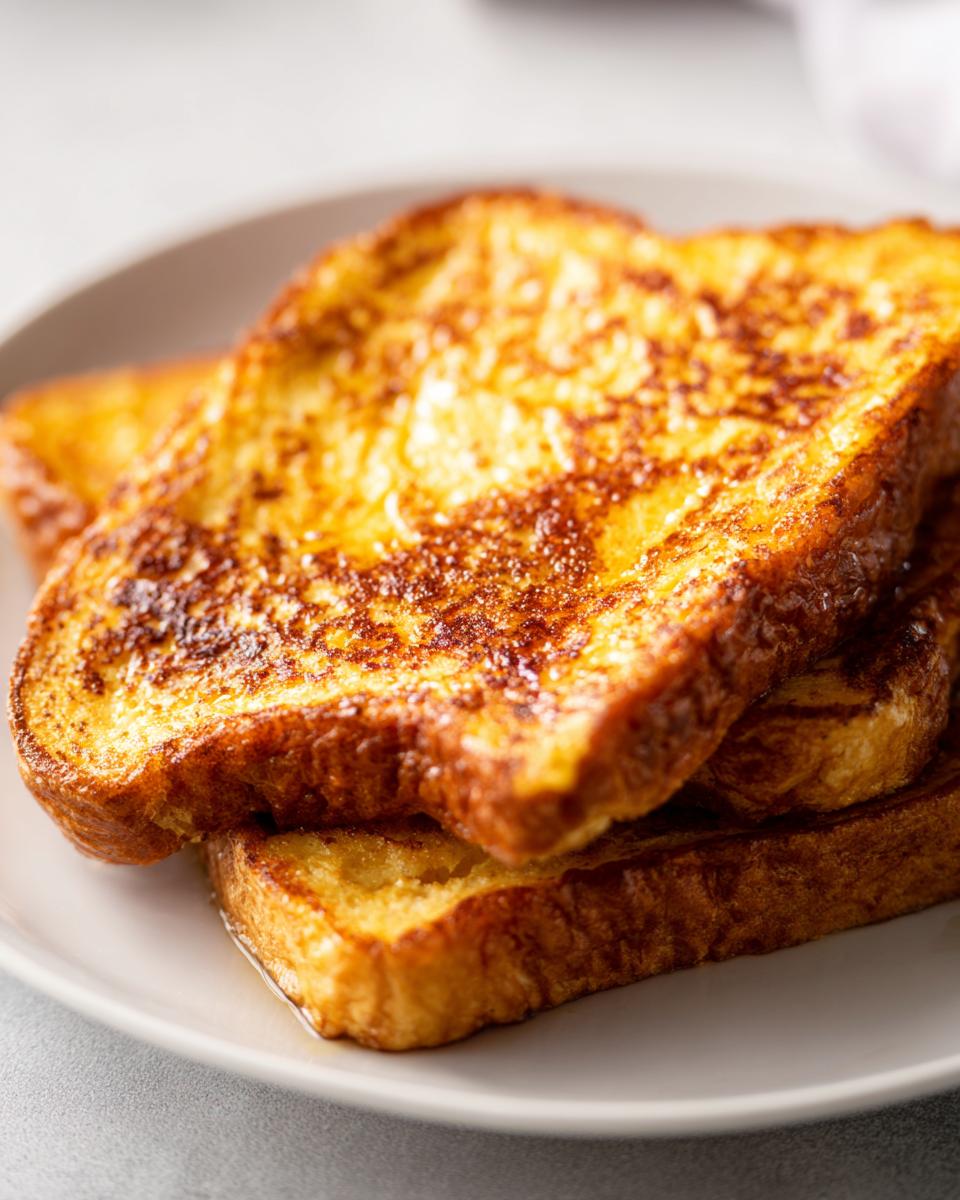
Next up: the cooking! If you blast your heat to high, you’ll burn the outside before the inside is cooked, right? Wrong! We cook this low and slow over medium-low heat. This gentle warmth allows that milky custard time to actually steam and set inside the bread, while the butter works its magic on the outside. Cooking it this way for 4 to 5 minutes per side guarantees you get that perfect, fluffy french toast with beautifully golden brown french toast edges that snap just right. Don’t skip the butter; it’s what gives you that signature crisp.
Gathering Ingredients for Your Ultimate French Toast
Okay, let’s talk provisions! This recipe relies on quality staples, but choosing the right bread is non-negotiable if you want that high-end experience. Forget soft, squishy sandwich bread—it just disintegrates in the custard. For truly phenomenal french toast, you want something sturdy that can handle a good soak. We always reach for thick slices of Challah or Brioche; their structure is perfect.
Bread Selection and Preparation Notes
The most important word you need to remember here is “day-old.” Stale bread sounds bad, I know, but trust me! When the bread has dried out a little, those air pockets are primed and ready to drink up all that creamy egg mixture without turning into soup. If you don’t have Challah or Brioche, a thick-cut Texas Toast or a good quality Italian loaf will work in a pinch—just give it an extra minute or two sitting out on the counter to firm up before you dip it.
Step-by-Step Instructions for Perfect French Toast
Alright, putting the theory into action! This is where your french toast transforms from merely good to absolutely unforgettable. We’re keeping things simple, following the timing precisely, and making sure we treat our gorgeous bread slices gently when we handle them. Since we want this to be an easy french toast breakfast that looks like you slaved over it, pay close attention to the pre-heating and the gentle dipping required. If you used slightly stale bread like I suggested, you’re going to be just fine taking that plunge into the custard!
Creating the Cinnamon-Spiced Custard Base
First things first, we build the flavor bath! Grab a nice shallow dish—this makes dipping way easier than a deep bowl. Whisk your eggs vigorously first to avoid any weird stringy bits. Then, gently pour in the milk, the heavy cream, that vanilla blast, the cinnamon, and the nutmeg. You absolutely must whisk until everything looks completely uniform and there are no streaks of spice hiding at the bottom. Remember, we want that beautiful cinnamon french toast flavor distributed evenly across every single bite. Set this right next to your stovetop so it’s ready when the butter starts foaming.
The Cooking Process for Golden Brown French Toast
Now, heat management is everything here. Set your skillet or griddle to medium-low—seriously, don’t crank that dial up! Melt your butter until it’s just foamy, then lay your soaked slices down without crowding them. They need space to beautifully crisp up. Cook each side for about 4 to 5 minutes, turning only when you see that deep golden brown color developing. If you want to read more about quick breakfast makeovers, check out this fun pin I saw recently here! Once they are perfectly done, move them immediately to a wire rack set over a baking sheet in a very low oven (about 200°F). This keeps them warm and preserves that marvelous crisp exterior while you finish the batch. If you need help with oven settings or general culinary questions, don’t hesitate to reach out through our contact page!
Expert Tips and Tricks for Next-Level French Toast
Okay, now that you know the basics for a great french toast, let me spill a few extra industry secrets that Aria always talks about—the little touches that take it from simple Saturday breakfast to show-stopping weekend masterpiece. These little adjustments truly cement this as one of the best french toast tips and tricks you’ll find because they focus on flavor depth, not just cooking time.
First, let’s talk about vanilla. Don’t reach for that imitation stuff! A splash of pure, high-quality vanilla extract—the kind that costs a little more—really elevates the creamy richness of the custard. It blends beautifully with the cinnamon and nutmeg, giving every bite a sophisticated warmth. You can see how important quality ingredients are when comparing different guides, just like this fantastic one from Modern Honey.
Here’s my favorite trick for an extra-caramelized edge: right after you flip the French toast to the second side, sprinkle a tiny, almost invisible pinch of regular granulated sugar lightly over the cooking surface near the bread. As that sugar heats up against the butter, it creates the most gorgeously crisp, slightly caramelized crust. It’s like adding a crunchy bonus layer without resorting to a full sugar batter. Do this quickly, and don’t overthink it—it adds such a wonderful textural element!
Simple Variations on Classic French Toast
Once you master the classic technique—that perfect combination of crusty outside and custardy middle—you’ll feel ready to experiment! Since we want to keep this guide focused on the *best* version of the classic recipe, I won’t detail the full instructions here for these fancier options. However, knowing how easy it is to adapt the base custard always lights up my creativity for a big Sunday brunch.
If you’re feeling adventurous, you can look into amazing twists like the decadent Crème Brûlée French Toast, which really ups the luxury factor. Or maybe you want something heartier that feels like a total dessert? I love looking at recipes like the one for Cream Cheese Stuffed French Toast when I need serious weekend inspiration!
Ideas for Indulgent Stuffed French Toast
The world of stuffed french toast ideas is incredible! Honestly, stuffing is just a way to add more deliciousness between two pieces of bread, right? For simple stuffed french toast ideas, you can use that same thick, stale bread we talked about. Just cut a pocket into the side before soaking, or create a sandwich with two slices. For fillings, a smear of sweetened cream cheese mixed with a little vanilla bean paste is divine, especially if you dust it with powdered sugar afterward. Fruit fillings, like slightly thickened blueberry reduction or softened jam, also work like a charm!
Serving Suggestions and French Toast Toppings Ideas
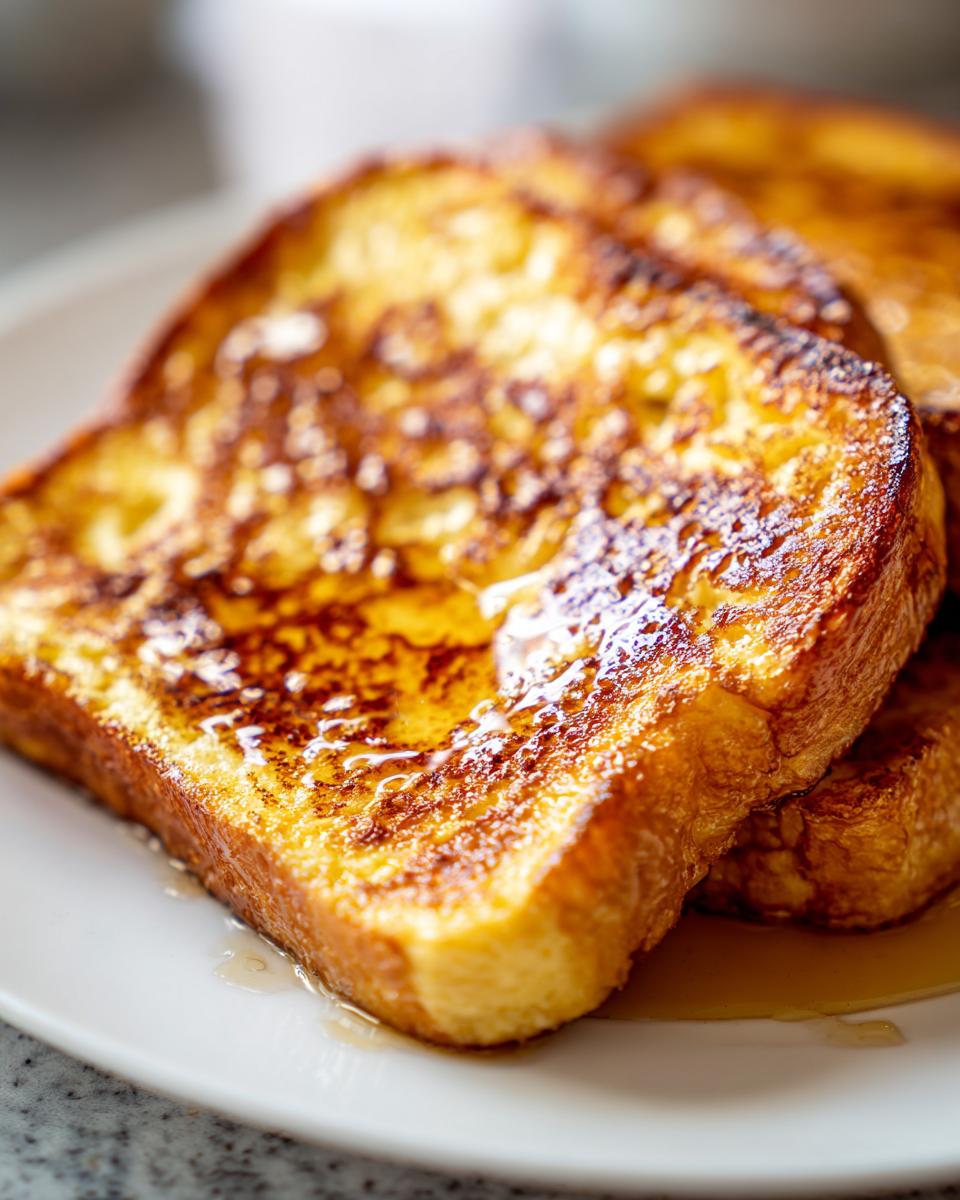
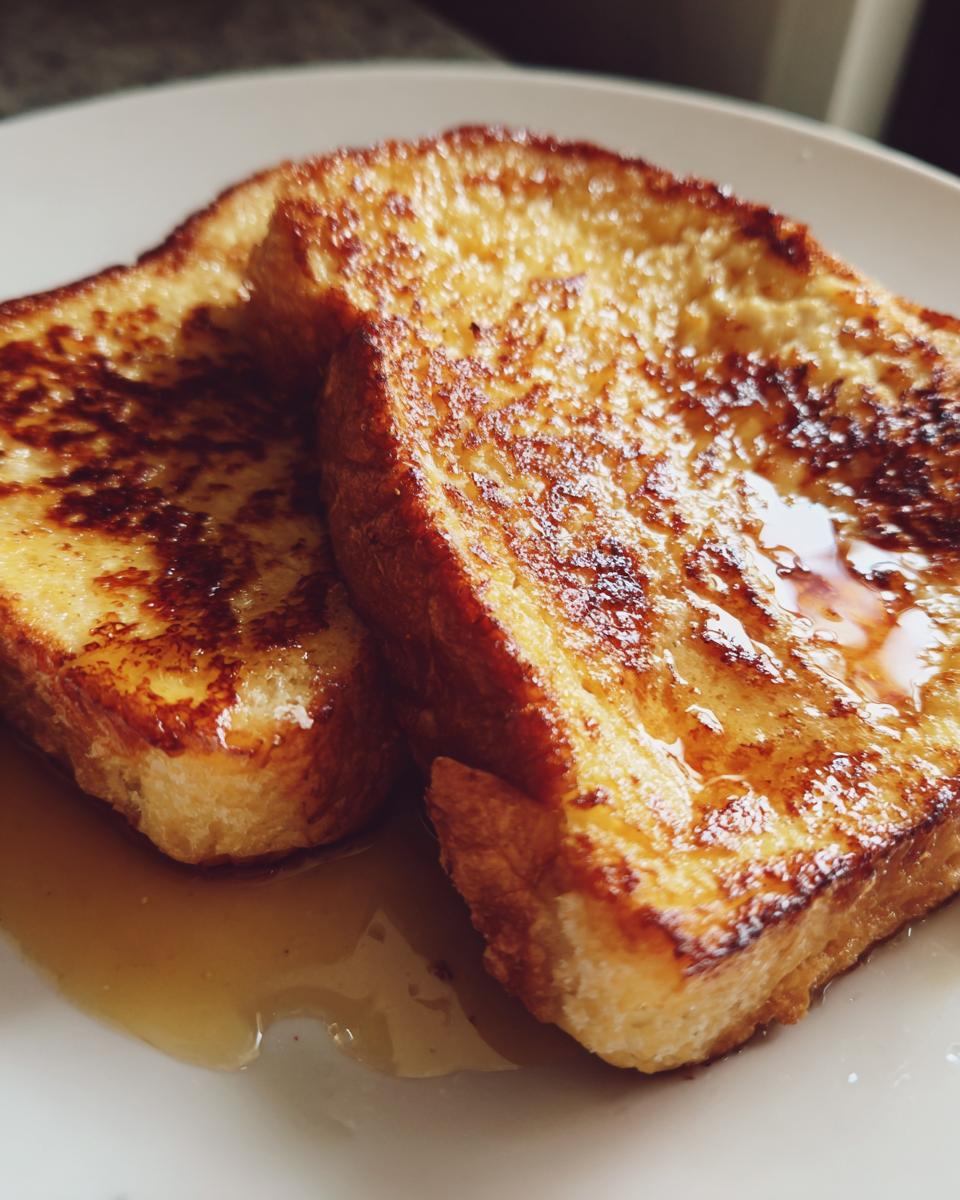
The presentation of your french toast honestly matters just as much as the cooking itself, especially when you’re putting together a nice spread for a big family breakfast. Once your slices are perfectly golden and still warm from the oven, they need a finishing touch! You always have to start with the classics, right? A generous drizzle of pure maple syrup is expected, but don’t stop there.
I love topping mine high with fresh raspberries and blueberries; the tartness cuts through the richness beautifully. A light dusting of French Toast with powdered sugar makes everything look instantly professional, like something you’d pay too much for at a fancy café—which is perfect for those relaxed weekend brunch recipes. A little dollop of whipped cream or maybe some toasted pecans if you have them on hand really rounds out the texture profile!
Storage and Reheating Instructions for Leftover French Toast
Okay, sometimes you make too much magic, or maybe you just want to enjoy this amazing french toast again tomorrow morning without all the work! That’s great, because leftovers can be almost as good as fresh, provided you handle them correctly. The worst mistake you could make here is throwing those glorious, crispy slices into the microwave. Don’t do it! That steam shower will turn your masterpiece into a sad, soggy sponge, and we just can’t have that after all this effort.
First, make sure the slices are completely cool before you try to store them. If you put warm food into a container, condensation builds up immediately, which ruins the crisp exterior. Lay them out on a cooling rack for about 15 minutes or so. Once cool, stack them in a single layer between sheets of parchment paper inside a good, airtight container. They should last beautifully in the fridge for about three days.
To reheat and bring back that beautiful crispness we worked so hard for? Toss them directly onto a wire rack set on top of a baking sheet. Pop that sheet into a 350°F oven. Give them about 5 to 7 minutes to heat through evenly. This method lets the air circulate around them, drying out any residual moisture and crisping up those edges perfectly. It’s the best way to recapture that fresh-off-the-griddle texture for an almost instant, easy french toast breakfast the next day!
Frequently Asked Questions About Making French Toast
I swear, the questions I get about french toast are endless, and honestly, that’s because there are so many little details that can throw you off! Everyone wants that perfect, puffy slice. Here are a few things I get asked all the time, hoping this clears everything up so your next batch is flawless.
Can I use fresh bread for this French Toast recipe?
Oh, I know it feels counterintuitive, but please try not to use super fresh bread! Fresh bread is too soft and spongy; it will instantly absorb all that liquid custard and tear apart the second you try to flip it. That’s why stale or day-old bread is crucial for getting that nice structure and the fluffy french toast rise we want. If you absolutely must use fresh bread, leave the slices out on the counter for at least an hour, or give them a quick 5-minute toast in the oven first to dry them out a tiny bit.
What kind of pan really works best for cooking?
For the most consistent results, especially if you are making a big batch for a weekend brunch recipes feast, nothing beats a large, heavy-bottomed griddle or a flat electric griddle. This lets you use more surface area and regulate that medium-low heat perfectly. If you only have skillets, make sure they are heavy, like cast iron! A thin pan will create hot spots, and you’ll end up with unevenly cooked, not-quite-golden brown french toast.
Can I make large amounts of this ahead of time?
For the absolute best texture—that crispy exterior and truly custardy center—this batch recipe really needs to be cooked fresh. If you want a true make ahead french toast situation, especially for feeding a crowd, I highly recommend pivoting to a whole casserole or bake instead. You put the whole thing together the night before, and bake it in the morning! You can find some amazing ideas for an Overnight French Toast Casserole when you just don’t feel like standing over the stove!
Estimated Nutritional Data for This French Toast Recipe
So, everyone always wants to know the numbers, right? While I’m busy obsessing over the perfect crispiness and how much vanilla to add, I know some of you are keeping tabs on the macros for your french toast breakfast. I’ve laid out the general estimates below based on the ingredients we used—specifically serving two people with two slices each, using the Brioche loaf.
Now, please take this with a grain of salt, or maybe several grains of cinnamon! These numbers are just my best approximation using standard product measurements. Once you start drizzling on extra maple syrup or piling on the whipped cream, those figures are going to jump up! Think of this as a baseline for the bread and custard itself.
- Serving Size: 2 slices
- Calories: 350
- Fat: 18g
- Carbohydrates: 35g
- Protein: 15g
This classic french toast recipe is packed with a decent amount of protein thanks to all those eggs, which keeps you full until lunchtime! Just an FYI: these estimates don’t include any toppings or powdered sugar added at the end. If you are looking for detailed information regarding how we handle data and ensure accuracy for our recipes, you can check out our privacy policy. Happy eating!
PrintThe Ultimate Fluffy & Crispy Classic French Toast Guide

Follow this guide to make the best classic French toast with crispy edges and a custardy center using simple techniques.
- Prep Time: 10 min
- Cook Time: 15 min
- Total Time: 25 min
- Yield: 3 servings 1x
- Category: Breakfast
- Method: Pan Frying
- Cuisine: American
- Diet: Vegetarian
Ingredients
- 6 thick slices day-old bread (Challah or Brioche recommended)
- 3 large eggs
- 1/2 cup whole milk
- 1/4 cup heavy cream
- 1 teaspoon vanilla extract
- 1/2 teaspoon ground cinnamon
- 1/8 teaspoon ground nutmeg
- Pinch of salt
- 2 tablespoons unsalted butter, for cooking
Instructions
- Prepare the custard: In a shallow dish, whisk together the eggs, milk, heavy cream, vanilla extract, cinnamon, nutmeg, and salt until fully combined.
- Soak the bread: Dip each slice of bread into the custard mixture. Allow it to soak for about 30 seconds per side, ensuring the bread absorbs the liquid without becoming fully saturated and falling apart. Use slightly stale bread for the best texture.
- Heat the pan: Place a large skillet or griddle over medium-low heat. Add half of the butter and let it melt until it foams slightly. Cooking low and slow helps achieve a custardy interior.
- Cook the toast: Place the soaked bread slices onto the hot skillet, ensuring they do not overlap. Cook for 4 to 5 minutes per side until the French toast is golden brown and crisp on the exterior.
- Keep warm: Transfer cooked slices to a wire rack set over a baking sheet and keep them warm in a low oven (around 200°F) while you cook the remaining slices, adding more butter to the pan as needed.
- Serve immediately with your preferred toppings.
Notes
- Using day-old or slightly stale bread prevents the bread from breaking apart when soaking in the custard.
- For extra richness, substitute some of the milk with half-and-half or use only heavy cream in the custard base.
- If you want a caramelized top, sprinkle a thin layer of granulated sugar over the surface during the last minute of cooking on each side.
Nutrition
- Serving Size: 2 slices
- Calories: 350
- Sugar: 12
- Sodium: 300
- Fat: 18
- Saturated Fat: 9
- Unsaturated Fat: 9
- Trans Fat: 0
- Carbohydrates: 35
- Fiber: 2
- Protein: 15
- Cholesterol: 180