
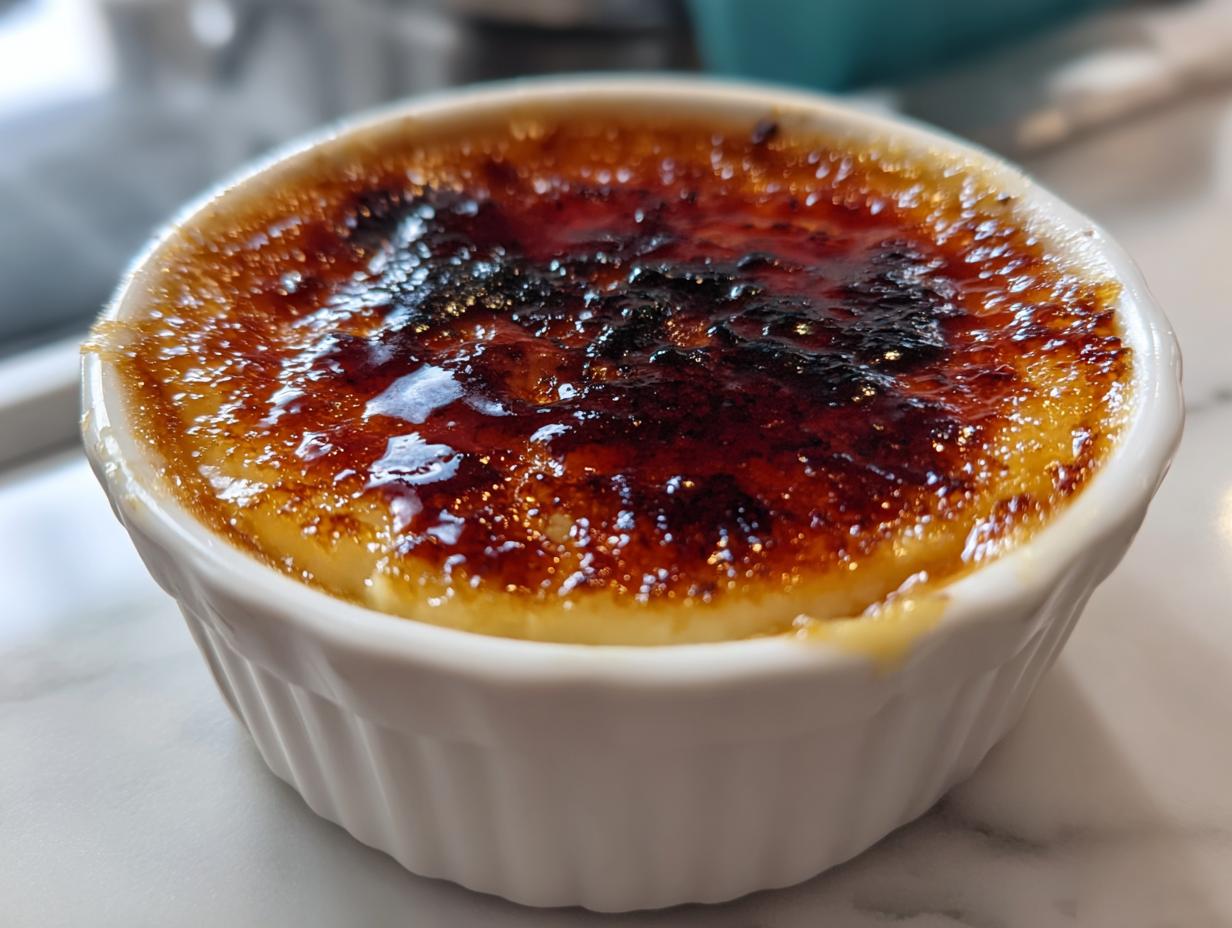
I used to think that restaurant-quality desserts were locked away behind velvet ropes and impossible techniques. Seriously, who can get that perfect, paper-thin crack on top of a cold, silky custard without completely scrambling the eggs underneath? But trust me, making a truly spectacular, elegant crème brûlée is absolutely within your reach! It’s all about understanding the chemistry, not following fussy rules. When I first mastered that stunning contrast—the warm, brittle sugar shattering right before you hit the luxurious, chilled vanilla custard—I felt like I’d brought a piece of a Parisian patisserie right into my own kitchen. It’s pure magic, and once you nail this classic French custard, you’ll be making crème brûlée for every special occasion.
- Why You Will Master This Classic Creme Brulee Recipe
- Essential Ingredients for Perfect Creme Brulee
- Equipment Needed for Your Creme Brulee
- Step-by-Step Guide to Making the Vanilla Custard Dessert
- Achieving the Perfect Caramelized Sugar Topping
- Expert Tips for Flawless Creme Brulee
- Storing and Serving Your Elegant French Dessert
- Frequently Asked Questions About Creme Brulee
- Nutritional Estimates for This Creme Brulee
Why You Will Master This Classic Creme Brulee Recipe
I know you’re looking around for that one recipe that just *works*, the one that feels impressive but doesn’t need ten weird ingredients. This is it! I designed this particular crème brûlée to be foolproof, even if you swear you can’t bake. Here’s why we’re going to succeed together:
- Maximum of five core ingredients—no specialty store runs needed! We focus on pure flavor.
- We tackle the huge fear factor head-on: tempering the yolks safely so you never end up with sad, sweet scrambled eggs.
- The water bath technique guarantees that unbelievably smooth, cold, vanilla custard dessert texture we all crave.
- The payoff is instant gratification! That sharp *crack* when your spoon hits the top is worth every second of effort.
- This recipe produces a truly gorgeous and elegant French dessert—your guests will think you hired a baker!
- It involves almost no active mixing time. Once it’s in the oven, it’s hands-off time for you to clean up or pour a glass of wine.
Essential Ingredients for Perfect Creme Brulee
Okay, so the beauty of this creme brulee is that it relies on quality, not quantity. We are only using five main things, but how you treat them matters fiercely! Don’t even *think* about using imitation vanilla here; we need the real deal for this luxurious feel you’re after.
Make sure you have these ready to go before you start heating anything:
- 5 large egg yolks, brought up slightly toward room temperature—this helps them incorporate better later.
- 2 cups of heavy cream—this is non-negotiable, please use the heavy stuff for richness!
- 1/2 cup of granulated sugar, and then *more* of it set aside specifically for that caramelized sugar topping later.
- 1 teaspoon of pure vanilla extract—the real flavor anchor!
- A tiny, almost insignificant pinch of salt to balance all that sweetness.
Having your ingredients measured and lined up is half the battle won when dealing with custards. Trust me, you don’t want to be scrambling for the salt while your cream is getting too hot!
Equipment Needed for Your Creme Brulee
When you’re making something as delicate as creme brulee, the tools you use are almost as important as the recipe itself. Don’t worry, you don’t need a whole professional pastry kitchen setup! But there are three pieces of equipment that I consider absolutely essential if you want that restaurant finish.
If you skip these items, you’re just going to end up with sweet, lukewarm pudding, and we want that signature *crack*, right?
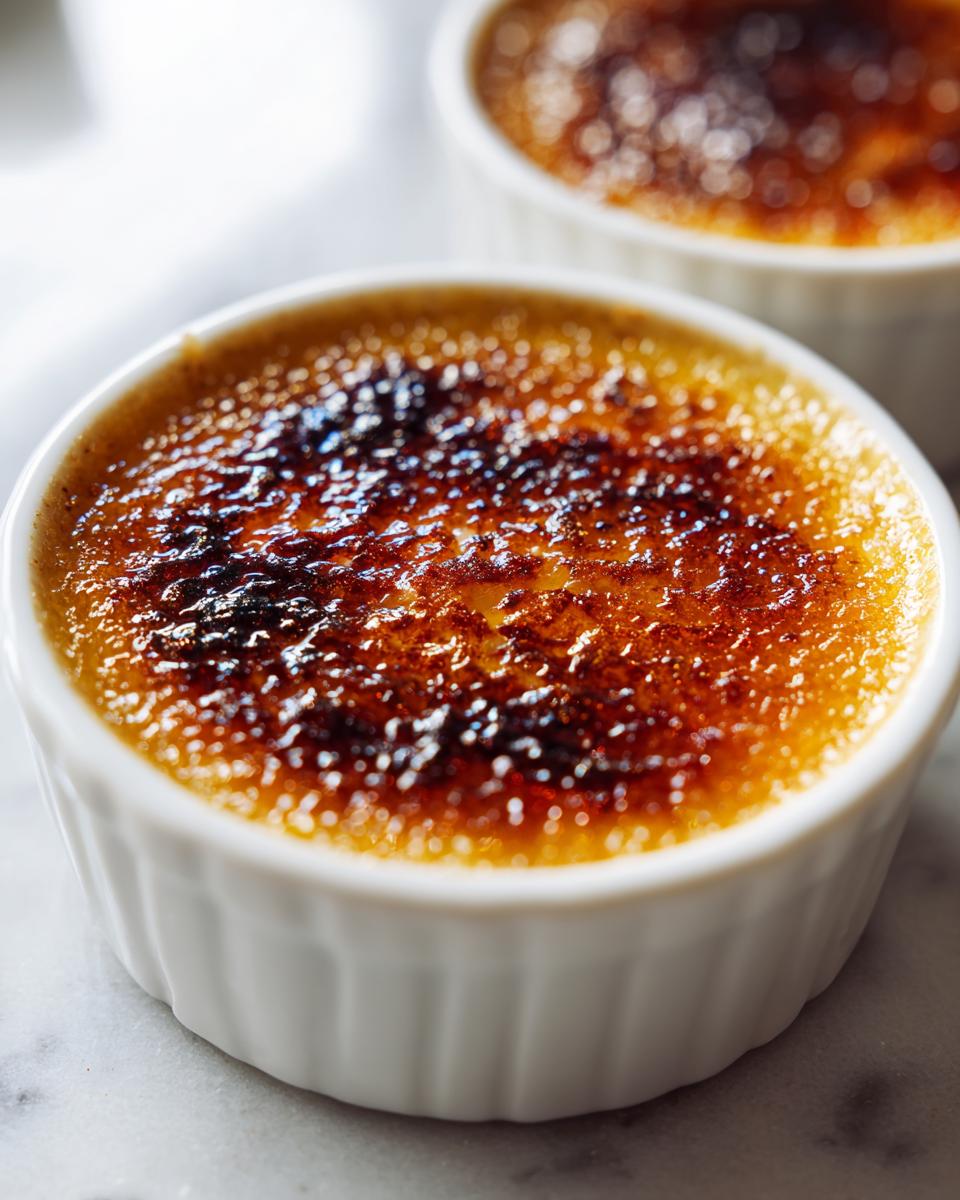
- Ramekins: You’ll need four nice oven-safe little dishes, usually 6-ounce size is perfect. These are what give you that perfect individual serving size.
- Deep Baking Pan: This is crucial for creating the water bath! You need something deeper than your ramekins so you can pour water up around the sides without it spilling over the top.
- Medium Saucepan: This is just for gently warming up your heavy cream. Don’t boil it! We want warm, happy cream, not angry, scorching cream.
- Fine-Mesh Sieve: Please don’t skip straining the custard! This is the secret to silky smooth texture—it catches any tiny bits of cooked egg or chalaza from the yolks.
- Whisk and Mixing Bowl: You’ll use these for gently combining the yolks and then slowly incorporating the hot cream. Remember, we are whisking just enough to combine, not to whip tons of air in!
- Kitchen Torch: This is the star of the show for that beautiful caramelized sugar topping! It gives you control. If you don’t have one, you can try the broiler trick I mention later, but honestly, the torch is so worth the small investment for perfect crème brûlée.
Having these pieces ready makes the process feel calmer, which means you’re less likely to rush the crucial tempering step!
Step-by-Step Guide to Making the Vanilla Custard Dessert
Now we get down to the real fun: turning those simple ingredients into that unbelievably rich, vanilla custard dessert. The key here is patience, especially during the initial heating and mixing. If you treat your eggs gently, they will reward you with the silkiest creme brulee you have ever tasted. Don’t rush the warming of the cream, and definitely don’t rush adding it to the yolks!
Preparing the Cream Base and Tempering Yolks
First things first: get that oven warming to 325°F, and set your four little ramekins inside a bigger, deeper baking dish—that’s our home for the water bath later. In a saucepan, warm your heavy cream and half a cup of sugar over medium heat. You just want the sugar dissolved; if you see bubbles starting to form around the edge, kill the heat immediately! We are warming it, not boiling it. While that’s happening, gently whisk your yolks and salt in a separate bowl—just enough to break them up, don’t create a fluffy foam.
Here comes the most important part: tempering! Take about a cup of that warm cream and drizzle it *very, very slowly* into the yolks while you whisk constantly. Pouring too fast is how you accidentally make sweet scrambled eggs, and nobody wants that mess! Once the yolks are tempered and warmer, pour that whole yolk mixture back into the saucepan with the rest of the warm cream. Stir it gently until it looks uniform.
Baking the Creme Brulee in a Water Bath
Before it goes into the oven, make sure you strain that entire custard mixture through a fine-mesh sieve into a measuring cup. This is your insurance policy against lumps! Pour the strained mixture evenly into your waiting ramekins. Now, slide that whole baking pan onto the oven rack, and *then* carefully pour hot water into the outer pan until it comes about halfway up the sides of your custard cups. This hot water bath is vital because it insulates the custard and ensures it bakes evenly, preventing the edges from cracking or overcooking.
Bake for about 30 to 35 minutes. You are waiting for a visual cue—the edges should look set, but if you nudge the pan gently, the center needs to wiggle just slightly, like gelatin. When they look perfect, carefully fish those ramekins out of the hot water bath and let them cool completely on a rack. Seriously, they need time! Once they are room temperature, cover them and move them to the fridge for at least four hours, but honestly, overnight is when the magic truly sets in for this creme brulee.
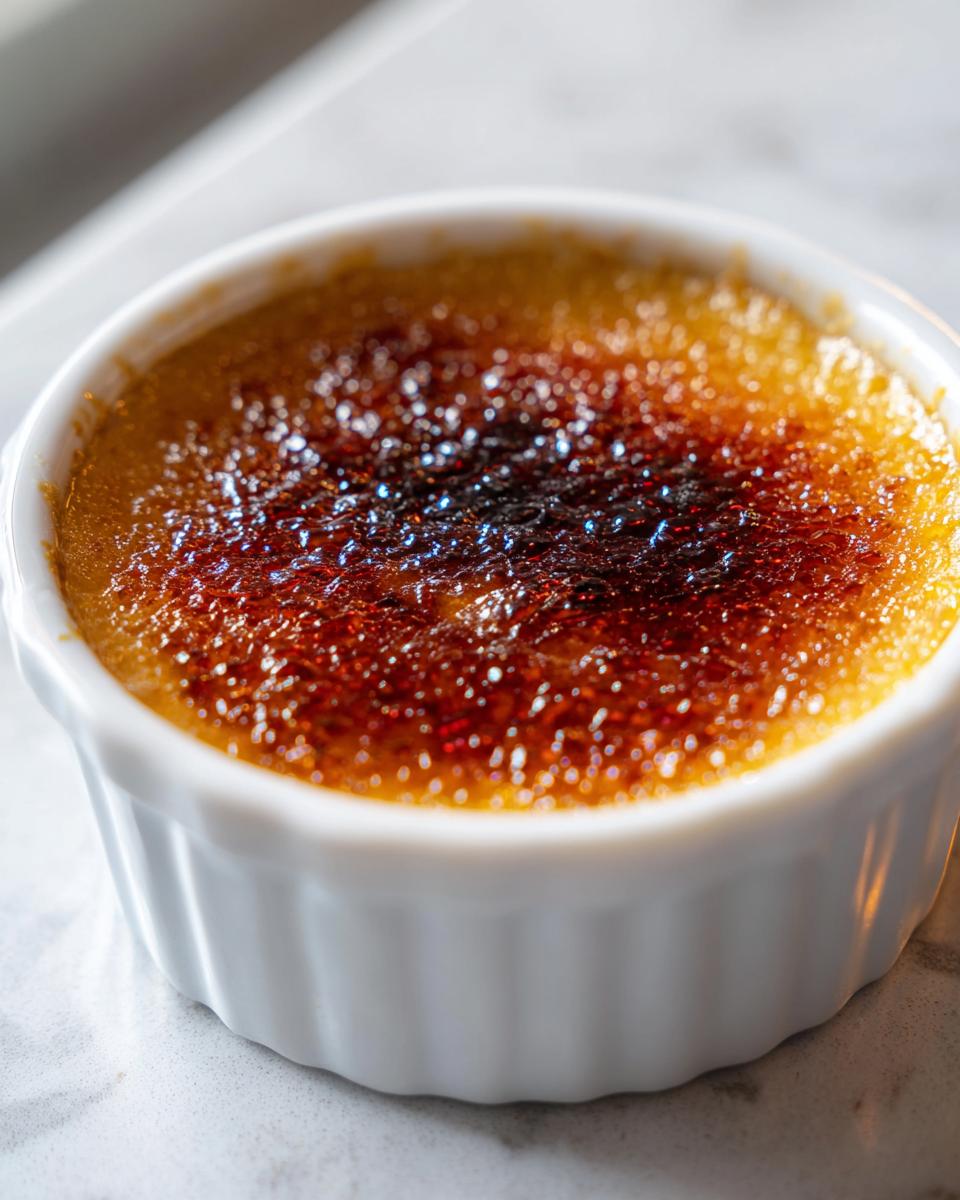
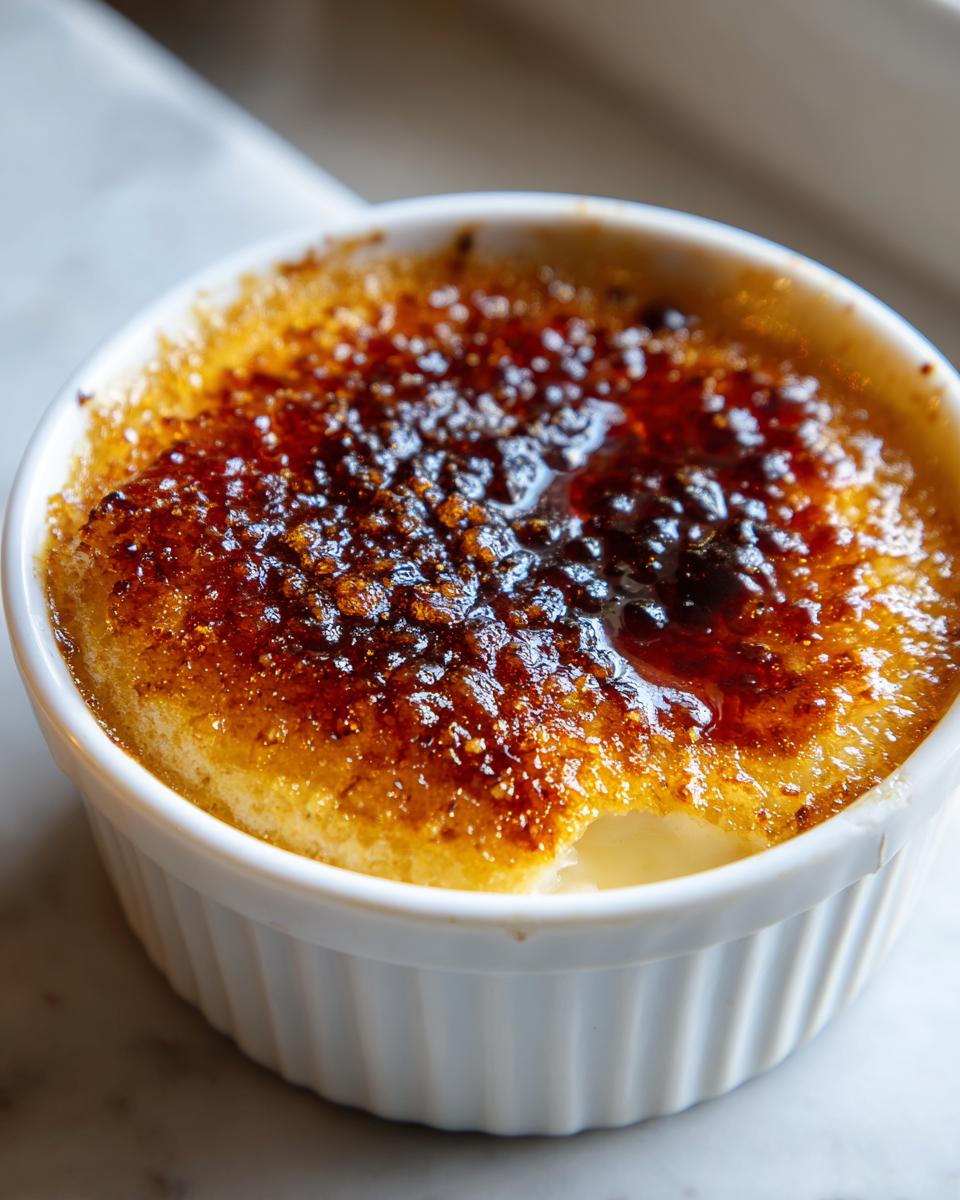
Achieving the Perfect Caramelized Sugar Topping
Okay, we’ve waited patiently. Your **vanilla custard dessert** is properly chilled, perfectly firm, and waiting for its grand finale. This is where most people get nervous, but I promise you, mastering the caramelized sugar topping is the easiest part, provided you have your torch ready! This is the step that transforms your chilled cup of creamy goodness into spectacular, crunchy crème brûlée.
First, make sure your custards are completely cold from the fridge! If they are even slightly warm, you’ll melt the custard instead of just melting the sugar on top. Sprinkle an even, thin layer of granulated sugar over the surface of each chilled custard. I mean *thin*. Too thick of a layer and you’ll burn the sugar long before it melts through to form a hard shell. I like to use about two teaspoons per 6-ounce ramekin—just enough to cover every bit of the cream.
Now, bring out the kitchen torch! Hold the flame a few inches away from the sugar and move it constantly in small, sweeping circles across the surface. Don’t let the flame linger in one spot for even a second! You’ll see the sugar start to bubble and turn amber, moving from white to honey-colored, and finally to a deep, beautiful brown. It happens so fast! Keep moving until the entire surface is uniformly glazed. Immediately pull the torch away and let those beautiful sugar tops cool down completely for about five minutes.
Don’t skip that cooling time! If you try to tap it instantly, it will still be soft. Once it’s set, you should hear that satisfying *tink* when you lightly tap the surface with the back of a spoon. That shattering crust over the smooth, cold custard? That’s success, my friend! That’s why we make crème brûlée.
Expert Tips for Flawless Creme Brulee
I’ve made this delicious vanilla custard dessert more times than I can count, starting with my very first attempt that ended up slightly too wobbly. Over the years, I’ve picked up a few tricks—little nudges in technique—that guarantee that signature texture every single time. You want the confidence of knowing everything will turn out perfectly, right?
Here are the secrets I learned the hard way so you don’t have to scramble:
- The Cold Factor is Non-Negotiable: I cannot stress this enough: Chill time is crucial! You need a minimum of four hours, but I strongly advise making the custards today and torching them tomorrow. The sheer contrast between the deeply chilled custard and the freshly torched, hot sugar topping is what makes this an elegant French dessert worth showing off.
- Don’t Bring the Water Bath to a Boil: Remember when we talked about the water bath? While it’s in the oven, keep an eye on it. If you see the water vigorously boiling, your oven is running too hot or you used water that was too hot initially. Boiling water cooks the sides of the ramekins much faster than the center, leading to that rubbery, overcooked edge nobody wants in their classic creme brulee.
- The Broiler Backup Plan: Listen, not everyone owns a tiny flame-thrower kitchen torch, and that’s okay! If you skip the torch, setting up your broiler is the next bet. When you’re ready to serve, place your sugared ramekins on the highest rack in your oven, right under the broiler element. You need to watch these like a hawk! Seriously, grab a chair. It only takes 60 to 90 seconds for the sugar to melt and brown. Pull them out the second they look perfectly amber; two seconds too long and you’ve burned it instead of caramelized it.
- Small Sugar Sprinkles are Best: For the topping, finer sugar works better if you are using the broiler, as it melts more evenly. If you use the torch, slightly larger crystals can give you a more dramatic, bubbly melt, but I still preach patience. A thin, even dusting is always the goal over a thick blanket of sugar.
Follow these tips, and you’ll move past making just a custard and start making true, restaurant-quality caramelized sugar topping experiences.
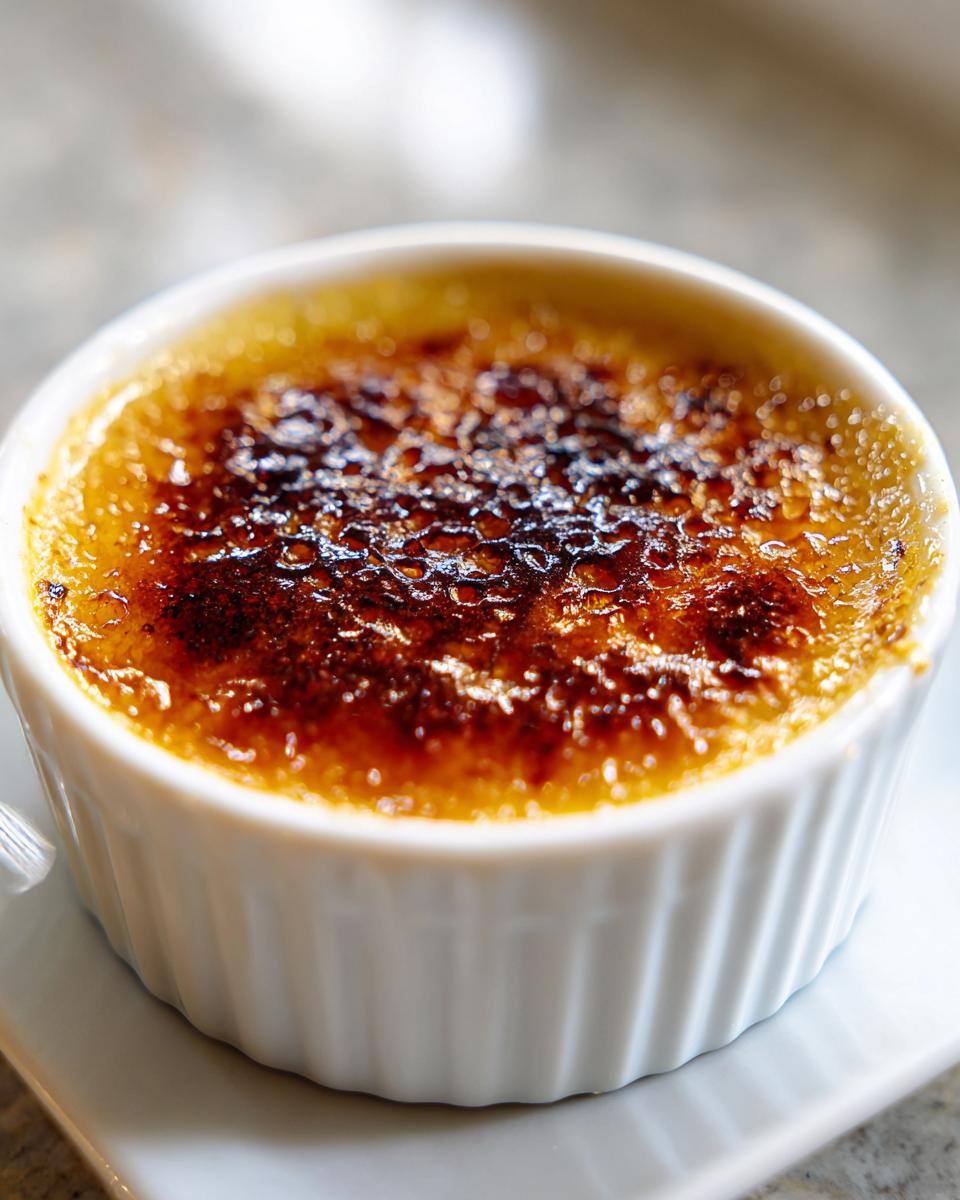
Storing and Serving Your Elegant French Dessert
This is the part where all your patience pays off! We made this incredible, delicate crème brûlée, and now we have to decide when to unveil the magic. The absolute best way to serve this elegant French dessert is by separating the two main components: the chilling of the custard and the dramatic finishing of the sugar top.
You cannot skip the chilling time. That long, slow refrigerator nap is what firms up the custard and makes the texture smooth and dense, which is exactly what we need to contrast with that hot, glassy topping. Once they are fully chilled—and I mean *ice cold*—cover each ramekin individually with plastic wrap. The plastic wrap needs to lay right against the surface of the custard to prevent any fridge condensation from seeping in and making your beautiful surface wet. They can hang out in the fridge just like this for up to two days, waiting for your guests to arrive!
But here’s the real insider tip for ultimate indulgence: you MUST torch the sugar *just* before serving. When you torch the sugar, it melts and then hardens within about five minutes. If you torch them an hour early, you’ll end up with a sticky, melted mess resting on top of your cold custard, not a crisp shell. My favorite moment is setting the tray of chilled custards on the table, pulling out my torch, and making that dramatic caramelized sugar topping right there in front of everyone. The sound of the sugar cracking when they tap it with a spoon moments later? That’s the moment that makes every minute of whisking worth it. Keep that custard cold and torch last for fantastic crème brûlée every time!
Frequently Asked Questions About Creme Brulee
I get so many questions about this dessert! It seems intimidating, but once you know a few answers, it suddenly clicks. If you have doubts about making this **classic creme brulee**, I bet one of these common worries is yours too! If you ever need more specific help and want to reach out, feel free to head over to my contact page!
Can I make this ahead of time?
Absolutely, you can—and you should! The custard portion of this **vanilla custard dessert** is actually *better* if it has time to chill completely, which means you can easily make the custards up to two days in advance. Remember my biggest rule? You must keep them covered tightly in the fridge. The only step that has to wait until the very last minute is sprinkling and torching that beautiful caramelized sugar topping. That needs to happen right before serving so the sugar is hot and brittle against the cold cream beneath.
What happens if my custard curdles or scrambles?
Oh, the dreaded curdled custard! This happens when the egg yolks get too much direct heat too fast, which is exactly why we spent so much time stressing over tempering them slowly! If you notice small, grainy bits forming in your mixture *before* you bake it, don’t panic. Just strain it through the fine-mesh sieve two or three times. It will catch most of those tiny cooked bits. If it curdles drastically *while baking* (usually means the water bath failed or the oven was too hot), the texture will be a bit grainy when you eat it, but it’s still perfectly safe to eat, even though it won’t be the luxurious, silky **elegant French dessert** we are aiming for!
What kind of sugar is best for the topping?
For the **caramelized sugar topping**, you need white sugar—granulated sugar is perfect. The reason is simple: it’s pure sucrose, and it melts cleanly to that beautiful amber color without much interference. You want that clean, glass-like melt! Now, some people like to use raw sugar or turbinado for a deeper color, but really watch out! Those larger crystals can sometimes burn on the edges before the middle fully melts, leading to a slightly bitter, burnt flavor instead of that perfect sweet crunch. Stick to standard white granulated sugar for the most dependable results!
Is the water bath really necessary for this classic creme brulee?
Yes, yes, a thousand times yes! Think of the water bath—or *bain-marie*—as a cozy, warm blanket for your delicate custard. The water surrounds the ramekins and absorbs heat gently, ensuring that the custard cooks evenly from the outside edge to the center at the exact same slow pace. Without it, the edges cook way too fast, resulting in tough, rubbery custard while the middle is still wobbly. You are aiming for a gentle bake to produce that rich **vanilla custard dessert**, and the water bath is non-negotiable for that creamy finish!
Nutritional Estimates for This Creme Brulee
I always get asked about the particulars, especially when serving something as rich as this classic creme brulee! Because this recipe relies heavily on heavy cream and egg yolks, it definitely lands on the more indulgent side of the dessert spectrum. Remember, these numbers are estimates based on the standard recipe measurements and preparation methods—your actual figures might shift slightly depending on the brands of cream or sugar you use.
If you’re tracking things, here is a breakdown for one single, glorious serving size (one ramekin):
- Serving Size: 1 ramekin
- Calories: 450
- Sugar: 25g
- Sodium: 50mg
- Fat: 38g
- Saturated Fat: 22g
- Unsaturated Fat: 10g
- Trans Fat: 1g (These are usually trace amounts, honestly!)
- Carbohydrates: 26g
- Fiber: 0g
- Protein: 8g
- Cholesterol: 350mg
This gives you a good idea of why this beautiful vanilla custard dessert is definitely something to bring out for a special gathering rather than an everyday snack! It’s pure, decadent luxury, which is exactly what an elegant French dessert should be.
PrintClassic Crème Brûlée Recipe
Make an elegant French dessert with a rich vanilla custard base and a perfectly crisp, caramelized sugar topping.
- Prep Time: 15 min
- Cook Time: 35 min
- Total Time: 4 hours 50 min
- Yield: 4 servings 1x
- Category: Dessert
- Method: Baking and Torching
- Cuisine: French
- Diet: Vegetarian
Ingredients
- 5 large egg yolks
- 2 cups heavy cream
- 1/2 cup granulated sugar, plus extra for topping
- 1 teaspoon pure vanilla extract
- Pinch of salt
Instructions
- Preheat your oven to 325°F (160°C). Place four 6-ounce ramekins into a deep baking pan.
- In a medium saucepan, combine the heavy cream and the 1/2 cup of sugar. Heat over medium heat, stirring until the sugar dissolves. Do not boil. Remove from heat and stir in the vanilla extract.
- In a separate bowl, whisk the egg yolks and salt together until just combined. Do not incorporate too much air.
- Temper the yolks: Slowly pour about one cup of the warm cream mixture into the egg yolks while whisking constantly. This prevents the eggs from scrambling.
- Pour the tempered yolk mixture back into the saucepan with the remaining warm cream. Stir gently until fully combined.
- Strain the custard mixture through a fine-mesh sieve into a large measuring cup or bowl to remove any lumps.
- Divide the custard evenly among the four ramekins.
- Carefully pour hot water into the baking pan until the water reaches halfway up the sides of the ramekins. This creates a water bath.
- Bake for 30 to 35 minutes, or until the edges are set but the centers still have a slight jiggle when gently nudged.
- Carefully remove the ramekins from the water bath and let them cool completely on a wire rack. Once cool, cover them and chill in the refrigerator for at least 4 hours, or preferably overnight.
- Before serving, sprinkle an even, thin layer of granulated sugar over the top of each chilled custard.
- Use a kitchen torch to melt and caramelize the sugar until it forms a hard, amber-colored crust. Work quickly to avoid heating the custard underneath.
- Let the caramelized sugar cool and harden for about 5 minutes before serving. Tap the top with a spoon to hear the crack.
Notes
- For the best texture, do not let the water bath boil while baking.
- If you do not have a torch, place the sugared ramekins under a preheated broiler for 1-2 minutes, watching constantly to prevent burning.
- Chilling the custard thoroughly before torching is key to achieving the cold custard/hot caramel contrast.
Nutrition
- Serving Size: 1 ramekin
- Calories: 450
- Sugar: 25
- Sodium: 50
- Fat: 38
- Saturated Fat: 22
- Unsaturated Fat: 10
- Trans Fat: 1
- Carbohydrates: 26
- Fiber: 0
- Protein: 8
- Cholesterol: 350