
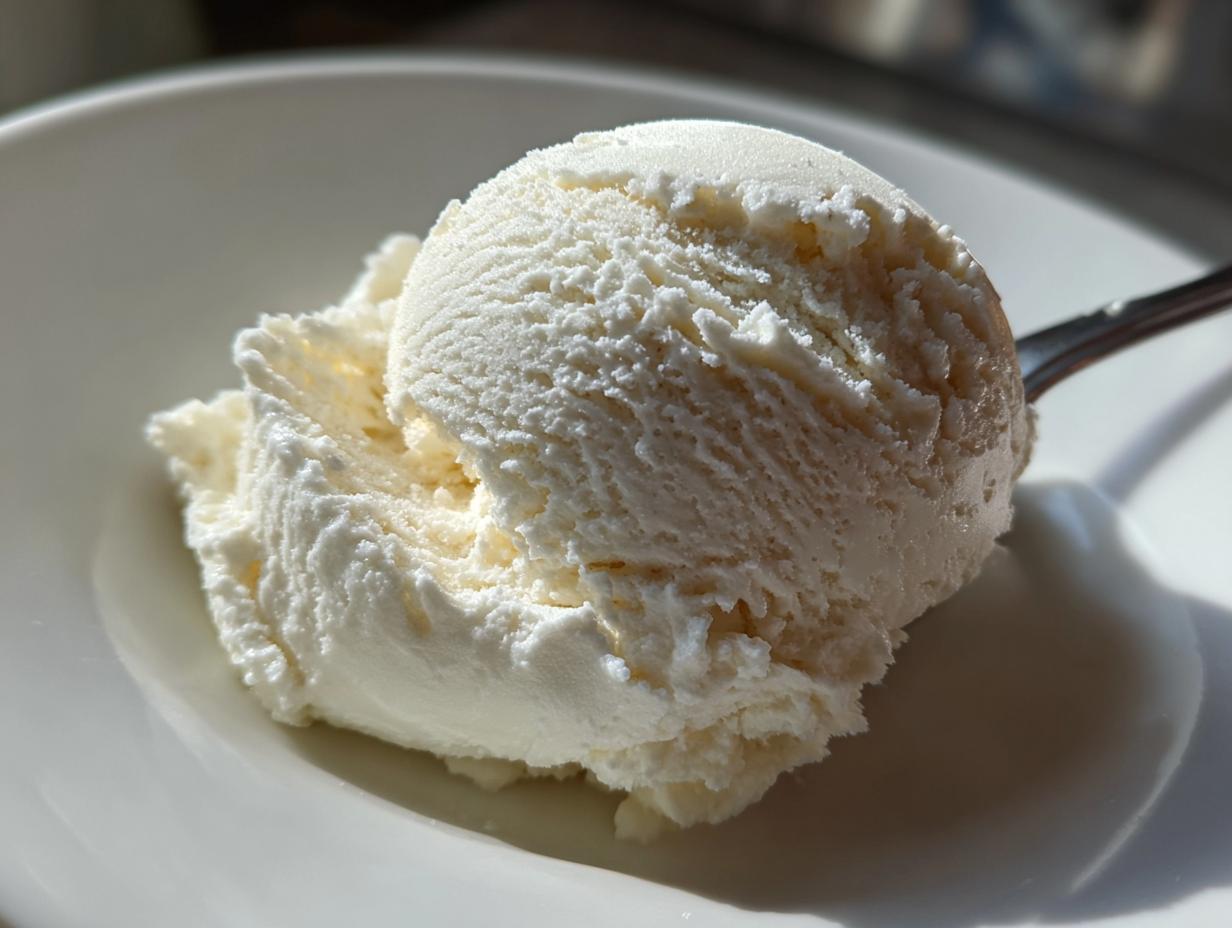
If you’re anything like me, you know the struggle of needing a truly satisfying, cool, and creamy dessert that doesn’t leave you feeling guilty an hour later. We all deserve that scoop of something amazing, right? Well, ditch the heavy creams and mountains of sugar because I have found the secret weapon: **cottage cheese ice cream**! This is truly the ultimate **protein packed dessert** you’ve been waiting for. It’s amazing how something so simple can feel so decadent; it makes me think of whipping up something quick in the morning too, way better than my old easy breakfast recipes!
When I, Aria Thompson, develop a recipe for Cooking Zenith, I focus 100% on making it work beautifully in *your* home kitchen. This recipe takes humble cottage cheese and transforms it into something spectacular. The best part? You can achieve an incredibly creamy texture, just like the rich stuff you buy, using zero fancy churning equipment—though I’ll give you tips if you have a machine!
Trust me on this one; this **easy homemade ice cream** base is about to become your go-to **summer frozen treat**. It’s easy, it’s wholesome, and it’s ready to go after a few hours in the freezer. See how we get that flavor perfection!
- Why This Creamy Cottage Cheese Ice Cream is Your New Favorite Healthy Frozen Dessert
- Gathering Ingredients for Simply Creamy Vanilla Cottage Cheese Ice Cream
- How to Prepare Your Easy Homemade Ice Cream Base
- Freezing Methods: No Churn Ice Cream vs. Appliance Options
- Flavor Variations for Your Cottage Cheese Ice Cream
- Tips for Perfect Cottage Cheese Ice Cream Every Time
- Serving Suggestions for This Protein Packed Dessert
- Storage and Reheating Instructions for Cottage Cheese Ice Cream
- Frequently Asked Questions About Cottage Cheese Ice Cream
- Estimated Nutritional Data for Cottage Cheese Ice Cream
- Share Your Sweet Tooth Satisfaction Creations
Why This Creamy Cottage Cheese Ice Cream is Your New Favorite Healthy Frozen Dessert
Honestly, finding a dessert that satisfies my sweet tooth without making me feel heavy afterward used to be impossible. But wow, this **high protein ice cream** changes everything! It’s packed with goodness, but it tastes exactly like the real thing. Why settle for less when you can have this?
- It’s absolutely loaded with protein, making it a fantastic **guilt free ice cream** option for dessert or even a substantial snack.
- You don’t need any complicated equipment—just a good blender and patience while it freezes! Say goodbye to guilt, hello to happy scooping!
Check out my recipe for high protein waffles if you love starting your day with a boost too!
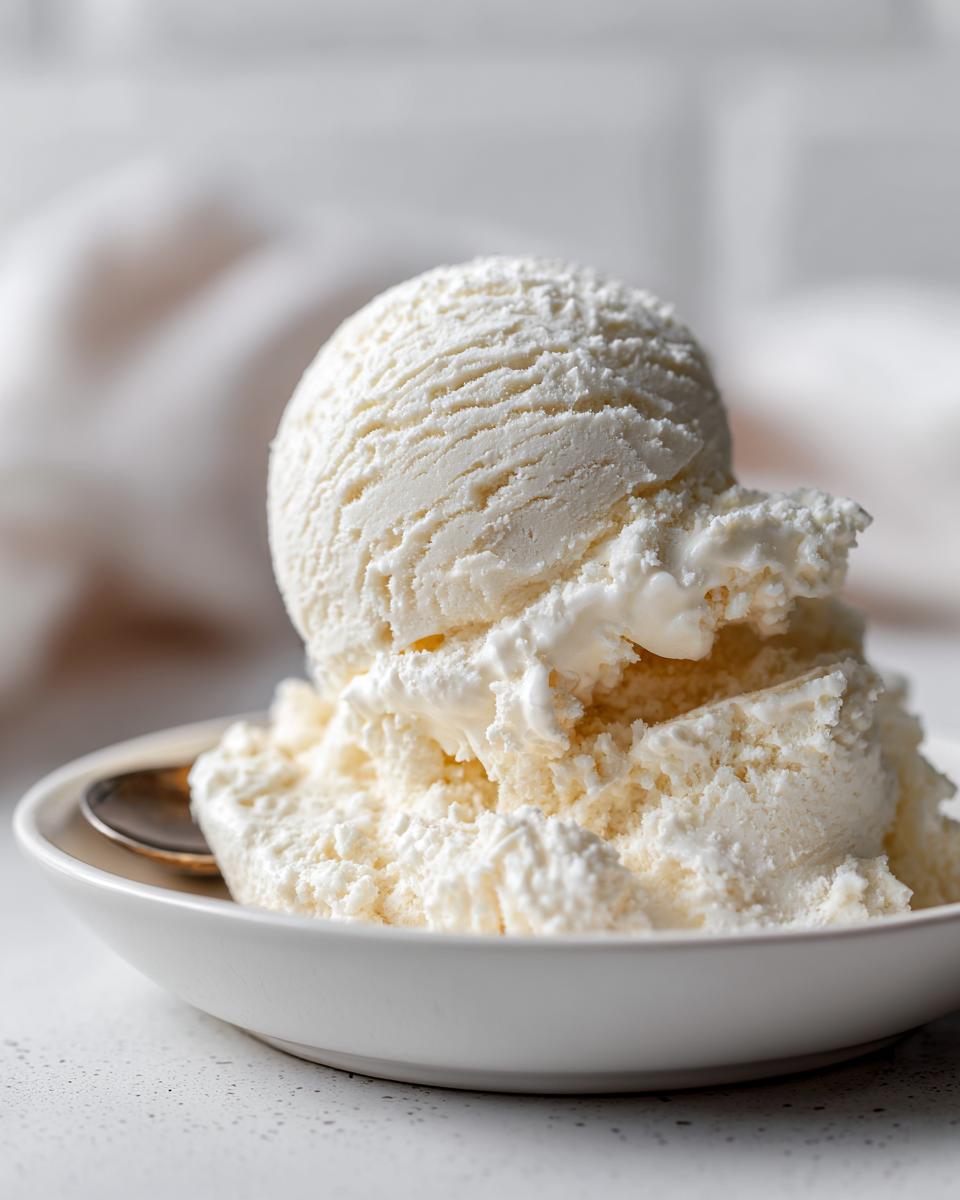
Achieving the Ultimate Creamy Cottage Cheese Recipe Texture
I know what you’re thinking: cottage cheese? Curds? Nope! That’s where the magic of blending comes in. You have to blend it until it is absolutely velvety smooth. Don’t skimp on this step, I promise! When you do it right, you get a truly amazing, **creamy homemade dessert** that rivals anything store-bought. It takes a minute or two of dedicated blending, but the payoff is huge. It’s all about smoothing out those curds into silk!
Gathering Ingredients for Simply Creamy Vanilla Cottage Cheese Ice Cream
This base recipe is what I consider my **easy 3 ingredient dessert** lineup, though I always add vanilla and salt because, well, why wouldn’t you? We are making something luscious here, so we need the right foundation. You’ll need two cups of cottage cheese, your choice of sweetener, the vanilla, and just a tiny pinch of salt to really wake up those flavors. Keep reading because how you choose your cottage cheese makes a massive difference in getting that luscious, creamy texture we are chasing!
I always stock up on my favorite ingredients when I plan out my healthy snack ideas for the week.
Ingredient Notes and Substitution Tips for Cottage Cheese Ice Cream
This is where we earn our stripes as experienced cooks! For texture, please grab the full-fat cottage cheese. I know, I know, sometimes we aim for lower fat, but the fat molecules are what give us that beautiful, rich mouthfeel that makes this feel like real ice cream, not just a healthy snack. If you are eyeing a **low carb cottage cheese dessert**, you can absolutely swap out the maple syrup for a liquid sweetener like erythritol or monk fruit drops. Just taste as you go!
The salt isn’t optional for me, even in a sweet treat; it balances everything out so the final product isn’t flat tasting. Remember, the smoother the base ingredients go in, the smoother the final result comes out!
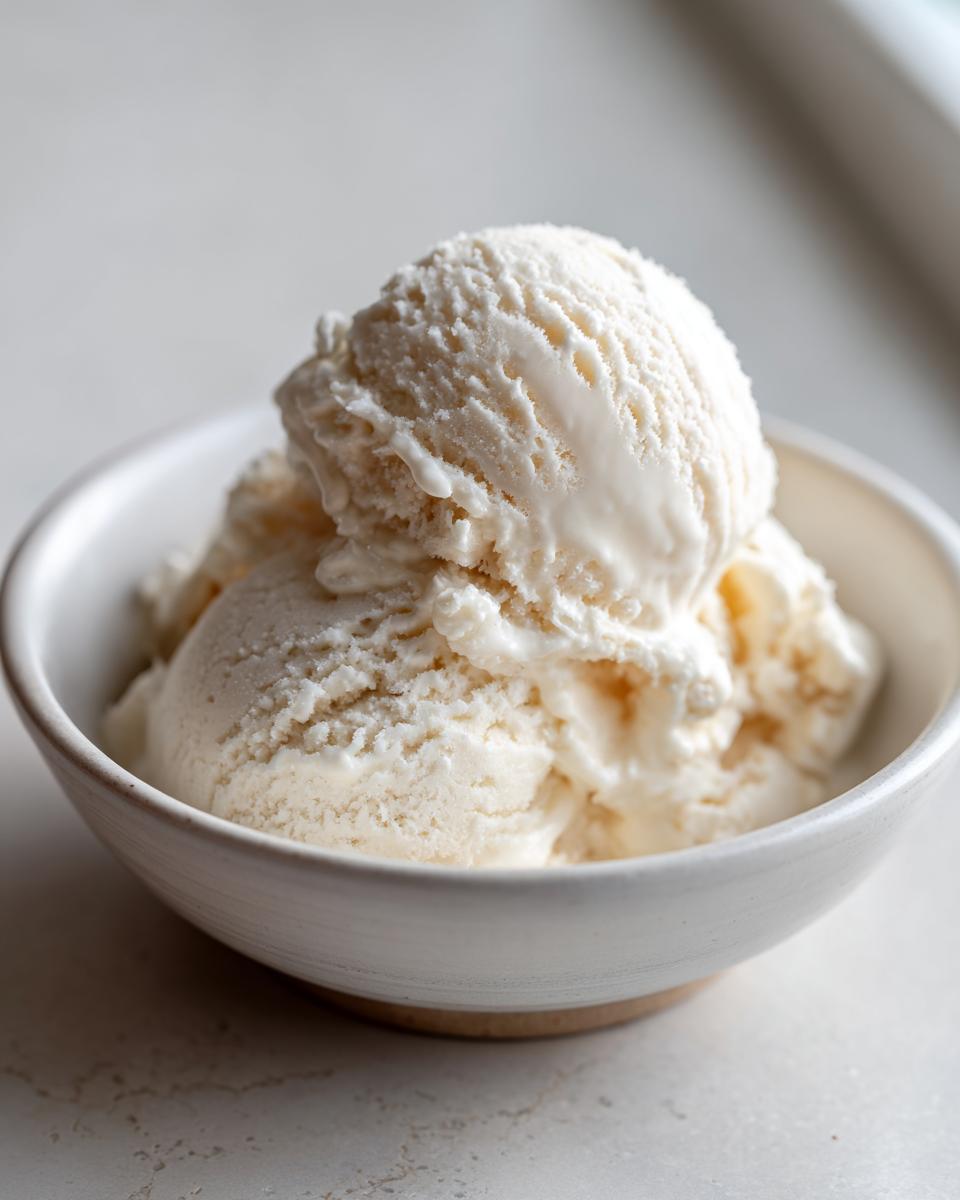
How to Prepare Your Easy Homemade Ice Cream Base
Alright, let’s get into the fun part: turning that lumpy goodness into something gloriously smooth! This step is 100% non-negotiable if you want that perfect **cottage cheese ice cream** texture that tastes decadent, not dairy-focused. Grab your highest-speed blender or a sturdy food processor, because we are obliterating those curds!
Toss in your cottage cheese, your sweetener, the vanilla extract, and that critical pinch of salt. Now, blend it! Don’t just pulse it a couple of times—I mean *blend* it. This process takes dedication. You’ll need to stop every 30 seconds or so to scrape down the sides. That lingering cottage cheese hiding near the blade is what causes graininess later, so scrape, blend, scrape again! Aria’s secret here is persistence until it looks like thick, pourable liquid silk. When you can’t see any white specks, you’re golden!
Freezing Methods: No Churn Ice Cream vs. Appliance Options
This is where we talk about how to turn that silky base into a frozen treat, and spoiler alert: you absolutely don’t *need* an ice cream maker! If you are doing the standard **no churn ice cream** method, just pour that perfect mixture into a freezer-safe container, like a loaf pan. Remember what I said about covering the top? Press plastic wrap right onto the surface of the mixture before sealing the lid!
That covering is your frontline defense against ice crystals, which are the enemy of a **creamy cottage cheese recipe**. It needs a good 4 to 6 hours in the coldest part of your freezer. If you want that impossibly smooth texture right out of the gate, you’ll want to let it sit on the counter for about 10 to 15 minutes before scooping, just to soften it up a hair.
Now, let’s talk gadgets! If you happen to have a favorite machine, like the amazing **Ninja Creami cottage cheese** loves, you’ll want to freeze the whole block solid first. Then, process it using the ‘Lite Ice Cream’ setting. If it comes out crumbly—and sometimes even Creamis need a little encouragement—just buzz it again with a tablespoon of water or milk. That machine makes it ridiculously fast to get a perfect scoop!
If you’re curious about other easy frozen deliciousness, check out my recipe for an easy no-bake ice cream pie; it uses similar principles!
Flavor Variations for Your Cottage Cheese Ice Cream
The base vanilla recipe is fantastic, truly, but sometimes you need that deep, rich chocolate flavor, or maybe the bright sweetness of summer berries. The best thing about this simple recipe is how adaptable it is! You can transform this into a whole roster of **healthy frozen dessert** options without needing a completely different technique. It’s all about adding just a few extra ingredients into that super-smooth base you worked so hard to make.
If you love strawberry goodness, you should definitely check out my recipe for moist strawberry bread—it gives me similar happy vibes!
Making Chocolate Cottage Cheese Ice Cream
For everyone who thinks dessert has to be chocolate, listen up! To turn this into a heavenly **chocolate cottage cheese ice cream**, simply toss about three tablespoons of nice unsweetened cocoa powder right into the blender with your other ingredients in Step 1. Add it slowly and blend well! Remember, cocoa is a dry ingredient, so make sure you scrape down those sides extra well to incorporate it fully so you get that smooth texture!
Creating a Strawberry Cottage Cheese Dessert Swirl
If you want that beautiful, painterly look, we go for a swirl instead of fully blending it in! Add a half-cup of frozen strawberries right in while you blend the base. If you want a true swirl, blend until *mostly* smooth, intentionally leaving some berry chunks, and then gently fold those chunks or a prepared creamy strawberry cottage cheese ice cream puree back into the mixture right before freezing. It’s so easy to customize your flavor profile!
Tips for Perfect Cottage Cheese Ice Cream Every Time
Even with a simple recipe like this, little adjustments can take your dessert from great to truly legendary. We all want that ultimate **best protein ice cream recipe** experience, right? My biggest tip, outside of the blending, concerns sweetness. If you taste the mix before freezing and it seems just a *touch* less sweet than you’d like—go ahead and add a tiny bit more sweetener now. Remember, cold mutes sweetness, so it should taste slightly too sweet when it’s still liquid!
Another common issue is freezer burn or crystallization. I mentioned pressing plastic wrap directly onto the surface before sealing the container, but a thin layer of parchment paper underneath the plastic wrap is like an extra security blanket against freezer burn. It works wonders!
For that perfect finish later on, if you find your **cottage cheese ice cream** gets rock-solid, try adding just a half teaspoon of something like vodka or high-proof vanilla extract to the mixture before freezing; the alcohol won’t freeze solid and helps keep things softer. I love using that technique in my cinnamon buns recipe too, though for totally different reasons!
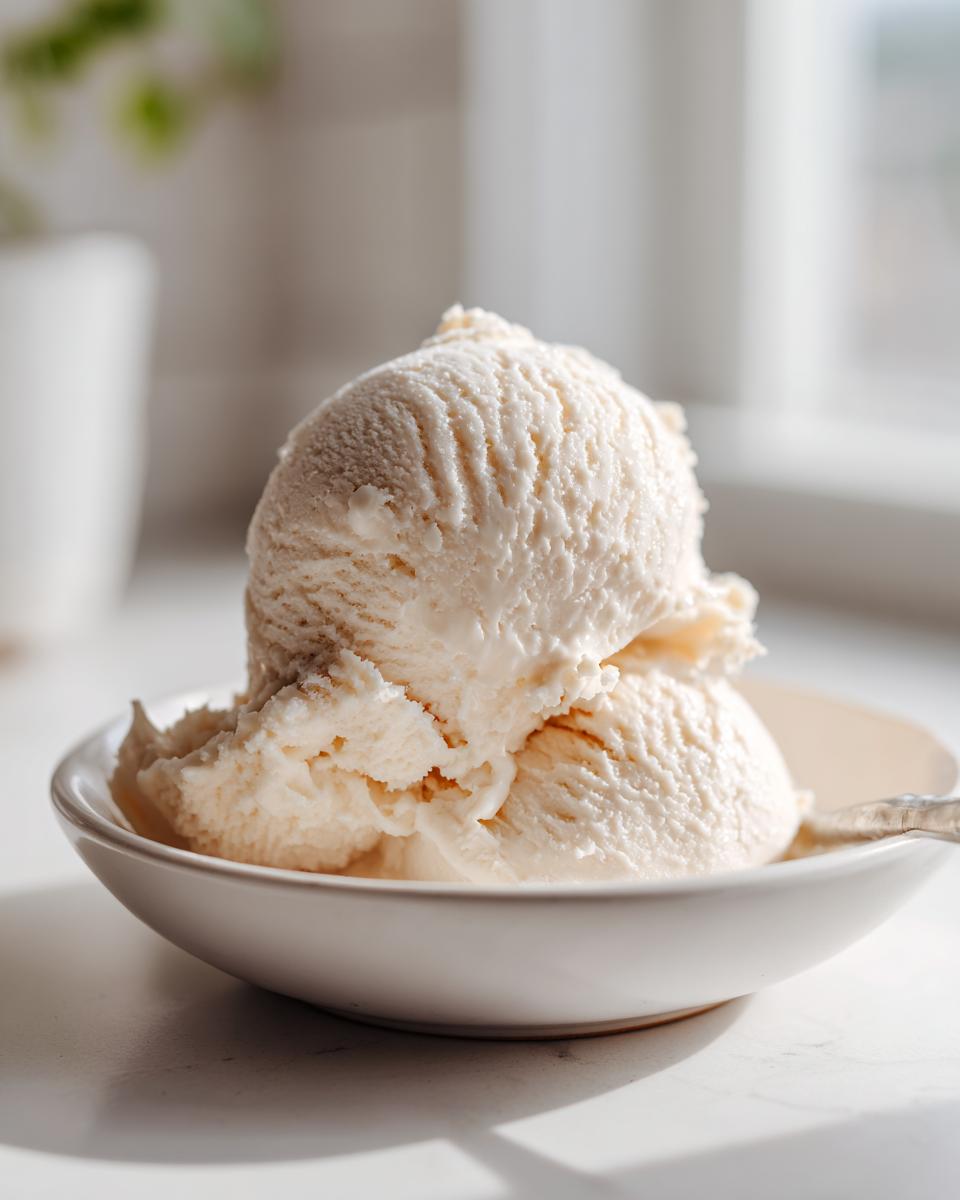
Serving Suggestions for This Protein Packed Dessert
When that creamy, **cottage cheese ice cream** finally sets up, you deserve a celebration! I love enjoying this as the perfect end to any meal when I need that ultimate **sweet tooth satisfaction**. You can absolutely eat it plain—it’s that good—but throwing on a topping makes it feel extra special.
Try a handful of crunchy pecans or some dark chocolate chips sprinkled on top right before scooping. If you want an amazing pairing that’s still relatively easy, I often serve a small scoop alongside my peanut butter rice krispie treats. It just makes the dessert spread that much further, and the combination of cold and chewy is just heavenly. Enjoy every single scoop!
Storage and Reheating Instructions for Cottage Cheese Ice Cream
Keeping this **summer frozen treat** perfect until the next time you crave it is super simple, but you have to use the right container! Always tuck your finished **cottage cheese ice cream** into an airtight container. My non-negotiable step is pressing a piece of plastic wrap right onto the surface of the ice cream before sealing the lid.
This locks out that pesky refrigerator air and keeps those nasty ice crystals from forming on top. If it freezes super hard, don’t panic! It’s totally normal for a high-protein, lower-sugar base to get a bit stiff. Just pull it out of the deep freeze and let it sit on the counter for maybe 10 or 15 minutes. That slight warming up is all you need to get that perfect, scoopable texture back!
Frequently Asked Questions About Cottage Cheese Ice Cream
I know you probably have a few little questions buzzing around after seeing how simple this can be, especially since we’re swapping out heavy cream for cottage cheese! That’s perfectly normal, and I want you to feel 100% confident giving this a try. Cooking Zenith is all about making sure you know the ‘why’ behind the steps, so you can feel empowered in the kitchen. Here are the questions I get asked the most about this incredible **protein packed dessert**!
Can I use low-fat cottage cheese instead of full-fat for this cottage cheese ice cream?
This is a great question, and it really comes down to texture preference. If you’re looking for that truly opulent, rich mouthfeel—the kind that screams indulgence—I really, really recommend sticking with full-fat. The fat content is what helps create a smoother structure and keeps the ice cream creamier when it’s frozen solid. If you use low-fat, it will still work, especially if you have a great blender, but you might end up with a slightly icier result, which defeats the purpose of making a **creamy homemade dessert**, right?
Is this truly a healthy ice cream alternative?
Absolutely, yes, it is! That’s why I love this recipe so much. Because we are using cottage cheese as the base instead of heavy cream or tons of added sugar, you end up with a fantastic amount of protein in every scoop. It’s legitimately a **wholesome frozen yogurt alternative** but somehow tastes way more satisfying than yogurt often does. It’s wonderful for when you need that sweet hit, but you also want something that is going to fuel you instead of dragging you down later.
Do I absolutely need a high-speed blender for the best cottage cheese ice cream?
While I always cross my fingers and tell everyone to use the best blender or food processor they have, I understand that not everyone has a super-powered machine. You *must* blend it until it’s perfectly smooth, though. If you only have a standard blender, you might need to blend in smaller batches, be much more patient, and stop frequently to scrape down the bowl. The goal is zero curds, zero lumps. If you don’t get that super-smooth base, the final product won’t be the velvety **cottage cheese ice cream** we are aiming for!
If you have any other burning questions about the recipe or maybe want to know the best way to contact me, check out my contact page. I love hearing from you all!
Estimated Nutritional Data for Cottage Cheese Ice Cream
When you whip up something this delicious and load it with protein, you absolutely want to know what’s fueling you! I pulled together the estimates for our Simply Creamy Vanilla base recipe, which, frankly, looks fantastic when you consider the high-quality ingredients we are using. Sharing this data is part of my commitment to giving you clear guidance, which you’ll also see reflected in my privacy policy here on the site!
Remember, since we are using specific sweeteners or varying brands of cottage cheese, these numbers are a fantastic starting guide, but they are just estimates for the standard vanilla recipe. They should give you a brilliant idea of why this is such a superior **guilt free ice cream** option, though!
Here is the breakdown based on a serving size of 1/2 cup:
- Calories: 180
- Protein: 22g (Can you believe that? That’s incredible!)
- Sugar: 8g
- Fat: 5g
- Carbohydrates: 12g
- Cholesterol: 15mg
- Sodium: 350mg
See that protein count? That’s what makes this such a great choice for rebuilding after a workout or just staying satisfied until dinner. It’s the **best protein ice cream recipe** because the protein comes from whole food sources! Enjoy knowing you are feeding your body something wholesome while satisfying that craving for a **creamy homemade dessert**.
Share Your Sweet Tooth Satisfaction Creations
Okay, now that you’ve whipped up this seriously amazing **cottage cheese ice cream**, I truly want to see the results! Sharing recipes in my kitchen is the whole point of Cooking Zenith, and nothing makes me happier than knowing I’ve made your life a little sweeter. When you nail that perfect scoop of **protein packed dessert**, tell me about it!
Did you go for the chocolate? Did you add extra peanut butter? Leave a comment right here below this recipe. Don’t be shy—let me know how you customized your vanilla base to achieve maximum **sweet tooth satisfaction**!
And please, if you’re sharing photos on social media, tag me! Seeing your beautiful bowls of **healthy frozen dessert** makes my day. You can also check out more about my philosophy and journey over on the About page. Happy scooping, friend!
PrintSimply Creamy Vanilla Cottage Cheese Ice Cream (High Protein)

Make this incredibly creamy, high-protein cottage cheese ice cream at home. This simple vanilla base proves you can enjoy a guilt-free frozen dessert that tastes indulgent without needing an ice cream maker.
- Prep Time: 5 min
- Cook Time: 0 min
- Total Time: 5 hours 5 min
- Yield: 4 servings 1x
- Category: Dessert
- Method: No Churn / Blending
- Cuisine: American
- Diet: Low Fat
Ingredients
- 2 cups full-fat cottage cheese
- 1/4 cup sweetener (like maple syrup or erythritol)
- 1 teaspoon vanilla extract
- Pinch of salt
Instructions
- Place the cottage cheese, sweetener, vanilla extract, and salt into a high-speed blender or food processor.
- Blend the mixture until it is completely smooth and creamy. Stop and scrape down the sides as needed to ensure no curds remain. This step is key for texture.
- Transfer the smooth mixture into a freezer-safe container, like a loaf pan or an airtight container. Cover the surface directly with plastic wrap to prevent ice crystals from forming.
- Freeze for at least 4 to 6 hours, or until firm.
- If using a Ninja Creami, process the frozen block using the ‘Lite Ice Cream’ or ‘Ice Cream’ setting. If it is too crumbly after the first spin, add 1 tablespoon of milk or water and re-spin.
- If not using a machine, allow the container to sit on the counter for 10 to 15 minutes before scooping to soften slightly for the best texture.
- Serve immediately for a soft-serve consistency or freeze longer for a firmer scoop.
Notes
- For Chocolate Cottage Cheese Ice Cream: Add 3 tablespoons of unsweetened cocoa powder to the blender in Step 1.
- For Strawberry Cottage Cheese Dessert: Blend in 1/2 cup of frozen strawberries with the base ingredients.
- If you prefer a thinner texture right out of the freezer, use a no-churn method by whipping the mixture until light before freezing, or use the Ninja Creami.
- This recipe yields a high-protein, healthy ice cream alternative perfect for satisfying your sweet tooth.
Nutrition
- Serving Size: 1/2 cup
- Calories: 180
- Sugar: 8
- Sodium: 350
- Fat: 5
- Saturated Fat: 3
- Unsaturated Fat: 2
- Trans Fat: 0
- Carbohydrates: 12
- Fiber: 0
- Protein: 22
- Cholesterol: 15