

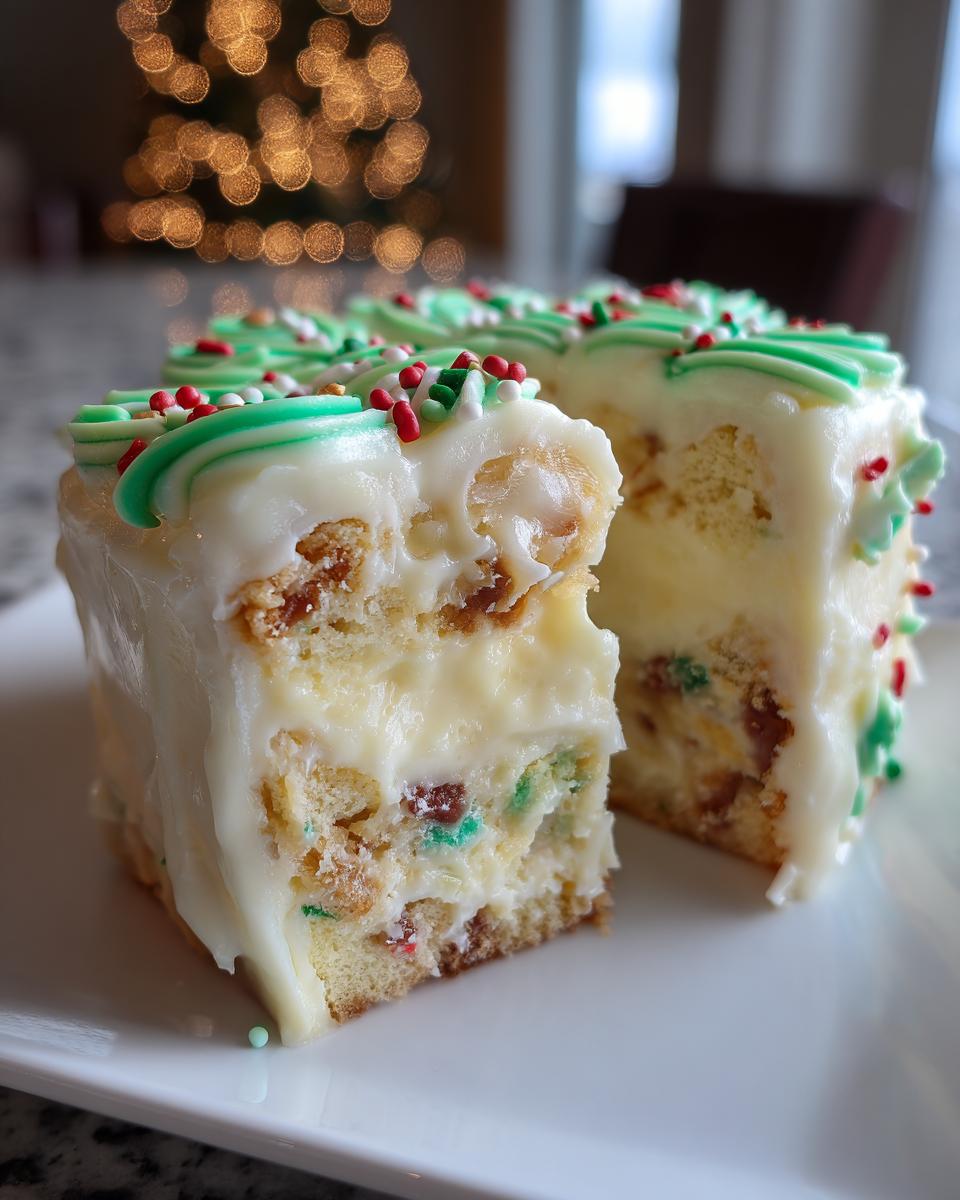
When the holidays roll around, everyone wants that one dazzling, can’t-miss dessert—you know, the one that becomes the centerpiece of the entire party. Forget the dry cookies and complicated tarts; this year, we’re going straight for show-stopping elegance mixed with pure nostalgia! Trust me when I say that my Little Debbie Christmas Tree Cake Cheesecake is going to be the star of your table. I remember trying to perfect the look of a stunning holiday centerpiece, and it hit me: why not combine the creamy luxury of cheesecake with those amazing little snack cakes? This recipe blends richness, fun, and that unmistakable festive flavor that instantly makes everyone smile.
- Why This Little Debbie Christmas Tree Cheesecake is Your Holiday Must-Bake
- Gathering Ingredients for Your Christmas Tree Cheesecake
- Step-by-Step Instructions for the Creamy Christmas Tree Cheesecake
- Expert Tips for a Perfect Christmas Tree Cheesecake Presentation
- Ingredient Notes and Substitutions for Your Holiday Cheesecake Recipe
- Storage and Reheating Instructions for this Christmas Baking Centerpiece
- Frequently Asked Questions About the Christmas Tree Cheesecake
- Serving Suggestions for Your Festive Cheesecake
- Nutritional Estimates for This Holiday Cheesecake Recipe
Why This Little Debbie Christmas Tree Cheesecake is Your Holiday Must-Bake
I promise you, this isn’t just another dessert; it’s an instant family tradition. It tackles all the holiday stress points in one go! If you need an unforgettable flavor that still feels totally familiar, this is it.
- It’s a genuine Showstopper Holiday Dessert—the look alone gets applause!
- Seriously simple execution, making it an Easy Christmas Dessert even if you’re short on time.
- It packs incredible nostalgia right into that creamy filling.
- Perfect for making ahead, which gives you sanity during busy Christmas Day prep.
Gathering Ingredients for Your Christmas Tree Cheesecake
Okay, let’s talk ingredients! The magic here relies on getting a few things just right, especially making sure your dairy items are at room temperature. Seriously, cold cream cheese leads to lumpy filling, and we do *not* want that on our showstopper holiday dessert. You’ll notice the stars of the show—the cream cheese and the Little Debbie Cakes—are the heroes here.
Here is exactly what you need to pull this Festive Cheesecake together. Keep these measurements handy; they are crucial for that perfect, smooth texture!
- 180 g graham cracker crumbs (for that buttery, sturdy base!)
- 85 g unsalted butter, melted (Make sure it’s melted, not hot!)
- 675 g cream cheese, softened (This really needs to be soft, people!)
- 100 g granulated sugar
- 1 teaspoon vanilla extract
- 2 large eggs (Again, room temperature is key here.)
- 1 cup sour cream
- 1 package (12.5 oz) Little Debbie Christmas Tree Cakes, chopped (This is where the fun flavor comes from!)
- 1 cup white chocolate chips
- 1/2 cup heavy cream
- Green food coloring (optional, only needed for decoration later, but have it handy!)
- Holiday sprinkles for decoration (Go wild!)
Getting these specific items ready is half the battle. Once they are staged, the mixing goes so smoothly, and you’ll be one step closer to having the best Holiday Cheesecake Recipe at your party!
Step-by-Step Instructions for the Creamy Christmas Tree Cheesecake
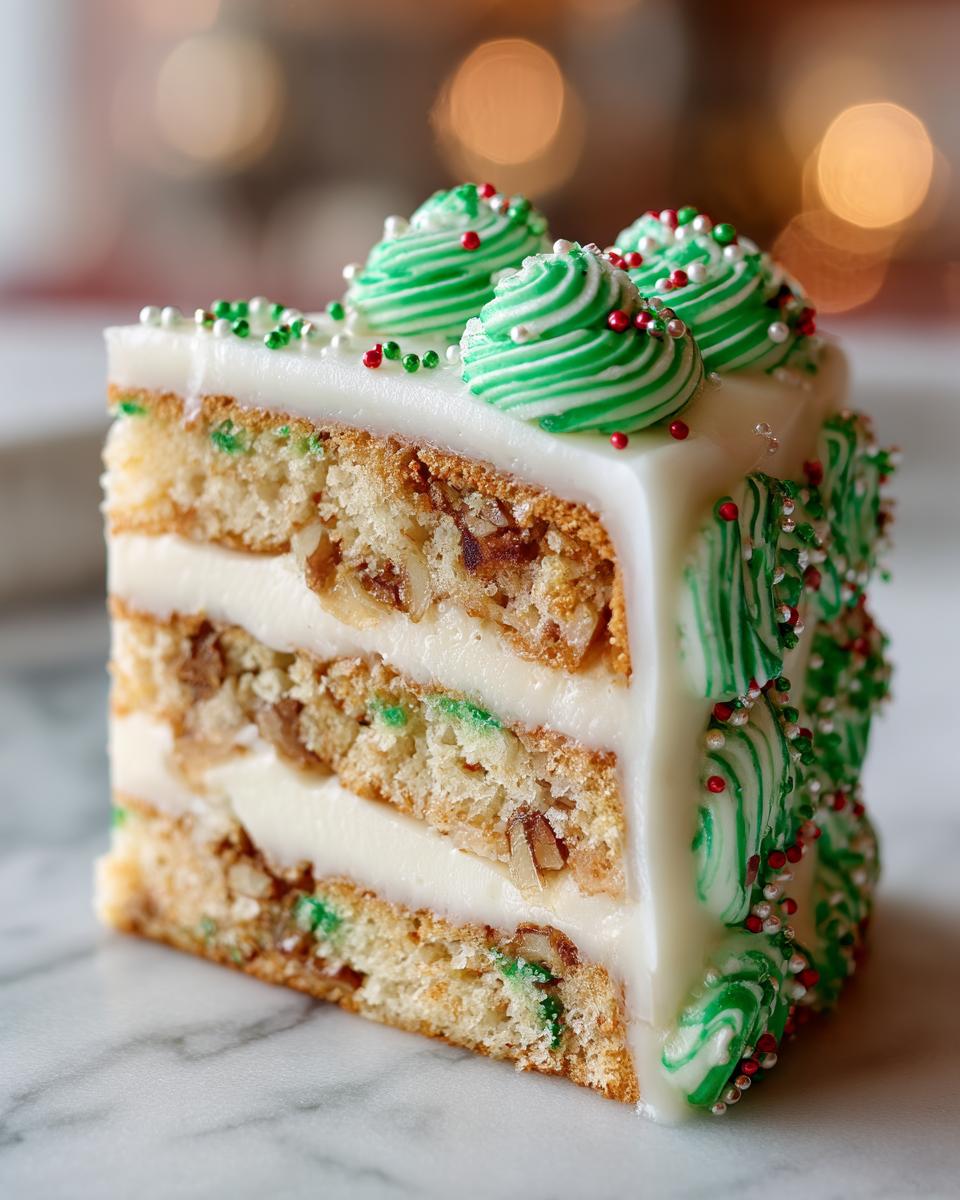
Listen, baking a perfect cheesecake—especially one this incredible—can feel nerve-wracking, but if you follow these steps, you’ll get that signature smooth, velvety cheesecake filling every single time. The secret sauce to avoiding cracks is all in the baking and cooling process. Pay close attention to Step 3; it’s the difference between dessert perfection and a cracked disaster!
Preparing the Crust and Oven Setup for the Christmas Tree Cheesecake
First thing’s first: get your oven to 325°F. You absolutely must wrap that 9-inch springform pan tightly with heavy-duty foil—we’re protecting it from the water bath drama later! Mix those graham cracker crumbs and melted butter until they look sandy, press them firmly into the bottom, and pop that crust in for 10 minutes just to set it. Let it chill down while you whip up the good stuff.
Mixing the Velvety Cheesecake Filling
Grab your soft cream cheese first and beat it until it’s totally smooth; no lumps allowed! Gently beat in the sugar and vanilla. I like to add the eggs one by one, mixing just until they disappear. Remember, do not overmix once the eggs are in! Finally, gently fold in most of those chopped Little Debbie Christmas Tree Cakes. We need some for the topping later, so save a handful!
Baking the Christmas Tree Cheesecake in a Water Bath
This water bath is non-negotiable for a creamy holiday cheesecake! Place your foil-wrapped pan inside a larger roasting pan, then carefully pour hot water in until it’s halfway up the side of the cheesecake pan. Bake for about 50 to 60 minutes. When the edges look set but the center wobbles a little? Turn the oven off, crack the door open, and let it sit inside for a full hour!
Chilling and Topping the Festive Cheesecake
After that hour in the oven, cool it completely on the counter, then wrap it up and refrigerate for a minimum of 6 hours—overnight is truly best for a solid bake. While it chills, make the ganache by pouring hot heavy cream over the white chocolate chips, whisking until smooth, and letting it thicken. This sweet layer goes on after the cheesecake is totally firm.
Expert Tips for a Perfect Christmas Tree Cheesecake Presentation
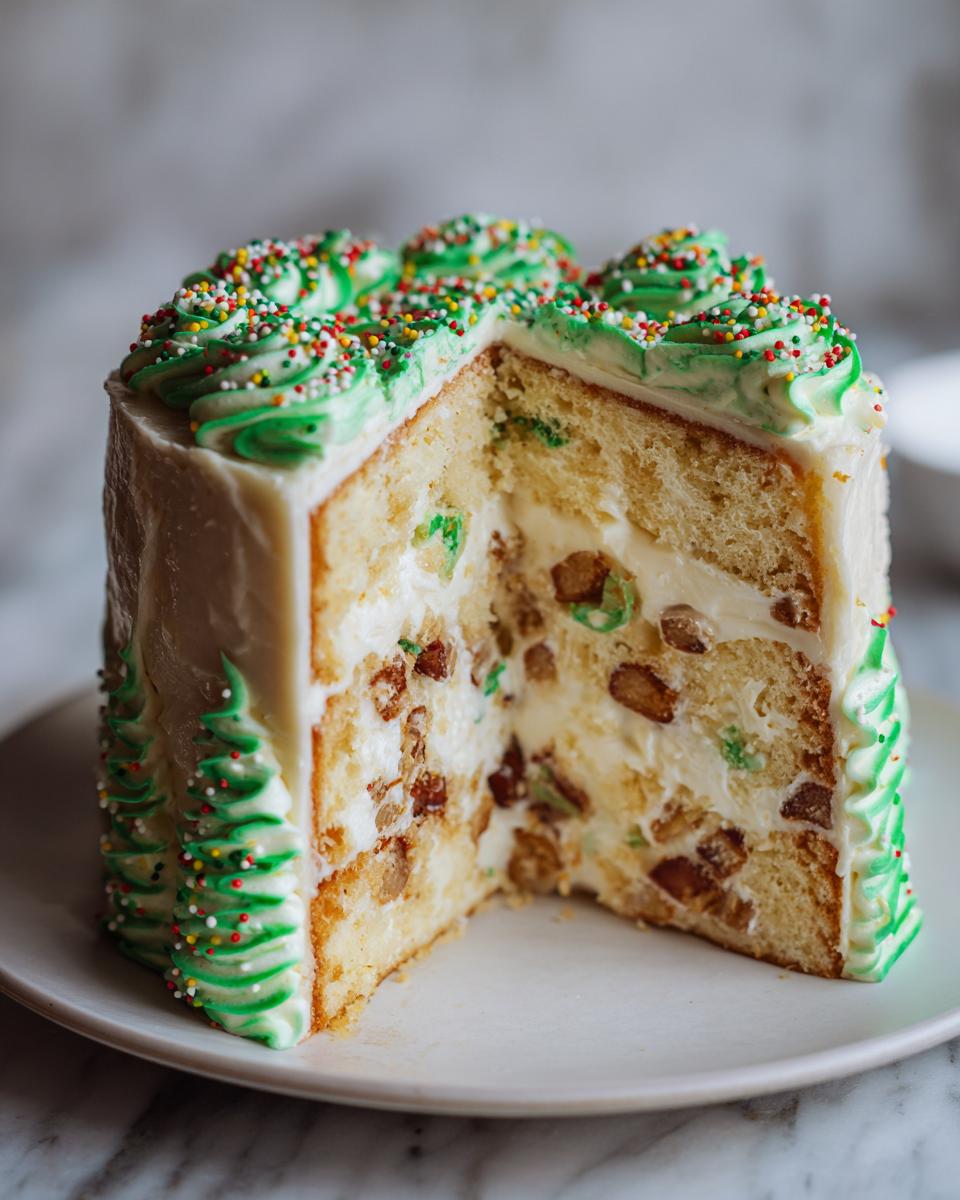
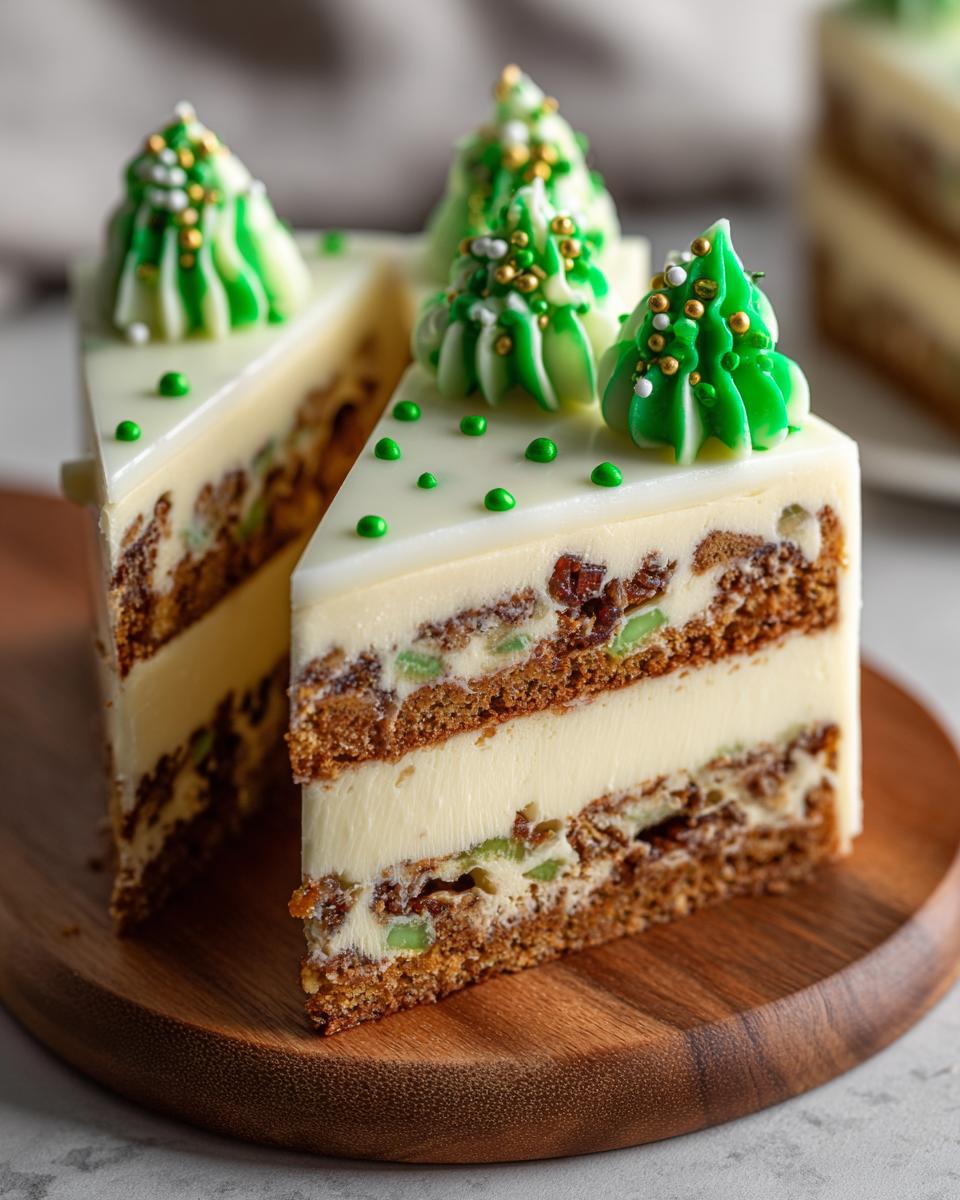
Okay, we’ve mastered the creamy filling, but let’s be honest—this Christmas Tree Cheesecake needs to look as amazing as it tastes! Since we baked it round, we have to use decoration magic to sell that tree shape. I love keeping the reserved chopped Little Debbie cakes and sprinkles handy for this part. To get those beautiful, dimensional ‘branches,’ I take a small amount of plain whipped topping or a simple vanilla buttercream—you can find my go-to here—and add just a tiny drop of green food coloring until it’s that perfect pine shade.
Use a piping bag with a star tip to pipe concentric, slightly uneven circles starting from the outside edge of the cheesecake, working your way toward the center. This creates definition! Then, gently place your reserved chopped snack cakes sporadically amongst the greenery, like little ornaments. Finish it off with a generous shower of holiday sprinkles. This technique turns a standard round dessert into the wonderful Tree Shaped Dessert centerpiece everyone will rave about!
Ingredient Notes and Substitutions for Your Holiday Cheesecake Recipe
I always get questions about ingredient swaps, especially when it comes to making something this festive. Let’s just be clear about the non-negotiables first: make sure your cream cheese and eggs are at true room temperature. Trust me, it’s the secret to that silky smooth filling you see in the pictures—it just mixes better!
Now, for the big substitution question: yes, you absolutely can turn this into a No Bake Christmas Tree Cheesecake! If you want to skip the oven—which I get, the holidays are busy—just skip all the baking steps. Instead of eggs and sour cream, use a stabilized whipped topping or gelatin along with the cream cheese mixture. You’ll need to chill it longer, sometimes overnight, until it’s totally firm, but you still get that amazing interior flavor!
Don’t even think about swapping out those Little Debbie snack cakes, though; that’s why it’s a christmas tree cheesecake! They hold their distinct vanilla flavor and shape so well the whole way through.
Storage and Reheating Instructions for this Christmas Baking Centerpiece
Since this gorgeous Holiday Baking Centerpiece is loaded with cream cheese, storage is super straightforward but requires a little care. Always keep it covered tightly in the fridge once it’s chilled. It stays absolutely perfect for up to five days—which is great news because you can totally make this ahead of time!
Now, reheating? Don’t even think about it! Cheesecake does not like the microwave or oven. If you happen to freeze leftovers (a rare occurrence in my house!), just let a slice thaw in the refrigerator overnight. Serving it cold directly from the fridge is always best for that perfect firm texture.
Frequently Asked Questions About the Christmas Tree Cheesecake
I know you’ve got questions! When you’re making a centerpiece dessert like this, it’s natural to want to get every detail just right. People often ask me about shape and how to best use those delicious Little Debbie cakes. Don’t sweat it; we’ve got this gorgeous Festive Cheesecake locked down!
Can I make this a truly tree-shaped dessert without a special pan?
Yes! If you don’t have a specific tree-shaped mold, don’t panic. We baked this in a standard round pan, which gives us that amazing creamy holiday cheesecake filling. The trick is decoration! Use green frosting piped like branches on top of the round cheesecake to visually create the illusion of a Tree Shaped Dessert. It looks intentional and stunning!
What is the best way to incorporate the Little Debbie Christmas Cakes?
This is the crucial flavor step for our christmas tree cheesecake! You need to roughly chop the cakes and gently fold them into the cheesecake batter *before* you pour it into the crust. Make sure you reserve a small cupful of those chopped amazing vanilla chunks to sprinkle right on top with the ganache and sprinkles later. It adds great texture!
How far ahead of time can I bake this?
I always say the earlier the better for cheesecake! Because it needs that minimum six-hour chill—and honestly, overnight is better—this makes it one of the best Christmas Baking Ideas because you can knock it out the day before your party. It tastes even better the next day!
Why did my cheesecake crack even though I used a water bath?
Ugh, the dreaded crack! It’s usually due to temperature shock. If you skipped turning the oven off and letting it cool inside slowly for that hour, it gets too big of a temperature drop too fast. Next time, follow that slow cooling step religiously. If it does crack, don’t worry; the ganache and sprinkles will cover almost anything, making it a perfect Easy Christmas Dessert!
Serving Suggestions for Your Festive Cheesecake
Now for the best part: deciding what to serve *with* this absolute showstopper! Because our christmas tree cheesecake is so rich and decadent, you want to pair it with drinks that cut through that creaminess without overpowering the vanilla and chocolate we’ve packed inside. This is definitely your go-to Christmas Party Food centerpiece!
For something warm, a dark roast coffee or a mug of hot classic peppermint tea is fantastic. If you’re serving it after dinner, a sophisticated warm beverage like a small spiced cider cuts through the richness beautifully. If you wanted to offer a little something spirited, a mini glass of chilled eggnog complements the vanilla flavors perfectly. Keep the drinks simple; the cheesecake deserves to shine!
Nutritional Estimates for This Holiday Cheesecake Recipe
I always get asked about the health factor when making something this undeniably delicious! Look, this is a holiday splurge, not an everyday snack, so enjoy every bite of that creamy, cake-studded goodness guilt-free. Remember what I always say: we cook to celebrate, and this Holiday Cheesecake Recipe is certainly worth celebrating!
It’s important to remember that these numbers are educated estimates based on the primary ingredients listed in the recipe—actual values can swing depending on the exact brand of Little Debbie cakes or the amount of sprinkles you pile on top! But for those who like to keep close tabs, here is a general breakdown for one generous slice of our amazing christmas tree cheesecake:
- Serving Size: 1 slice
- Calories: 450
- Sugar: 35 g
- Sodium: 350 mg
- Fat: 30 g
- Saturated Fat: 18 g
- Unsaturated Fat: 12 g
- Trans Fat: 0.5 g
- Carbohydrates: 40 g
- Fiber: 1 g
- Protein: 7 g
- Cholesterol: 95 mg
See? Totally worth it for a special occasion! When you’re making a Showstopper Holiday Dessert, focus on the joy it brings, and these estimates are just good background info for your Christmas Party Food table!
PrintLittle Debbie Christmas Tree Cake Cheesecake
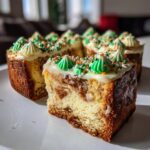
Create a show-stopping holiday centerpiece with this creamy Little Debbie Christmas Tree Cake Cheesecake. This recipe combines a buttery crust, rich cheesecake filling studded with nostalgic snack cakes, and festive topping for a memorable Christmas dessert.
- Prep Time: 30 min
- Cook Time: 60 min
- Total Time: 7 hours 30 min
- Yield: 10 servings 1x
- Category: Dessert
- Method: Baking
- Cuisine: American
- Diet: Vegetarian
Ingredients
- 180 g graham cracker crumbs
- 85 g unsalted butter, melted
- 675 g cream cheese, softened
- 100 g granulated sugar
- 1 teaspoon vanilla extract
- 2 large eggs
- 1 cup sour cream
- 1 package (12.5 oz) Little Debbie Christmas Tree Cakes, chopped
- 1 cup white chocolate chips
- 1/2 cup heavy cream
- Green food coloring (optional, for decoration)
- Holiday sprinkles for decoration
Instructions
- Preheat your oven to 325 degrees Fahrenheit (160 degrees Celsius). Wrap the outside of a 9-inch springform pan tightly with heavy-duty aluminum foil.
- Prepare the crust: Mix the graham cracker crumbs and melted butter in a bowl until combined. Press this mixture firmly into the bottom of the prepared springform pan. Bake for 10 minutes. Let the crust cool while you prepare the filling.
- Prepare the cheesecake filling: In a large bowl, beat the softened cream cheese until smooth. Gradually add the granulated sugar and beat until fully combined. Mix in the vanilla extract.
- Beat in the eggs one at a time, mixing just until incorporated after each addition. Stir in the sour cream until the batter is smooth. Do not overmix.
- Gently fold in most of the chopped Little Debbie Christmas Tree Cakes, reserving some for topping later. Pour the filling over the cooled crust.
- Bake the cheesecake in a water bath: Place the foil-wrapped springform pan inside a larger roasting pan. Carefully pour hot water into the roasting pan until it reaches halfway up the sides of the springform pan.
- Bake for 50 to 60 minutes, or until the edges are set but the center still has a slight jiggle.
- Turn off the oven, crack the door open slightly, and let the cheesecake cool inside the oven for 1 hour. This prevents cracking.
- Remove the cheesecake from the water bath and let it cool completely on a wire rack. Once cool, cover and refrigerate for at least 6 hours, or preferably overnight.
- Prepare the white chocolate ganache topping: Heat the heavy cream in a small saucepan until it just begins to simmer. Remove from heat and pour over the white chocolate chips in a heatproof bowl. Let stand for 5 minutes, then whisk until smooth. Let the ganache cool slightly until it thickens to a spreadable consistency.
- Once the cheesecake is chilled, spread the cooled white chocolate ganache over the top.
- Decorate the top to resemble a Christmas tree: Use green food coloring mixed with a small amount of whipped topping (if desired) to pipe or spread ‘branches’ onto the ganache. Top with the reserved chopped Little Debbie cakes and holiday sprinkles.
Notes
- For the best texture, ensure your cream cheese and eggs are at room temperature before mixing.
- If you want a truly tree-shaped presentation without a special pan, you can assemble the cheesecake in a round pan and then use frosting and decorations to visually create the tree shape on top.
- This recipe works well as a no-bake version if you substitute the eggs and sour cream with stabilized whipped topping and omit the baking step, chilling it until firm instead.
Nutrition
- Serving Size: 1 slice
- Calories: 450
- Sugar: 35
- Sodium: 350
- Fat: 30
- Saturated Fat: 18
- Unsaturated Fat: 12
- Trans Fat: 0.5
- Carbohydrates: 40
- Fiber: 1
- Protein: 7
- Cholesterol: 95