
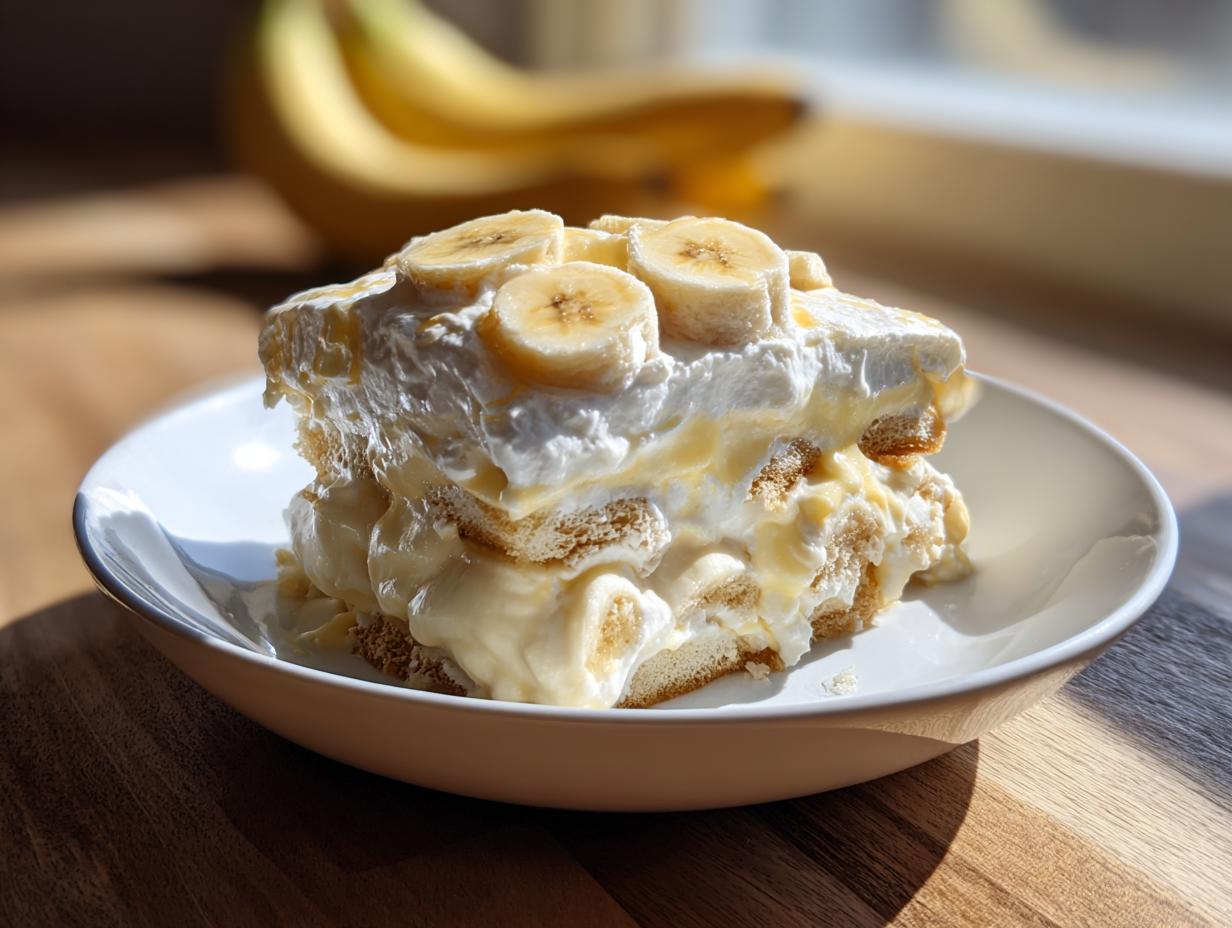
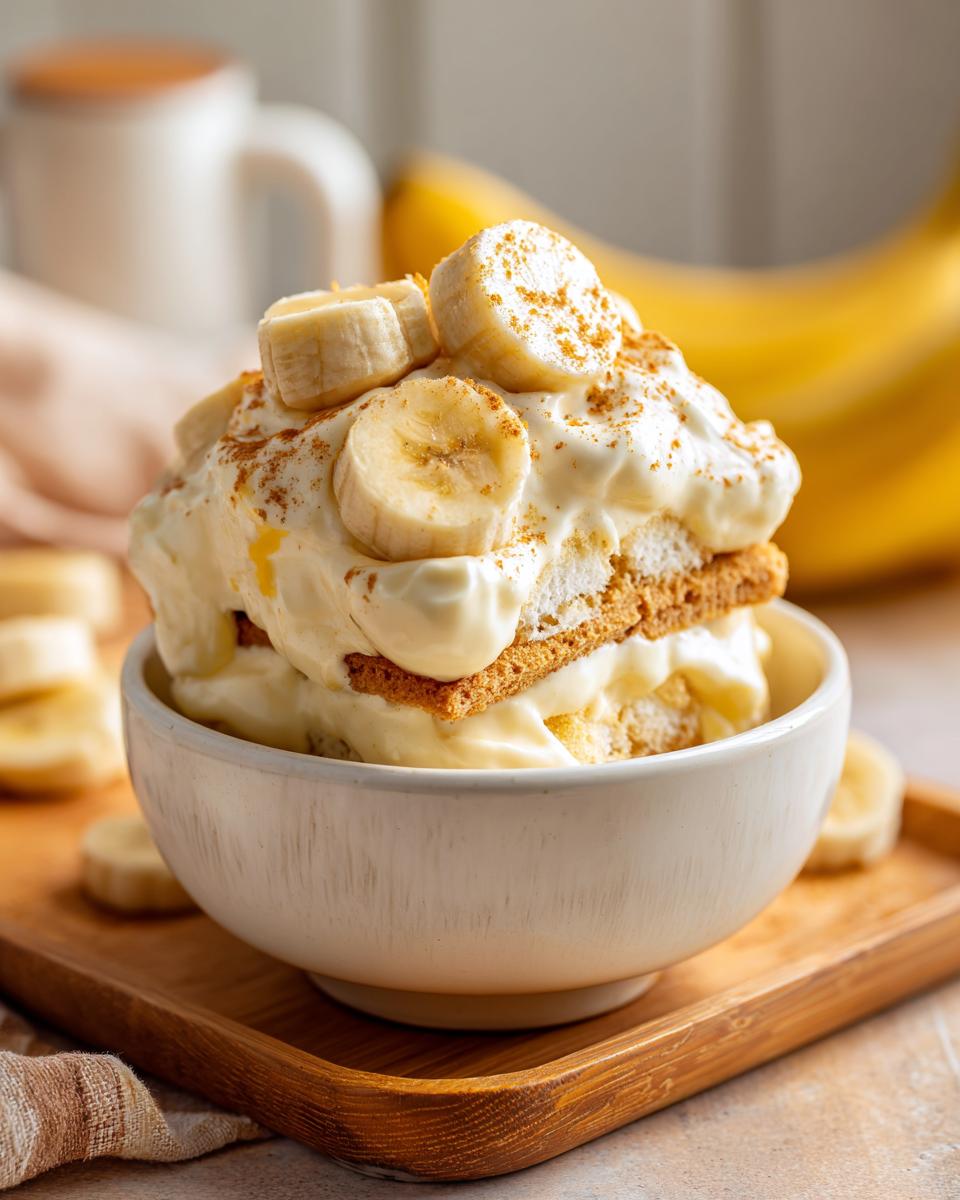
There is just nothing in this world that hugs you better than a spoonful of truly great comfort food, right? And when you talk about Southern classics, my absolute favorite—the one that instantly turns a regular Tuesday into something special—is a glorious, creamy **banana pudding**. Forget fiddly baked custards; we’re diving into a recipe inspired by that famous bakery version, making it super accessible for you, the home cook. My goal here at Cooking Zenith is to prove that you don’t need a professional kitchen to achieve that rich, **Magnolia-Style** perfection. Trust me, this no-bake layered dessert is coming together fast, and it tastes utterly dreamy! If you ever want to check out another classic custard treat, you can find my recipe for classic banana cream pie right here on the site.
- Why This Creamy Layered Dessert is the Best Banana Pudding Ever
- Ingredients for Your Homemade Pudding Recipe
- Mastering the No Bake Banana Dessert: Step-by-Step Instructions
- Tips for the Best Banana Pudding Ever Success
- Variations on this Classic Banana Pudding Recipe
- Serving Suggestions for Your Banana Pudding
- Storage and Make Ahead Dessert Tips for Banana Pudding
- Frequently Asked Questions About Classic Banana Pudding Recipe
- Share Your Creamy Layered Dessert Experience
Why This Creamy Layered Dessert is the Best Banana Pudding Ever
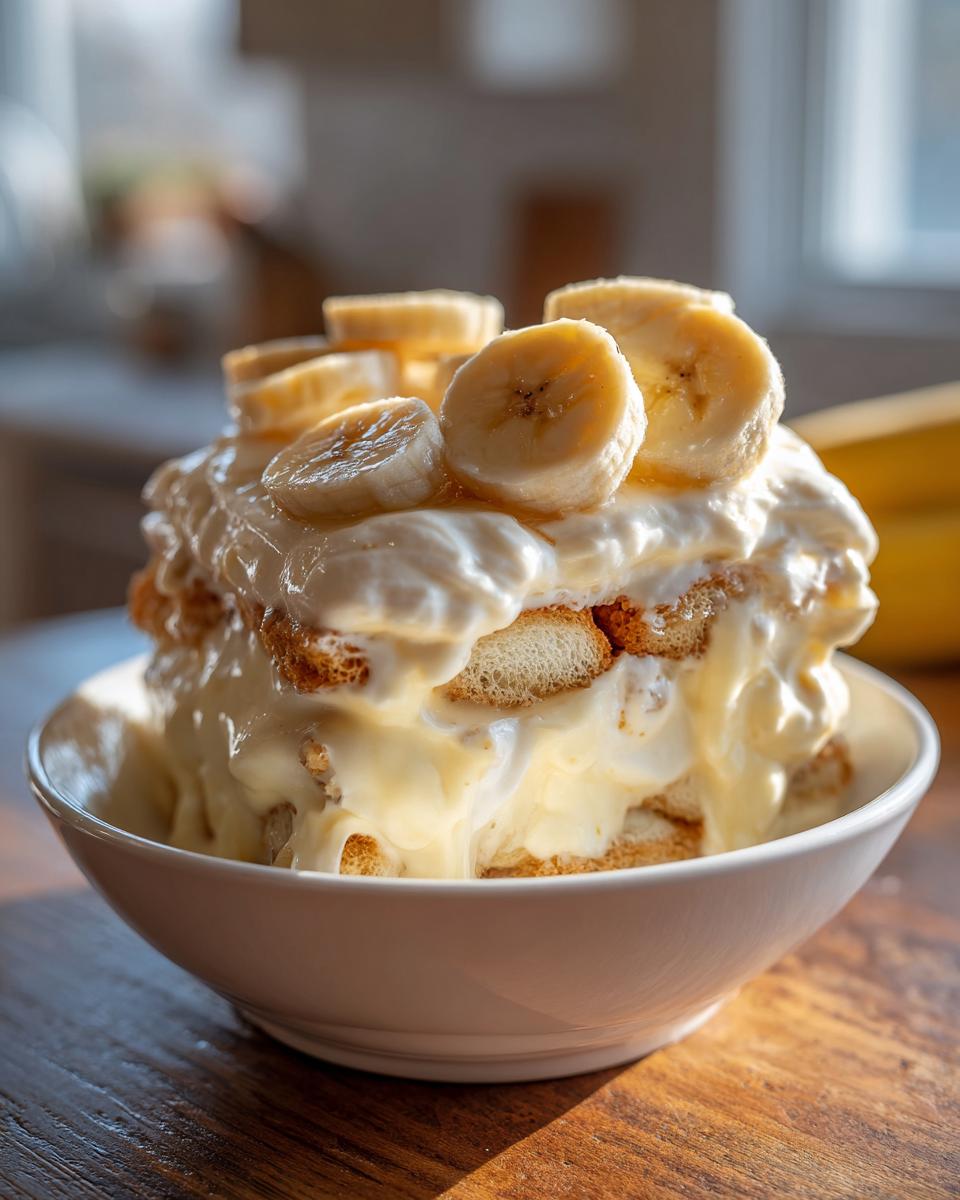
Listen, when I’m hosting, I need desserts that deliver maximum impact with zero stress, and this banana pudding is my secret weapon! This is absolutely the **Best Banana Pudding Ever** because we’re keeping it no-bake. That’s right, no standing over a double boiler!
The richness you get is truly **rich and dreamy pudding** worthy of any Southern gathering. People always rave because those vanilla wafers get perfectly soft after chilling—they transform into a tender, cake-like layer that just melts in your mouth. It’s an **easy make ahead dessert**, which means the day of the party, you’re relaxing, not scrambling!
We take all the incredible flavor of an **Old Fashioned Dessert** and package it into something you can whip up in under 20 minutes. You can see why folks love the bakery-style versions, and honestly, making it at home, knowing you’ve used the best ingredients, just makes it even better. If you need another great make-ahead dish for your next event, you should check out my guide to an easy make ahead cheesy egg bake!
If you want to read more about how the true pros nail that iconic texture, this deep dive on Magnolia Bakery style is fantastic.
Ingredients for Your Homemade Pudding Recipe
Okay, here’s the short list for this incredible **homemade pudding recipe**! Because we’re keeping this a quick, no-bake treat, we rely on the instant pudding mixes to give us that fast set and creamy structure. Don’t worry, the flavor is still all homemade goodness!
- 1 (14 ounce) can sweetened condensed milk
- 1 (5 ounce) box instant vanilla pudding mix
- 1 (3.4 ounce) box instant vanilla pudding mix (Trust me, using both types helps with texture!)
- 3 cups very cold water
- 1 (8 ounce) container frozen whipped topping, fully thawed
- 4 large bananas, ripe but still somewhat firm, sliced
- 1 full box (11 ounces) vanilla wafers (the classic Nilla Wafers are key here!)
Using that cold water is super important so your pudding sets up fast, giving you that gorgeous base for layering!
Mastering the No Bake Banana Dessert: Step-by-Step Instructions
Putting together this beautiful **banana pudding** is really just a matter of mixing and stacking. It’s so simple, but those simple layers are what create the magic! I want to stress that assembly needs to be quick once the pudding starts setting, so have your dish ready to go.
Creating the Creamy Pudding Base
First things first, get that base whipped up! In a big bowl, take your sweetened condensed milk, both types of instant pudding mix, and those three cups of seriously cold water. You need to whisk this combination really well until everything is totally smooth—no dry pockets allowed! Let that mixture sit for about five minutes so the instant pudding can start doing its thing. Next, gently fold in your thawed whipped topping. And I mean gently. You want it incorporated, but you don’t want to knock all the air out! If you beat it too hard, your pudding won’t be light and fluffy.
Assembling the Classic Banana Pudding Layers
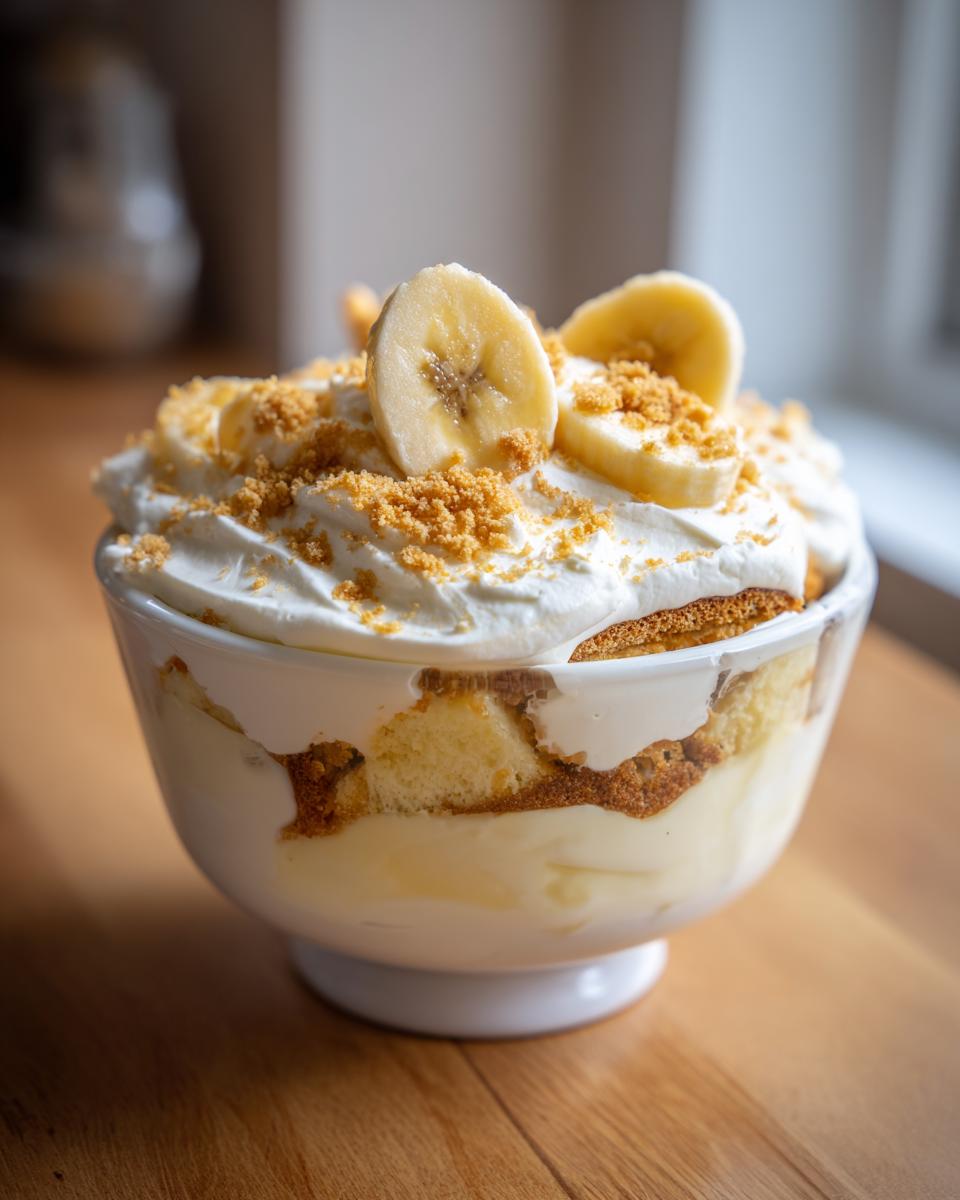
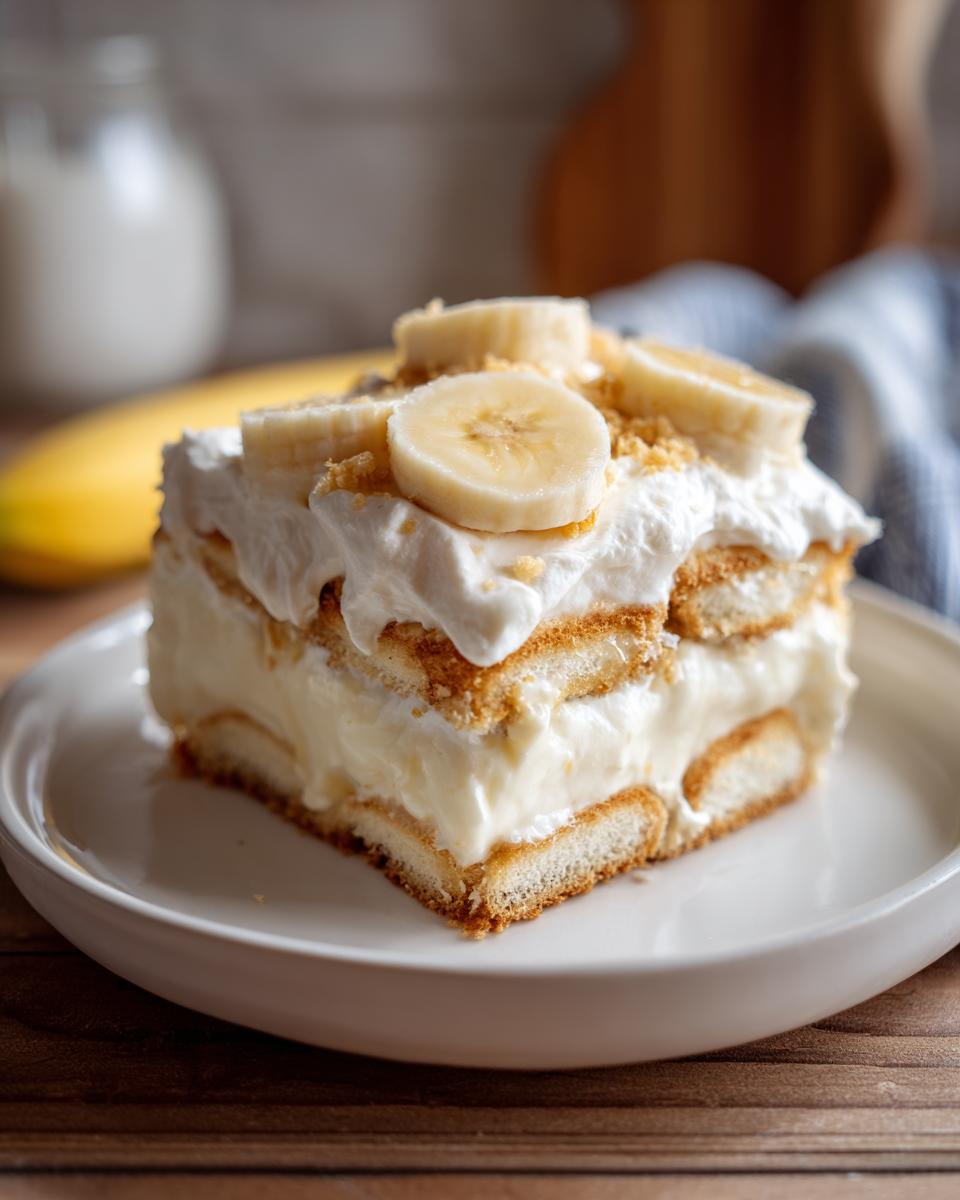
Now we build! I always grab my big glass dish for this so everyone can see the pretty stripes. Start with a thin swipe of pudding mix on the very bottom—this helps anchor everything. Then? Wafers, followed by a solid layer of those sliced bananas. Remember what I always say: use bananas that are ripe but still hold their shape. Too soft, and they turn to mush! Cover those bananas with about a third of your remaining pudding. Just keep repeating that pattern: wafers, bananas, pudding, until you run out, always ending with a gorgeous top layer of pudding coating everything.
Chilling for Signature Texture
This step is non-negotiable, folks! This is what separates a good dessert from truly amazing **Southern Banana Pudding**. You have to cover the dish tightly—I use plastic wrap right down against the surface if I can manage it—and stick it in the fridge for a minimum of four hours. Seriously, overnight is better! That chilling time is what lets the wafers soak up the moisture and go from crunchy cookies to that divine, cake-like texture we’re aiming for. It’s worth the wait, I promise!
If you’re looking for other easy flavor enhancers, don’t forget to check out my recipe for easy honey butter sometime!
Tips for the Best Banana Pudding Ever Success
You’ve got the ingredients and the method down, but to hit that legendary, rich, and creamy perfection every single time, you need to know the little secrets I picked up over the years. These aren’t big steps, but they make all the difference between a good dessert and the kind of **banana pudding** folks ask for at every single party!
When I was perfecting this recipe, I noticed that the speed at which the instant pudding sets is key to that fluffy structure. So, here’s my added pro tip: make sure that 3 cups of water (or milk!) are absolutely freezing cold before you start whisking. The colder the liquid, the faster the pudding blooms and sets up, giving you less time to accidentally deflate that beautiful whipped topping.
- For the absolute best texture, stay away from bananas that are brown and mushy. You want them ripe and sweet, but still holding their slice shape. Overly soft bananas just dissolve into weird mush after sitting overnight.
- If you want a little extra depth to your flavor—and who doesn’t?—you can swap out one cup of that cold water for cold milk. It makes the pudding base richer, almost like a decadent custard filling.
- Please, please, please make this ahead of time! The secret to making this an amazing **make ahead dessert** is the chill time. You absolutely need those minimum four hours. When the wafers soften up and get infused with the vanilla and banana, that’s when you achieve that iconic, comforting texture.
Stick to these habits, and you’ll find this easy pudding dessert becomes a staple in your kitchen! For another recipe where temperature and ingredients matter just as much for moisture, you’ve got to try my ultimate moist red velvet cupcakes.
Variations on this Classic Banana Pudding Recipe
I absolutely adore this no-bake version—it’s my go-to for quick potlucks and family gatherings because it’s just so reliably creamy. But hey, sometimes you want to tweak things up a bit, right? Don’t worry, we can still keep that dreamy texture while introducing a couple of fun twists on this classic **banana pudding**.
The first tiny change you can make is going for a slightly more decadent base. Remember how I mentioned swapping water for milk? If you want a result that leans even closer to a rich custard flavor, swap out one cup of the cold water for one cup of cold milk when you’re mixing up the pudding base. It makes the final pudding feel denser and even creamier. If you want to see another quick bread recipe that handles moisture so well, check out my banana zucchini bread—it’s a powerhouse of moisture!
Now, for the real contrast: sometimes you want that gorgeous, golden-brown, slightly crispy top. While this recipe is firmly set in the “No Bake Banana Dessert” camp, if you’re feeling adventurous, you can swap out the thawed whipped topping for homemade Italian meringue. You’d still layer everything up the same way, but instead of chilling, you’d spread the meringue on top and briefly run it under the broiler until it’s beautifully toasted. Just be quick about it! That totally changes the experience, though it moves us away from the old-fashioned style most people are looking for here. It’s a fun way to present a classic, though!
Serving Suggestions for Your Banana Pudding
Because this creamy, dreamy **Comfort Food Dessert** is so rich, you don’t need much else on the table when you serve it up. It truly stands on its own as the star of the show! It’s the ultimate crowd-pleaser for **Potluck Desserts**, and nobody ever leaves any behind at **Family Gathering Treats**.
I find that a piping hot cup of black coffee or a refreshing glass of unsweetened iced tea cuts right through that richness beautifully. It’s the perfect compliment! And if you happened to make my easy Greek salad earlier in the week, this banana pudding is the absolute perfect light counterbalance to round out that meal.
Storage and Make Ahead Dessert Tips for Banana Pudding
One of the greatest things about this **banana pudding** is that it’s designed for making life easier. It absolutely shines as a make-ahead showstopper! If I’m serving it for a big weekend event, I always aim to build the whole thing the night before. Seriously, that overnight chill in the fridge is the secret sauce for achieving that signature, almost cake-like texture where the vanilla wafers soften up just right.
You need to cover it up tight once it’s assembled. I prefer pressing plastic wrap right down onto the surface of the pudding layer before putting on the main lid—this helps stop any weird fridge smells from seeping in. You can safely keep this homemade dessert in the refrigerator for about three to four days. After that, the bananas start getting a little too brown, even underneath all that creamy goodness.
But here’s a hard no: please don’t try to freeze this! When it thaws, the texture of the whipped topping breaks down, and you just end up with watery disappointments. This recipe is meant to be enjoyed fresh from the fridge after that mandatory chilling period. If you’re looking for other dishes that are great for freezing and reheating later, you might enjoy my recipe for small-batch cinnamon rolls!
Frequently Asked Questions About Classic Banana Pudding Recipe
You asked, and I’m happy to answer! Because this **Classic Banana Pudding Recipe** is so cherished, I get tons of questions about making tiny tweaks. Don’t be shy—we all want that perfect **creamy layered dessert** experience!
Can I use homemade cooked custard instead of instant pudding for this banana pudding?
That’s a wonderful question that really gets to the heart of tradition! If you look at truly **Old Fashioned Dessert** recipes, yes, they often call for a cooked custard base. However, for this specific, dreamy, no-bake version that mimics that famous bakery style, we rely completely on the instant pudding mix. The instant mix, combined with the thickener from the condensed milk and the whipped topping, gives us that specific quick-set creaminess and sets up perfectly without heating anything up. If you substitute a cooked custard here, the texture will be completely different—looser, heavier, and it won’t set up as firmly in the fridge.
What is the best time to slice the bananas for this dessert?
I always try to slice the bananas right before I start the layering process. They should be ripe—that sunny yellow with maybe just a few little brown spots—but definitely not mushy. If they are too soft, they lose all structural integrity once they sit in the fridge, and you’ll end up with just banana goo instead of identifiable slices in your **Banana Cream Dessert**. Plus, the riper they are, the faster they tend to oxidize and turn gray, which isn’t ideal for presentation!
Does this freeze well for later?
Oh, sweet friend, I really wish it did, but please avoid freezing your **banana pudding**! The texture completely suffers. When you freeze something with a high fat and moisture content like this—especially that lovely whipped topping—it separates when it thaws. You’ll end up with a watery mess where the pudding layer has separated from the dairy. This is definitely an **Easy Make Ahead Dessert**, but that “make ahead” window is limited to the refrigerator only.
How far in advance can I prepare this Easy Pudding Dessert?
For the absolute *best* result, where the wafers are perfectly softened but haven’t turned completely to mush, aim for 12 to 18 hours ahead of time. You can assemble the entire dish the morning before your event, or even the night prior. If you push it past the 24-hour mark, the wafers start to get a little too soft, and the bananas might start looking a touch sad, even underneath all that delicious pudding. Honestly, I think this is the easiest way to handle **Family Gathering Treats**—get it done the day before!
If you’re interested in learning how to make a totally different type of creamy spread—maybe something savory for appetizers—you should take a peek at my recipe for creamy garlic white pizza sauce.
Share Your Creamy Layered Dessert Experience
Now, I’ve shared all my secrets for getting this **banana pudding** perfectly creamy and dreamy, and honestly, the best part of having this space is hearing from you! Nothing makes me happier than knowing this recipe brought a little slice of Southern comfort to your table.
Did you try the no-bake method? Did your wafers turn out perfectly soft after that long chill? I truly want to know! Please hop down into the comments box below and leave me a rating—five stars if it wiped out fast, of course!
If you made this classic dessert for a gathering, snap a picture and tag me on social media! Seeing your gorgeous layered desserts reminds me why I love sharing these family-favorite recipes with you all. And hey, if you’re already planning your next sweet bake, don’t forget to check out my favorite easy pear crisp recipe—it’s another amazing, stress-free showstopper!
PrintThe Best Creamy No-Bake Banana Pudding (Magnolia-Style Classic)
Create a rich, dreamy, and creamy Southern Banana Pudding using this straightforward, no-bake recipe. This layered dessert features fresh bananas, vanilla wafers, and a smooth, homemade vanilla custard, perfect for potlucks and family gatherings.
- Prep Time: 20 min
- Cook Time: 0 min
- Total Time: 4 hr 20 min
- Yield: 8 servings 1x
- Category: Dessert
- Method: No Bake
- Cuisine: American
- Diet: Vegetarian
Ingredients
- 1 (14 ounce) can sweetened condensed milk
- 1 (5 ounce) box instant vanilla pudding mix
- 1 (3.4 ounce) box instant vanilla pudding mix (or use 2 standard boxes)
- 3 cups cold water
- 1 (8 ounce) container frozen whipped topping, thawed
- 4 large ripe bananas, sliced
- 1 box (11 ounces) vanilla wafers (Nilla Wafers)
Instructions
- In a large bowl, whisk together the sweetened condensed milk, both boxes of instant vanilla pudding mix, and the cold water until fully combined. Let this mixture sit for 5 minutes to allow the pudding to begin setting.
- Gently fold the thawed whipped topping into the pudding mixture until no streaks remain. You now have your creamy pudding base.
- Select a large glass serving dish or individual cups for layering. Spread a thin layer of the pudding mixture on the bottom of the dish.
- Arrange a single layer of vanilla wafers over the pudding.
- Place a layer of sliced bananas over the wafers.
- Spoon about one-third of the remaining pudding mixture evenly over the bananas.
- Repeat the layers: wafers, bananas, and then pudding, until all ingredients are used, ending with a final layer of pudding on top.
- Cover the dish tightly with plastic wrap. Chill the banana pudding in the refrigerator for at least 4 hours, or preferably overnight. Chilling allows the wafers to soften and the flavors to meld, creating the classic texture.
- Before serving, you may garnish the top with a few extra vanilla wafers or whipped cream dollops.
Notes
- For the best texture, use slightly under-ripe bananas; overly soft bananas can become mushy after chilling.
- If you want a slightly richer flavor, substitute 1 cup of the cold water with 1 cup of cold milk.
- This dessert is best made one day ahead to achieve the signature soft, cake-like texture of the wafers.
Nutrition
- Serving Size: 1 serving
- Calories: 450
- Sugar: 55g
- Sodium: 350mg
- Fat: 18g
- Saturated Fat: 10g
- Unsaturated Fat: 8g
- Trans Fat: 0g
- Carbohydrates: 70g
- Fiber: 2g
- Protein: 6g
- Cholesterol: 35mg