
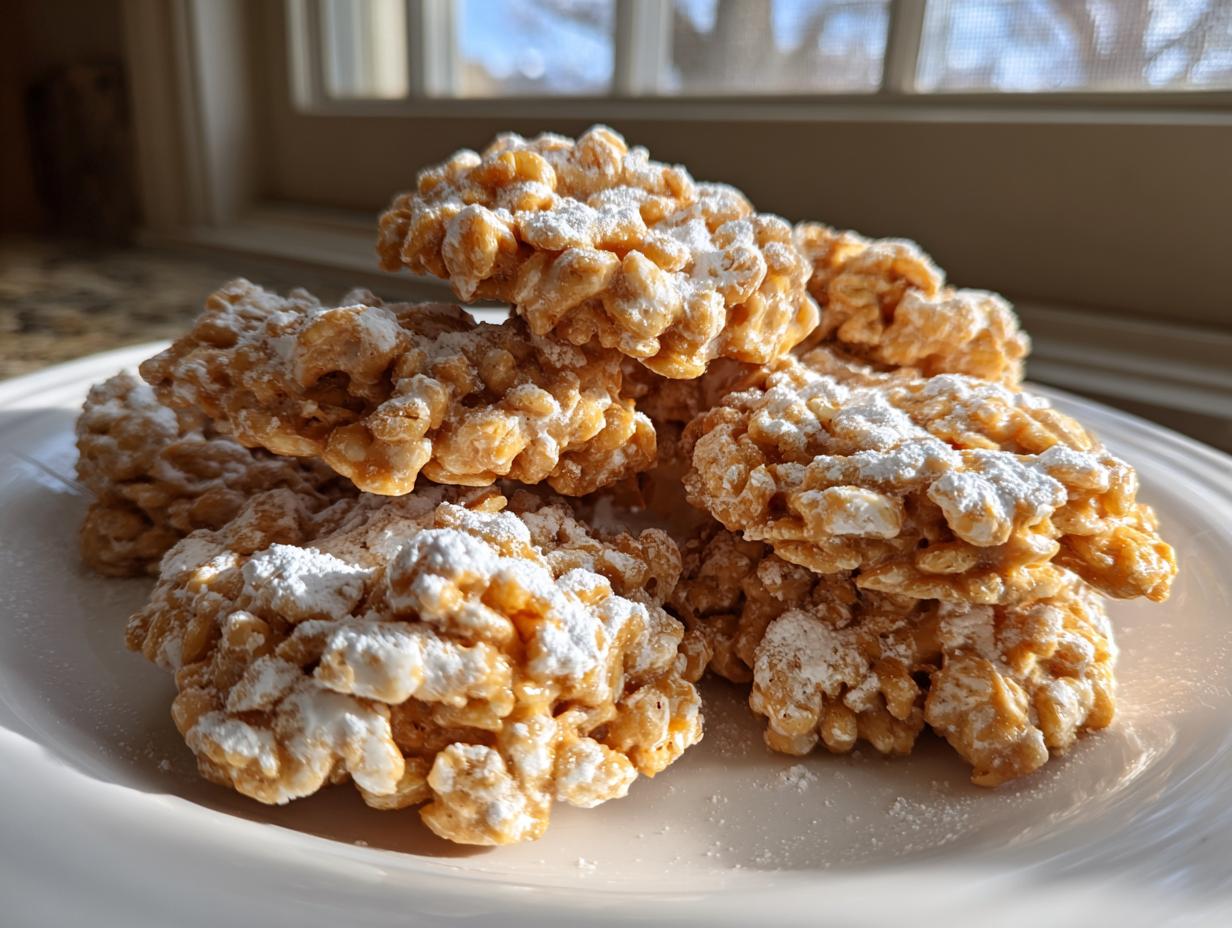
If you’ve ever stared at a cookie tray and thought, “I wish I had time for that,” then listen up! We all love amazing treats, but sometimes the oven just needs a break, especially around the holidays or when you need a fast snack fix. Trust me, when things get hectic, I turn straight to my fastest, easiest recipe: **avalanche cookies**! These are the definition of simple assembly. They are brilliantly **no-bake**, which means zero preheating, zero cooling time related to baking, and maximum payoff. This recipe is my secret weapon for looking like I spent hours baking when I actually spent maybe fifteen minutes putting them together! You’re going to love how these peanut butter and white chocolate delights come together. If you need another lightning-fast dessert, check out my no-bake ice cream pie recipe too!
- Why These No-Bake Avalanche Cookies Are Your New Favorite Easy Dessert Recipes
- Essential Ingredients for Perfect Avalanche Cookies
- Expert Tips for Melting Chocolate for Your Avalanche Cookies
- Step-by-Step Instructions for Making Quick Cookie Recipes
- Ingredient Notes and Substitutions for Peanut Butter Treats
- Serving Suggestions for Avalanche Cookies and Potluck Desserts
- Storage & Reheating Instructions for Simple Chocolate Clusters
- Frequently Asked Questions About Avalanche Cookies
- Estimated Nutritional Data for Avalanche Cookies
Why These No-Bake Avalanche Cookies Are Your New Favorite Easy Dessert Recipes
Honestly, these **avalanche cookies** are the ultimate answer when you need something fast but don’t want to compromise on flavor. They pack a huge punch for almost no effort at all. Seriously, they are some of the best **quick cookie recipes** I keep on rotation!
Speed and Simplicity: The No-Bake Promise
This is the best part for me. We’re talking maybe fifteen minutes of active work, tops. There is zero oven time involved! These truly fall under my category of **fast dessert ideas** because you mix, drop, and chill. That’s it. You aren’t waiting around for anything to bake, which is huge for last-minute needs.
Perfect Texture Combination for Crunchy No Bake Squares
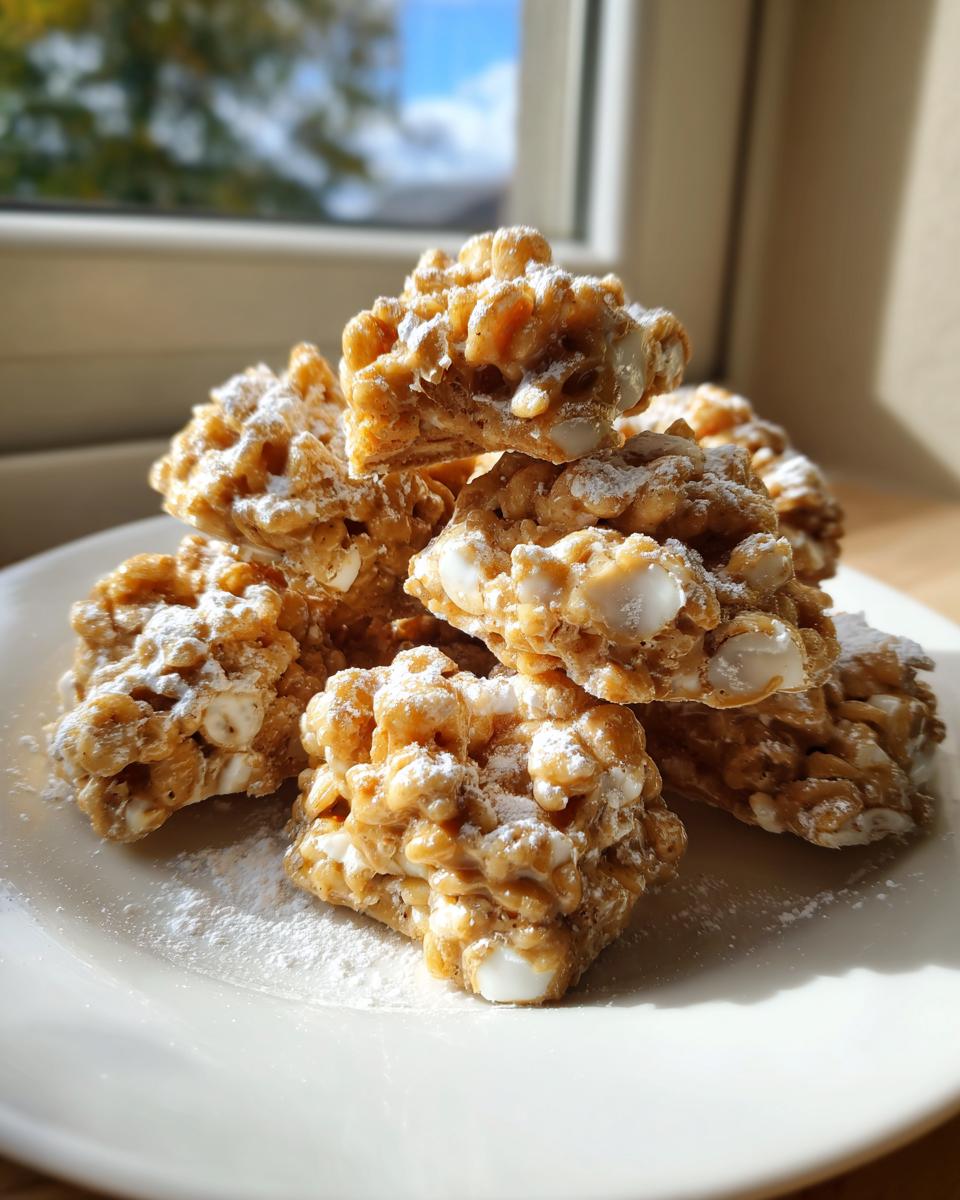
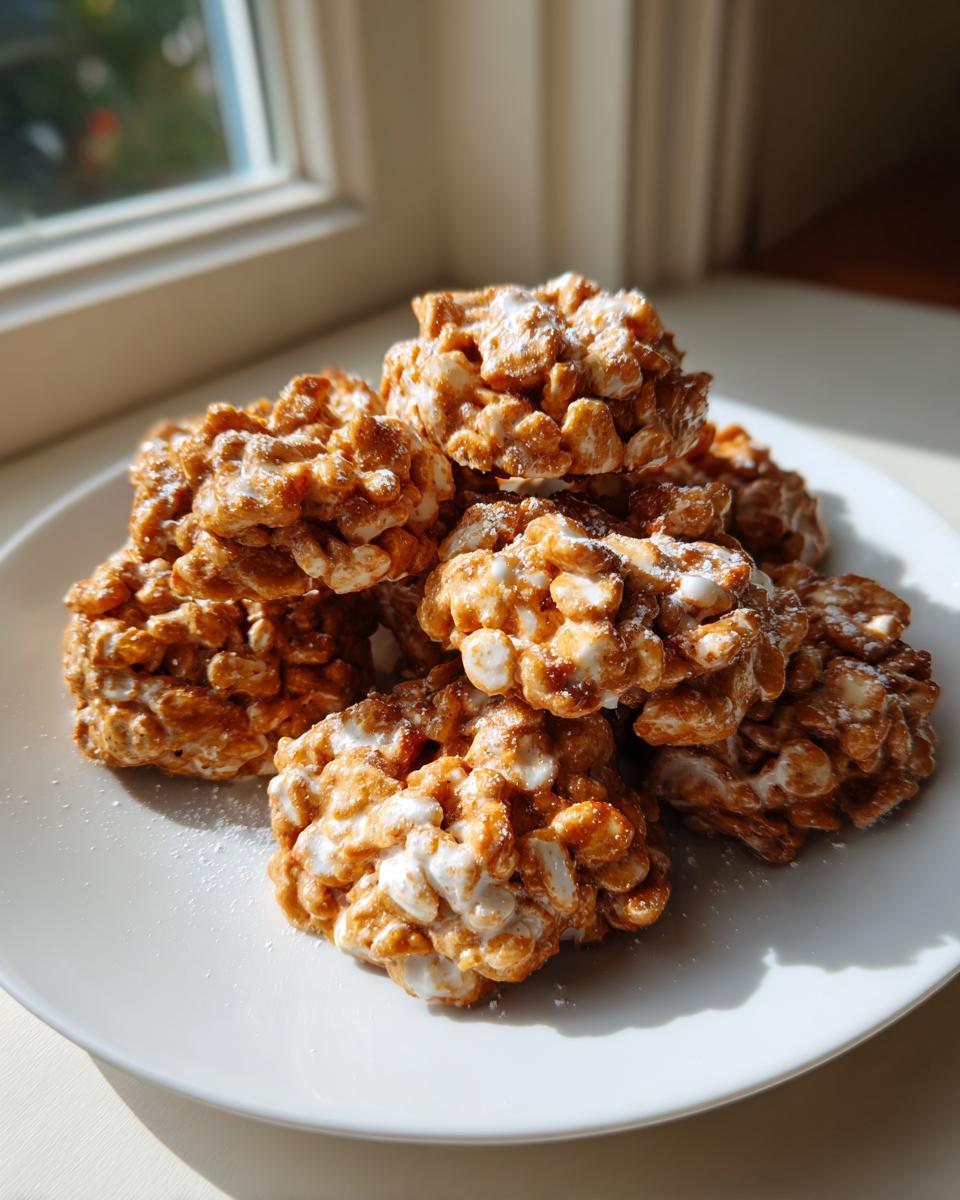
When you bite into one of these, you get that amazing contrast. You have the creamy, smooth coating from the peanut butter and white chocolate, right? But then you hit the crunch from the cereal and the soft little chew spots from the marshmallows. They are classic **crunchy no bake squares** that satisfy every craving.
Essential Ingredients for Perfect Avalanche Cookies
You don’t need a pantry full of weird stuff for these! That’s another reason I love them so much. The ingredient list is super short. You just need the main players to get that perfect texture and flavor profile. I always keep these on hand just in case I need to whip up **peanut butter treats** in a pinch.
Here’s exactly what you’ll need for about twenty of these beauties:
- 1 cup creamy peanut butter
- 1 cup white chocolate chips or almond bark, melted
- 6 cups crispy rice cereal (Rice Krispies)
- 1 cup mini marshmallows
- 1/2 cup powdered sugar (for dusting, optional)
When you go shopping, remember, the quality of the white chocolate really makes a difference in the coating. If you want something a little more structured and less melty later, definitely grab the almond bark when you shop. And speaking of peanut butter goodness, don’t forget to check out my peanut butter Rice Krispie treats if you love this combination!
Expert Tips for Melting Chocolate for Your Avalanche Cookies
Okay, this is where we build our **Expertise**! Even though these are **avalanche cookies** and they are simple, that white chocolate coating has to be *just right*. If you scorch it even a little bit, your cookies will taste grainy, and that is just a tragedy. I’ve ruined batches before, so I learned my lesson the hard way!
For the microwave method, which is what I always use because it’s fast, you must use short bursts. Think 30 seconds at a time for melting white chocolate chips or almond bark. After every 30 seconds, take the bowl out and stir it like crazy. Even if it still looks mostly solid, the residual heat will melt a lot more than you think. Keep stirring until it’s silky smooth before you ever put it back in for another burst. This gentle action prevents burning.
If you are someone who worries about microwaving chocolate—and I get it, it can be moody—you absolutely can use a double boiler. Just use a heatproof bowl set over a saucepan of barely simmering water. Whisk it continuously until it melts into that glossy pool. It takes a tiny bit longer, but it’s foolproof protection against scorched chocolate. Either way, smooth coating equals amazing **no bake cookies**!
Step-by-Step Instructions for Making Quick Cookie Recipes
Now that we have our smooth chocolate binder and all our crunchy bits ready, it’s time for the assembly! This is the fun part, and it moves fast because once that chocolate hits room temperature, it starts to grip everything. Remember, we are sticking strictly to **quick cookie recipes** here, so have your baking sheet ready to go before you even start step two!
First thing’s first: line a baking sheet with parchment paper. I cannot stress this enough. If you skip the parchment, these sticky clusters will wage war against your pan, and you’ll end up fighting to peel them off later. We don’t have time for that drama!
Combining the Creamy Base and Crunchy Elements of Avalanche Cookies
Once your peanut butter and white chocolate mixture is fully smooth—like glossy heaven—you need to work quickly. Dump in your 6 cups of crispy rice cereal and all those cute little mini marshmallows. Use a sturdy spatula and fold everything together. You want to gently fold until every single piece of cereal and marshmallow is coated in that lovely white chocolate blanket. Don’t stir too aggressively, or you’ll crush the cereal, and we want crunch!
Use two spoons or a small cookie scoop to dollop the mixture onto your prepared sheet. These are **avalanche cookies**, so they don’t need to be perfect circles. If they feel really sticky and you want to shape them a bit more uniformly, just lightly wet your hands with cold water before dropping them. Cold water stops the melted chocolate from grabbing hold of your skin.
Setting and Finishing Your No Bake Cookies
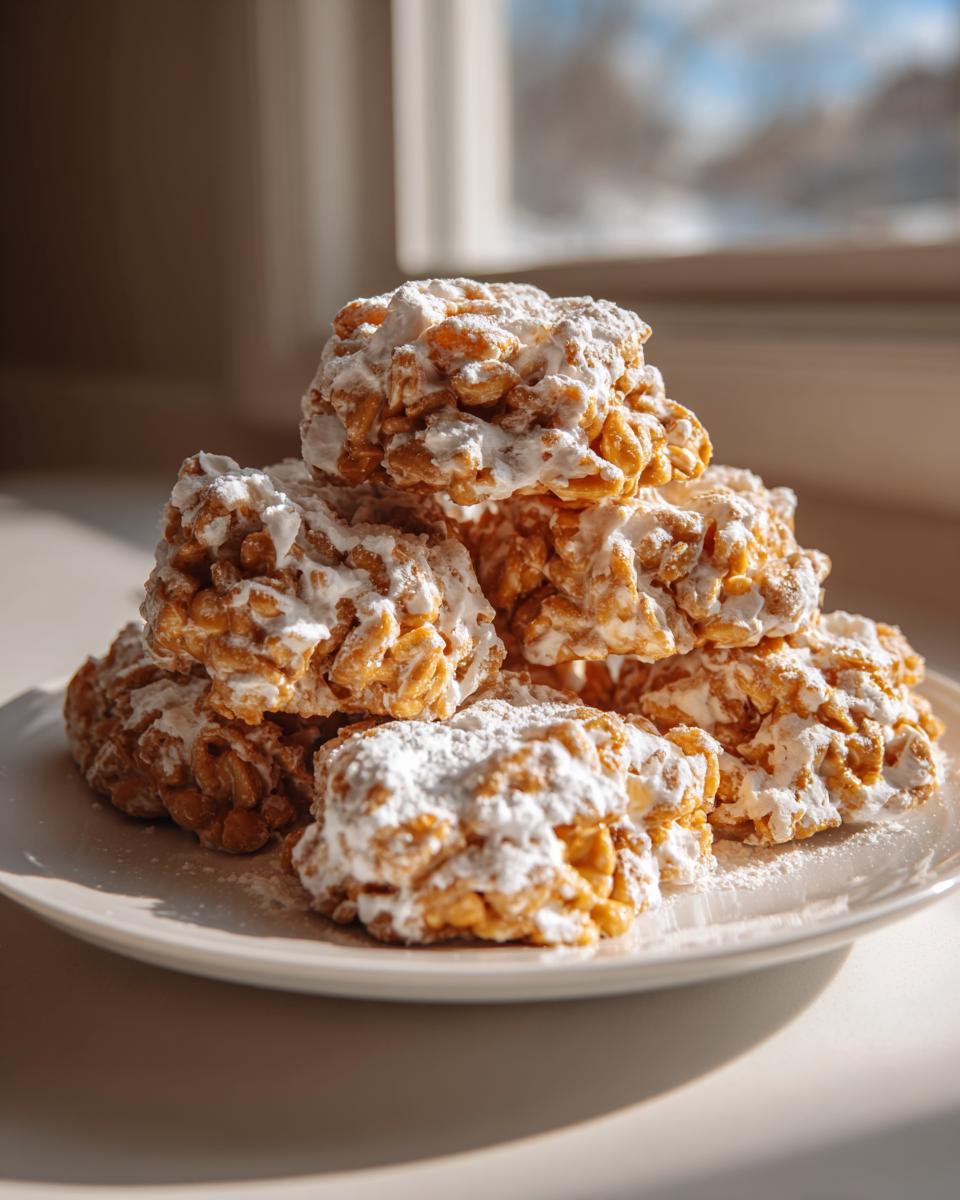
If you are opting for that beautiful, powdery finish—and you totally should for gifts—dust them lightly with powdered sugar right now while they are still wet. If you wait, the sugar won’t stick! Then, let them set. You can leave them on the counter for about 30 minutes, but if you’re in a hurry, pop them in the fridge for closer to 15 minutes. Once they are firm to the touch, they are done! These are your official **No Bake Cookies**, ready to enjoy without ever heating up the kitchen. Speaking of other great no-bake mixes, you should peek at my guide on no-bake chocolate peanut butter cookies next!
Ingredient Notes and Substitutions for Peanut Butter Treats
I always include this little section because when I started making these **avalanche cookies**, I had to experiment to see what held up best. Just follow the recipe, but know you have a little wiggle room, especially with the chocolate binder. This is what separates just okay treats from *great* **peanut butter treats**!
In the recipe, I mentioned using white almond bark instead of just white chocolate chips. If you use white almond bark, it almost always results in a firmer cookie after it sets. That’s because almond bark has more non-cocoa butter fats, which stiffen up nicely when cool. If your house runs warm, or you plan to transport them to a picnic, almond bark is your steady friend.
Also, don’t be afraid to play with the chocolate slightly. If you want to take these away from pure white chocolate, try swapping out half of the white chips for something like milk chocolate chips. Just mix the melted whites and milk chocolate together before you toss in the cereal. That little bit of milk chocolate makes the whole thing richer, and they still set up just fine!
Serving Suggestions for Avalanche Cookies and Potluck Desserts
Since these **avalanche cookies** are so sturdy and require no refrigeration once set—unless your kitchen is tropical, of course—they are absolutely perfect for sharing! I find they are a lifesaver when it comes to making **No Bake Holiday Desserts**. Nobody wants to use up precious oven space on cookies when the turkey needs roasting, right?
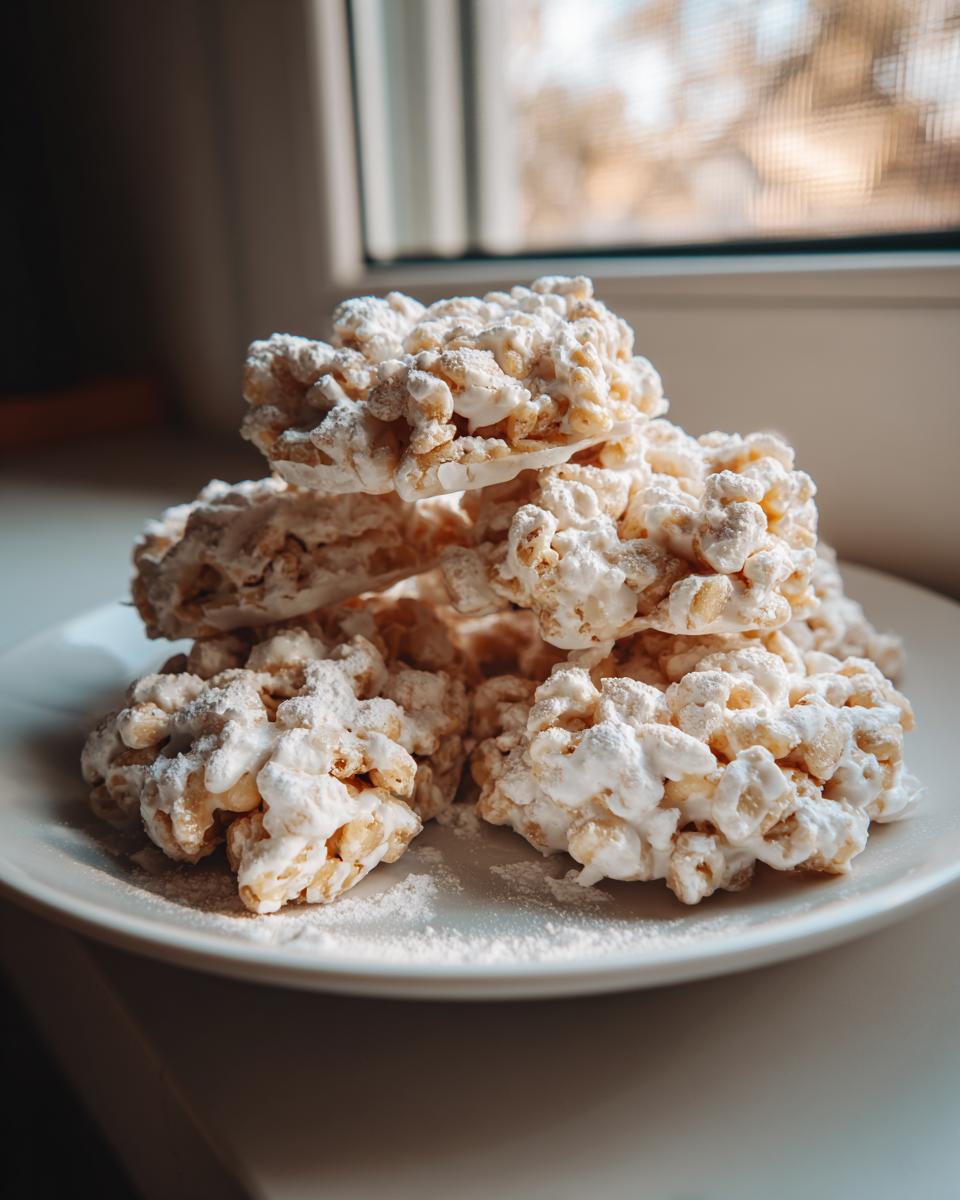
My favorite thing is throwing a big batch onto a pretty platter alongside some fudge or buckeyes. They look great next to more colorful treats. If I’m making them for a bake sale or a big office potluck, I usually skip the powdered sugar dusting and just let them stay white and bumpy—they really do look like little snowy mounds!
If you are bringing these to an event, make sure you check out my guide on sprinkle sugar cookies for other tray-worthy items that look festive!
Storage & Reheating Instructions for Simple Chocolate Clusters
The best part about these **Simple Chocolate Clusters** is that you don’t have to worry about “reheating” them—unless you want the chocolate to run again, which I definitely don’t recommend! Since they are totally **no-bake**, storage is super easy, provided you keep them cool. If you leave them on the counter, especially on a warm day, that beautiful white chocolate binder will get soft and everything will start looking a bit… well, avalanch-y in a messy way!
I always store mine in a single layer inside a really good airtight container. If I don’t have space, I can stack them carefully with a layer of parchment paper between the layers. They stay perfectly crunchy and fresh at cool room temperature for about five days. If you want them to last longer, pop the airtight container in the fridge for up to two weeks! Just let them sit out for five minutes before serving so they aren’t rock hard.
Frequently Asked Questions About Avalanche Cookies
I always end up with a million questions when I adapt a new recipe, so I figured I’d cover the ones I get asked most about these **avalanche cookies**. You might be worried about ingredients or techniques, but don’t sweat it! These are so forgiving, which is why they are such an amazing part of my collection of **easy dessert recipes**.
Can I use different cereals in my avalanche cookies?
Yes, you absolutely can! This is one of those recipes where you can channel your inner kid. Crispy rice cereal gives you that classic, light crunch—think of it like the base of your favorite **Rice Krispie Treats variations**. If you swap it out for something like Cheerios or cornflakes, you’ll get a denser, sometimes nuttier cookie, which is delicious too! Just know that the texture will change slightly because those other cereals are thicker than the rice cereal.
Are these truly unbaked cookie recipes?
They are 100% **unbaked cookie recipes**! That’s the real magic here. There is zero time spent waiting for baking sheets to come out of the oven. The closest thing to ‘cooking’ we do is melting the white chocolate and peanut butter mixture together to create that gooey binder. Once that’s melted and mixed with the cereal, the rest is just setting time. It truly is one of the **easiest homemade candy** methods out there.
If you’re interested in other quick treats that don’t require the oven, you have to check out my guide on making cheesy arancini rice balls—totally different flavor profile, but just as satisfying when you need something fast!
Estimated Nutritional Data for Avalanche Cookies
Since these **avalanche cookies** are so straight-forward and we aren’t doing any actual baking—which keeps things simple—I wanted to give you a quick rundown of what you can expect nutrition-wise per cookie. Remember, this is just an estimate, you know? I calculated this based on using standard creamy peanut butter and white chocolate chips, not almond bark, so your numbers might wiggle a bit depending on your exact brand choices! It’s helpful, but always treat these as a guide, especially if you’re making variations.
For one cookie, here are the rough figures:
- Serving Size: 1 cookie
- Calories: 210
- Sugar: 15g
- Sodium: 110mg
- Fat: 13g
- Saturated Fat: 5g
- Carbohydrates: 22g
- Protein: 4g
See? Nothing too wild, especially considering the big energy boost you get from the peanut butter and cereal! This is why I love handing these out at kids’ soccer games—they provide great fuel for **family friendly treats**.
PrintEasy No-Bake Peanut Butter Avalanche Cookies

Make these simple, no-bake avalanche cookies featuring peanut butter, white chocolate, and crispy cereal. This quick dessert sets fast and is perfect for gifting or snacking.
- Prep Time: 15 min
- Cook Time: 0 min
- Total Time: 15 min
- Yield: About 20 cookies 1x
- Category: Dessert
- Method: No-Bake
- Cuisine: American
- Diet: Vegetarian
Ingredients
- 1 cup creamy peanut butter
- 1 cup white chocolate chips or almond bark, melted
- 6 cups crispy rice cereal (Rice Krispies)
- 1 cup mini marshmallows
- 1/2 cup powdered sugar (for dusting, optional)
Instructions
- Line a baking sheet with parchment paper.
- In a large microwave-safe bowl, combine the peanut butter and white chocolate chips or almond bark. Microwave in 30-second intervals, stirring well after each, until completely smooth and melted.
- Stir the crispy rice cereal and mini marshmallows into the melted mixture until everything is evenly coated.
- Drop spoonfuls of the mixture onto the prepared baking sheet. You can drop them as small mounds or press them slightly into rough cookie shapes.
- If using, lightly dust the tops of the cookies with powdered sugar immediately after dropping them.
- Allow the cookies to set completely at room temperature or chill in the refrigerator for about 15 minutes until firm.
- Serve or store in an airtight container.
Notes
- For a richer flavor, substitute half of the white chocolate with milk chocolate chips.
- If you want a firmer cookie, use white almond bark instead of white chocolate chips.
- These are excellent for potlucks and holiday cookie trays.
Nutrition
- Serving Size: 1 cookie
- Calories: 210
- Sugar: 15
- Sodium: 110
- Fat: 13
- Saturated Fat: 5
- Unsaturated Fat: 8
- Trans Fat: 0
- Carbohydrates: 22
- Fiber: 1
- Protein: 4
- Cholesterol: 5